
After getting all the coding and electronics done, the next step was to get the box created. This week, exactly that was done.
In order to do this a number of steps had to be taken. First, the complete design had to be created. I started with an overall hand sketch so I could have a better understanding of what my final design in terms of wood would look like. It would consist of the out shell, which has a base, four walls and a top, however a clam shell will be cut out of the front, making four more pieces that make up the door on top. On the inside there is a mount for both of the servos as well as a finger attached to both of them.
 Figure 1: Hand Sketch Example
From there I was able to make a Solidworks model. This Solidworks model was more complex than what I had expected, even though it was made out of very simple parts. It ended up consisting of over 30 parts. An example of the solid works model in assembly and exploded view can be seen below.
 Figure 2: Assembly View of Box
 Figure 3: Exploded View of Solidworks
Once I had made this Solidworks drawing, I was able to verify that these specific dimensions will work for my box. With this knowledge I measured out the dimensions onto my 1/4″ balsa wood. The sheet (24″ by 12″) was nearly the perfect size, with minimal extra space on it. After visiting the makerspace, I was then informed that I need to spread out my drawings on the balsa wood to account for the thickness of the saw. After spending some time spacing out the dimensions, I was able to saw all the pieces out. Making the small pieces and the corner pieces was tough, but after a few hours, I was able to get it to work. However, some of the dimensions were slightly off (by less then .01 inches). In order to fix this, I spent a few hours sanding every piece until it was the perfect size. Next I began gluing.

Figure 4: Gluing the Main Assembly
 Figure 5: Gluing the Door
As can be seen from figure 4, I glued all the pieces in besides the lid. This was because once the lid was glued in, I wouldn’t be able to fix anything in the box. I realized that this was a big problem so I made the top have a hinge by putting in small nails on each side. This way the top can be somewhat removable and I can fix anything at anytime. After a few hours of gluing, I had a semi-completed box assembly.
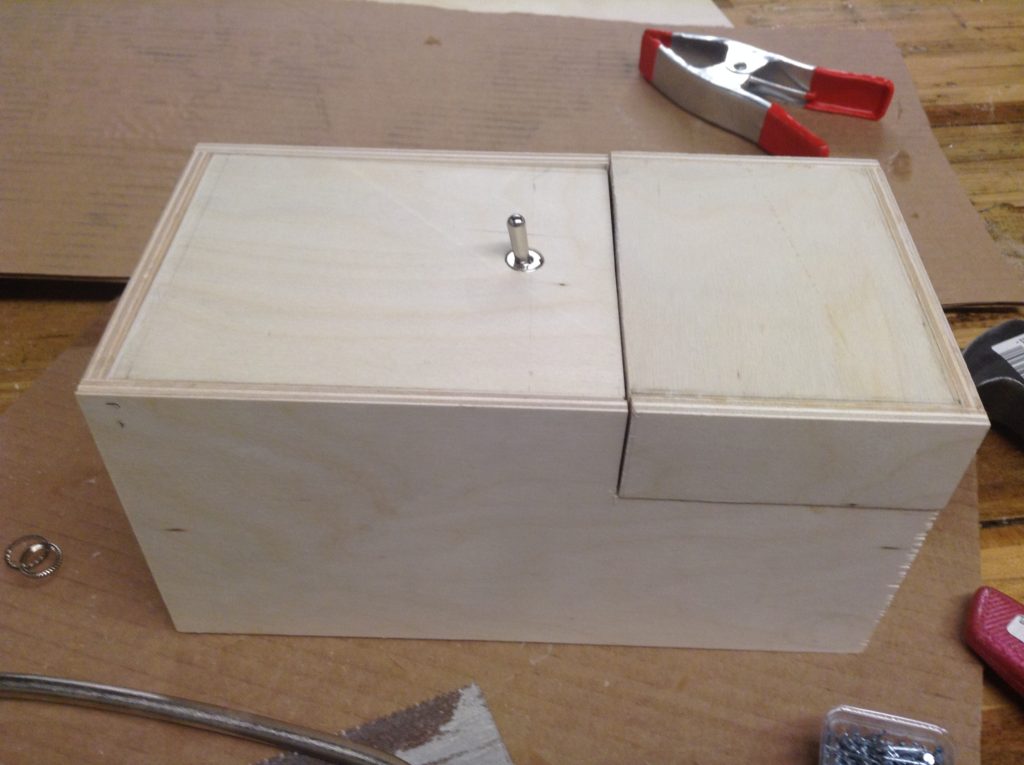
 Figure 6: Box Assembly Completed
1 Comment. Leave new
Great work on this project. I like seeing the process from design in CAD to actual fabrication in the shop. I have not done much work with wood, but I learned a bit from reading your post. Do you think the manufacturing process would be easier if you machined the pieces out of aluminum? You would be able to get more precise tolerances, and it would capture a different aesthetic. I think your box turned out great and I thought it was fun to play with at the expo. Great Work!