
For my final project, I decided to make a bedside lamp with an integrated drawer. I originally had the idea of making a dynamic lamp/storage unit that rotates about a metal post:

However, after doing some test cuts over spring break, I realized that the time it would take in order to cut all the layers for each compartment and glue and finish them was not realistic to my schedule.
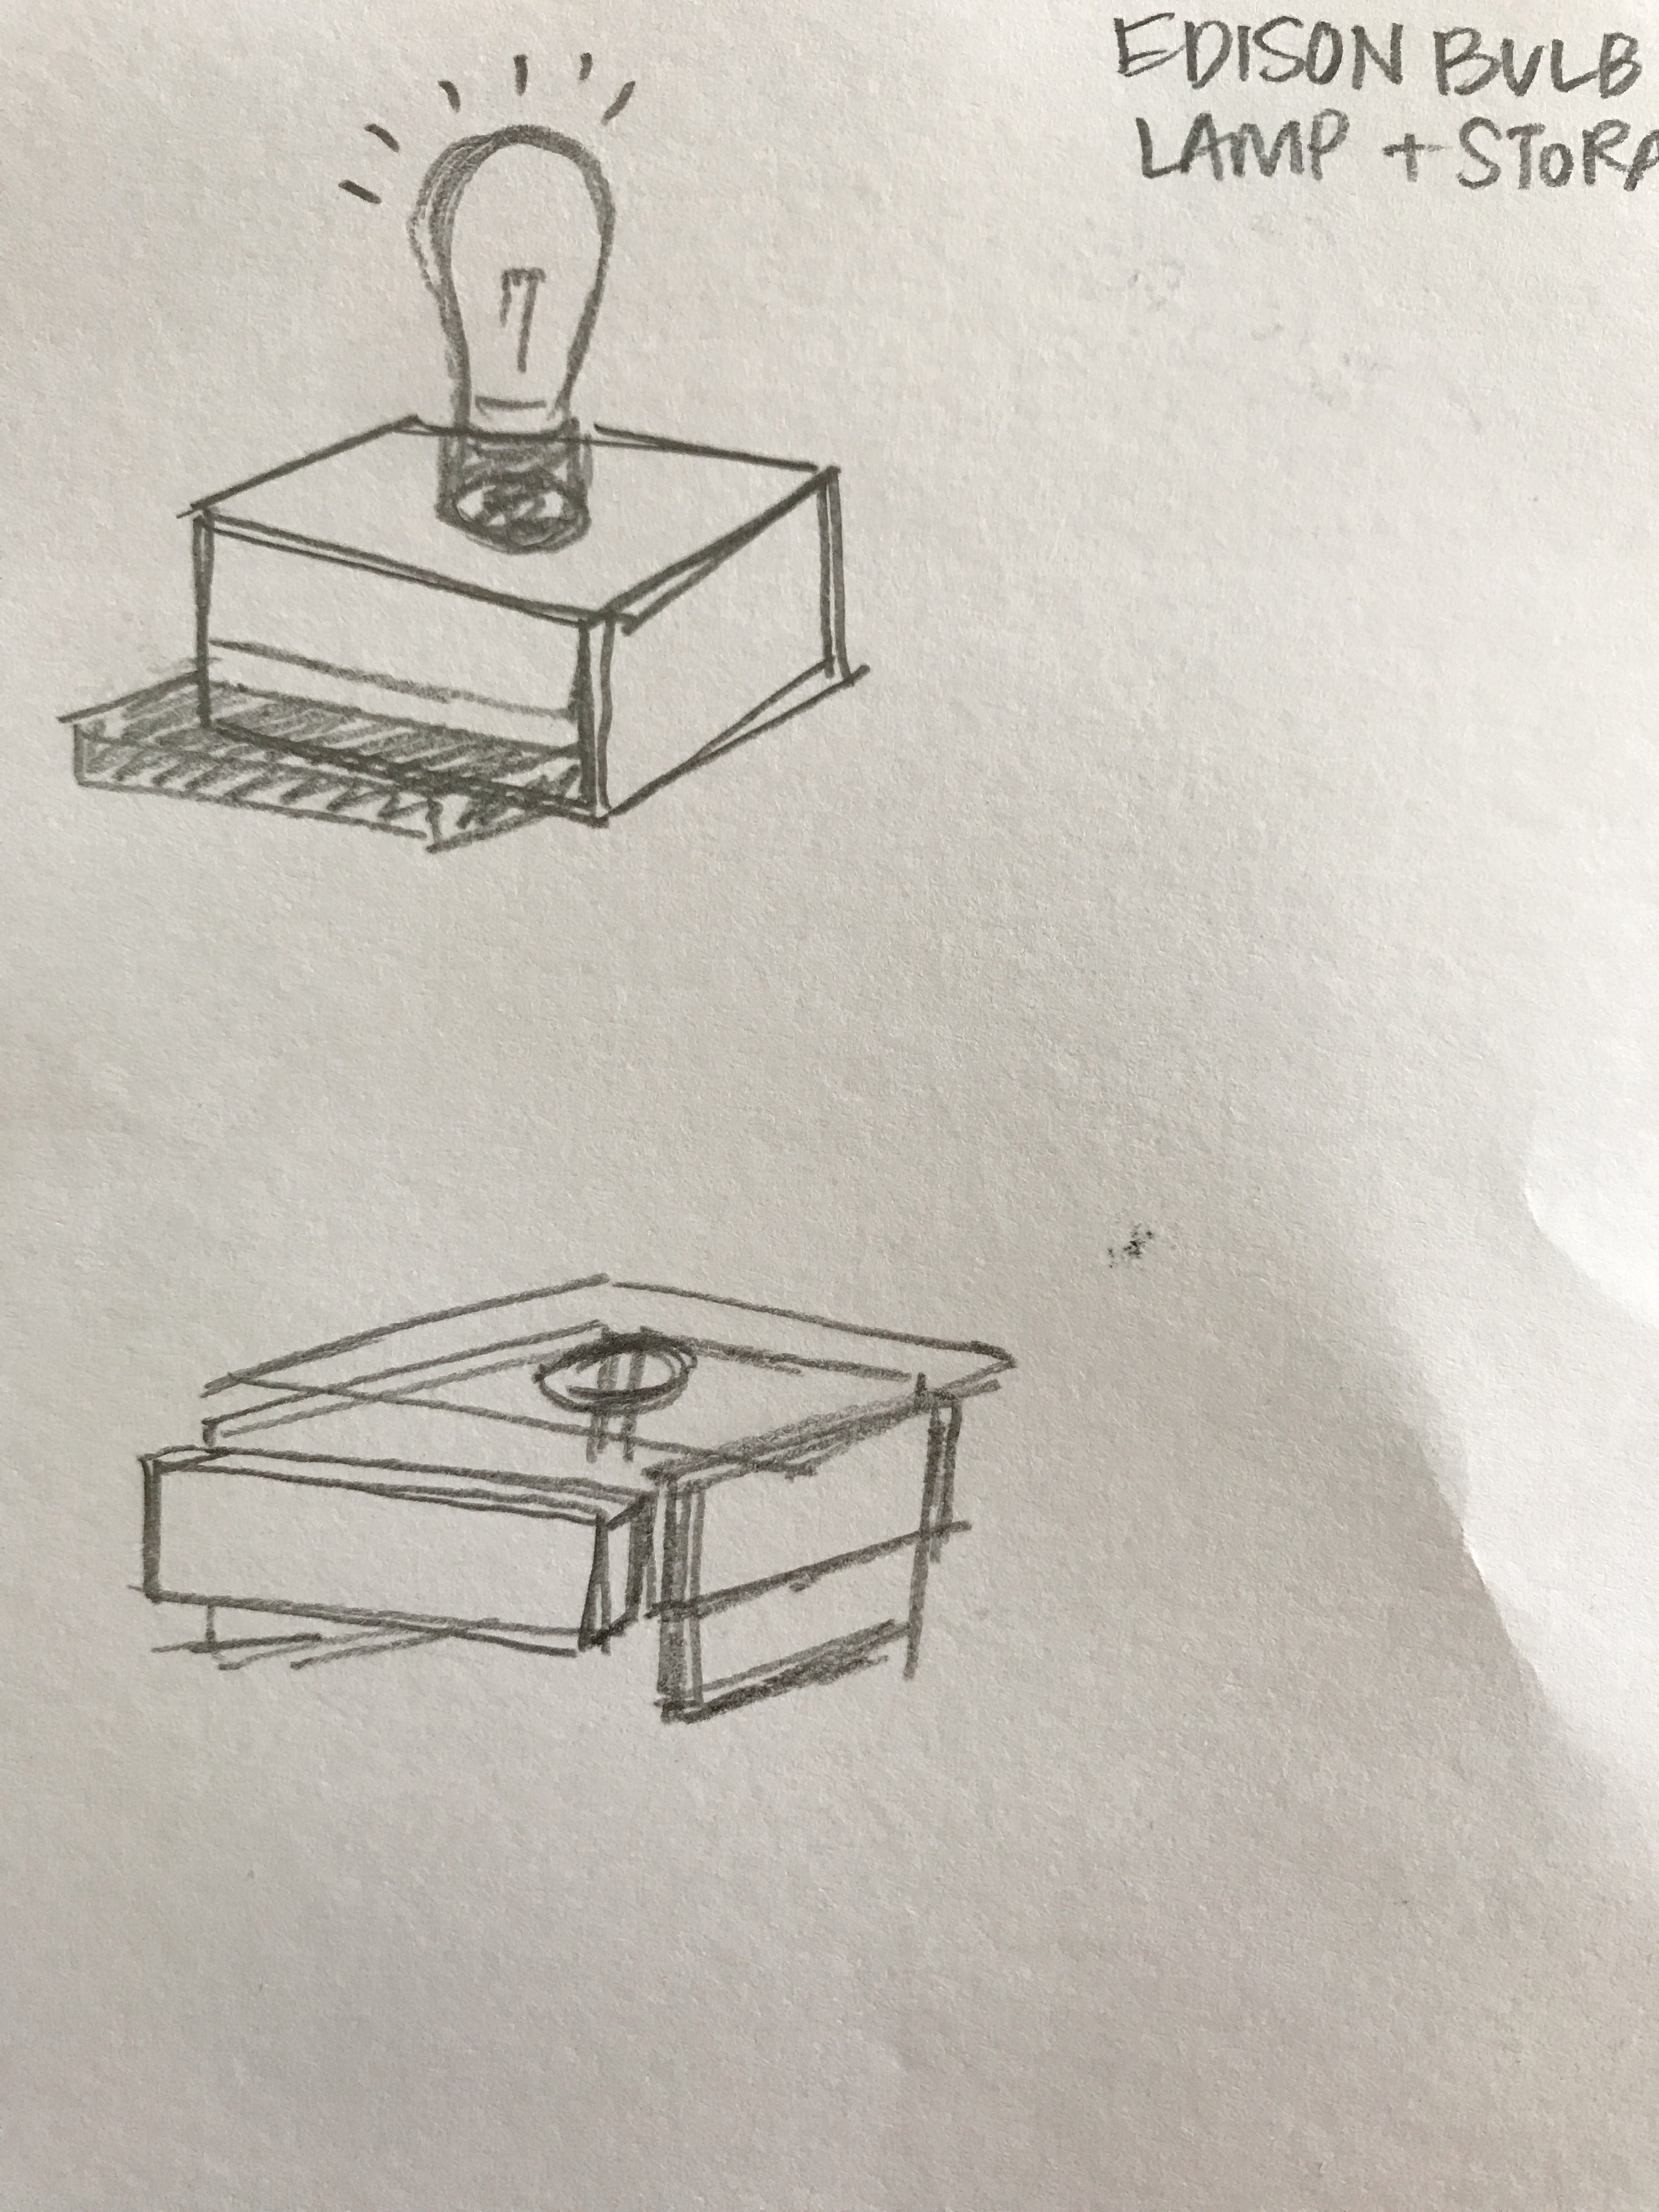
So with that… I did a complete design overhaul and decided upon a “box lamp” structure with a slide-able compartment for storage. This design, however, would involve me doing some woodworking, which I have never done before. After spring break, I was able to take a woodworking workshop for the Makerspace in the Idea Forge and got an introduction to all of the tools.
Design


CAD:
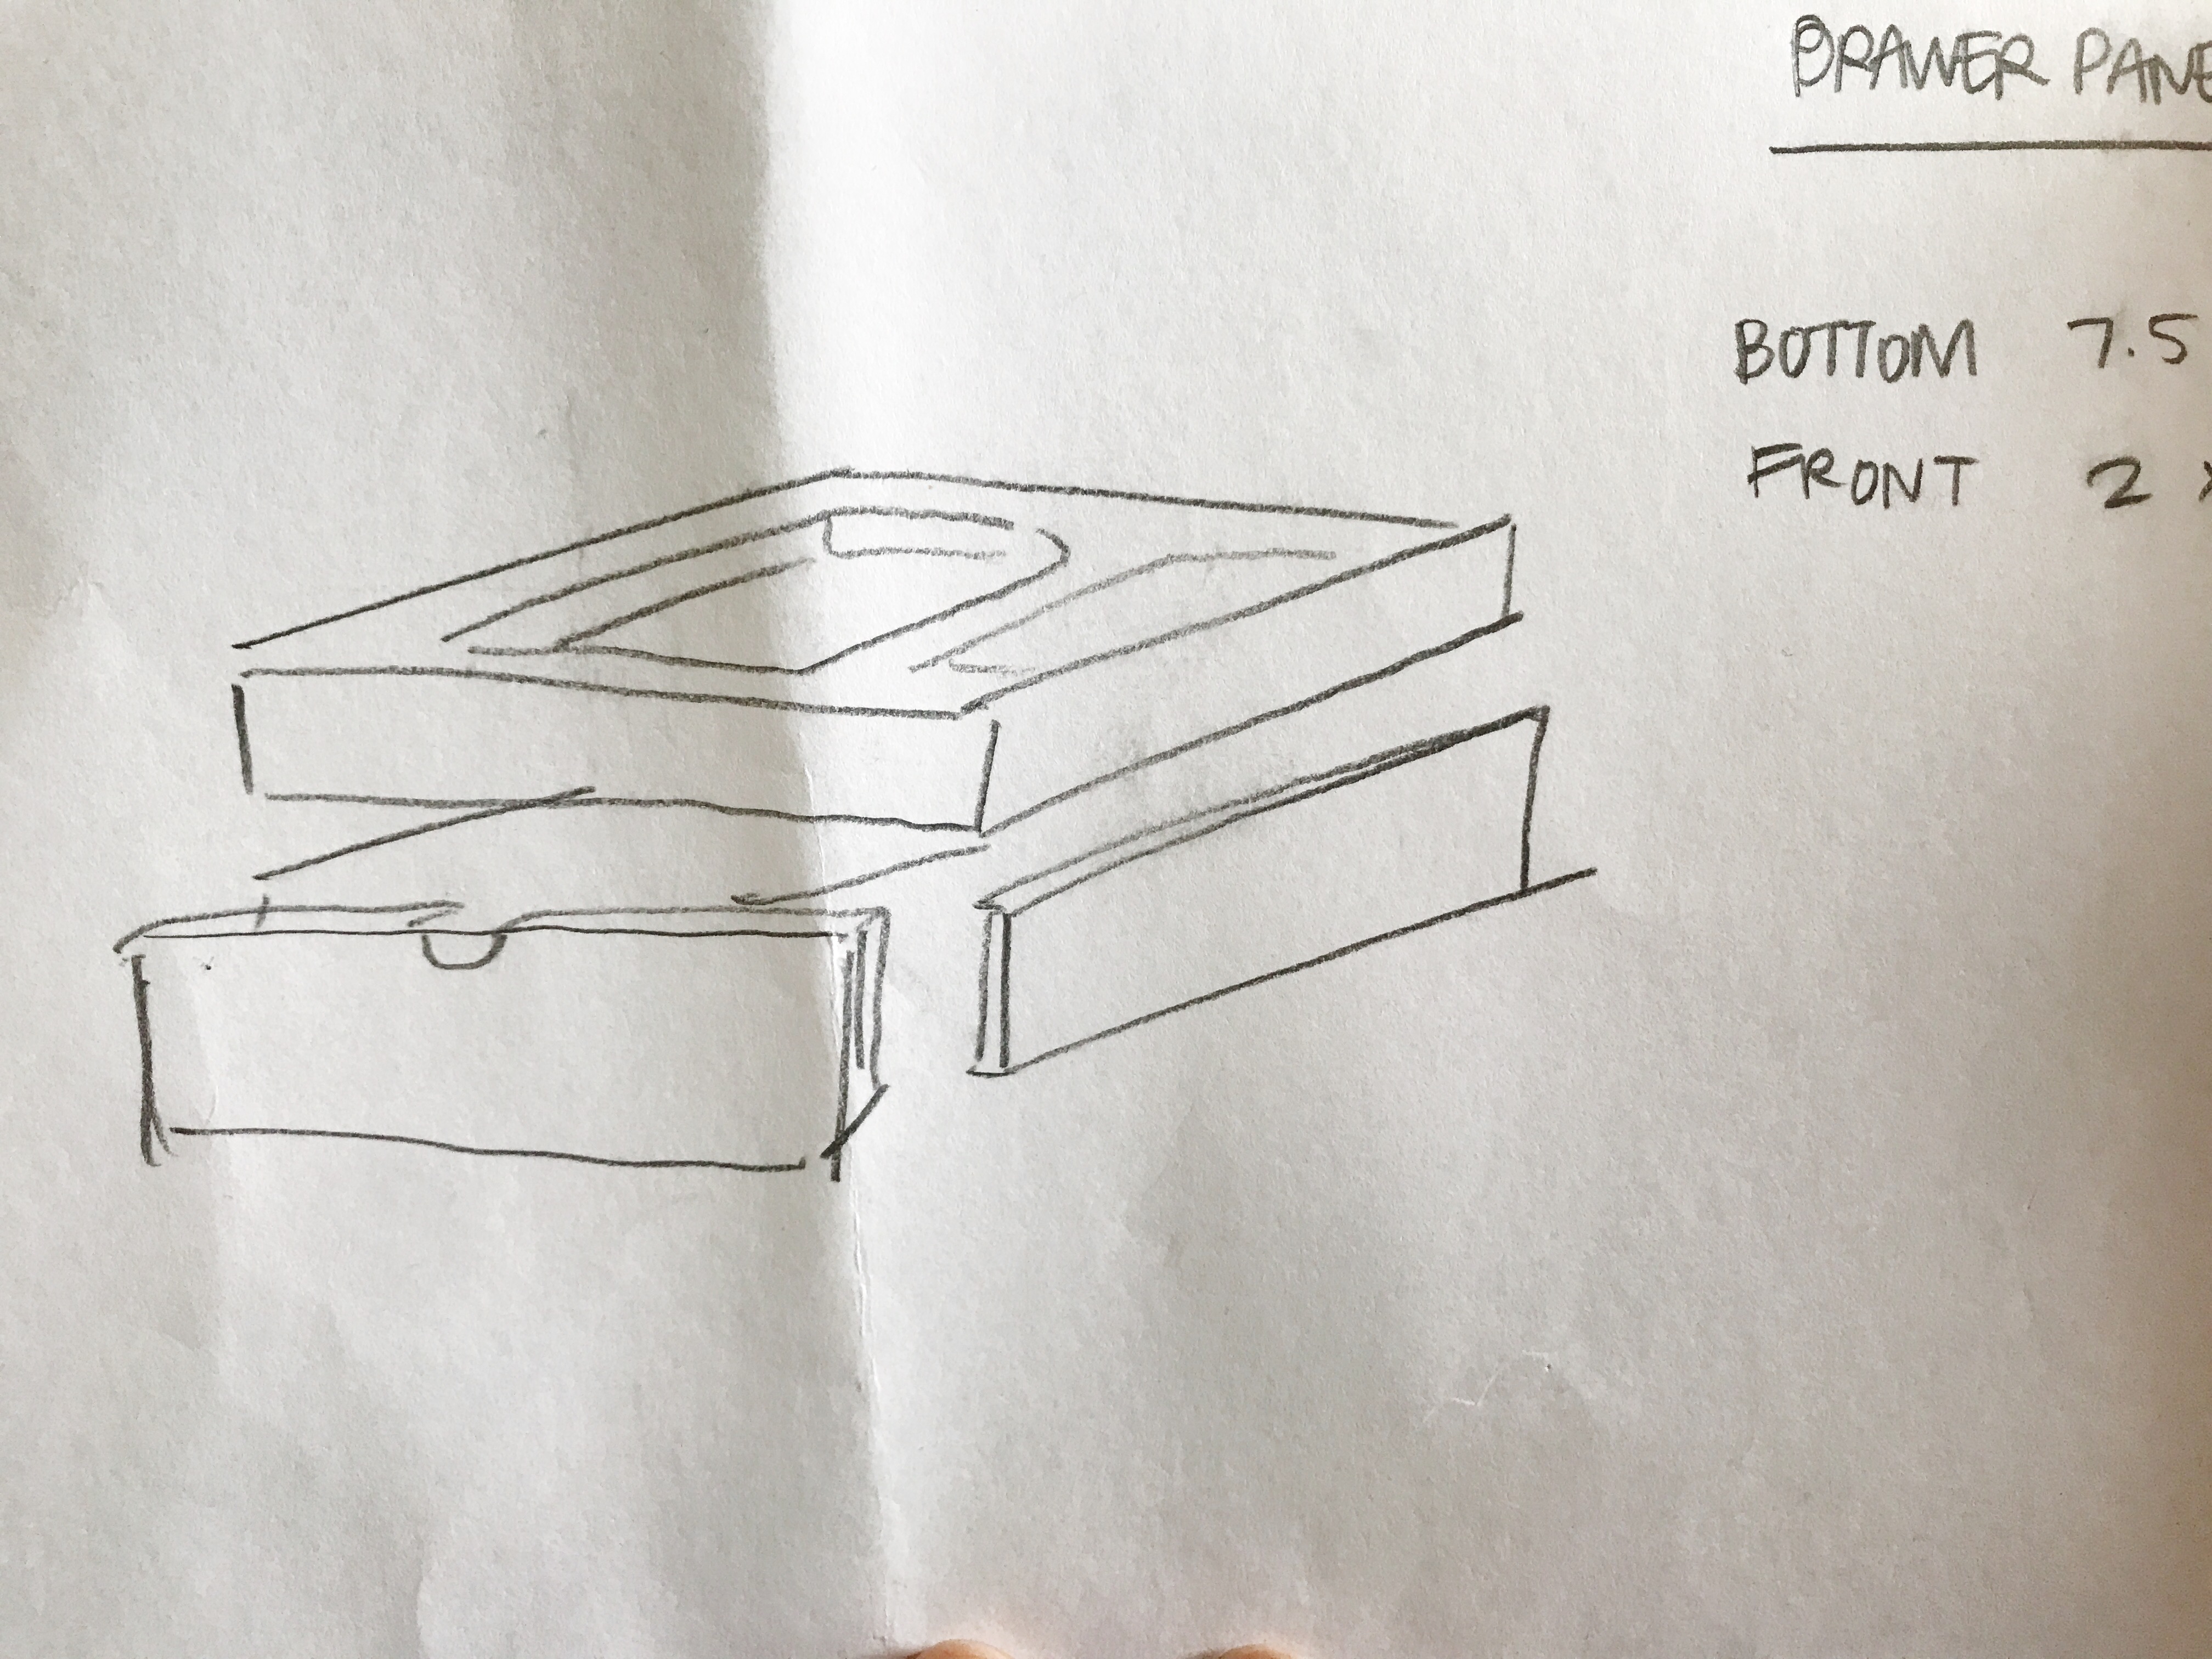
I used Solidworks to model all of my panels just to get a sense of dimension and assembly. As I realized later on, woodworking is definitely a measure and cut as you go process because it’s not very precise. So in the end, the model only served as an aid for assembly.

Materials
- Sanded Plywood: $14
- LED Edison Bulb: $10
- Socket: $15
- Dimmer: $14
- Stain: $10
TOTAL: $63
Construction
After taking the workshop at the Makerspace, I cut all of my pieces to size. I then machined the slide-in drawer using a router bit on the mill at the ITLL.


It was actually really fun to do! I got some help from the TA there and I definitely would like to do more woodworking. Here is a picture of the drawer right after it was machined:

As you can see, I had to do some post-process sanding to make the pocket smooth. So I sanded it down and the moved onto assembly. 

I used a nail gun for the first time to assemble the pieces together. This is where the tolerance build-up truly affected my design. I had to adjust the front panel and the sliding insert to fit the box. So after much more sanding, I was able to assemble it all.
Finishing
In order to finish the outside of the box, I sanded it with sanding blocks and stained it with a walnut stain. I chose this stain because I thought it would bring the wood grains out nicely and it also had a nice grey tone to it.
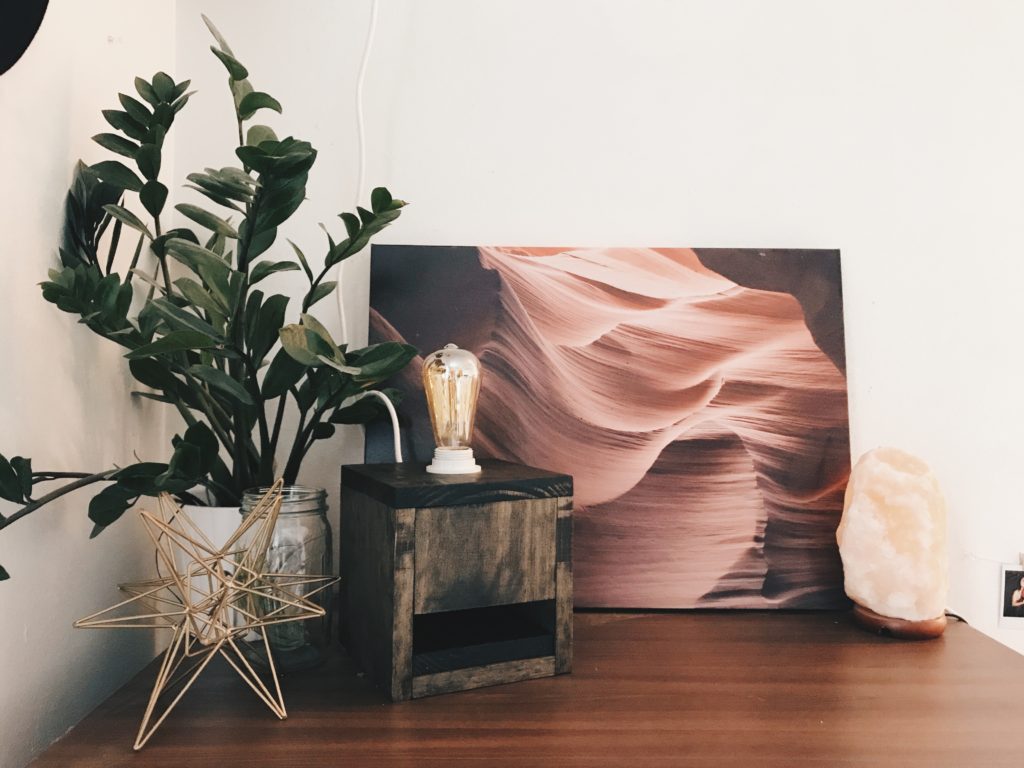
Final Product
And…. ta-da! Here it is sitting all nicely on top of my dresser.
