
Hey again. So Since making the center hole, I hit a huge roadblock: Josh, (Maker-Space director and my secret adviser) didn’t know how to make the step in my piece. This is where the half hinge rests on and is incredibly hard to make since it is only half of a hole. So my first thought was to whittle out the space where the this pin would sit. My second thought was “That is stupid, this is a hardwood and that would take way tooo long”. My third thought (a little bit later after some brain juice and a lot of thinking) was to use a Dremel and a routing bit to shave away the bit of wood I did not need. This seemed to hold some promise, but I had to find a Dremel with a very very small routing bit. I also needed to find some way to hold my pieces.

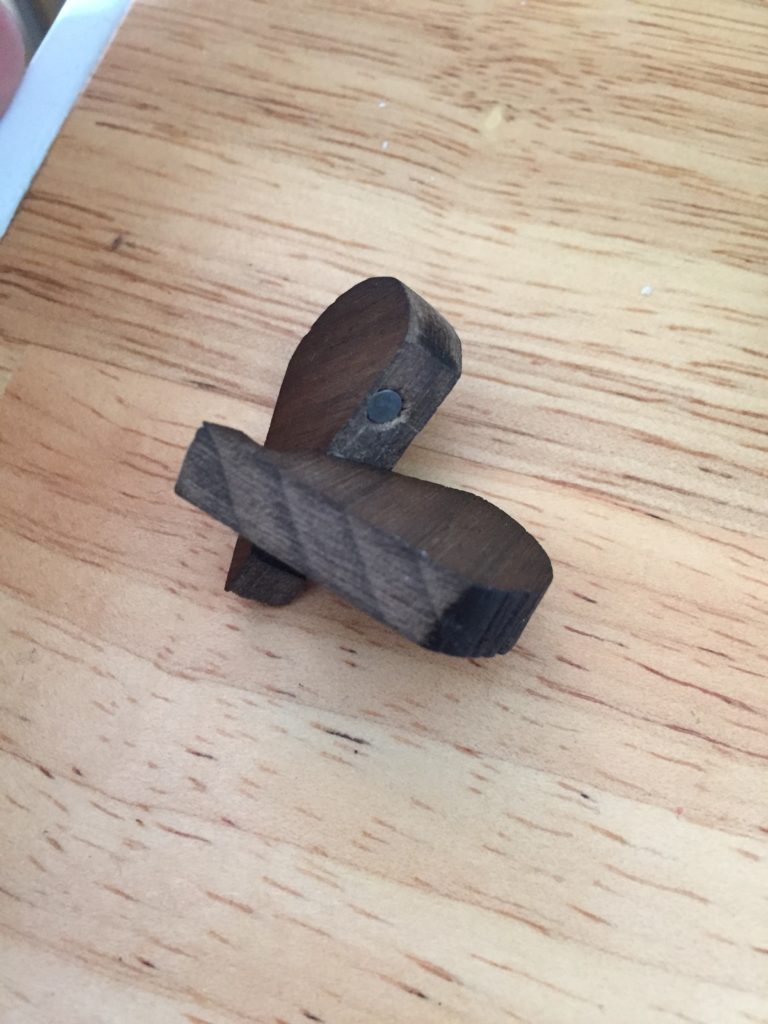
My solution to these problems came pretty easily, I was able to find a very tiny routing bit and a Dremel. To hold it my solution was to hold it in one hand and hold the Dremel with the other like a pencil. Not the safest solution but it worked. Unfortunately I haven’t grown that third hand (still working on it) so I couldn’t take any manufacturing pictures. However, here are some of the final product.
My next step that I worked on was putting in magnets. These things are absolutely microscopic! Alright they aren’t that small, but they are 3mm in diameter, and 0.5mm thick (it’s about as small as your grandparent’s hearing aid battery). These I had no idea how I was going to get a hole that small. So I went back to my original first thought of whittling. I first tried it on my prototype:

This seems to work so this is going to be my plan for the final product. I was going to start working on the final iteration, but I ran out of time this week but all I have left to do is make the half-pin hinges, set four magnets in place, and then glue all of the parts together.