
My final project is a mountain biking jersey/shirt spiced up with some cool action painting aesthetic.
In the beginning, I could not decide, I had so many things I wanted to make. Things raging from a custom van-life roof rack for my van, to custom horn sounds or custom rear window LED display. I finally chose something that I was passionate about and a new challenge for me, which ultimately added a new skill to my tool box.
I chose to make a biking apparel item, since I love biking and would like to go into the bike industry, and I had no clue how to sew. I originally wanted to make a packable, ultralight biking jacket resistant to wind and rain. Some inspiration for this can be observed below.

Figure 1.
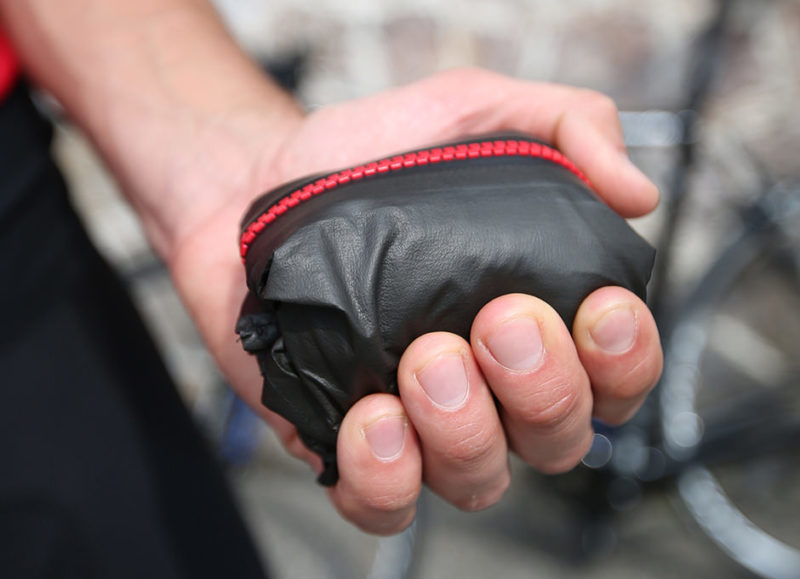
Figure 2.
I ended up not making this but I do plan to keep perfecting my skills to get to this project. Let me tell you why.
I began practicing stitch patterns and how to use my wife’s sewing machine by making a shirt/tank for my dog Tocho. Below are some images of how that went!

Figure 3.

Figure 4.

Figure 5.

Figure 6.
You can tell that it wasn’t the best fit around the shoulders and back. Regardless, this was a total success in my books, but I did realized that a ultralight jacket using pertex-like fabric and with multiple complicated patterns would take time and practice. So I revisited my design and the aesthetic I wanted to use. I decided to make a t-shirt/jersey for mountain biking and after researching a few aesthetics that would pair well with this, I landed on Action Painting and Symbolism. I chose these because I had the idea of painting colorful “mud” splash patterns on the back and this would be great for action painting and would symbolize the act of mountain biking and how those splash marks could have gotten there. (I will talk more in depth about my chosen aesthetics and why in my next post). I drew up a sketch of the patterns to cut out and how I initially saw the action painting on the back of the shirt. Below are those drawings.

Figure 7.
After this I began prototyping. I allowed myself to have plenty of time for this because this being a totally new skill to me I knew there would be a learning curve and I might even have to buy some more tools. Sure enough, I bought more tools, like a cutting mat and a titanium circular blade to cute the fabric (observed below). These tools were so nice to have, as it allowed me to cut straighter lines at a much quicker rate without damaging my kitchen table.

Figure 8.
I bought some 100% cotton fabric at Walmart to do my first prototype of the shirt. Below are some images of how it turned out!

Figure 9.

Figure 10.

Figure 11.
I learned that this fabric was not stretchy enough (it was more for a button down shirt), and that making the neckband is the hardest part.
I then made the second version (the final version) out of a more stretchy blend of cotton. I proceeded to make the shirt but I did not pre-wash the fabric before sewing… so when I washed the shirt for the first time, it shrunk vertically… Luckily, I made the shirt bigger because it needed to have extra room to move while I mountain bike so the shrinkage did not affect it significantly. Below you can see the progress pictures of me cutting the patterns and sewing them together.

Figure 12.

Figure 13.

Figure 14.

Figure 15.

Figure 16.

Figure 17.
After the shirt was done, I proceeded to my aesthetic of action painting and symbolism. I used Tulip Fabric Paint, and an old mountain bike Schwalbe tire to make the tire pattern. You can see the paint I used and the “practice” run I did below.

Figure 18.

Figure 19.

Figure 20.
I applied the black paint with the tire for the tire pattern. For the splash of colorful mud I used a zip tie, very appropriate as it is used in biking quite often. Here is a picture of the application process.
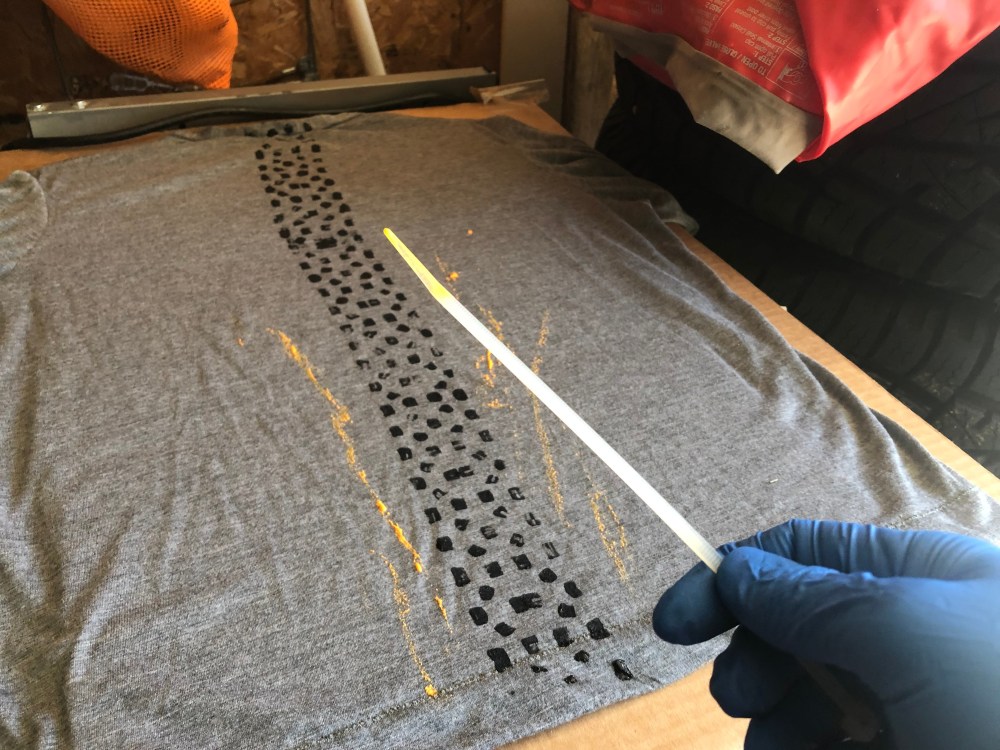
Figure 21.
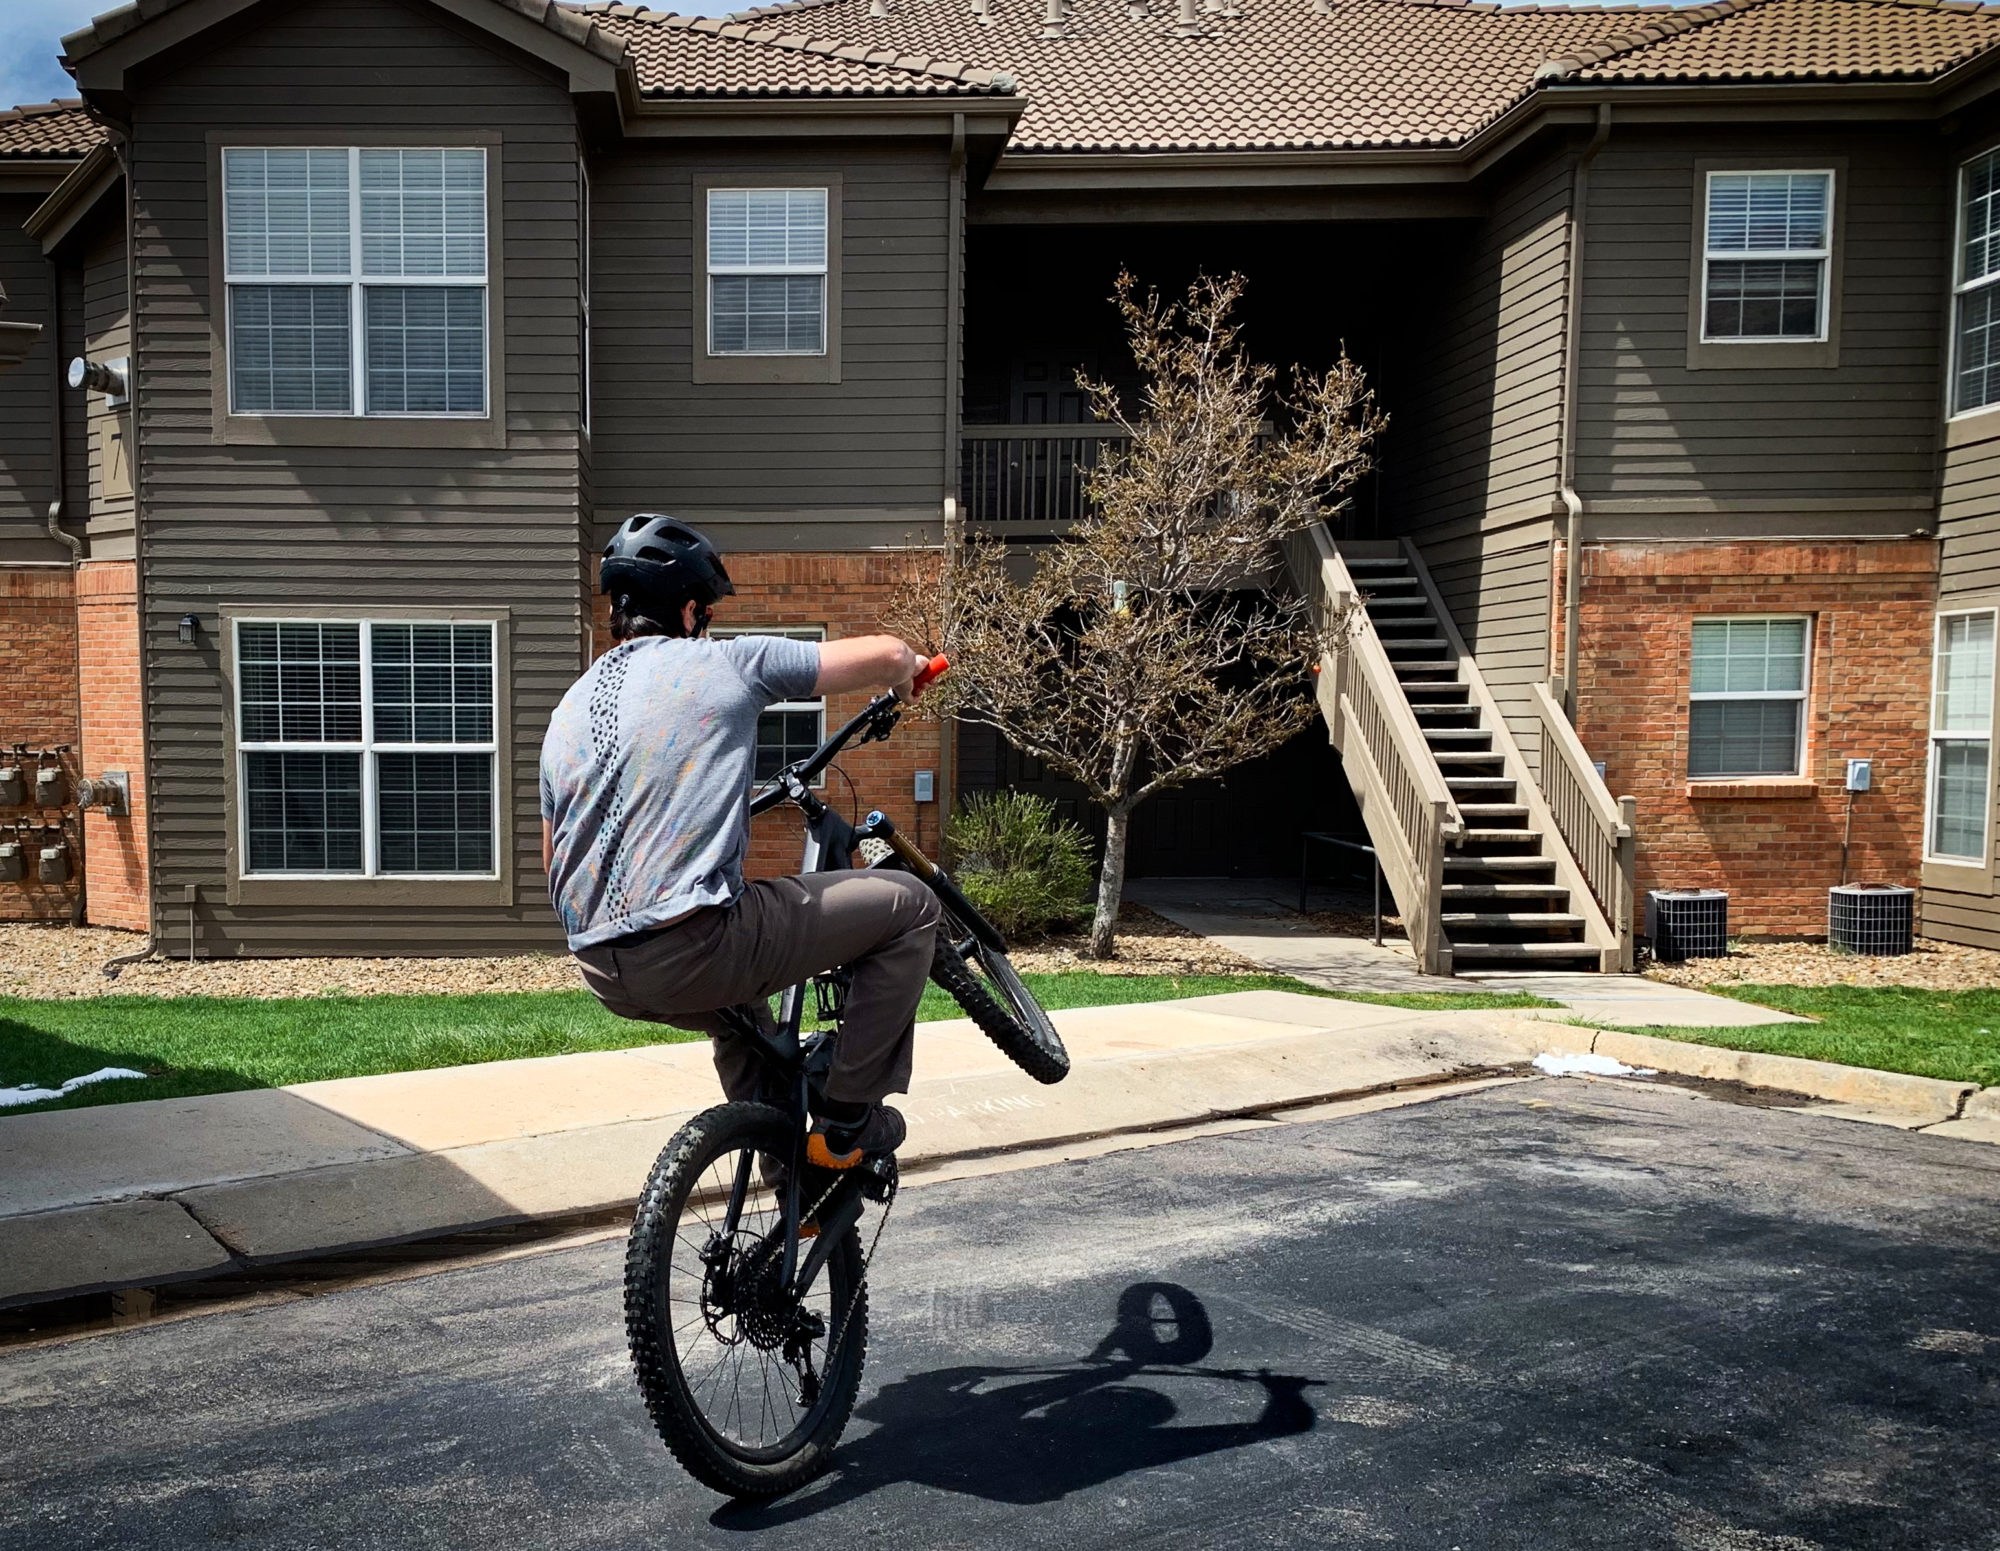
After waiting for the paint to fully dry (72 hours), the MTB shirt/jersey was finally done! Without further due, here is the final product!

Figure 22.

Figure 23.

Figure 24.

Figure 25.
I am pleased how this turned out for not knowing how to sew just a couple of month ago! I spent around $80 between all the fabrics I bought and new supplies/tools, not counting the sewing machine we already owned. But with this new skill now I’m confident to improve this and to tackle new projects!
I will talk about why I chose this project and aesthetic, as well as what is next, in my next post!
As always, thanks for reading!
Benjamin Robles
Image References (other than the ones taken by me)
Figure 1. https://www.mbr.co.uk/buyers_guide/best-waterproof-mountain-bike-jackets-337470
Figure 2. https://www.thegeekycyclist.com/best-things/waterproof-cycling-jackets/
2 Comments. Leave new
Fantastic job with the jersey! I think that your combination of tire tread with the bright “action painting” is a unique combo, but it really works in this case. I think that the front of the shirt could use something as well, in my opinion. Just one thought that I had is that you could make a simple logo that you can mark all of your work with, or maybe just a simple bike cutout. Something small on the front of the shirt would give the shirt a new level of professionalism and life, I think. Awesome project!!
Ben,
I like your motivation behind your project and the way that you just dove in learning to sew. It is understandable that your project had to change scope halfway through due to all the circumstances and resources. I like the action art concept that you incorporated and that you made a few prototypes before settling on a final design. I think the end product looks very nice. Designing and creating clothes is not an easy thing to do so granted it was a first attempt, I think it looks very nice.