
For my final project, I decided to create something that I would keep for a long time. Since I play and stream for the Call of Duty Esports team here at CU, I decided to make a neon sign of my username so that I could use it as decoration in my room.
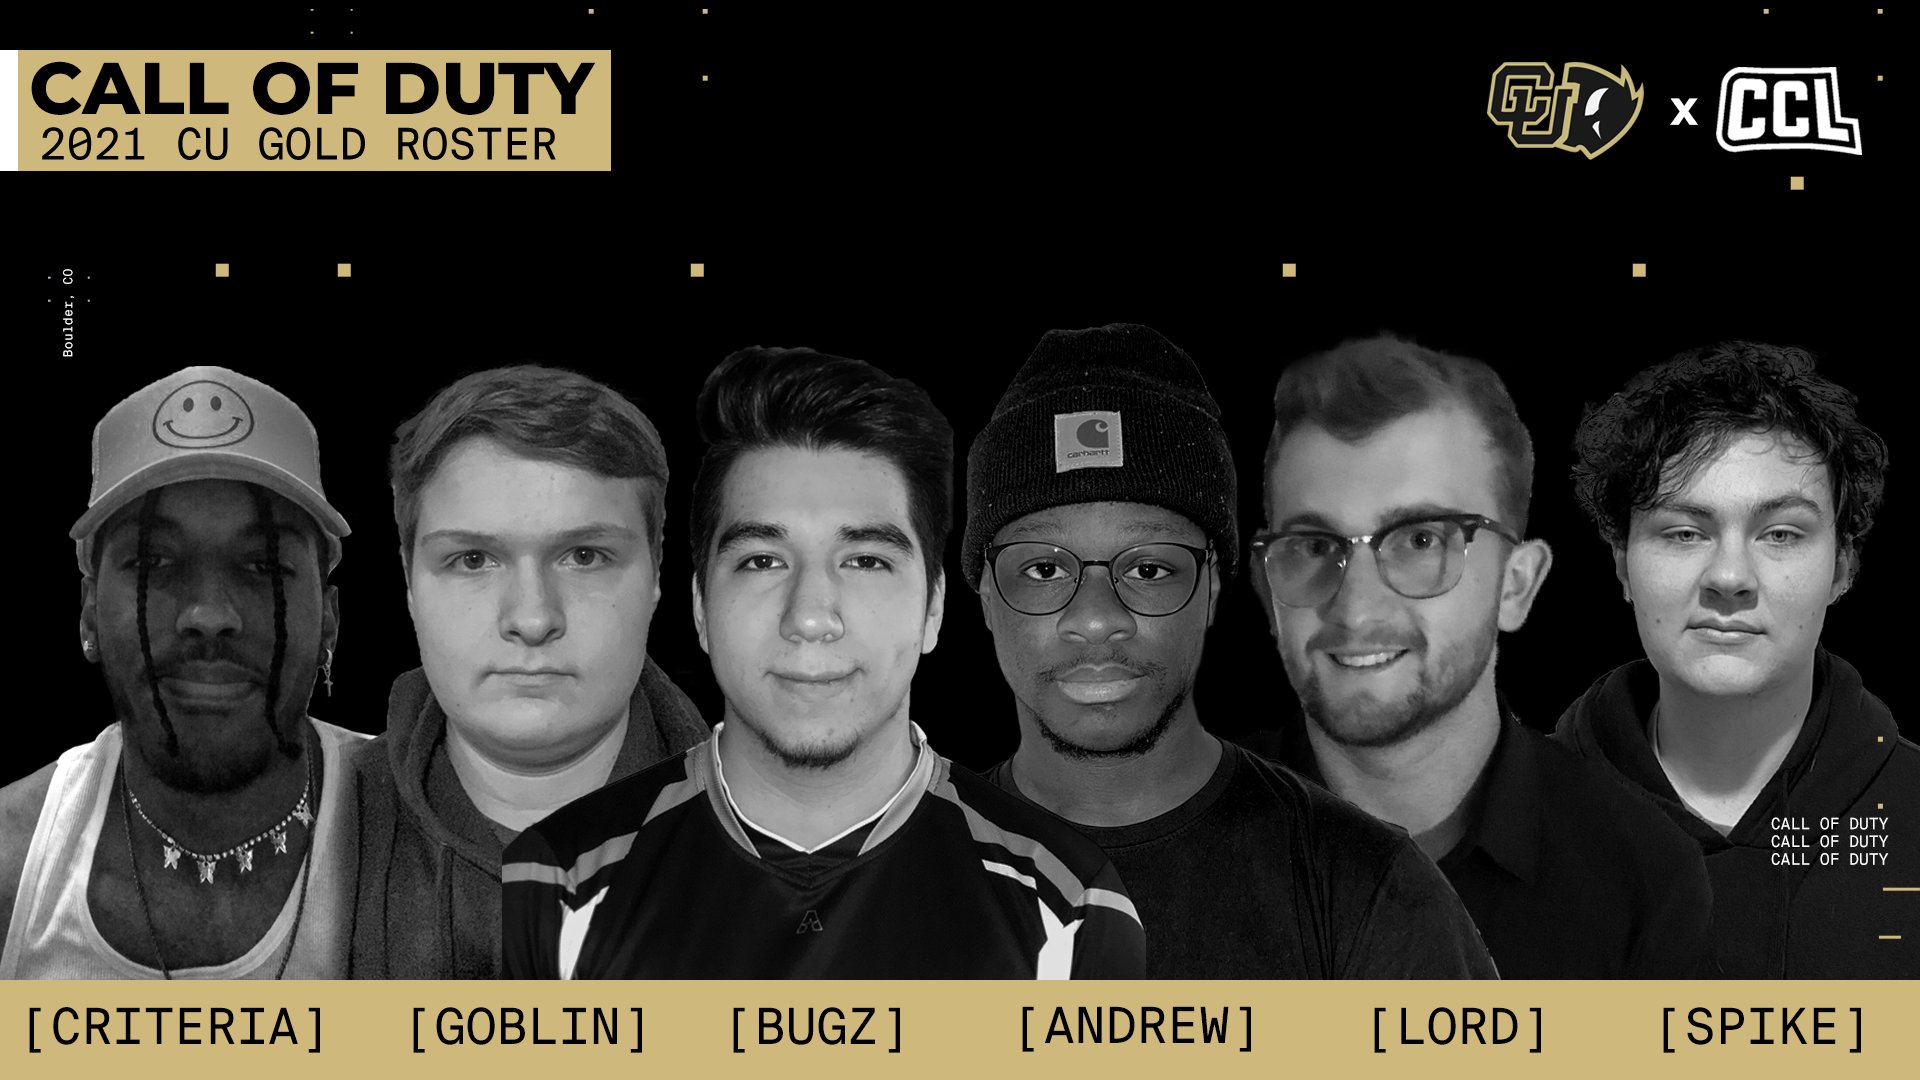
Source: https://twitter.com/BoulderEsports/status/1356704747080675328?s=20
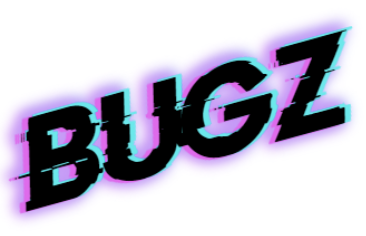
As you can see here, My username is “Bugz” for every gaming aspect, I even have it on my twitch page. With this I decided to make a neon sign saying “bugz” as that username has really been a part of me since middle school. I wanted to create more than just a sign though, I wanted to make it interesting as anyone could just hook up neon lights and make a sign.
However, I first started with my design. I wanted to add a neon aesthetic but I decided to take a spin on it and add a glitch effect to the text.

This is an illustration of what I plan to make with Neon lighting and other materials. There are many routes I could take with this design such as making the black letters out of foamcore or something more durable such as black acrylic. The benefits to acrylic would be being able to laser cut my design and that would make it easier to install the neon lighting. Foamcore however would allow for easier manipulation and fixing any mistakes along the way. With laser cutting, if I design it wrong I could end up wasting material.

Source : https://www.amazon.com/4-Pack-Glowing-Strobing-Electroluminescent-Yellow/dp/B013KH84DO
The background isn’t the only item that has multiple options, the neon lighting can be applied various ways. EL wire is an option that would come with multiple modes for flashing or cool, however, it is possible to hook up neon lights with an Arduino to add more control to the lighting and flashing. I plan to go ahead and use the Arduino solution so that I can create a sign with personalized flashing and give it a glitching effect. I also plan to have the Denver skyline in the background but I did not add that into my design image above. Denver has been my home my whole life and I want to show that in my sign but I am also considering making the flatirons in the background as a memory of my time here at CU. I plan to use an Arduino Uno to control each neon light for the sign and create a glitch effect.

Source: https://store.arduino.cc/usa/arduino-uno-rev3
Thank you for reading about my design process! Please let me know if the flatirons or a Denver skyline would be best behind my user!
4 Comments. Leave new
Hey Alex,
I think this is a super cool design. I didn’t know that CU had an esports team. I spent like 20 mins watching some of your warzone clips on twitch haha. I think that this sign would be really cool to have in the background of your streams. How are you planning on making the glitch effect? This seems like a difficult thing to pull off but would look so cool!
CU has a lot of esports teams! This year is the first COD team so its exciting for sure! For the glitch effect I would have to use an Arduino to control the lighting specifically to make some light up and flash. I am thinking kind of how a broken sign would flash in random spots. I think it will pair up great with the font I chose.
HI Alex,
This sounds like a really cool project! I have never seen lights like the ones you plan on using but they seem like they will be very effective in giving that neon glow look. Since these lights are continuous I think it will be crucial to hide the structure that will be guiding the lights to make your gamer tag. Super glad that I read your post though, I really want to try to do something with these lights myself!
I think that will be one of the biggest obstacles is figuring out how to keep a continuous line of light hidden and shown in the correct spots. I might look into some that can be cut if its possible since I will lean more towards an Arduino driven project. I hope you find something to make with them as well!