
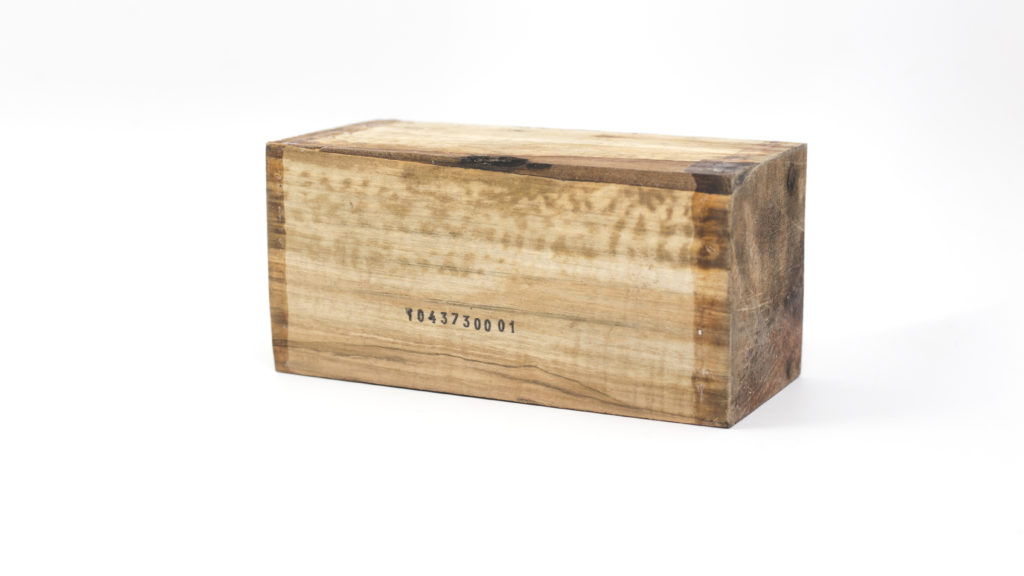
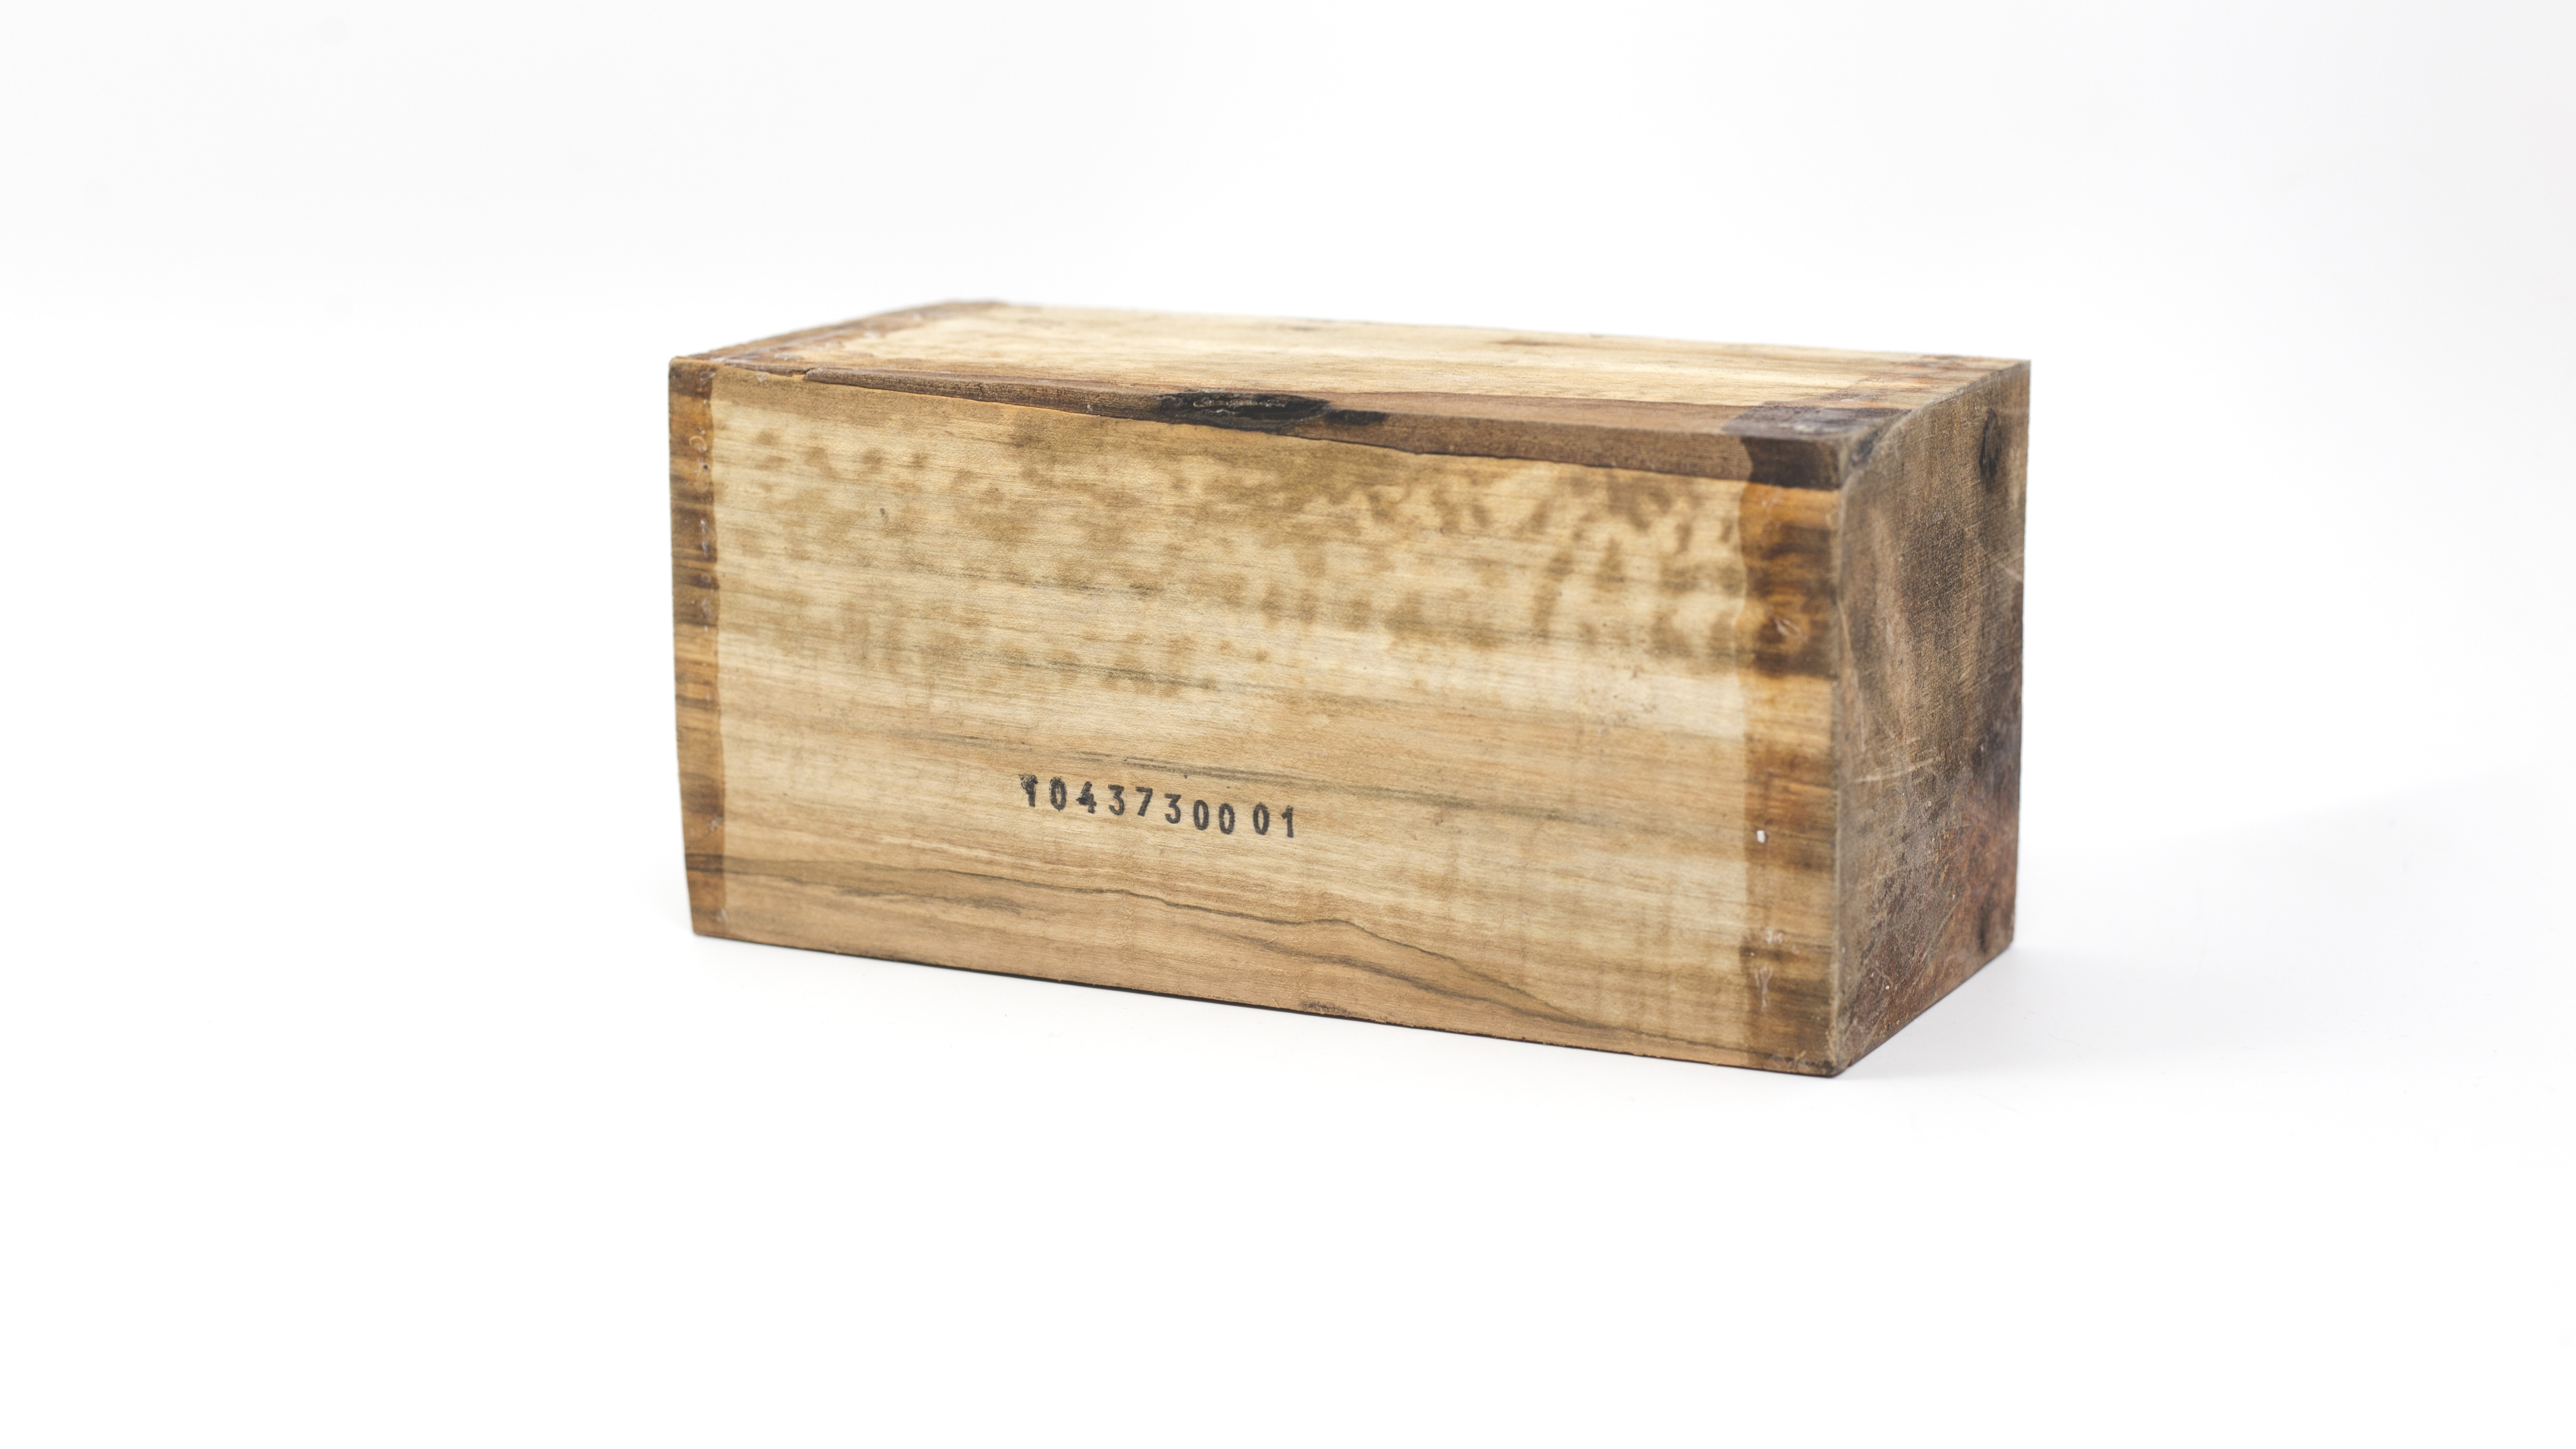
Boom! A block of the finest Silver Maple- so fresh, it’s still kind of damp, and has wax sealed sides! This was an unexpected extra step; I definitely wasn’t planning on having to spend time drying out (“seasoning”) my wood. This block was purchased from an exotic woods dealer online. I picked this silver maple, because it’s known for it’s almost iridescence and changing shimmer based on how the light is hitting it. Also, it’s a very light colored wood- this fits the light, crisp, modern aesthetic I’m shooting for.

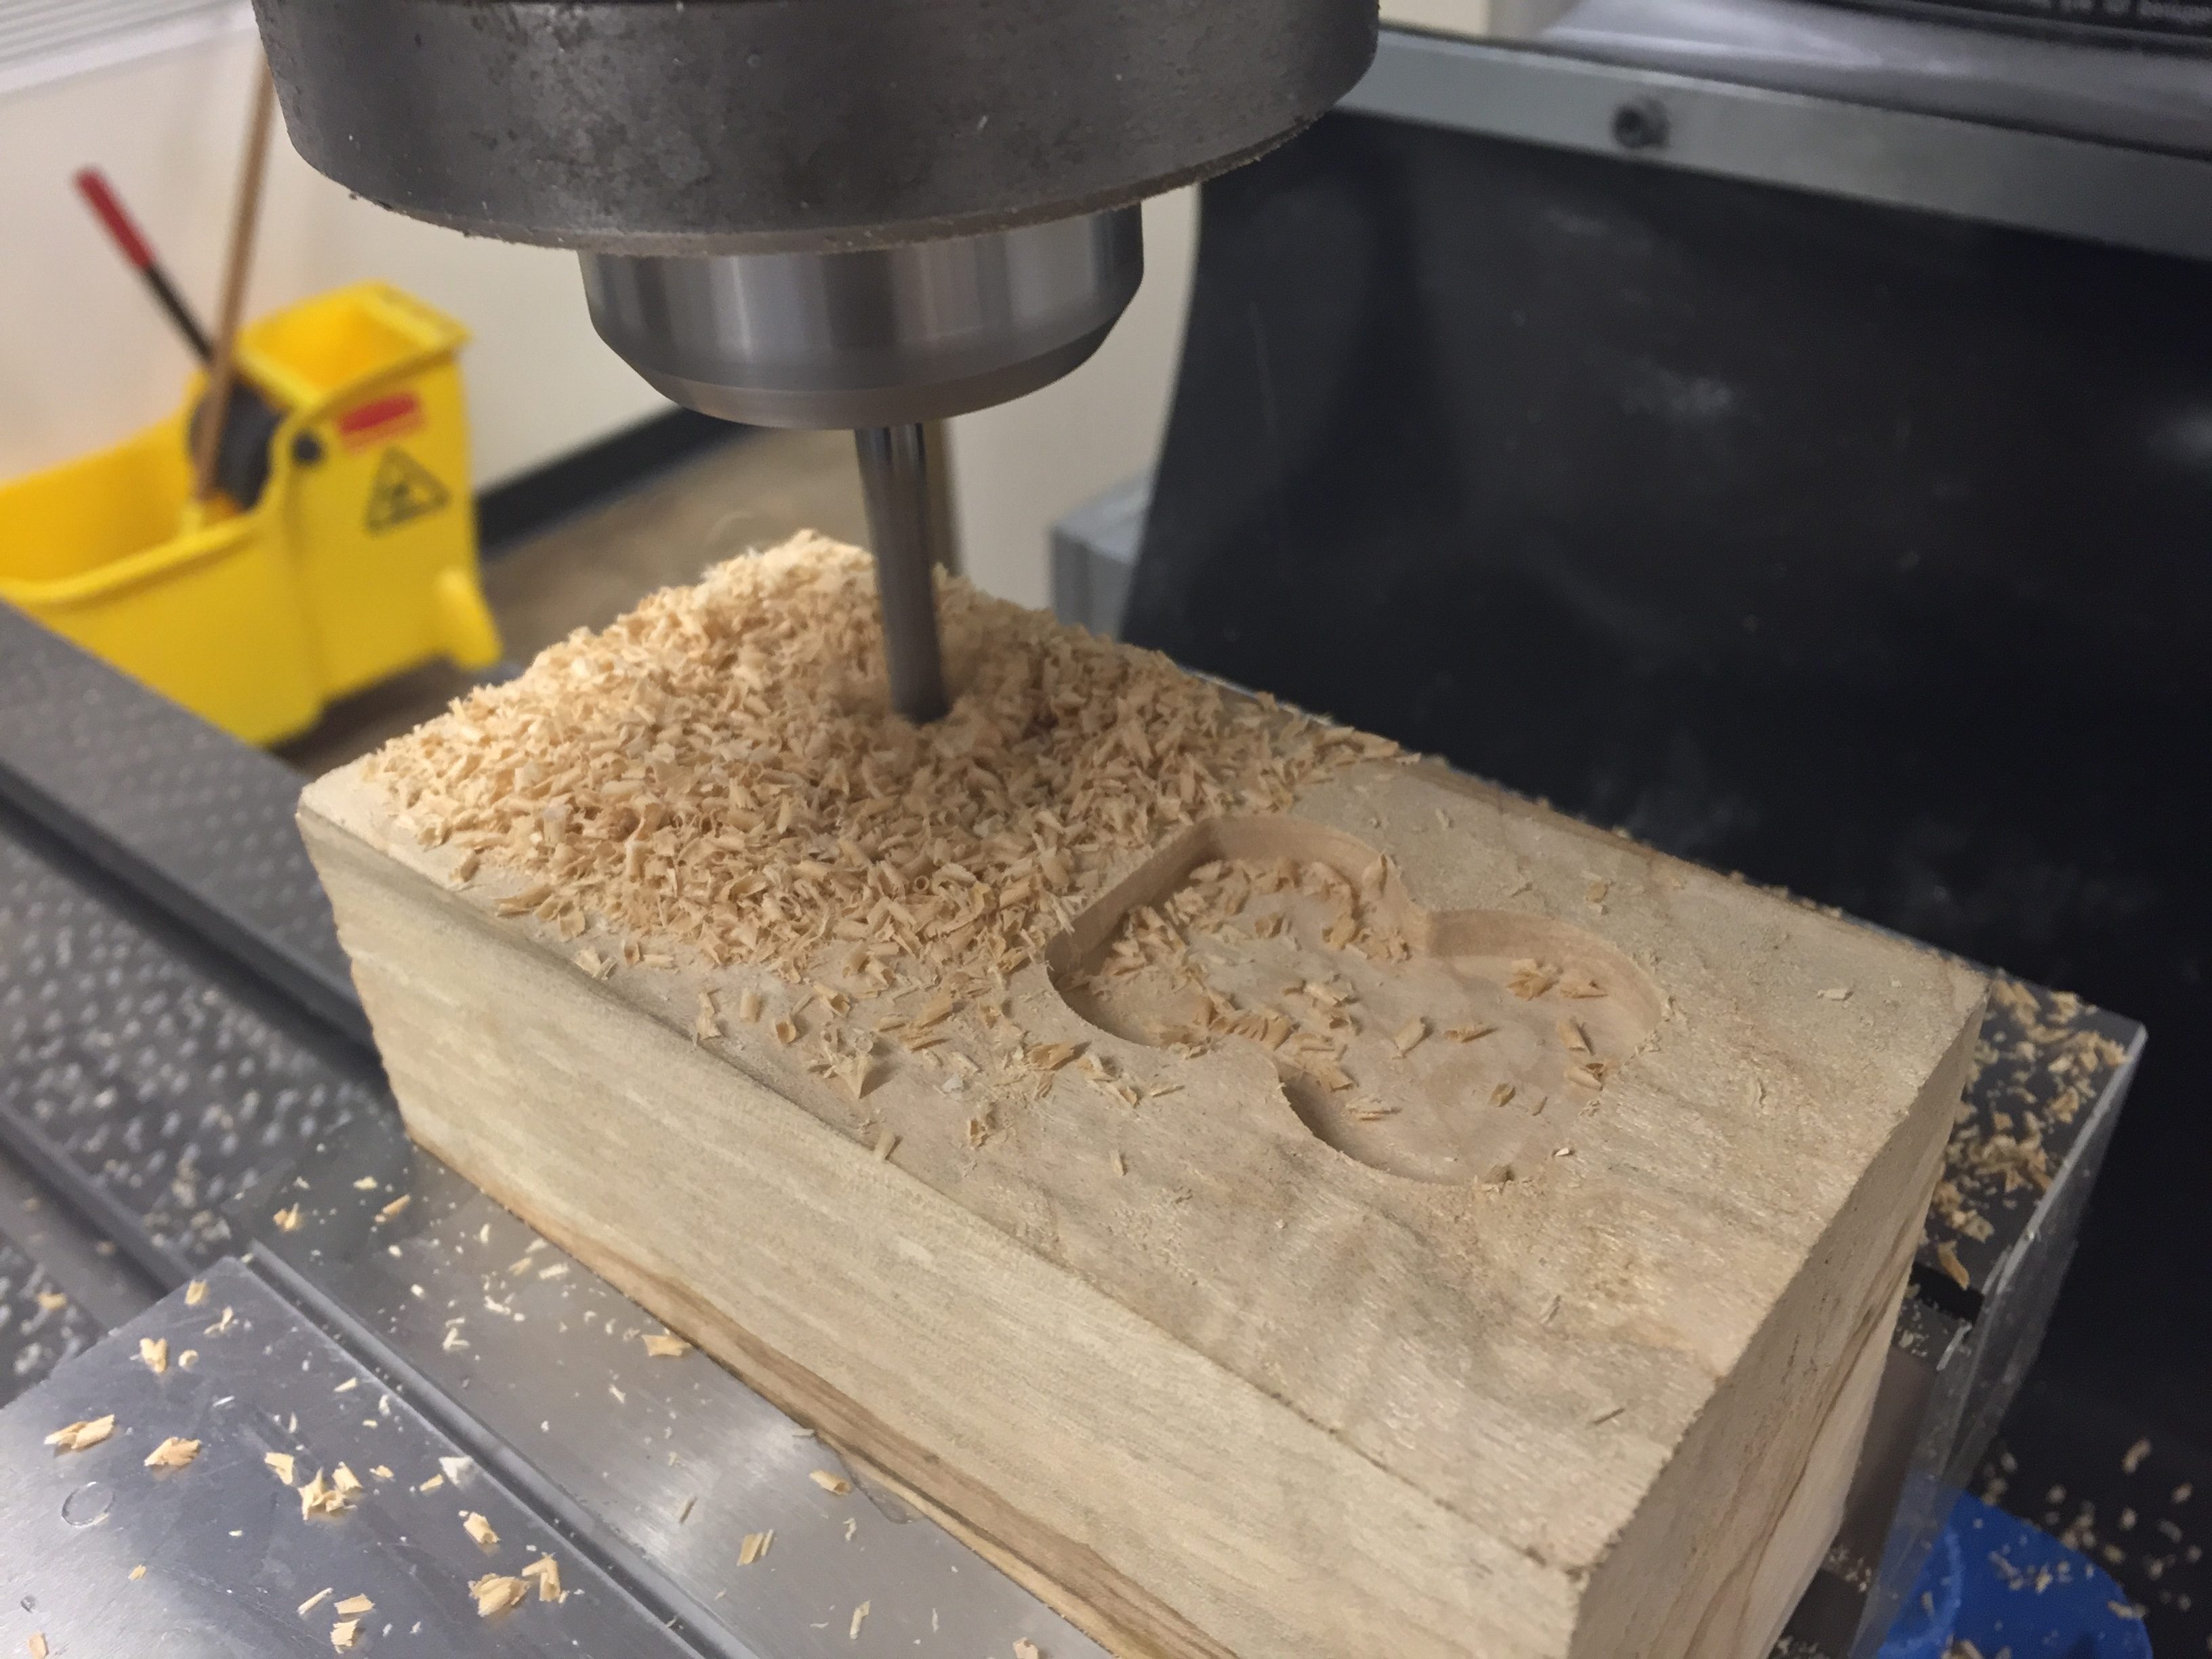
Once I had a squared piece of wood, the first step was milling in the large opening in the back. This was fairly straight forward, but extremely time consuming, and required over twenty passes with the CNC program I wrote.

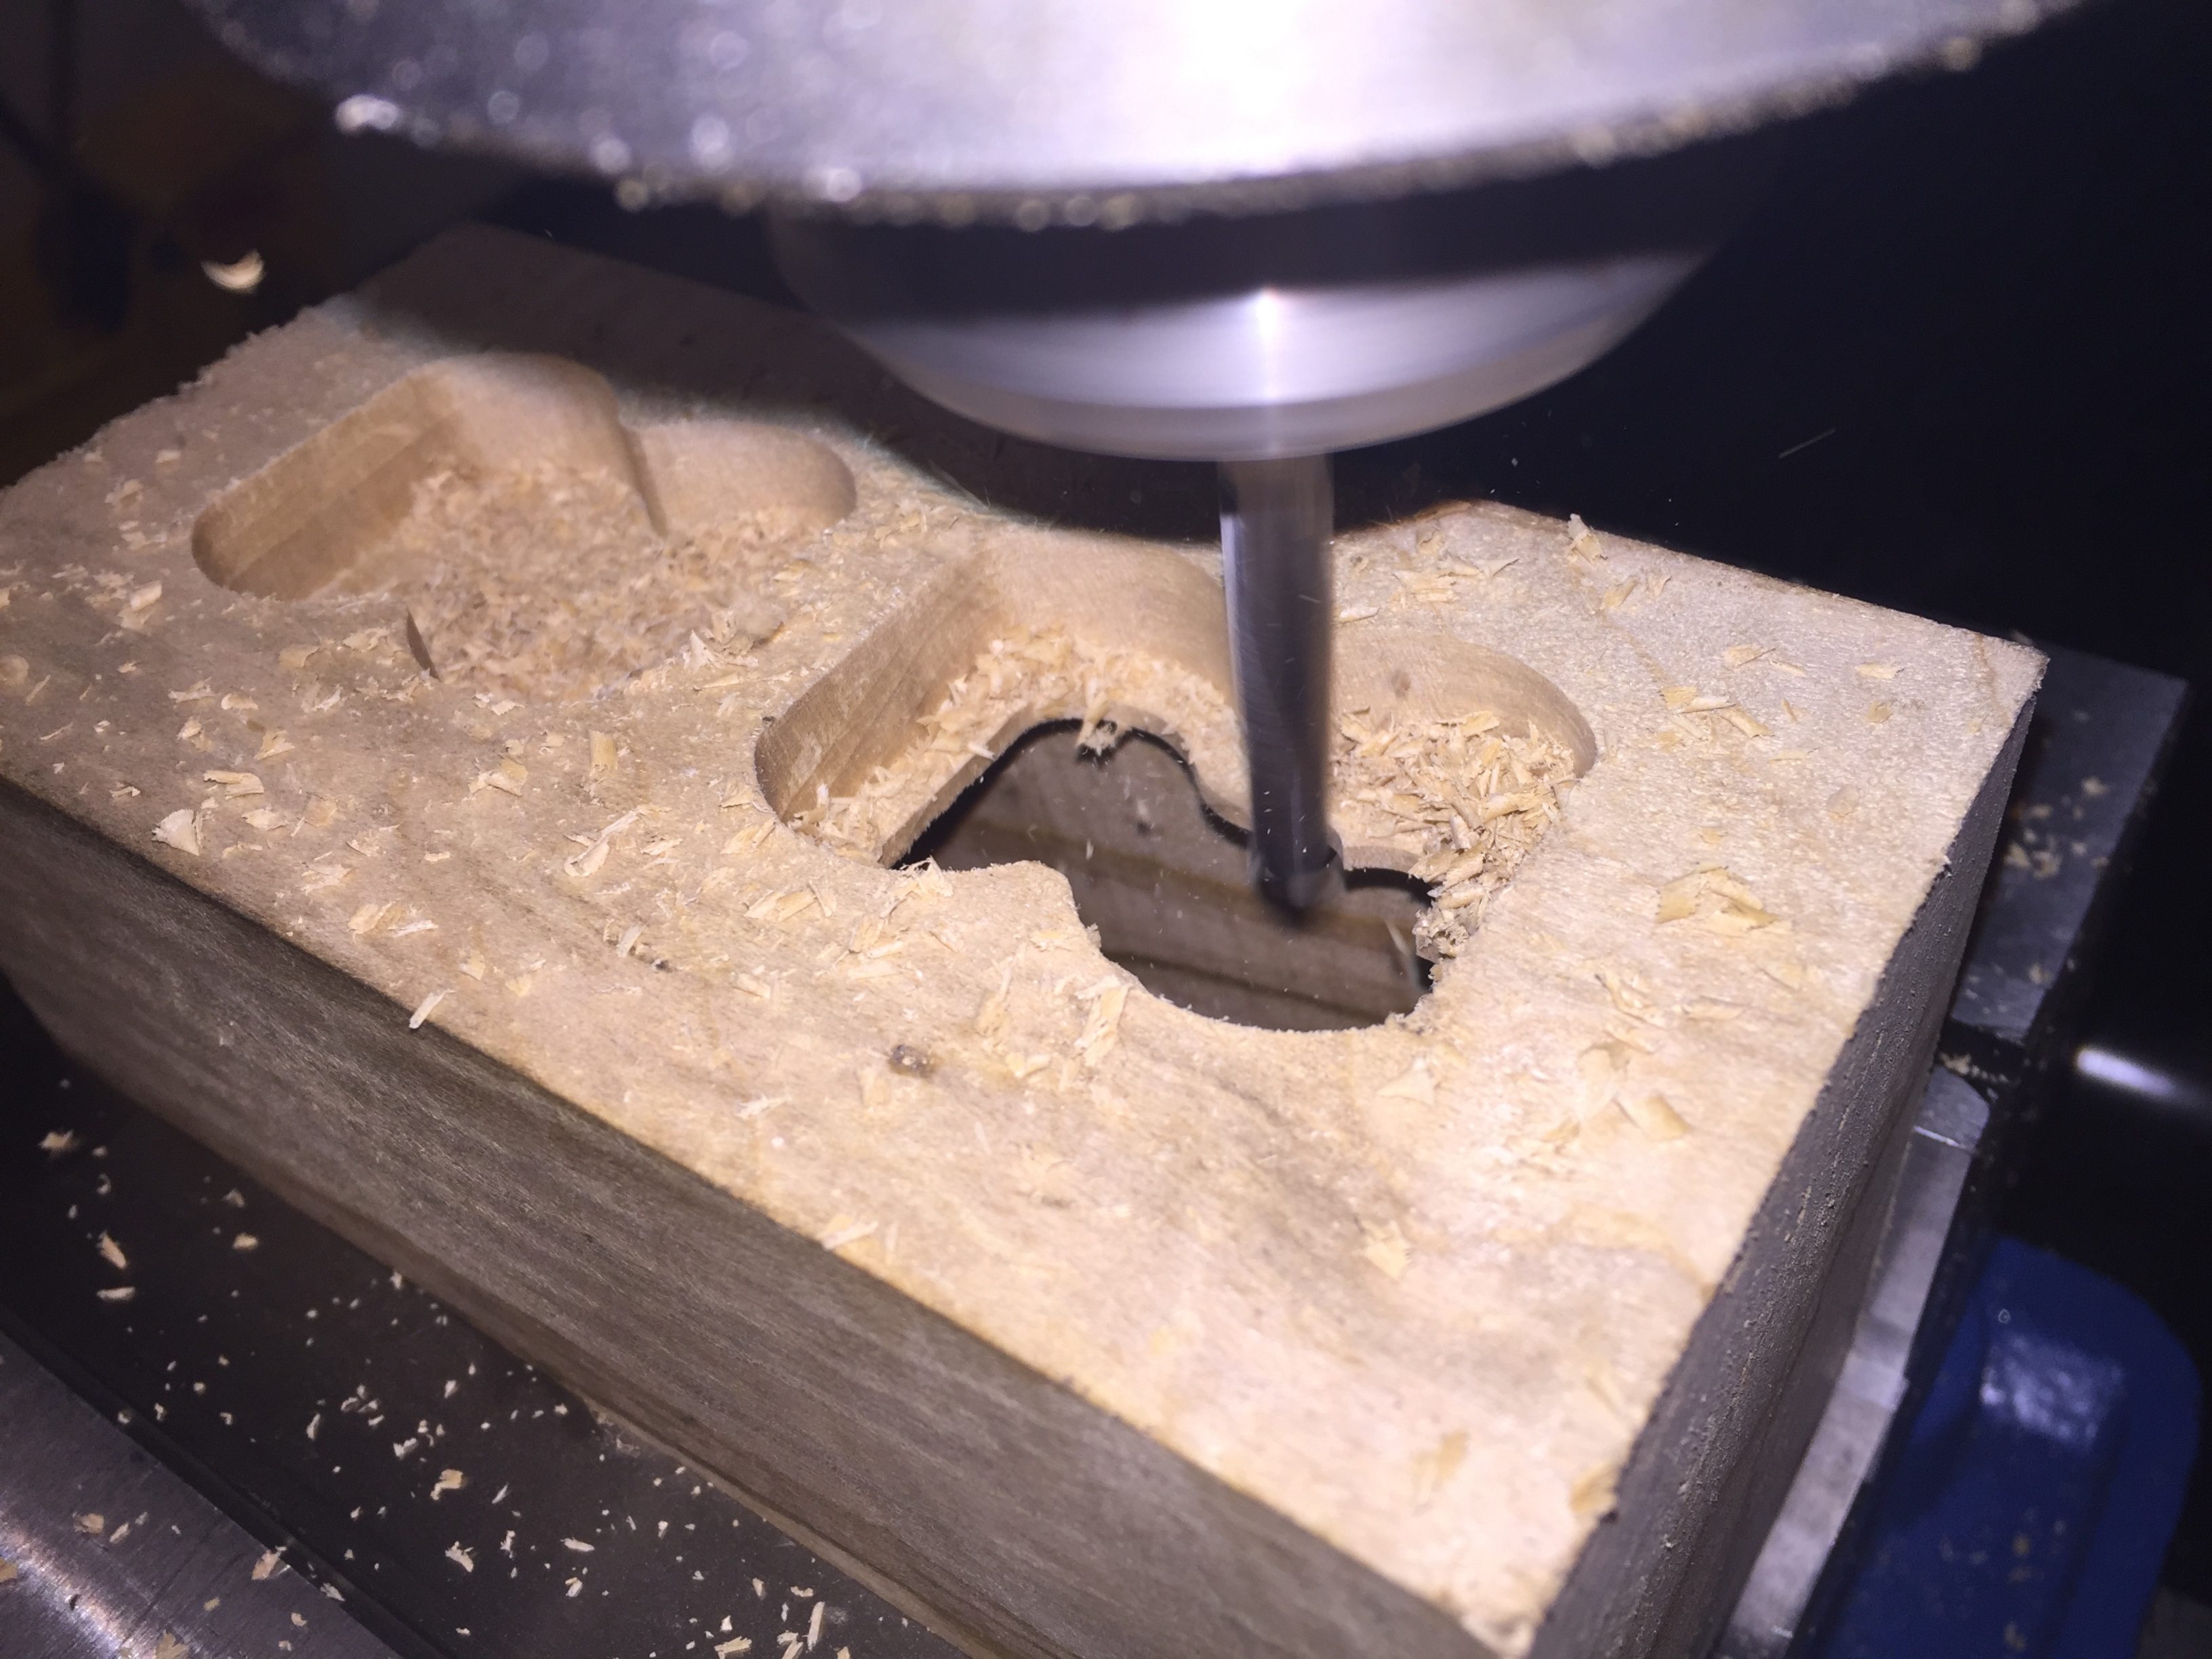
Slow progress: this pocket is really deep, and I didn’t want my corners to splinter. Patience is key here!
After the pocket was finished on the opposite side, I flipped the block over, and started machining out the holes for the bulbs. This required a pretty small end mill, and more patience- I really didn’t want to chip the front surface of my clock!
Breaking through! So satisfying.
Once this machining step was complete, the only thing left was some sanding for the finish, and a urethane coat. These last two steps went pretty quick, and the clock body pressure fits inside the case. See the final product in the next post!
2 Comments. Leave new
[…] Nixie Clock | Case Update […]
This looks so awesome! I love the idea of a Nixie clock. The aesthetic reminds me so much of the Bioshock universe, and so I really can’t wait to see the finished product. Have you sourced the bulbs for your project yet, and what power source will you be using to power the clock itself? Will you be using an arduino to control the timing of the clock? I love this concept and this aesthetic. Finish strong!