Home
Most Recent (2026)
Past Work
Light fixture
A/V music tech
Furniture
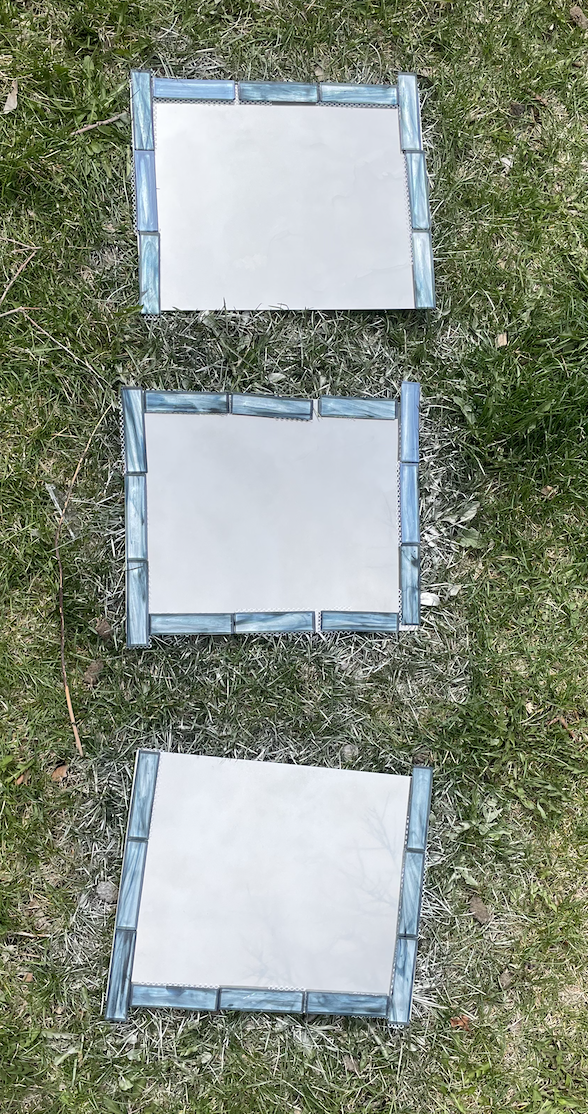
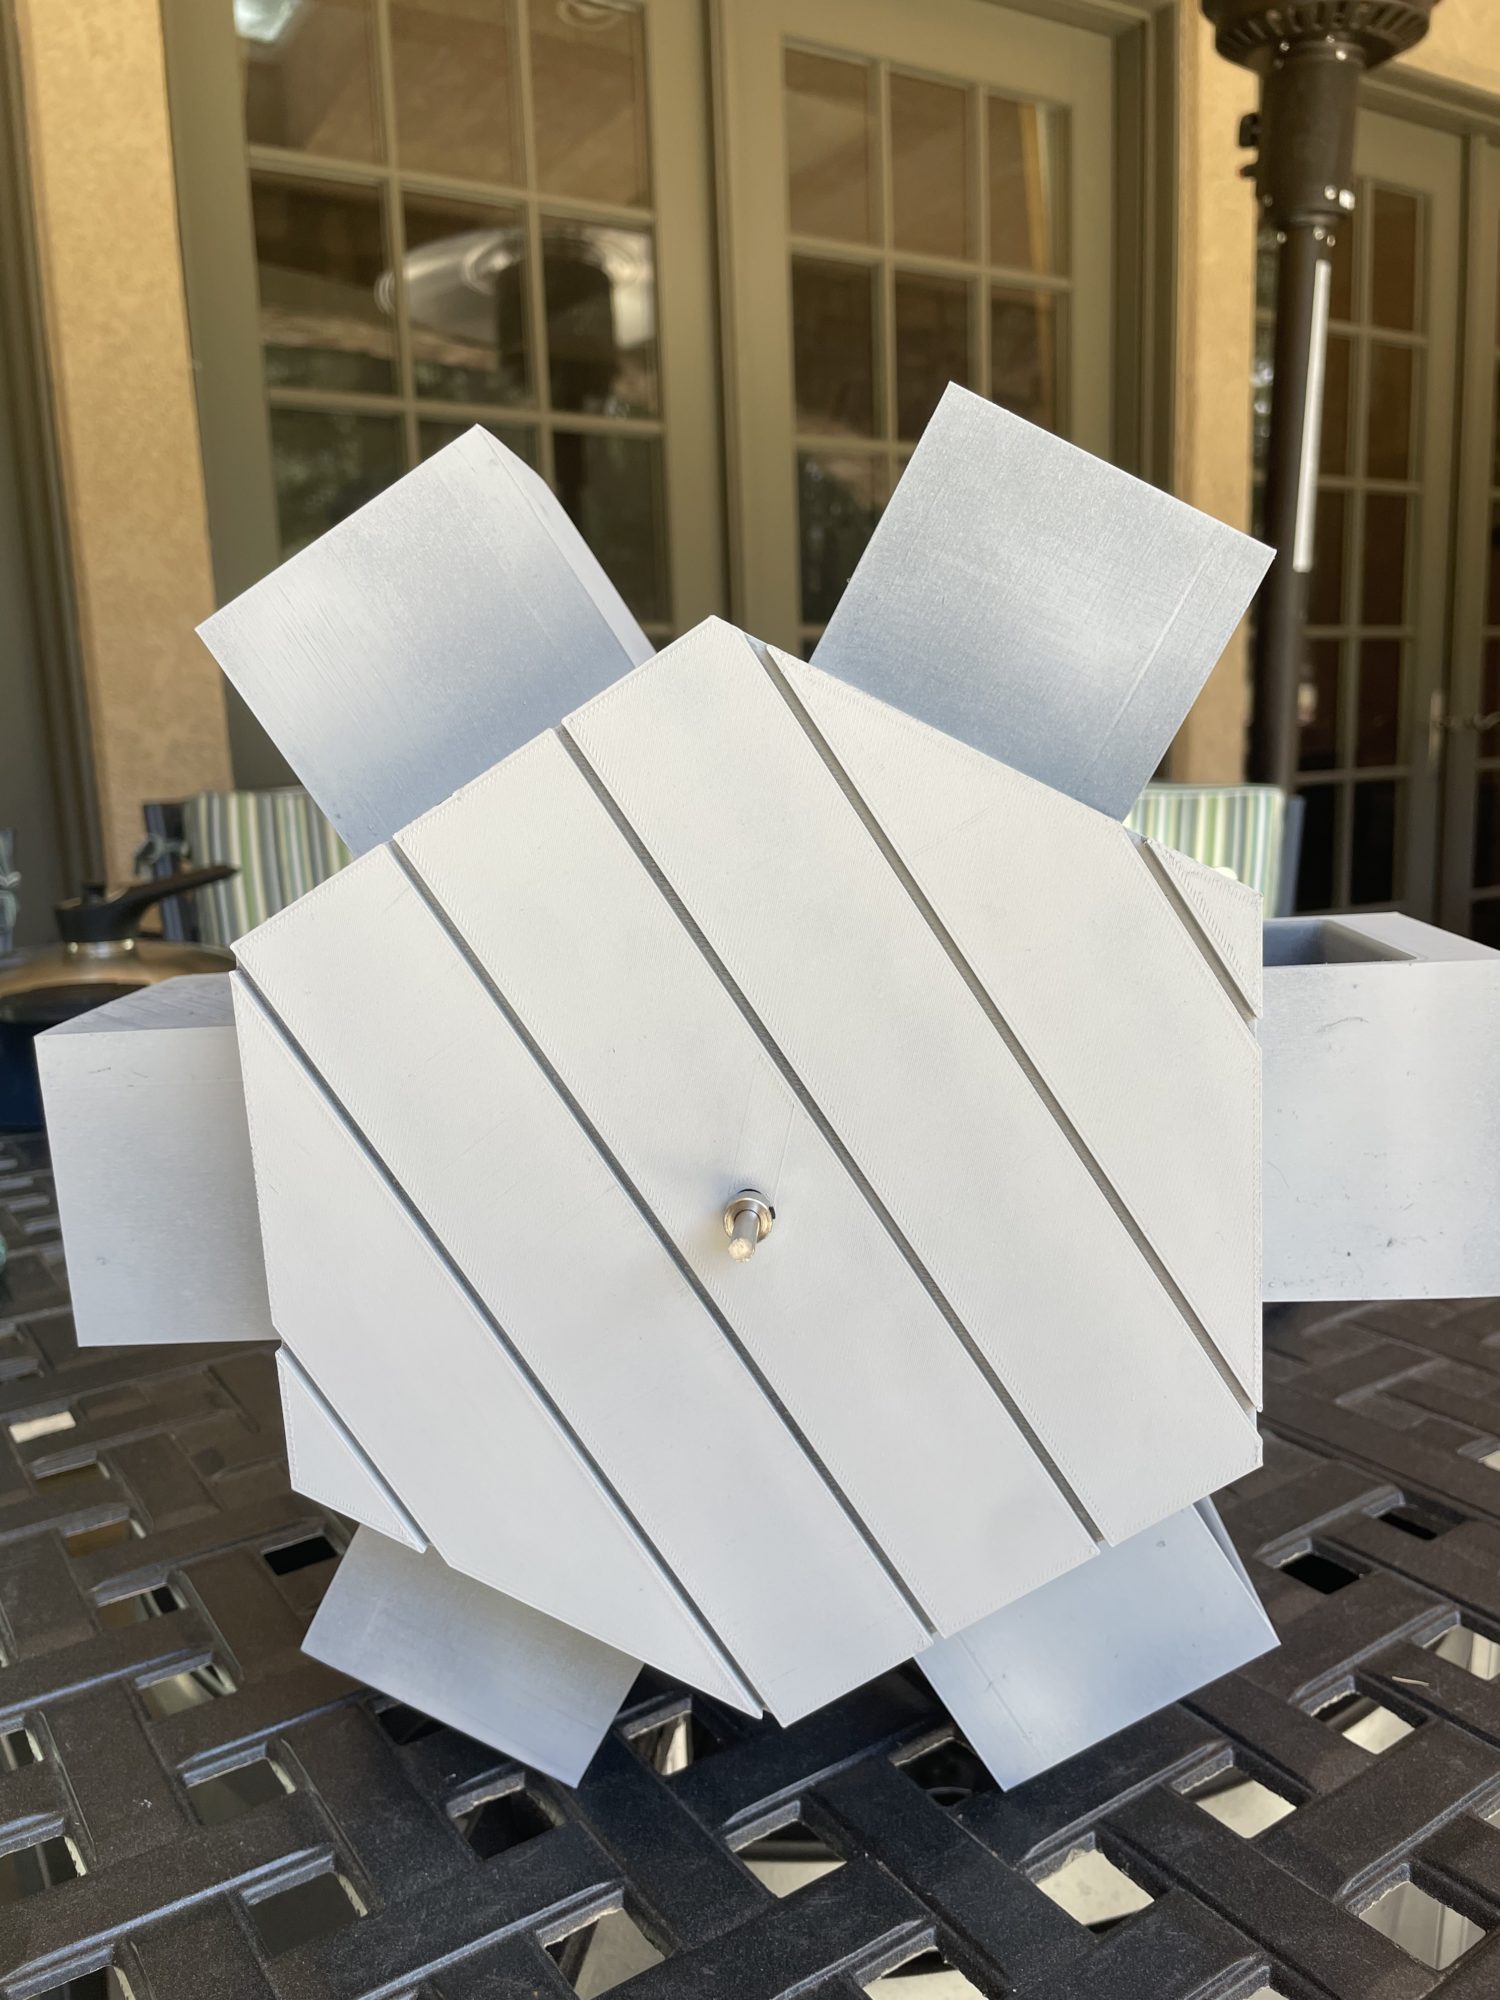
Mirror
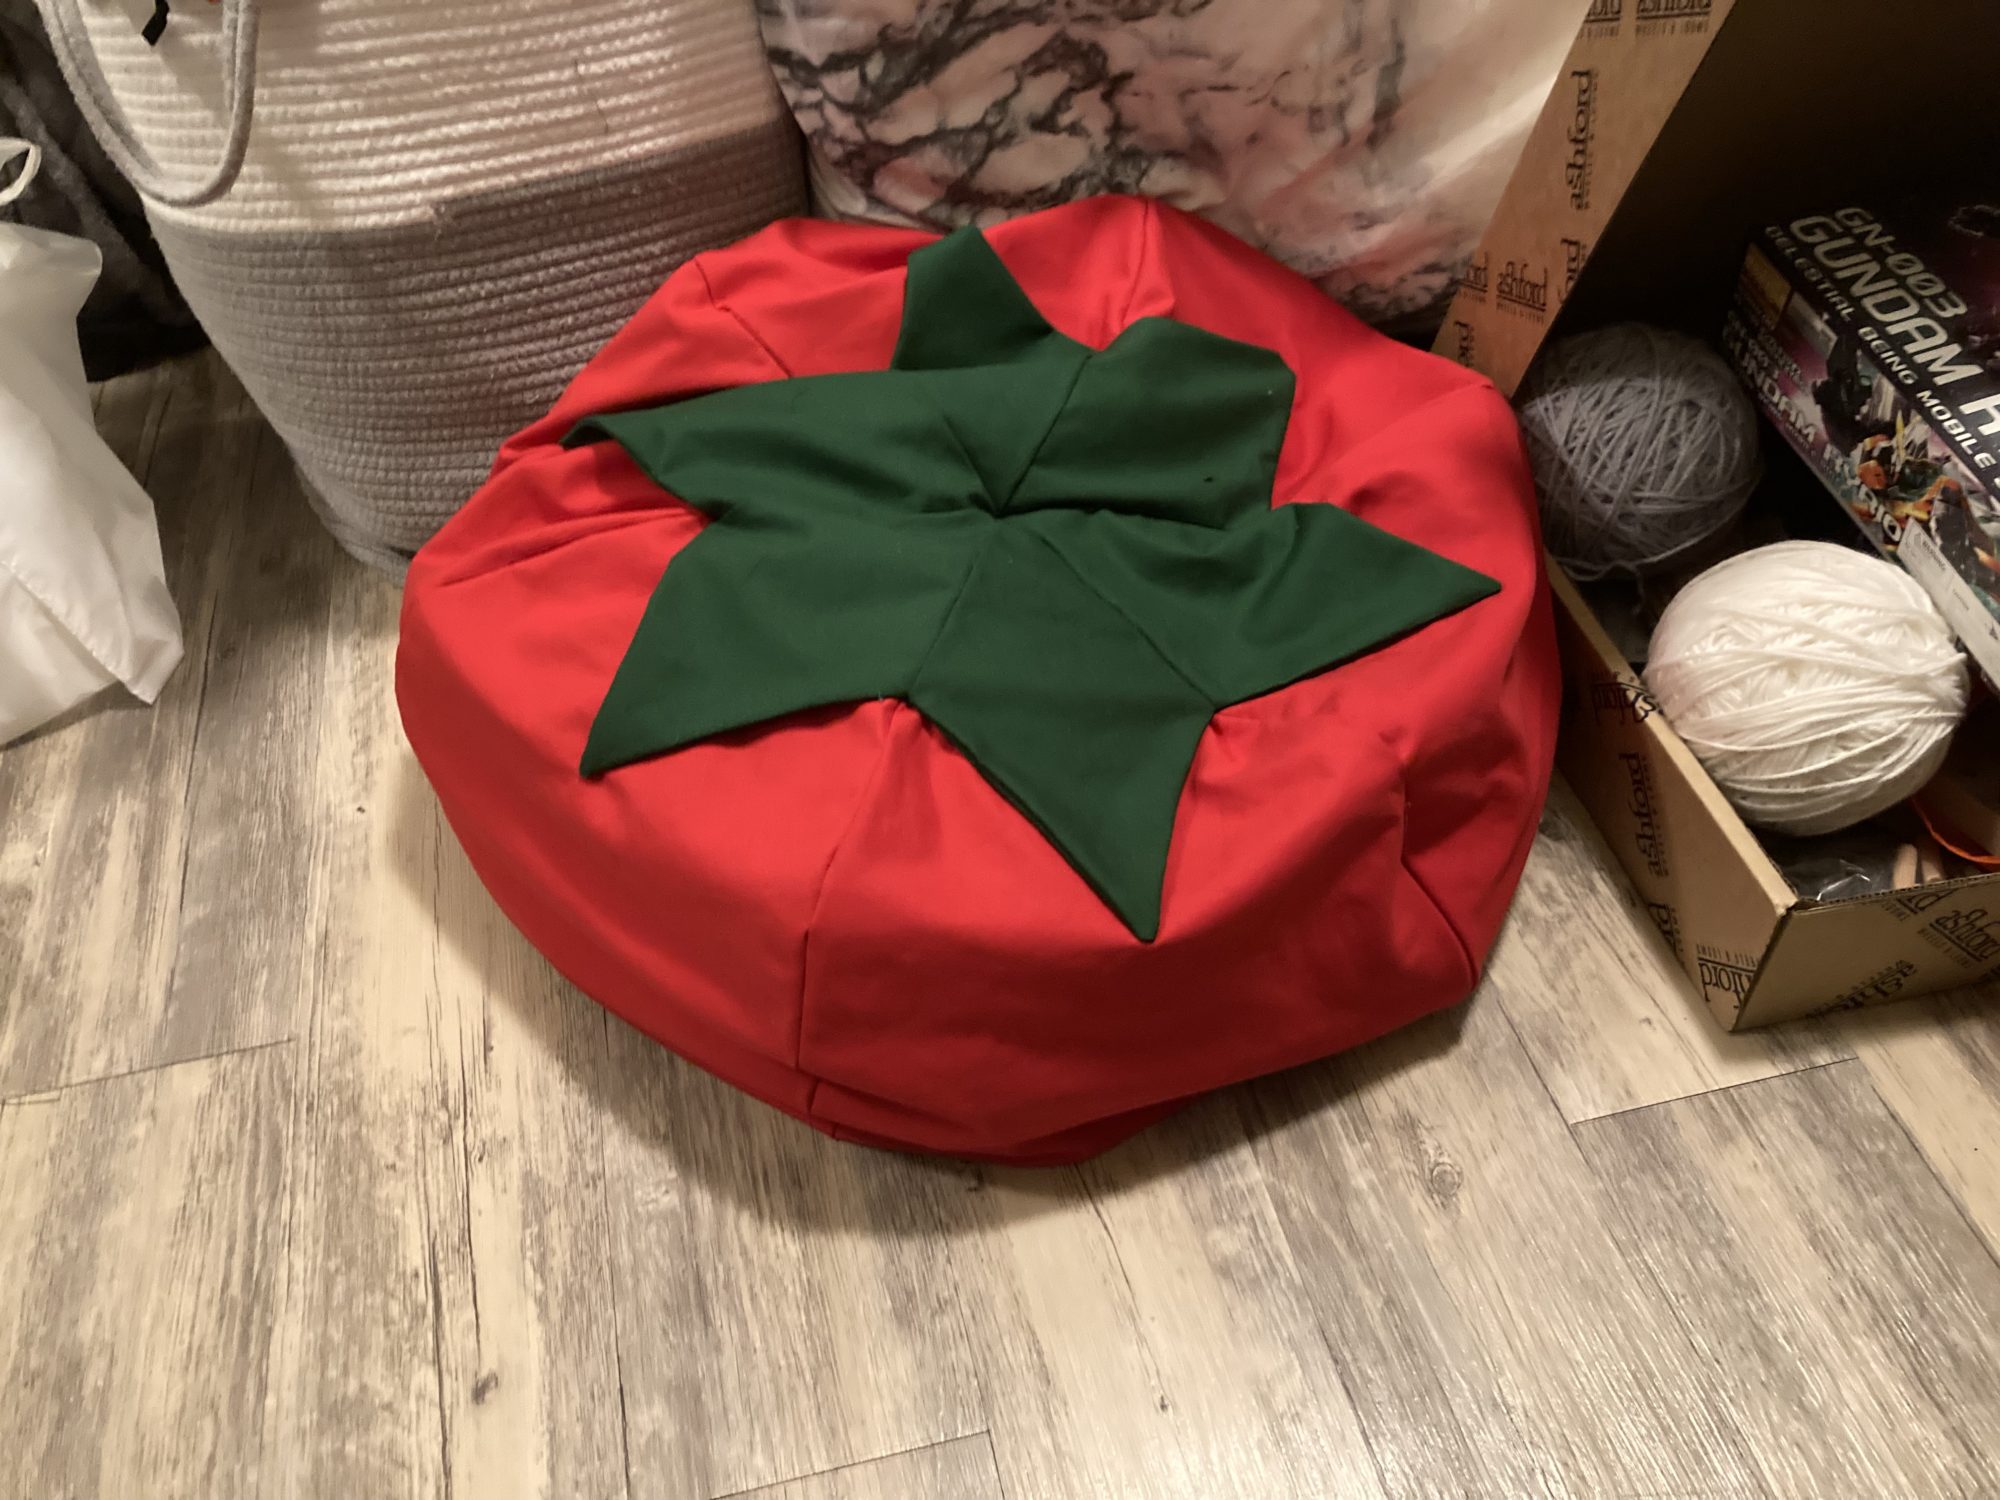
Pet Accessory
Product Design
Sculpture
Wall art
Other
2025
Post 01 2025: Aesthetic Explorations
Post 2- 2025 : What is your Upcycling project? What is the aesthetic and why?
Post 3 – 2025 : Upcycle Progress
Post 4- 2025 : Opposite Upcycle Aesthetic
Post 5 – 2025: Upcycle Design Report
Post 6 – 2025 : Main Project Plans and Inspirations
Post 7 – 2025 : Main Project Aesthetics: Plans and Alternatives.
Post 8 – 2025 : Design Preview Report
Post 9 – 2025 : Top 5 specifications, top 5 constraints
Post 10 – 2025 : Progress
Post 11 – 2025 : Final Report Part 1
Post 12 – 2025 : Main Project Final Report Part 2
Post 13 – 2025 : Portfolio
2024
Post 1: Aesthetics Exploration
Post 2: What is your upcycling aesthetic and why?
Post 3: Upcycle progress
Post 4: Opposite Upcycle Aesthetic
Post 5: Upcycle Design Report
Post 6: Main project plans and inspiration
Post 7 2024: Main Project Aesthetics – Plans and Alternatives
Post 8 2024: Design Preview Report
Post 9 2024: : Top 5 specifications, top 5 constraints
Post 10 2024: Progress Since Design Preview
Post 11 2024 Final Report Part 1: What and Why
Post 12 2024: How and What Next?
Post 13 2024: Portfolio
2023
Post 1 – 2023
Post 2 – 2023
Post 3 – 2023
Post 4 – 2023
Post 5 – 2023
Post 6 – 2023
Post 7 – 2023
Post 8 – 2023
Post 9 – 2023
Post 10 – 2023
Post 11 – 2023
Post 12 – 2023
Post 13 – 2023
2022
Post 1 – 2022
Post 2 – 2022
Post 3 – 2022
Post 4 – 2022
Post 5 – 2022
Post 6 – 2022
Post 7 – 2022
Post 8 – 2022
Post 9 – 2022
Post 10 – 2022
Post 11 – 2022
Post 12 – 2022
Post 13 – 2022
2021
Post 1 – 2021
Post 2 – 2021
Post 3 – 2021
Post 4 – 2021
Post 5 – 2021
Post 6 – 2021
Post 7 – 2021
Post 8 – 2021
Post 9 – 2021
Post 10 – 2021
Post 11 – 2021
Post 12 – 2021
Post 13 – 2021
2020
Post 1 – 2020
Post 2 – 2020
Post 3 – 2020
Post 4 – 2020
Post 5 – 2020
Post 6 – 2020
Post 7 – 2020
Post 8 – 2020
Post 9 – 2020
Post 10 – 2020
Post 11 – 2020
Post 12 – 2020
Post 13 – 2020
2019
Post 1 – 2019
Post 2 – 2019
Post 3 – 2019
Post 4 – 2019
Post 5 – 2019
Post 6 – 2019
Post 7 – 2019
Post 8 – 2019
Post 9 – 2019
Post 10 – 2019
Post 11 – 2019
Post 12 – 2019
Post 13 – 2019
2018
Post 1 – 2018
Post 2 – 2018
Post 3 – 2018
Post 4 – 2018
Post 5 – 2018
Post 6 – 2018
Post 7 – 2018
Post 8 – 2018
Post 9 – 2018
Post 10 – 2018
Post 11 – 2018
Post 12 – 2018
Post 13 – 2018
2017
Post 1 – 2017
Post 2 – 2017
Post 3 – 2017
Post 4 – 2017
Post 5 – 2017
Post 6 – 2017
Post 7 – 2017
Post 8 – 2017
Post 9 – 2017
Post 10 – 2017
Post 11 – 2017
Post 12 – 2017
Post 13 – 2017
2016
Post 1 – 2016
Post 2 – 2016
Post 3 – 2016
Post 4 – 2016
Post 5 – 2016
Post 6 – 2016
Post 7 – 2016
Post 8 – 2016
Post 9 – 2016
Post 10 – 2016
Post 11 – 2016
Post 12 – 2016
Post 13 – 2016
Resources
Blog and Blog Comment/Critique Policies
Presentation Critiques
Pod and Critique Facilitator Responsibilities
Sources for materials
Student Resources
Zotero Library Access
Designers and fun links
Final Report 2: The Process for 3 Position Ice Tools
Digital Picture Frame Final Report Part 2
Tabletop Water Fountain
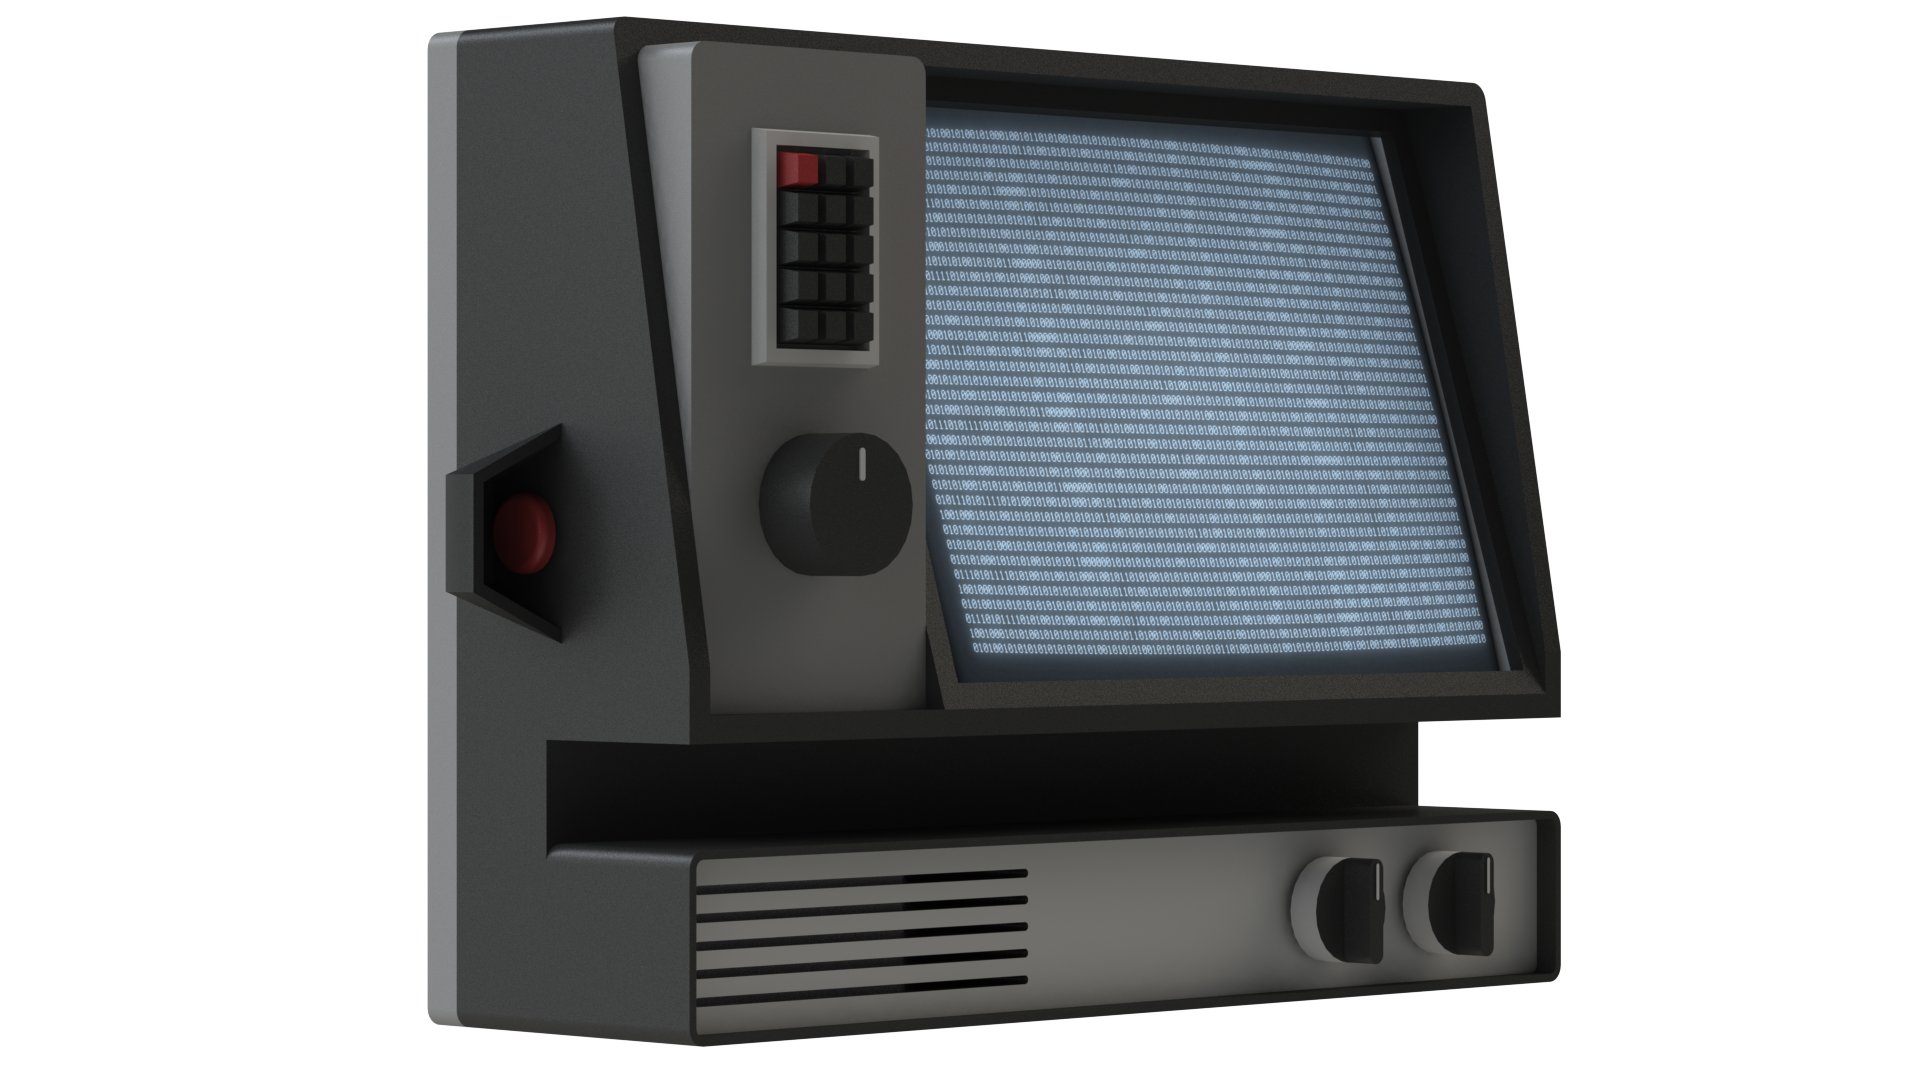
Casette Futurism Alarm Clock
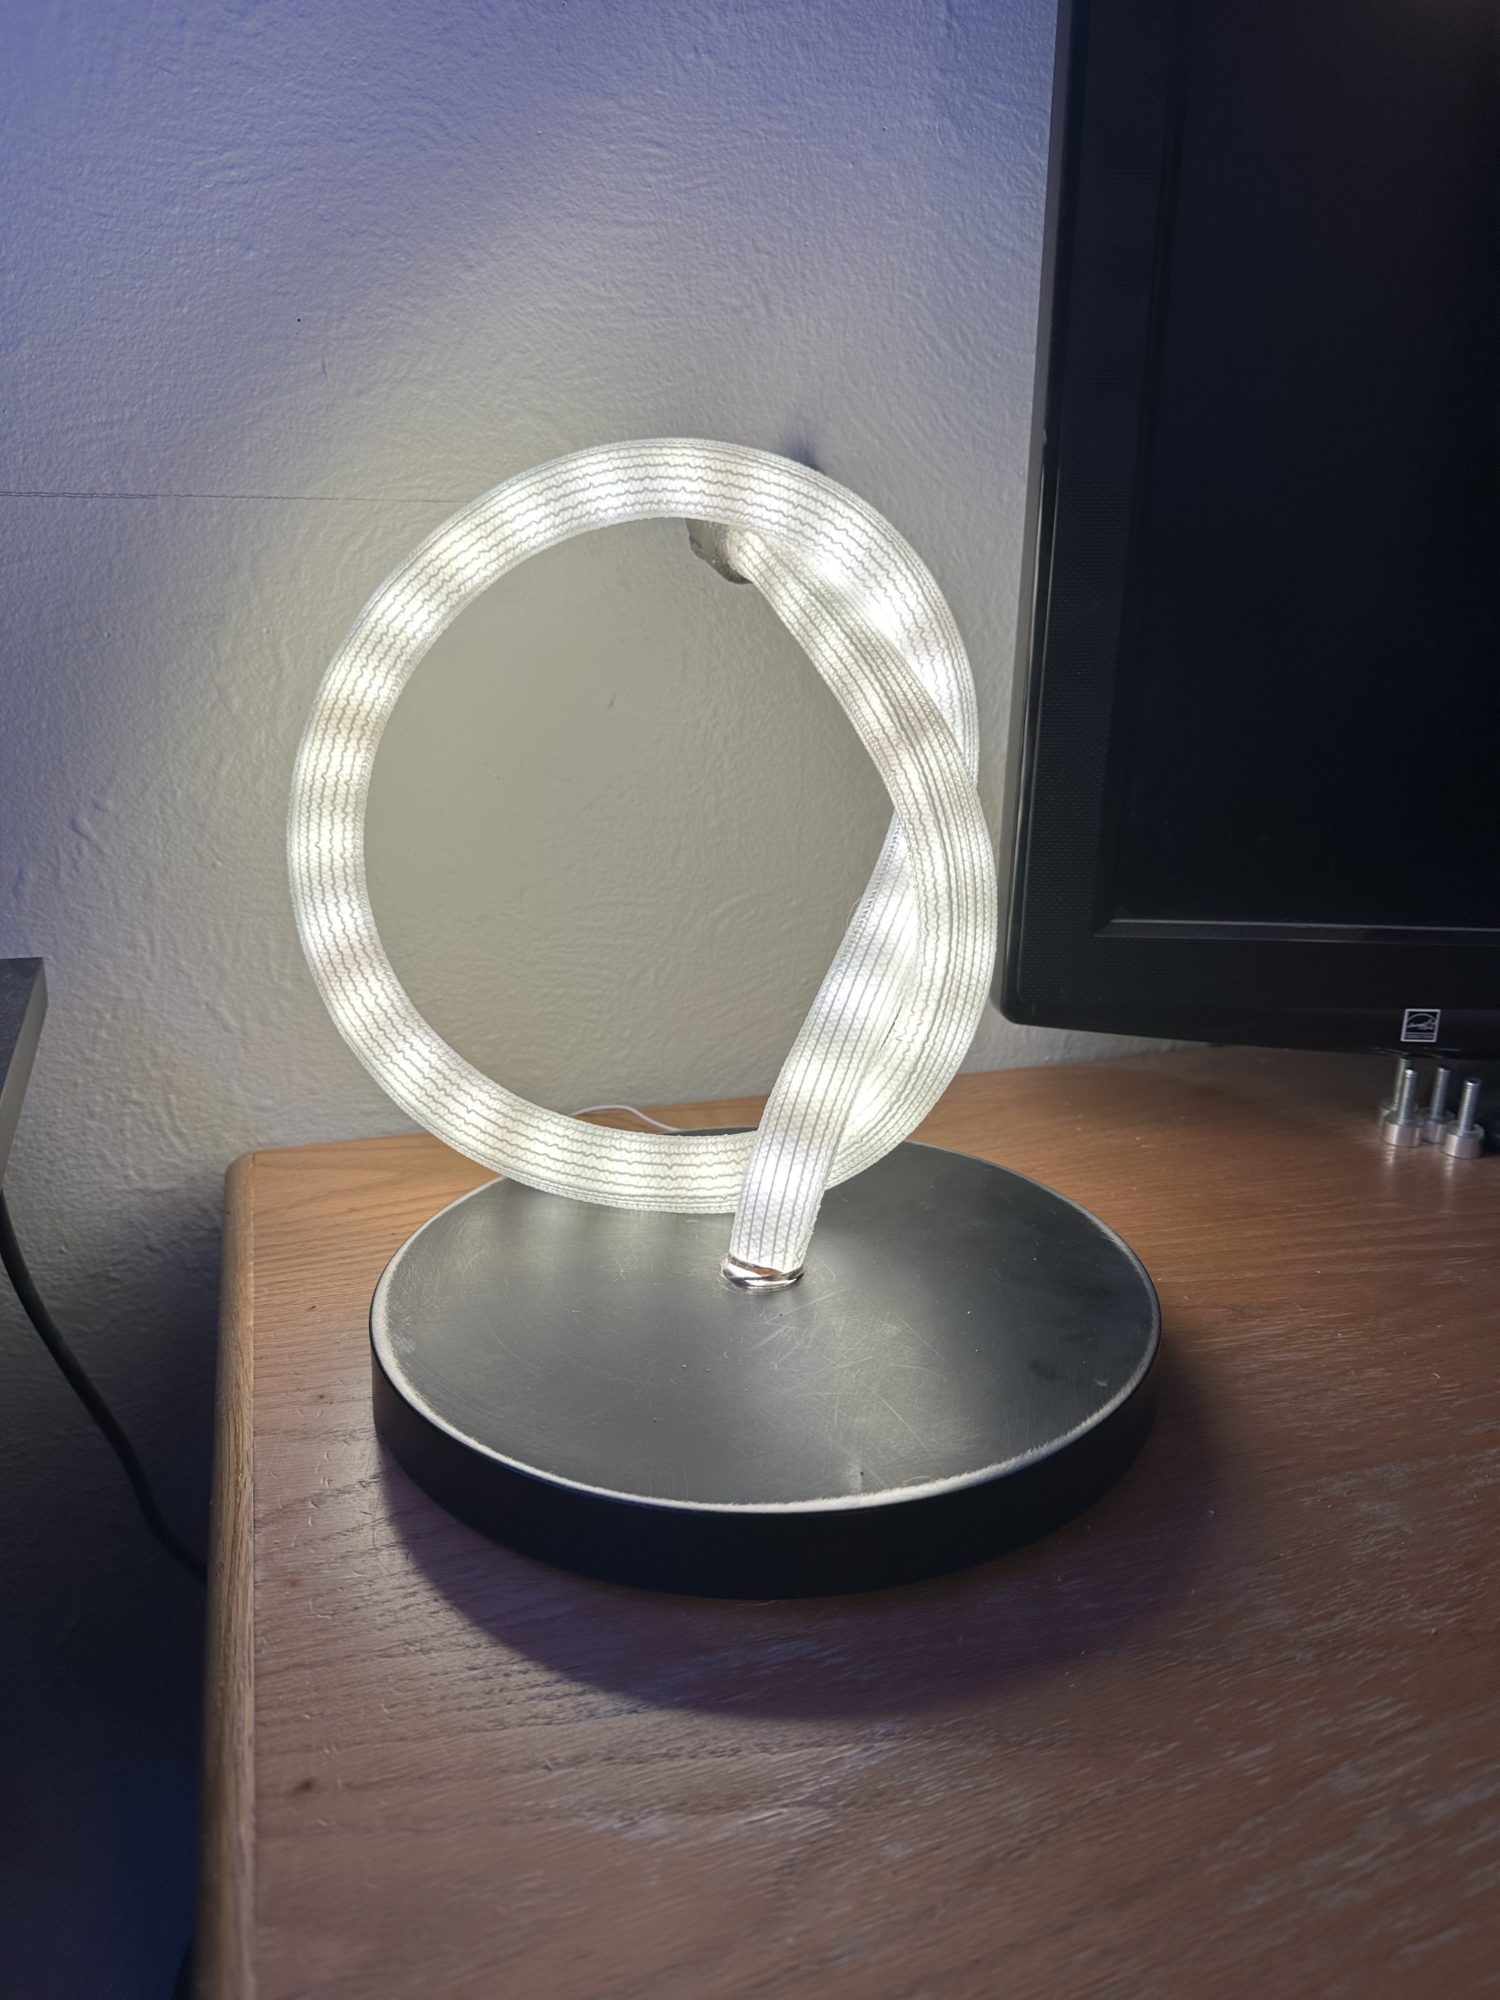
Matthew Holleb : Modern Light Fixture
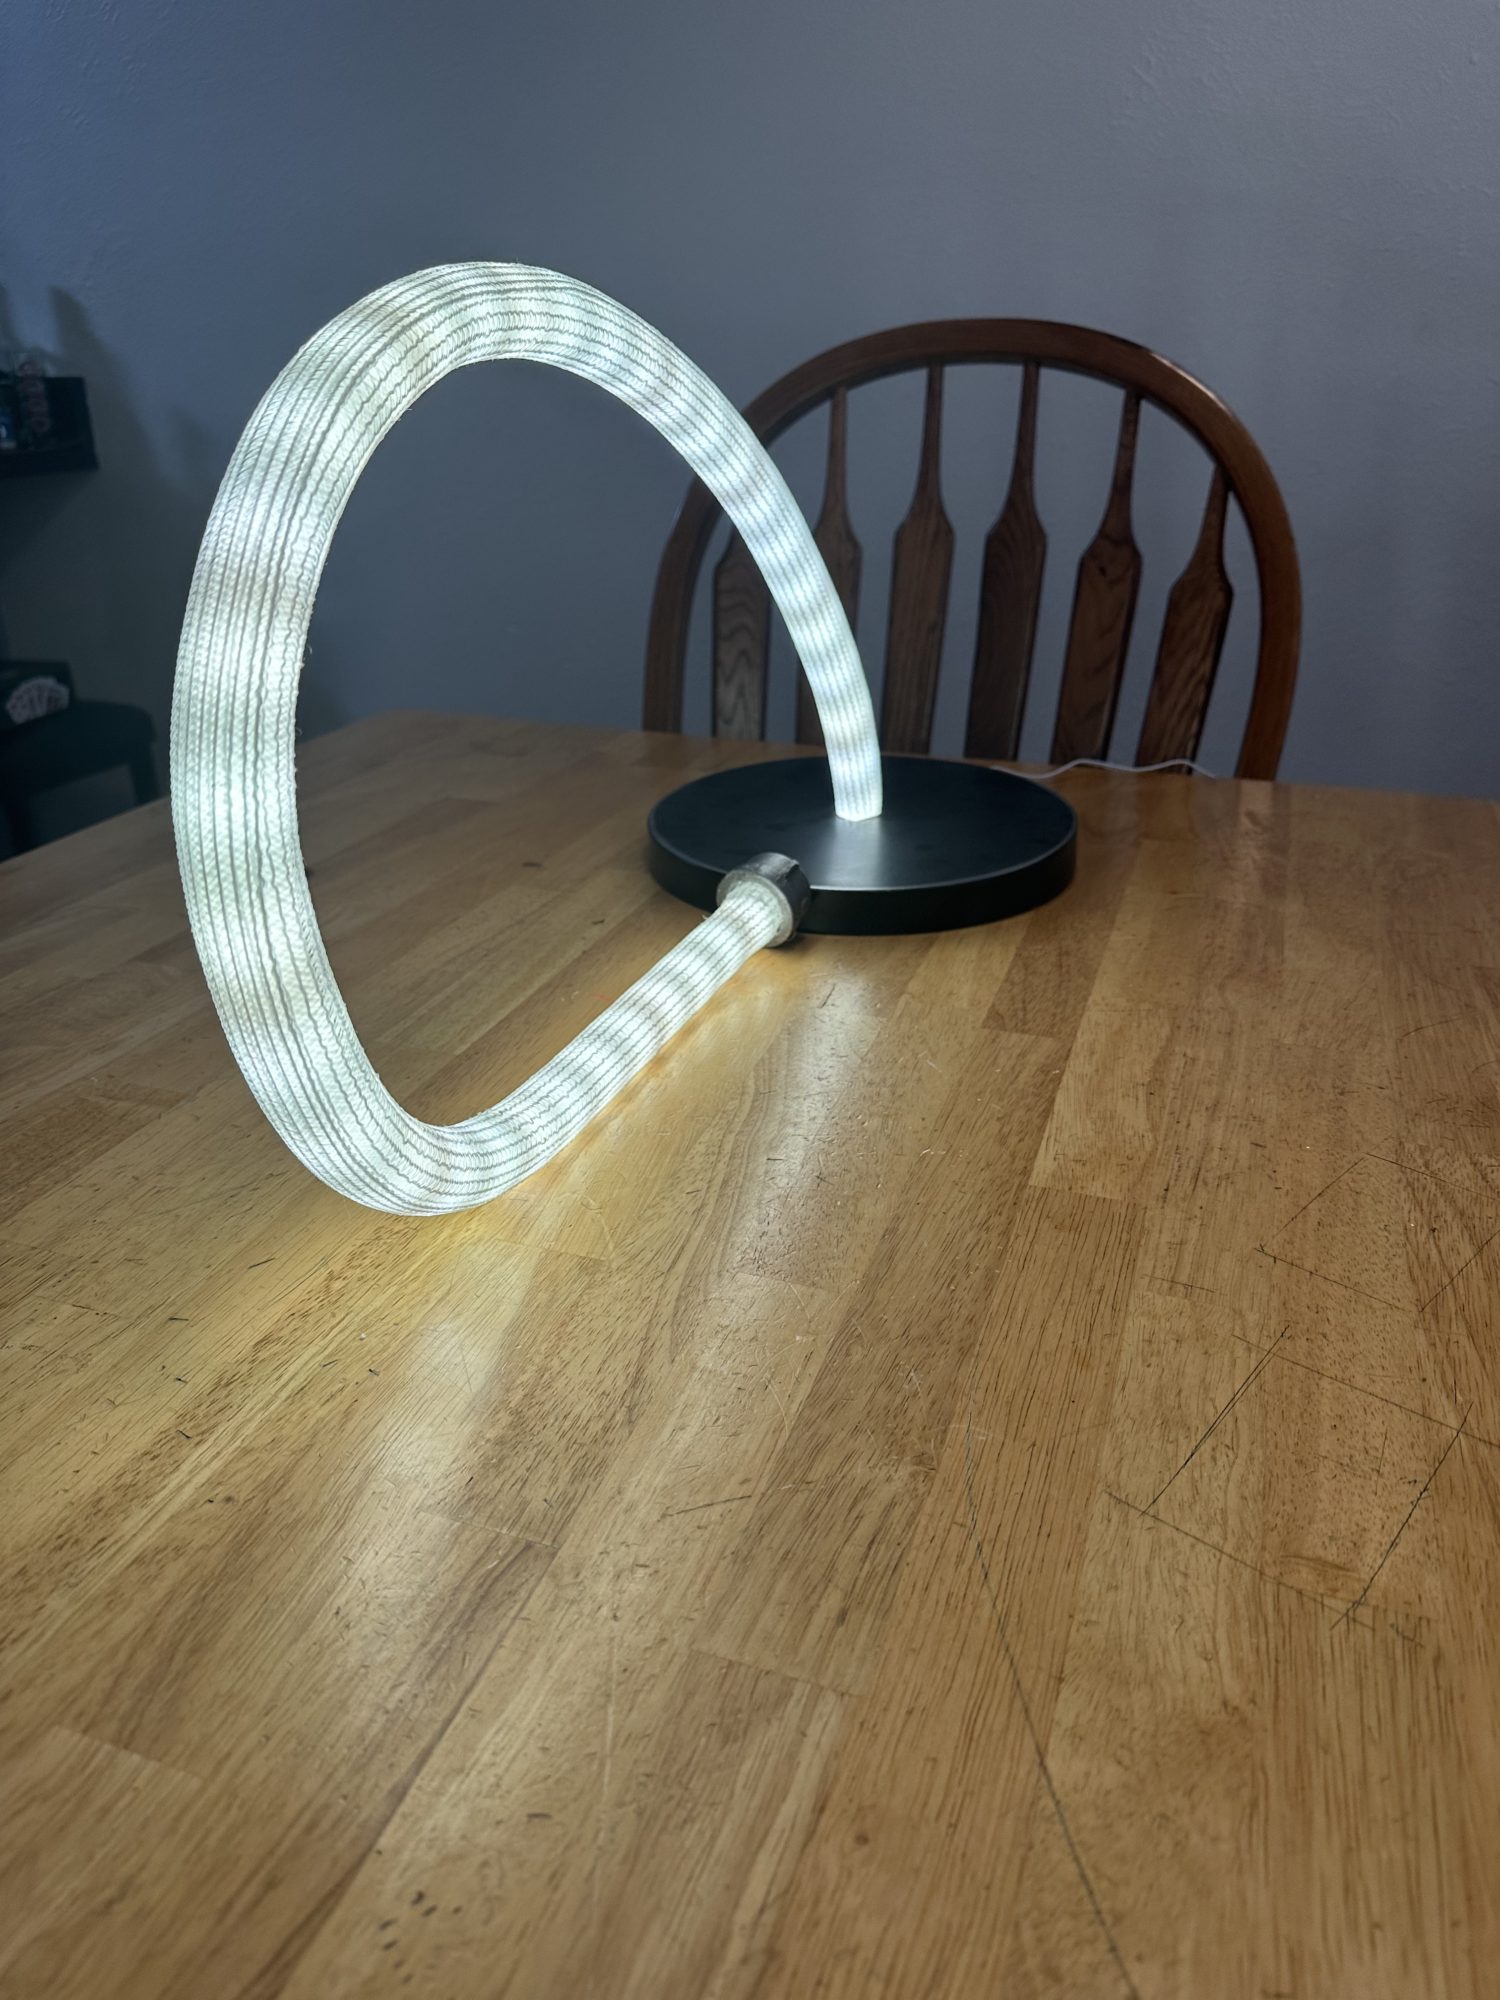
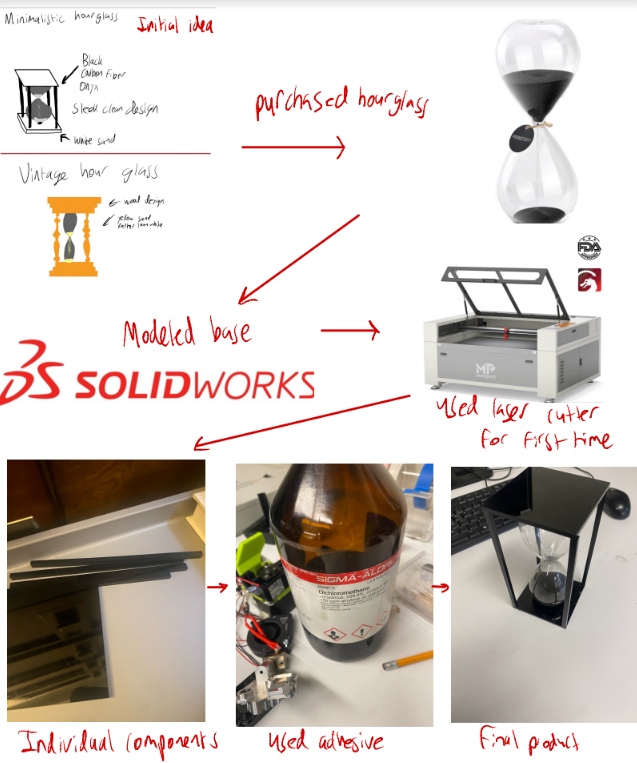
Hour glass Final Report Part 2
Final Report Part 2
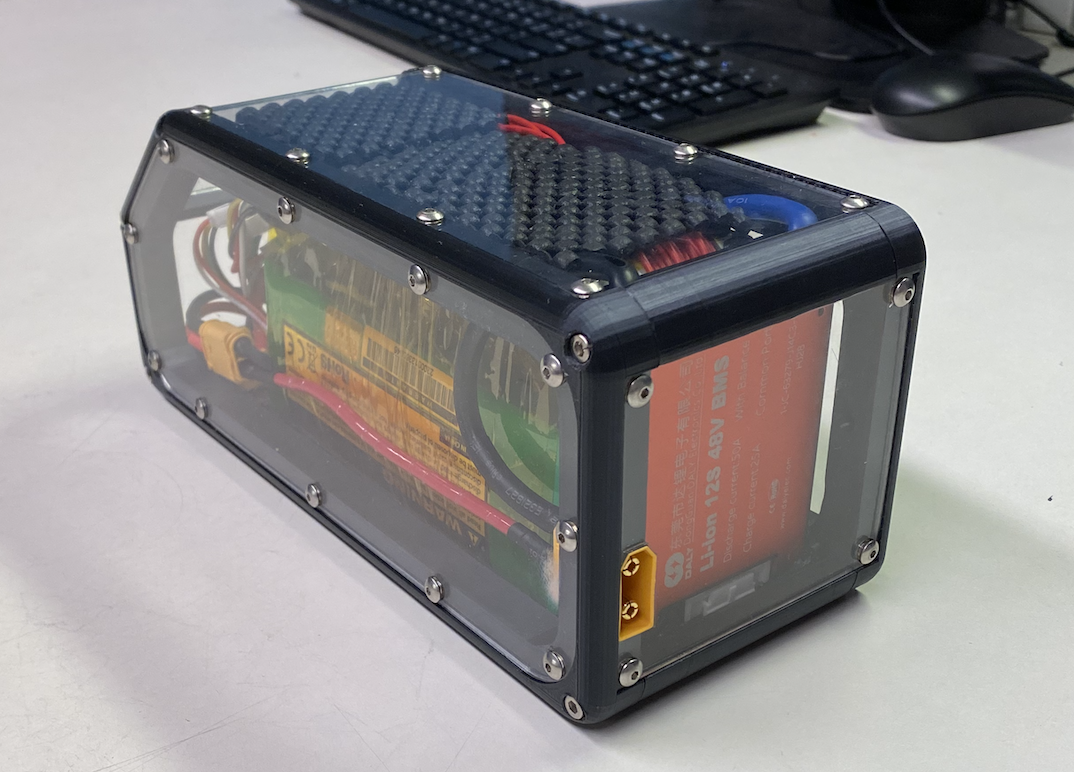
Final Report 2/2 – Ebike Battery
Final Report Part 2
Jewelry Box Final Report
Post 12: How
Skateboard Deck: Final Report Part 2
Final Report 2: The How
Rock and Roll Record Player Model
Post 12: How
Post 12: Final Report 2023 Part 2 – How
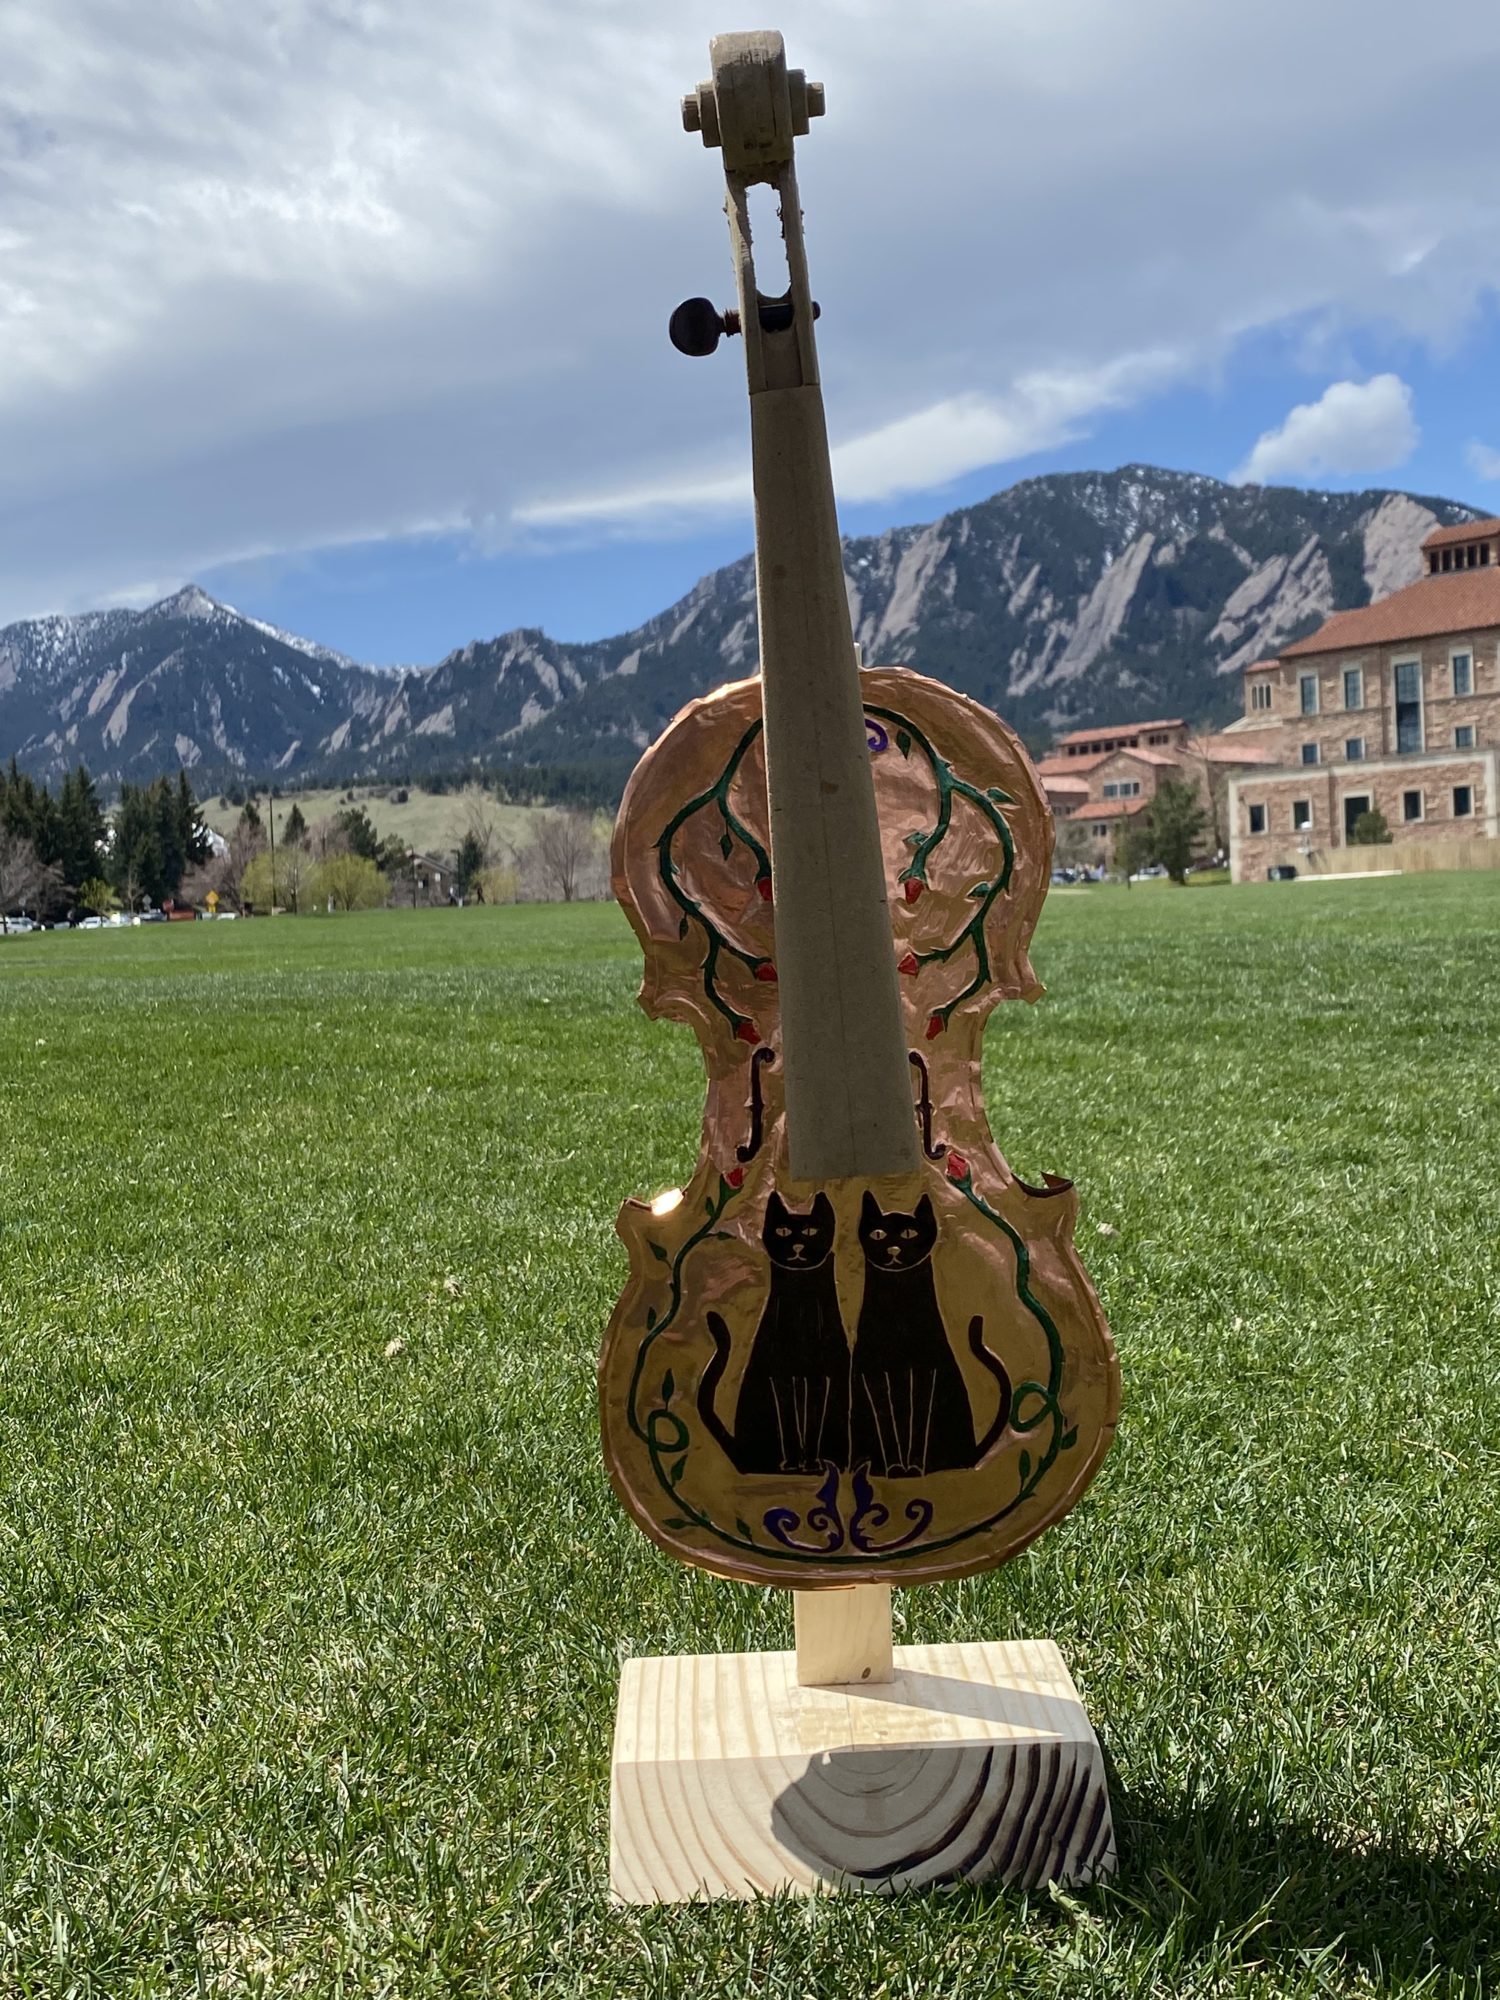
Violin Double Pendulum Final Post: How
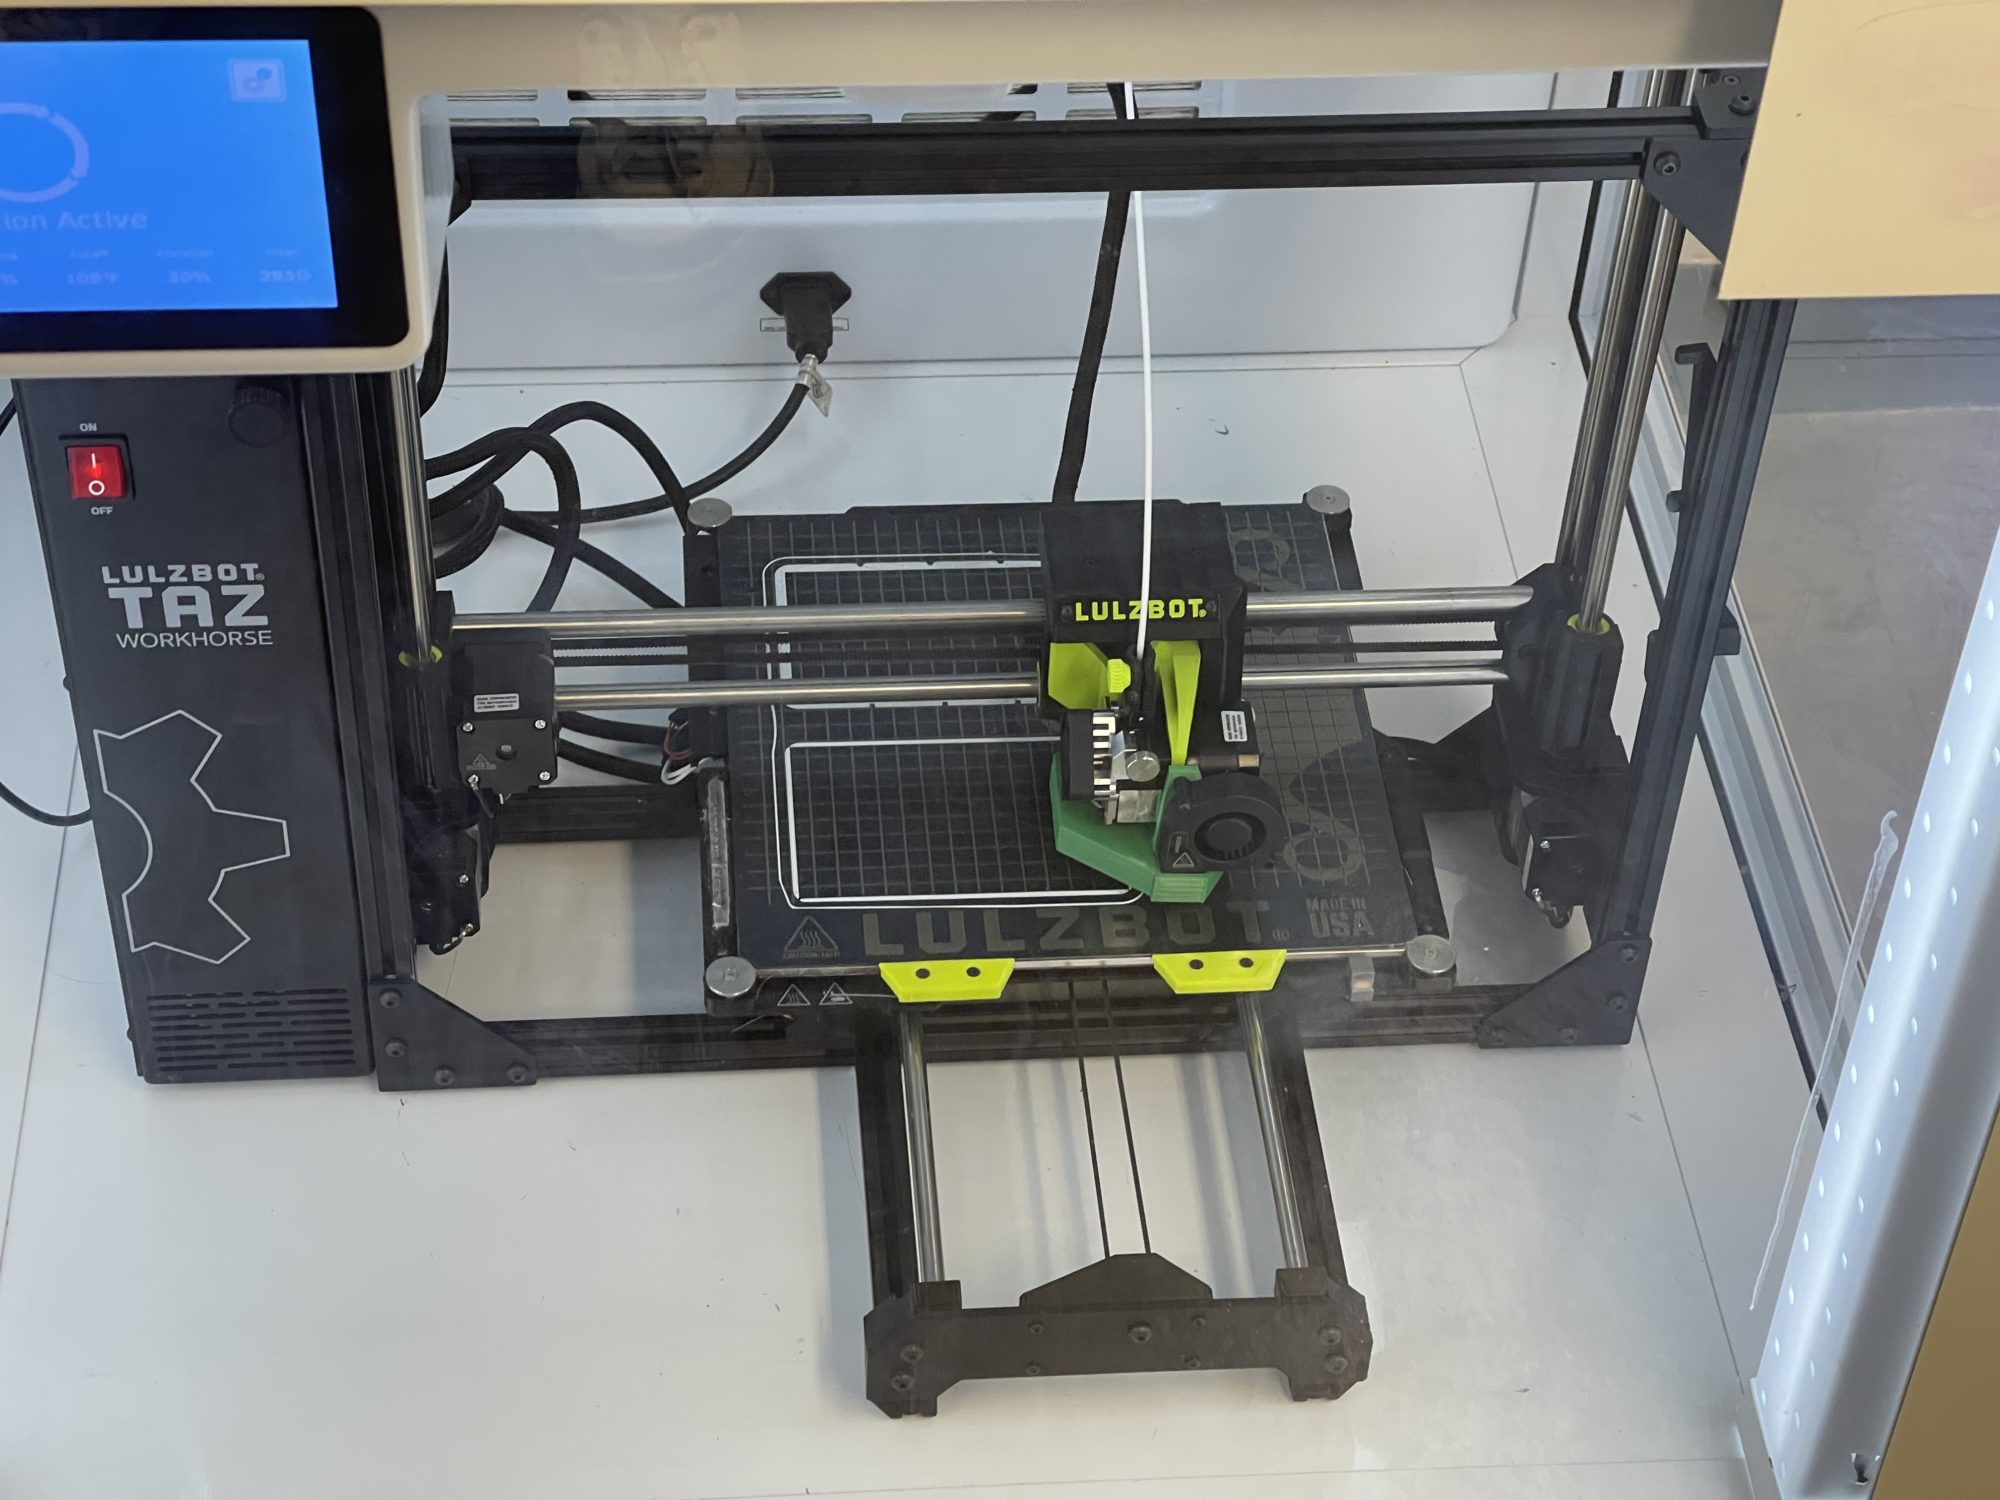
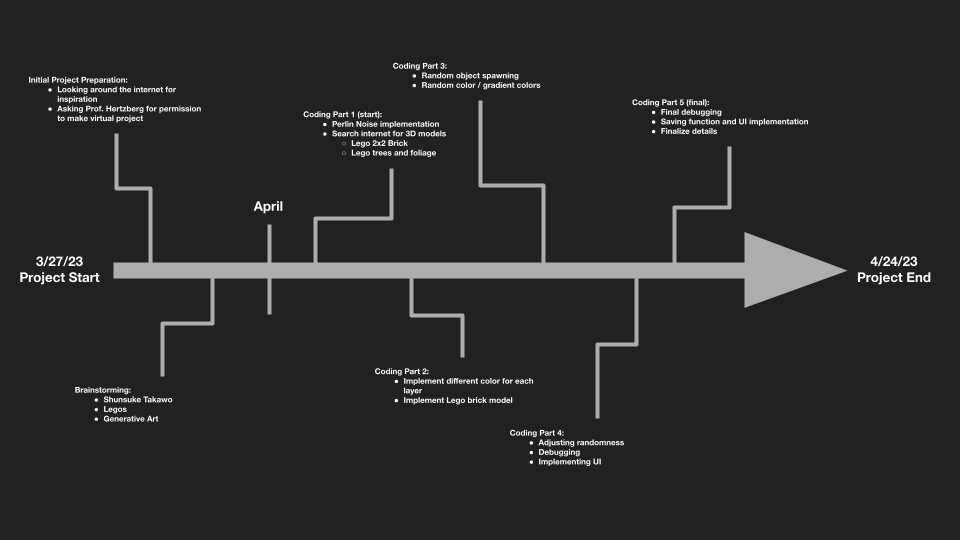
Lego Generative Art – How
Post 12: The How – Walnut Dart Board Cabinet
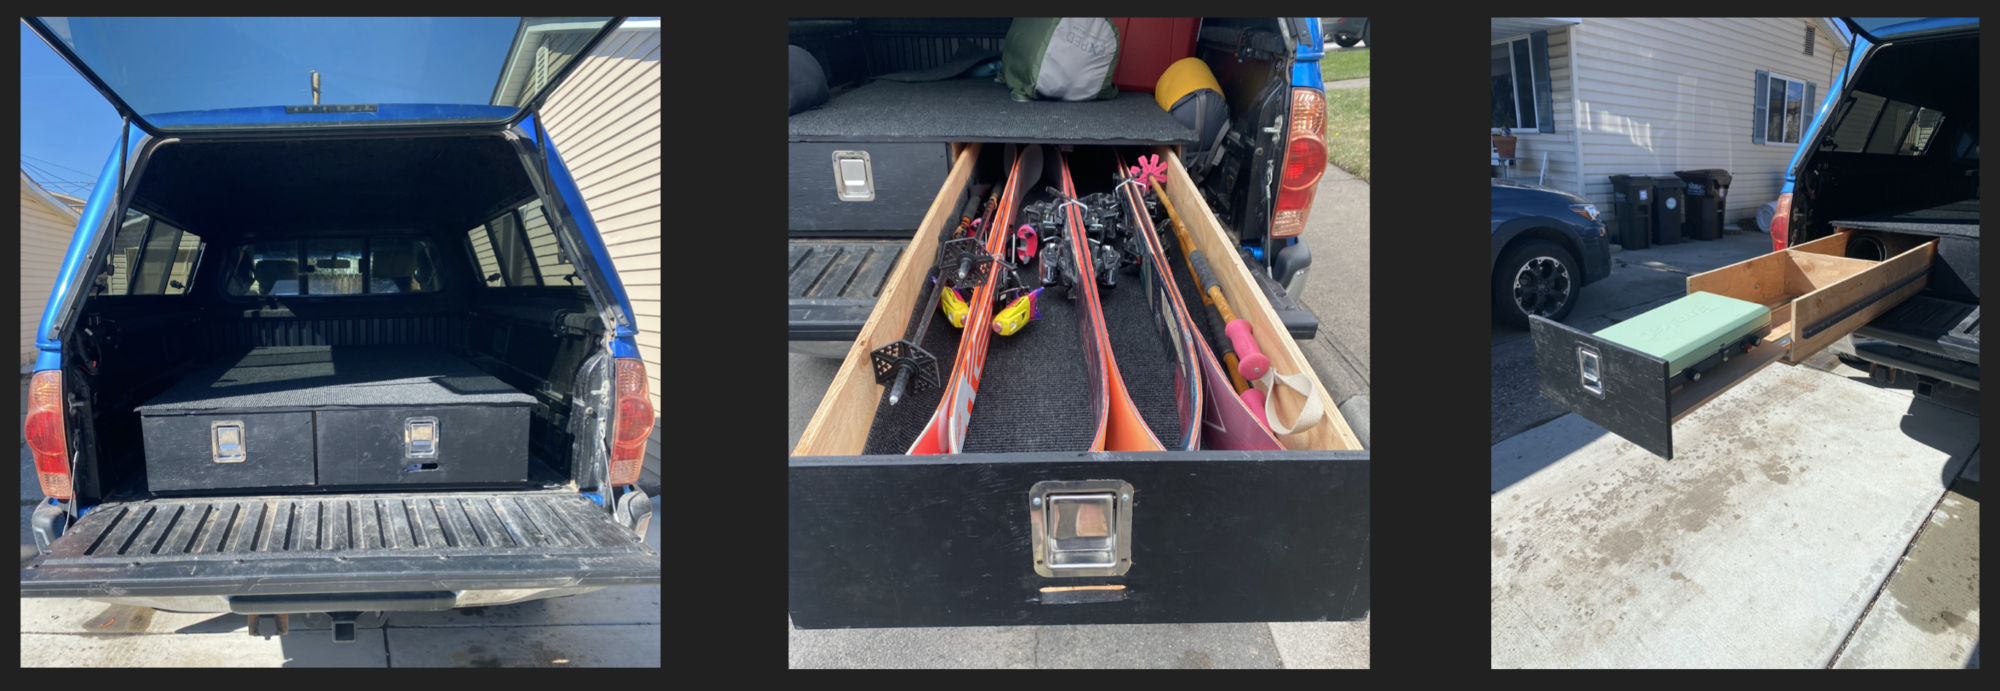
Camping Drawers Post 12- Final Report Part 2: The How
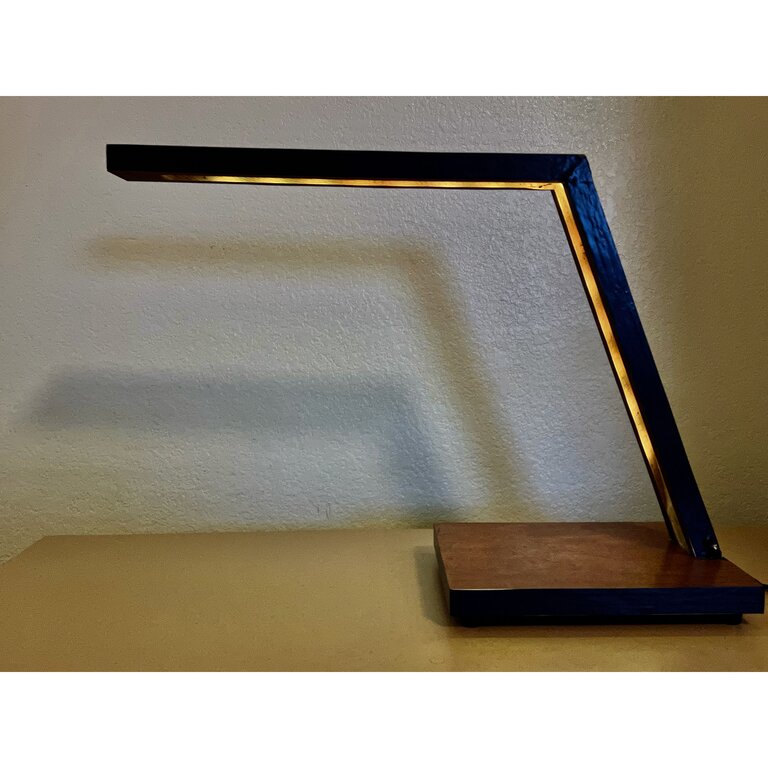
Final Report Part Two – Contemporary Desk Lamp
Blog Post 12: Final Report Part 2
Matthew Holleb : Modern Light Fixture : Final Report (How)
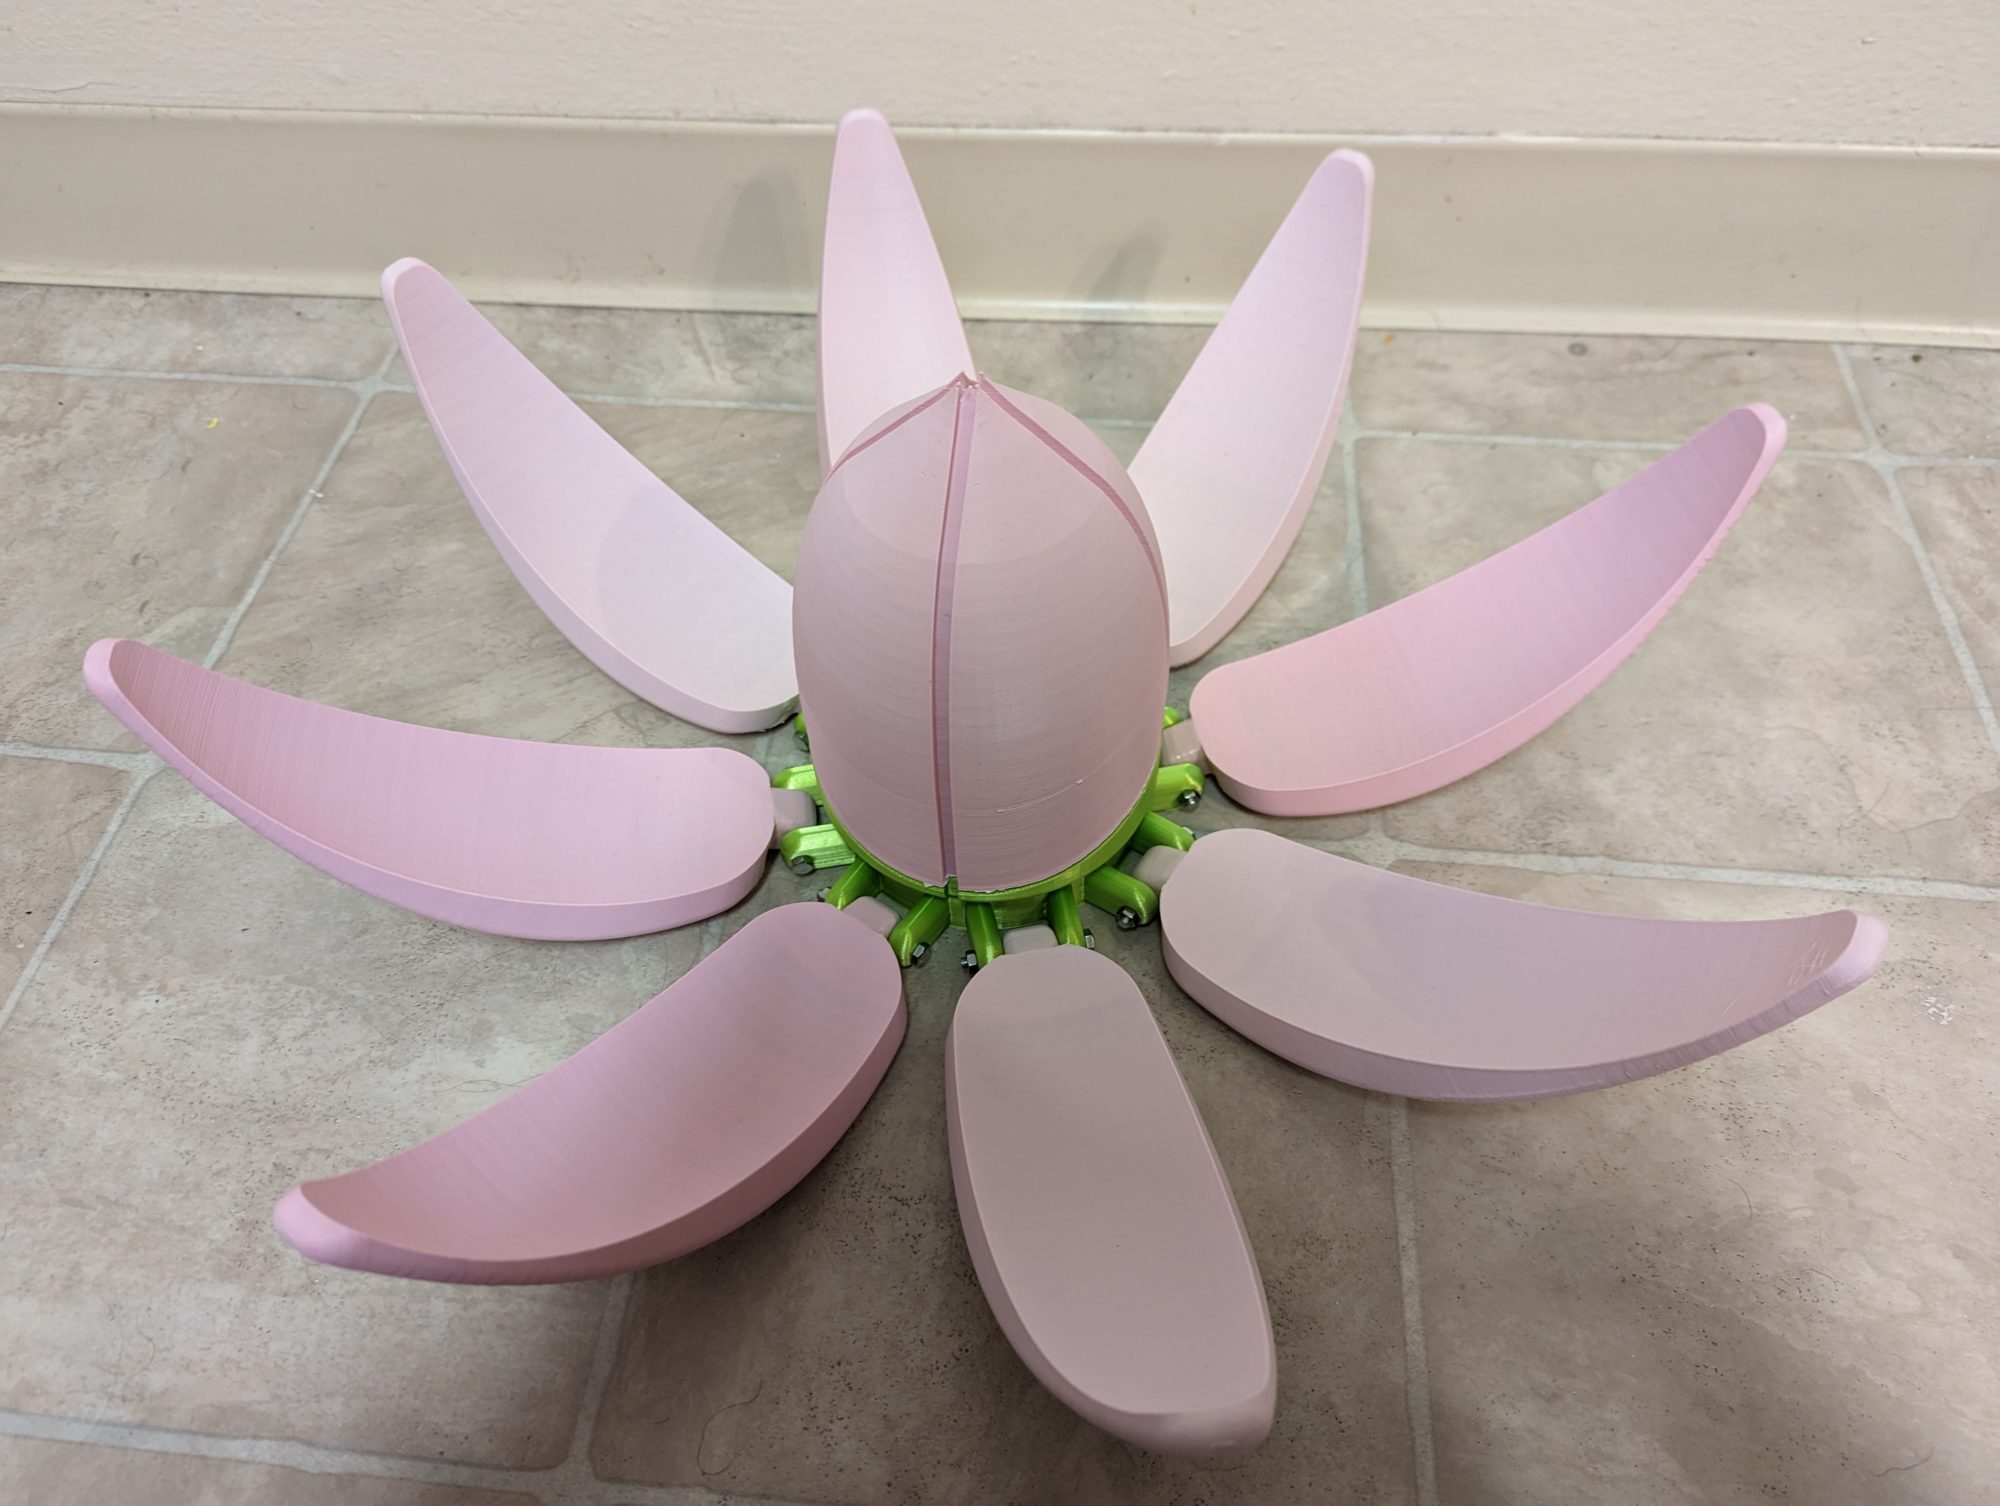
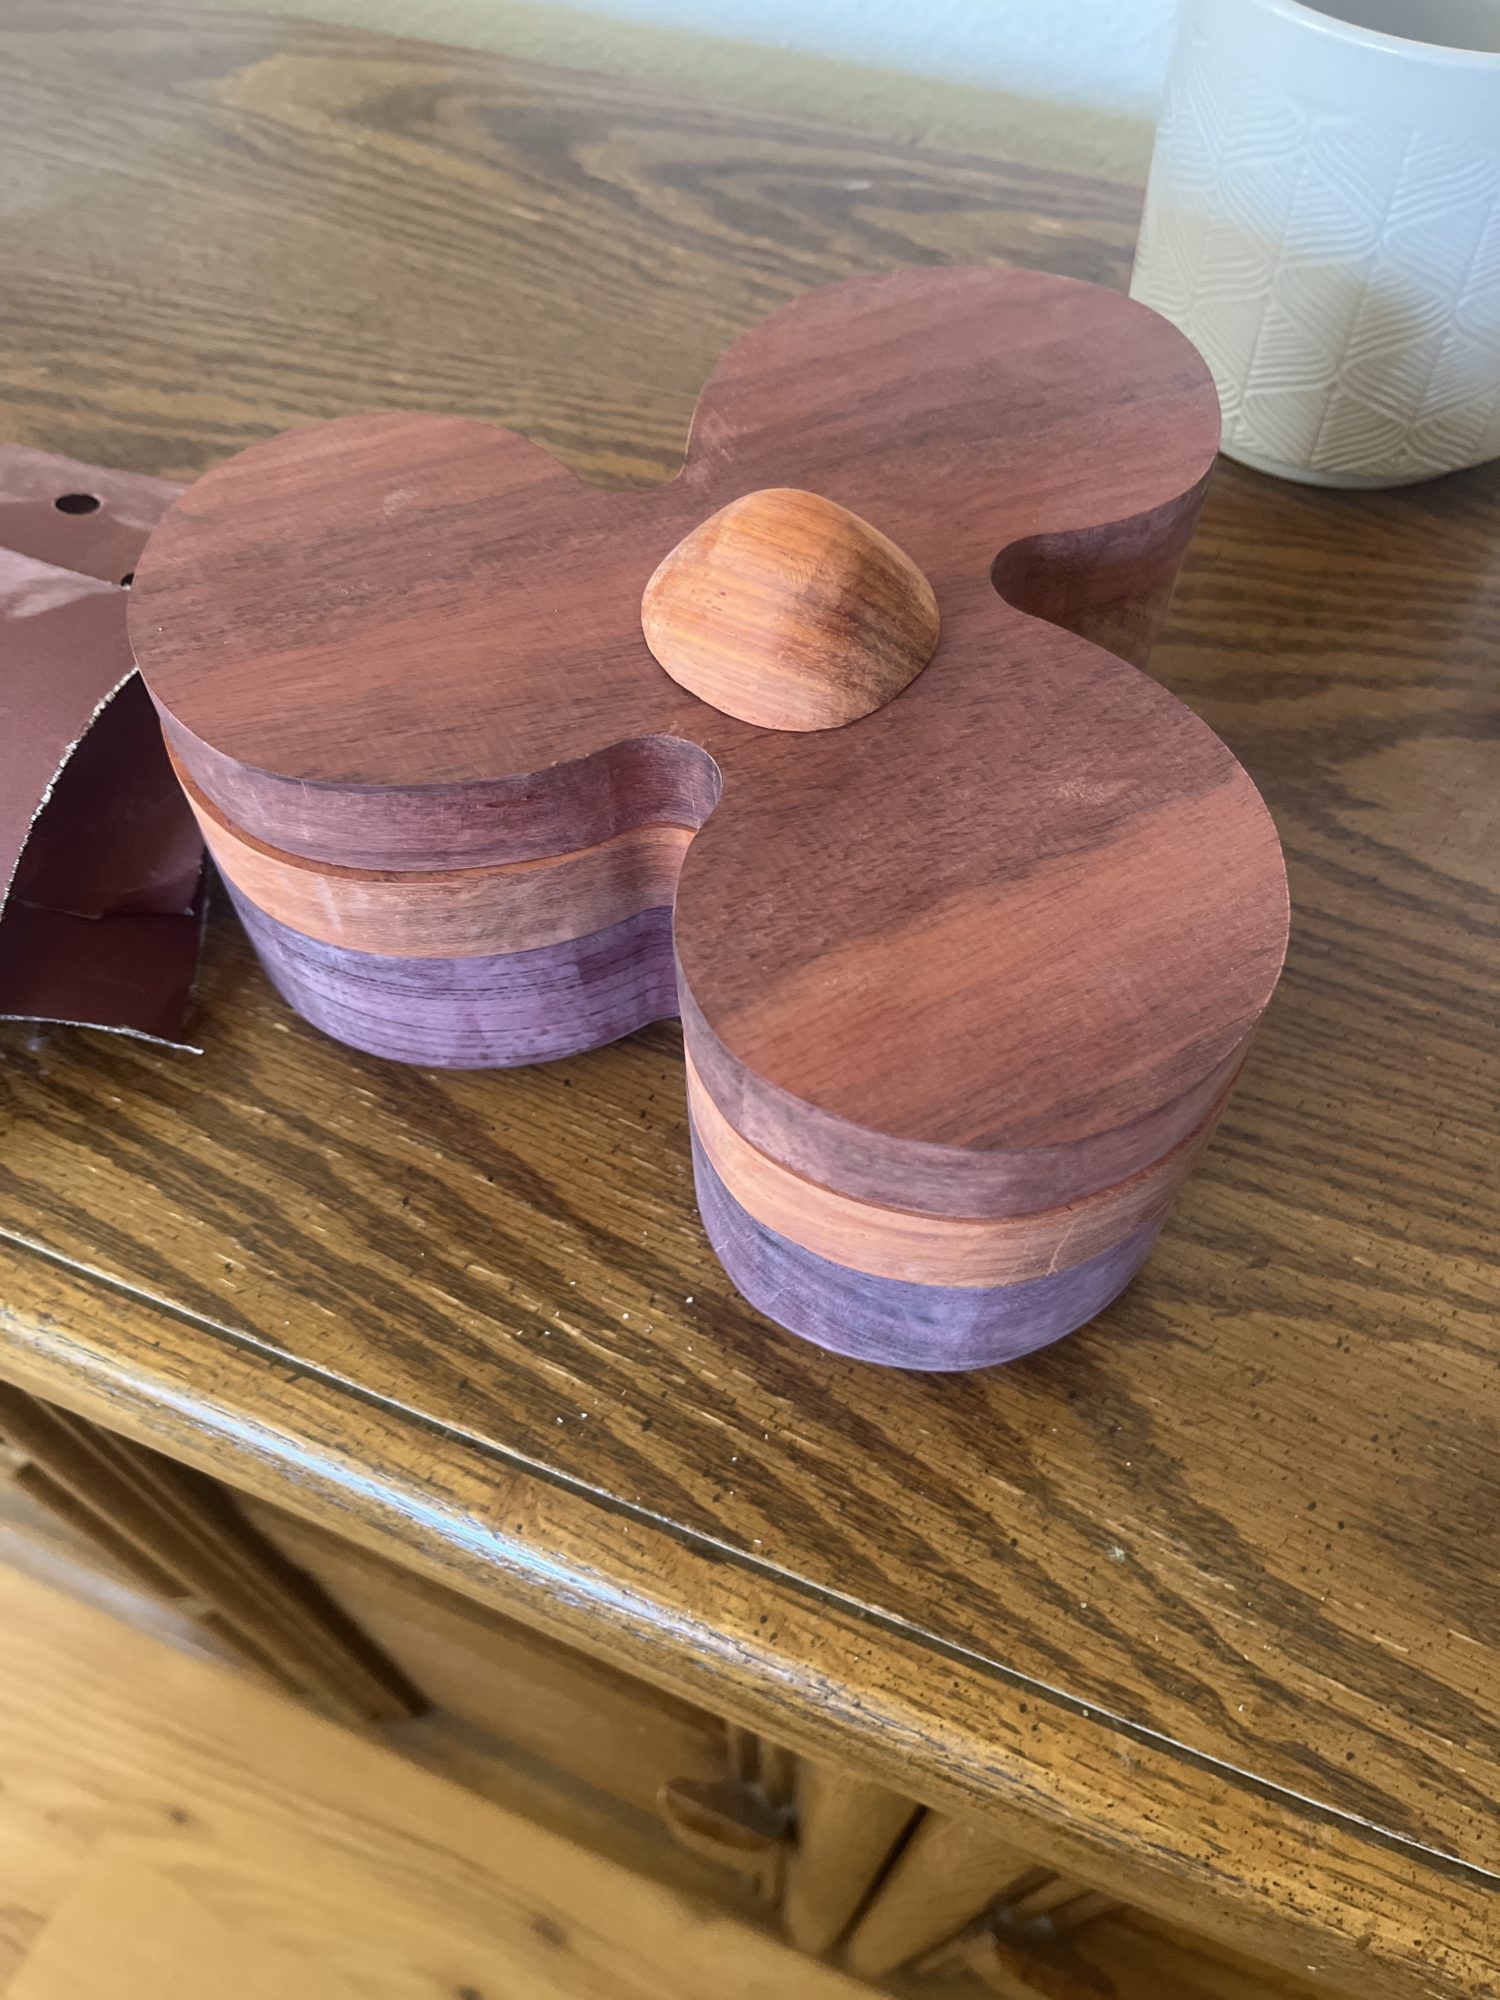
Mechanical Flower: Final Post Part 2
Designing a Coffee Maker: How
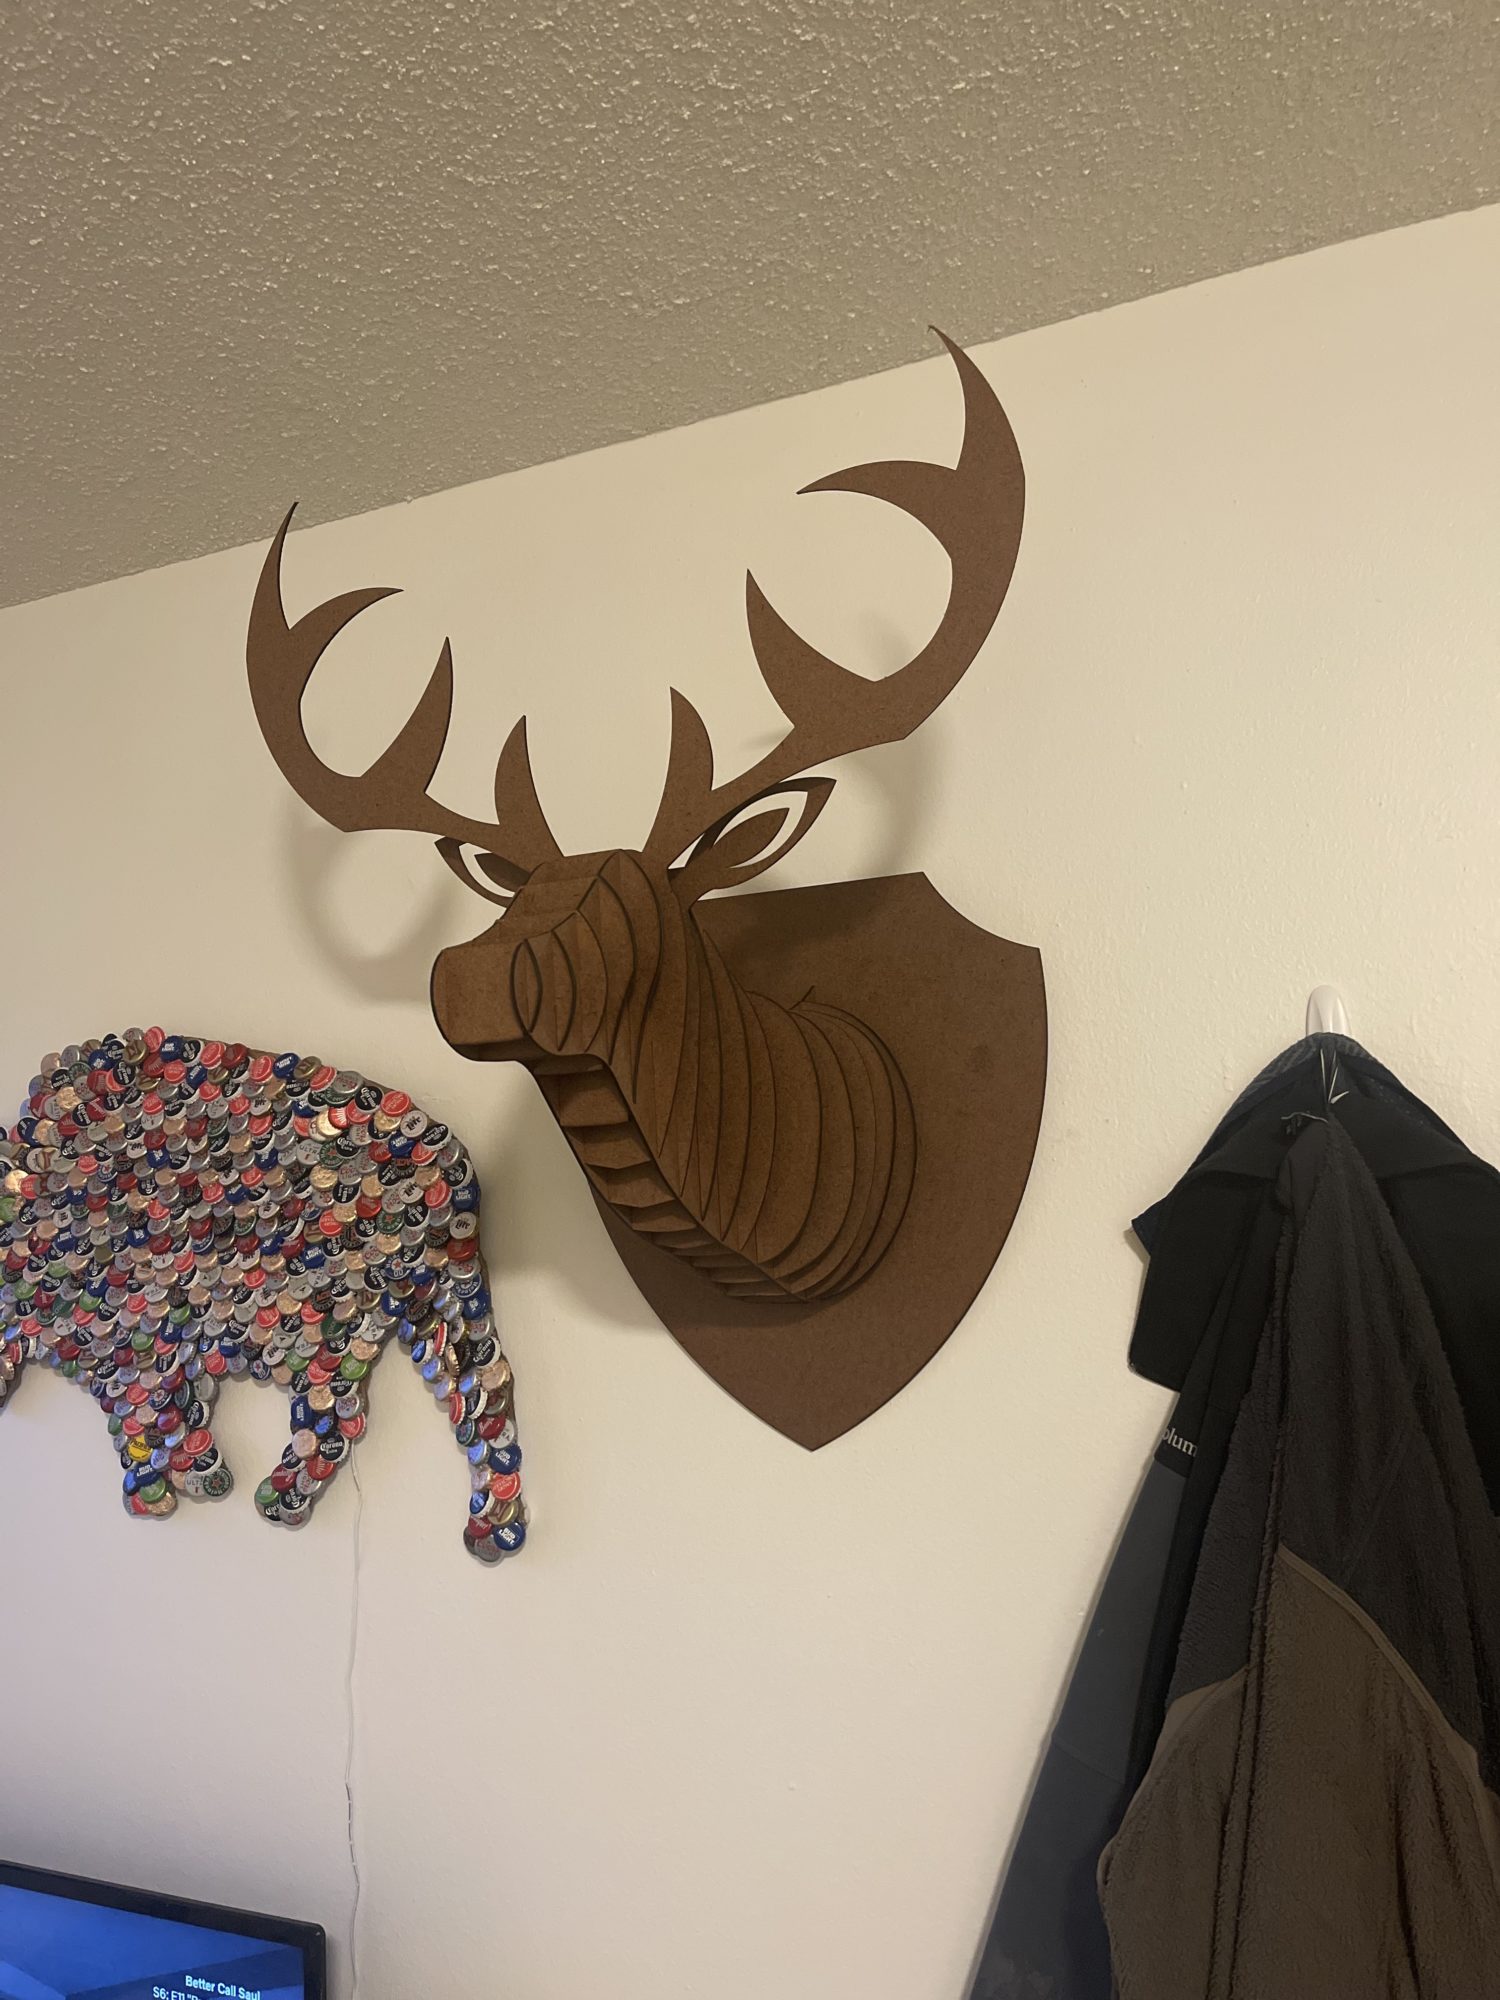
Post 12: Final Deer Mount
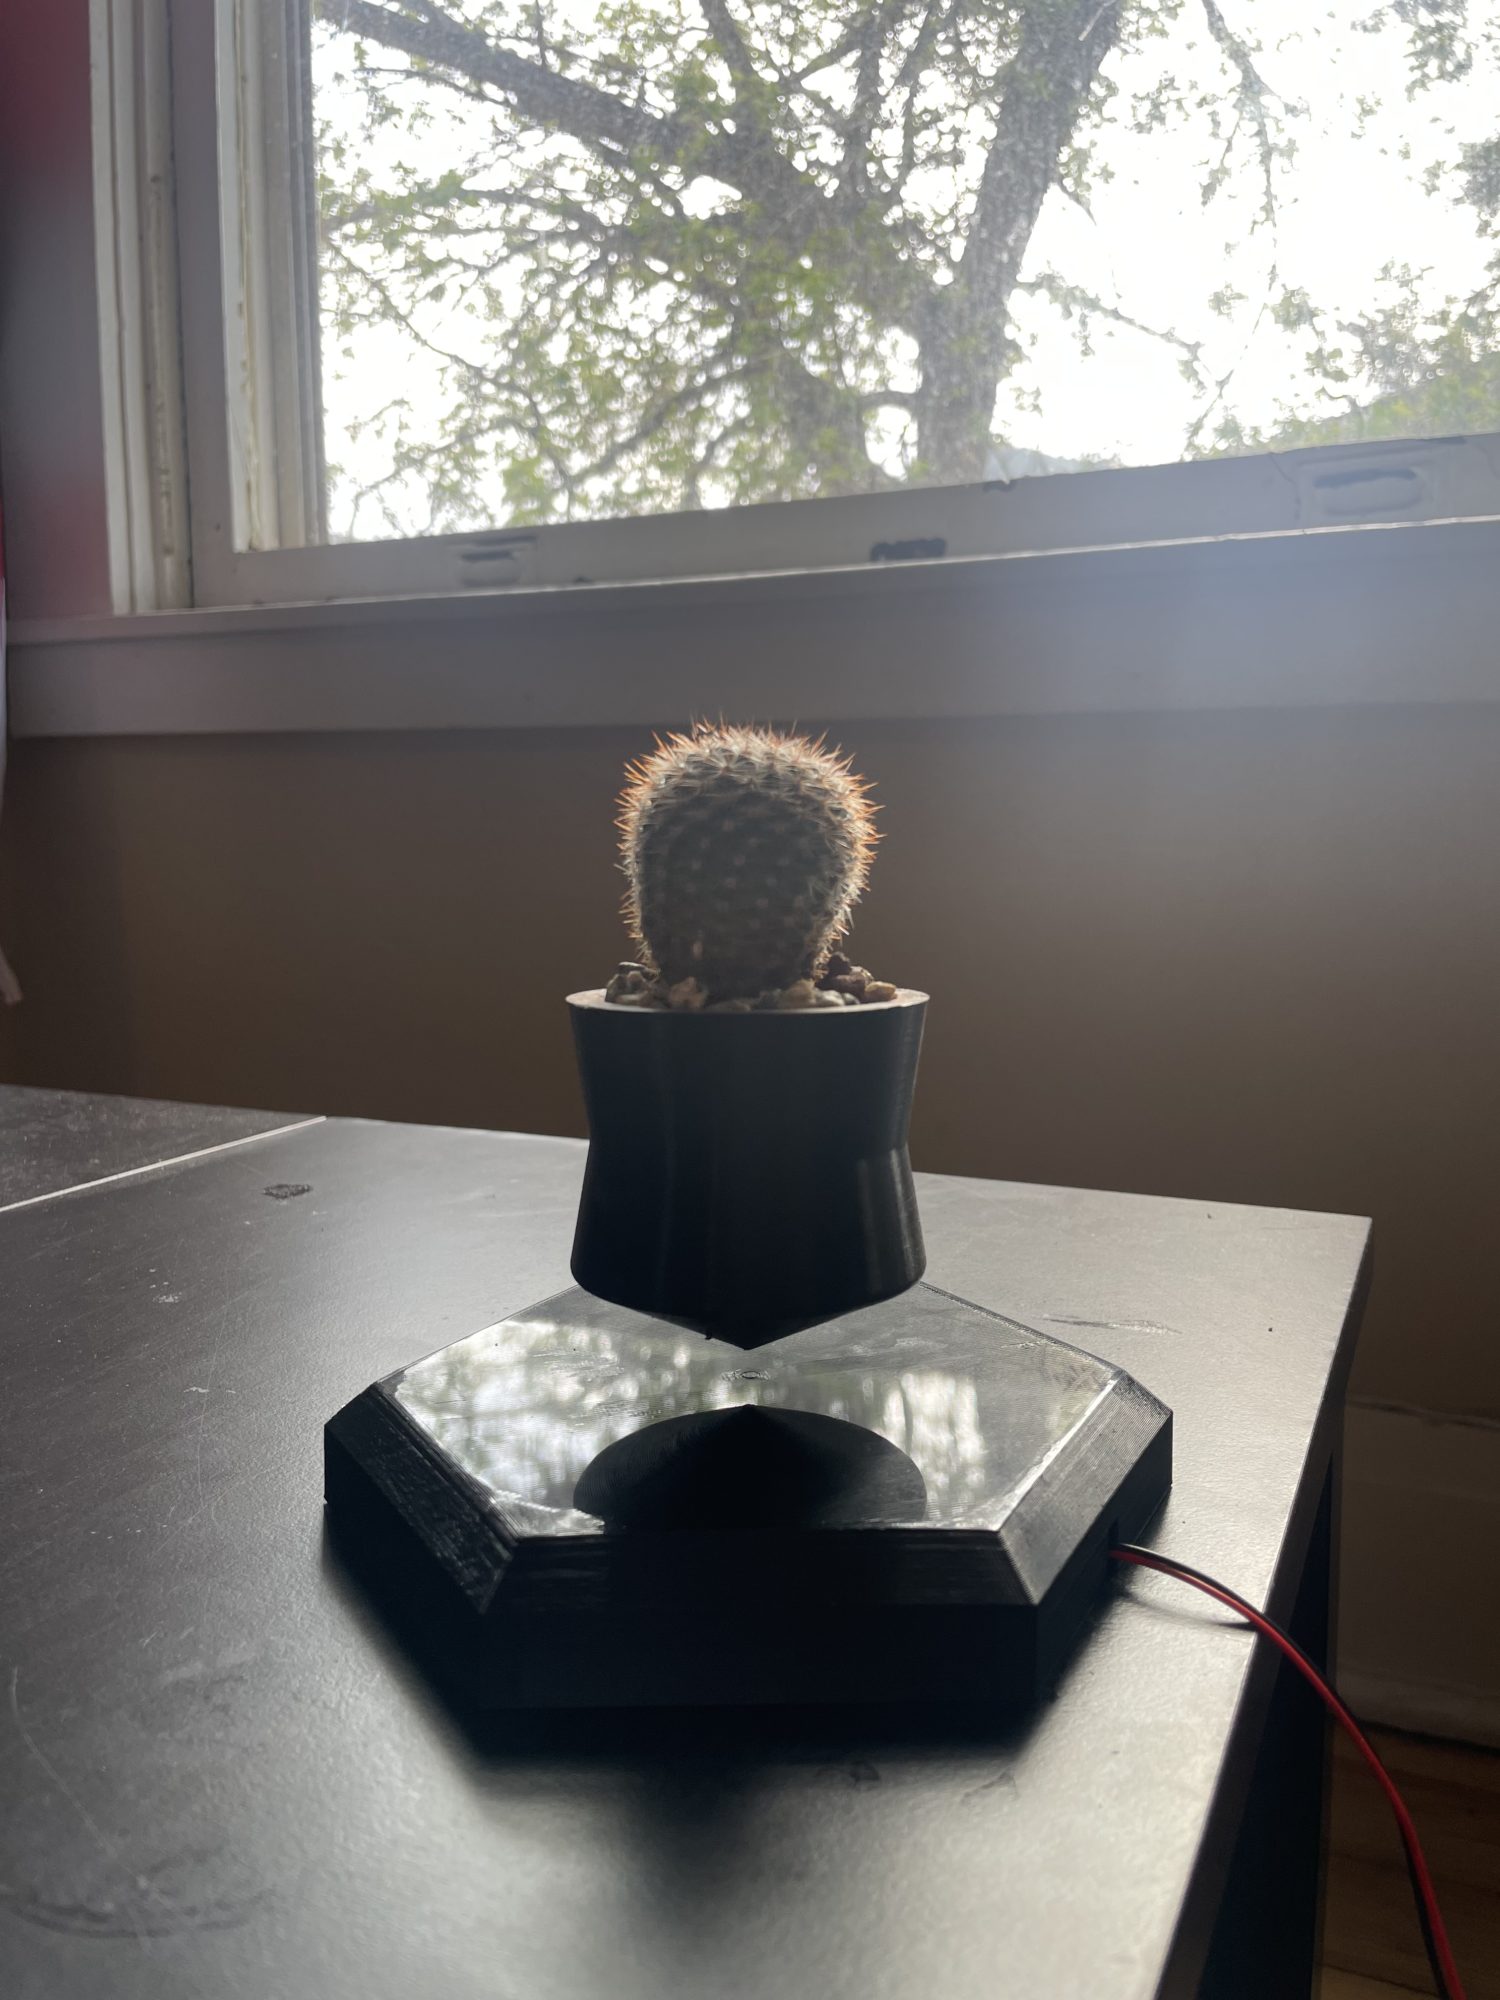
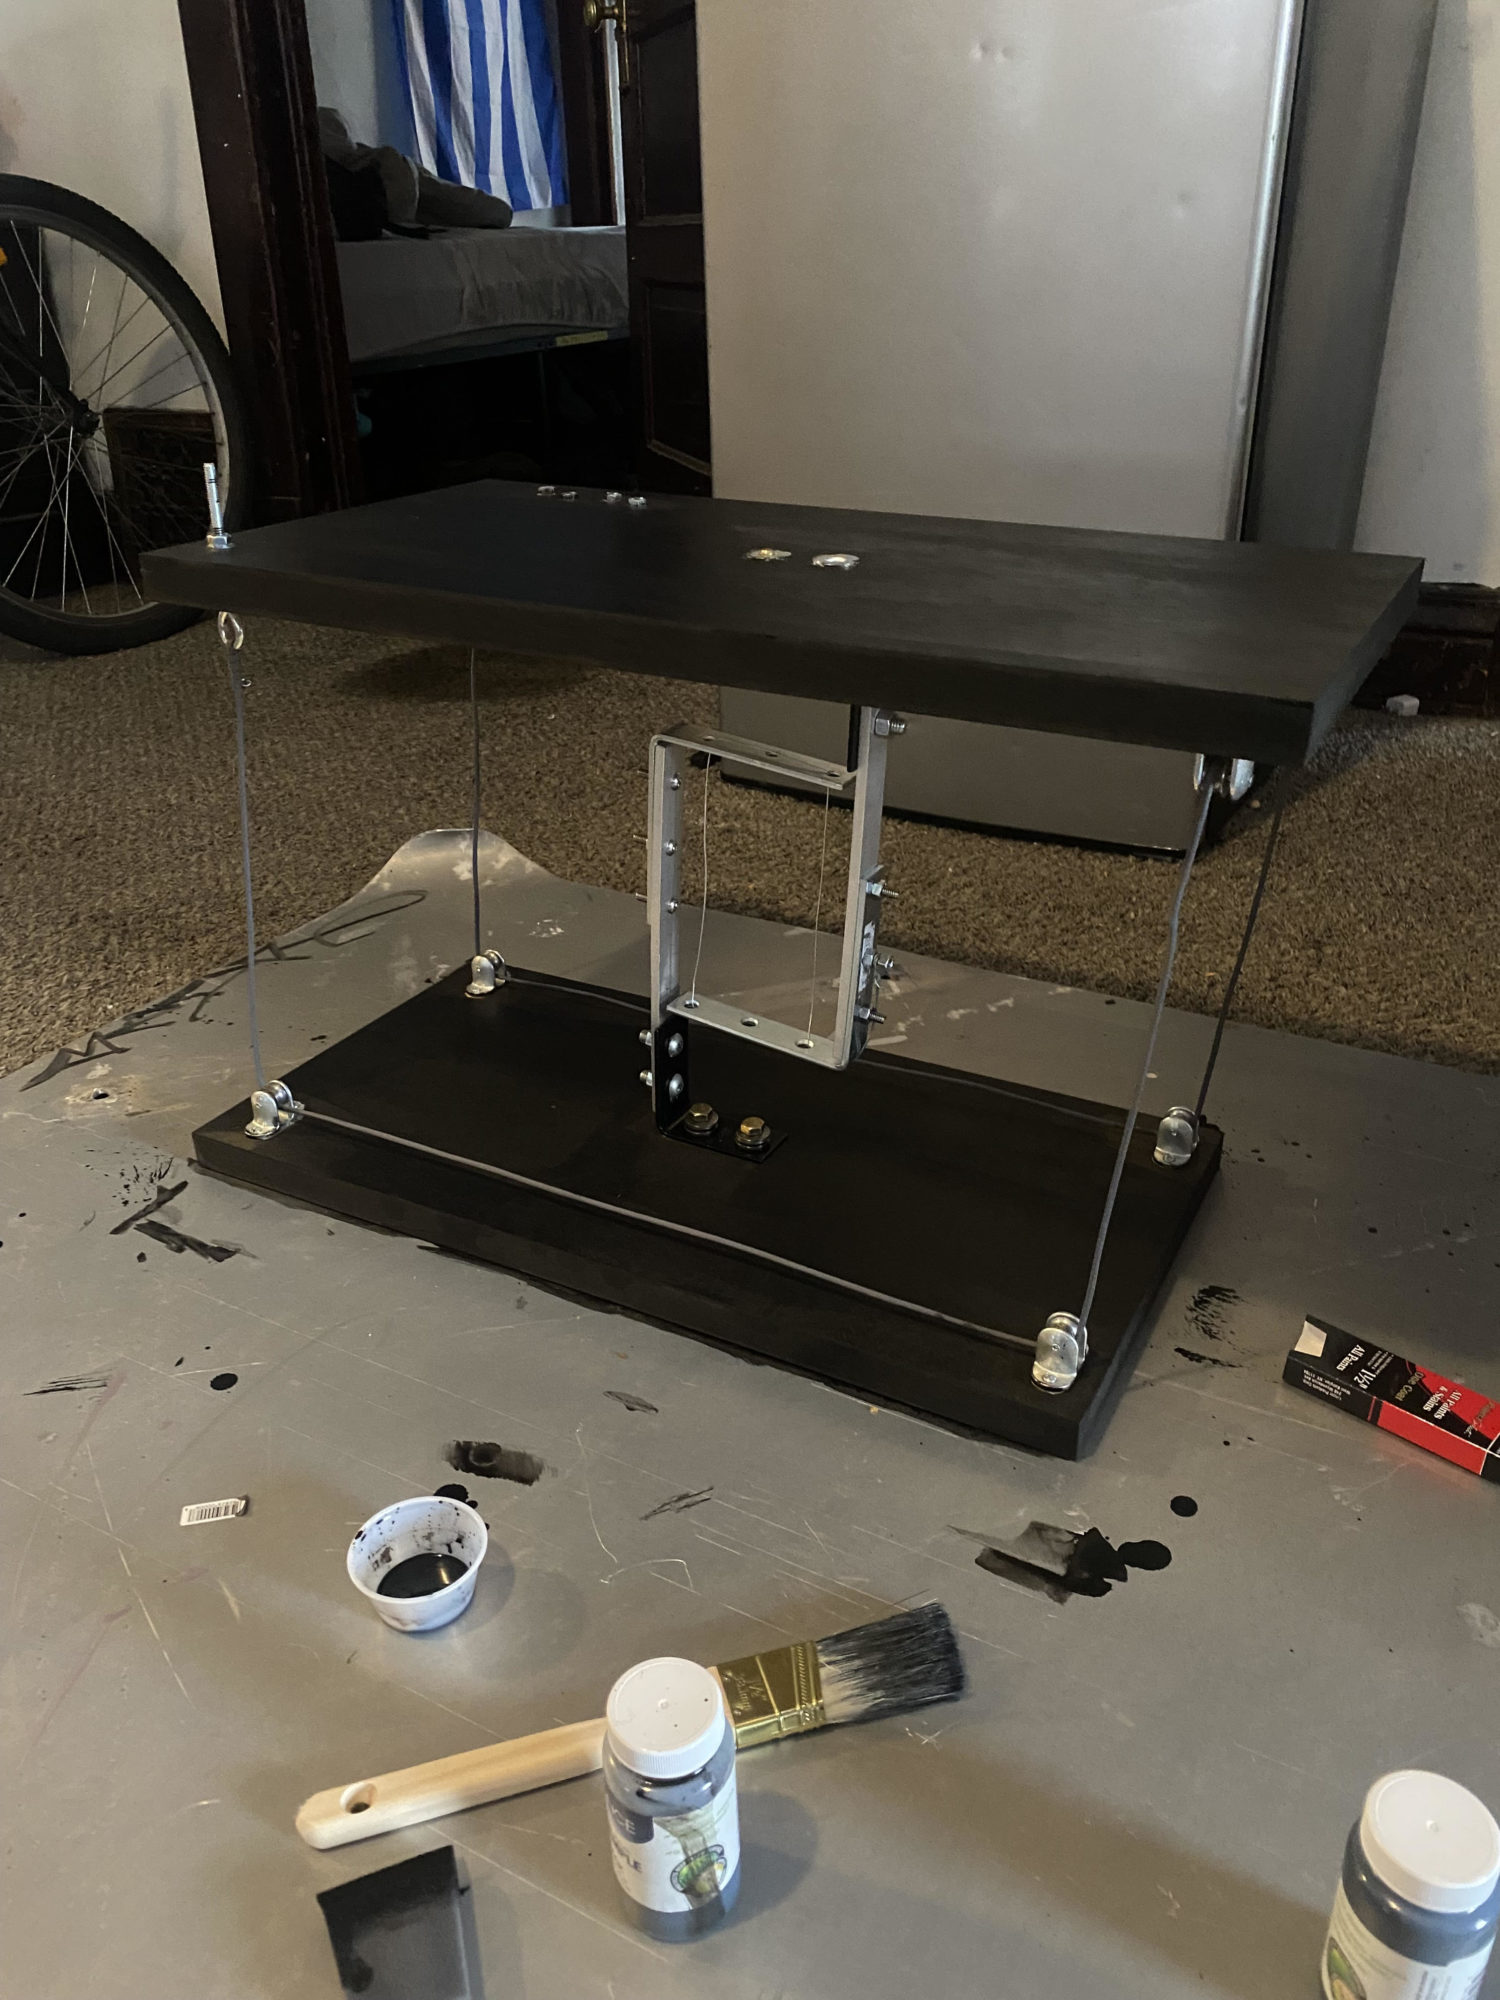
How the Adjustable Tensegrity Table is Made
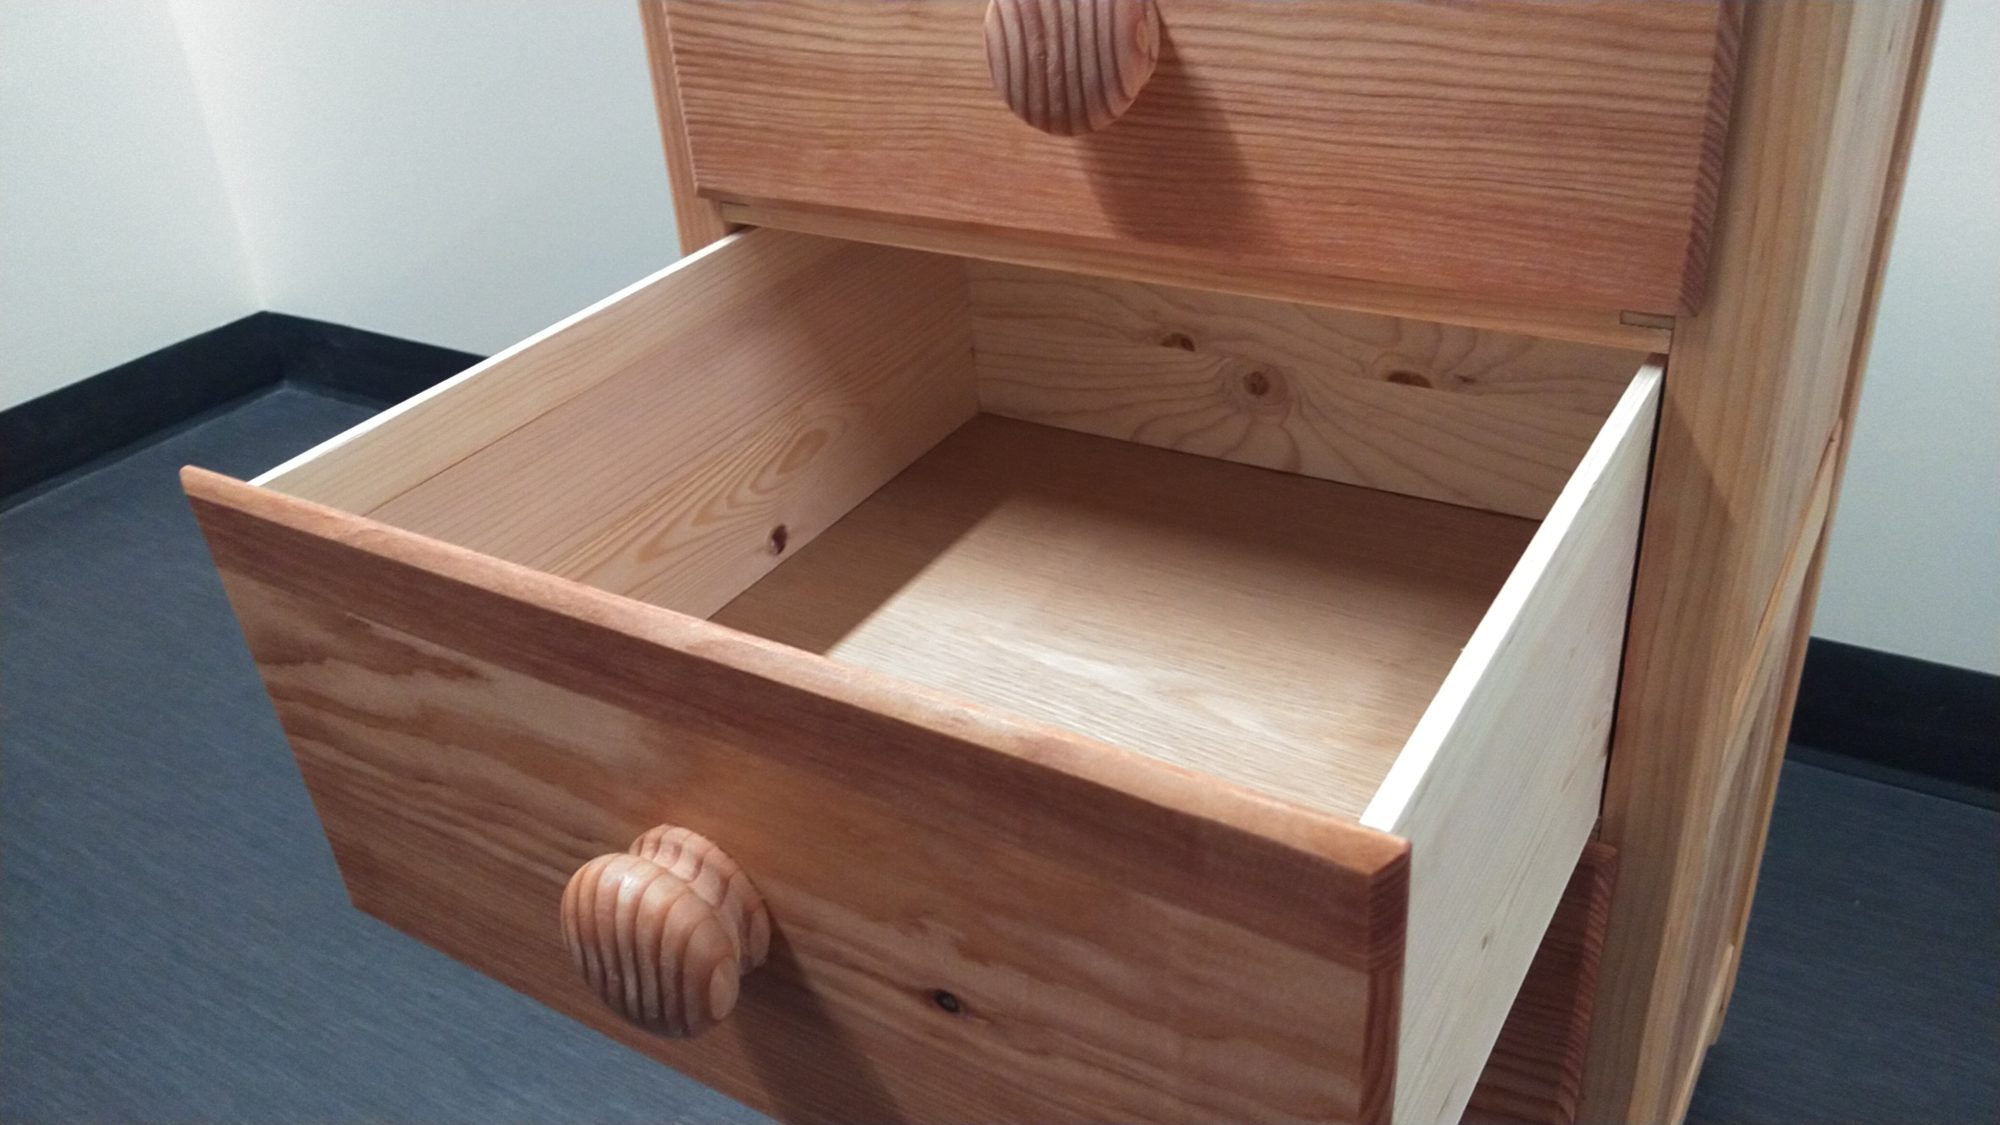
Traditionally Joined Nightstand: The How
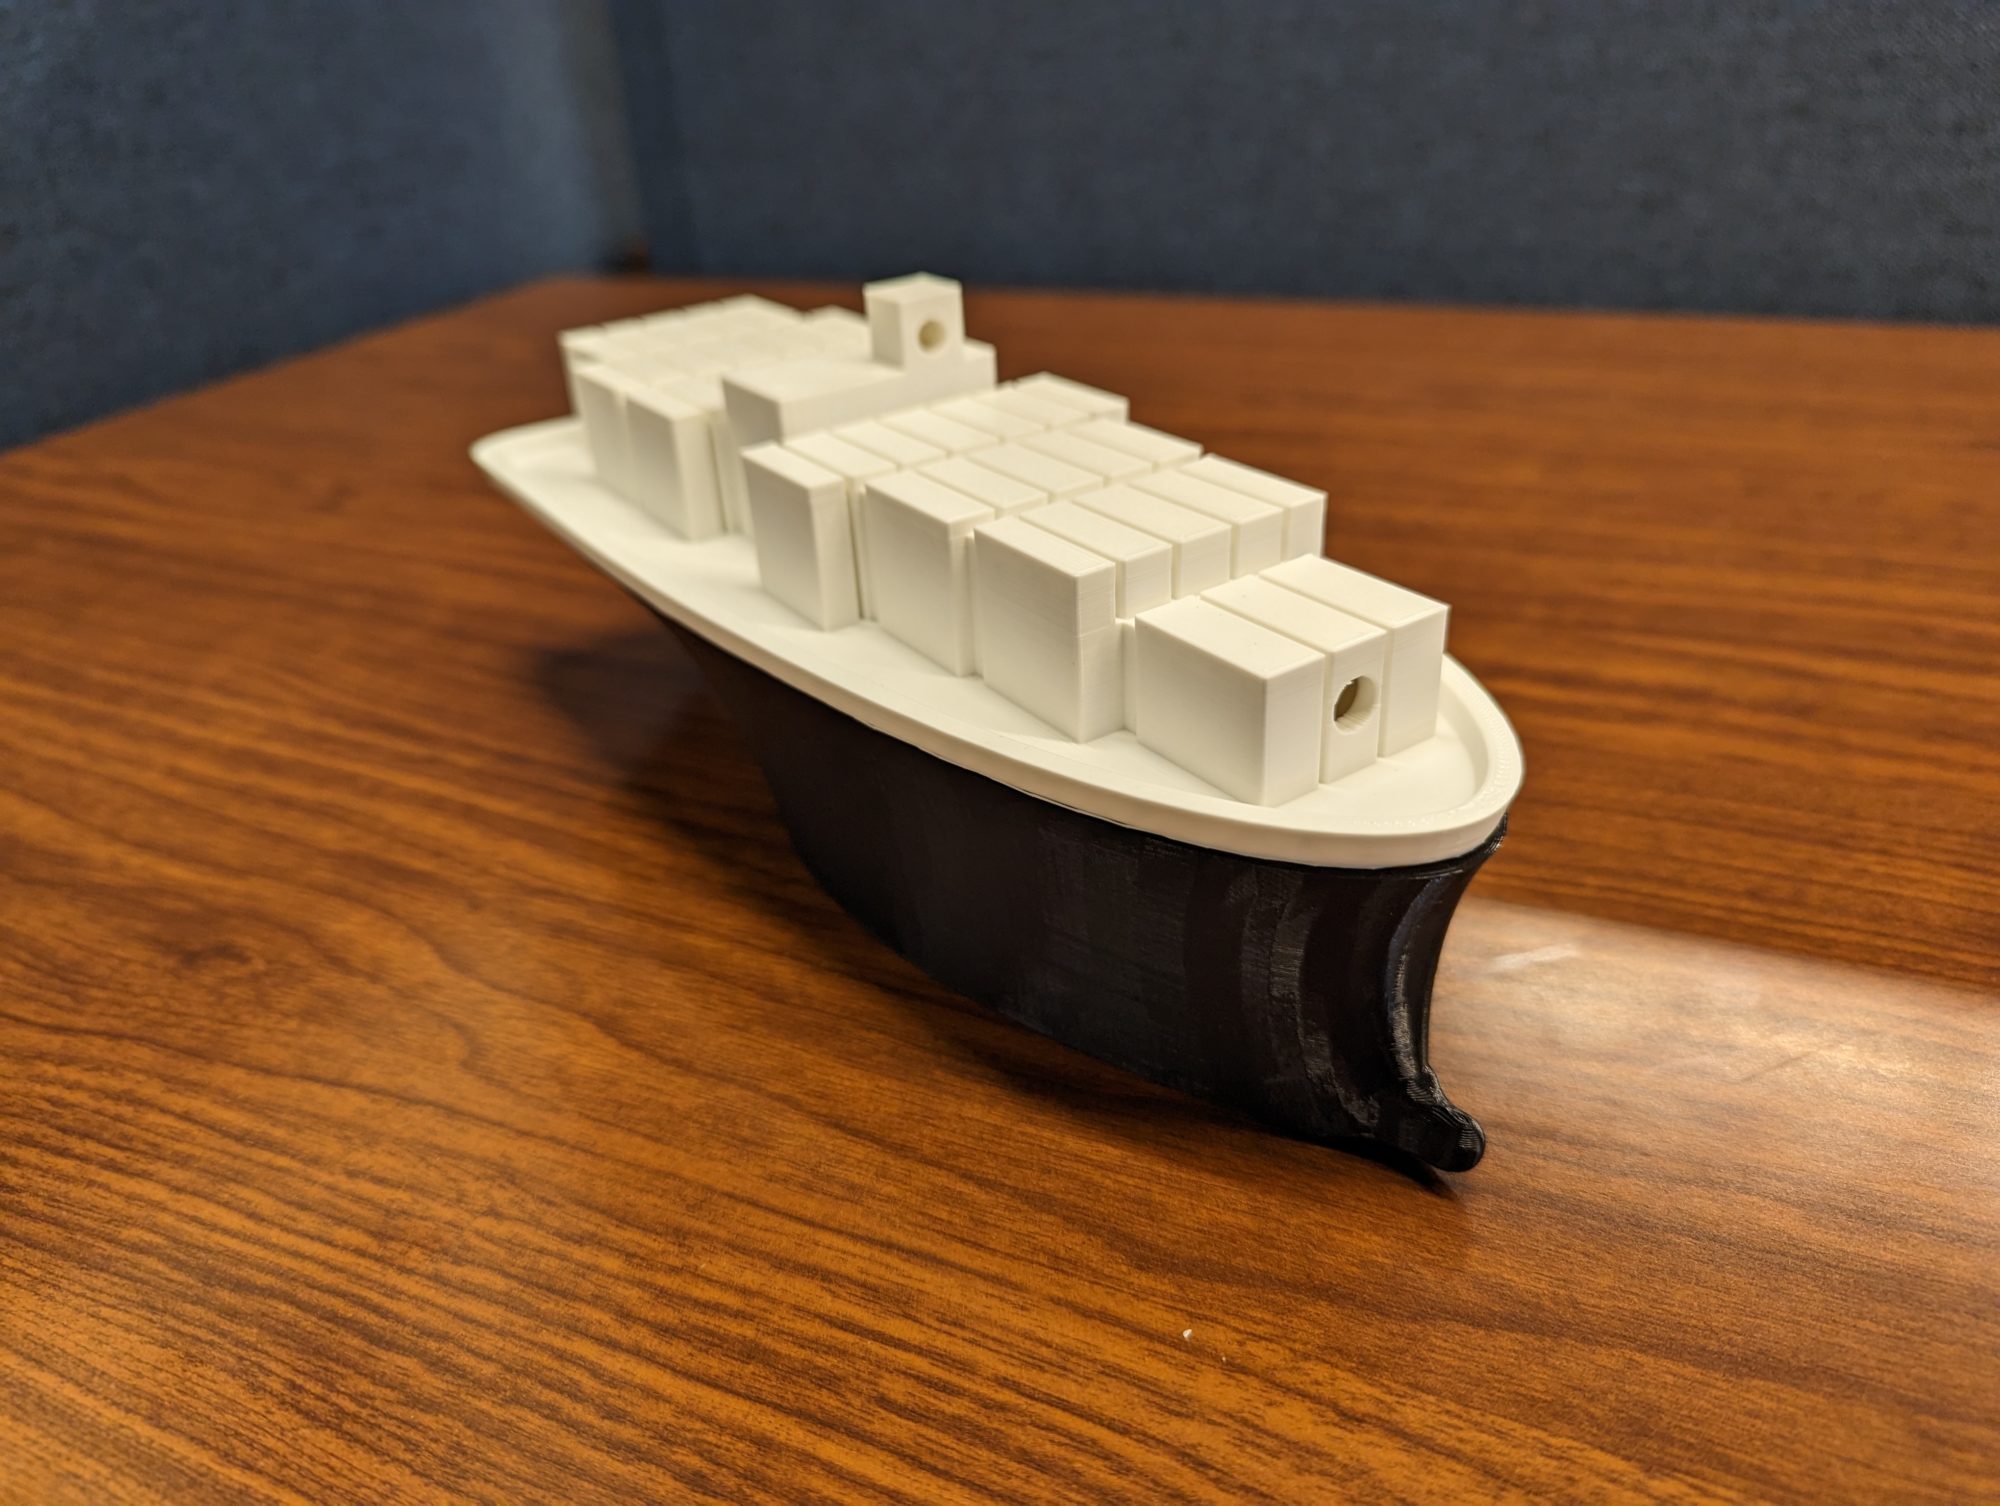
Puzzle Boat Report Part 2
Main Project Part 2
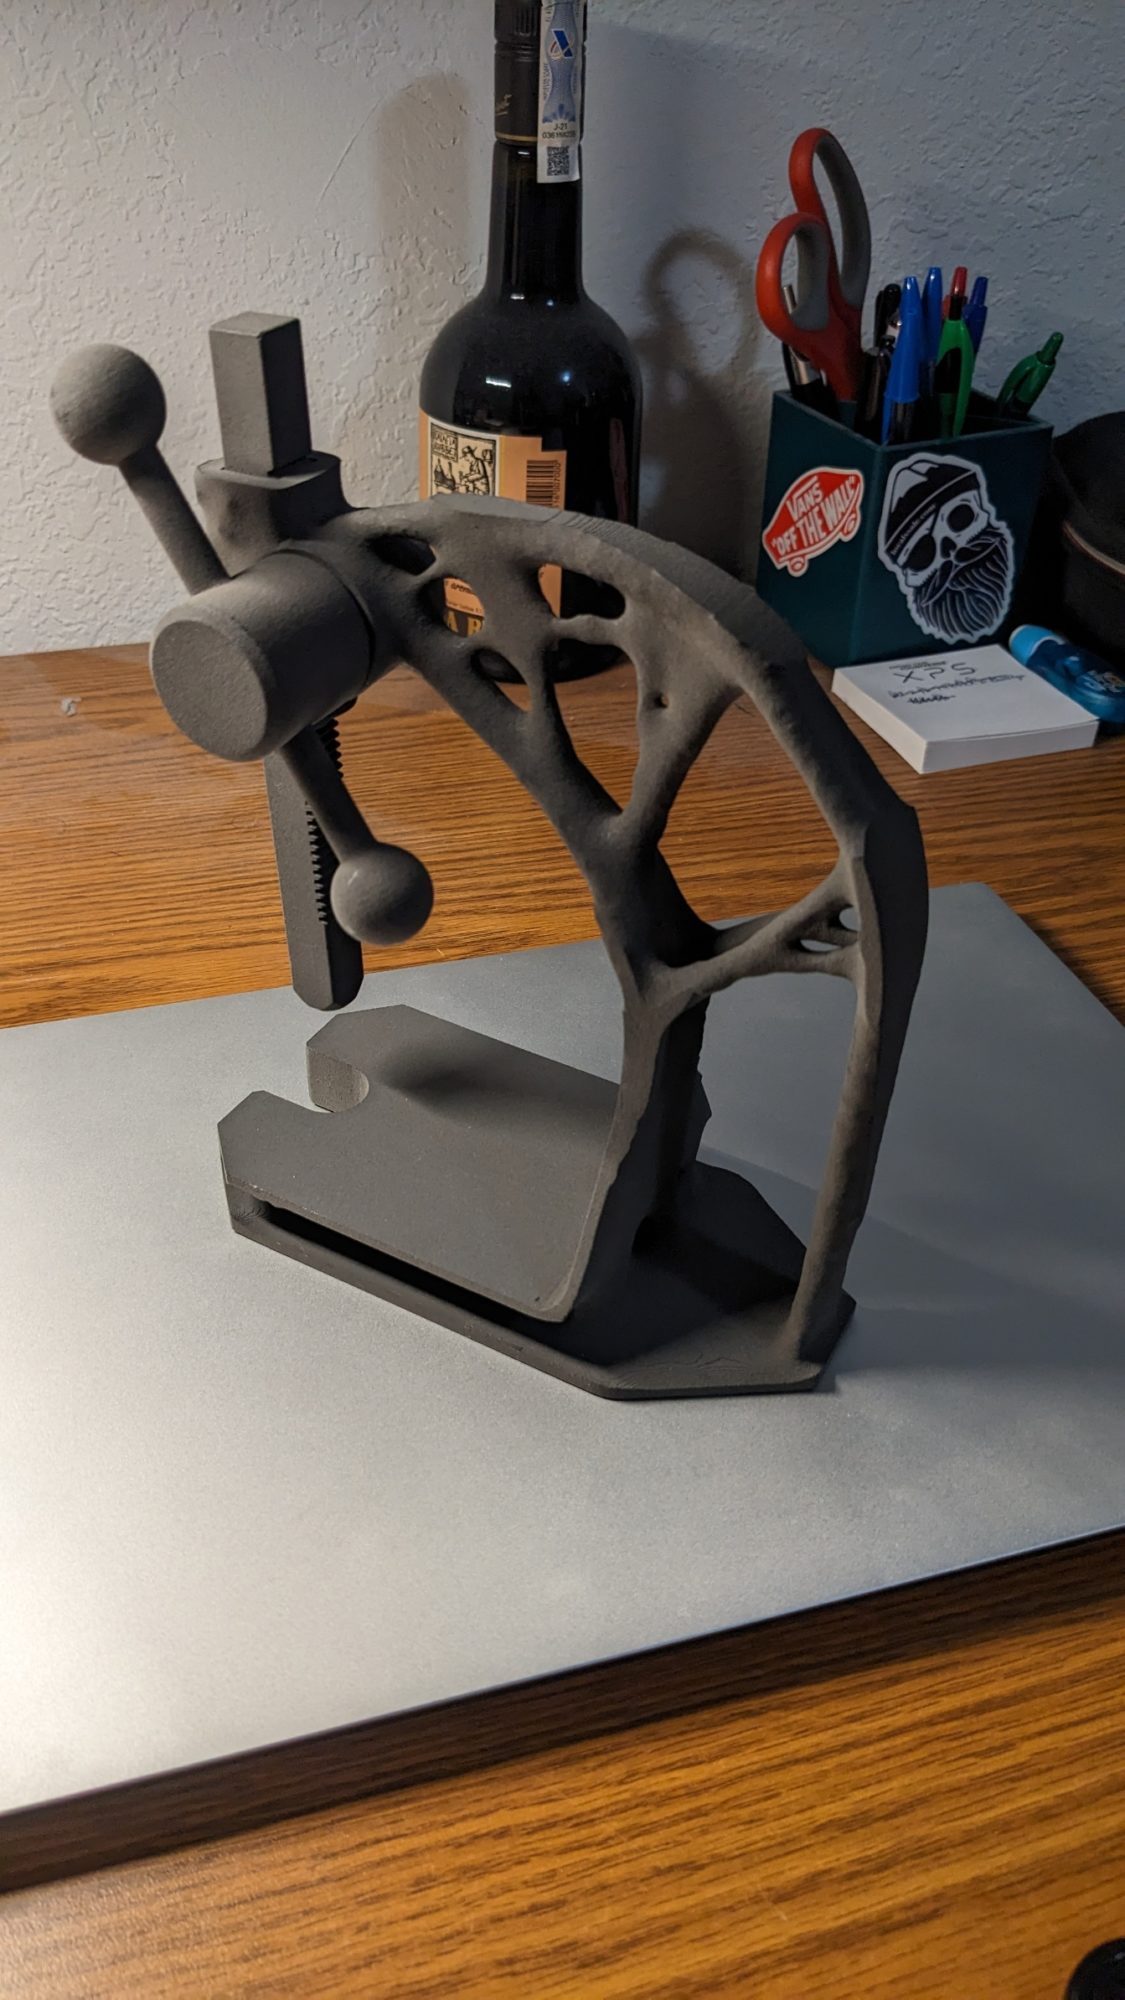
Post 12 – Organic press Part 2: How was made
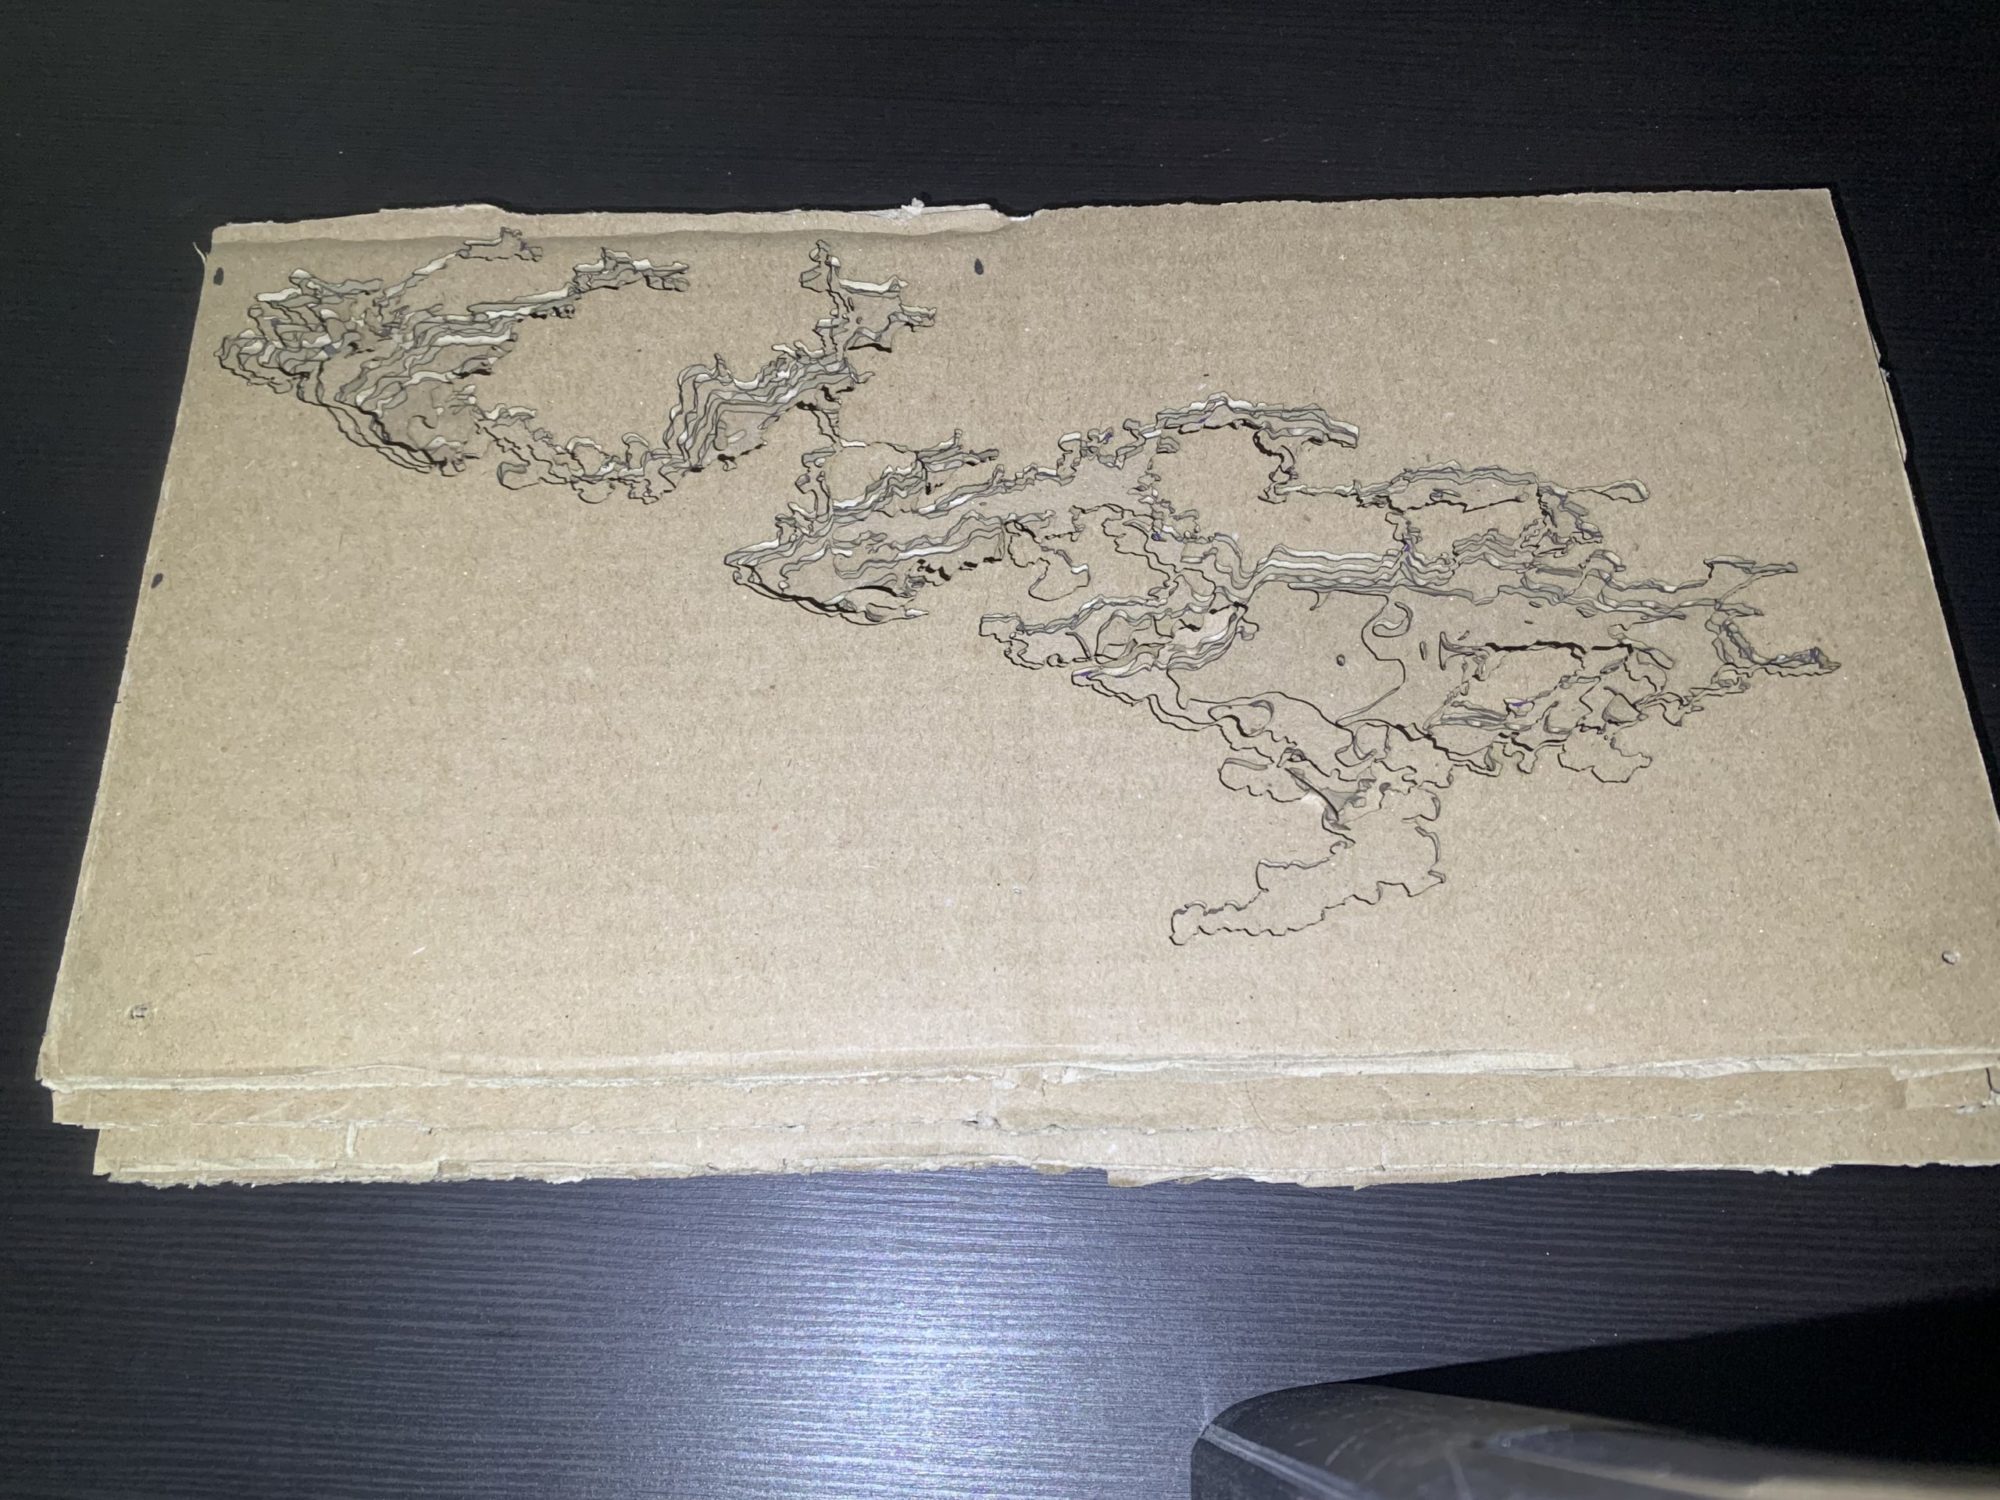
Report Part 2: Bathymetric Map
Post 12
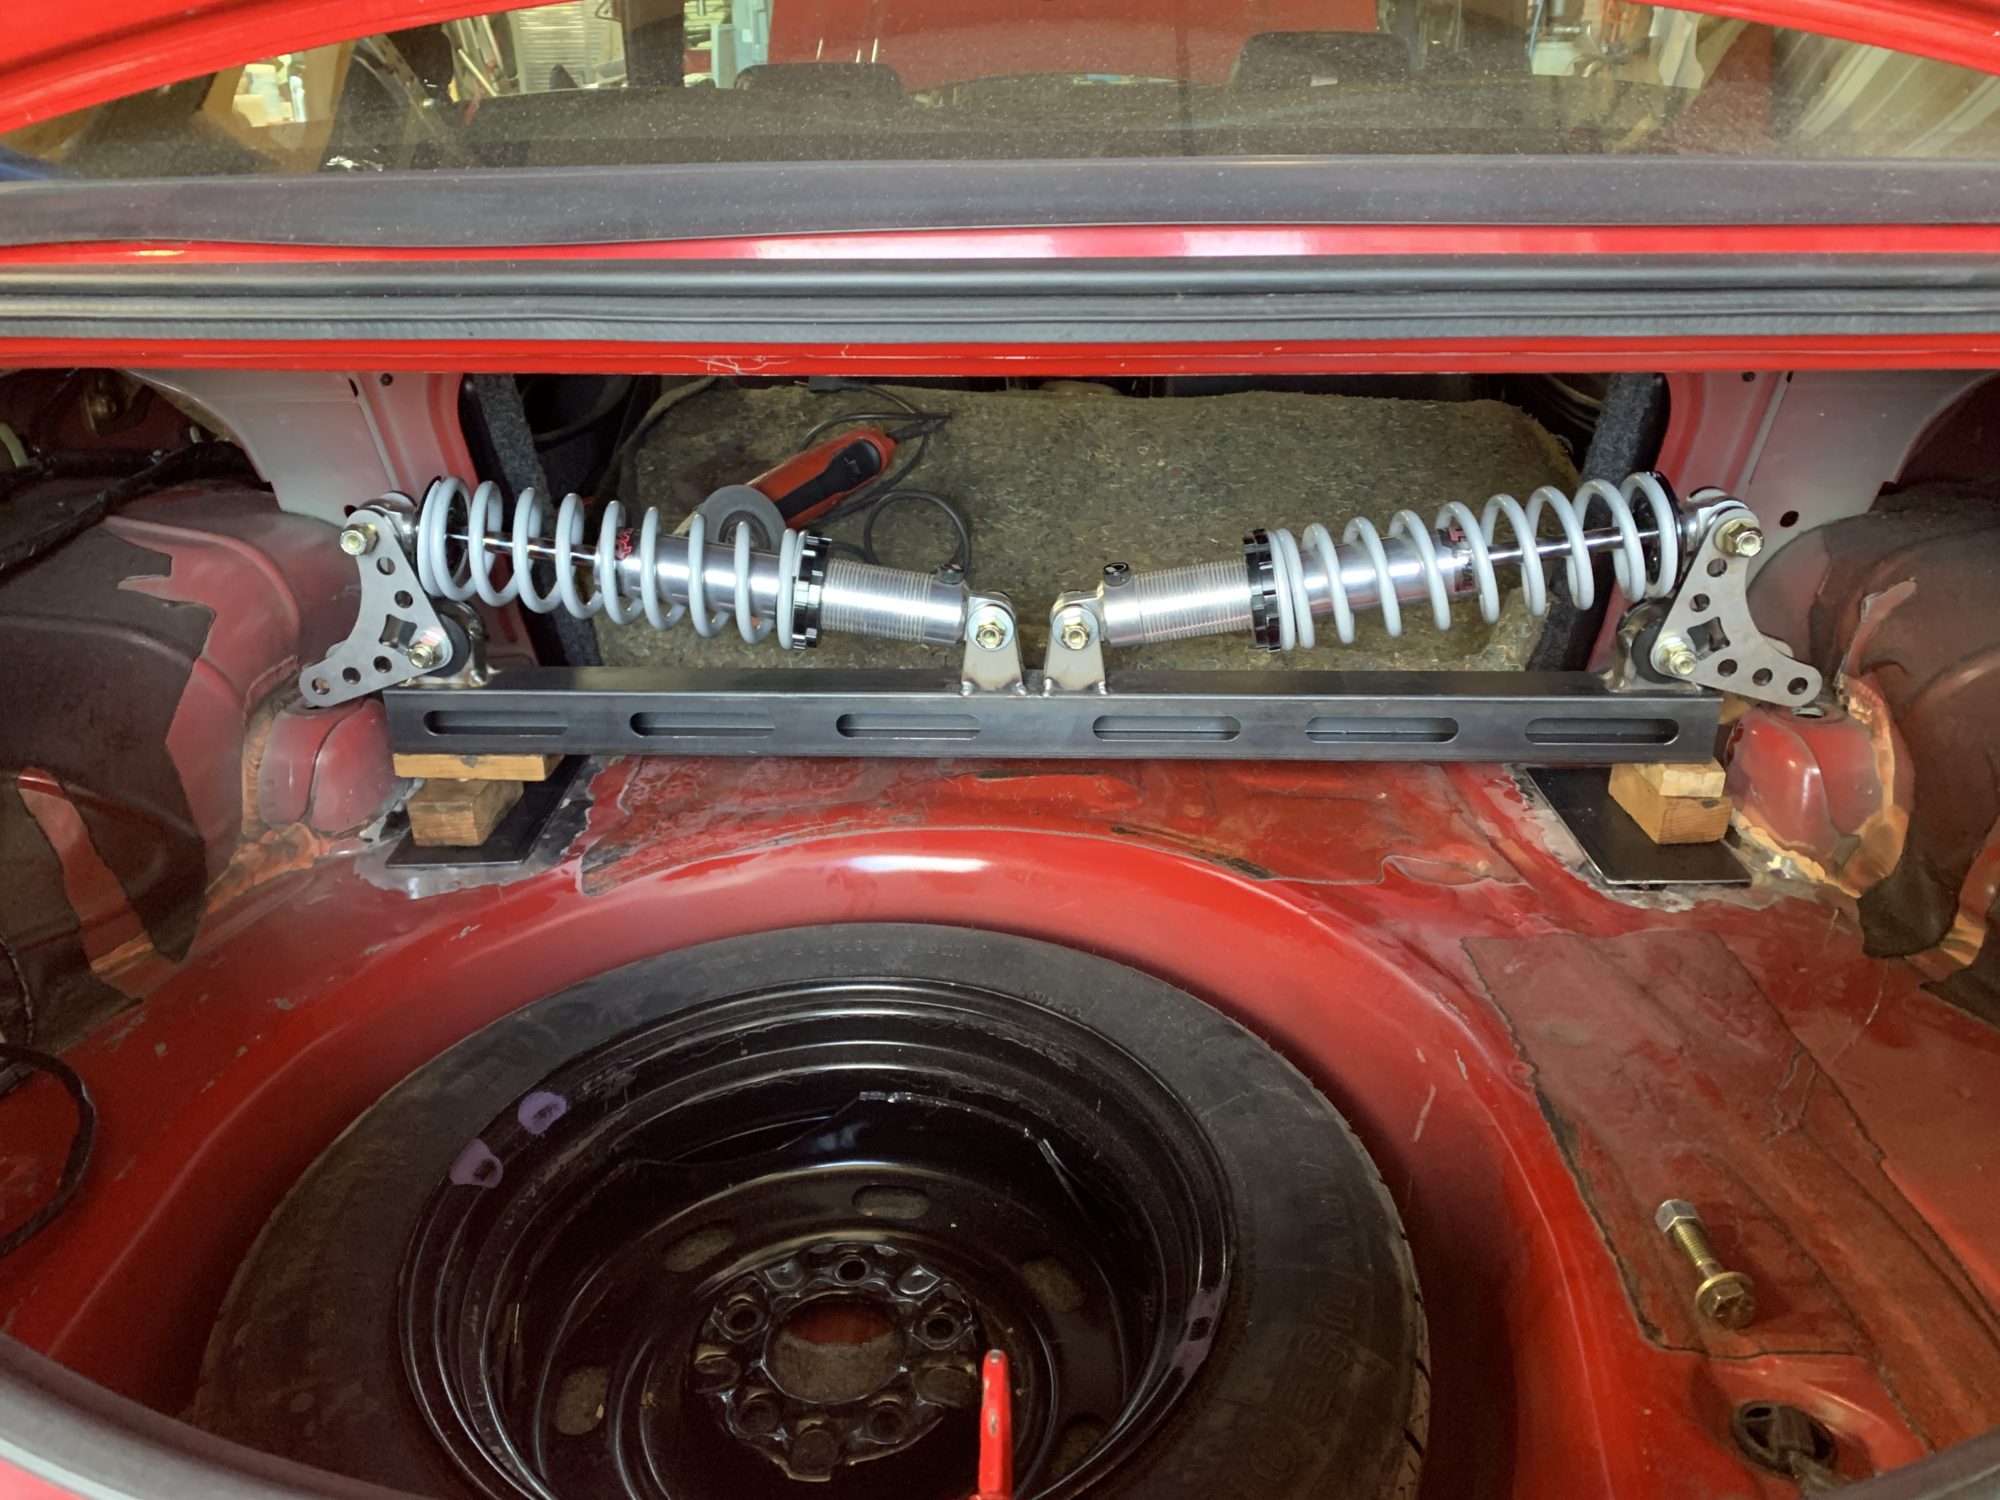
Cantilever Suspension: Final Report Part 2 (How)
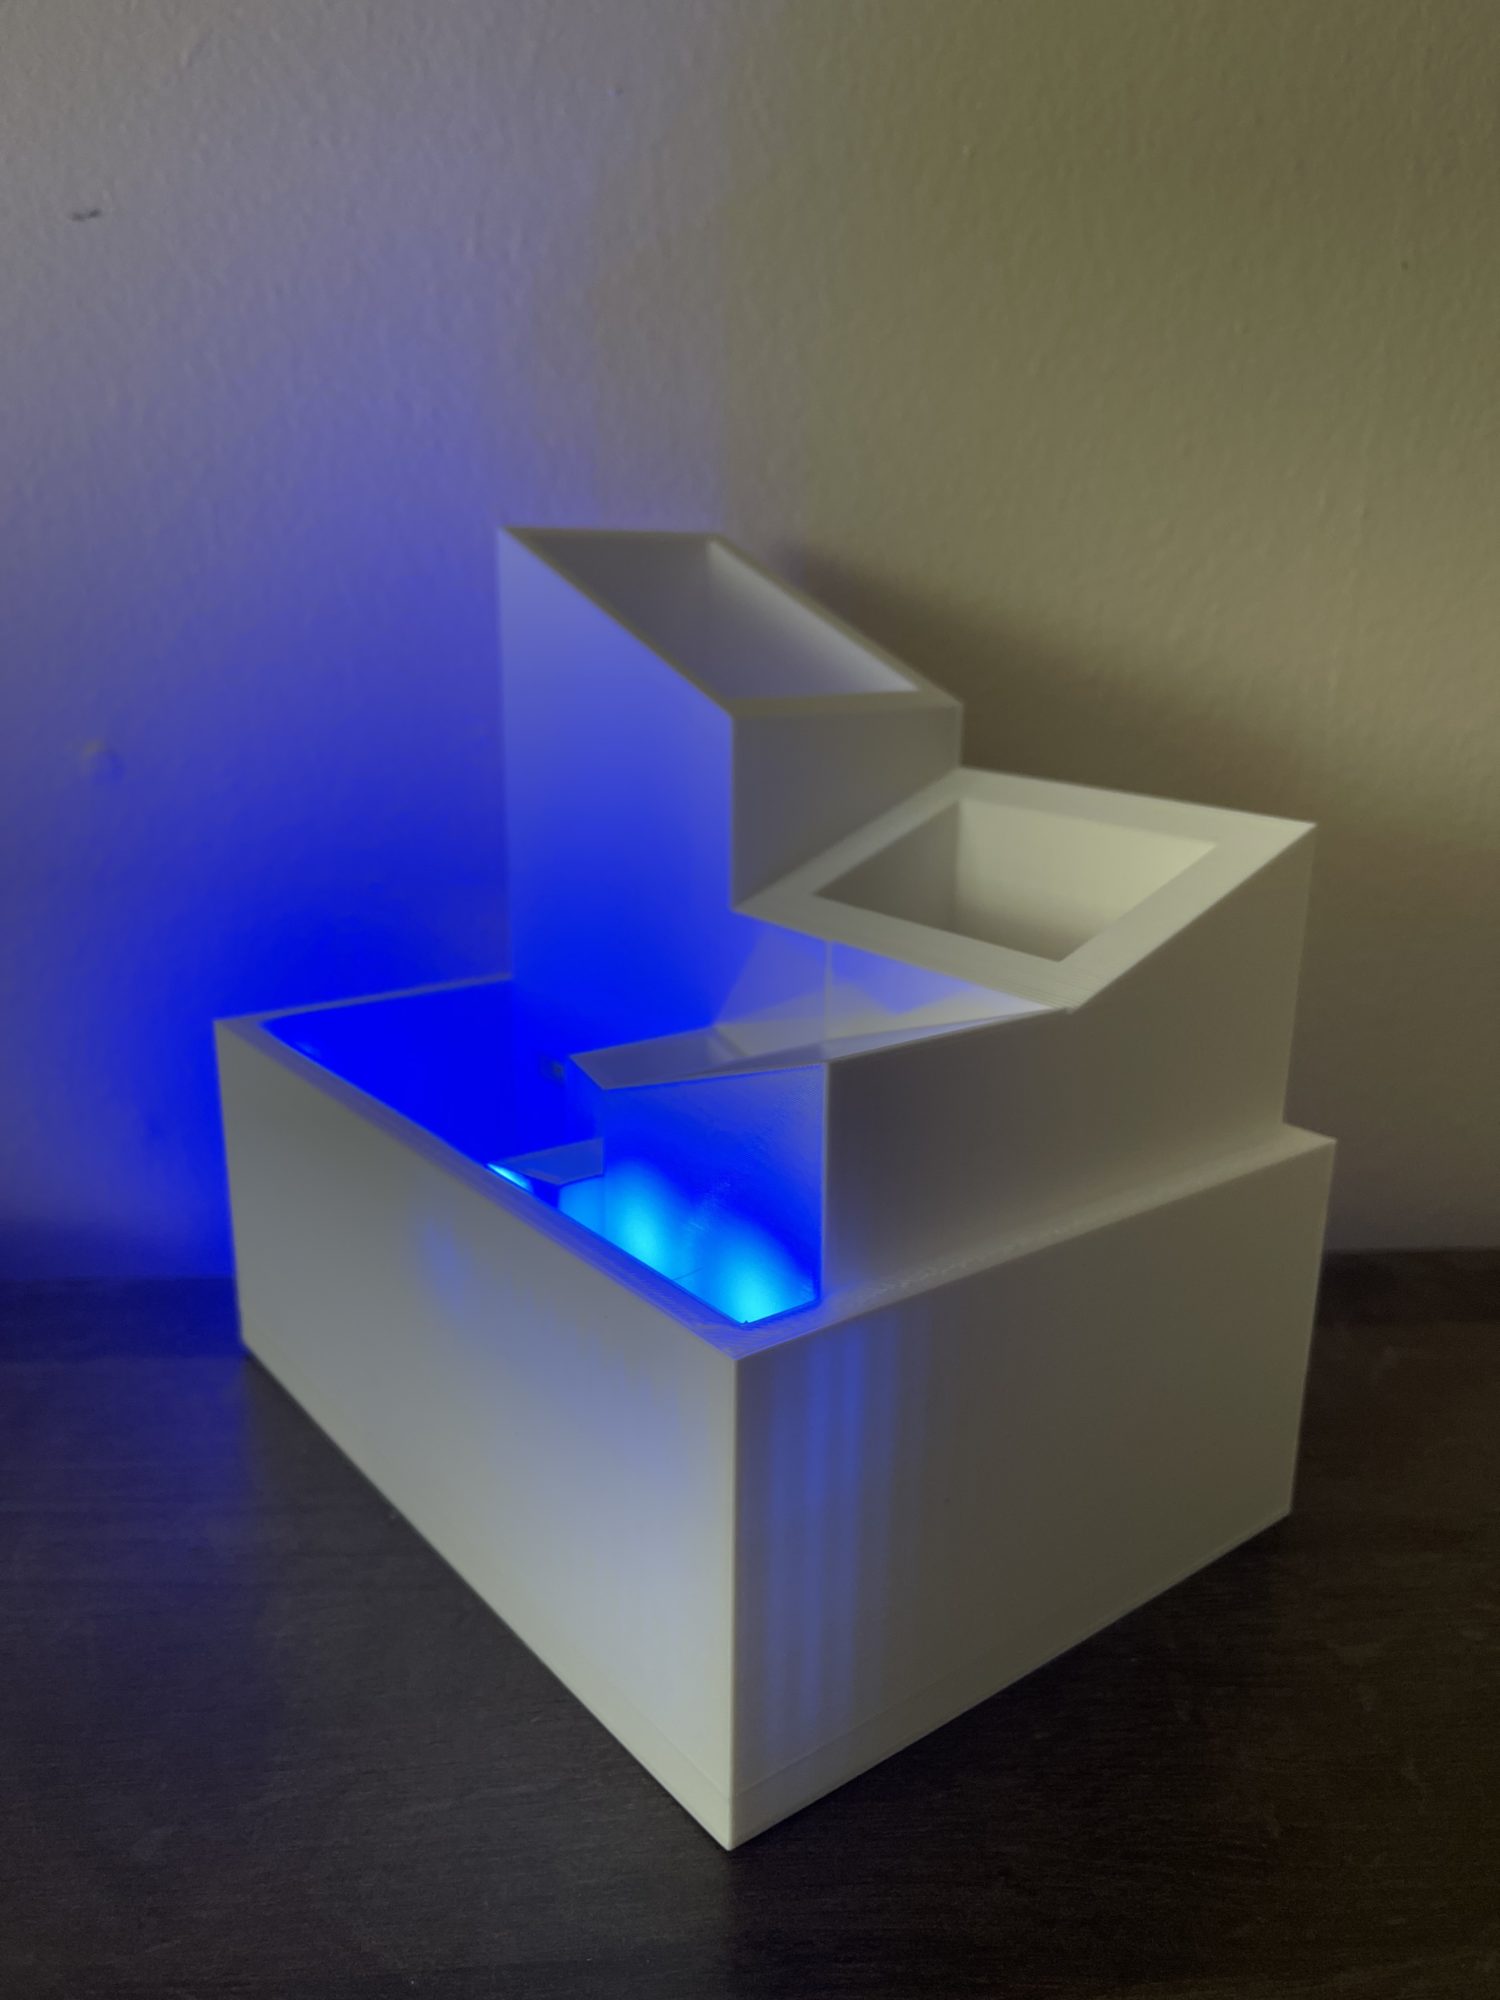
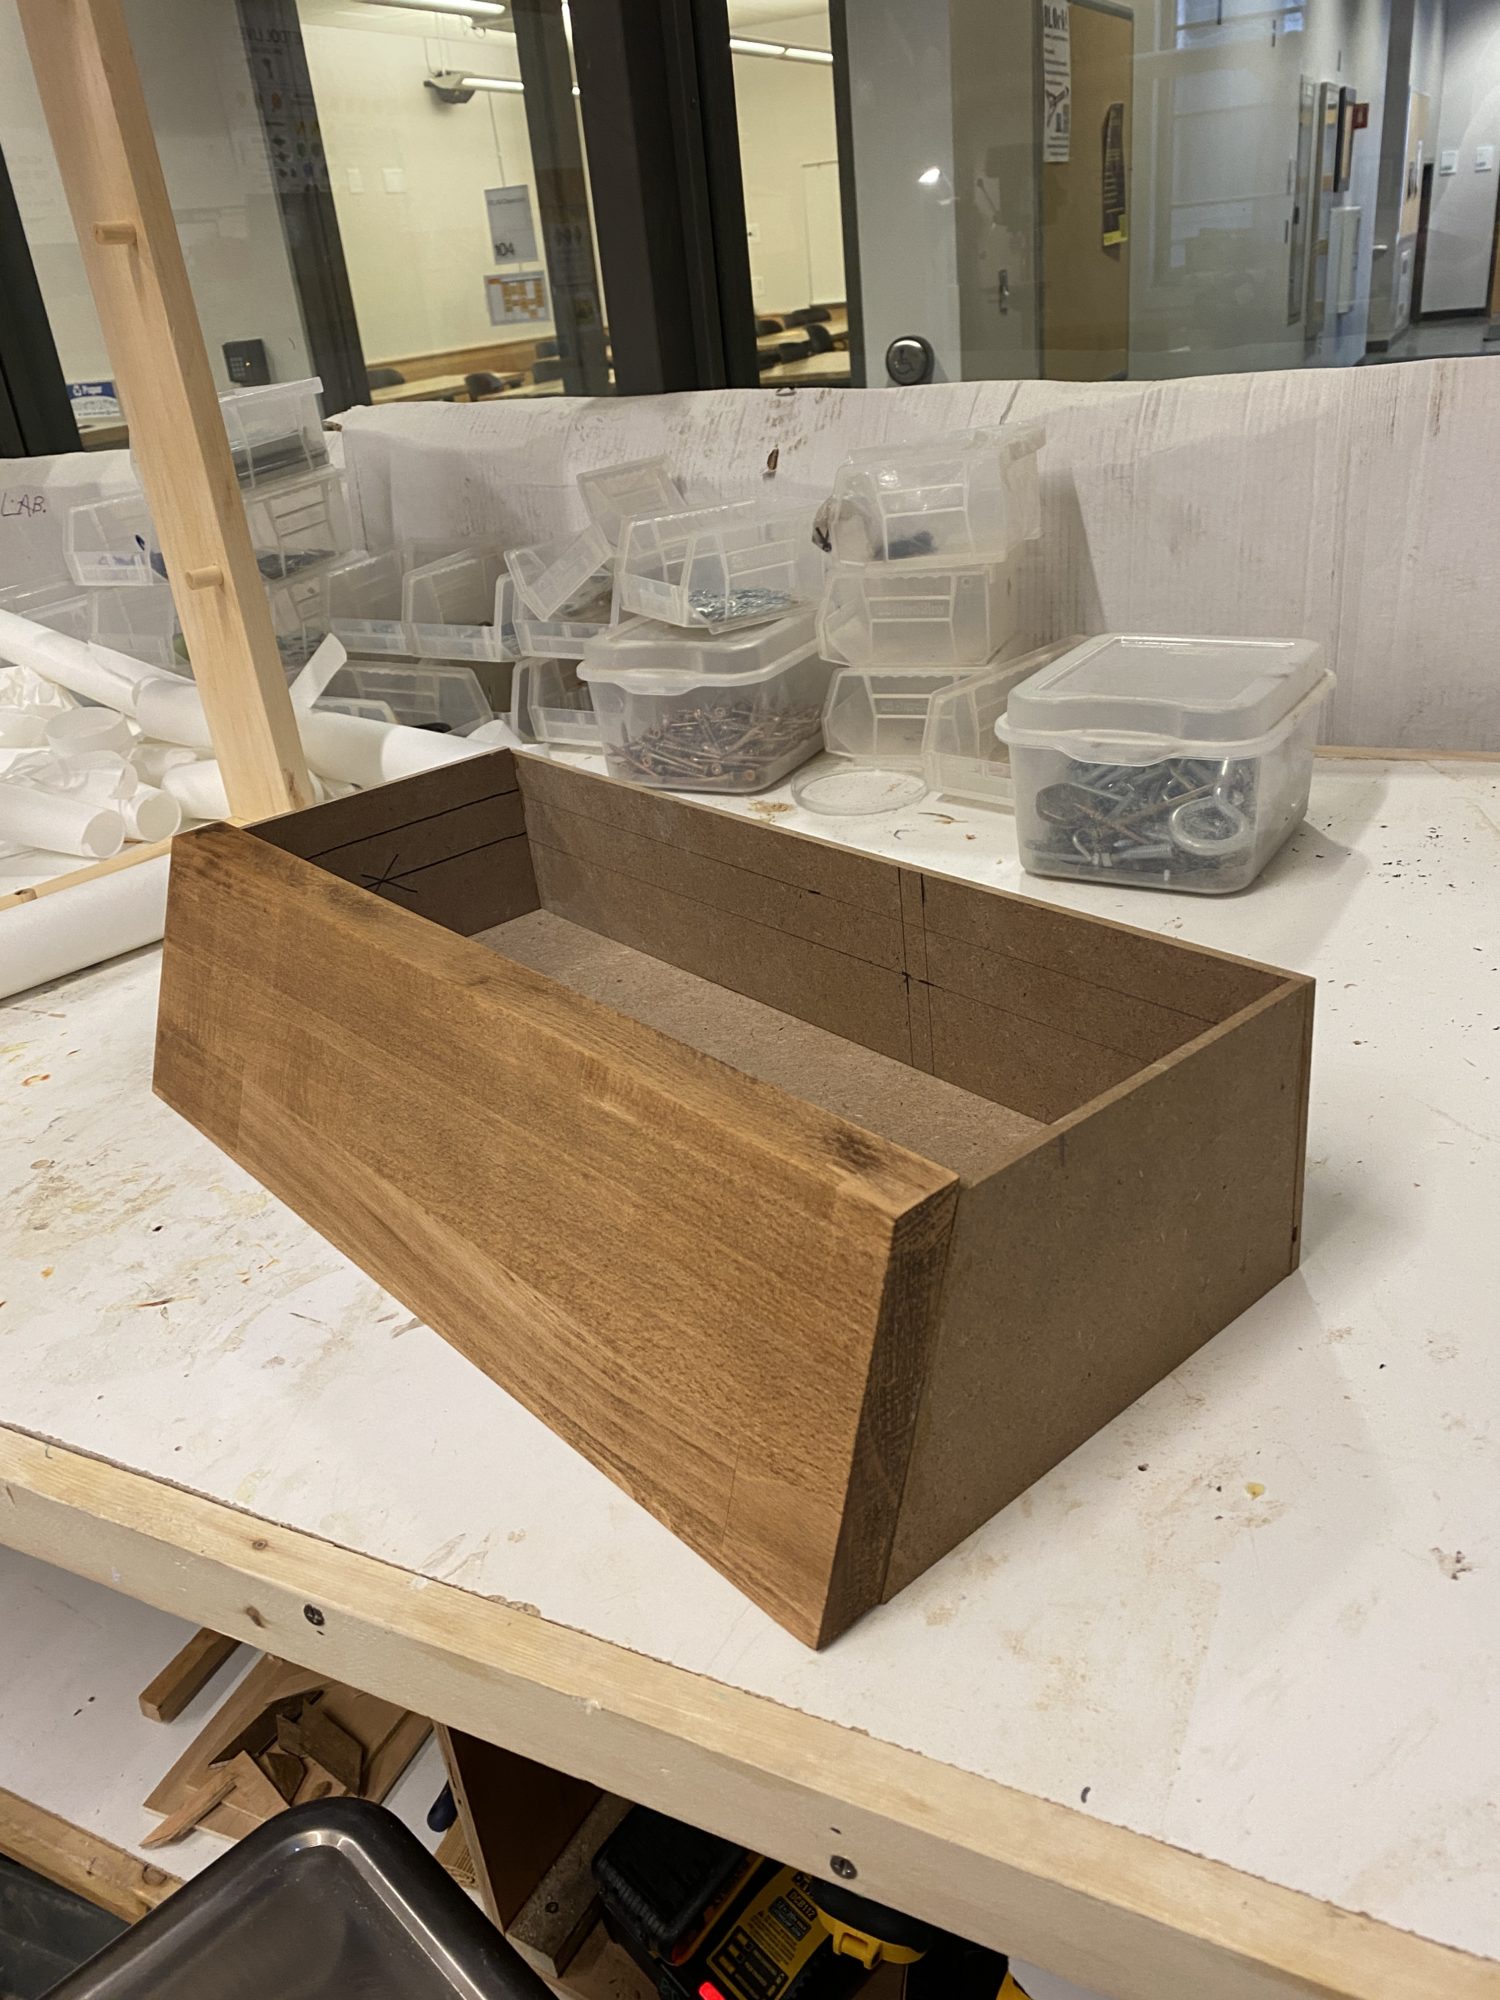
Minimal Modern Tabletop Water Fountain – Part 2
Desk Drawer: Final Report Part 2
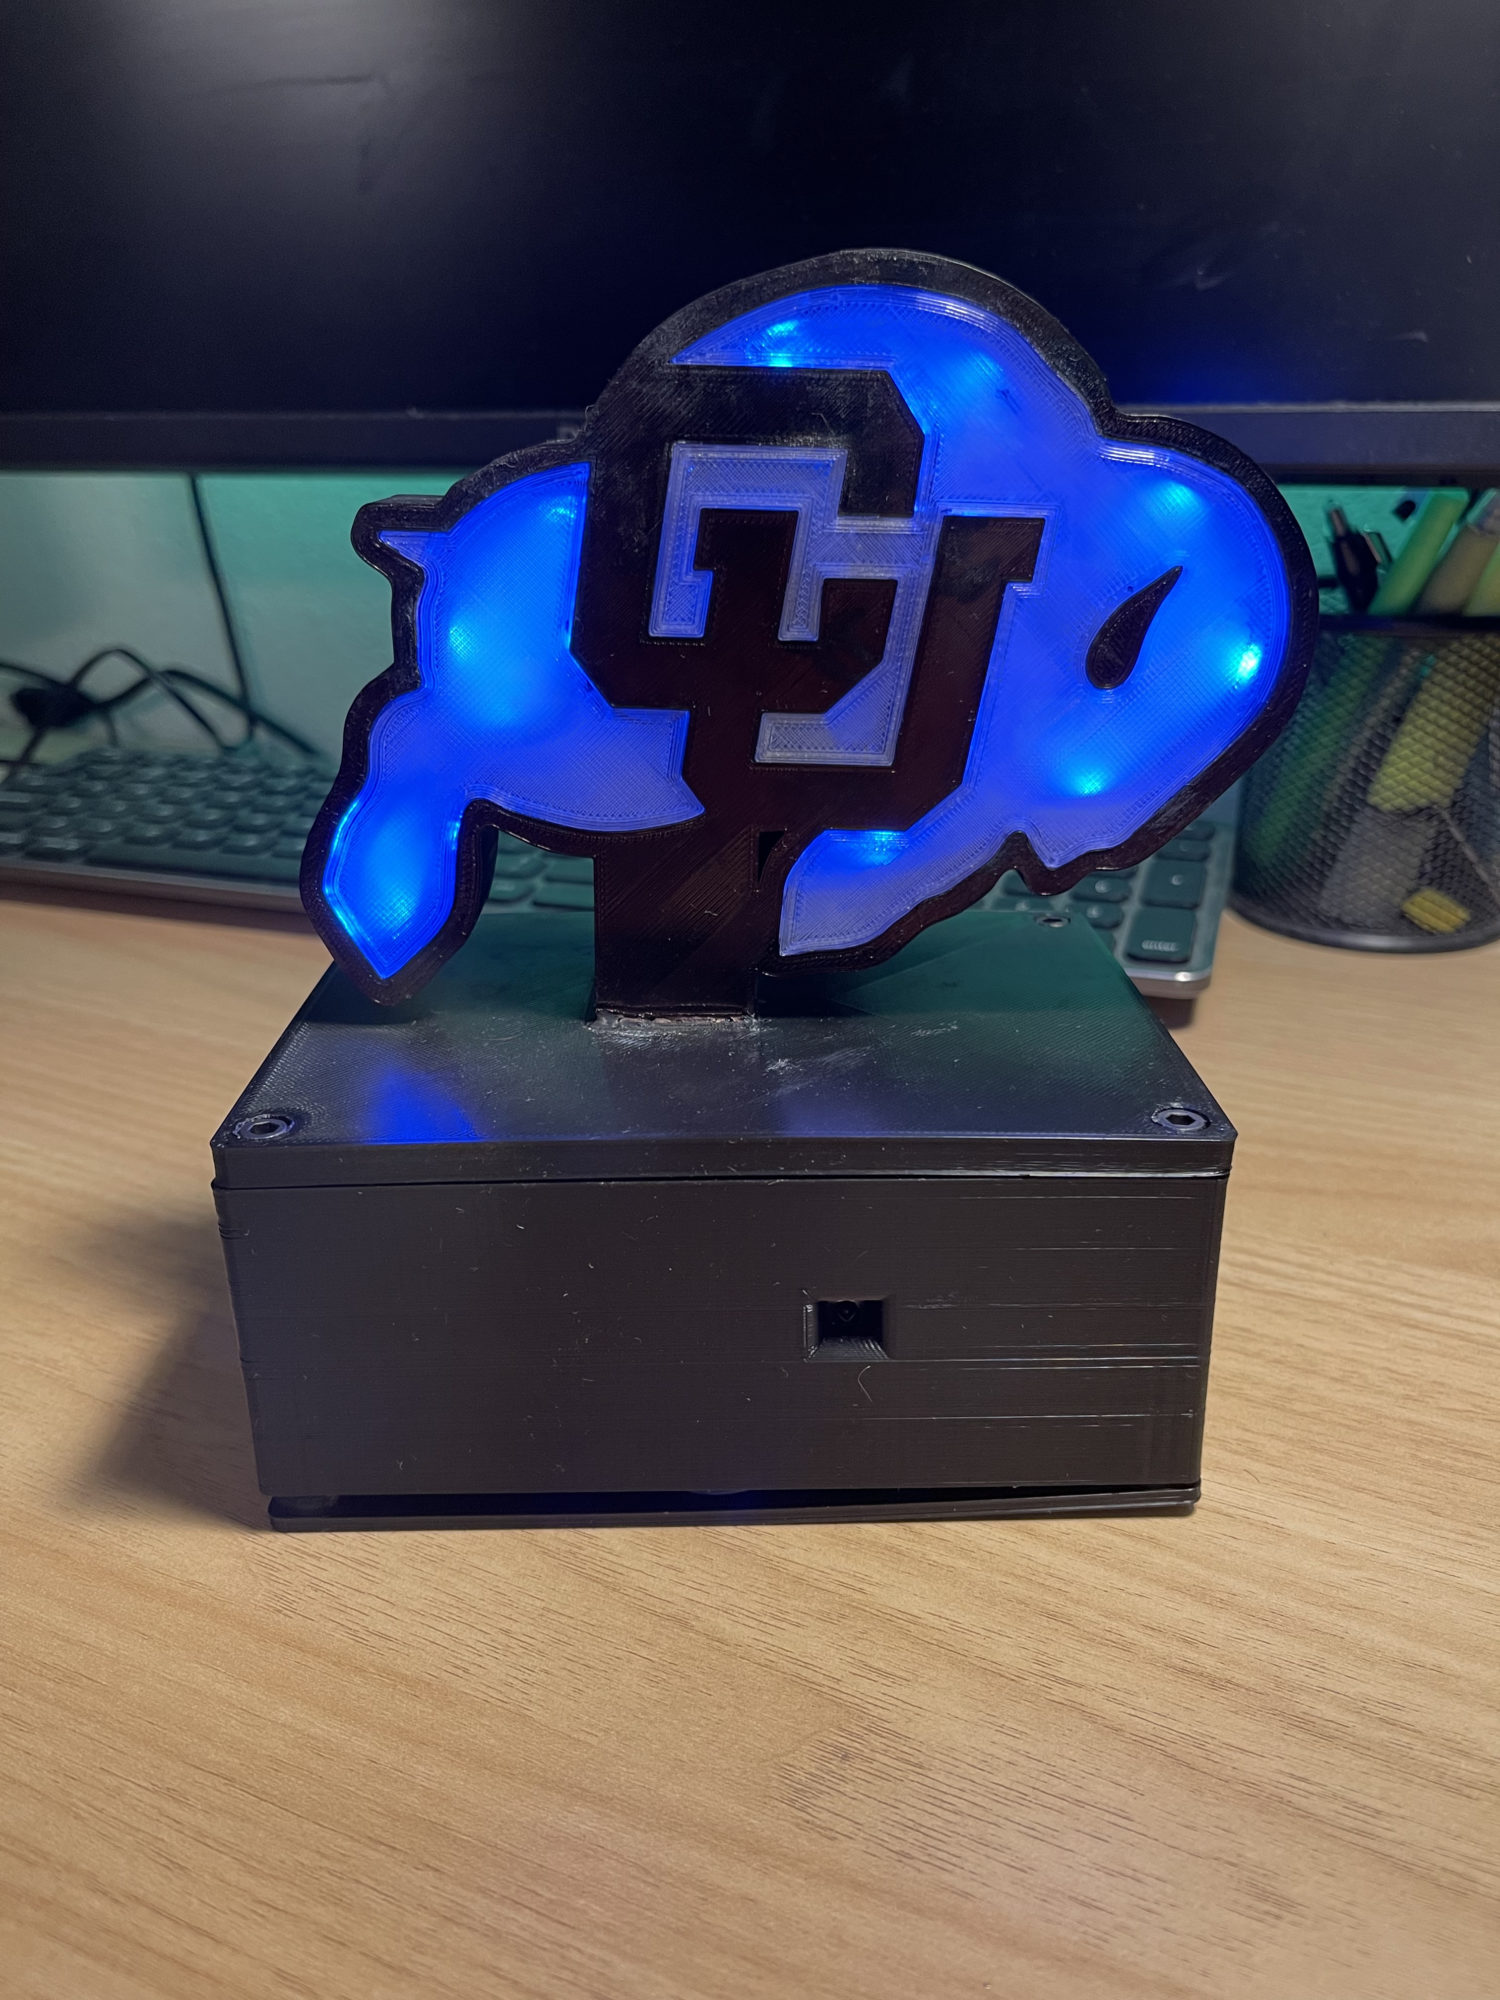
Final Report Part 2: CU Memento
Cassette Futurism Alarm Clock: How It Was Made
The Pirtle Project – How
Wooden Escapement: How it was made
Post 12: Main Project Final Report Part 2
Iris Mechanism Table Final Report Part 2
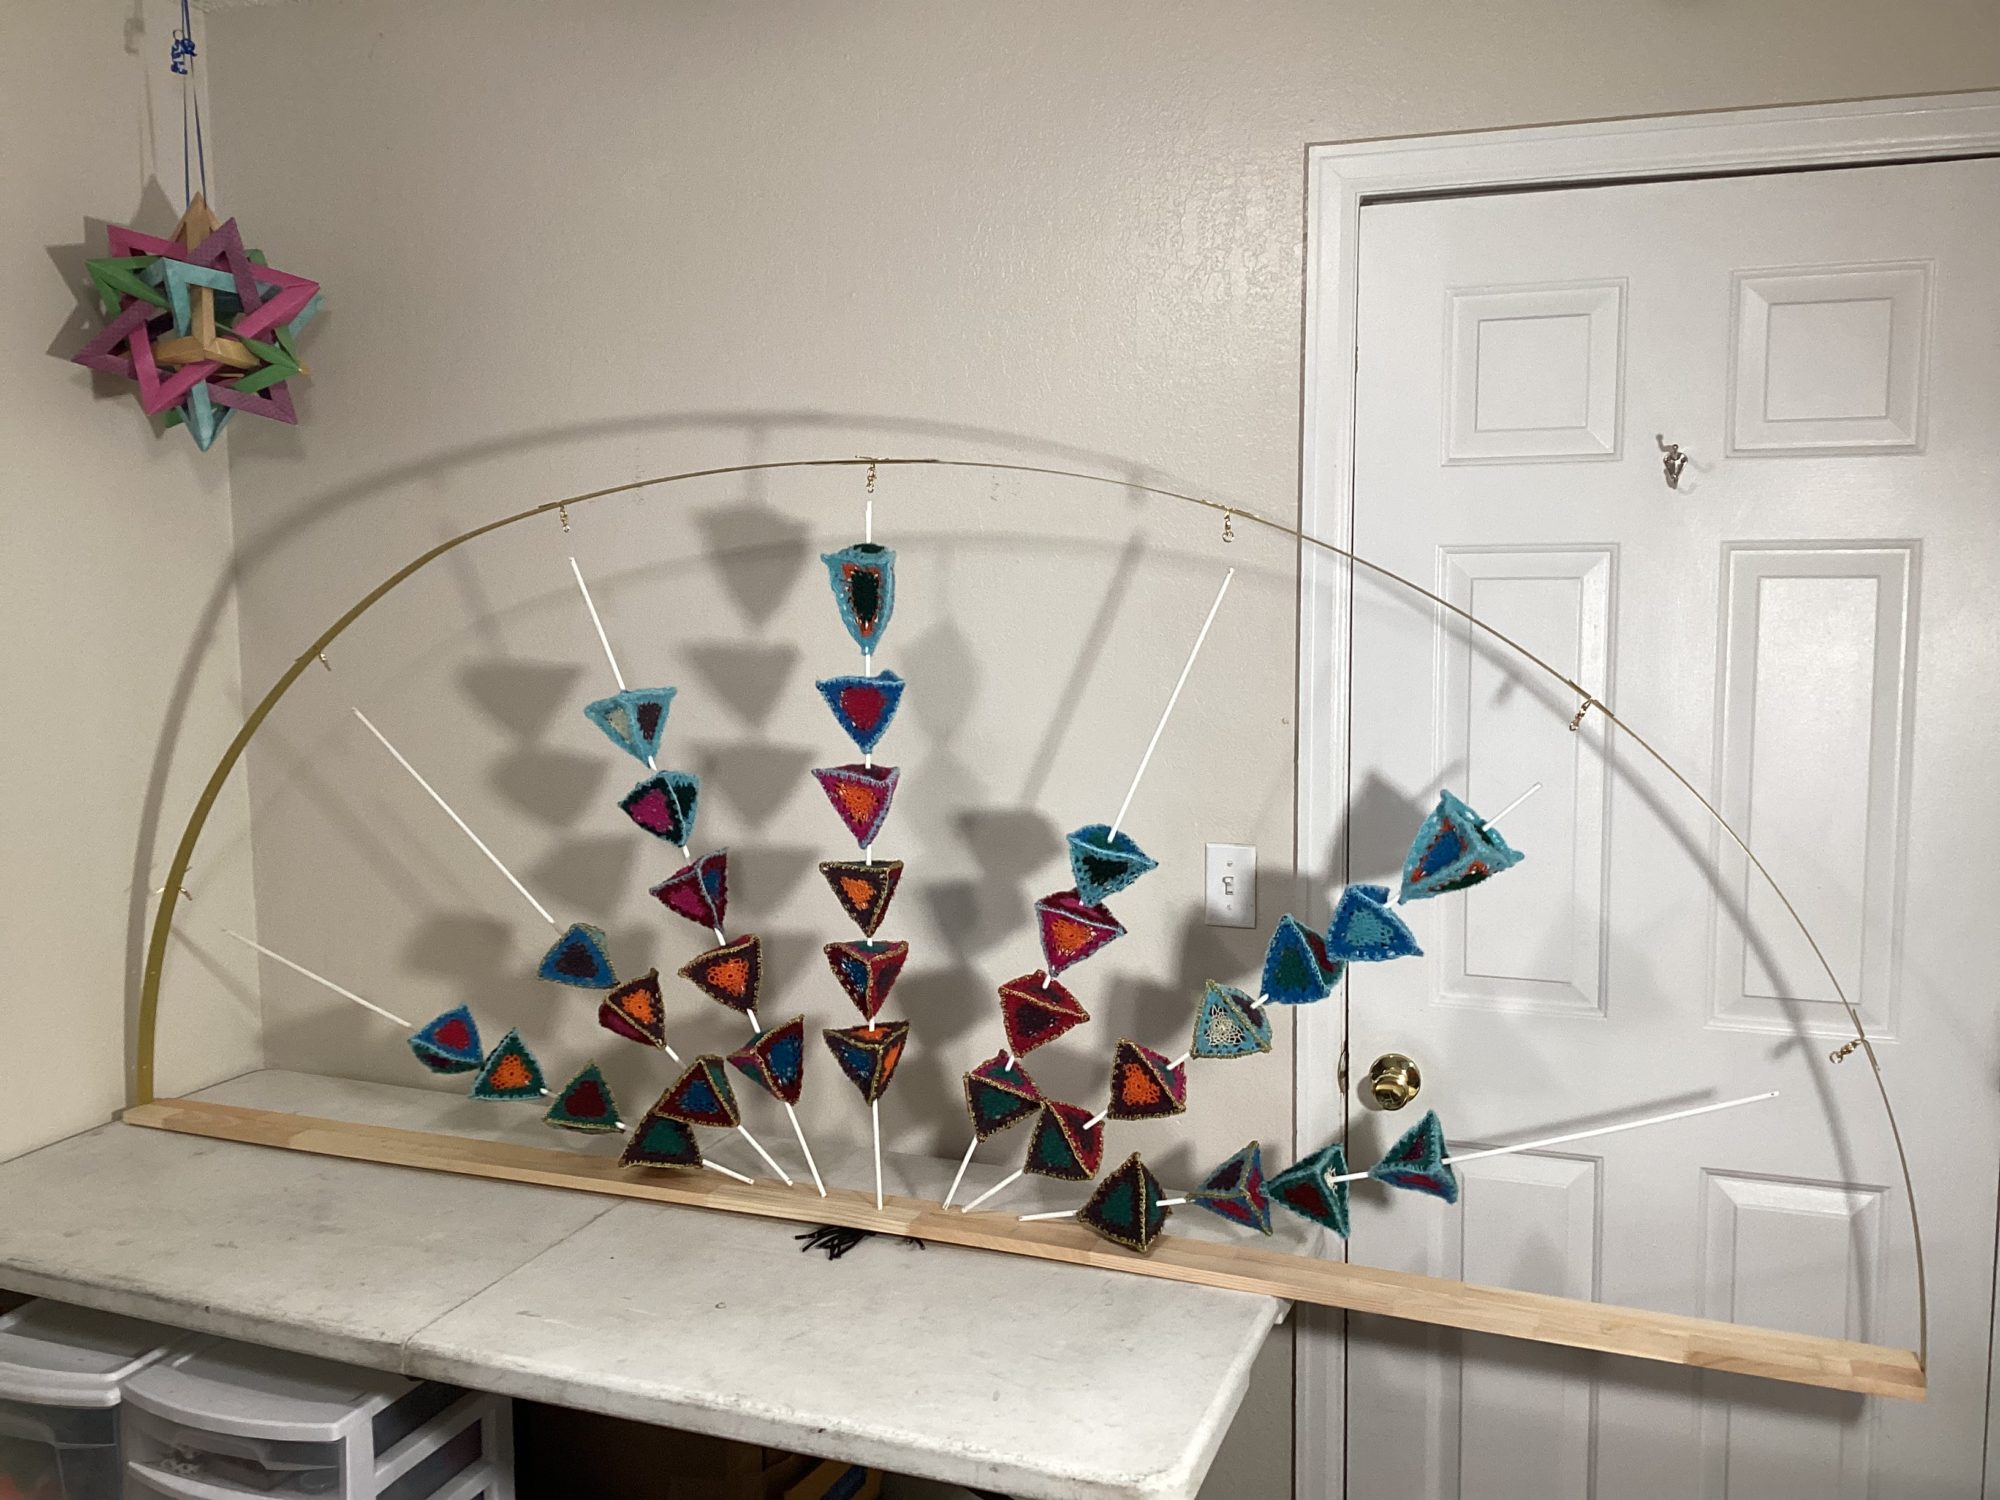
Textile Sculpture – Final Report post 2
Final Report Part 2
Final Report: Part 2
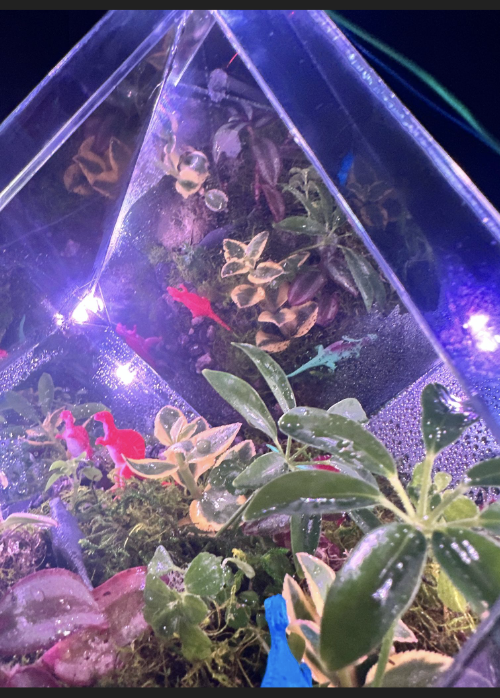
Infinity Mirror Terrarium Final Report Part 2: How
How it was Made: Mechanical Drawing Machine
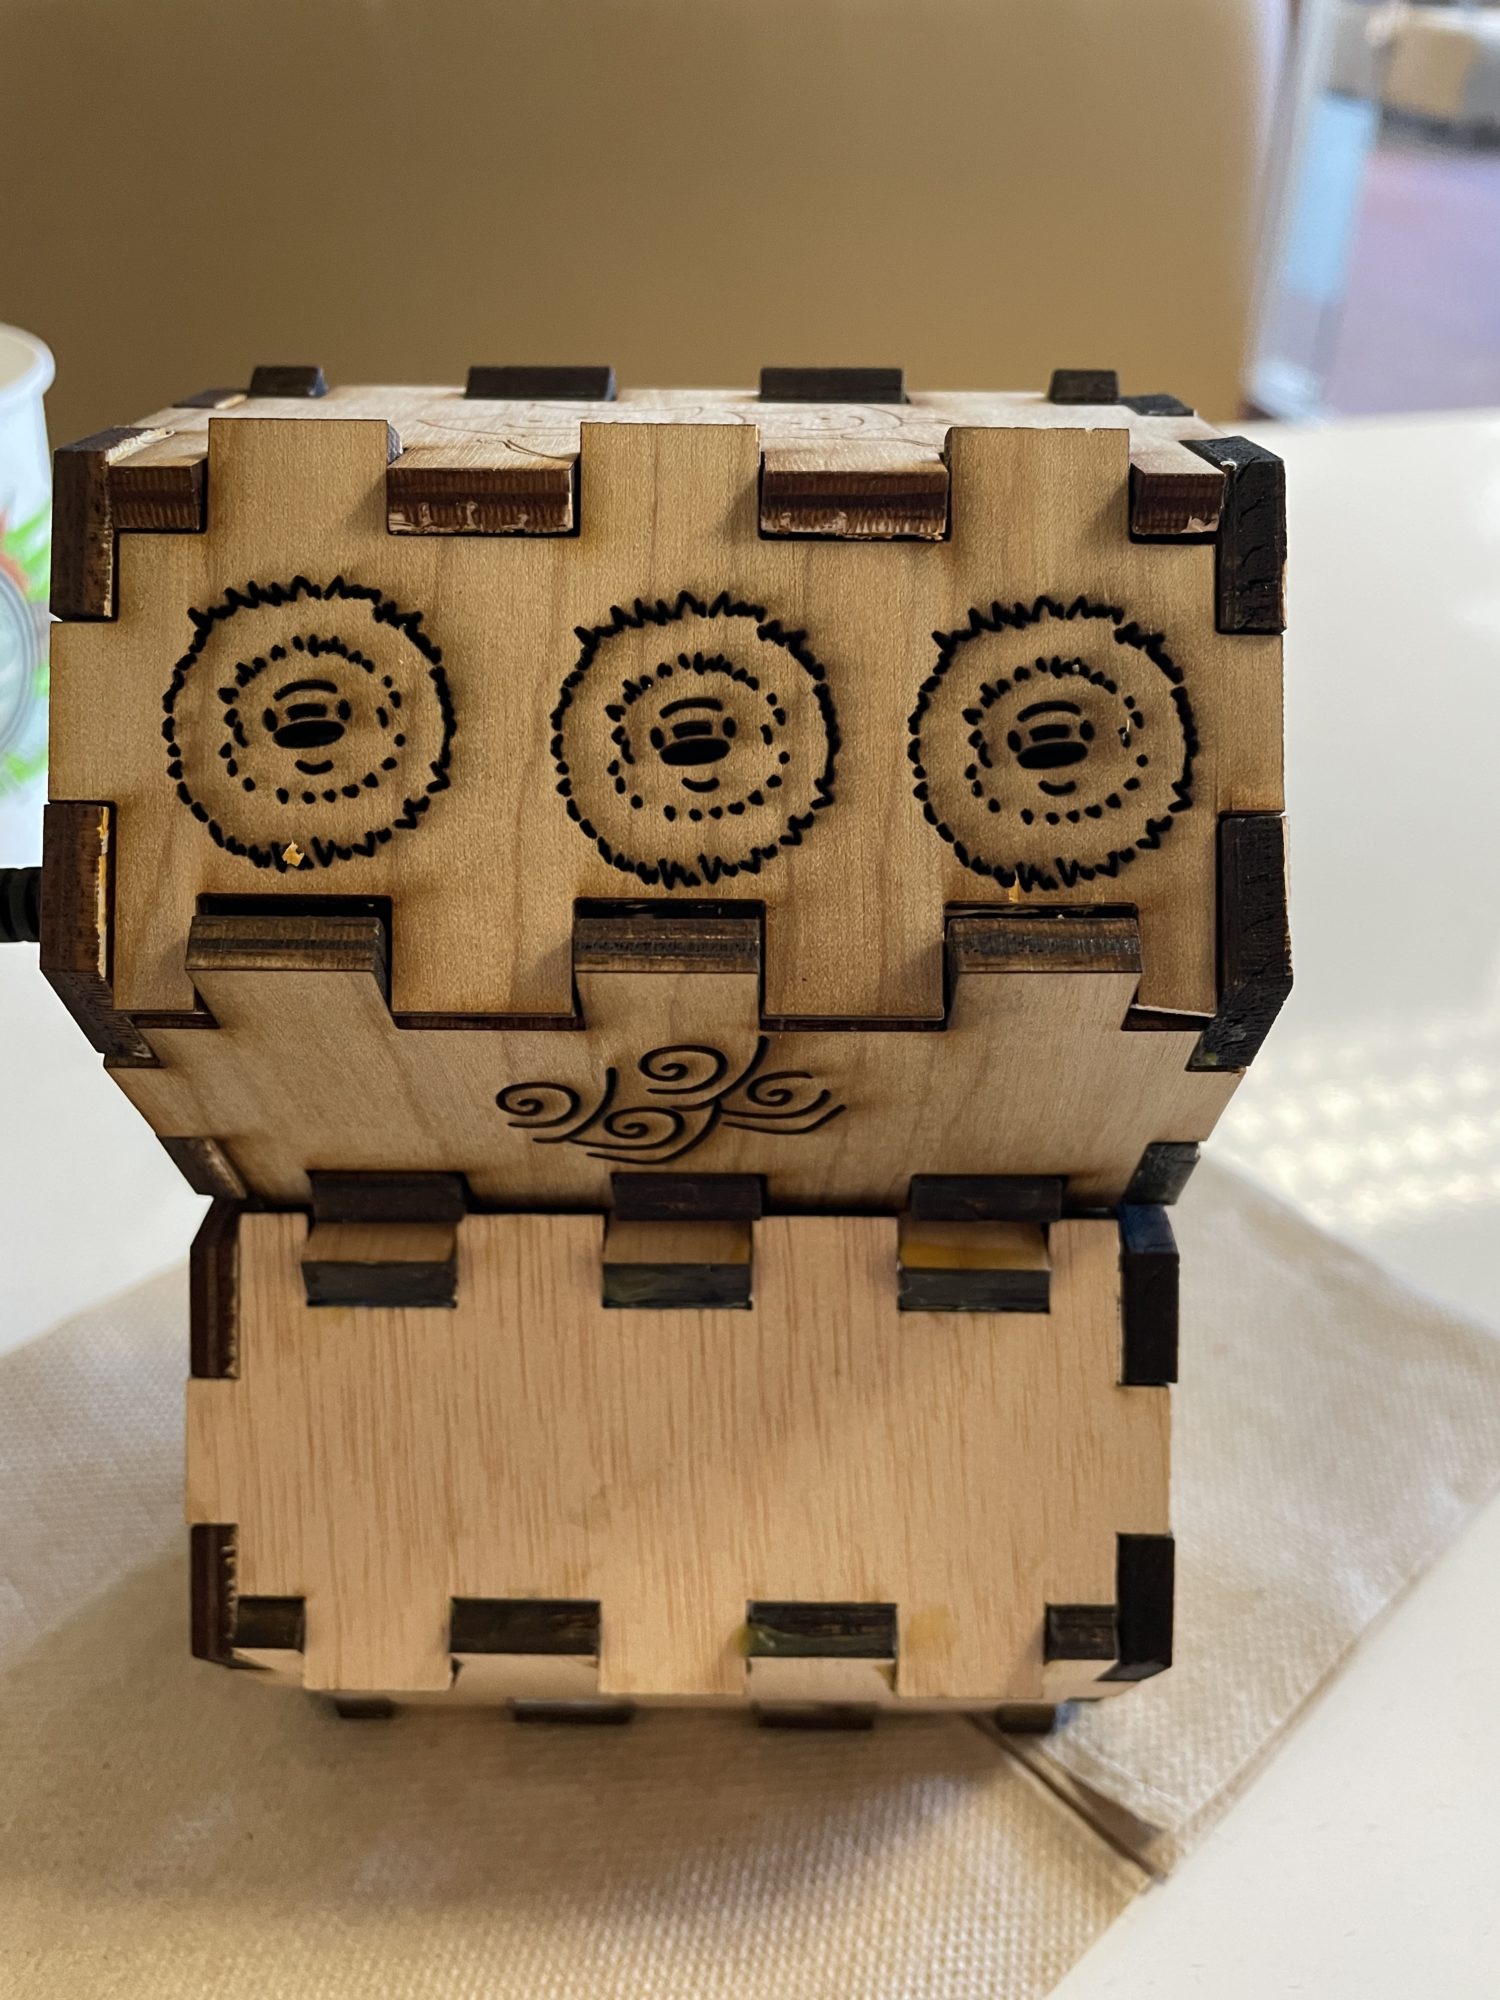
Final Report Pt.2 – Puzzle Box
Post 12: How
Final Report: How
Design Report: Part 2
Post 12: Final Report Part 2
Final Report 2
Final Project Report :- How it was made!
Minimalist Shelf – How
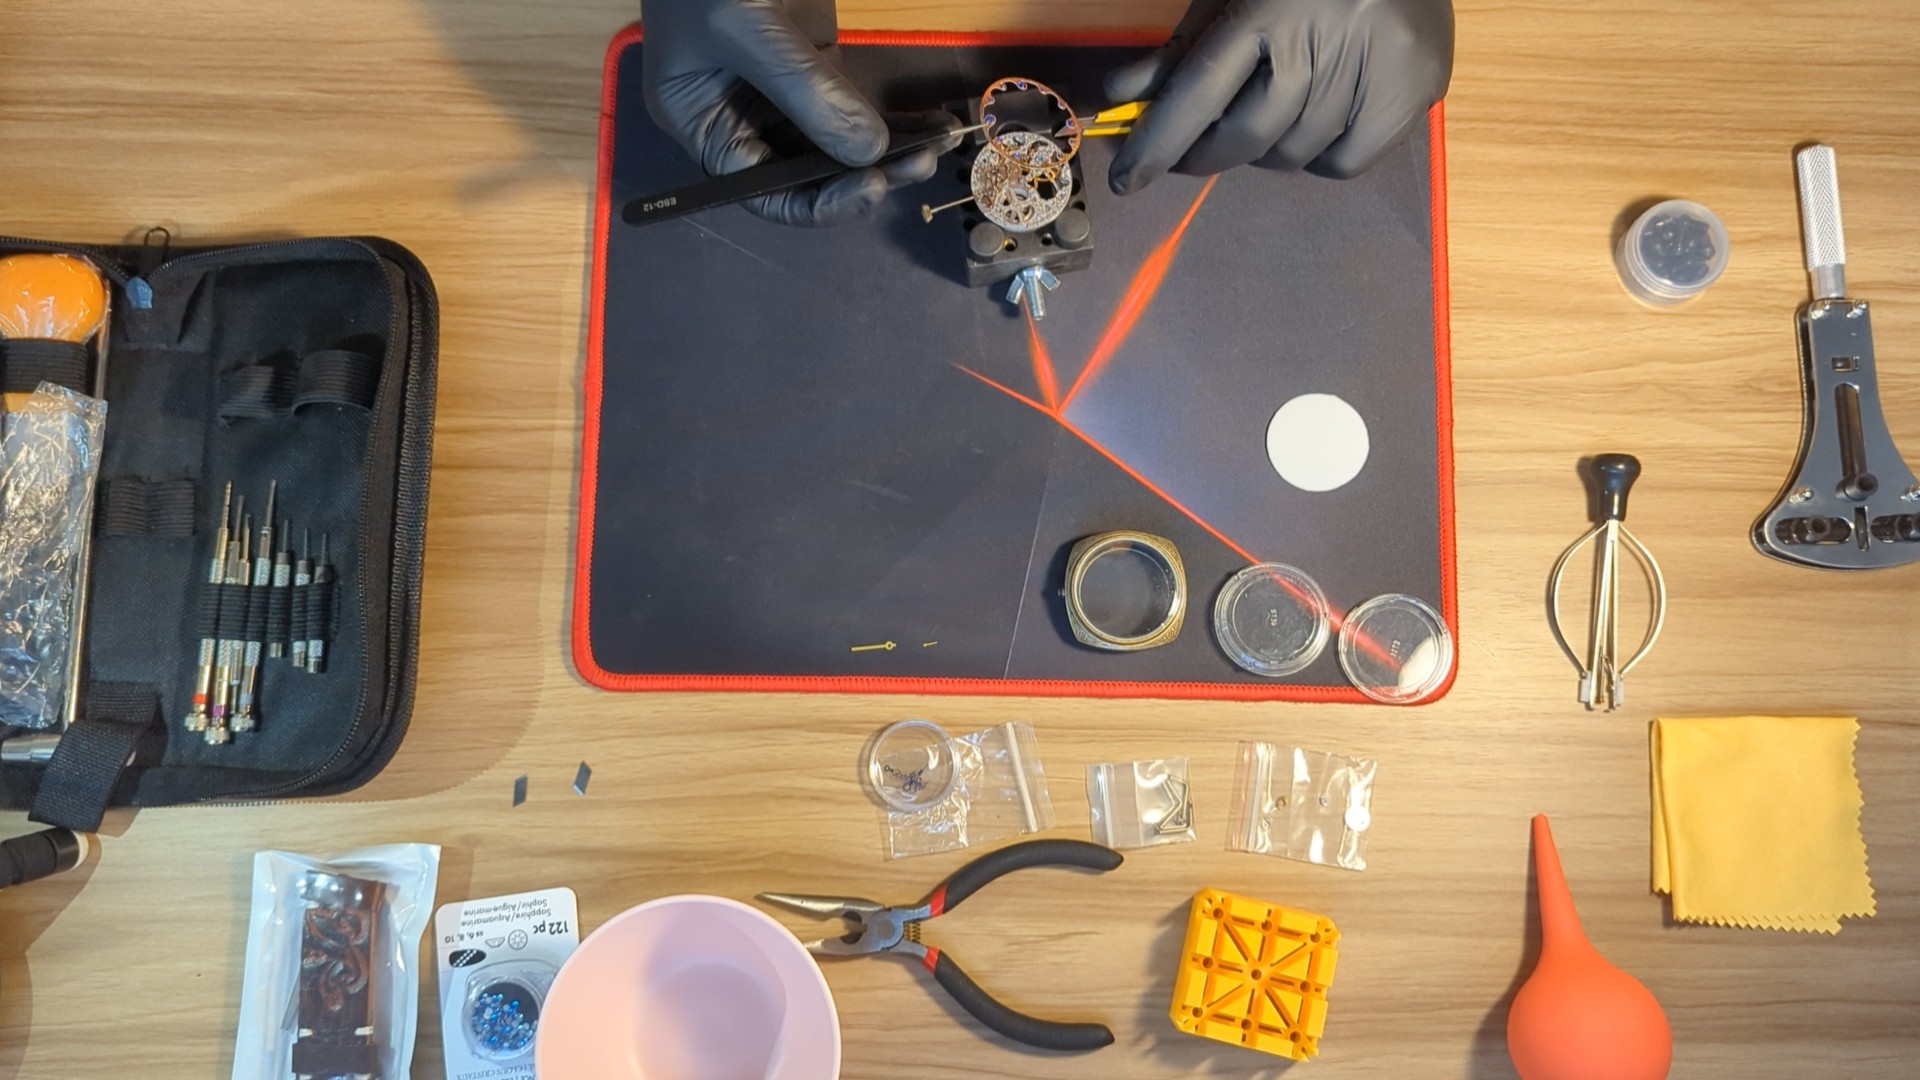
ArtisanalTime : How?
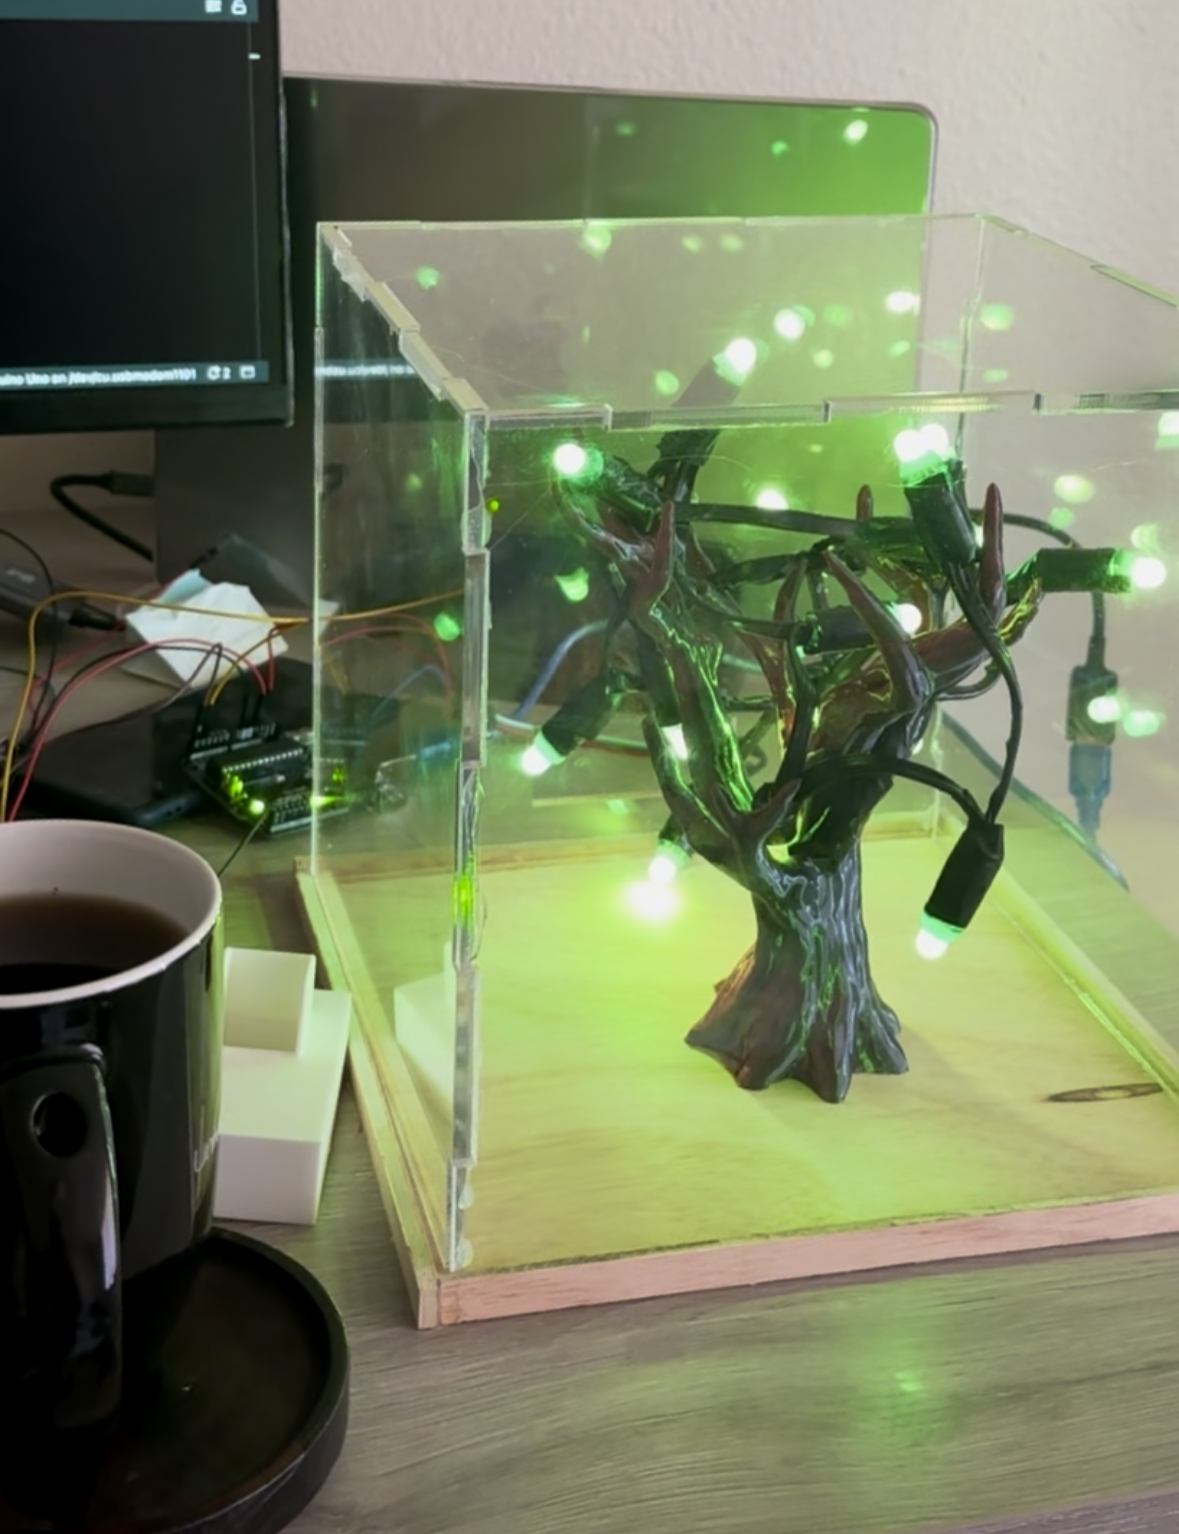
Creating an Interactive Tree: The Making Process
Final Report: Part 2
Part 2 – Final Presentation
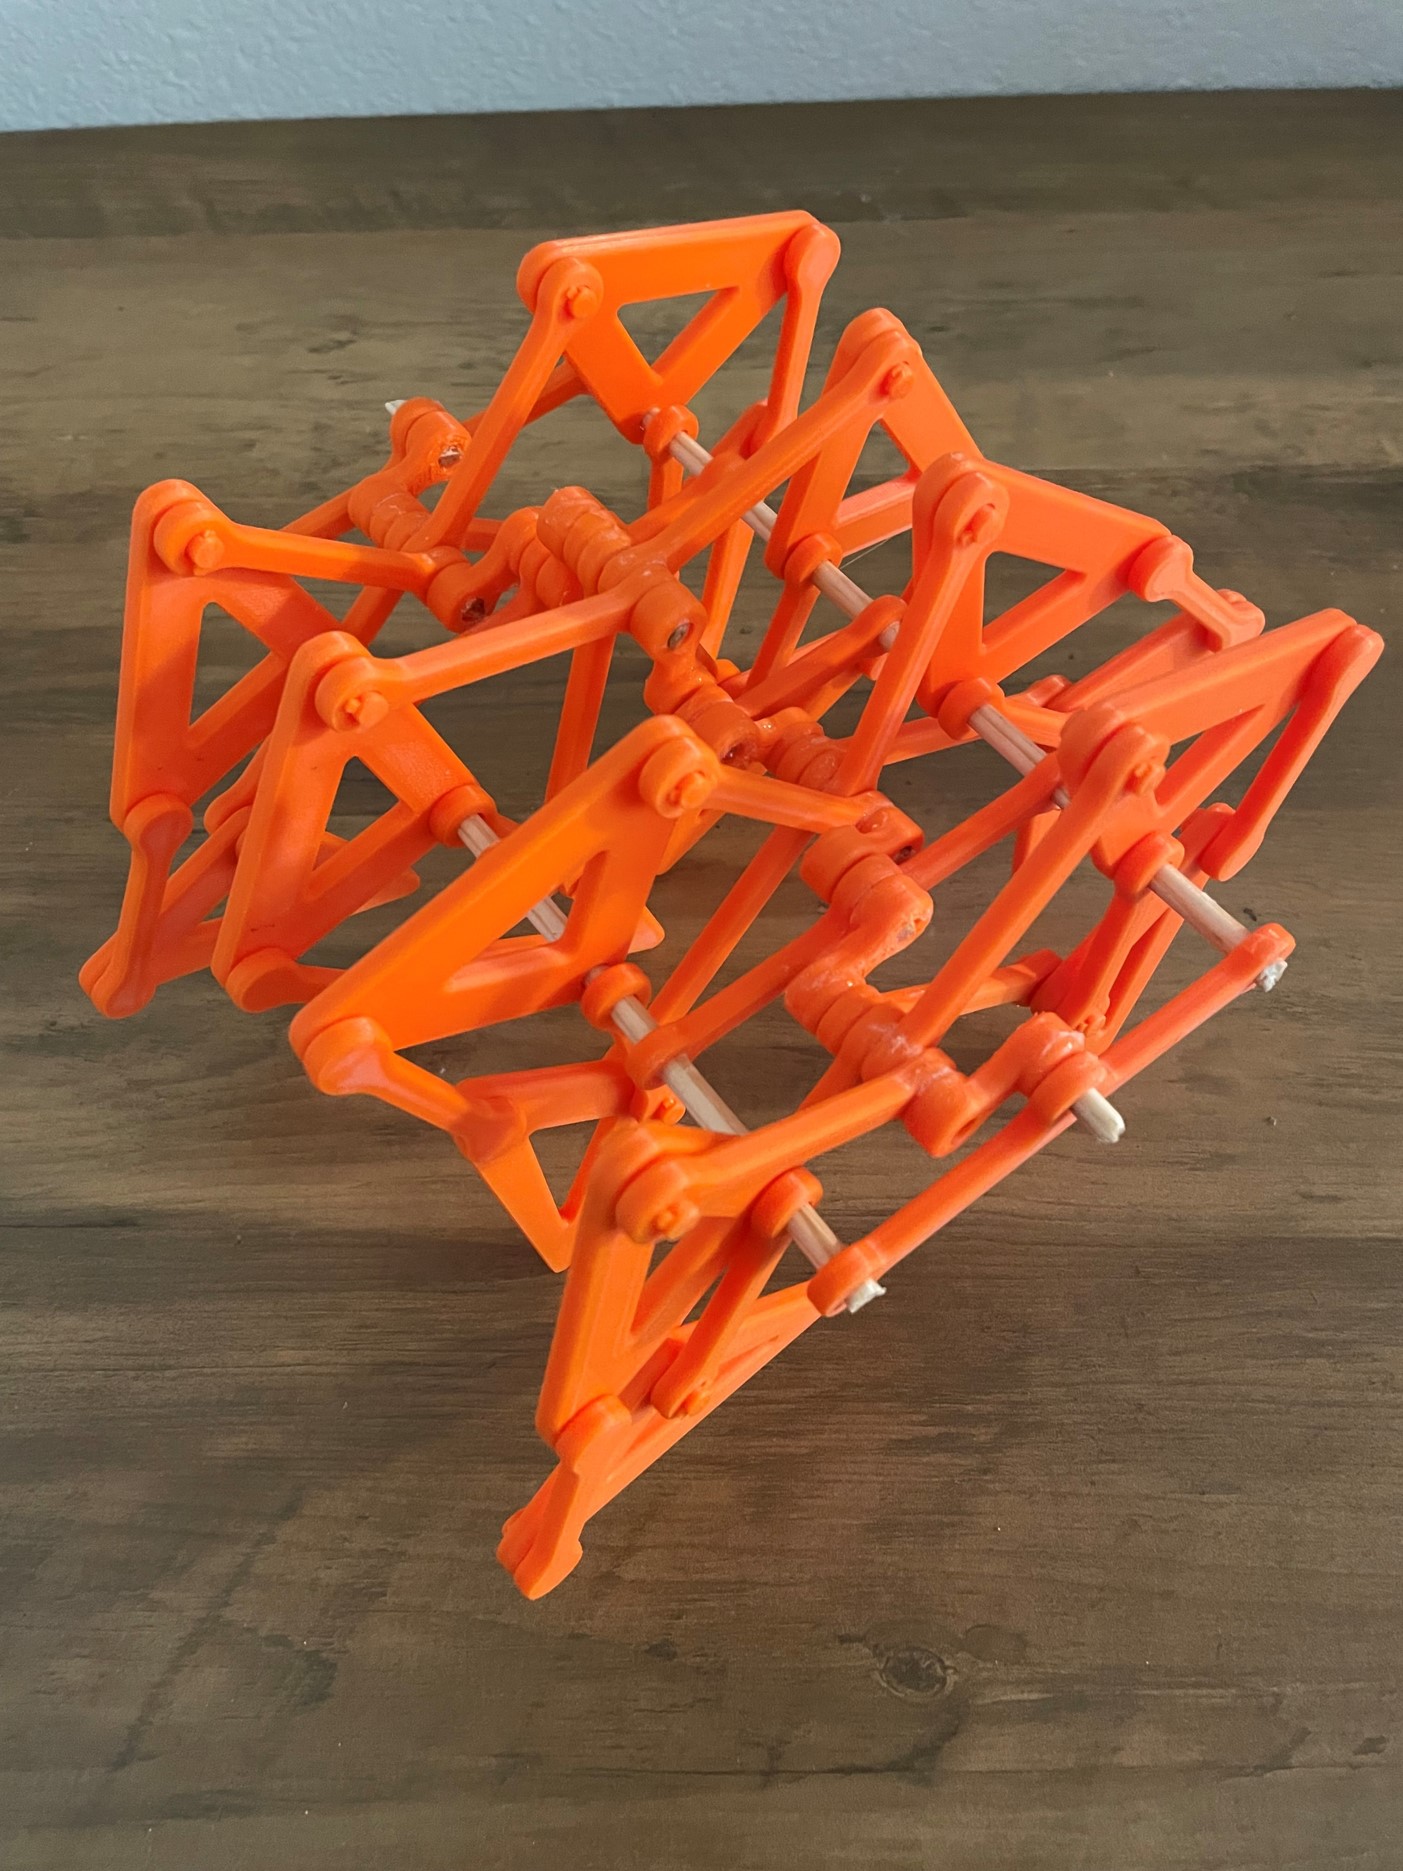
Final Report Part 2: Strandbeest
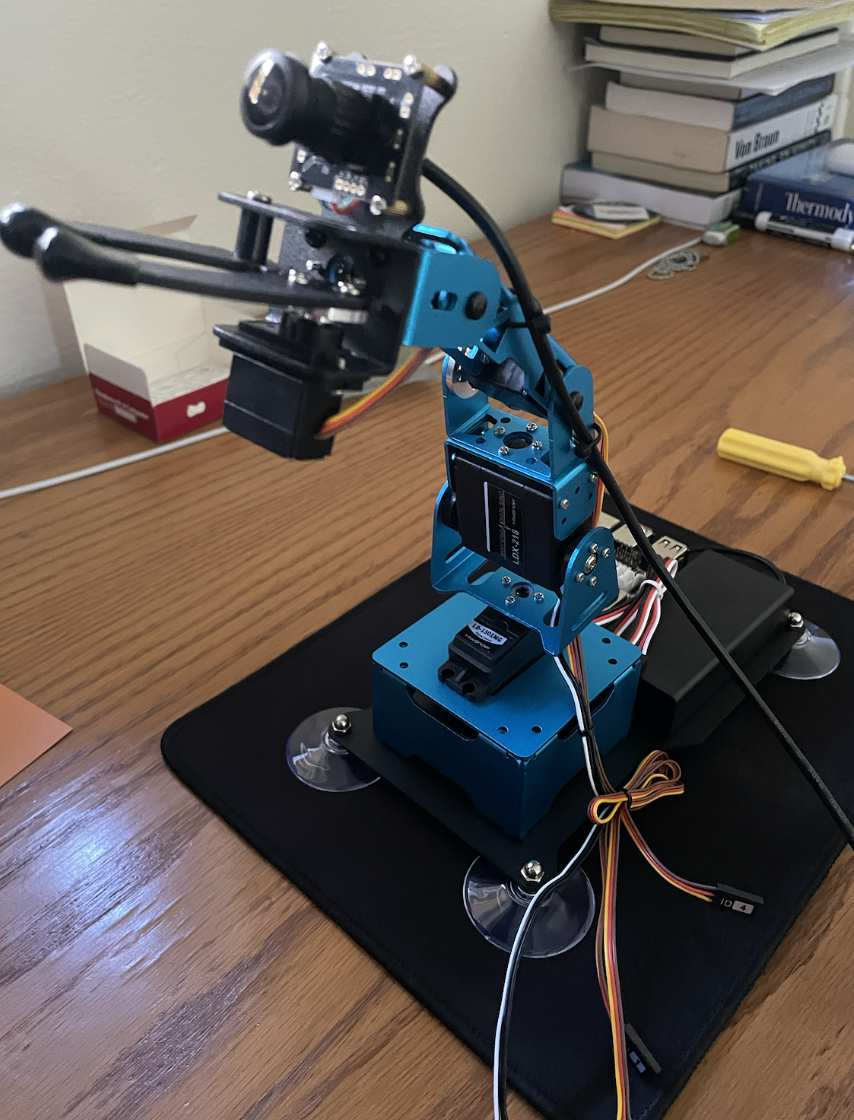
Robot Final Report(Part 2) – How?
Menu