Home
Most Recent (2026)
Past Work
Light fixture
A/V music tech
Furniture
Mirror
Pet Accessory
Product Design
Sculpture
Wall art
Other
2025
Post 01 2025: Aesthetic Explorations
Post 2- 2025 : What is your Upcycling project? What is the aesthetic and why?
Post 3 – 2025 : Upcycle Progress
Post 4- 2025 : Opposite Upcycle Aesthetic
Post 5 – 2025: Upcycle Design Report
Post 6 – 2025 : Main Project Plans and Inspirations
Post 7 – 2025 : Main Project Aesthetics: Plans and Alternatives.
Post 8 – 2025 : Design Preview Report
Post 9 – 2025 : Top 5 specifications, top 5 constraints
Post 10 – 2025 : Progress
Post 11 – 2025 : Final Report Part 1
Post 12 – 2025 : Main Project Final Report Part 2
Post 13 – 2025 : Portfolio
2024
Post 1: Aesthetics Exploration
Post 2: What is your upcycling aesthetic and why?
Post 3: Upcycle progress
Post 4: Opposite Upcycle Aesthetic
Post 5: Upcycle Design Report
Post 6: Main project plans and inspiration
Post 7 2024: Main Project Aesthetics – Plans and Alternatives
Post 8 2024: Design Preview Report
Post 9 2024: : Top 5 specifications, top 5 constraints
Post 10 2024: Progress Since Design Preview
Post 11 2024 Final Report Part 1: What and Why
Post 12 2024: How and What Next?
Post 13 2024: Portfolio
2023
Post 1 – 2023
Post 2 – 2023
Post 3 – 2023
Post 4 – 2023
Post 5 – 2023
Post 6 – 2023
Post 7 – 2023
Post 8 – 2023
Post 9 – 2023
Post 10 – 2023
Post 11 – 2023
Post 12 – 2023
Post 13 – 2023
2022
Post 1 – 2022
Post 2 – 2022
Post 3 – 2022
Post 4 – 2022
Post 5 – 2022
Post 6 – 2022
Post 7 – 2022
Post 8 – 2022
Post 9 – 2022
Post 10 – 2022
Post 11 – 2022
Post 12 – 2022
Post 13 – 2022
2021
Post 1 – 2021
Post 2 – 2021
Post 3 – 2021
Post 4 – 2021
Post 5 – 2021
Post 6 – 2021
Post 7 – 2021
Post 8 – 2021
Post 9 – 2021
Post 10 – 2021
Post 11 – 2021
Post 12 – 2021
Post 13 – 2021
2020
Post 1 – 2020
Post 2 – 2020
Post 3 – 2020
Post 4 – 2020
Post 5 – 2020
Post 6 – 2020
Post 7 – 2020
Post 8 – 2020
Post 9 – 2020
Post 10 – 2020
Post 11 – 2020
Post 12 – 2020
Post 13 – 2020
2019
Post 1 – 2019
Post 2 – 2019
Post 3 – 2019
Post 4 – 2019
Post 5 – 2019
Post 6 – 2019
Post 7 – 2019
Post 8 – 2019
Post 9 – 2019
Post 10 – 2019
Post 11 – 2019
Post 12 – 2019
Post 13 – 2019
2018
Post 1 – 2018
Post 2 – 2018
Post 3 – 2018
Post 4 – 2018
Post 5 – 2018
Post 6 – 2018
Post 7 – 2018
Post 8 – 2018
Post 9 – 2018
Post 10 – 2018
Post 11 – 2018
Post 12 – 2018
Post 13 – 2018
2017
Post 1 – 2017
Post 2 – 2017
Post 3 – 2017
Post 4 – 2017
Post 5 – 2017
Post 6 – 2017
Post 7 – 2017
Post 8 – 2017
Post 9 – 2017
Post 10 – 2017
Post 11 – 2017
Post 12 – 2017
Post 13 – 2017
2016
Post 1 – 2016
Post 2 – 2016
Post 3 – 2016
Post 4 – 2016
Post 5 – 2016
Post 6 – 2016
Post 7 – 2016
Post 8 – 2016
Post 9 – 2016
Post 10 – 2016
Post 11 – 2016
Post 12 – 2016
Post 13 – 2016
Resources
Blog and Blog Comment/Critique Policies
Presentation Critiques
Pod and Critique Facilitator Responsibilities
Sources for materials
Student Resources
Zotero Library Access
Designers and fun links
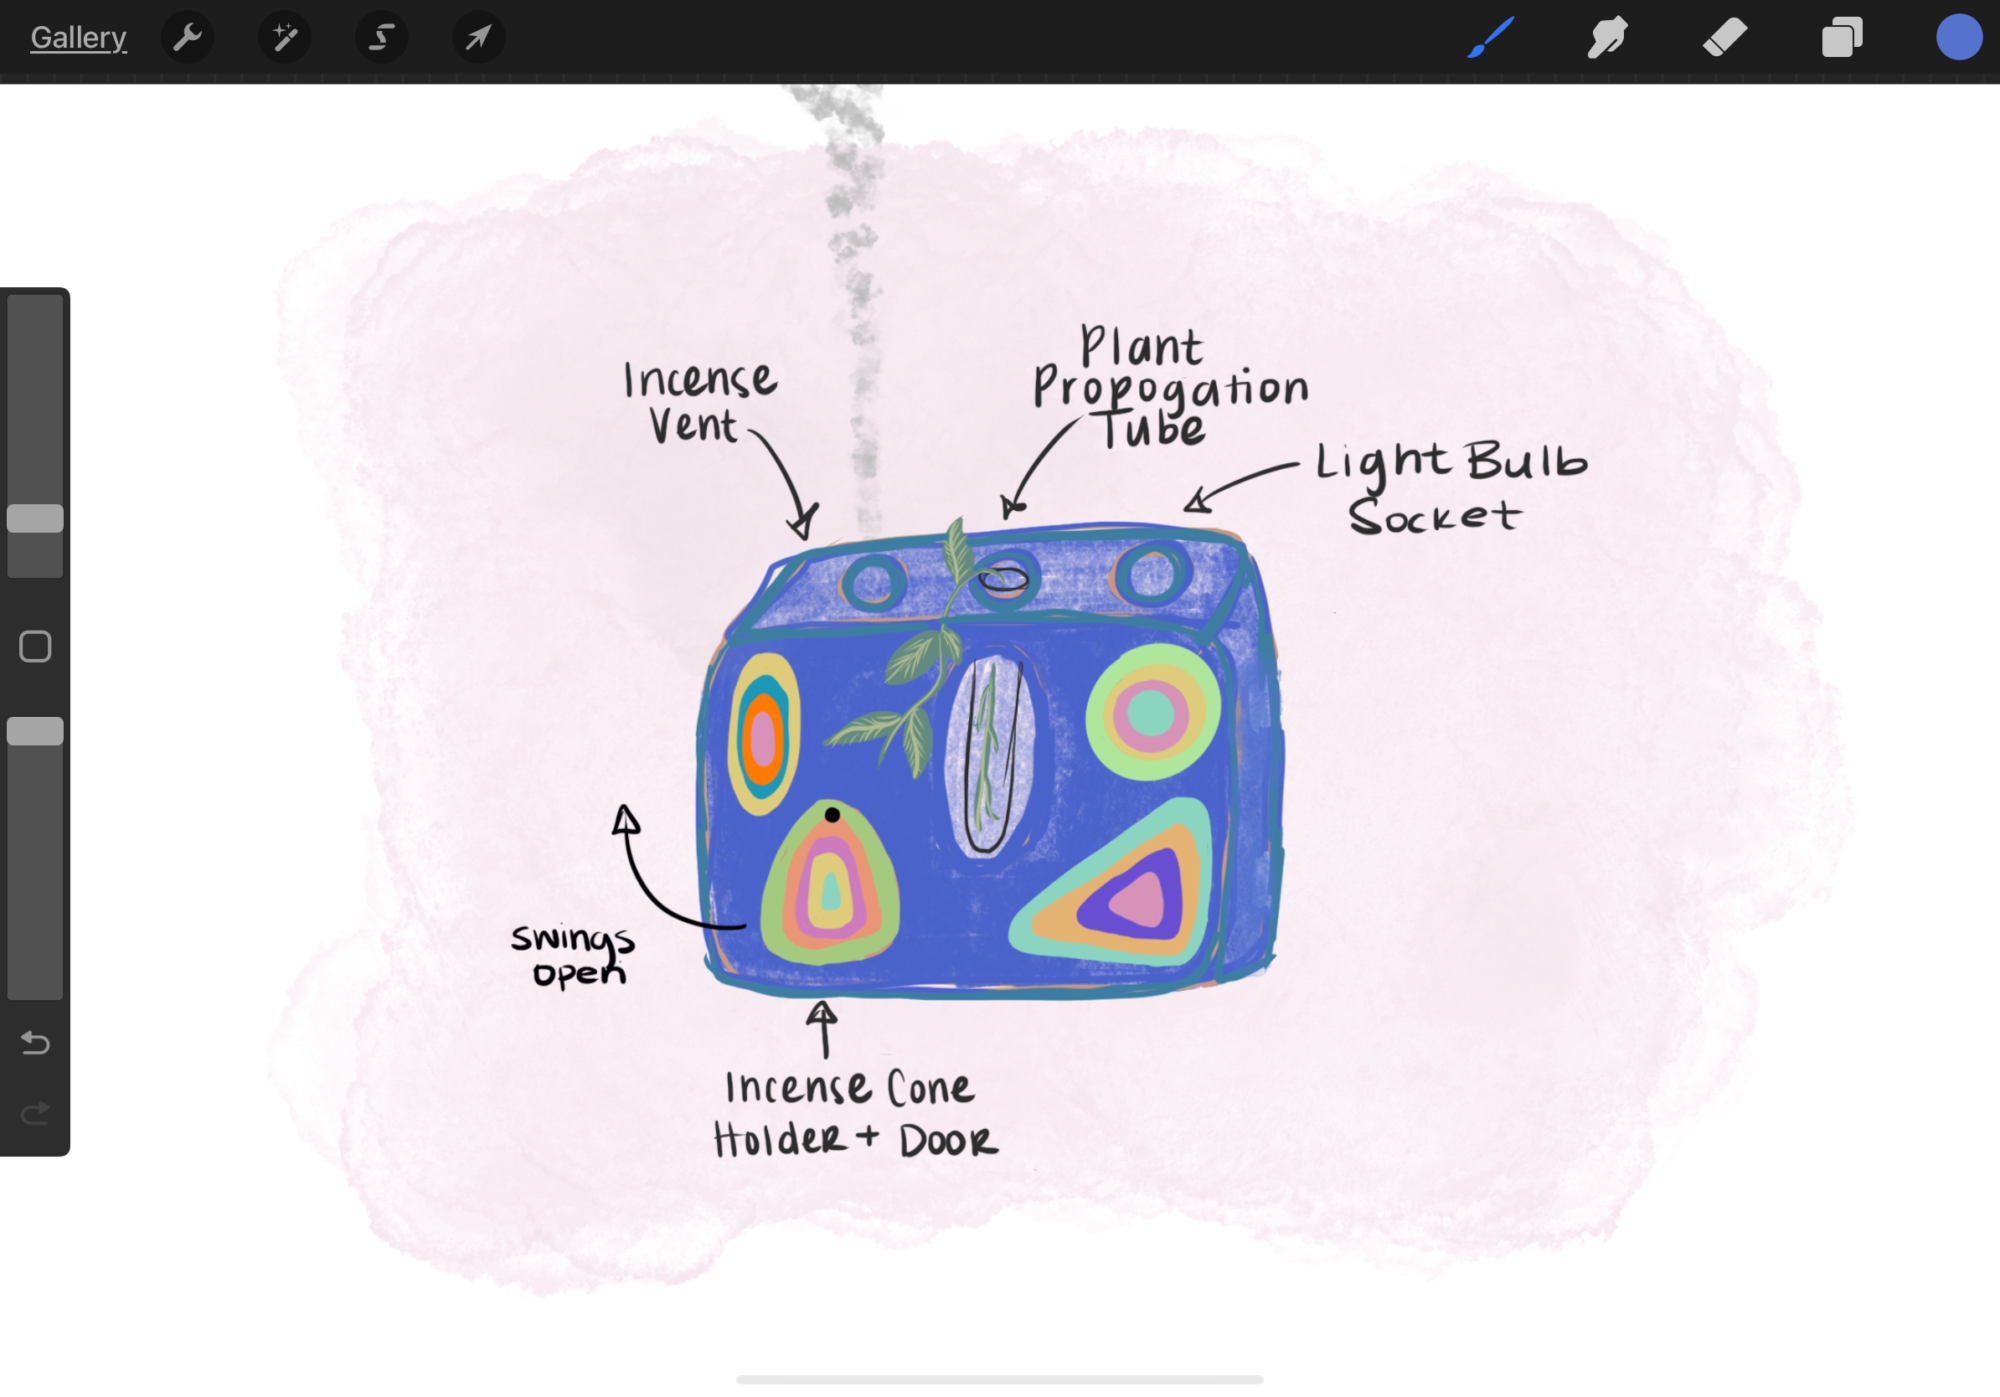
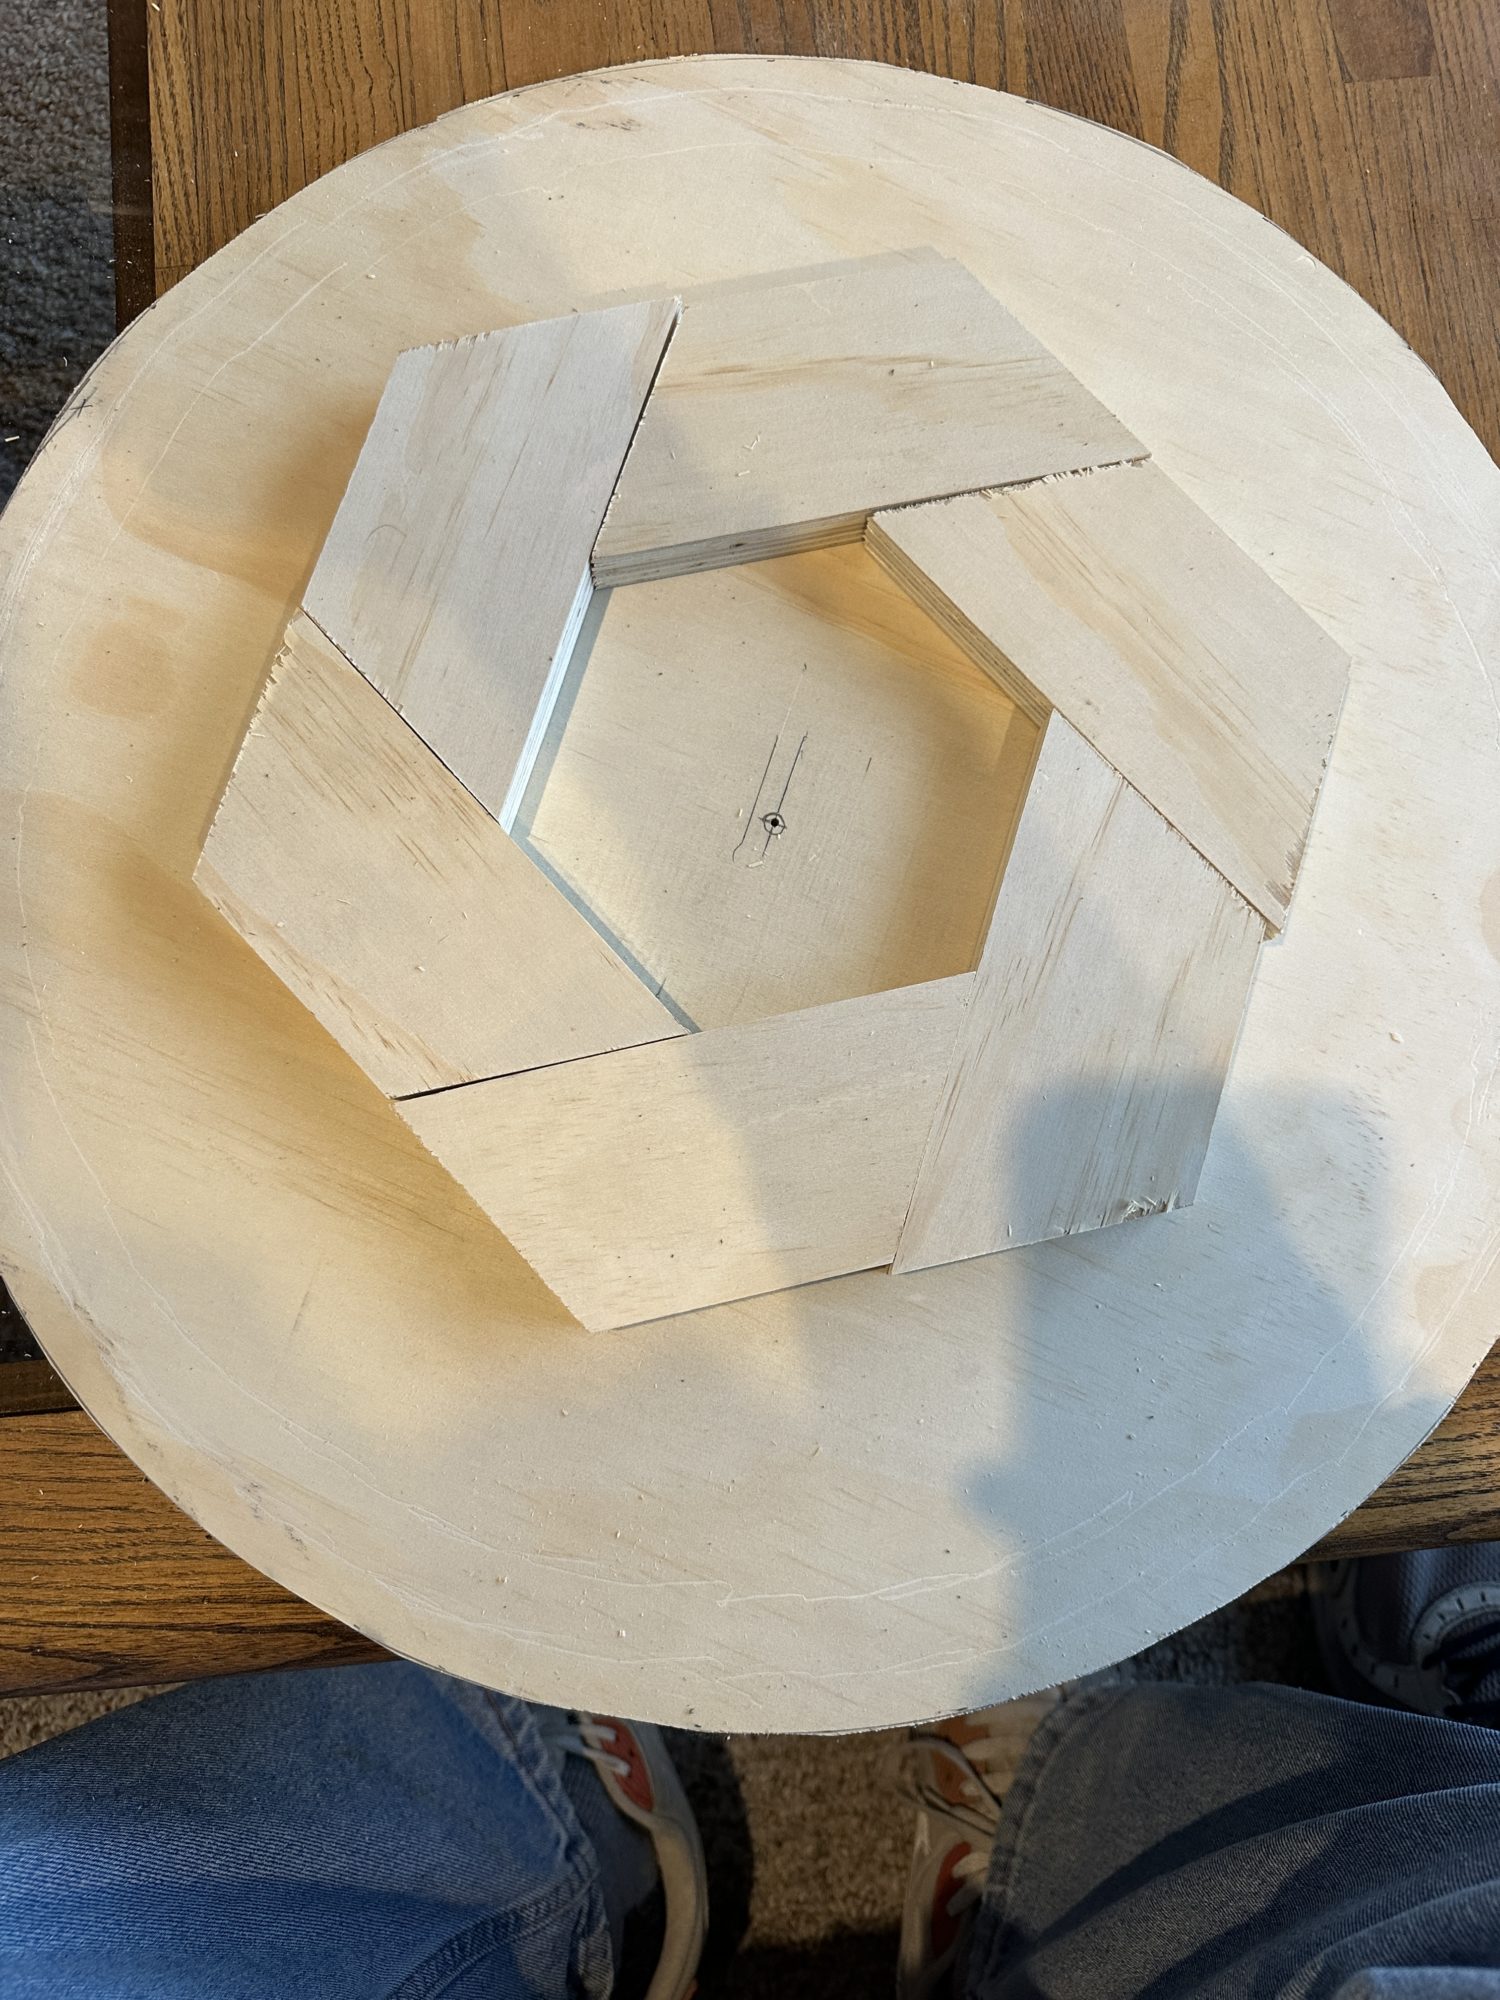
(Ornamented?) Nightstand: Design Preview and Progress
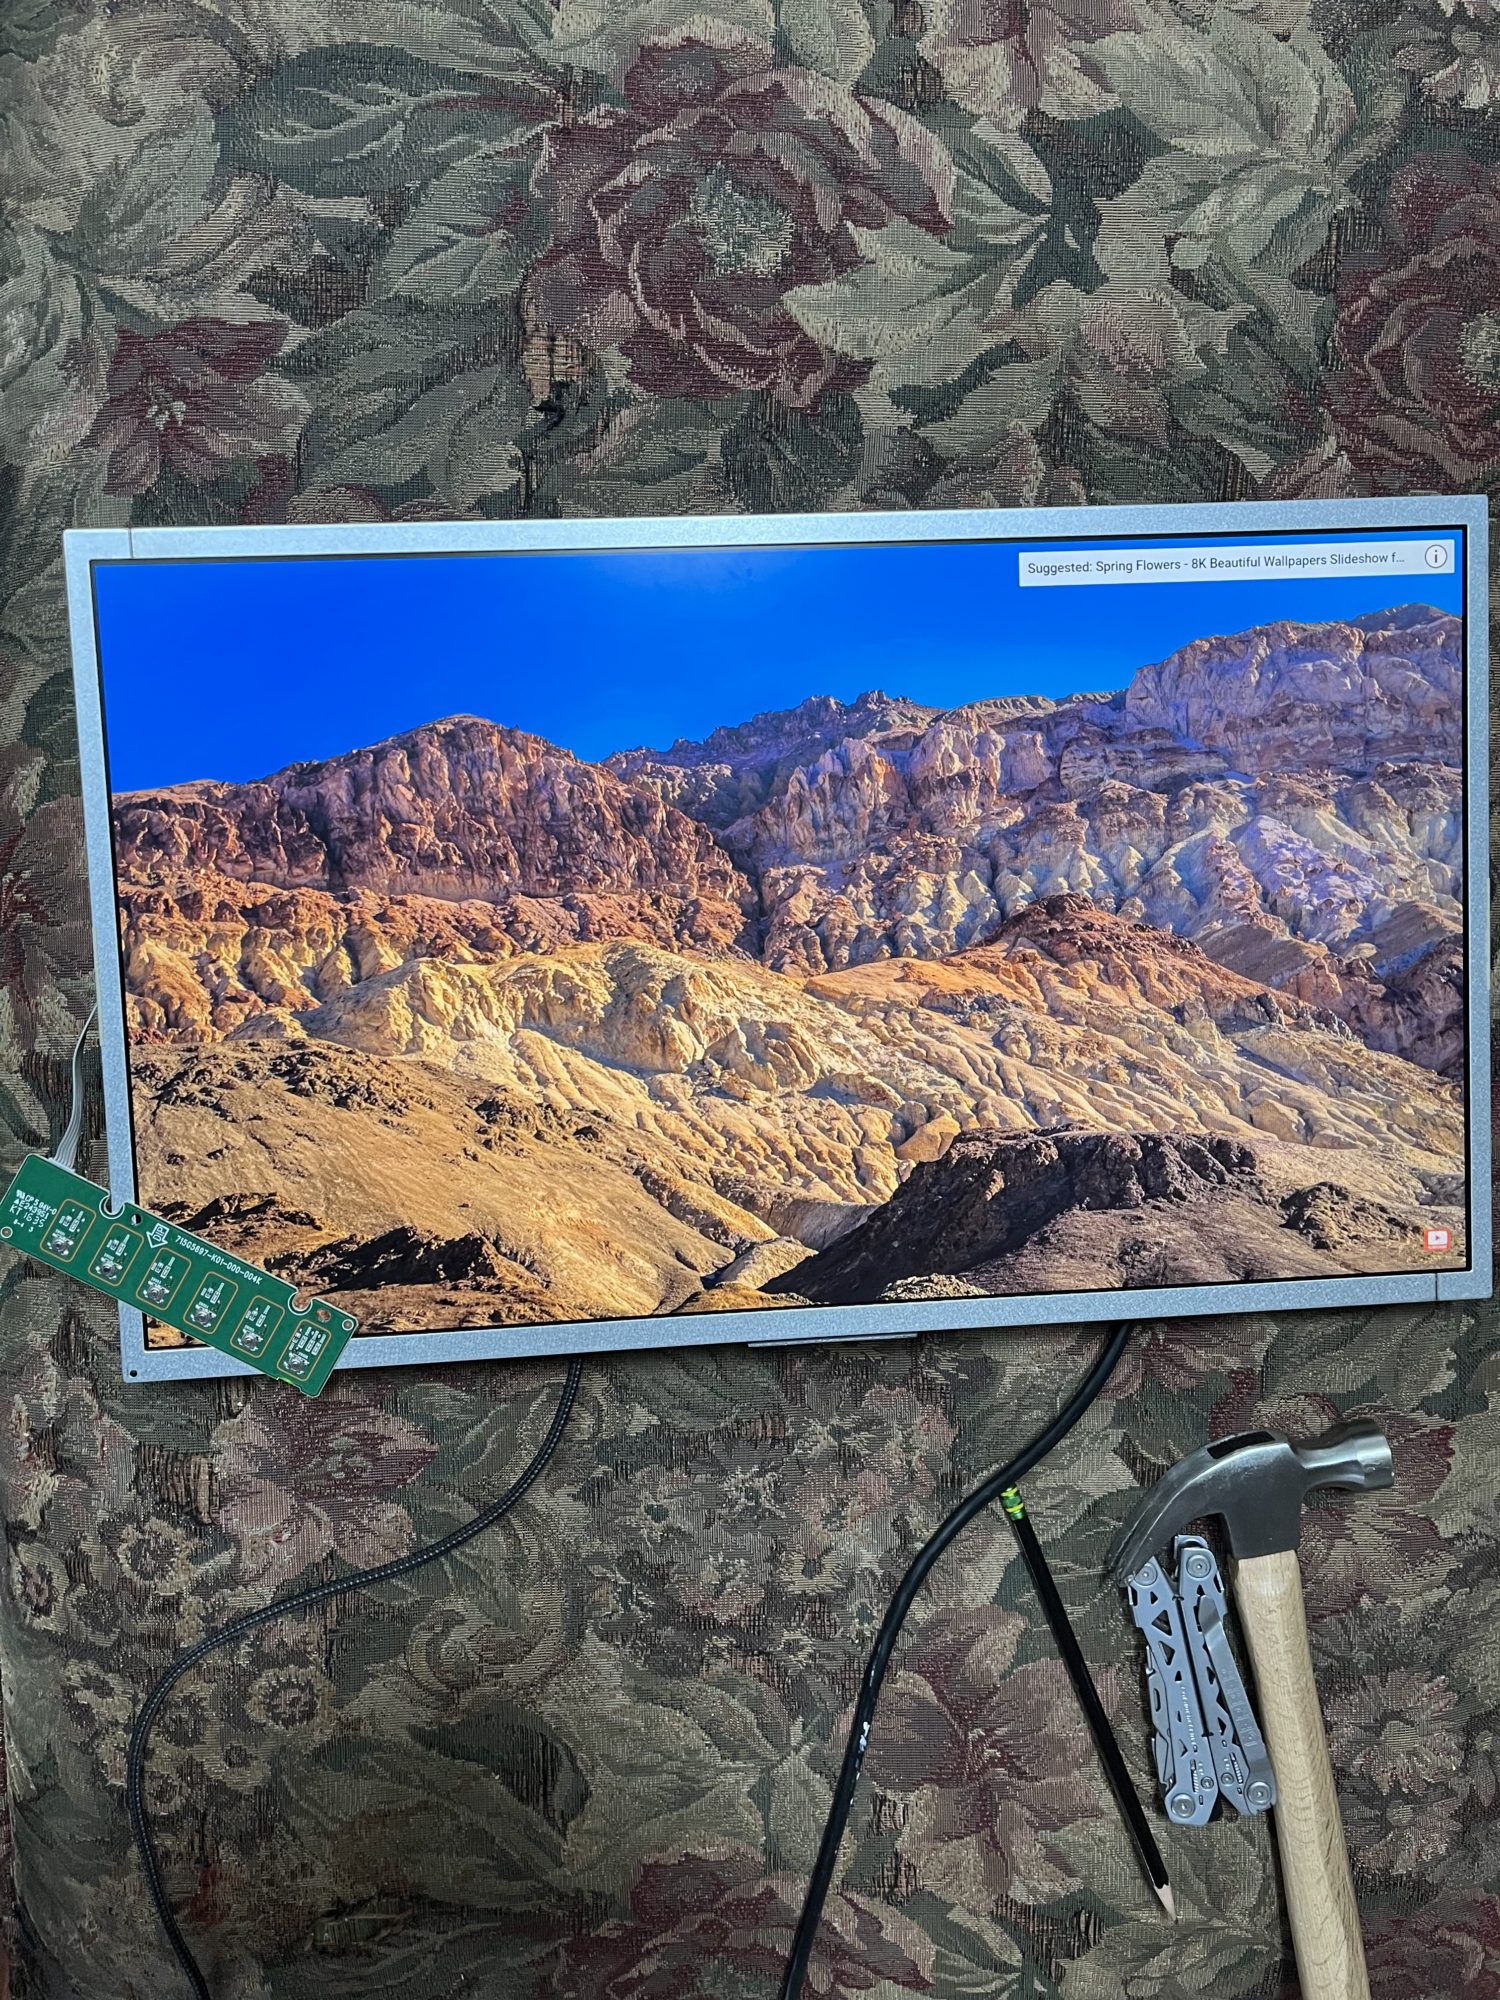
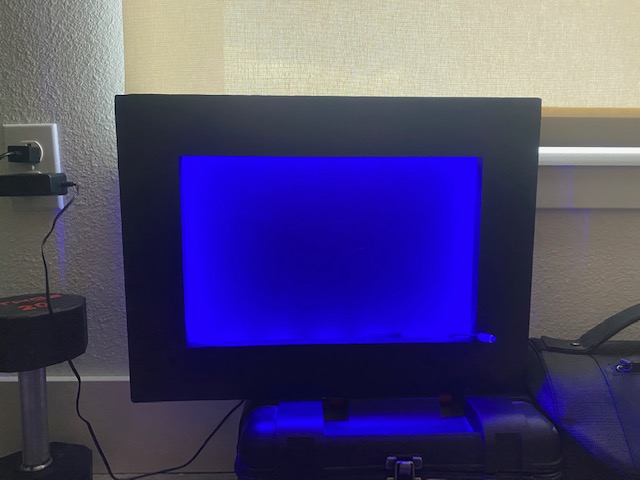
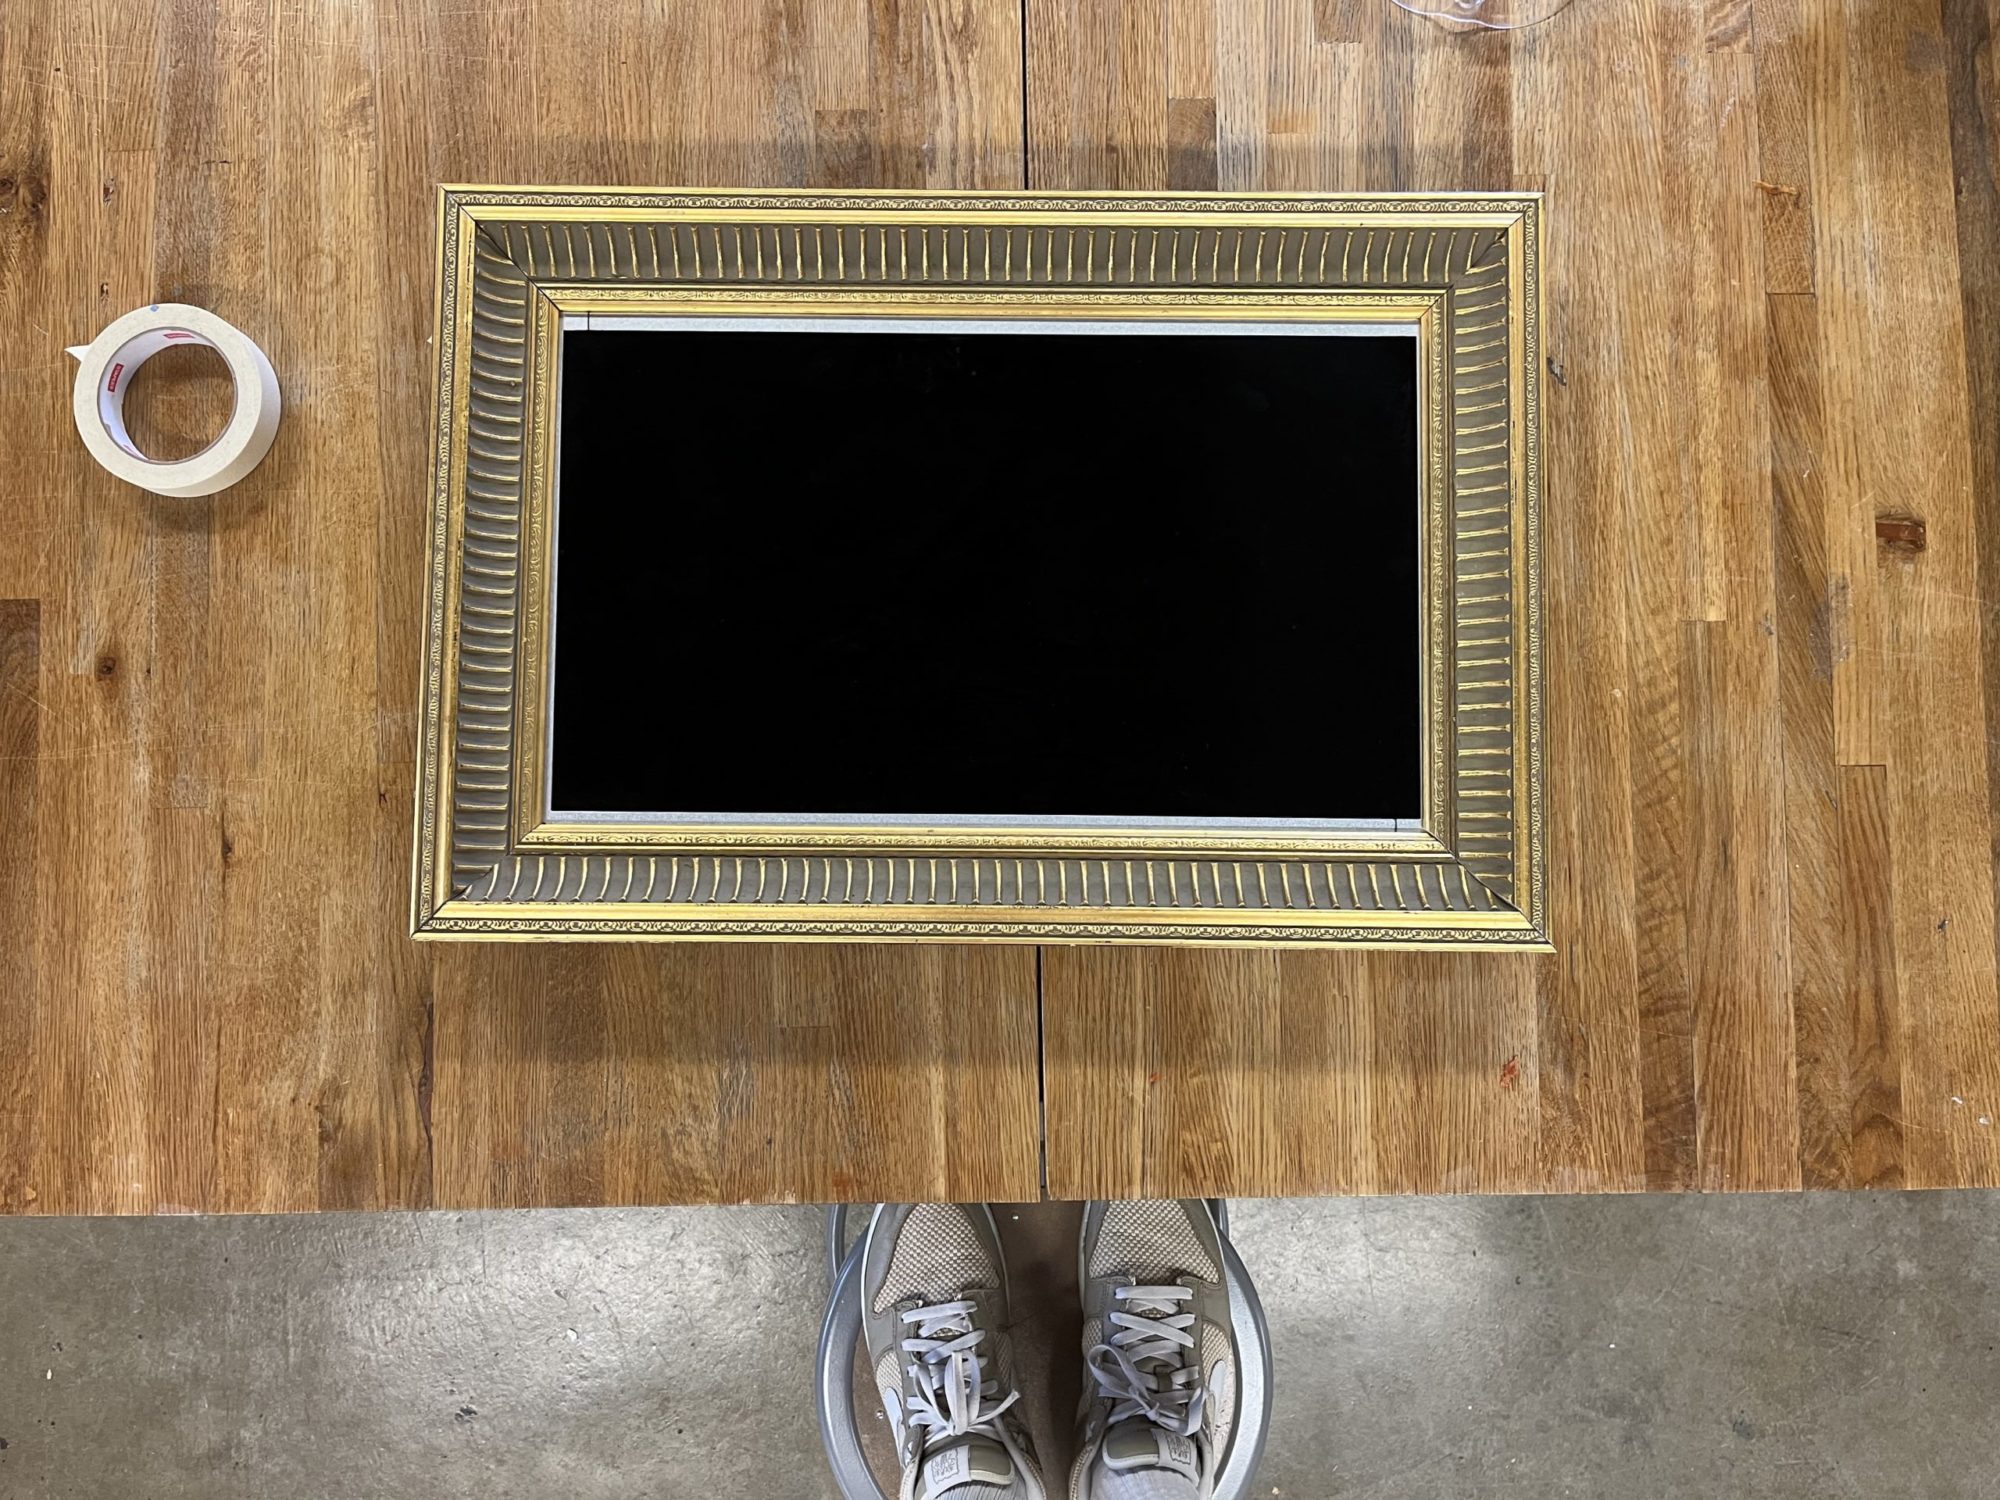
Digital Pictureframe Progress Report
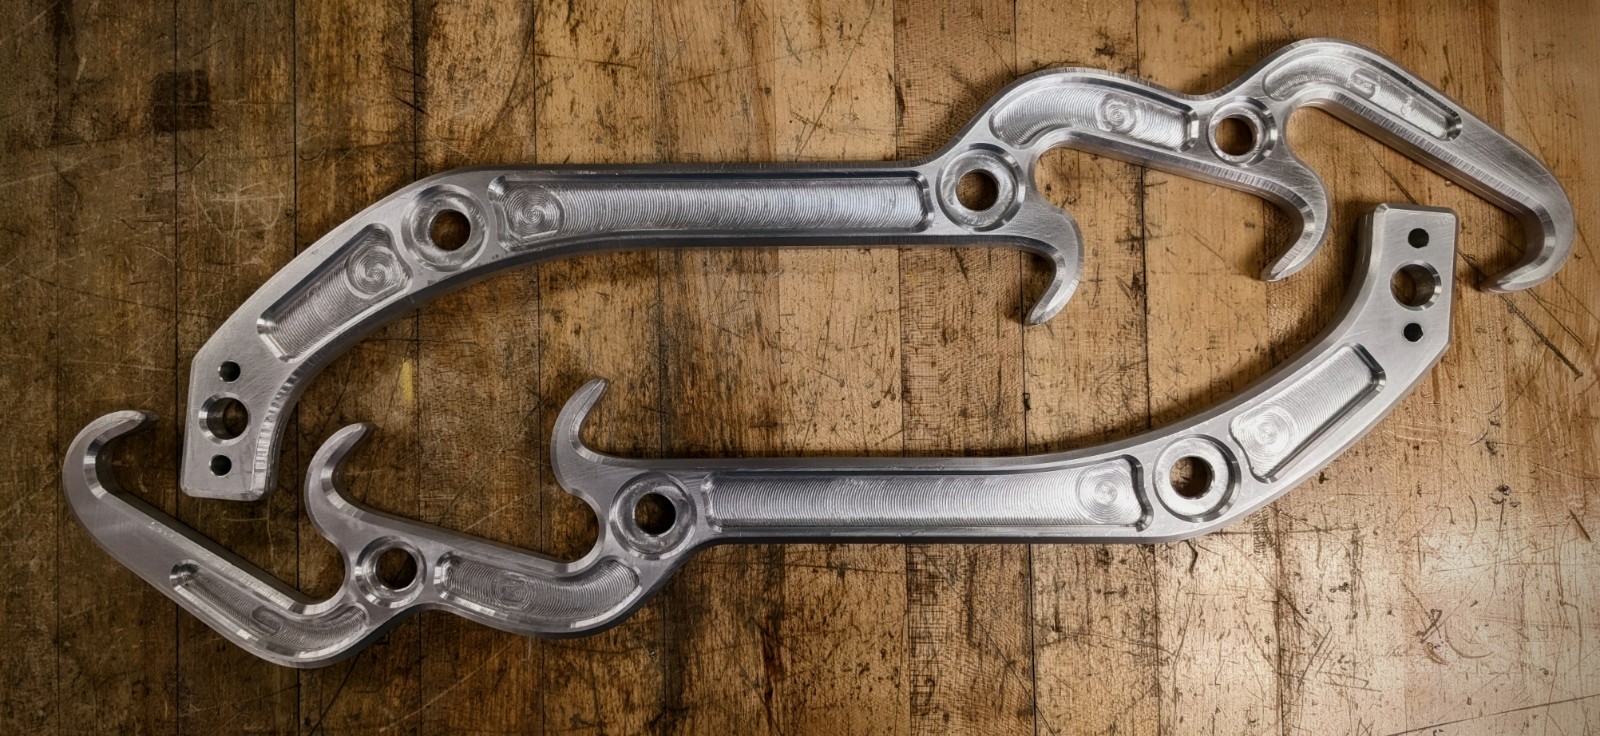
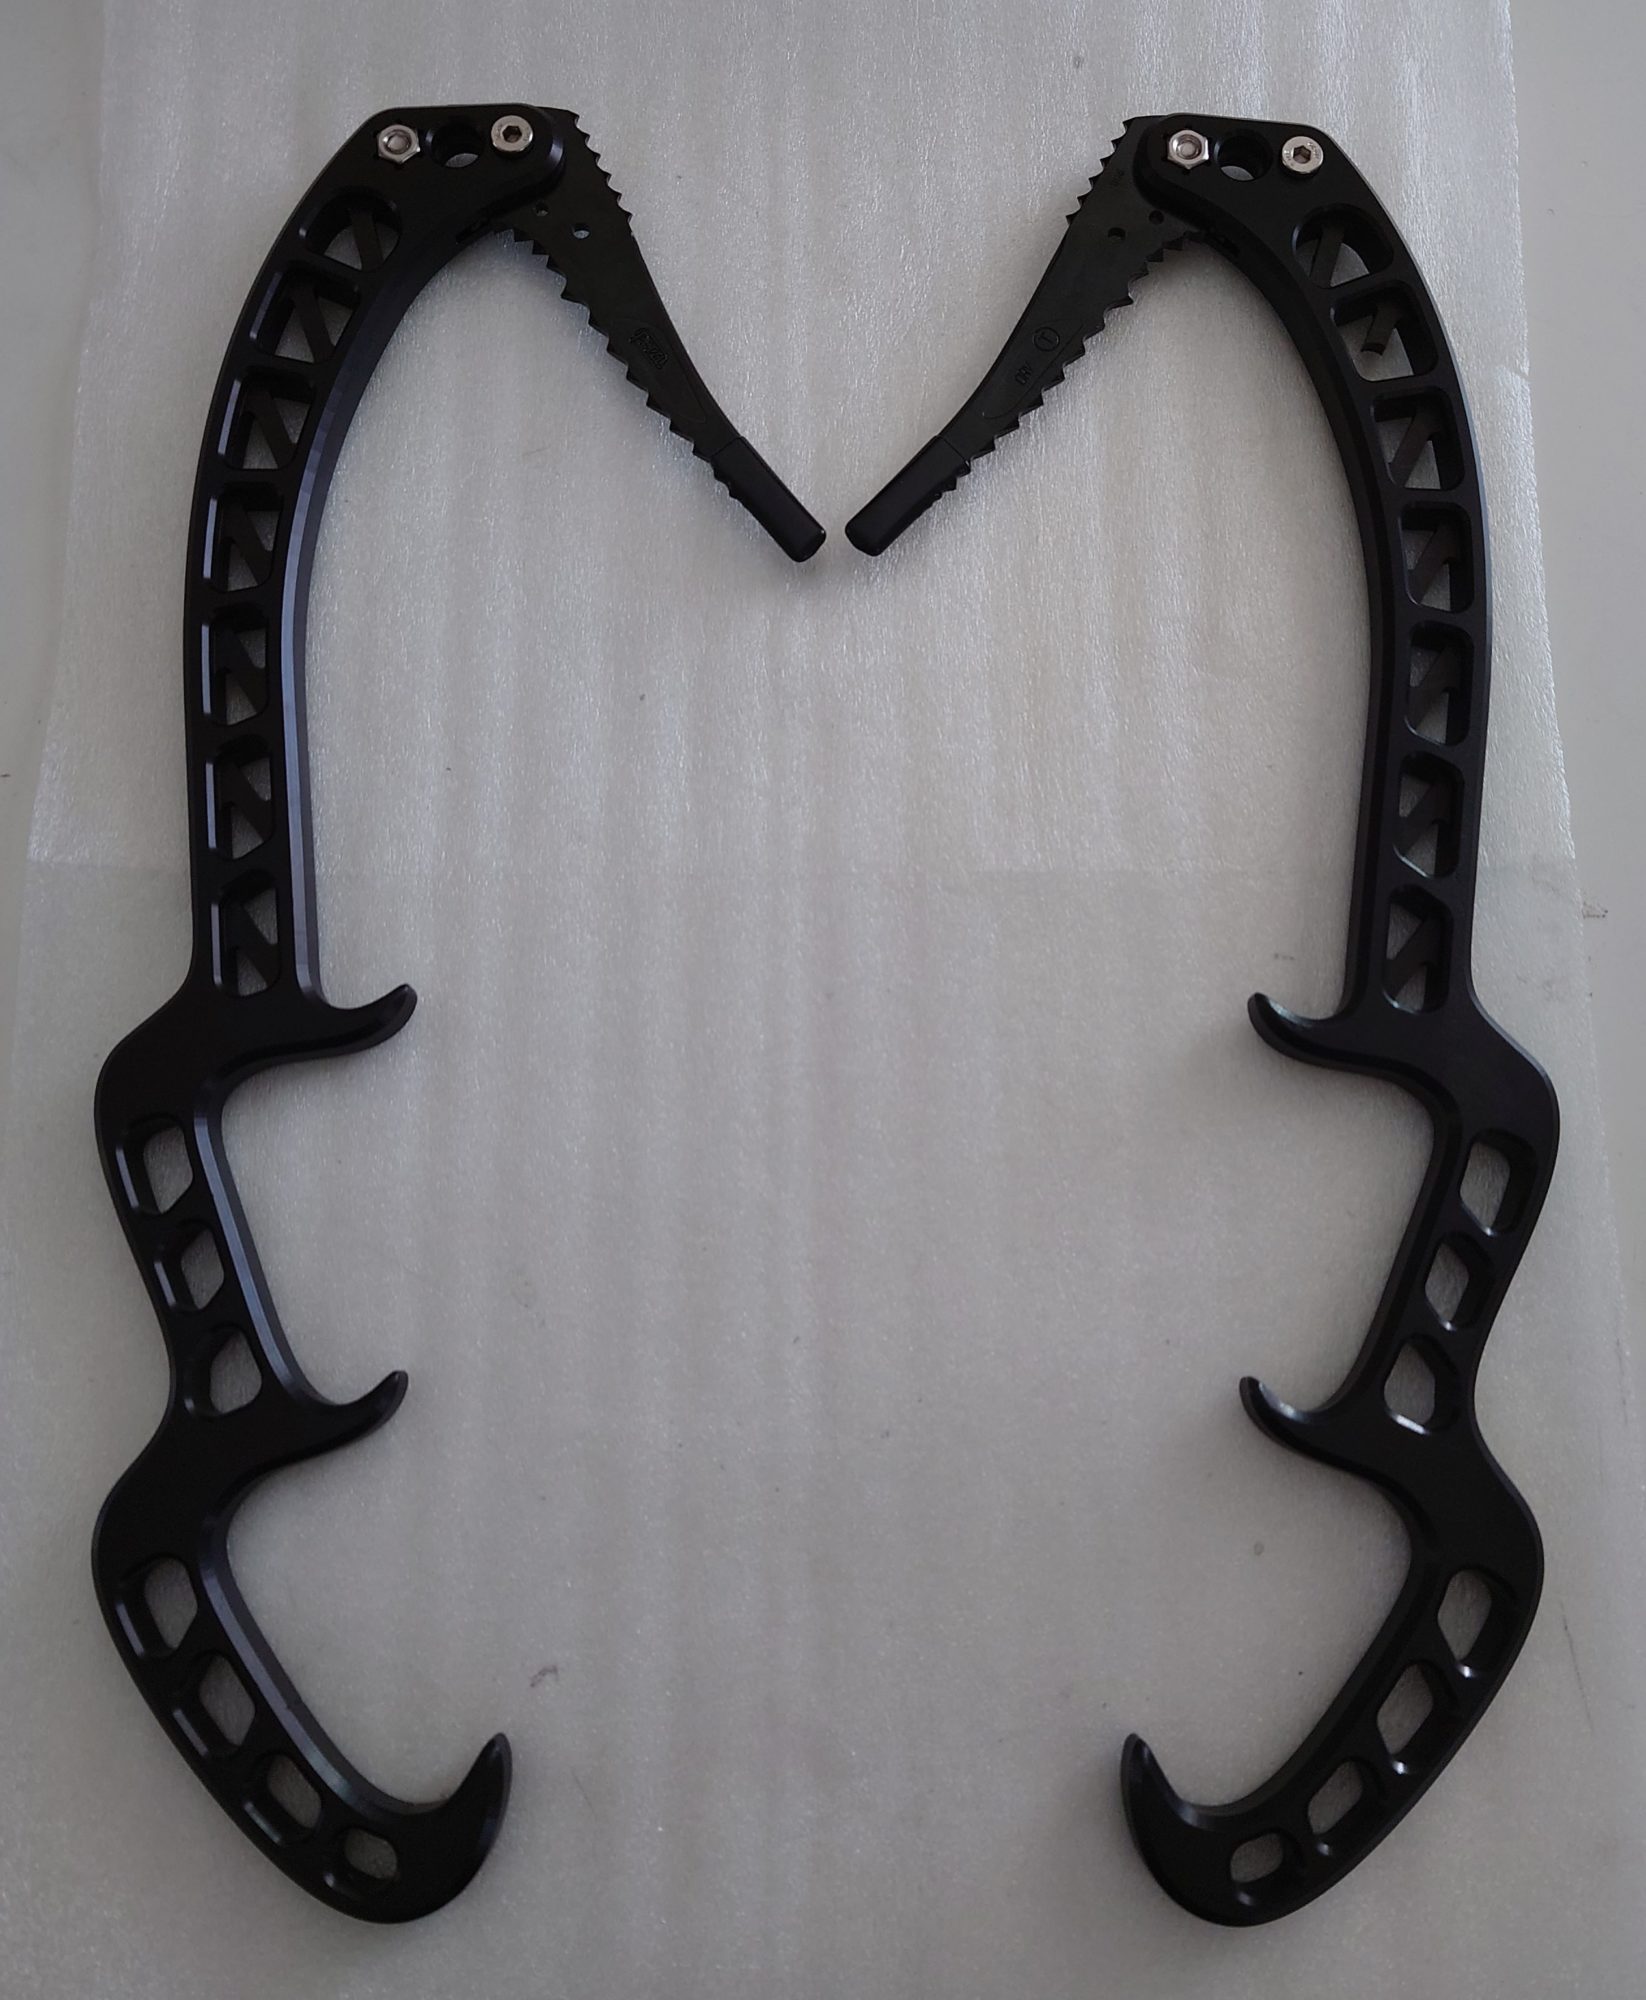
Main Project Progress – Three Position Ice Tools
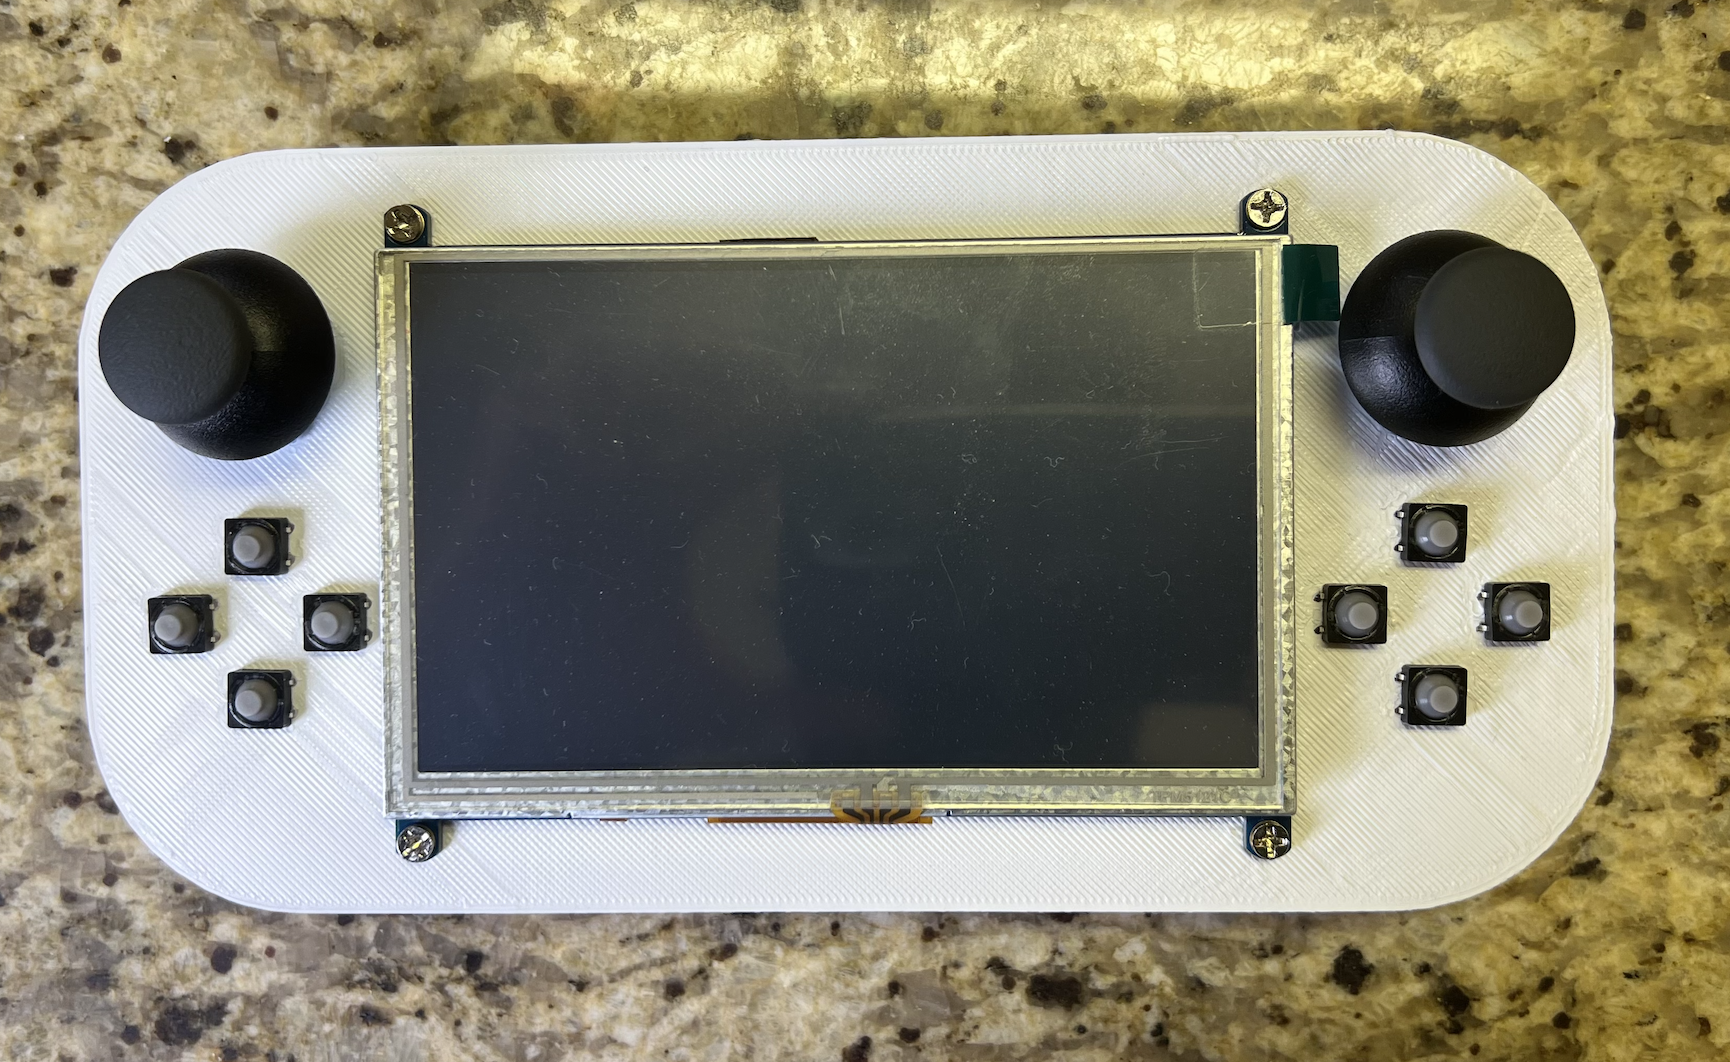
Post 10: Progress
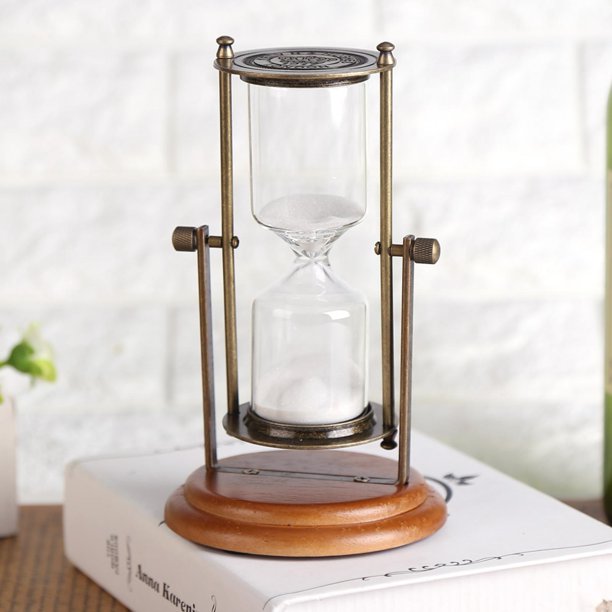
Progress Report Minimalistic Hourglass
Progress Update: Skateboard Deck
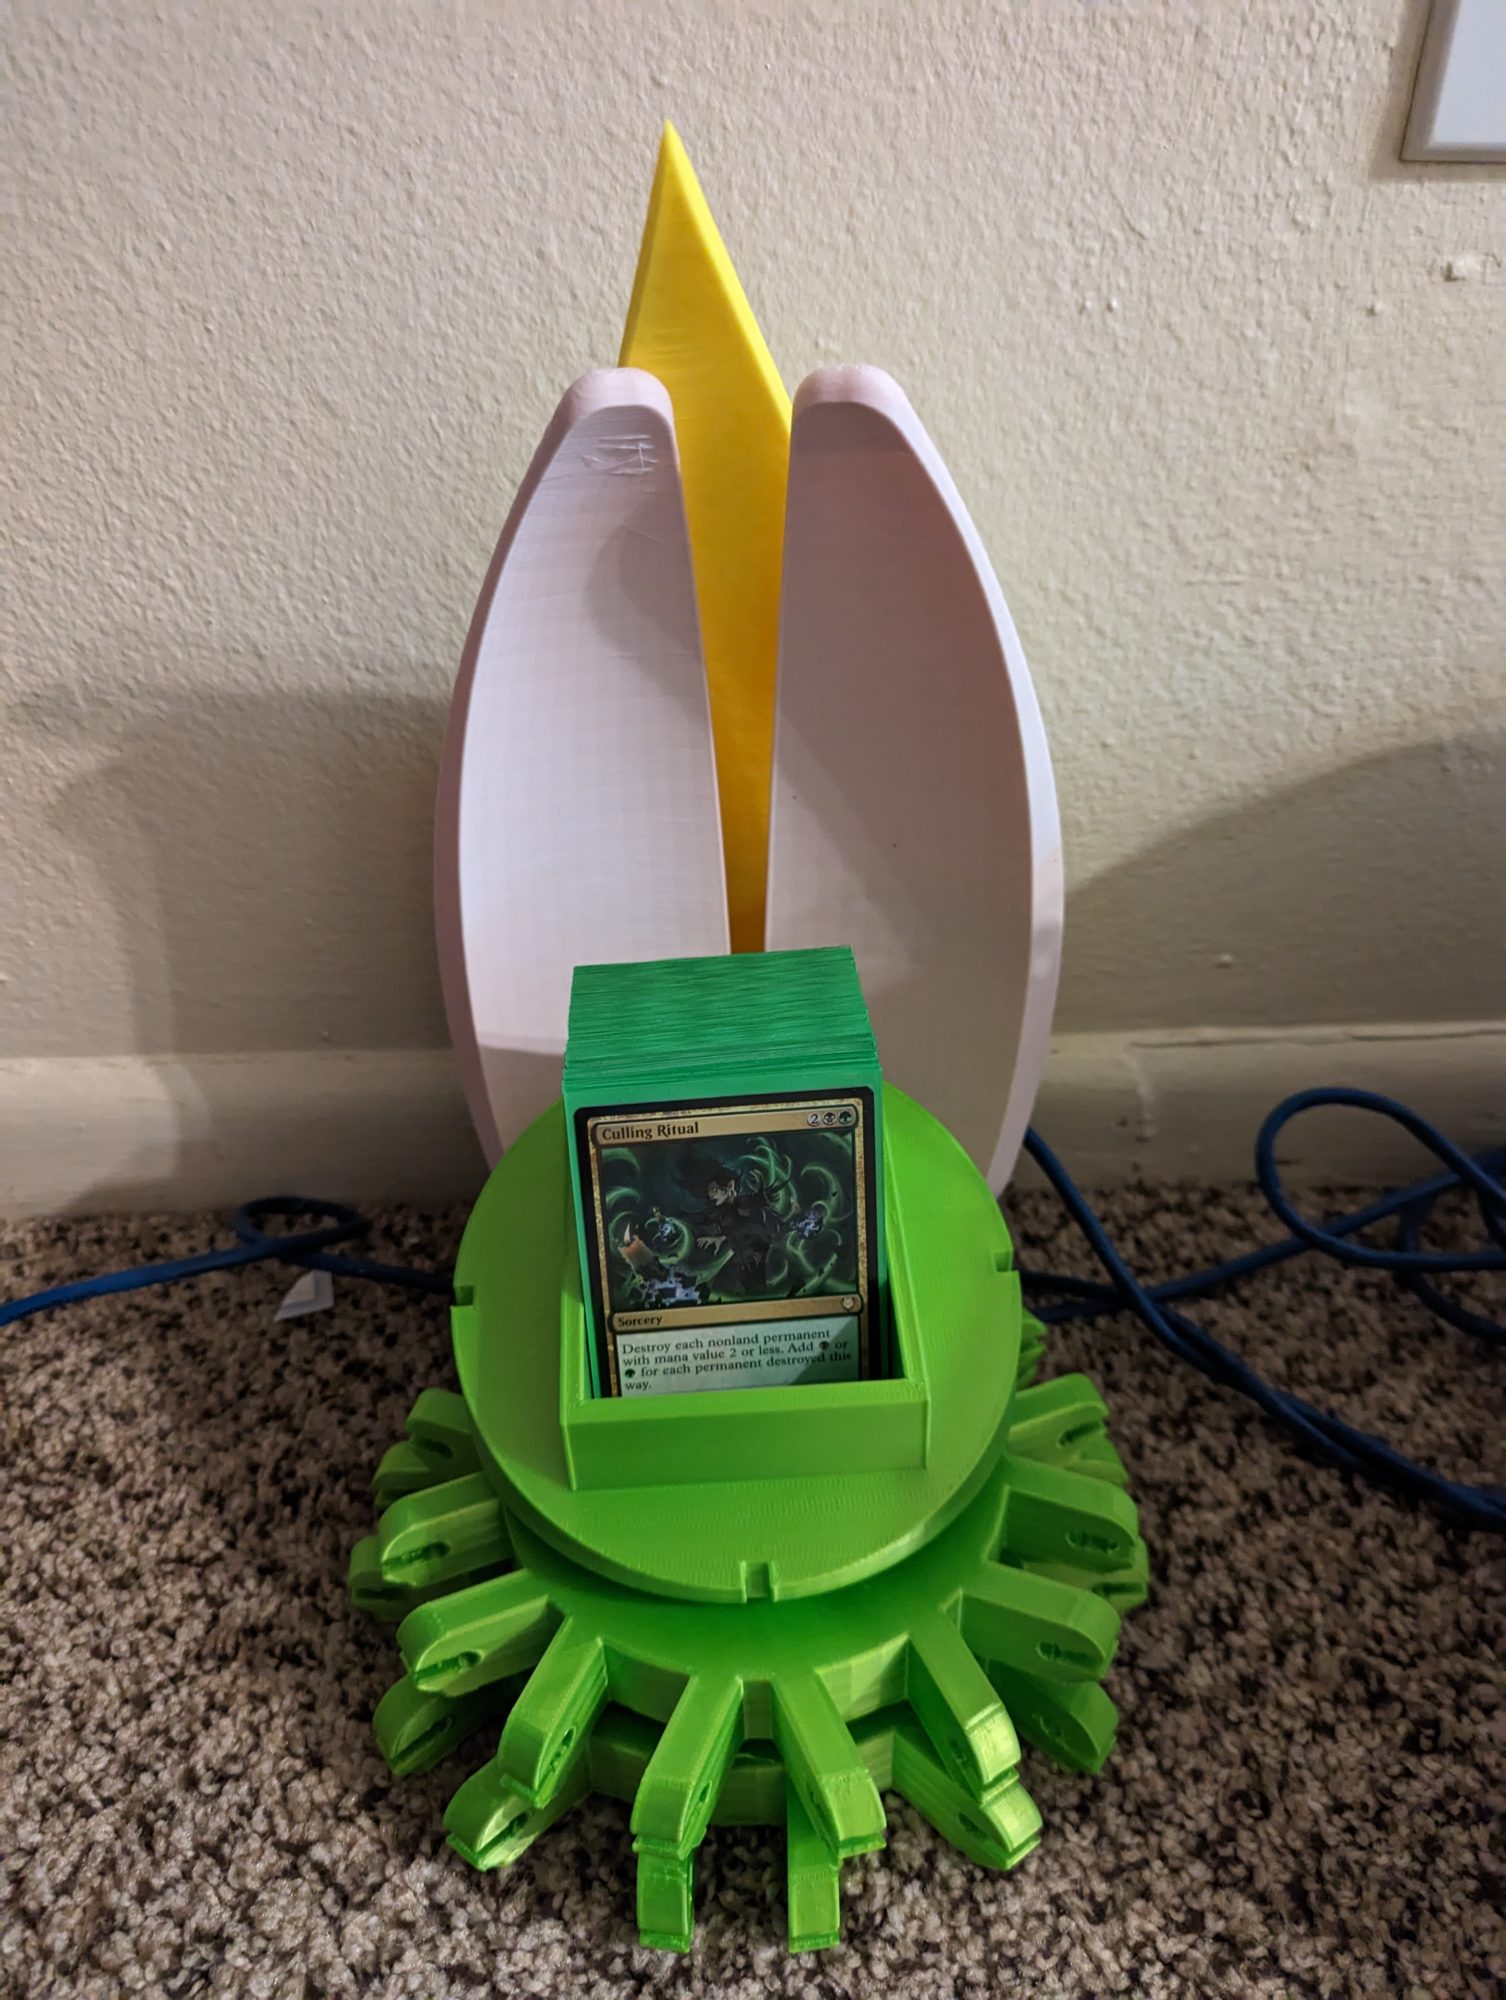
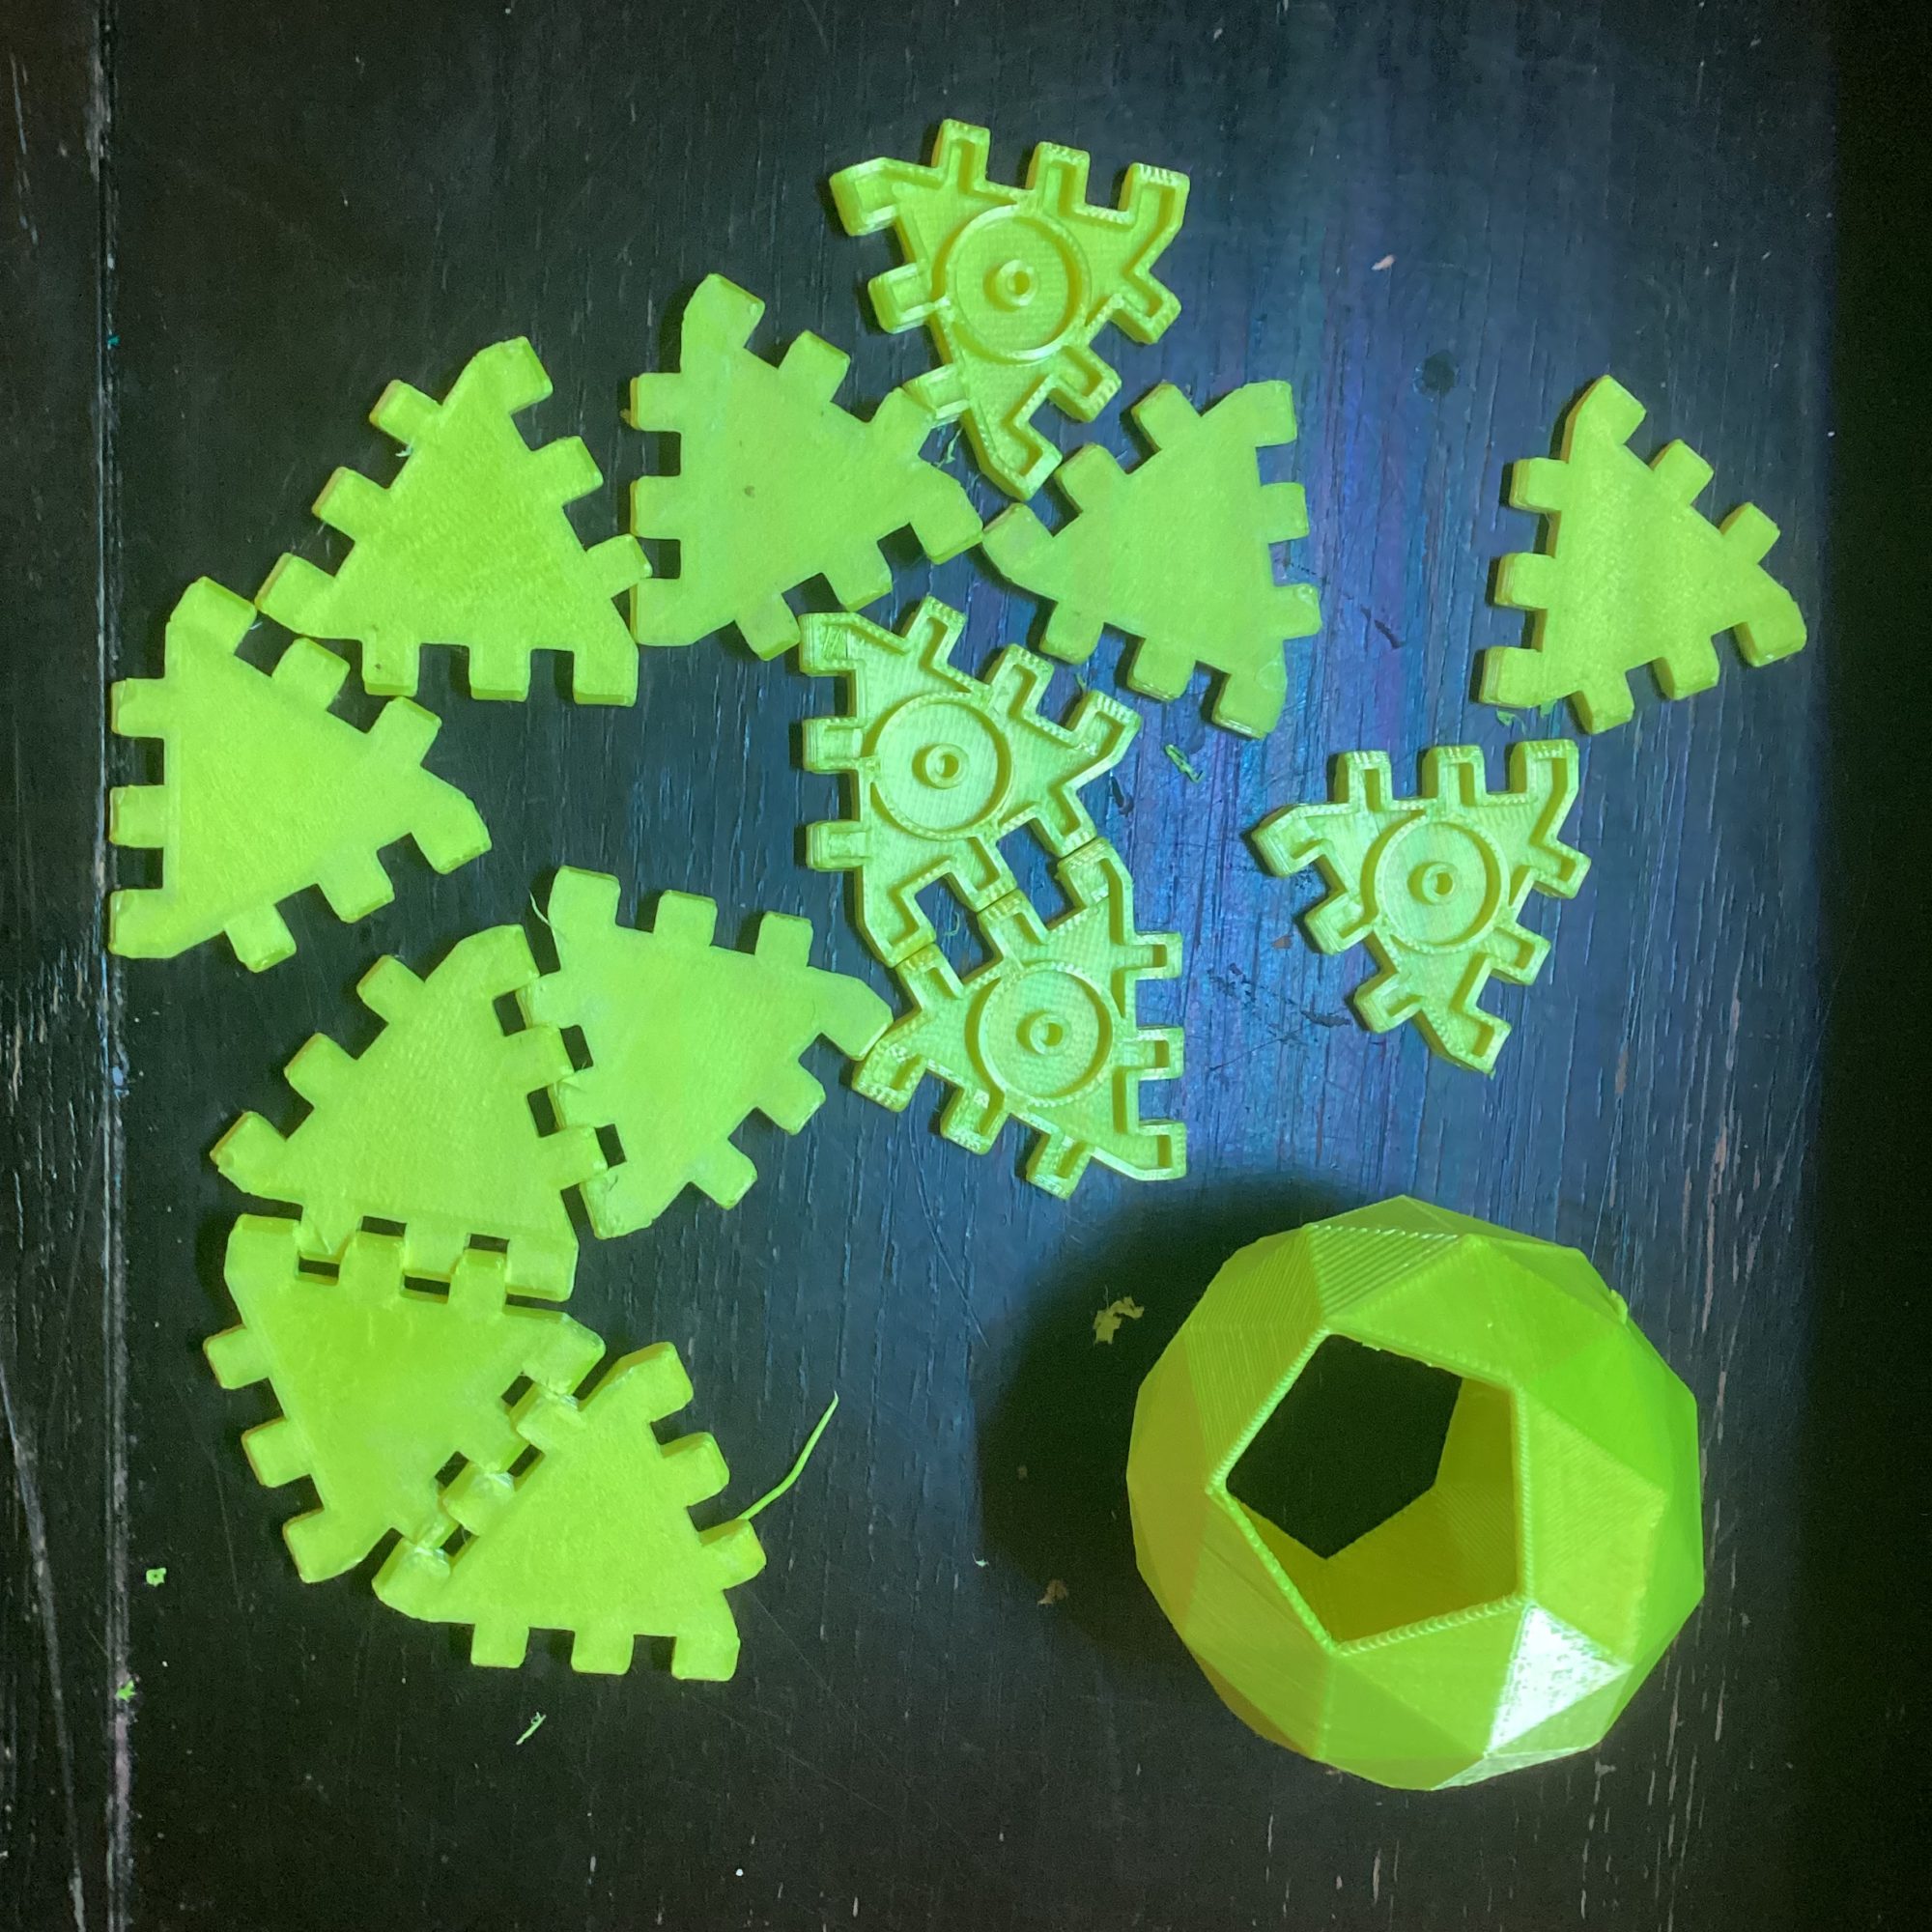
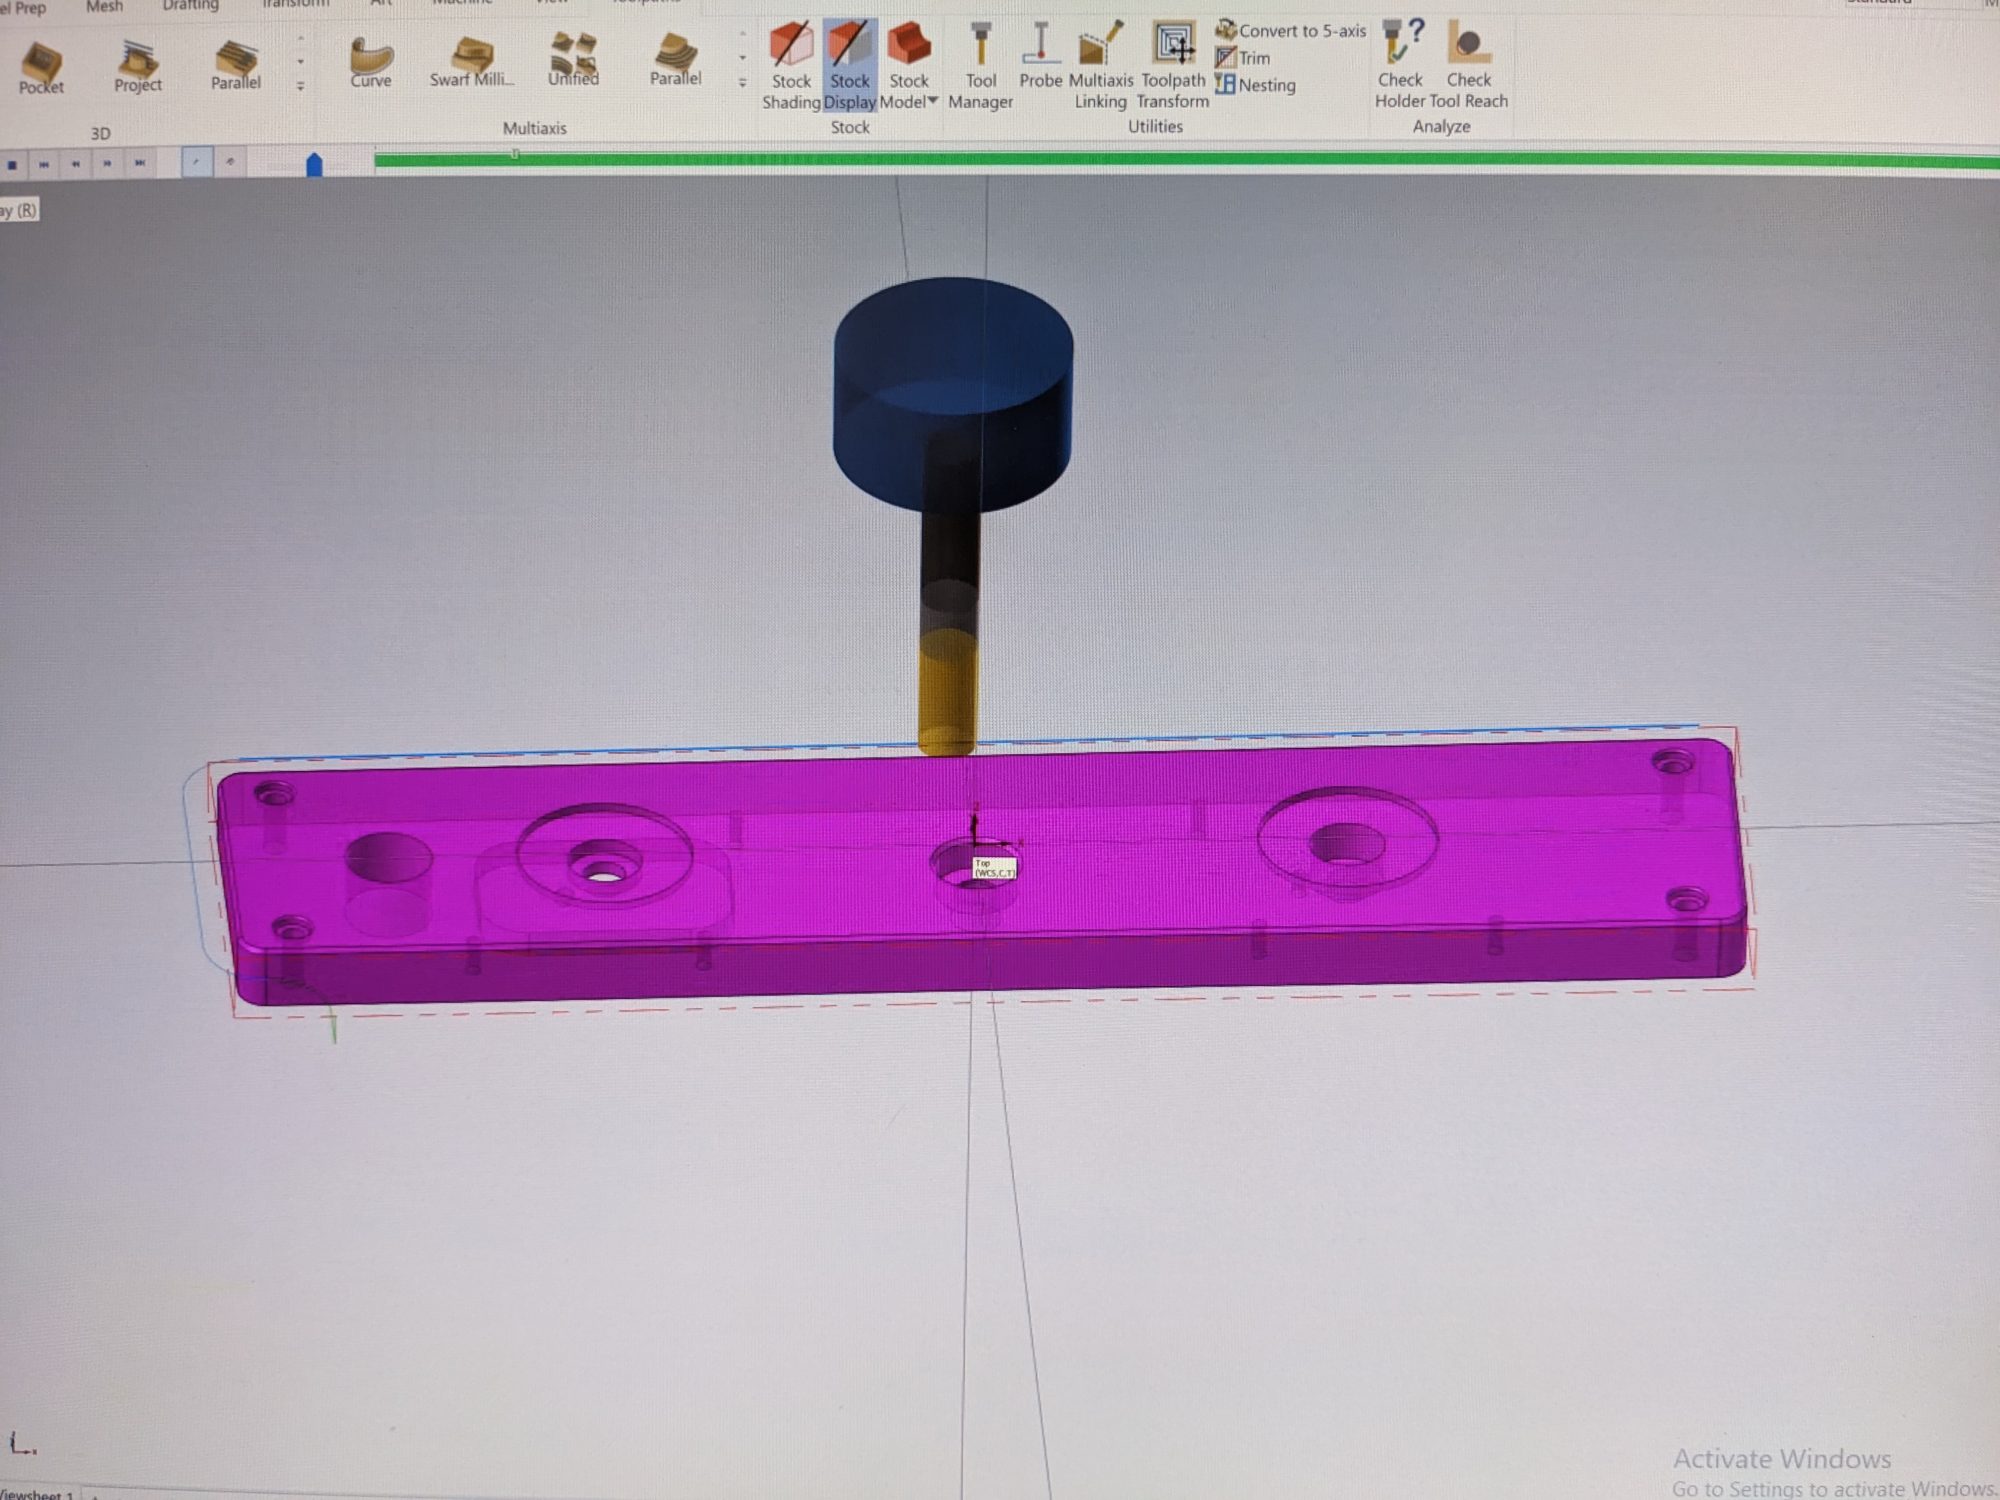
Progress Report: DIN Rail Card Array
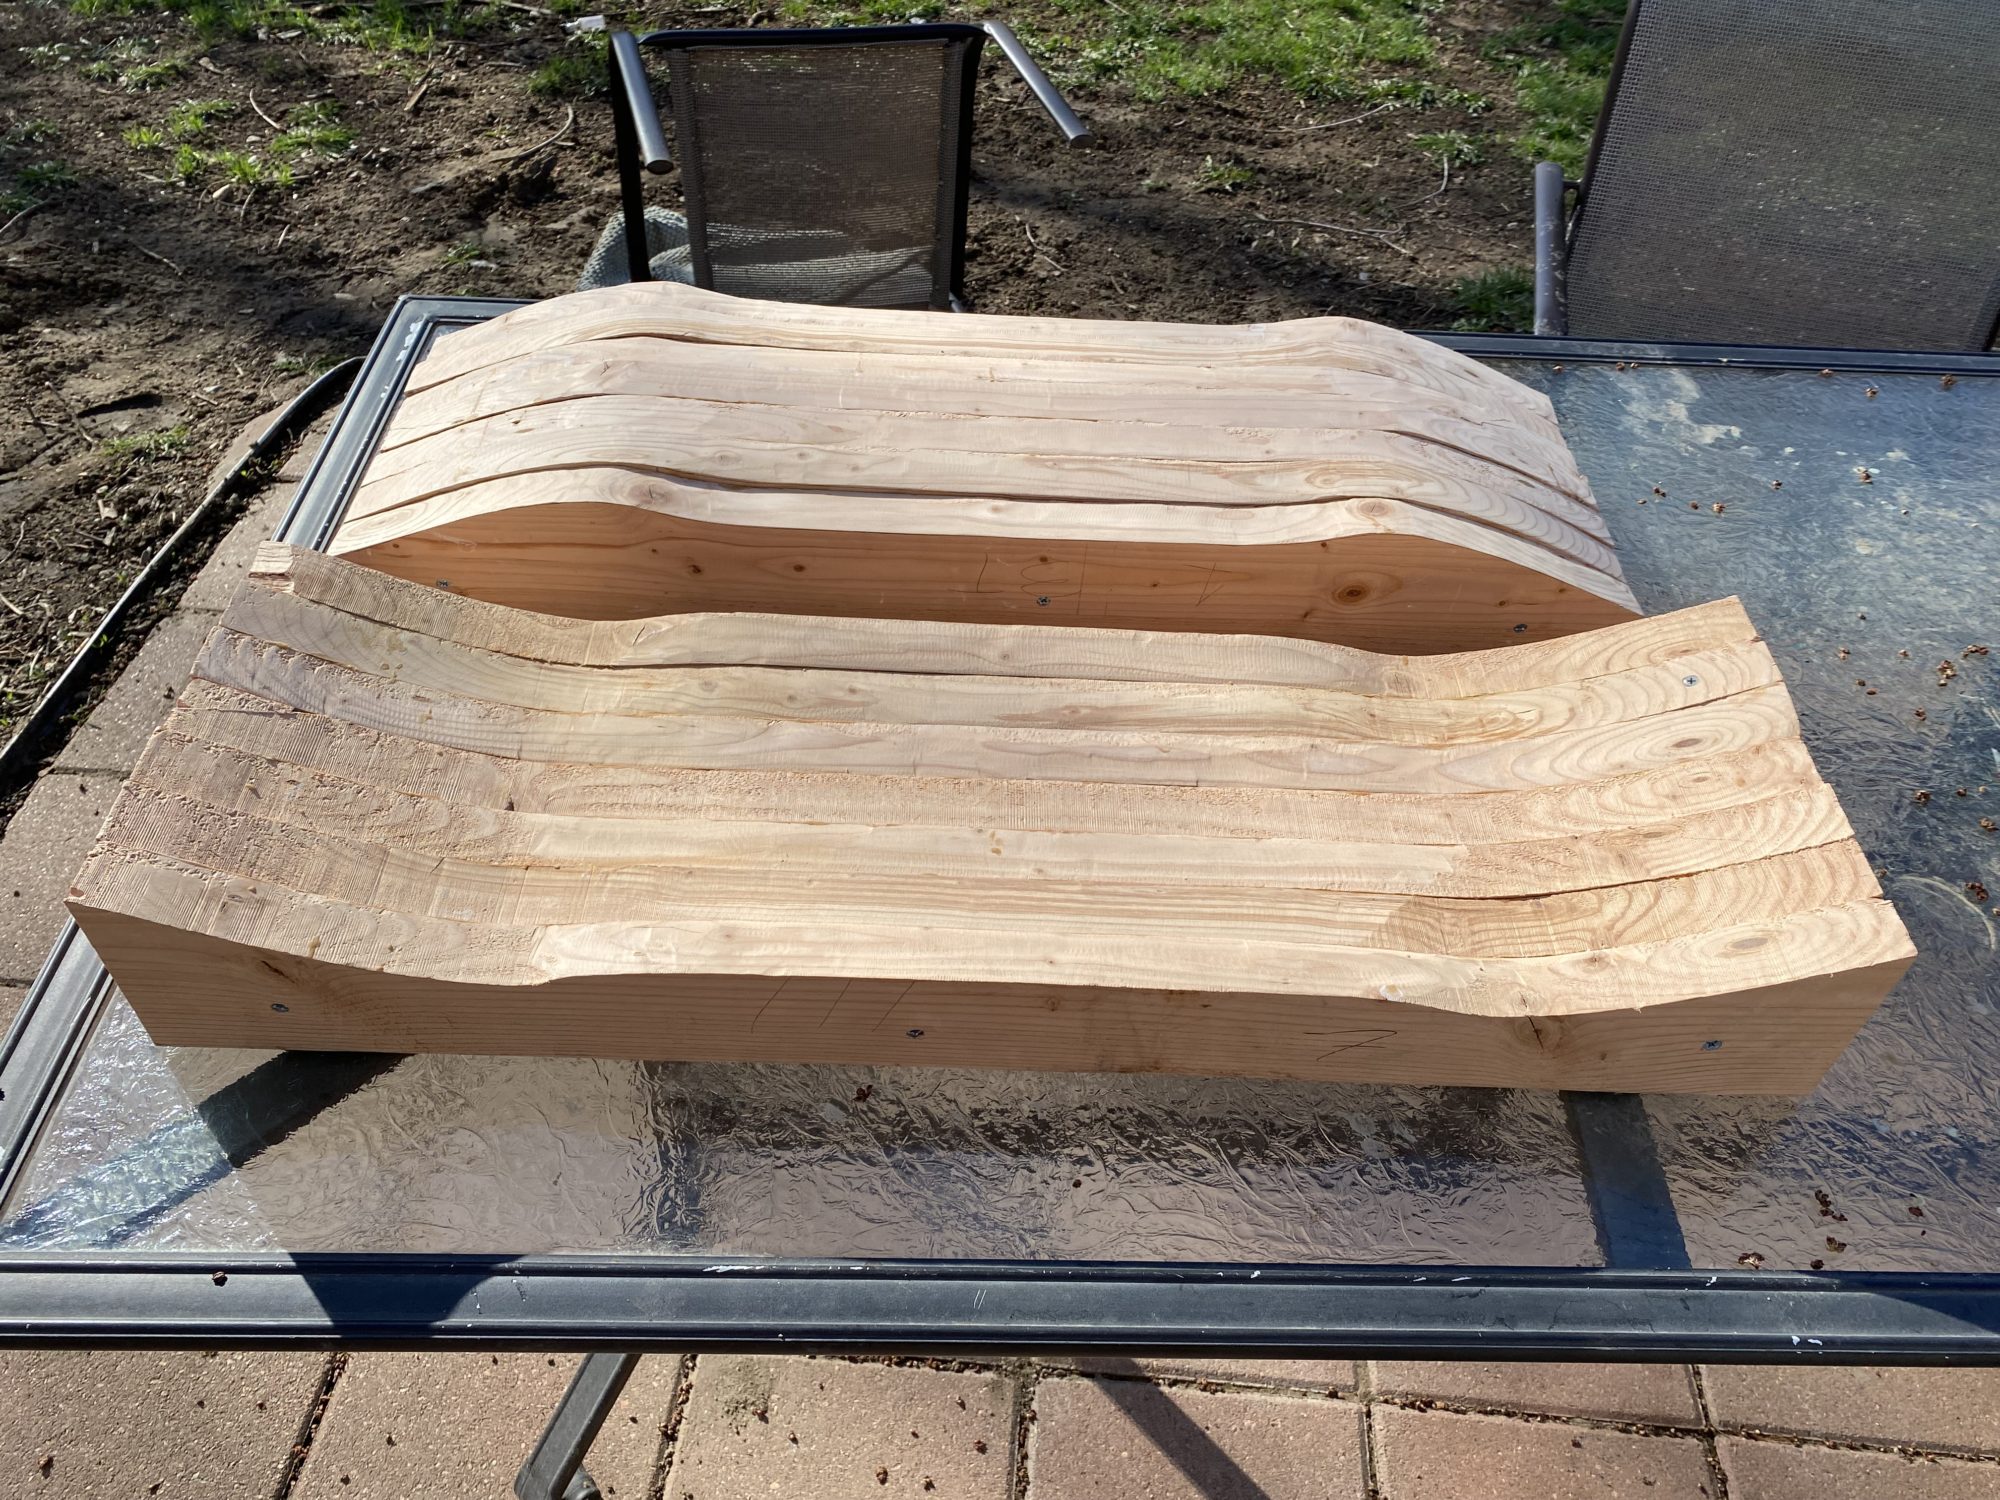
Wood Bathymetric Map (Lack of) Progress Update
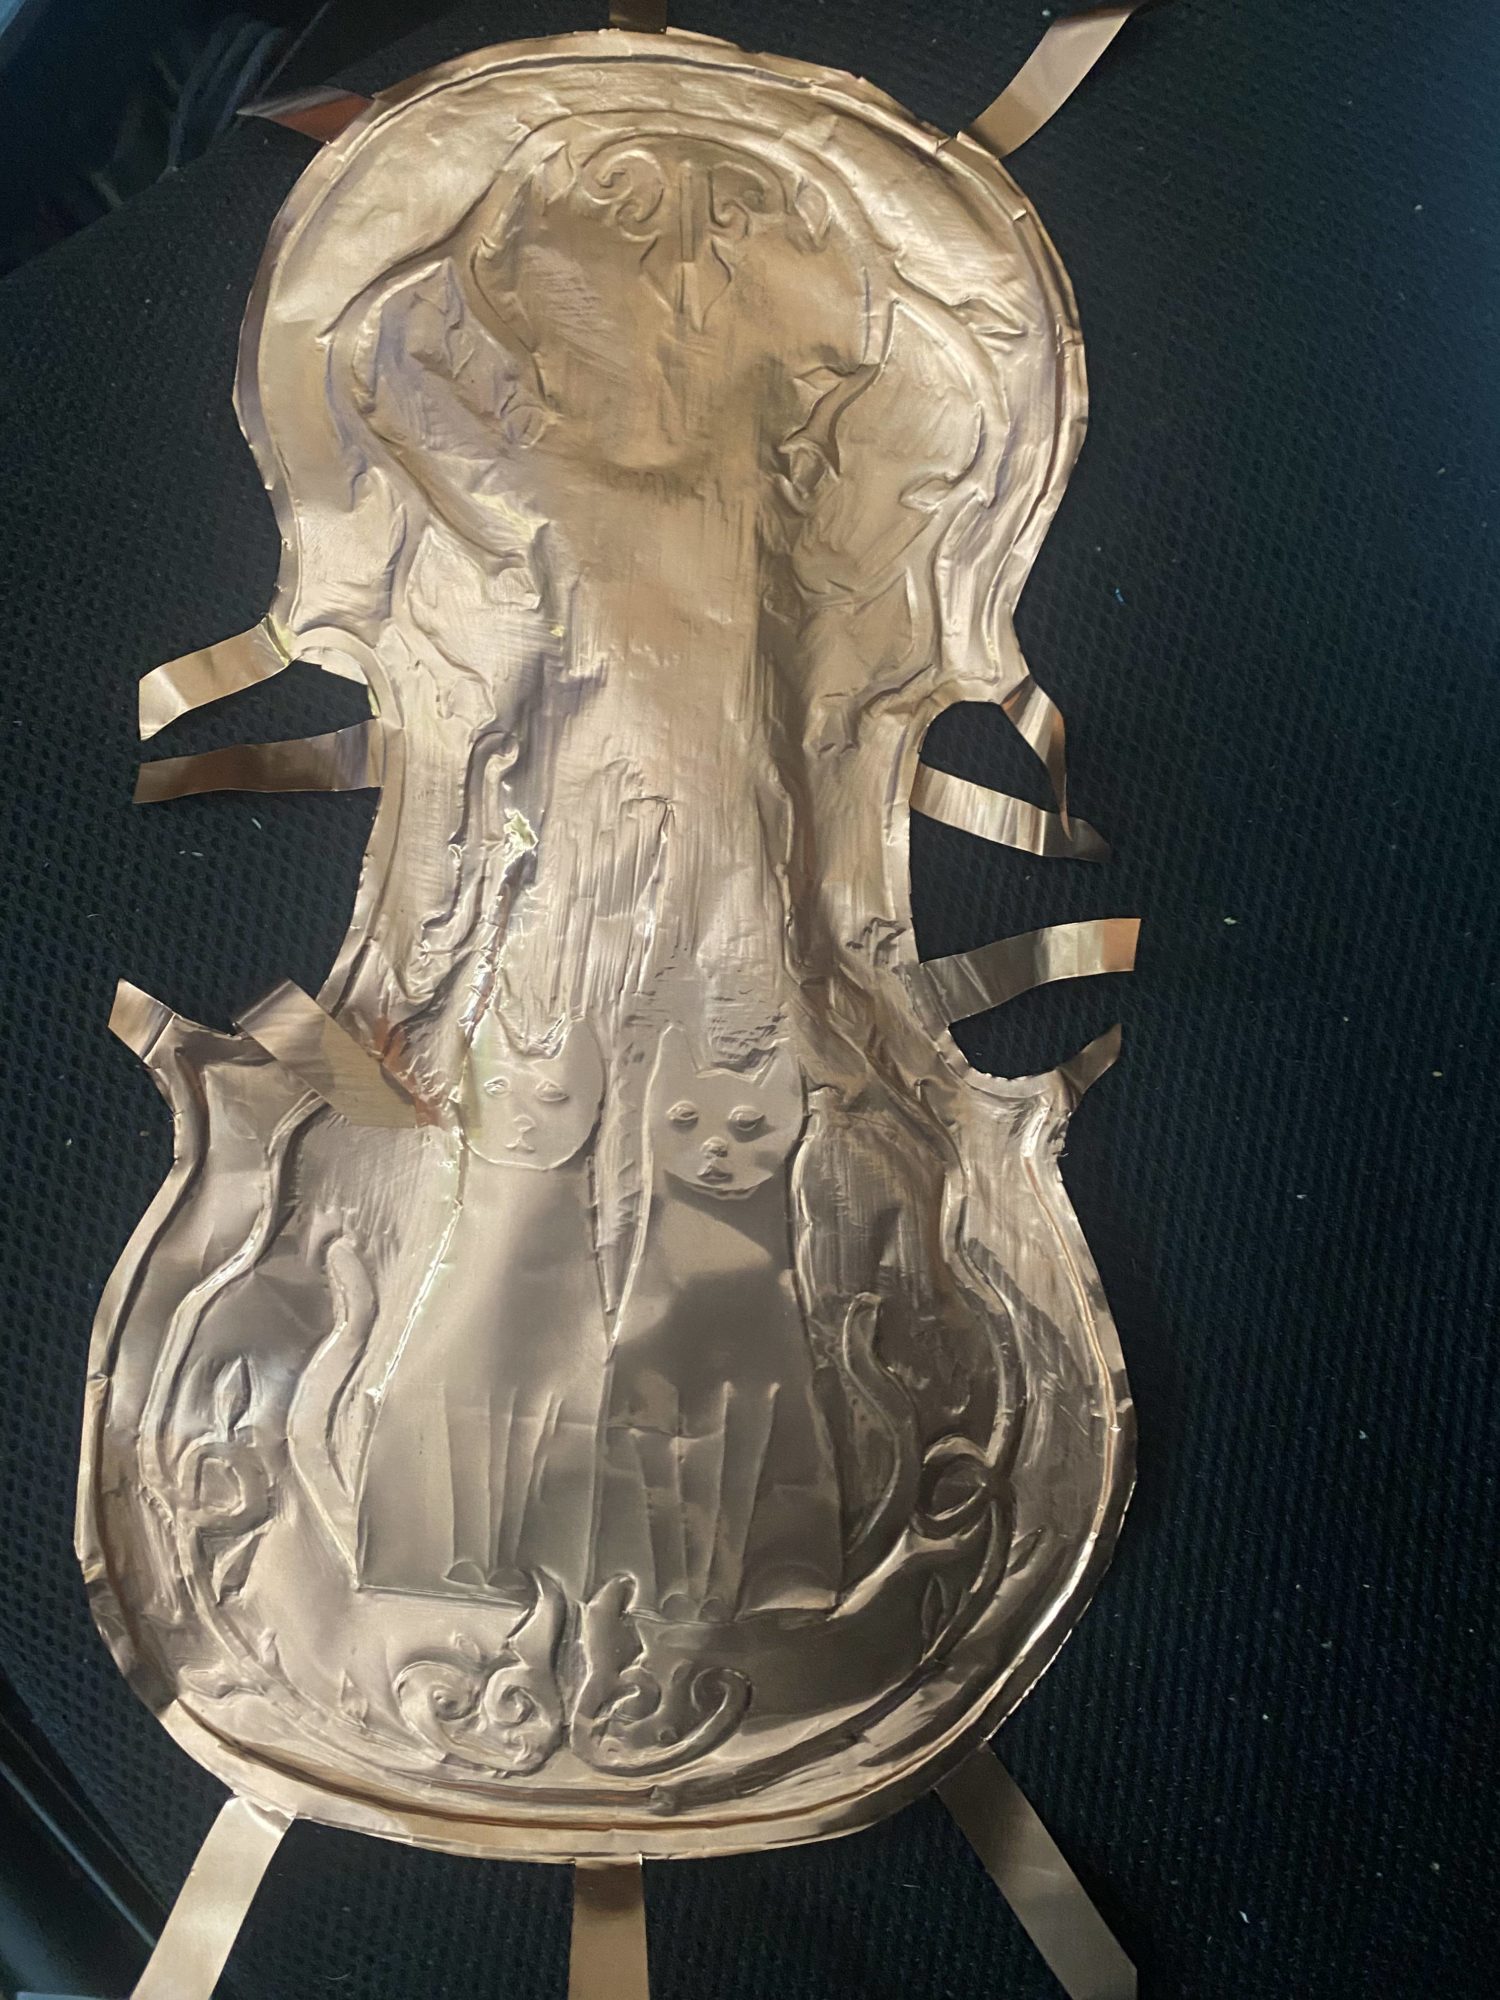
Violin Desk Toy Progress
Levitation Station Progress
Progress Report – Projector Screen and Coded Visuals
My progress since the design preview
Main Project Progress – Generative design Manual Press
Post 10: Iris Mechanism Table Progress Report
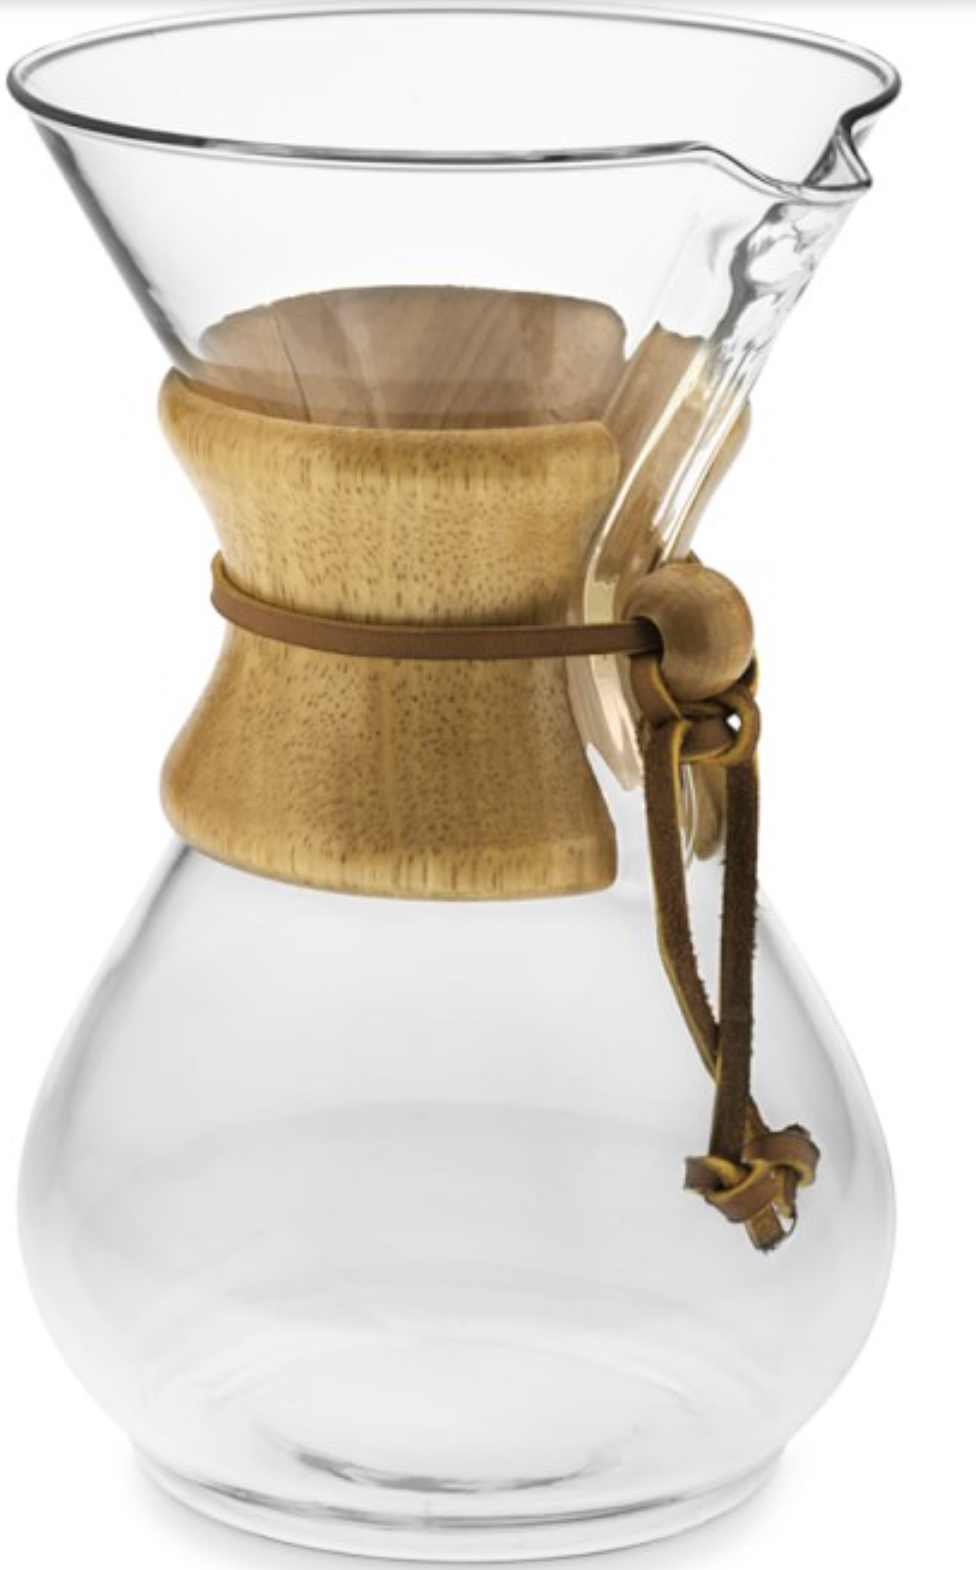
Progress of the Coffee Maker Made Within the Coffeehouse Aesthetic
Progress so Far
Post 10: Progress -> Final
Cycletruck Progress
Ebike Battery Enclosure Progress Update
Progress Report
Matthew Holleb : Modern Rope Light Floor Lamp Progress
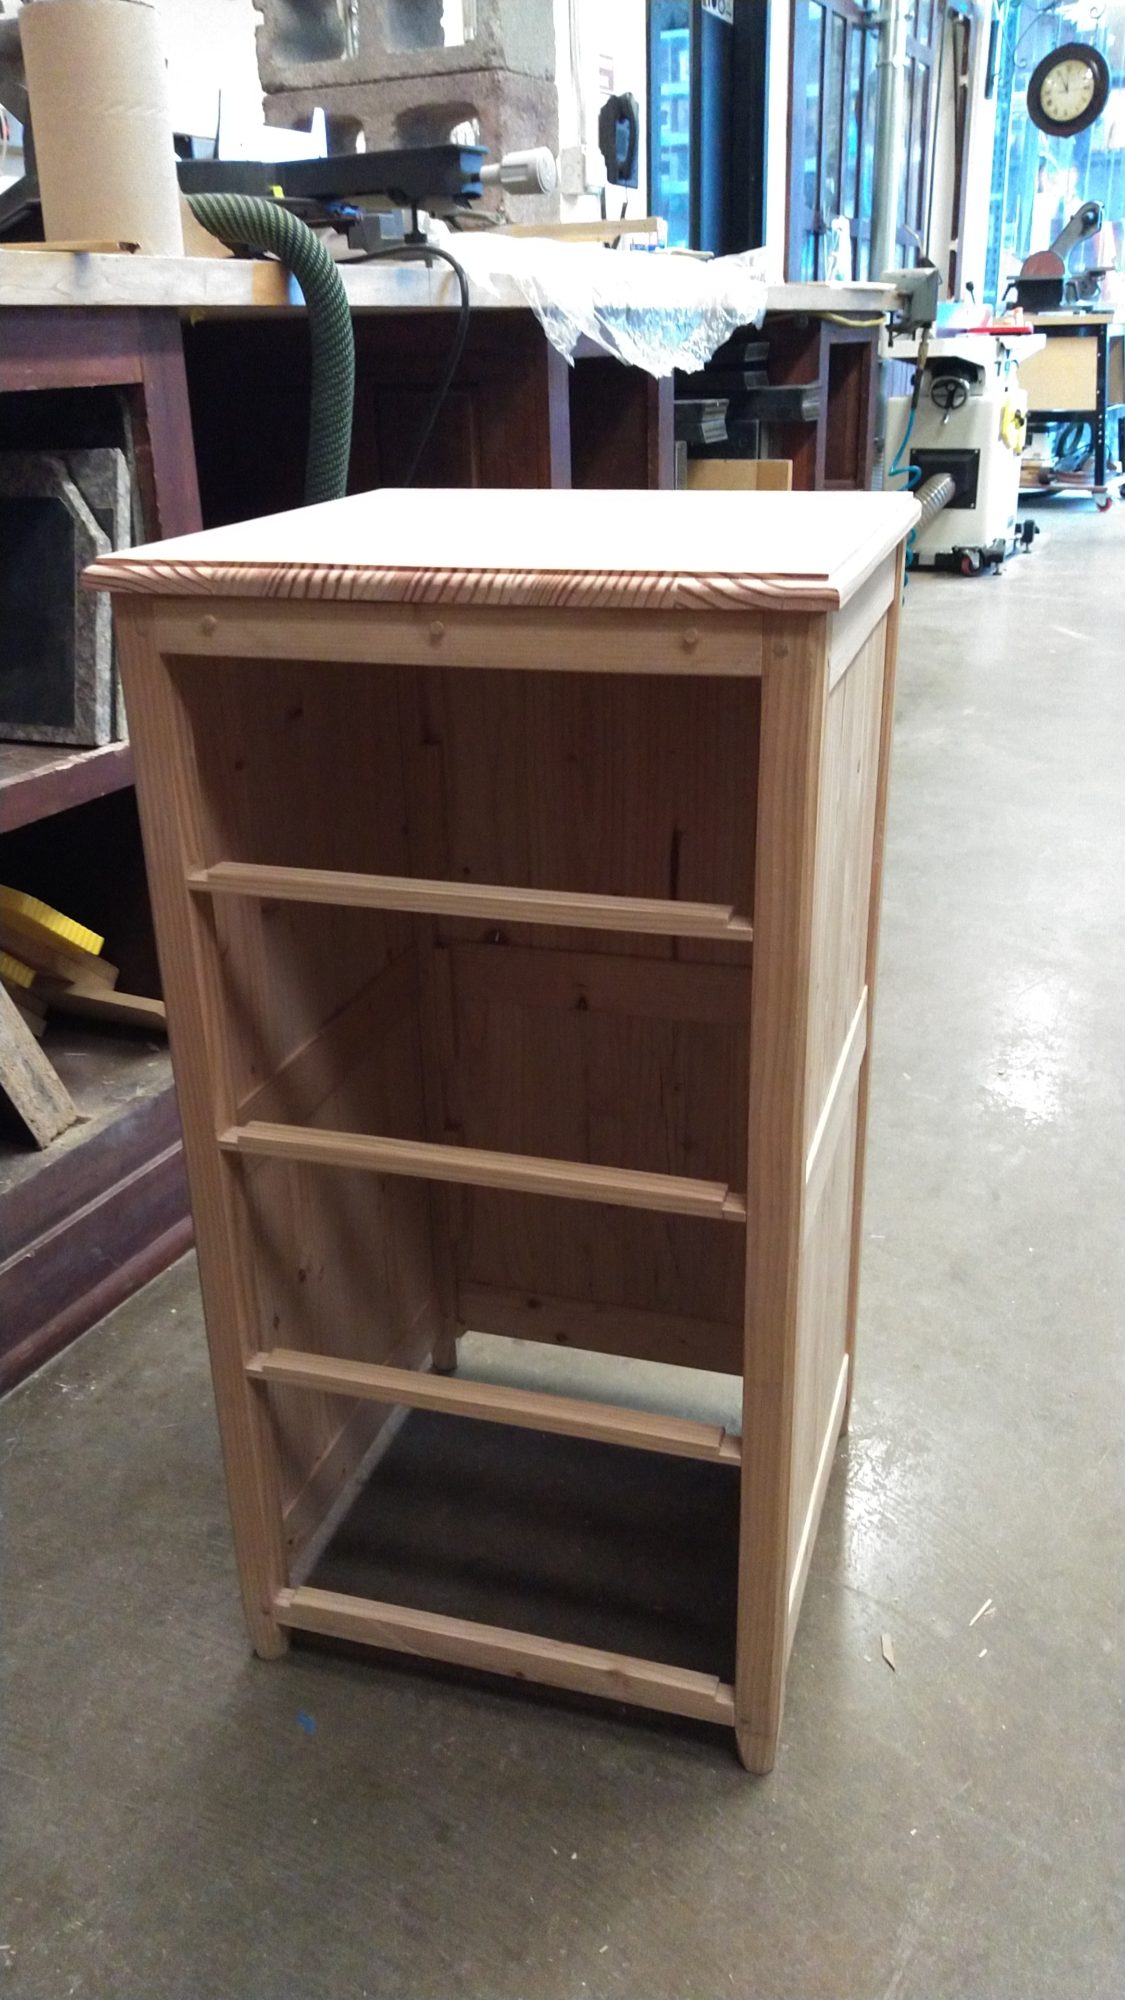
Nightstand Progress
Tensegrity Table 2 Progress Report
Progress Update- Alot of Printing Ahead of Me
Blog Post 10
Progess
Peacock Textile Sculpture: Progress
Project Update
Digital Picture Frame Progress
Post 10: Progress
Post 10: Progress
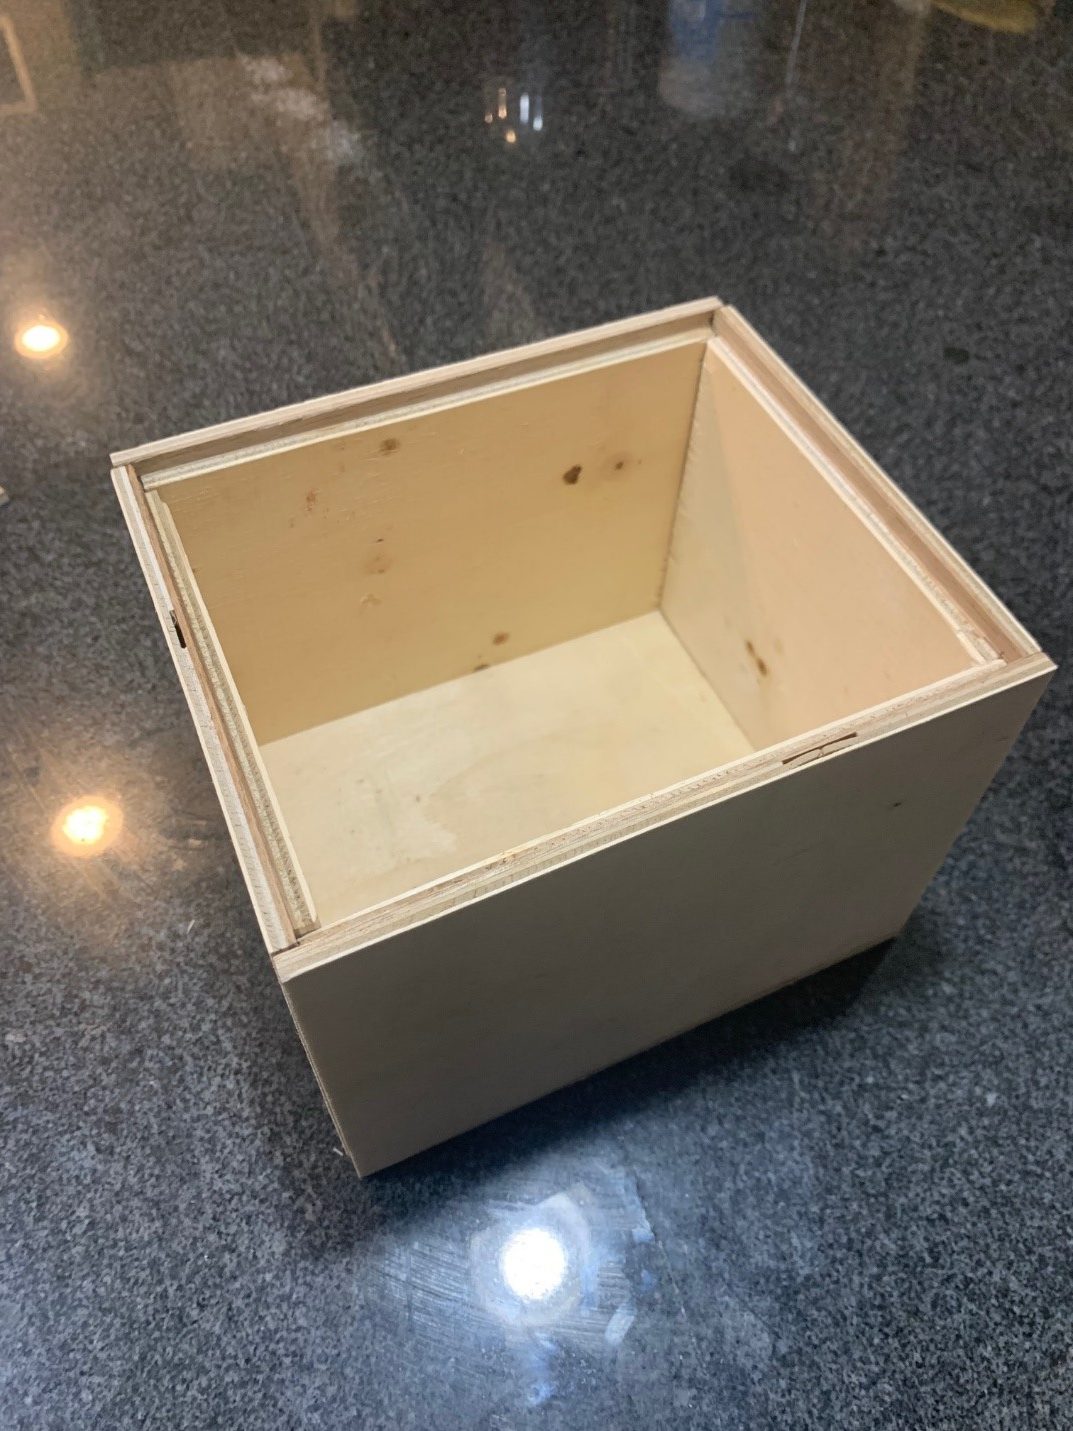
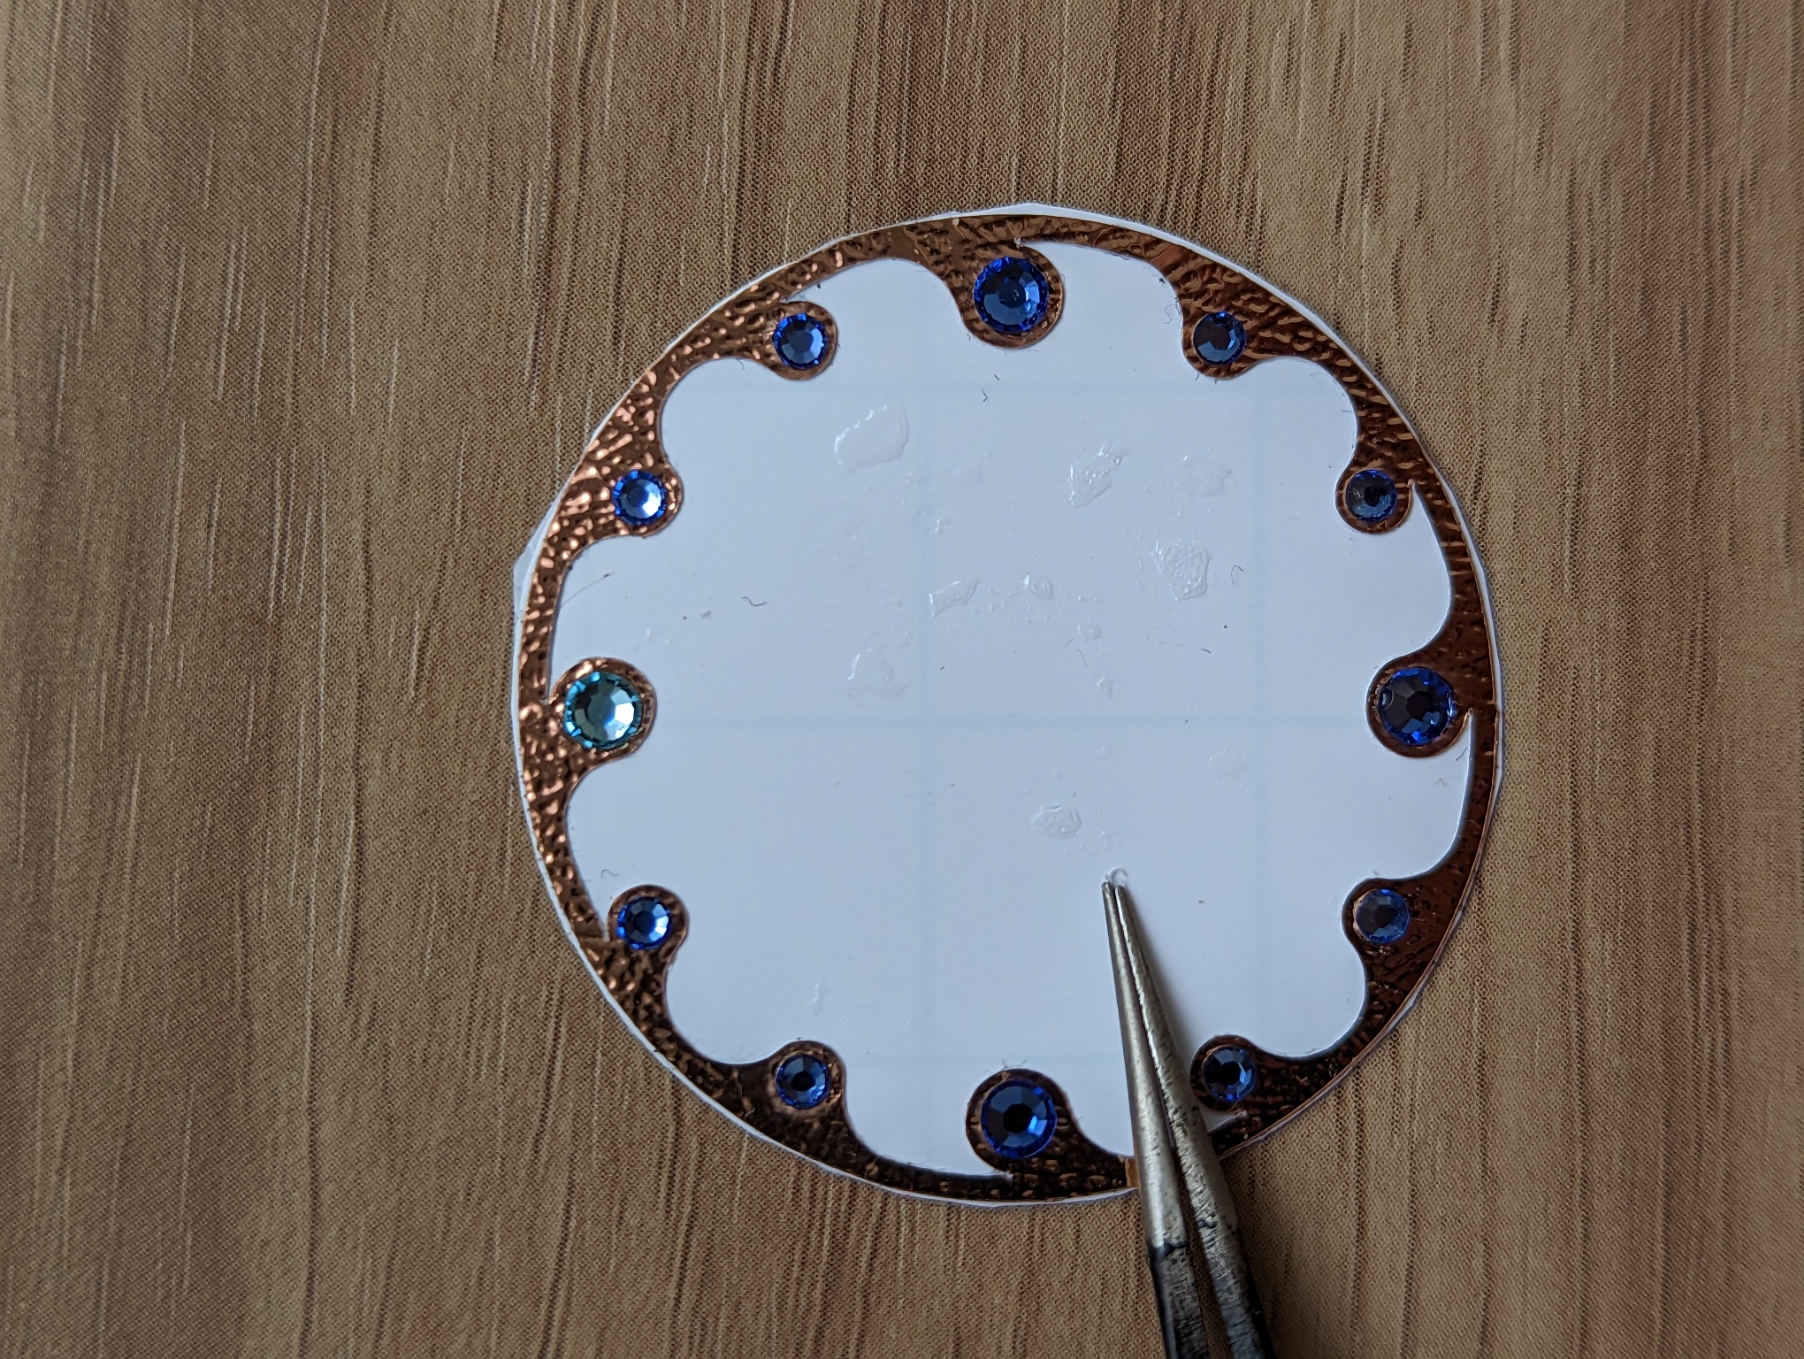
Jewelry Box Progress Report
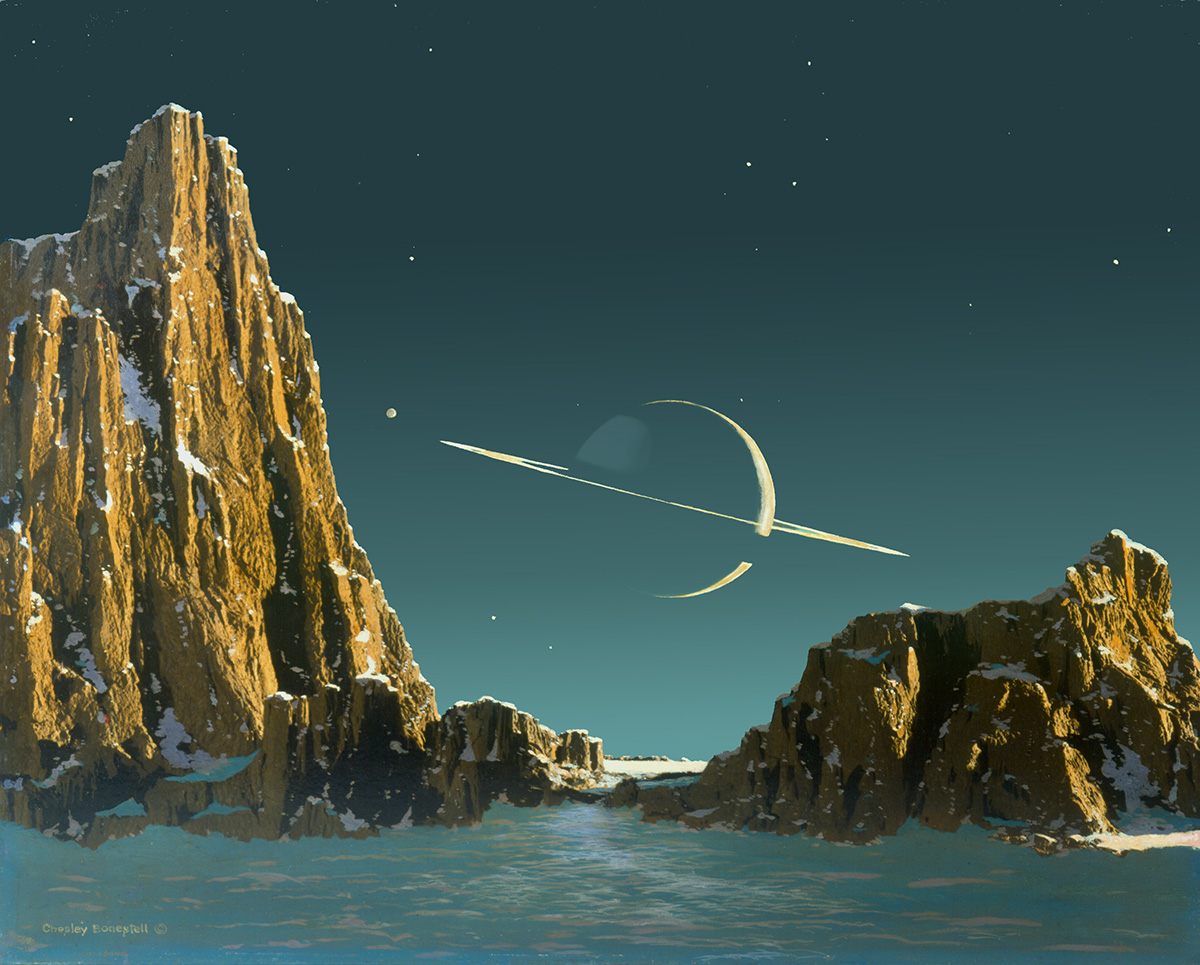
Progress: Space Desk Ornament
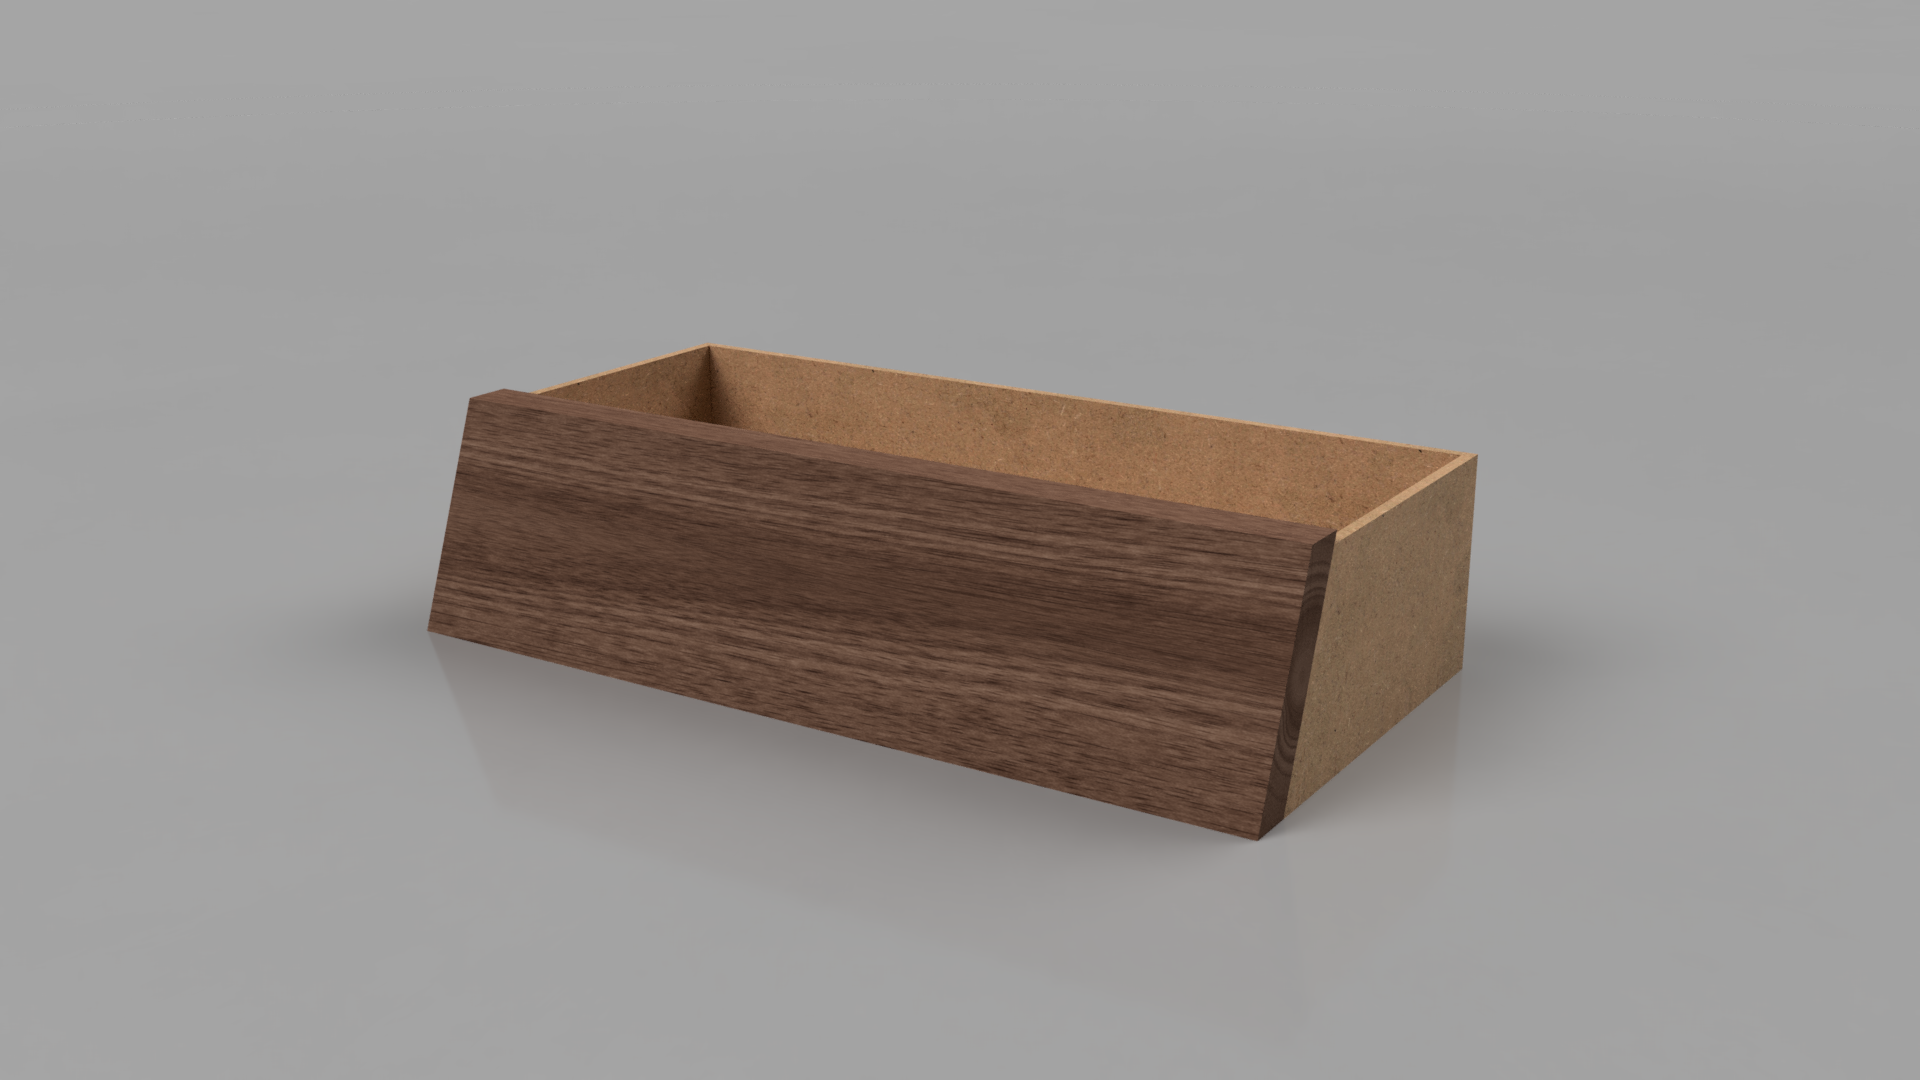
Progress Update: Desk Drawer
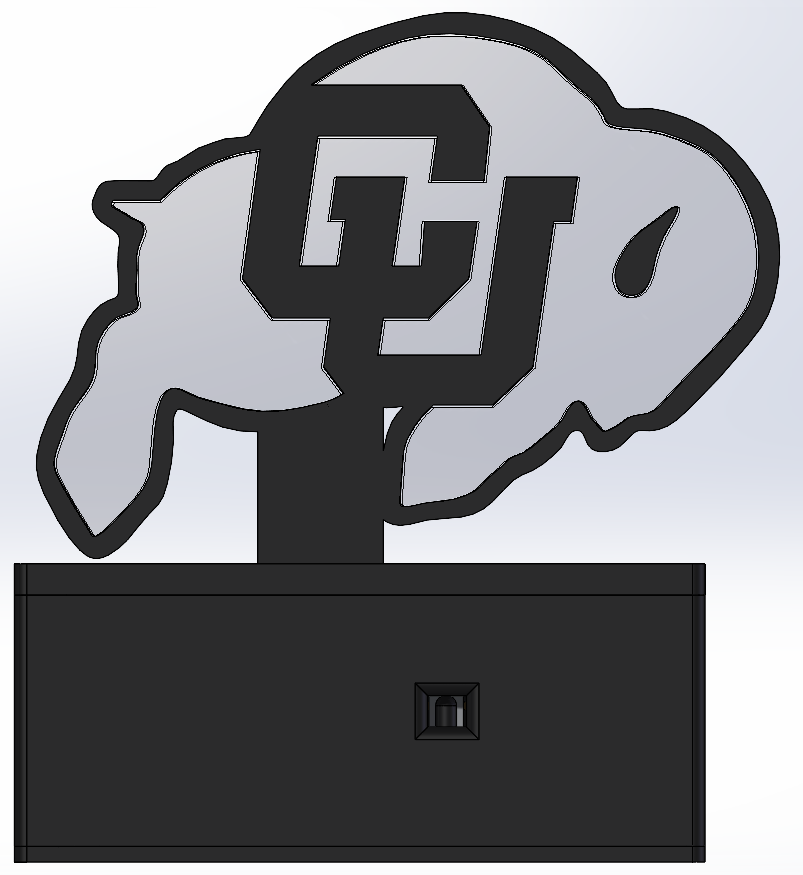
Progress Update: CU Memento
Retro Futuristic Alarm Clock Progress
Progress Report
Post 10: Progress
Pirtle to the Past
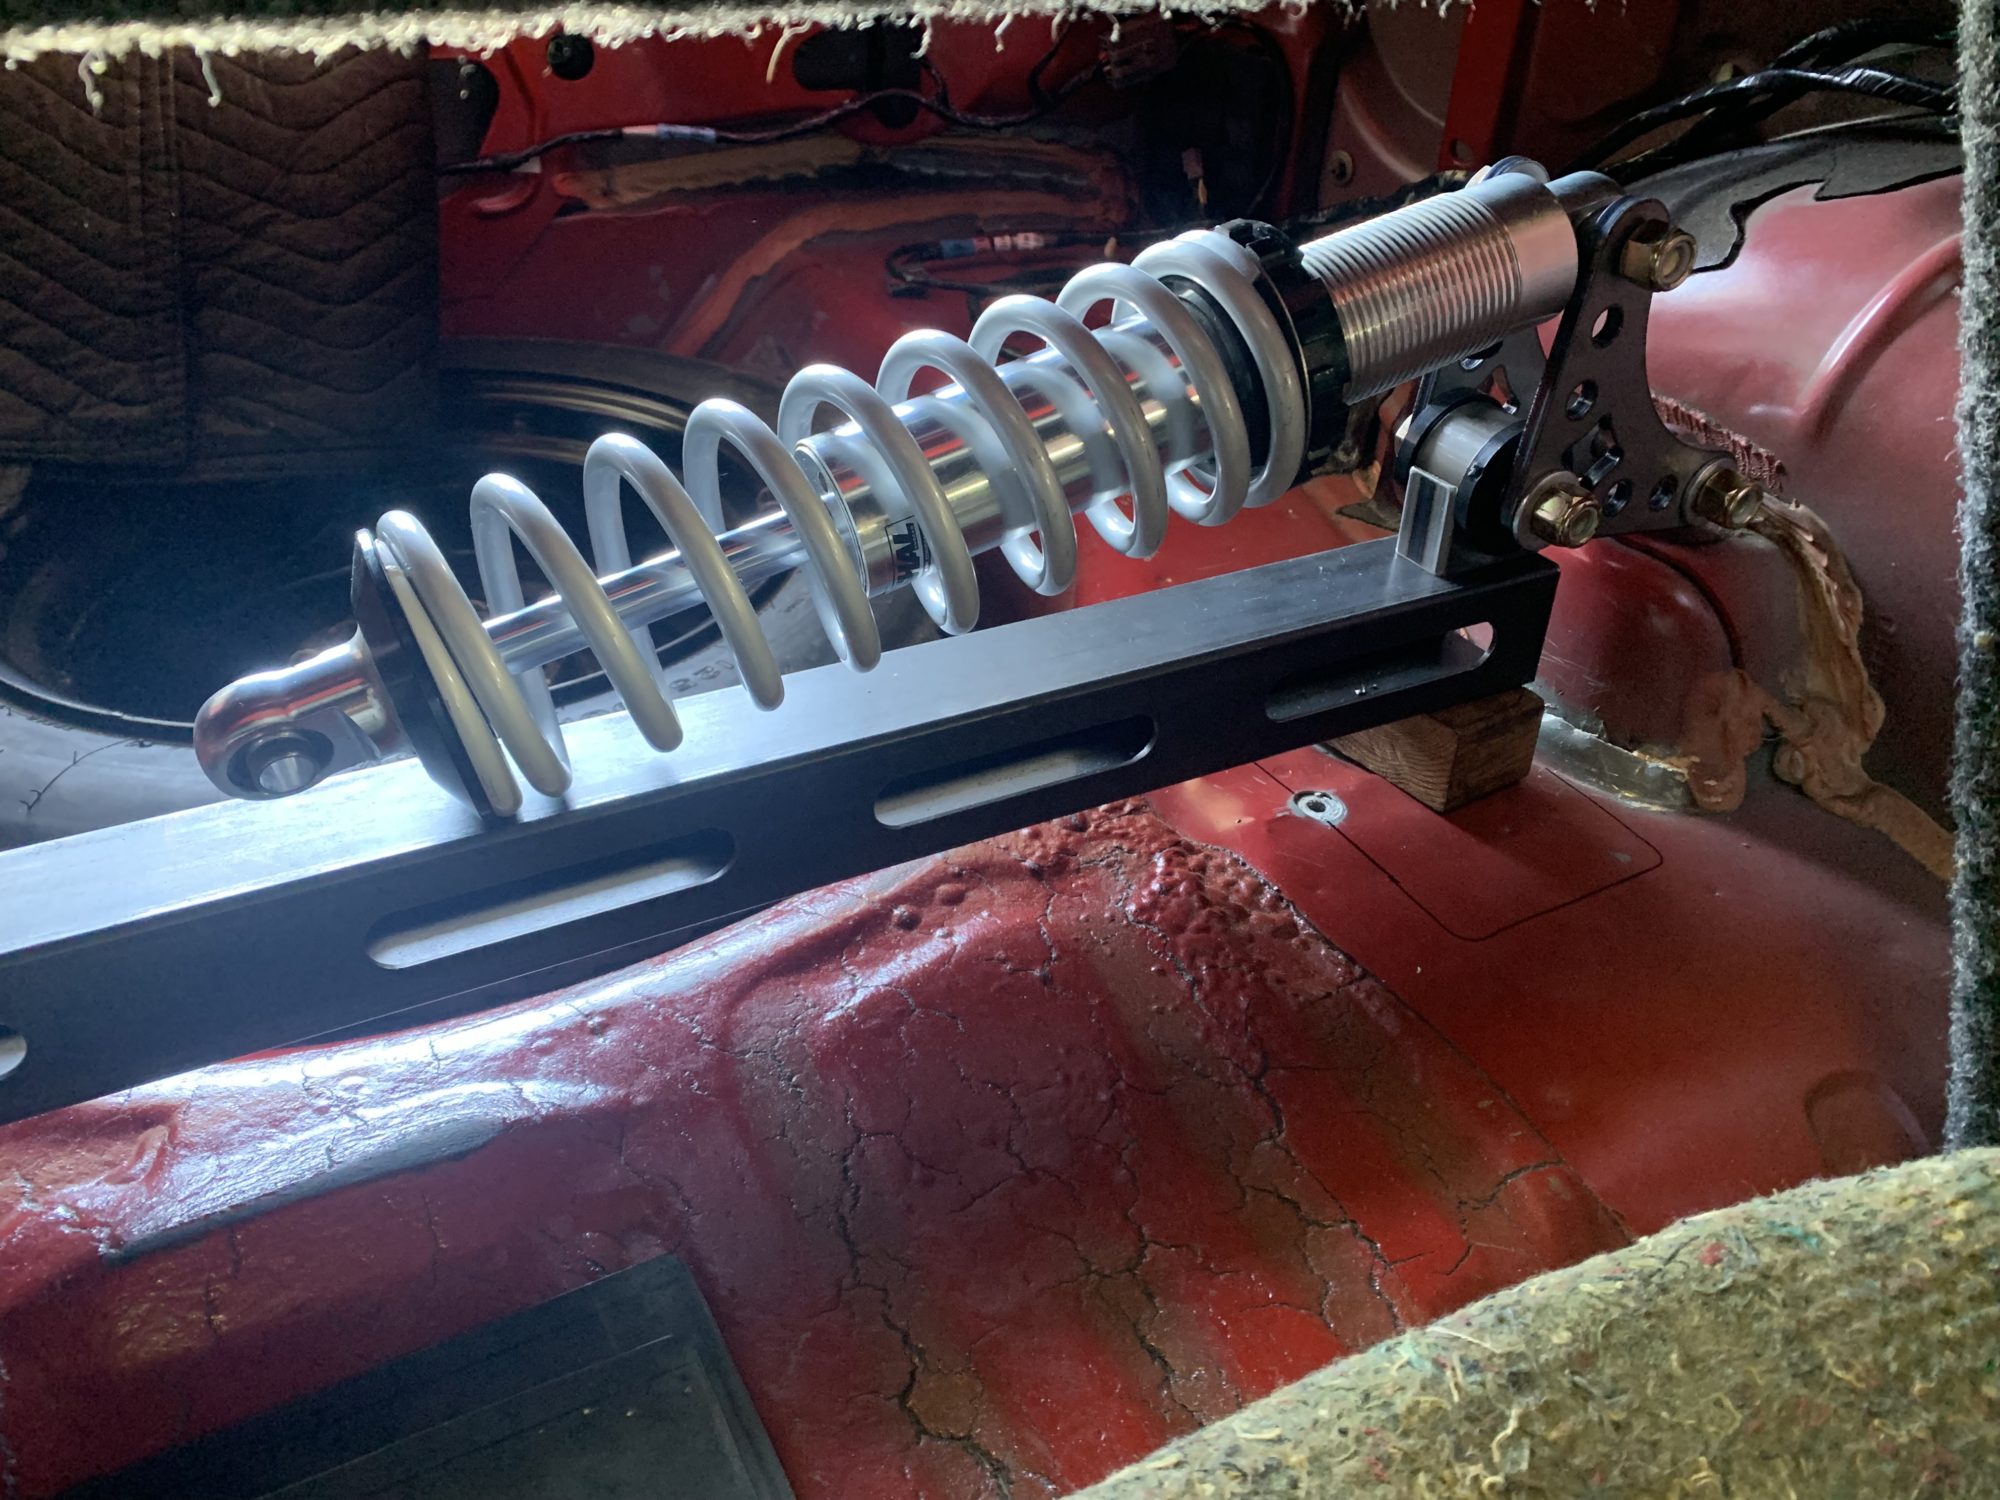
Cantilever Suspension Progress
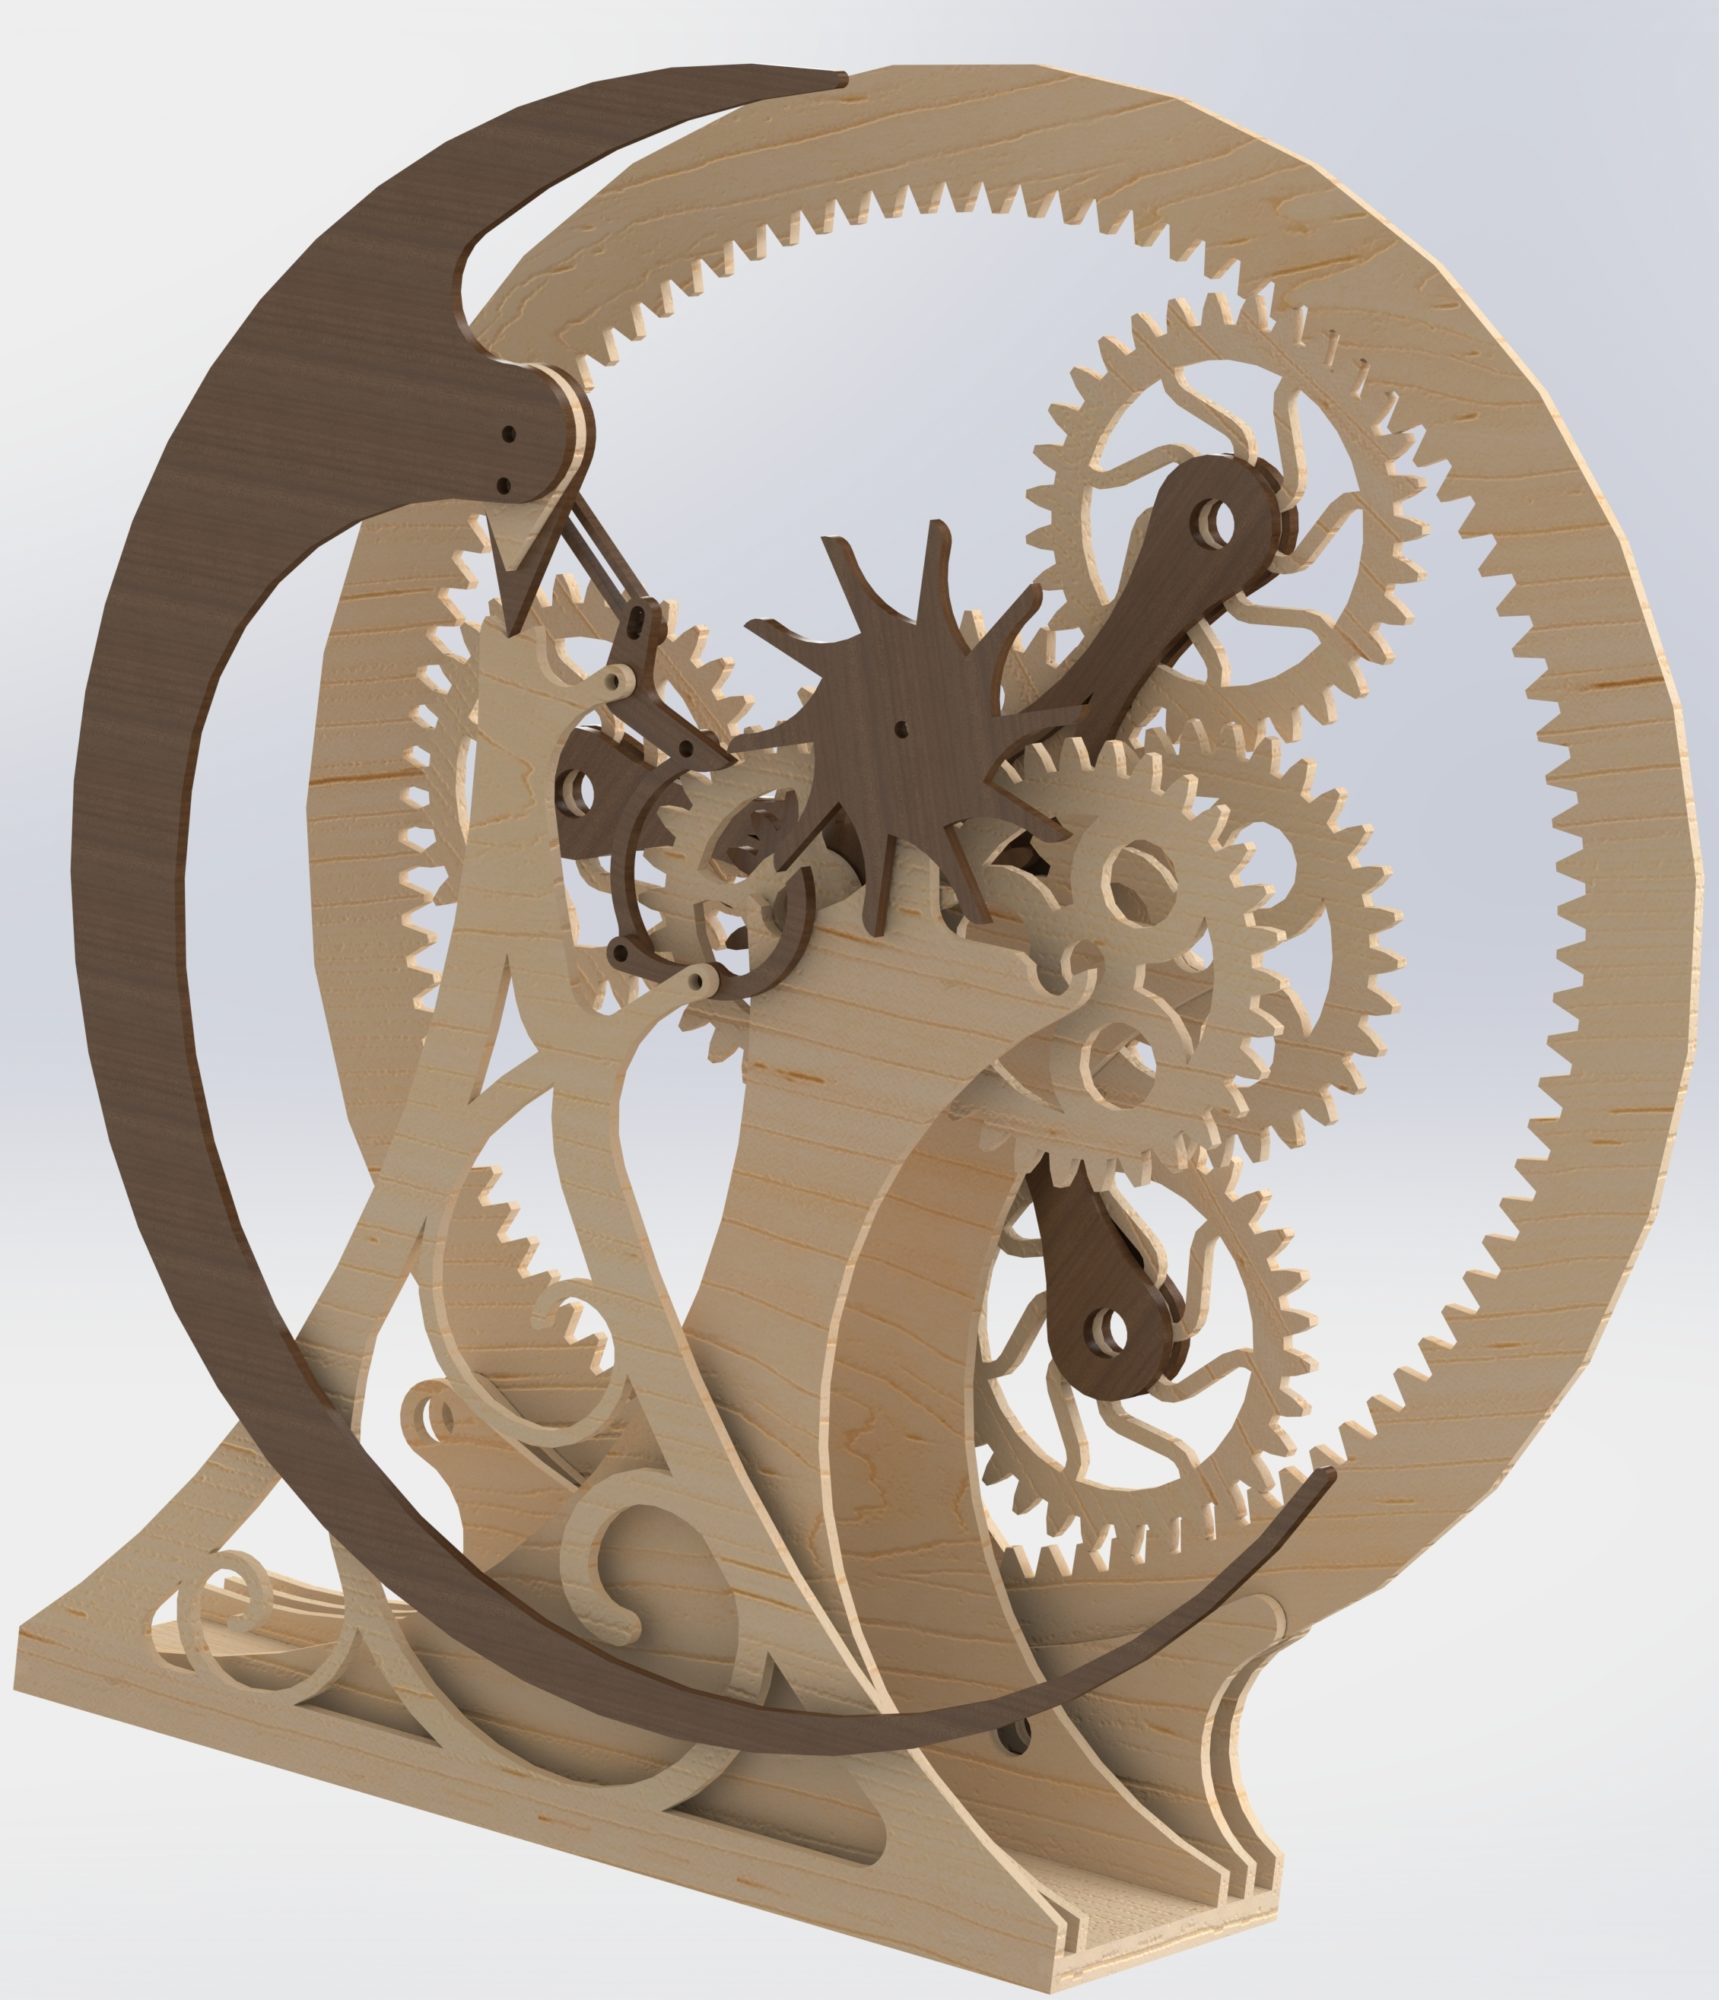
Progress Update: Escapement Mechanism
Final Project Progress
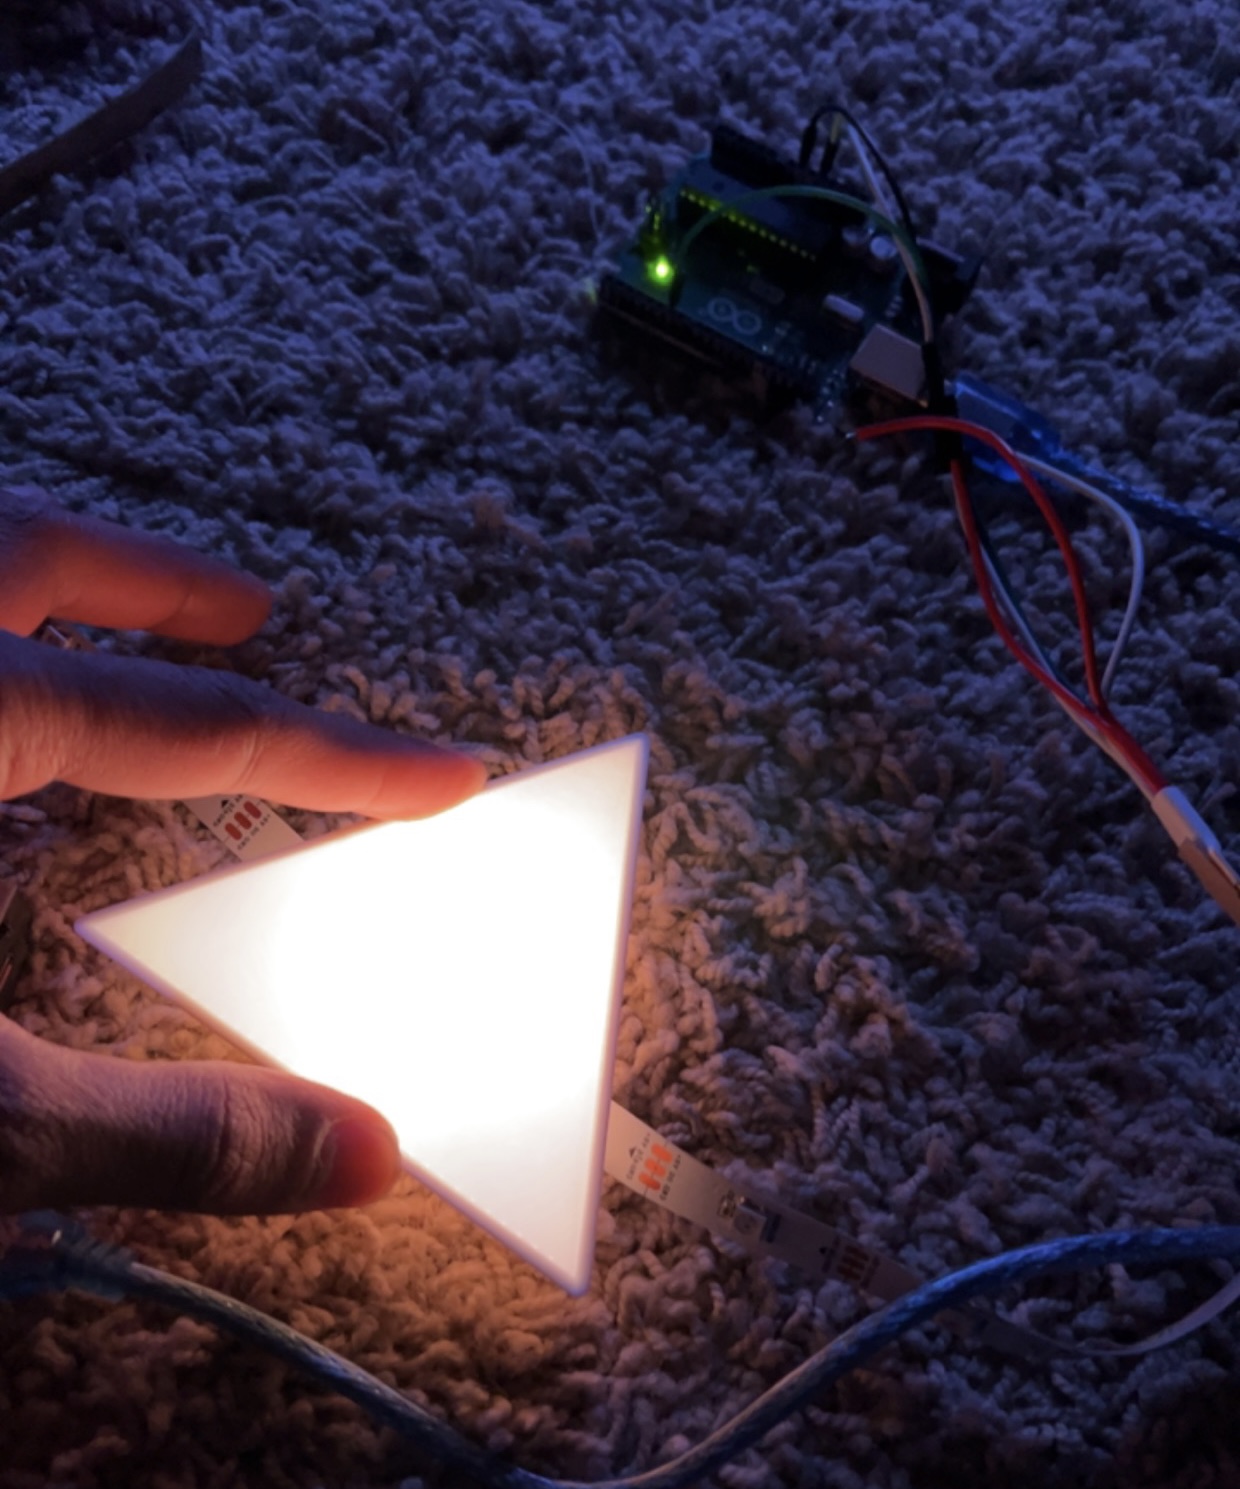
Progress since the Design Report – Abstract Interactive LED Rock
Design Project Progress since Design Review
Progress Report
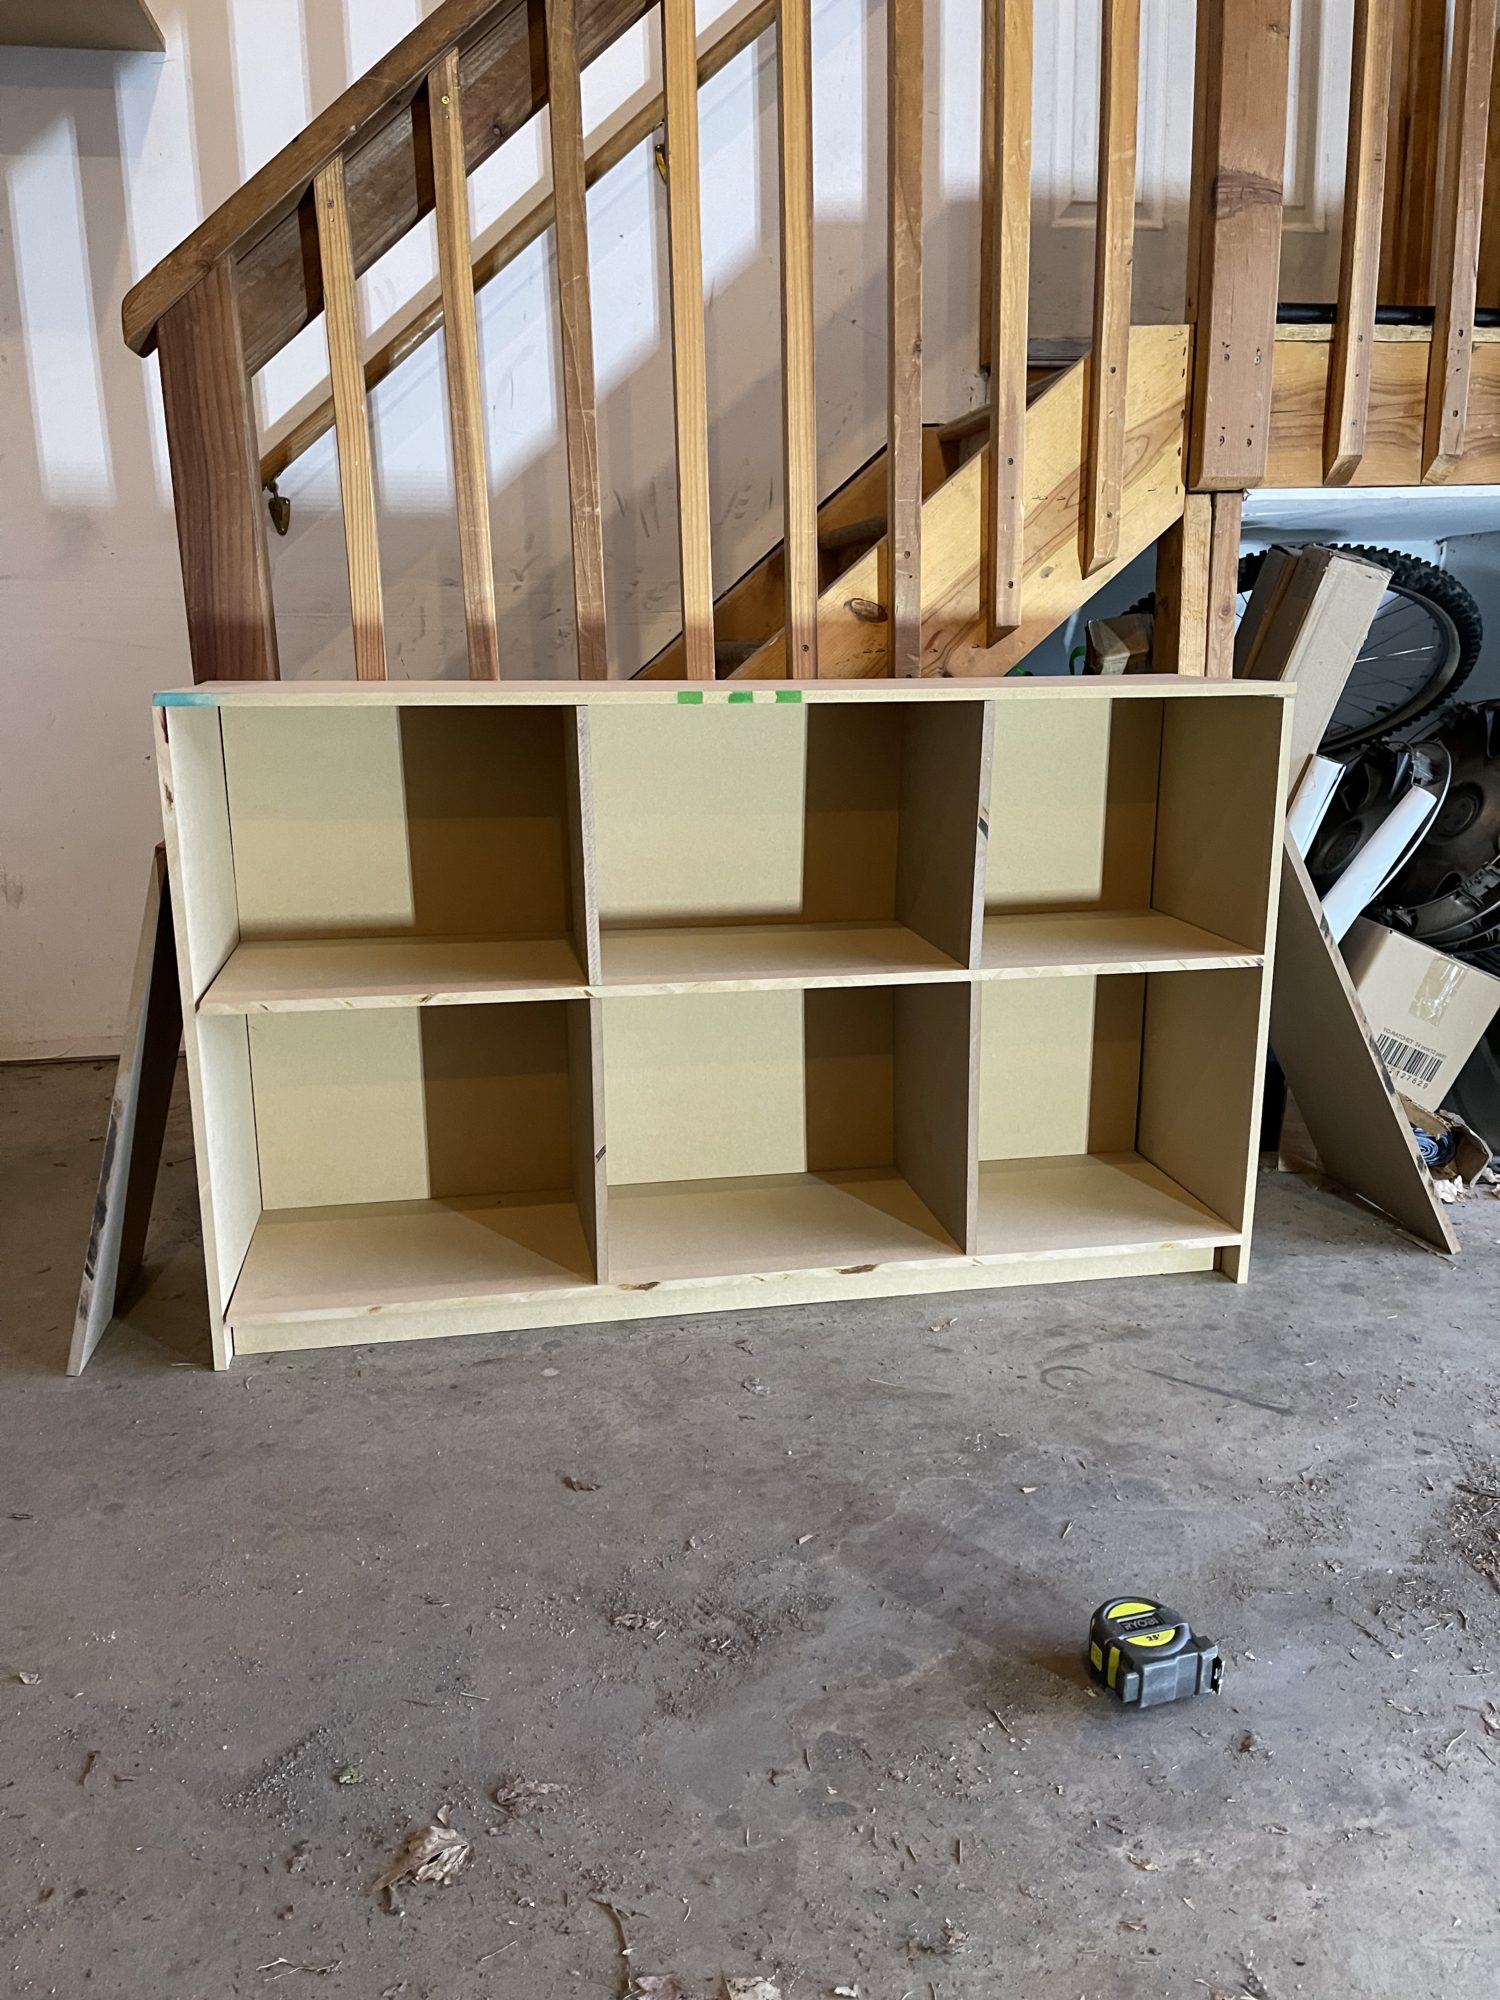
Minimalist Shelf Progress Update
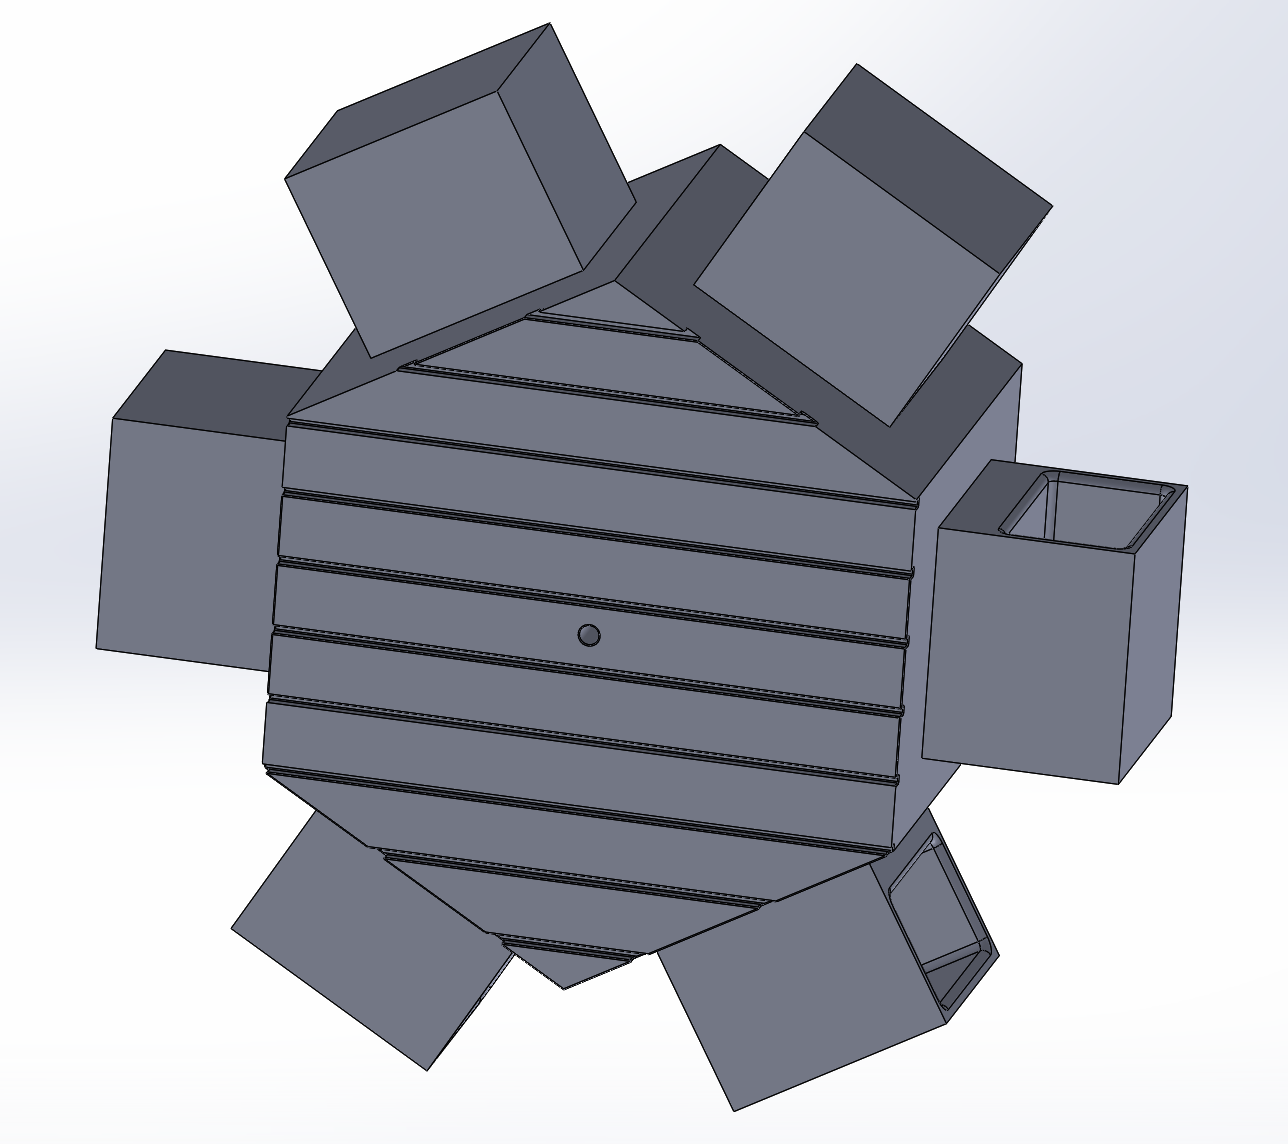
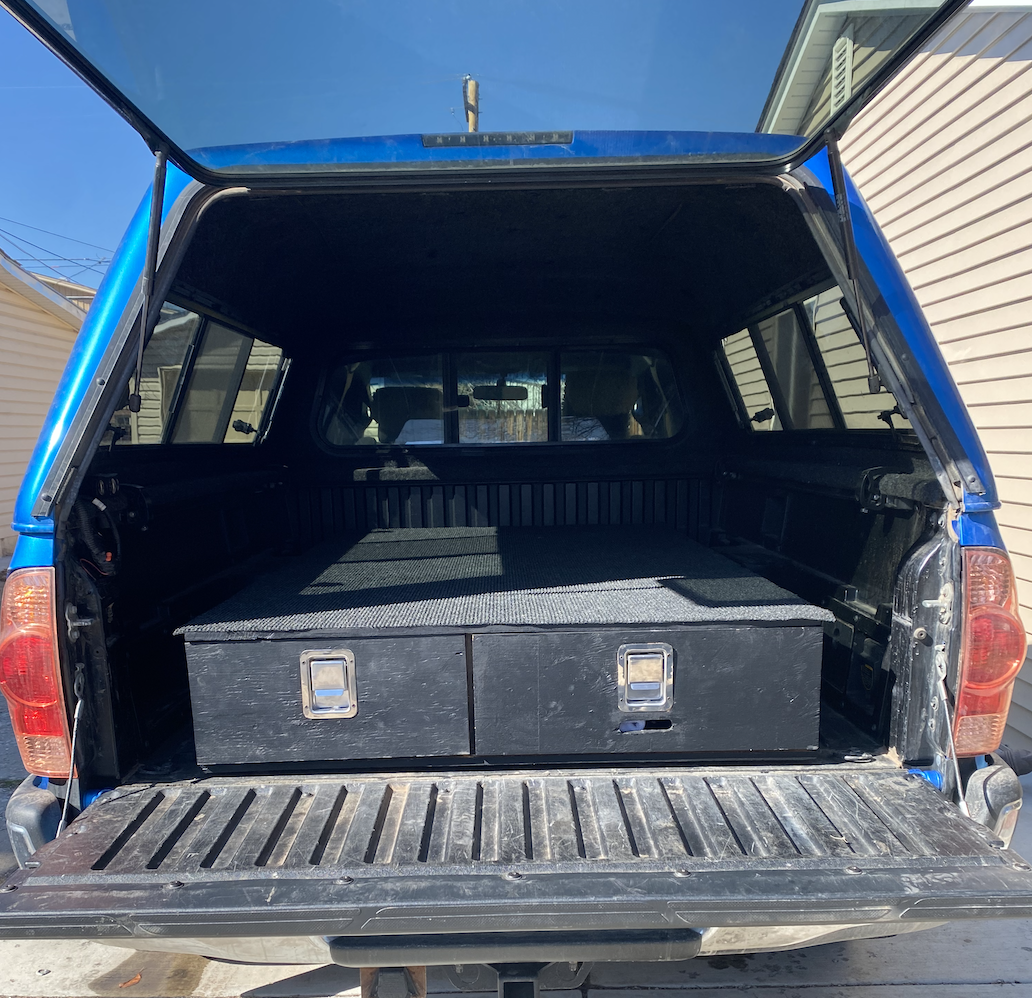
Camping Drawers- Progress Report
Puzzle Box Progress Report
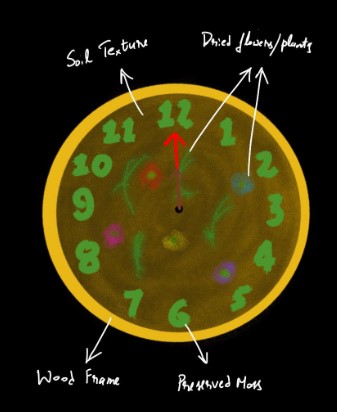
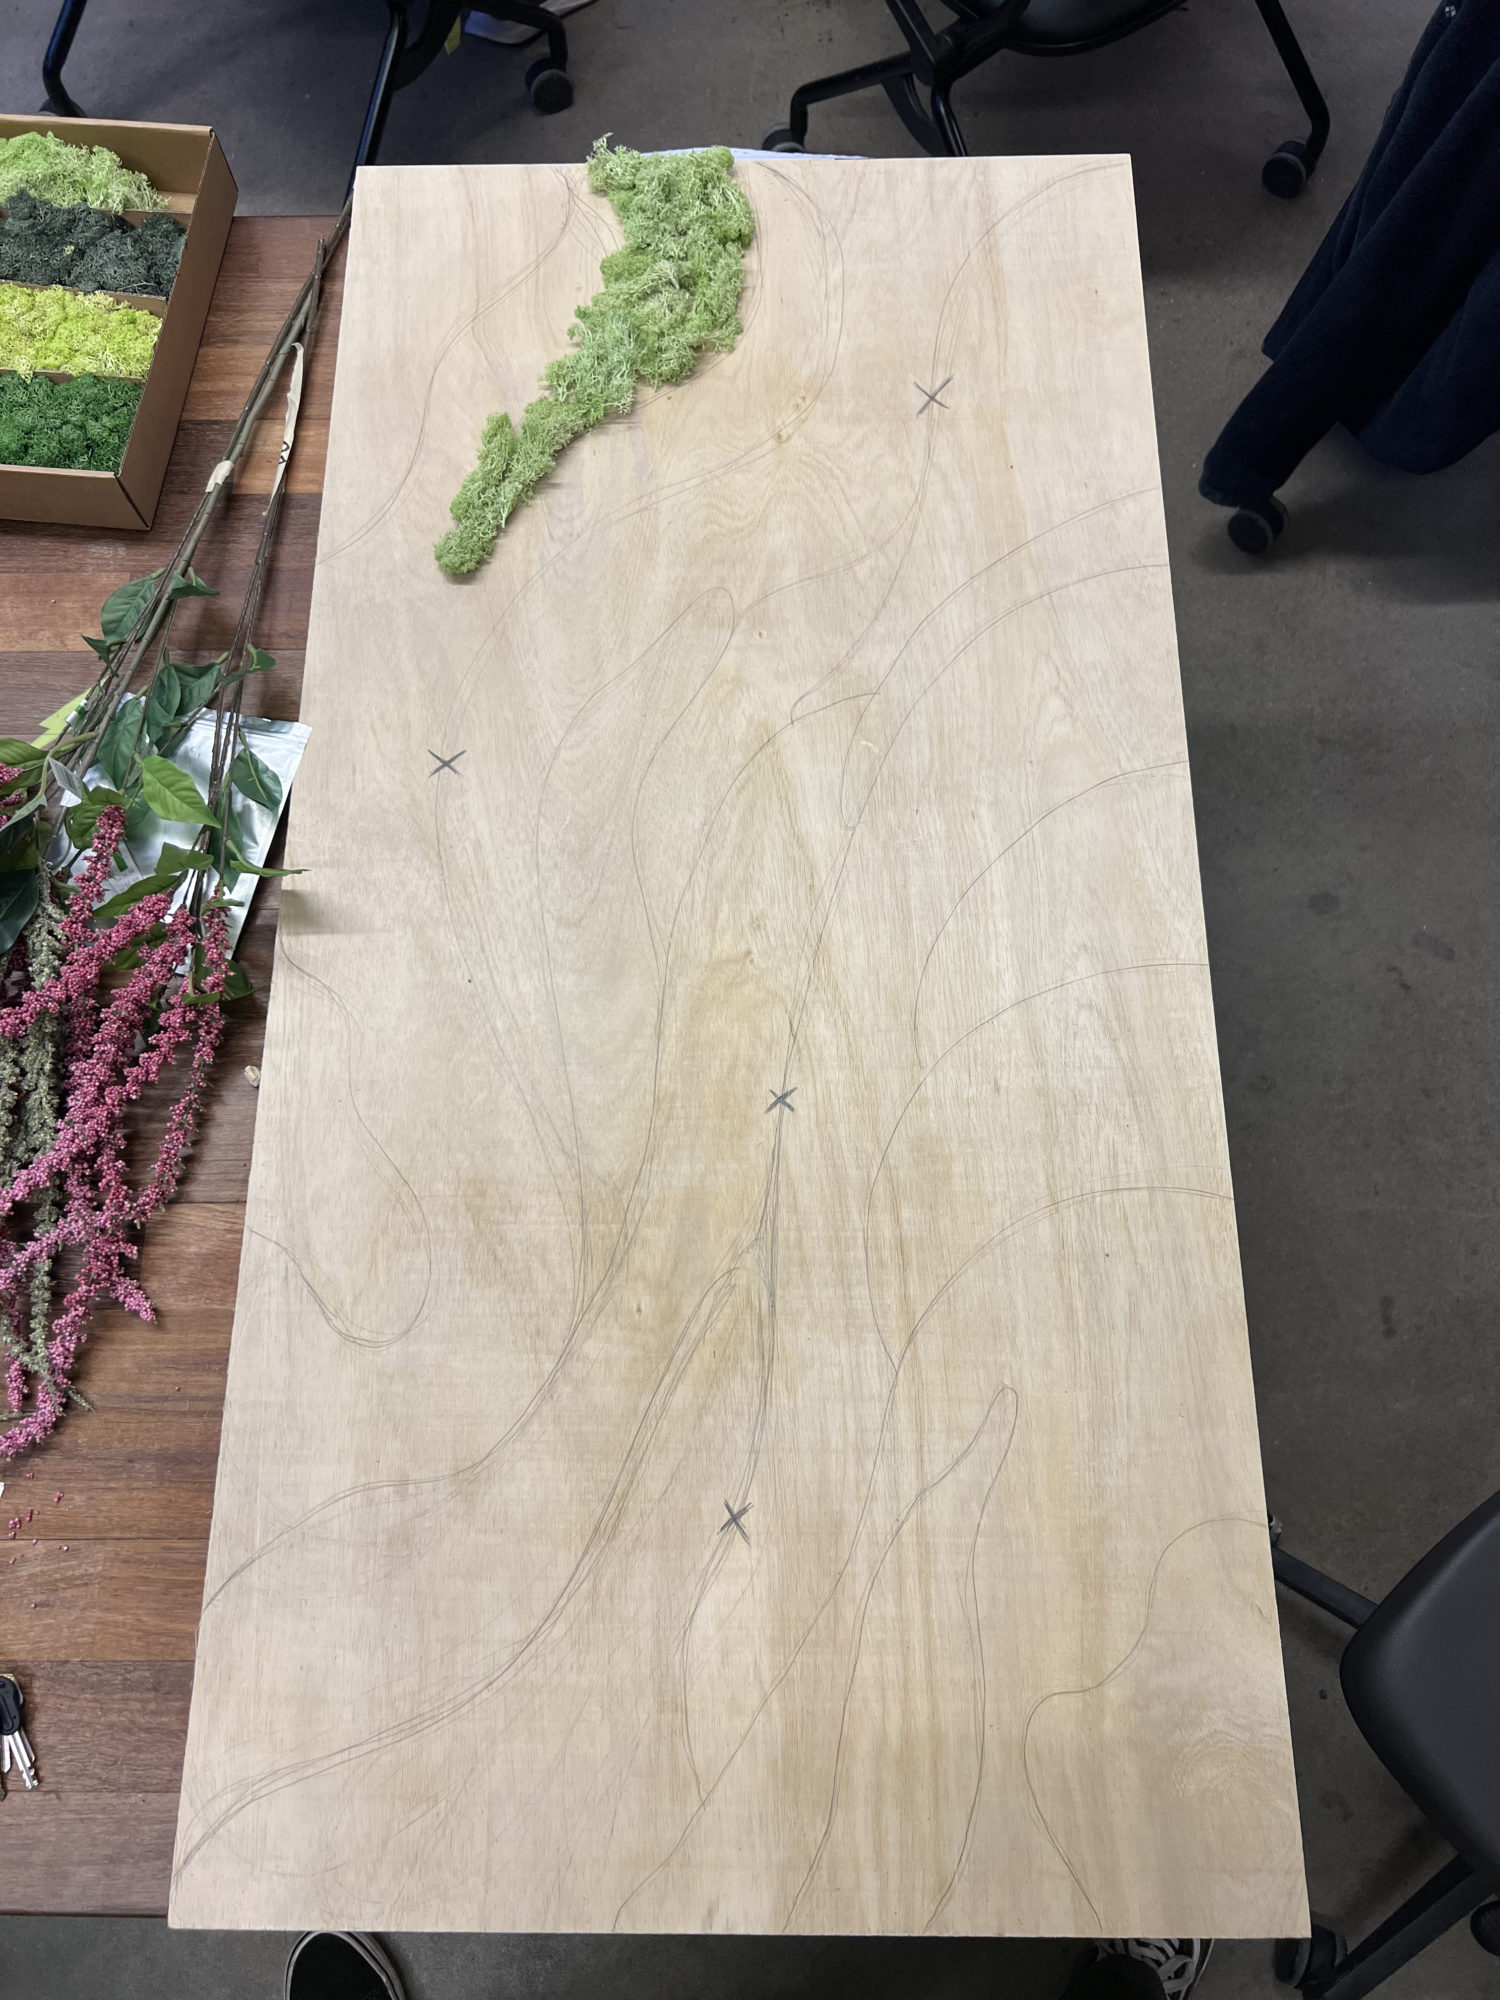
Progress: Moss Wall Art
Main Project Progress
Post 10: Project Progress
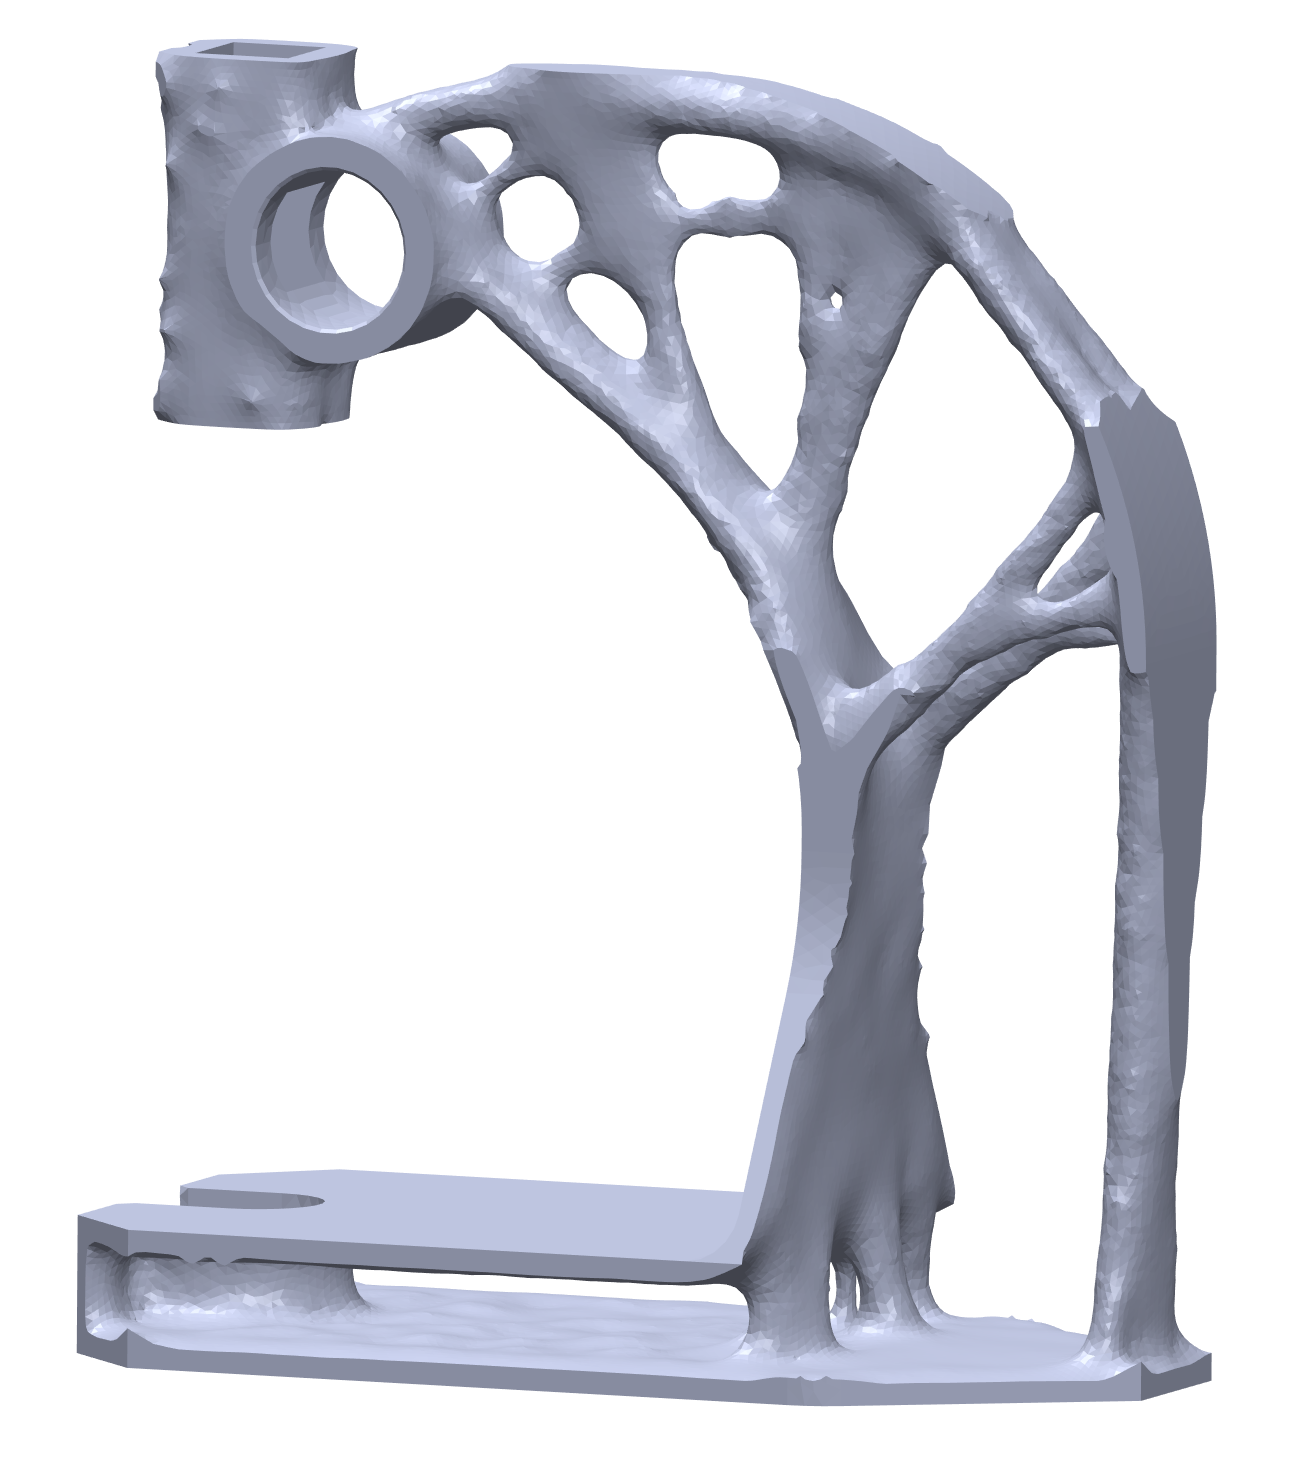
Heartbeat Tree: Failure and updates!!
Design Progress Report: Drawing Machine
Progress since Design Preview
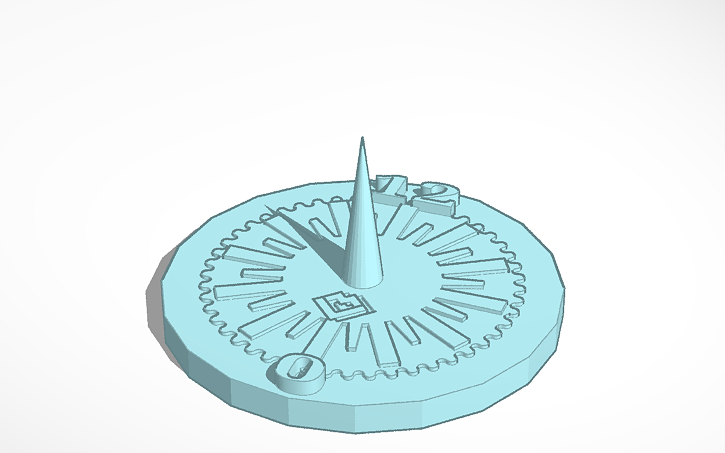
Design Progress Report: ArtisanalTime
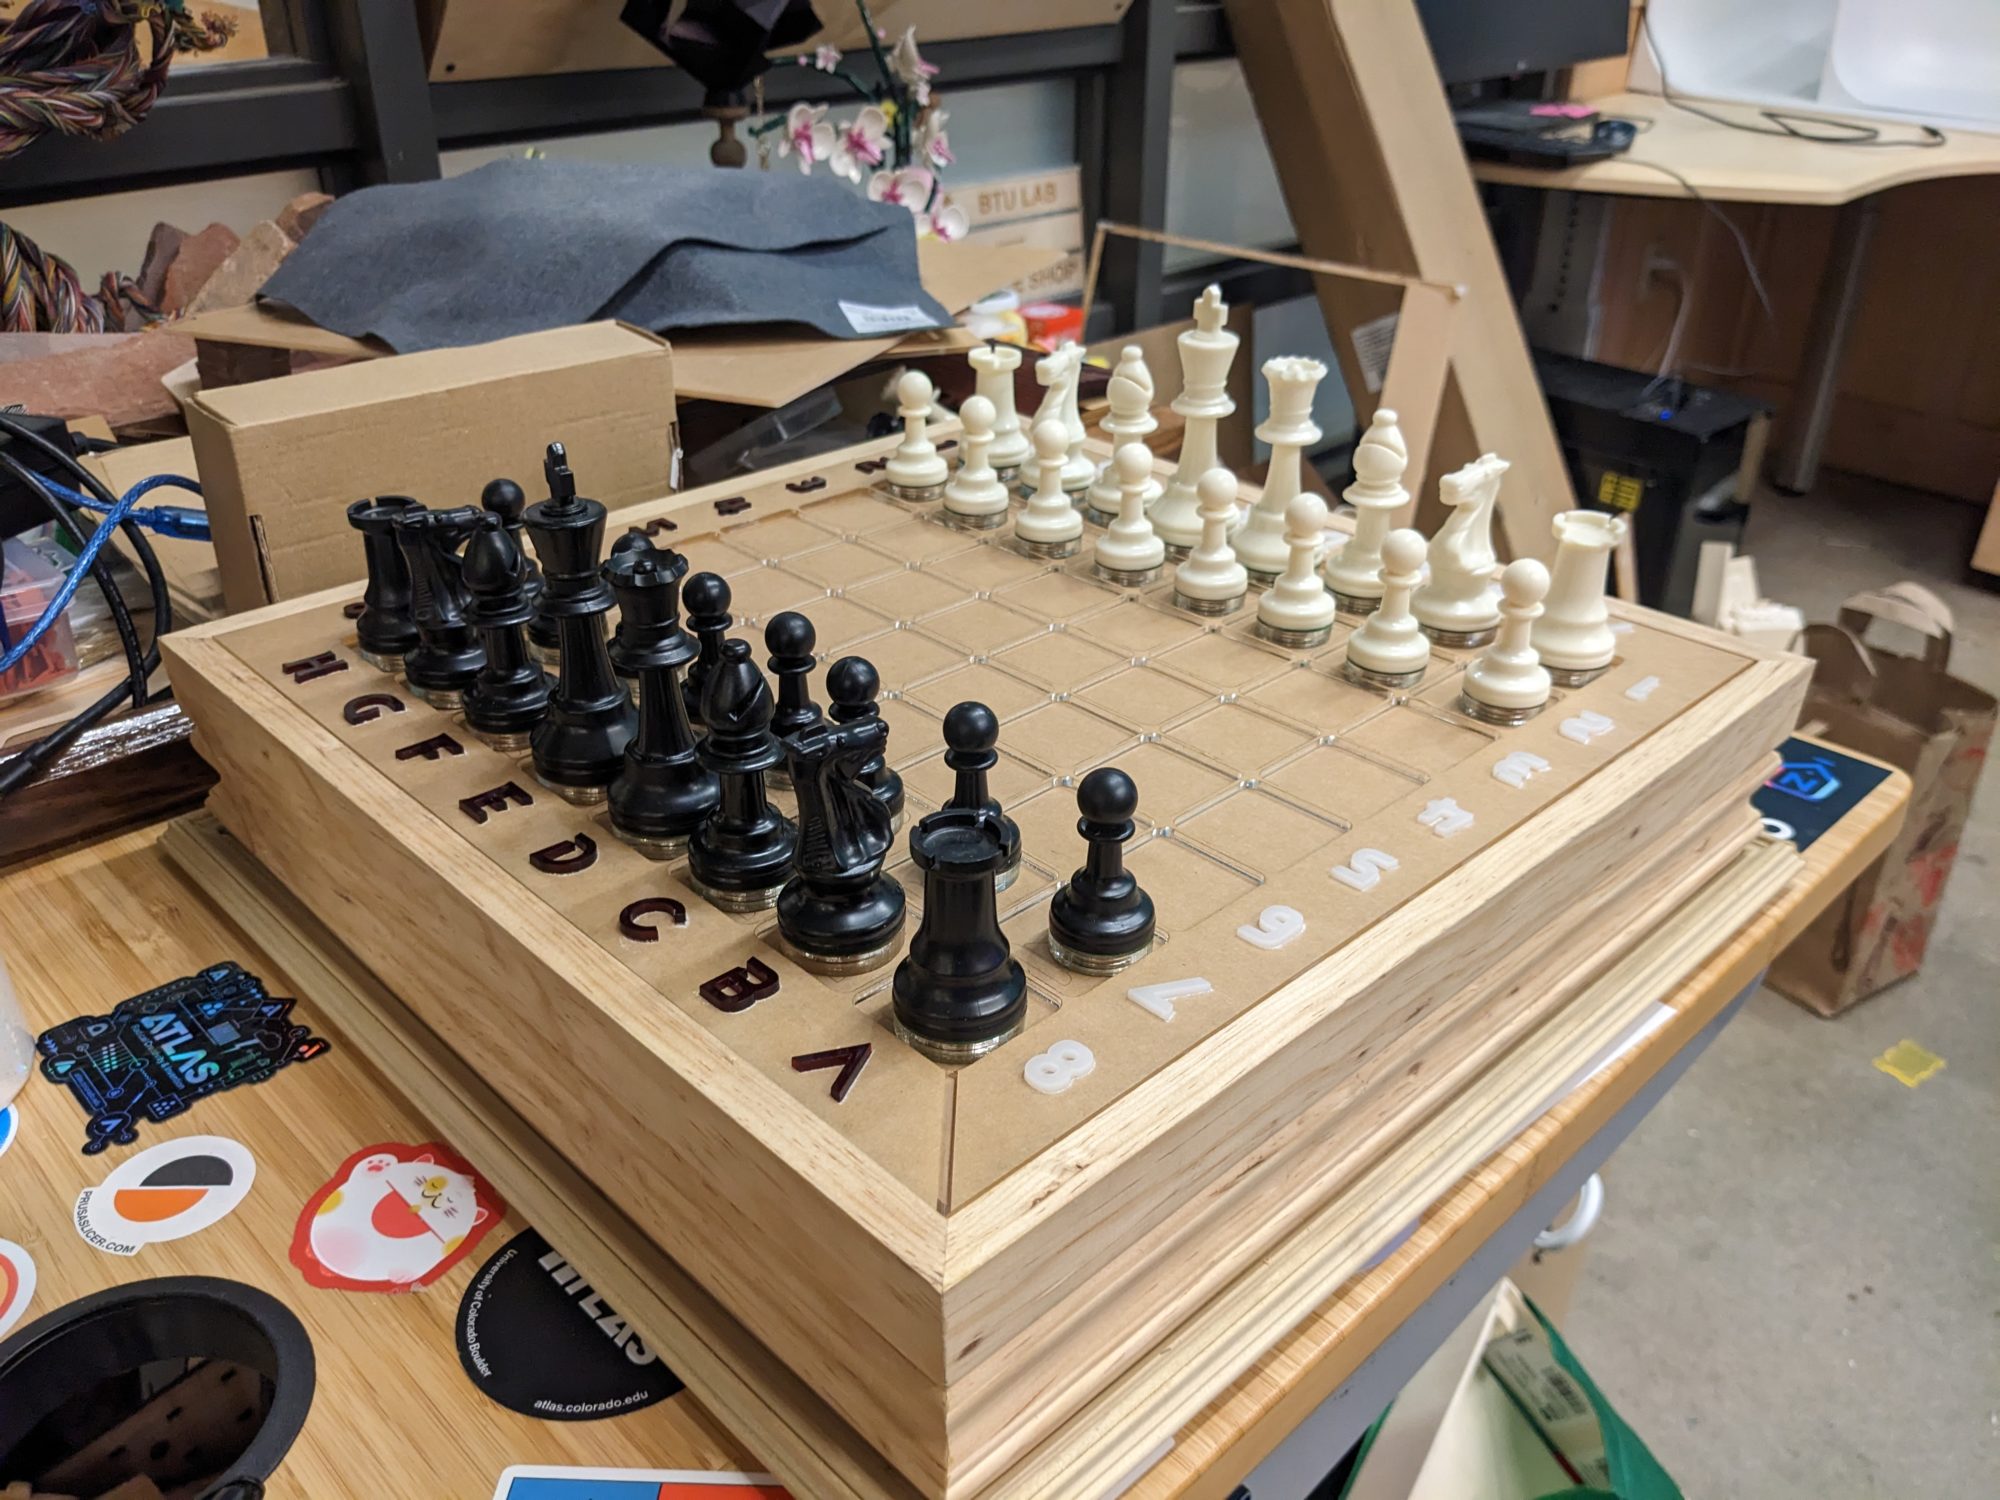
Progress – Interactive Chess Board
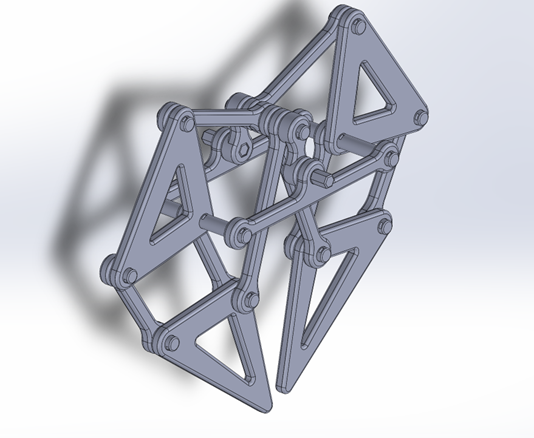
Progress: Strandbeest
Progress: Sci Fi inspired Robot
Menu