
What a fun, interesting, and frustrating project. For everything that went right, 3 things went wrong but I am very happy with how it all turned out.
Budget:
I was far below my allowed budget! I was able to build it all for $110 and a lot of man hours!
Process
There were many steps to completing my project
- Ideation: I chose perpetual motion machine because the idea of them has always enthralled me and Leonardo Da Vinci is one of the main reasons that I am an engineer.
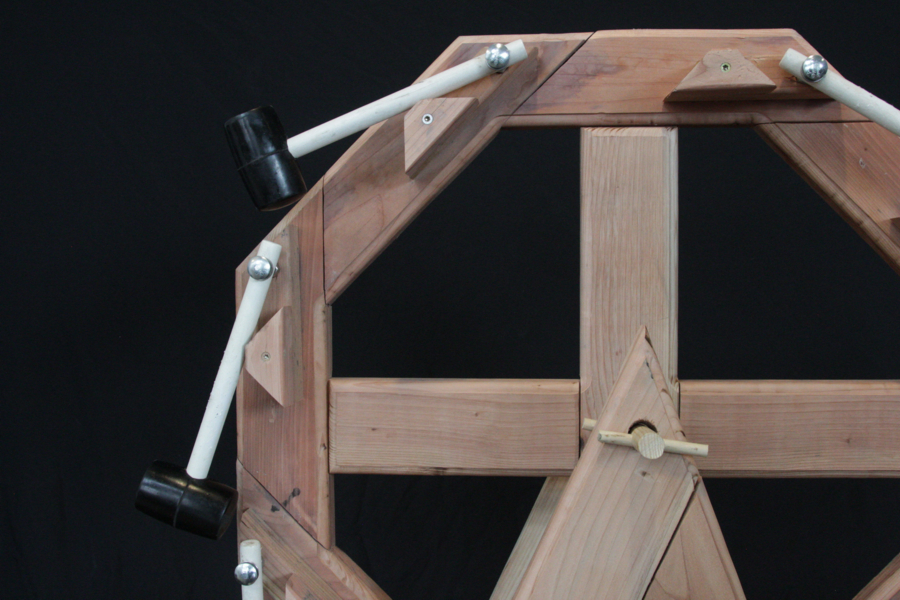
- Design: I came up with a few different Ideas, but wood working while integrating tools was the one I liked the best and ended up going with.
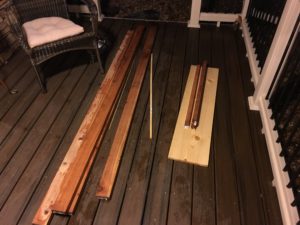
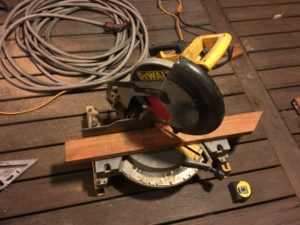
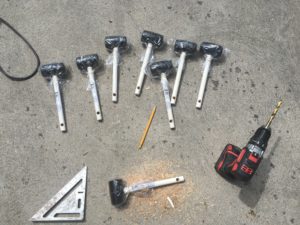
- Materials: I needed an assortment of materials to build my project, and more importantly tools
- I was able to get all of that back home in Parker using some of my Dad’s power tools
- Build
- Gather Materials
- Sand Materials
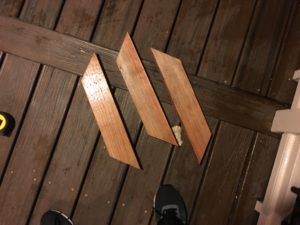
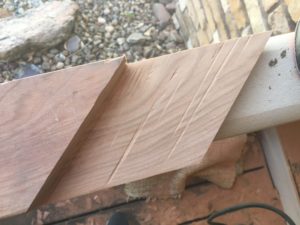
- Measure and Mark
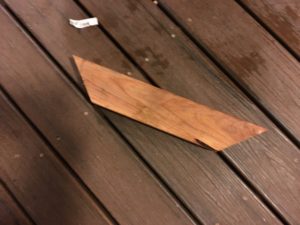
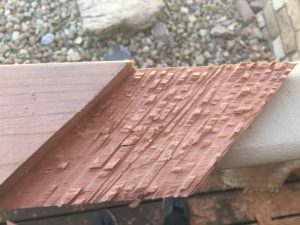
- Saw out model piece
- Use model to make the rest to eliminate human error
- Router out extra wood, so it fits like a puzzle
- Sand down all ridges
- Drill 3/8 bolt hole
- Make cross bars
- Router crossbars
- Drill Hammers
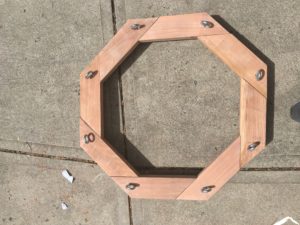
- Glue pieces and fasten with eye bots to dry
- ROuter along all edges to make it look very professional
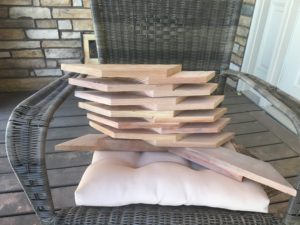
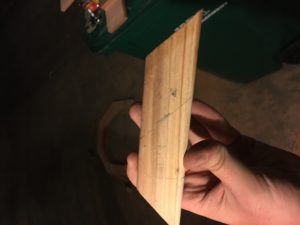
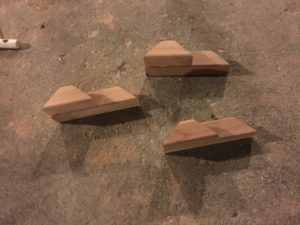
- Make small and large model Trapezoids
- Make all remaining from model
- Glue trapezoids together
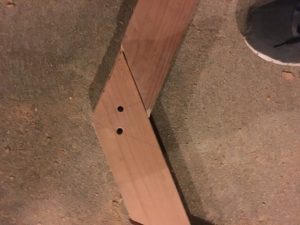
- Pre-drill holes into trapezoid blocks
- Drill in trapezoid Blocks
- Fill cracks with wood Putty
- Attach hammers
- Measure height
- Design stand
- Router Base
- Router legs
- Use a spade bit to drill hole for dowel
- Insert dowel
These steps seem simple and straightforward but there were many hiccups. I needed to router first so that there was enough flat space for the tool itself, so I had to take it almost all the way apart. The eye bolt length was the total length, not the threaded part so they were too short. The router had issues staying in place so one piece was totally destroyed. The angle of the legs was off so I had to remake them. The small dowel broke. One of the hammer handles was too thin and broke. The trapezoids were too large and interfered so they had to be remade. Other than that though, it was really a lot of fun


1 Comment. Leave new
Hi Levi. This was one of my favorite projects, I really liked the inspiration and the idea behind it. The final product gives a very close demonstration to what you had in mind, also I like the final finish you have on it and the level of accuracy you made it to is really good. Great job on laying down the procedure and all the parts you used!