

Preliminary Design and Inspiration
For this particular project, I wanted to focus exclusively on the aesthetics of my final product. I had no particular inspiration for what I wanted to do, but I did know what materials I planned on using. In addition, I wanted to incorporate a handful of different aesthetics, those being repetition, symmetry, and some sort of monolithic design.
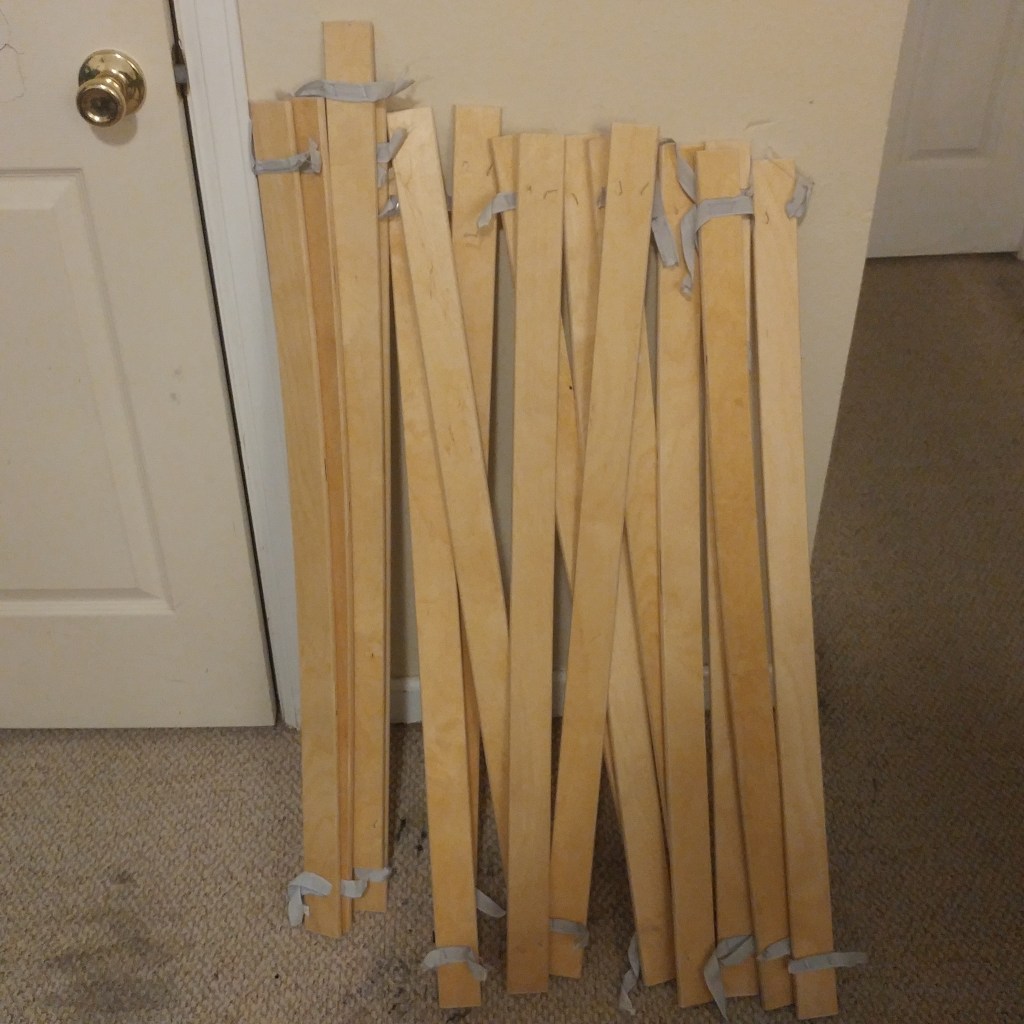
I started with my preferred material: plywood bed slats. I had a handful of slats from an IKEA bed that recently failed, so I figured it would be a perfect opportunity to incorporate them into my project.
With the idea of repetition in mind, I initially planned on stacking multiple slats together, with the intent of them looking like blades of grass swaying in the wind.

This was the focus of early sketches, and did make it through to my final design. I initially planned on leaving the tops of the slats flat, but after our in-class discussion on February 8th about round vs. sharp objects, I decided that it would be more interesting to cut the tops of each slat into a point.
Production: Bed Slats
As I already had picked up a hacksaw for a previous project, I only needed to acquire some wood glue, sandpaper, and clamps to get started.

As the bed slats were twin-sized, I cut each down into 3 smaller pieces, all of roughly the same length. I ended up using 12 full slats in total, cut down into 36 smaller pieces. Afterwards, I cut one end of each piece into a point and sanded off the sharp edges. 12 pieces were glued together at a time, were left clamped for about an hour each, and left to dry overnight.

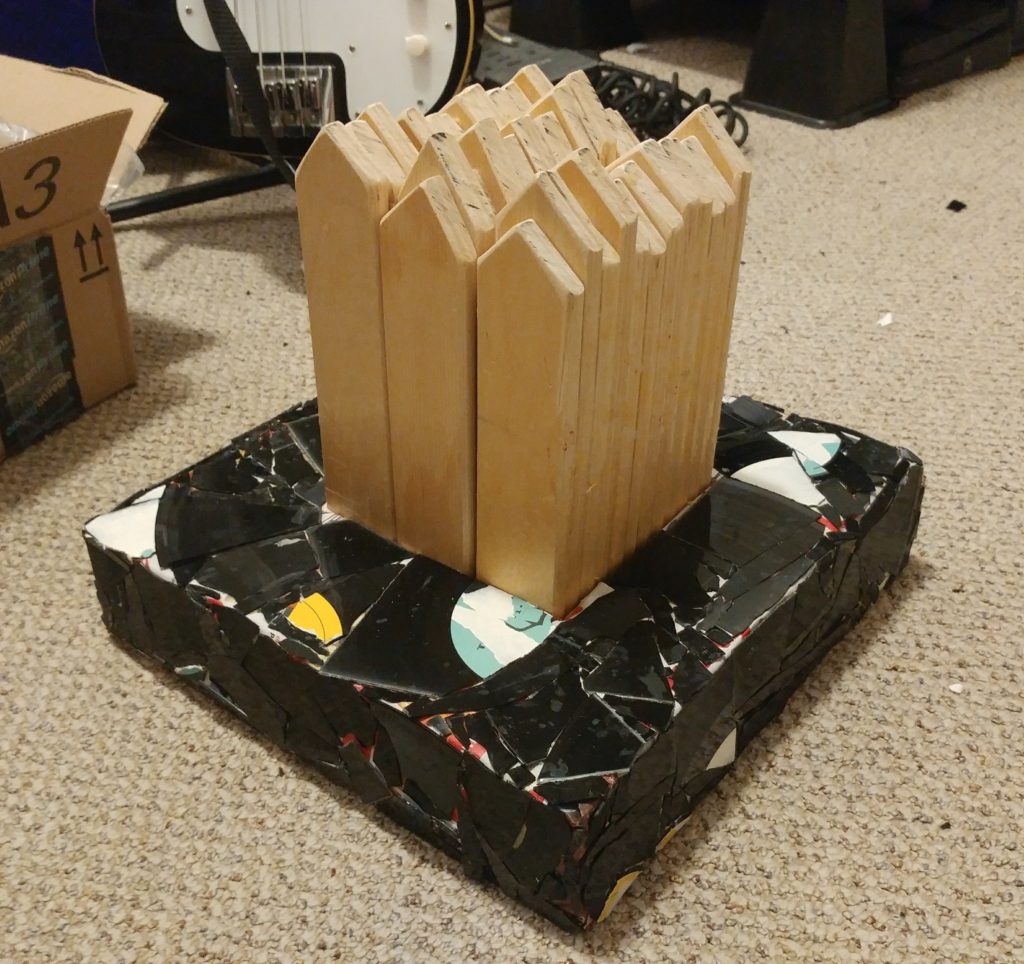
I ended up with three glued blocks, which roughly form a square when stacked next to each other.
Production: Monument Base
Now that I had the three blocks finished, I needed some way to support them. I had a couple of large cardboard boxes laying around, so I began work on a stacked cardboard base.

I traced the shape of the blocks stacked together onto a large square of cardboard to use as my initial template, and cut pieces of cardboard out of the remaining boxes with a utility knife. The end result was a ~2.5″ base, which I covered in paper to help with future decoration.

The wood blocks simply friction-fit into the base, which could be better, but works well enough for my current purposes.
Production: Base Aesthetic
My initial plan for decorating the base was to adorn it in cut-out bits of LP covers, but I eventually decided to use the records themselves in the end.

I picked up a handful of $1 dollar records from Bart’s Record Shop on Folsom (was gonna get the free ones, but they were all out), and set to work. I immediately ran into a new problem: I couldn’t figure out how to cut up the records. My new plan was to create a vinyl mosaic with shards of vinyl, but I wasn’t able to cut the records with scissors and I had no better ideas on hand. Instead, I figured out that bending records in half causes them to shatter, which allowed me to create a ton of smaller, more usable pieces.

I used these bits to cover the outside faces of the base, and used pliers to break them into smaller pieces when necessary.
Lessons Learned
There were a few things I learned as a result of working on this project.
First of all, glue sucks. Glue/adhesive is an easy solution, but is messy,
takes a lot of time to do well, and then doesn’t always work well anyways.
Secondly, I would have benefited from an actual work space. I did all of the work in my apartment, including all of the sawing and gluing. My best solution for cutting the slats was to clamp them to a shelf and hope that they didn’t get wrenched loose. I also only had two clamps on hand, so when it came time to glue I had to wait for about an hour to cut more slats.
Thirdly, I would have definitely benefited from the use of power tools. The sawing and gluing alone took an entire afternoon, and I’m sure I could have cut that time in half with a circular saw and a cut guide.
Finally, my method of preparing the vinyl records left something to be desired. Again, using power tools to cut up the records would have been extremely convenient. Shattering records left cuts on my hands and bits of vinyl scattered all over my room, which I will no doubt be stepping on and cleaning up for months to come.
The Outcome
Overall, I am pleased with how my project turned out. If I were to do it over, I would consider making the base out of something sturdier, probably also plywood. I would also want to use normal hardware (screws, nails, what have you) over glue, but I just didn’t have the resources to make that happen this time.
It’ll find a home as a coffee table piece, just as soon as I get a coffee table.
10 Comments. Leave new
I think that adding the record pieces added the most aesthetic, but like you said maybe using a saw to cut the pieces so that there was a more visible pattern would have been nice compared to the way all the pieces are put on!
Your process showed good thought, and I think you achieved your goal. It seems like you have a lot of resources that you could have used, like the tools and workspace of the ITLL and Idea Forge, and your teammates’ help. Why did you not use any of them?
I like that you approached this project with just aesthetics in mind. I’m not sure that this will be useful as a product, but it seems like you learned a lot in this project and worked really hard to make it all cohesive. Good work!
Gabe, good presentation and project! It was very outside the box. I like the aesthetic of repetition you had and I liked how the decoration on the box helps the monument stand out. Well done.
Interesting idea for the epicycle project! I bet cutting all that wood was pretty tedious with just a hack saw. The aesthetic looked really good with the vinyl. Good job!
Hi Gabe,
Nice project and presentation! I really like the out of box thinking that was involved with your project. It is a very original idea and I think the final product turned out really nice. Also, props to you for spending so many hours on this project.
I liked how intricate your project was! You put a tremendous amount of time into this and some really cool touches were added. The vinyl record “coating” that you had on your base added a really unique aesthetic. Great work! Did you keep the wood unpainted purposefully? Because I liked that look as well!
I can tell a lot of work went into this. Especially since you cut all the wood by hand. Definitely get a power tool next time! Work smarter not harder! Cool idea behind it though. Didn’t know vinyl would explode like that.
Hello Gabe, you did a great job with your project! I like that you went the artistic route, and designed something that included aesthetics and used interesting materials. It would have been cool if you could have made this into a coat rack or something else that could function in your home, but based on what you set out to do you did a great job
Hi Gabe,
Good job on the presentation! I think that adding the LPs to the base was a great idea, which added a great value to the aesthetics of your design. The wood pieces are cut and sanded nicely, great job on that too!