
Featured below are my initial sketches for the project. I did not include all of these sketches as we have also done a work in progress post that displays the rest of the ideas that I considered. Some of the inspiration for this project is featured below as well.
The primary aesthetic that I wanted to focus on for this project is Grunge. Grunge is an aesthetic that is very 90’s teenager. The look is supposed to be somewhat carefree and dark in a contrasting way. I immediately considered a skateboard for this process as there are few hobbies as grunge as skateboarding. I also happened to have multiple boards that were no longer suitable to use riding. I always hold onto these boards because there is always another use for them.


I settled on the idea of using a skateboard or longboard for this project so I then began the process of trying to find an original way to upcycle the board in a unique. I really liked what other people had done with their leftover boards in the inspiration photos shown below. Some of the depictions utilized other portions of the skateboard other than just the board itself. This made me consider the usage of the trucks (the metal portion that holds the wheels in place). I then considered a substitute for the trucks and came across the use of lightbulbs in the construction of an art piece or wall mount. I really liked the overall look of this so I began working on different ways to incorporate lights in my final upcycle project.
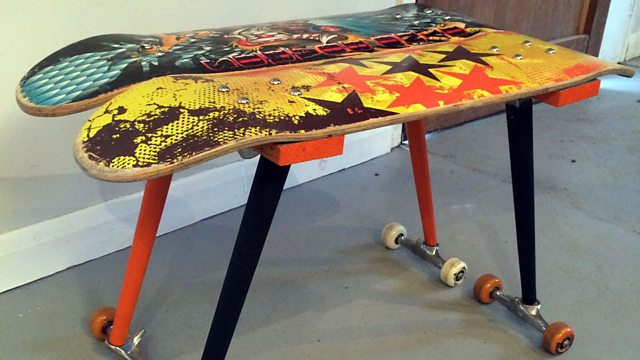
Photo Credit: https://www.bbc.co.uk/programmes/b07944th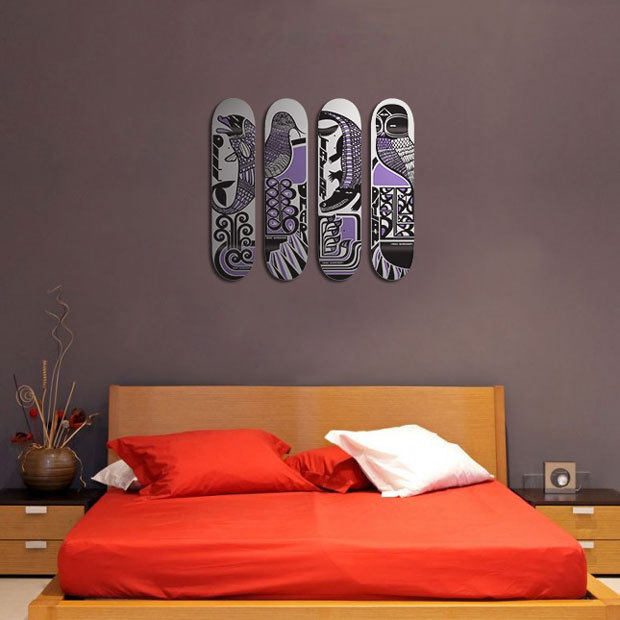
Photo Credit: https://www.storeyourboard.com/skateboard-art-bundle-5-blank-decks-and-deck-displays/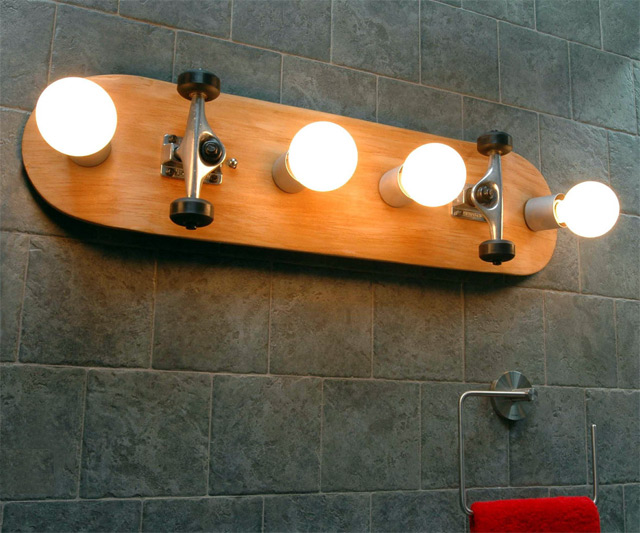
Photo Credit: http://www.dudeiwantthat.com/household/lighting/skateboard-bathroom-vanity-light.asp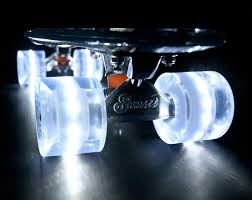
Photo Credit: https://www.jebiga.com/sunset-skateboards-led-light-equipped-skateboard/

The below images are CAD renders of the final project that I had sketched out and found materials for. I created these 3D models in Maya as I am currently learned the different ins and outs of the software. I was able to create this model based on the different items that I had collected and thought were applicable to this project and capturing that aesthetic. The different views of the board are depicted as a wall mount and can be seen pulled apart into the individual pieces. This was my first time creating my own models and rendering them in this software. I do believe that I have a lot of work to do in this specific area but I plan on practicing and applying this program to future projects.


I created a video to demonstrate the whole process of making this project. I really enjoy making videos and I thought this would be a more entertaining way to show and explain my process. I was able to utilize a longboard that was cracked down the middle. This means that it looks intact but if I chose to ride it around it would then break causing a major spill. This made it a perfect item to upcycle. I did go and buy PVC and lightbulb adaptors for this project. That brought the total for the entire process to around $8. Everything else was upcycled. This includes the four lightbulbs, broken mirror, clock components, board, and wiring components. I am a Resident Advisor (RA) on campus so each year I am given a lot of stuff that the freshman students no longer want as they are moving out of the dorms. This is were I got all of the lightbulbs, skateboards, and mirror items. This did seem like a more intensive process compared to some of my classmates but I am happy with how it turned out given my initial ideas.
While I am happy with how it turned out, I do hope to continue building my aesthetic skills through the semester as to create a truly awesome final project. The grunge aesthetic was cool and it is very much so in my domain of interests but I want to go beyond this and explore other areas of aesthetics. This was definitely a fun warm up project for the semester.
12 Comments. Leave new
I’m a big skateboarding fan and I enjoyed your presentation. The video was a nice addition and I the background story to your project was interesting. I think you can improve this project by adding some sort of shading mechanism to make it more appealing (in terms of light amount). The fractured glass was a nice aesthetic as well.
Great job with the editing for the video and presentation. I liked how you used the light bulbs to imitate the wheels while also making the design very bright in comparison to normal lamps.
This was a wonderful idea! I love the final aesthetic and how you presented and documented your progress of the project. The only thing that I feel could be improved upon is dimming the brightness of the light bulbs. You could do this by using a different type of light bulb or somehow putting shades on the bulbs.
The vedio about how you made is attractive project is fascinating. The final outlook of your work vividly embody your design objective. Marvelous carfting skill as well as video editing tech makes your upcycling project more outstanding.
I really liked seeing your project and I appreciate the amount of engineering that went into your project. I also really like the idea behind the time and space aspect of the project. I think that you could have chosen a different design for the background due to the fact that the mirror is difficult to see on the gold background.
Hi Gino, nice job. From the start of class when I walked in without knowing who’s it was, I said “Wow, that’s cool!!” Excellent video of the process, very informative time lapse that very descriptively shows the construction. Additionally, the video quality and editing is excellent at least to the untrained eye of a mechanical engineer. Definitely a project in the top tier of the class thus far.
Interesting project! I loved the video too, it was nice to see the whole process. Have you thought about using different light bulbs so they don’t get so hot and so you can keep them on for the full effect of the project?
I like the skate board idea. I think you did a good job on the coloring and the design. Your choice of choosing a personal theme and coloring is really good. The light is kind of bright. have you thought about changing the light to a less bright ones.
Ambrogino nice work with the video! The montage really added a level of depth to the process and your aesthetic choices were captured nicely. Looking forward to the rest of your work!
I really enjoyed the video of your final process. I think the end product turned out really well and I like the combination of grunge and space. I would’ve like to see more of your design process and how you came to a final design, you showed some sketches and a 3D modeled version but it seemed like you knew where you were going from the start.
I like how you used the time and space as aesthetics. This reminds me of Interstellar. I feel like I would go to a different dimension when I see it glowing.
The video made for a very engaging presentation; I think it worked well. You could’ve gone a bit more in depth with the inner workings of your project, or talked about what was happening on the screen. Other than that, it was a very distinct project, with an interesting aesthetic.