
It’s just hard to upload pictures onto this site, so you can check them out at :https://drive.google.com/open?id=1nfvkl7p3Ltj-a_64PLm_OcqbC4G3kT0u
Original Sketch&thought: I started out with quite a lot of ideas for this upcycling project. But after I talked with one of my teacher from another class, I decided to focus on using plastic bottle caps for this project. Since bottle caps comes in consistent sizes and seem to be easy to manipulate with.
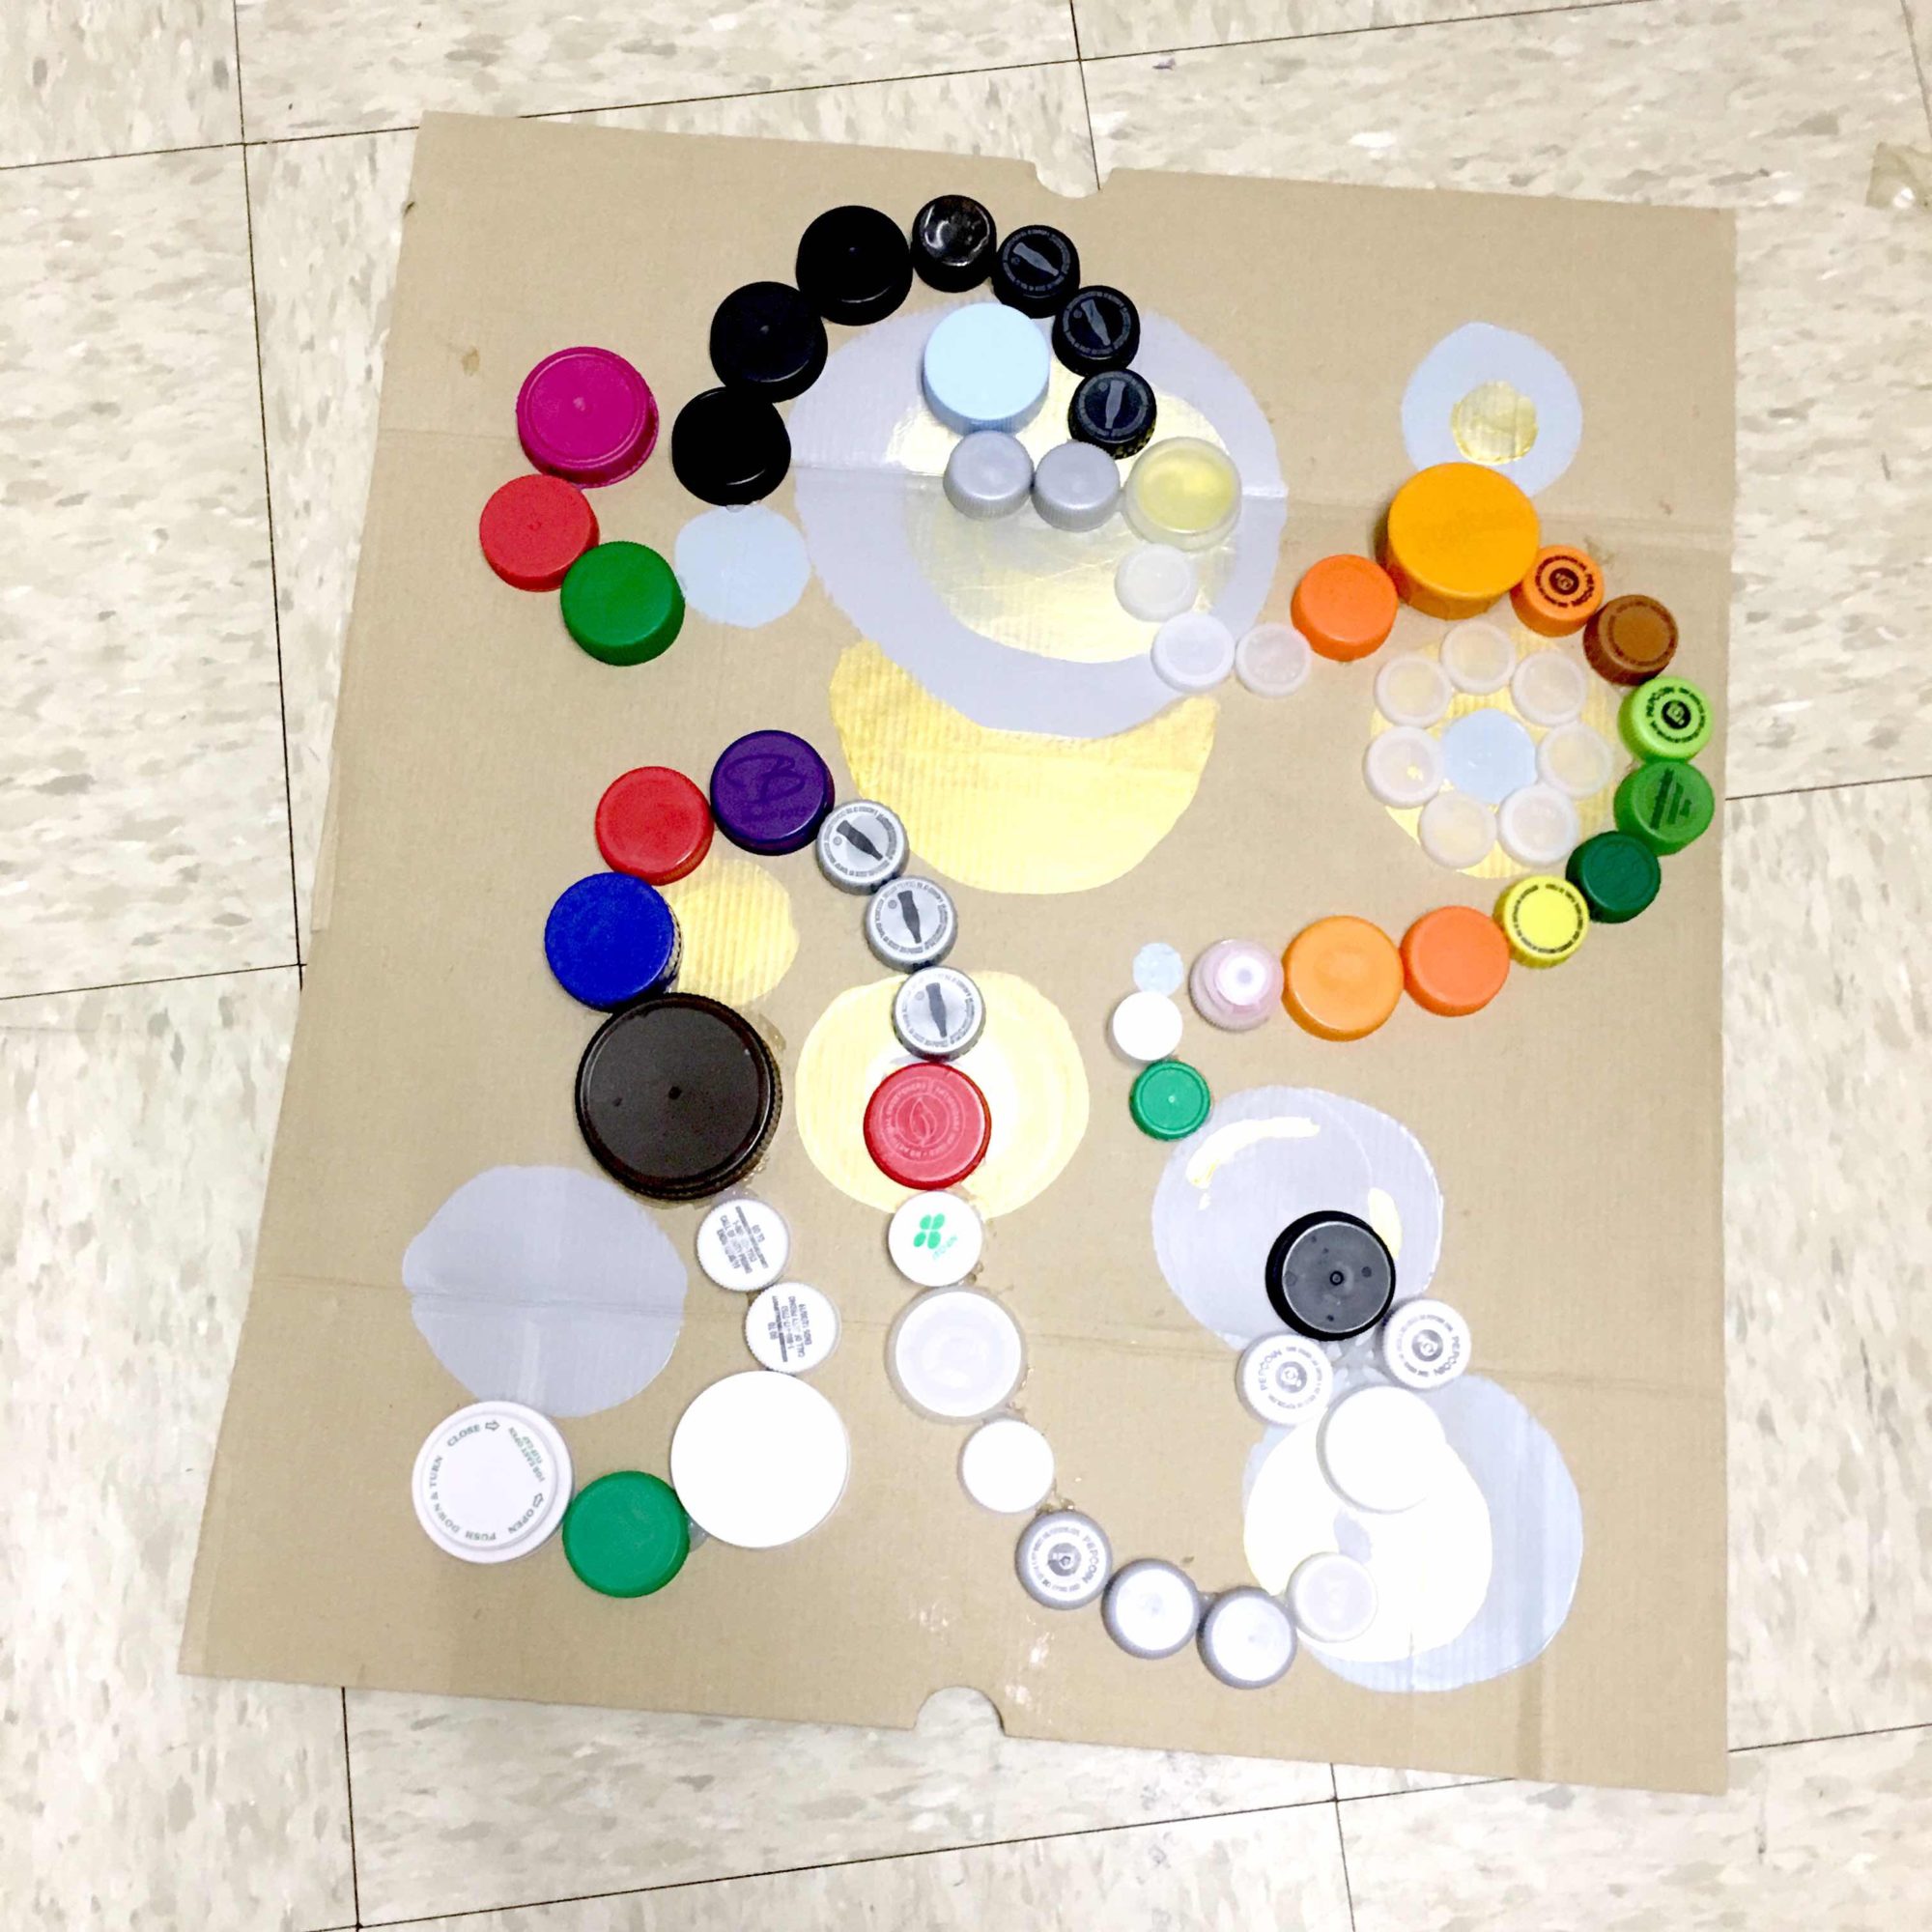
Progress:
I got plastic caps from the recycling facility on campus. They generously provided me with around 1000 caps. After receiving the caps, I soaked them into hydrogen peroxide solution for disinfection. After they are cleaned, they are left onto cardboard for drying. I bagan with making different shaped out of just caps, but then I realized that my skill of assembling bottle caps into recognizable “image” is pretty weak. So I switched to the method of using acrylic paint to create a base picture for the caps to lay onto on the cardboard. And then the bottle caps are “glued” the cardboard using silicone caulk.
What I learned:
Silicone caulk takes time to cure, and they seems to be releasing a harmful chemical during the curation. So I guess next time, if I were to do another project out of plastic and cardboard, I’ll opt for the regular solution of using hot glue.
Another challenge that I found during the process is that those caps are pretty hard to clean. With a great amount of plastic caps presenting, I used 5 bottles of hydrogen peroxide and got only a portion of it barely cleaned. Next time, if I were to clean other recycled material, I’ll probably use distilled bleach, for they are cheaper and comes with bigger quantity.
Also, it’s actually pretty hard to work with plastic caps, for they don’t have a lot of surface area by itself. For creating some effects, there must be a lot of them. They don’t stick to paint well, at least not with acrylic paint that I have. They are pretty settled on its size, it’s very challenging to alter the shape of a plastic cap, they came in pretty consistent sizes, which I thought to be an advantage, but it turns out that sizes of the plastic caps comes the way it is, and you have to work with it. Unlike softer platter materials like cardboard, there is little room for change. With those being said, it is challenging to deal with the gaps that two caps form in between one another. People might potentially take that as aesthetic design if they are spacing widely, but if those caps are arranged to be placed closely to represent an image. It is hard.
Oh, another thing, if anyone needs plastic caps, feel free to contact me. I probably still have a couple of hundreds left, and I’m happy to give those away!
4 Comments. Leave new
I think the paint definitely adds to the piece. I can imagine the silicone caulk was hard to work with for something like this. I would really recommend hot glue. I am also curious what your aesthetic goals were. What made you go with the swoopy curved lines? I do love the colors of paint you used. Another suggestion I would make is to pick a color palette for the caps and possible use more uniform caps (the same brand or style of cap). Great job!
Hi, Daniel,
Thanks for the comment! As I answered in class, I feel like other adhesive other than hot glue works better for this project. I had tried silicone caulk, hot glue, and a plastic binder. In my experience, the plastic binder that I got from home depot worked the best. It’s the priciest one among those three options, but it forms the tightest bond to join the plastic caps and wood board together. The swoopy curved lines were just a creation based on how I felt, but you can say that it’s also kinda informed by the Japanese artist’s design, that she rarely uses straight lines. The color palette was kind of hard to choose, because I received random colors of bottle caps from the recycling facility. But you are definitely right, sorting out the colors would have given the piece a more uniformed feel.
Thank you,
Xiang
Hi Xiang! Awesome work on this project, I love how colorful and balanced this piece is. ALSO I can relate to the struggle of gluing things with little to no surface area! Its really hard! I also struggled figuring out which adhesive to use because they all seem to work better for different reasons. What made you choose to use silicone caulk/ what is that? What made you chose to do this particular design? Do you prefer swirls and curves to straight lines? Good job!!!!
Hi, Victoria,
Thank you for your comment! Yeah, it was super hard to get the plastic caps to be glued onto the cardboard. I would say that I’ll choose another adhesive material other than silicone caulk or switch to nails/screws next time if I were to do a similar project. (Or maybe try out the 6000 glue that you used for your project, which seems promising.) The only reason that I used silicone caulk is because that was recommended by a professor of mine, when we talked about this project, and he thinks that’s a good adhesive to use to join plastics and cardboard together. Which he might be right, but in my case, it didn’t perform as well as other things I have on hand like a plastic binding glue. I chose to do this particular design because I was inspired by polka dots art and I thought caps are a good representation of that. But other than that, the paint of the back and the shapes formed in front was mainly determined by the things that I had. I do prefer swirls and curves than straight lines in this case, which is shown in my art-piece as well.
Thank you,
Xiang