
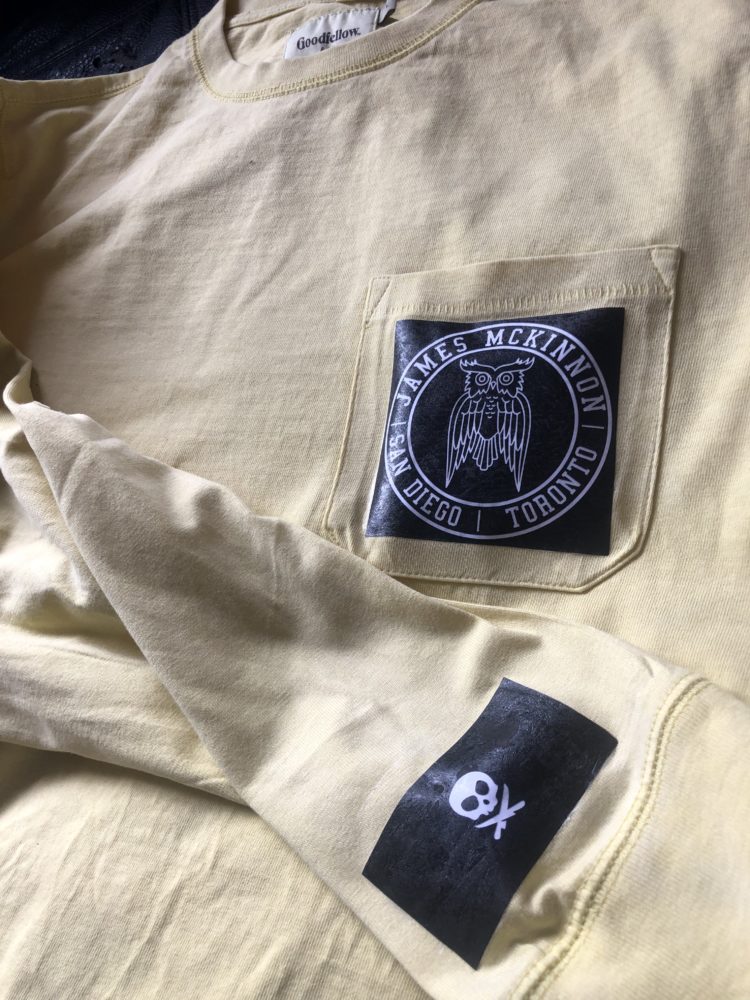
For my final project I am designing some clothes that are minimalist in style. This was not my original project plan I had planned to make a neon sign but with the developments of COVID and campus closing I have shifted to something I can complete from home and that I think is pretty cool. So to start the project I wanted inspiration for the ideas of what I wanted to put on my shirts. If you look back at an old post of mine I made one about the ‘Peter Mckinnon” aesthetic. So going off of this I figured why not make a Peter Mckinnon inspired shirt.
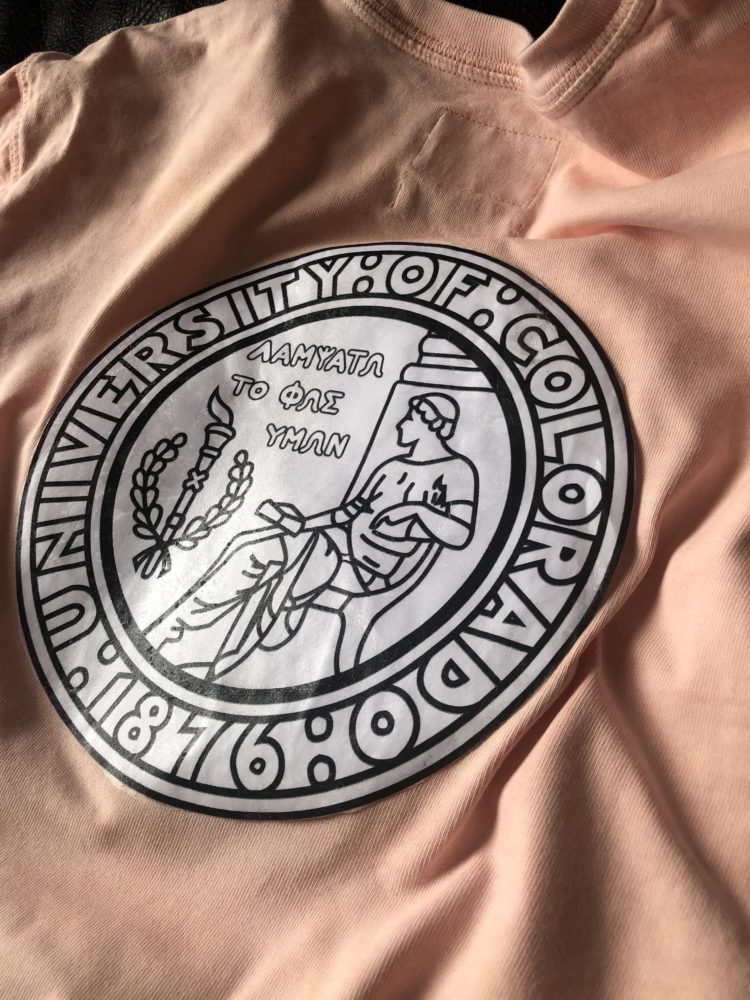
I also have always wanted more CU clothing because I just simply don’t have that much and I mean it is my school! So the other shirt I am making will have CU logos on it.
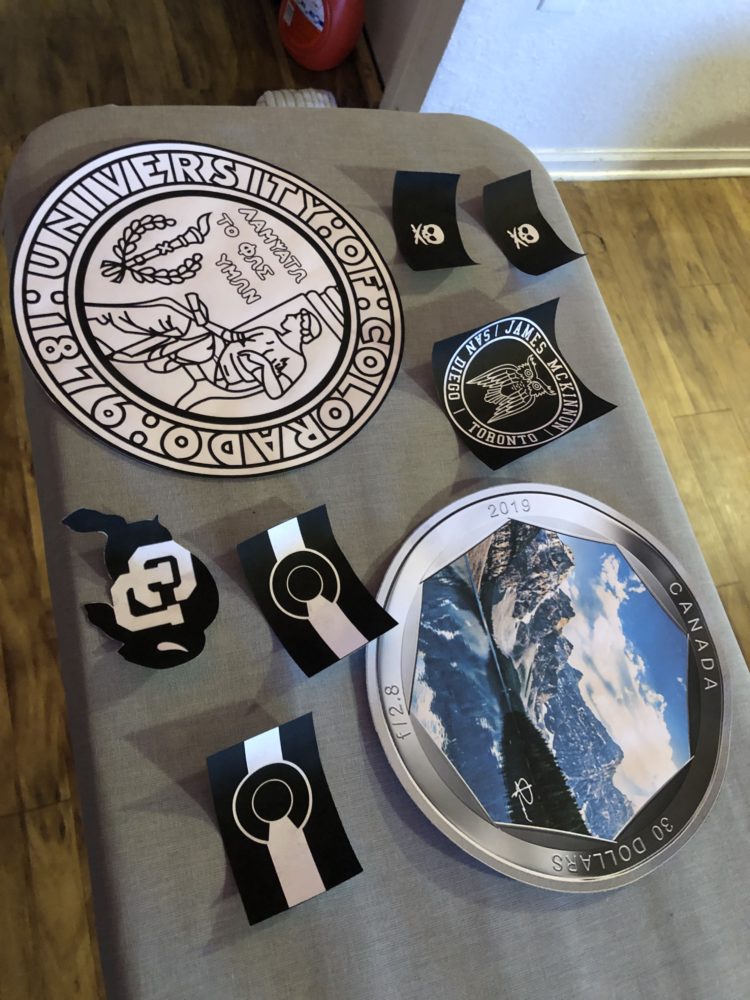
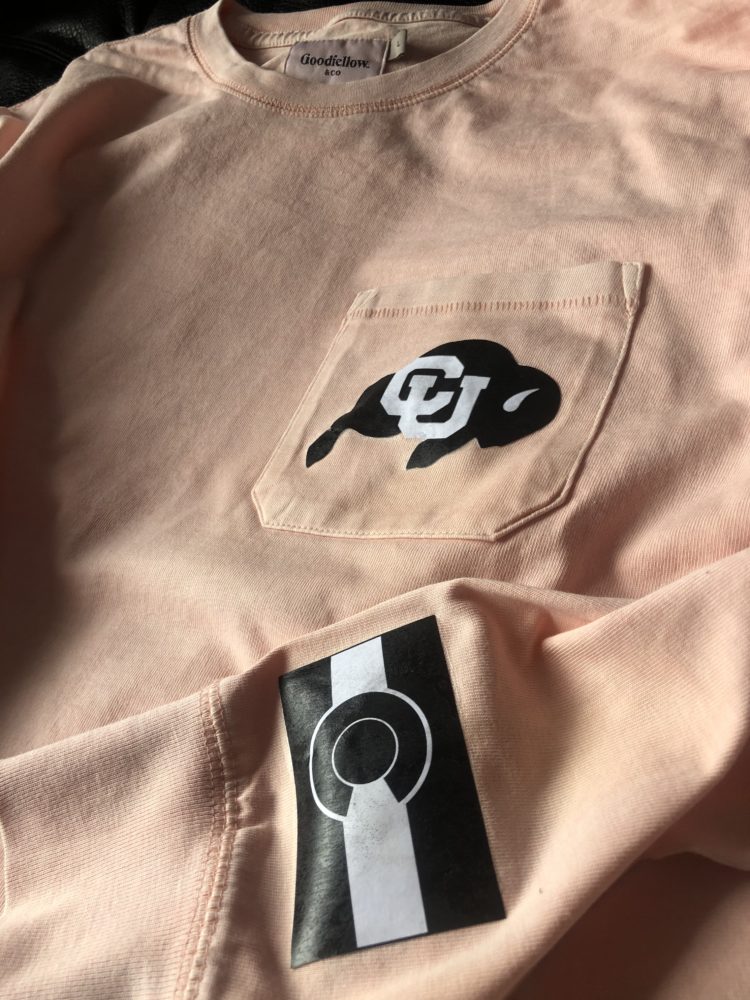
Pictured here are the cut out designs that will be placed on the shirts.
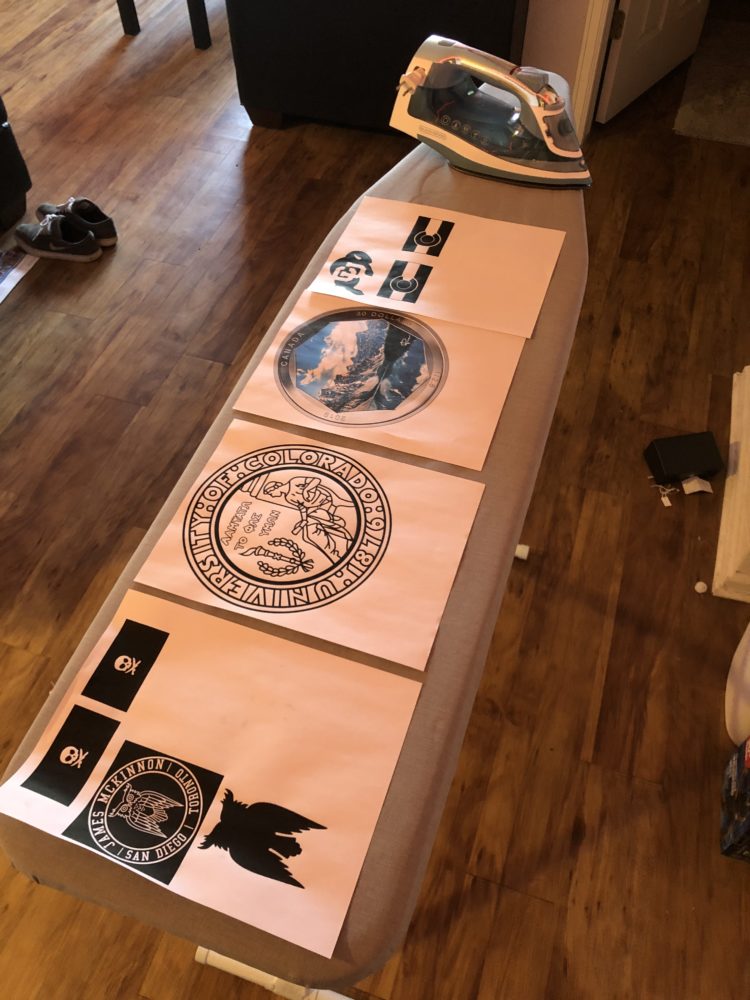
So after cutting out the designs you have to wrap them in cling wrap, as i learned wrap it twice for a better application. Pictured below is one of the designs wrapped in the cling wrap ready to be applied to the shirt.

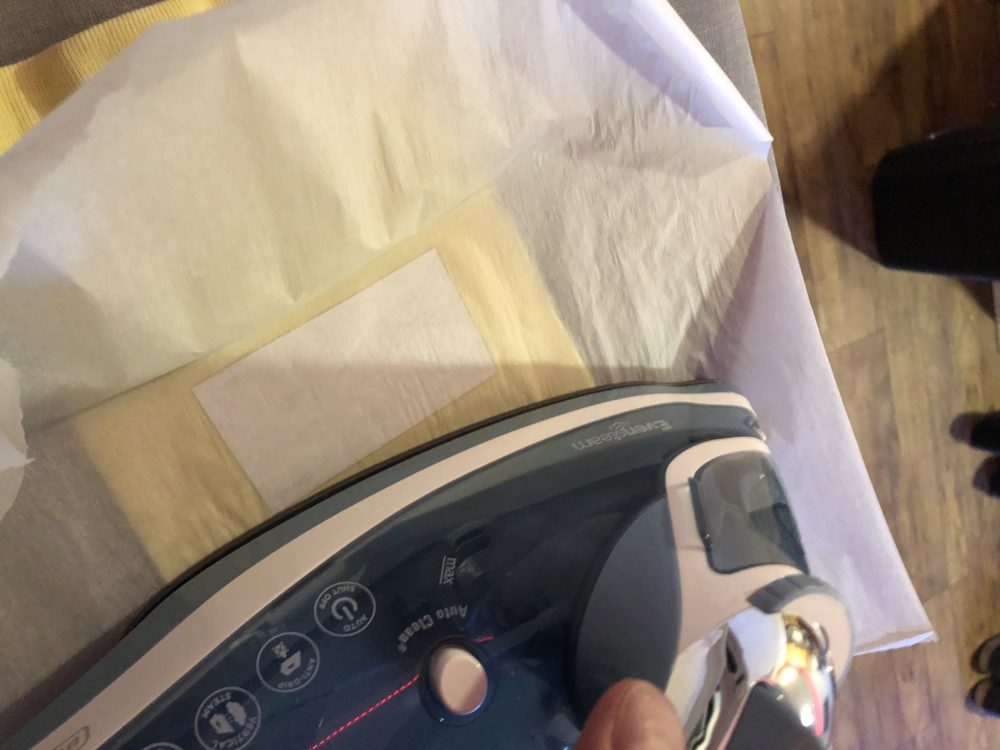
So to apply the design you simply align it where you want and then use parchment paper over top of the design to protect it from an iron. Place the iron settings to cotton and make sure that once you start to apply heat you DO use steam on the design. If you do not then the design wont stay on. Seems kinda crazy that just heat doesnt do the trick and you need water even when you have parchment paper between. Below is a picture of applying on one of the designs.
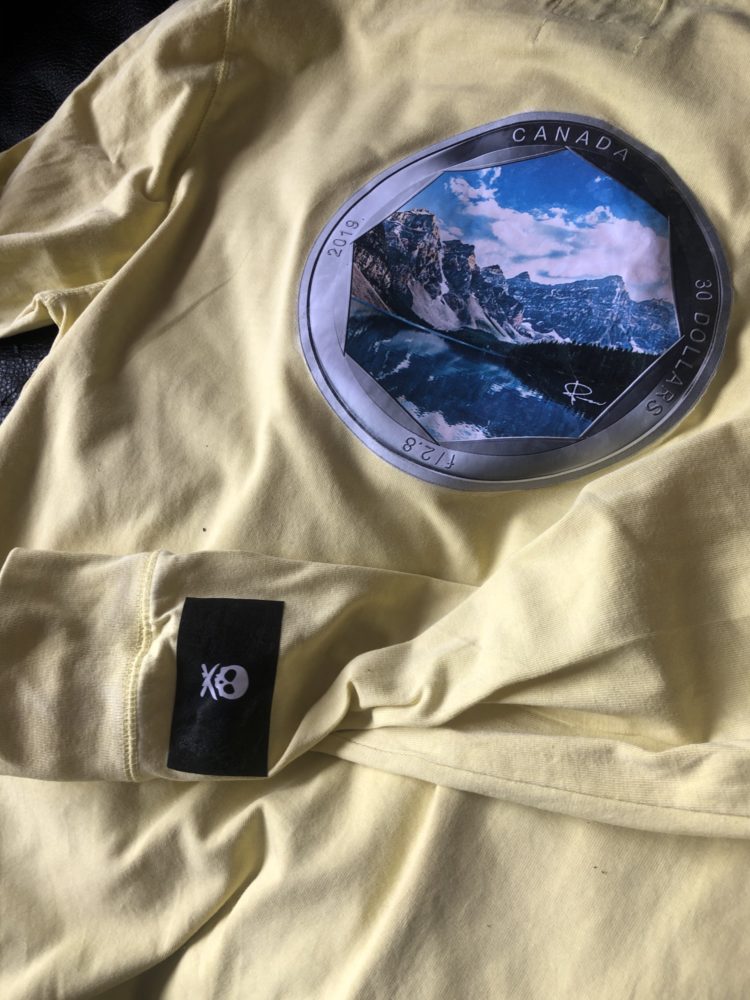
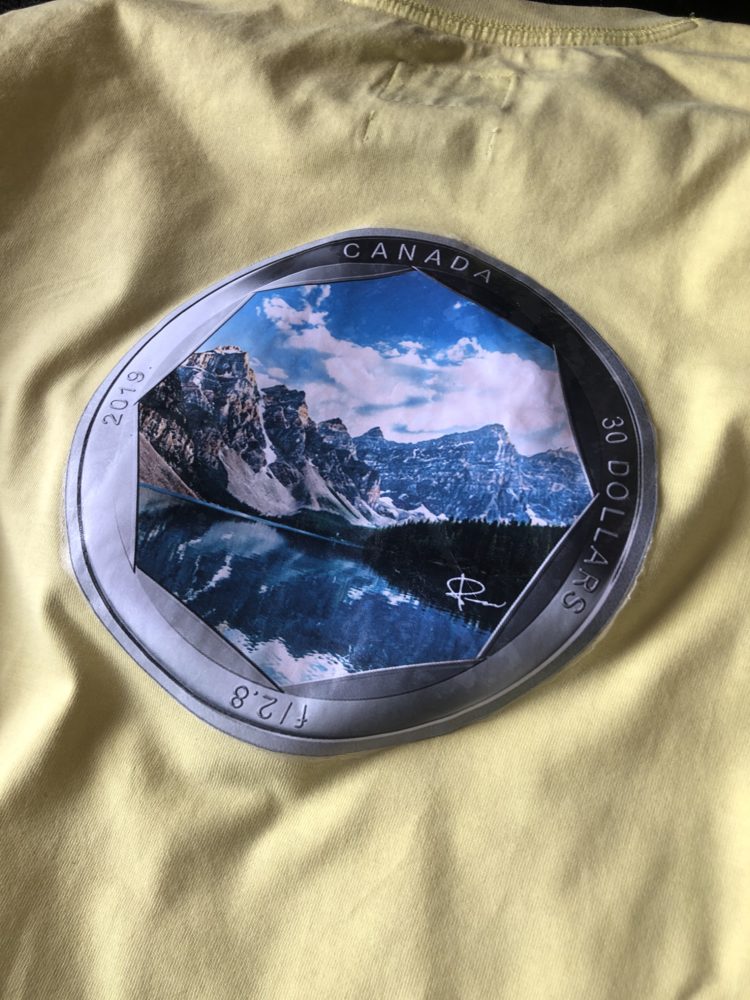
You need to heat the design for around 45 seconds but the bigger the design the longer you will want to heat it. Lift the parchment paper and once there is no longer any cling wrap remaining you are all good to go! Here are some photos of the shirts with the designs applied.
8 Comments. Leave new
I chris,
I really like that despite the fact that your project was pretty heavily influenced by the changing times, but i’m really impressed with how you were able to persevere nonetheless.
These designs seem really professional, have you put any thought into selling them maybe on etsy or something?
I like the creativity in the fabrication of your project. I also like how you applied multiple logos to each of your t-shirts to complete the aesthetic rather than just doing one logo each.
Chris,
Statement of meaning:
I like how you drew from Peter McKinnon and Vineyard Vines for your designs.
Neutral question:
Can you wash them?
Permissioned opinion:
I really like your shirts!
As a statement of meaning, I really liked how the official seal looks as a design on the shirt. Doing some research, I prefer the official seal design to the commercial seal, aesthetically-speaking!
Hey Chris, I really liked how your part 1 report is also somewhat of a tutorial on how to create your own custom shirts! I liked how you pivoted your project idea to adapt to the current pandemic. This project was really interesting and has really made me want to try it myself. Good work on your final designs!
Hey Chris! I’m sorry you couldn’t go through with your original plans for this project, but I love your change with this final project! It’s super innovative and unique, and I love the originality in the designs you implemented. The final looks very well done, I would think you had bought it! Did you have any troubles with the designs not fully sticking on the shirts, and are you worried at all that they will come off after a few machine washes? Overall I think you did a really great job adjusting to the COVID circumstances and your final project turned out great!
This is a really innovative project, I’m glad you were able to find something that could be accomplished despite the closures from COVID-19. I think that these shirts looks super cool, they look very clean and professionally done. This is definitely an inexpensive option for people who want clothing with logos who may not otherwise be able to afford the items from stores (have you seen the prices for CU merch at the bookstore? Yikes!).
One question I have is how many tries did it take to figure out the entire process perfectly? The multiple layers of cling wrap, using heat+steam instead of just heat, etc. Did you have to start over completely with new shirts and new designs, or could you kind of pick up right where you left off with the new process?
Hello Chris! Sorry to hear about your project and that you had to change it with the current situation. To be honest, I think you came up with a really interesting idea and design! I like how you explained your process and I feel I can now try it at home, and will probably do sometime haha. You made great selections of your designs and the final product looks really neat and something you would buy in a store. Great job on doing that! My only question is you mentioned you need steam so that the design sticks to the shirt, but you are applying the iron on top of parchment paper. Do you apply the steam on top of the parchment paper or you remove it after applying heat and then apply the steam directly on the design?