
Timeline
My planned and actual timeline had been adjusted slightly after campus shut down, but with this being a pretty flexible project I wasn’t worried about little alterations in my timeline. My actual process is shown below, and the major changes described following.
March 28th:
- Redirection in my aesthetic for my sweatshirt into harajuku, “mode style” combo
- Explore the harajuku and mode styles that are trending currently in Japan
- Look up inspiration for coloring, mood/ tone, and final design
April 1:
- Gather all of my clothing materials for this project
- Research sewing and embroidery techniques
- Order embroidery tools (still not arrived 🙁 )
- Measure my own sweatshirts to determine the size of the fabric
- Sketch basic design idea
April 8:
- Home with access to sewing machine – plans changed!
- Research relatively inexpensive sewing machines & order one
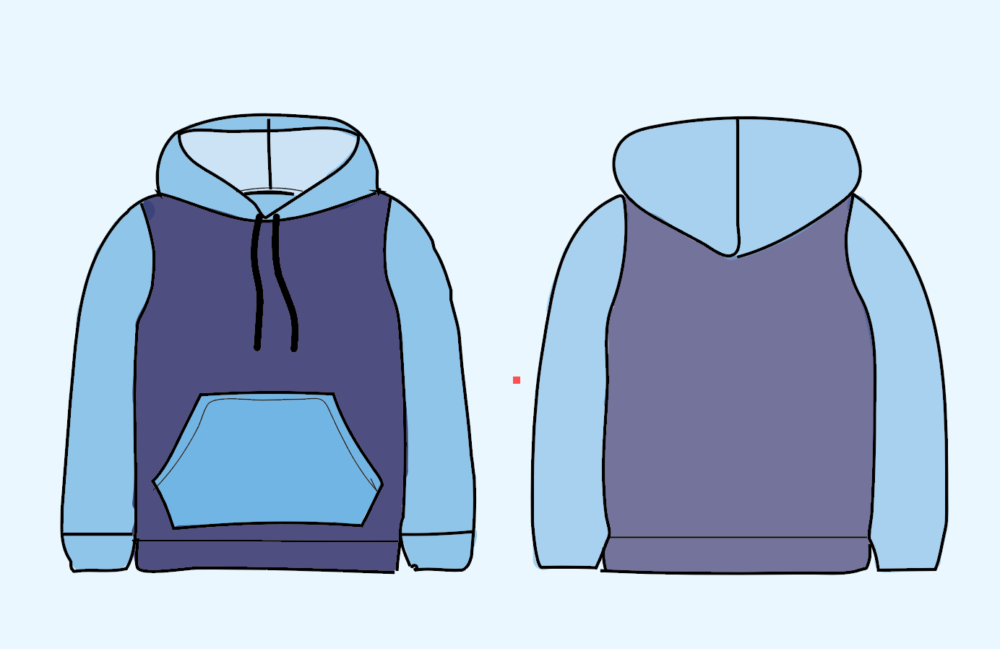
- Create Adobe Illustrator mock ups for harajuku design ideas
- Cut up old clothing materials & have prepared for sewing
- Buy sewing thread, needle, scissors and 1 yard of grey fabric
April 18:
- Follow along sewing tutorials & learn the ways of this sewing machine
- Sew together the fabric for final product
- Create Illustrator designs for future harajuku projects (especially embroidery)
April 20:
- Create final presentation, including future ideas
Major Changes:
I was planning on going home after I was feeling better after having the corona virus, where my mom had mentioned we had a sewing machine! When I finally got there, I spend a total of 6 hours attempting to “fix” our sewing machine, but there was no hope especially with my very little knowledge of this skill. I then decided to order a sewing machine and focus on the design process until it came. Another significant change was I initially hoped to embroider a design on the back of the hoodie, but am still waiting for my embroidering supplies to arrive so instead I created virtual designs for what I would hope for this to look like in the future.
Fabrication Process
For this project, I knew I wanted to design and create a hooded sweatshirt. I initially wanted to create a minimalistic design, but Emi had suggested Japan’s trending fashion styles and I thought these would make for a more innovative project. I began researching the most popular style trends in Japan today, and both the harajuku and mode styles stood out to me for different reasons; harajuku because of its freedom and unique nature, the mode style because I found more monotone, simplistic designs more relatable to my personal aesthetic. I looked at hundreds of different style designs and began thinking of expressive ways I could design my own sweatshirt. I created mood boards to idealize my initial inspirations, and began researching embroidering techniques to potentially add on my final product.
I luckily had a bag of old clothing I was planning on giving to good will, so I scrambled through that to find varying colors of some decent, blue fabric. I then looked up the basic techniques of sewing and embroidering in hopes to have some background knowledge before I start attempting the fabrication. I measured a few of my own sweatshirts to come up with the measurements I wanted for the sleeves, hood, main section and pocket. I began sketching some basic ideas of what I planned my final to look like, but really was planning on most of the design process to happen as I create the sweatshirt.
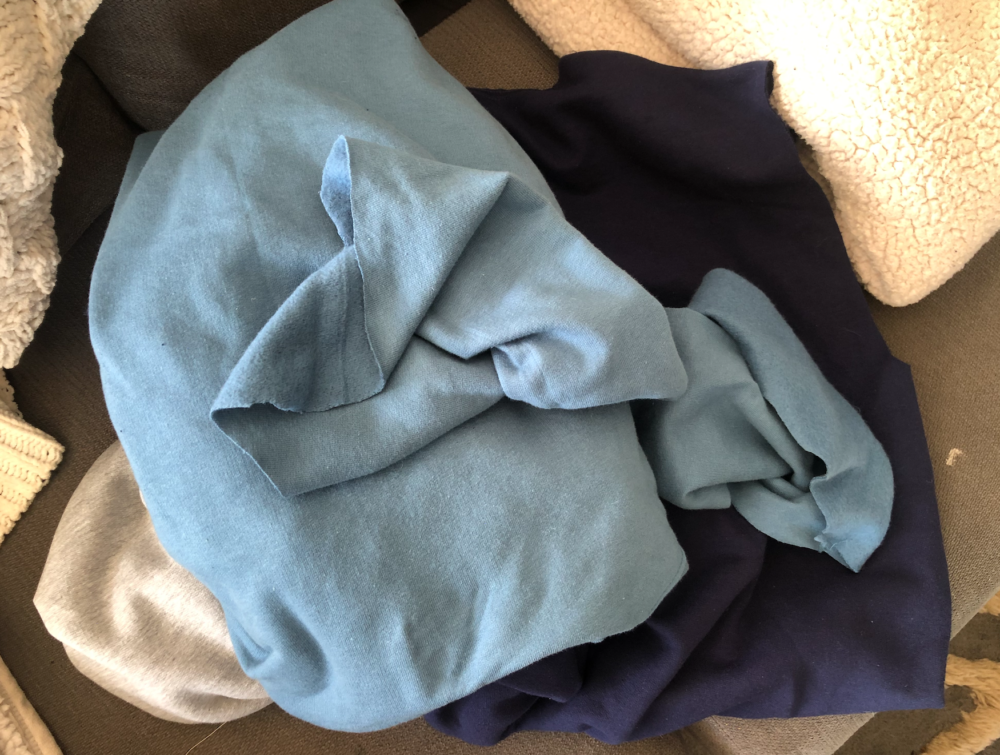
After being sick in boulder for 3 weeks and quarantining, I was finally able to go home (yay!!) with access to a sewing machine. As I mentioned before, I spent an awful amount of time hoping to fix our very damaged machine, but had no luck. I ordered a sewing machine and refocused my planning to virtual Adobe Illustrator mock-ups and ideas for the embroidering designs. I cut up all of my materials so they were ready to be put together once my machine had arrived, and bought the rest of my needed materials (thread, needle, scissors, 1 yard of grey fabric).
Once my sewing machine arrived, I began looking up online tutorials to learn how to work and use the machine. I practiced a few stitches on old materials, having a lot of trouble keeping the thread in the needle but eventually figured out how to do a basic stitch.

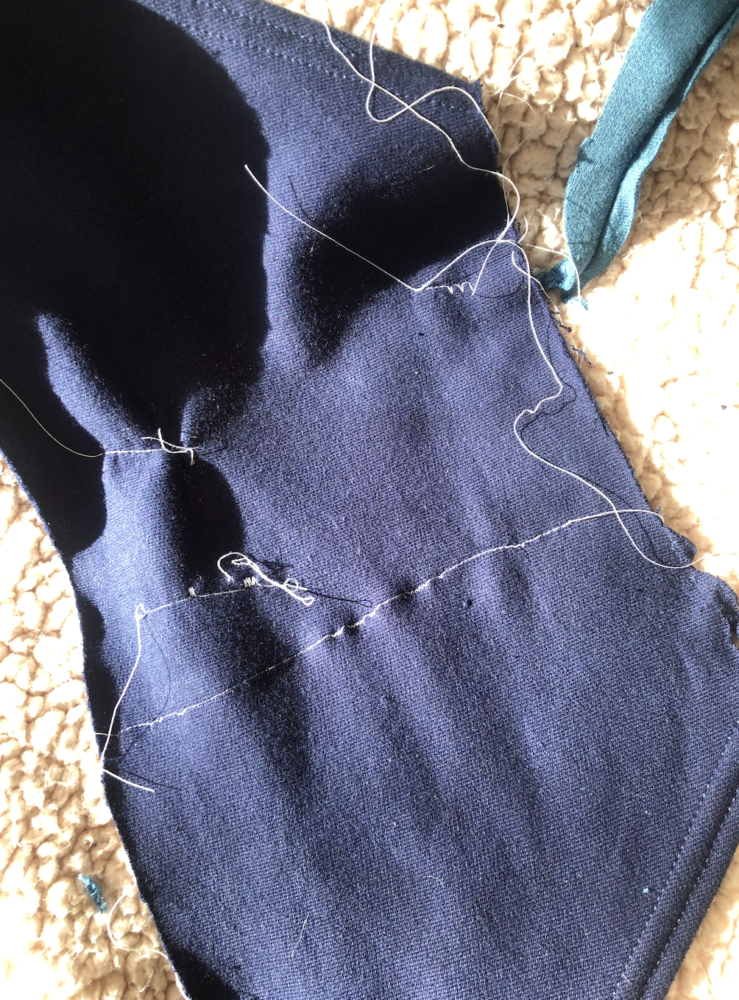
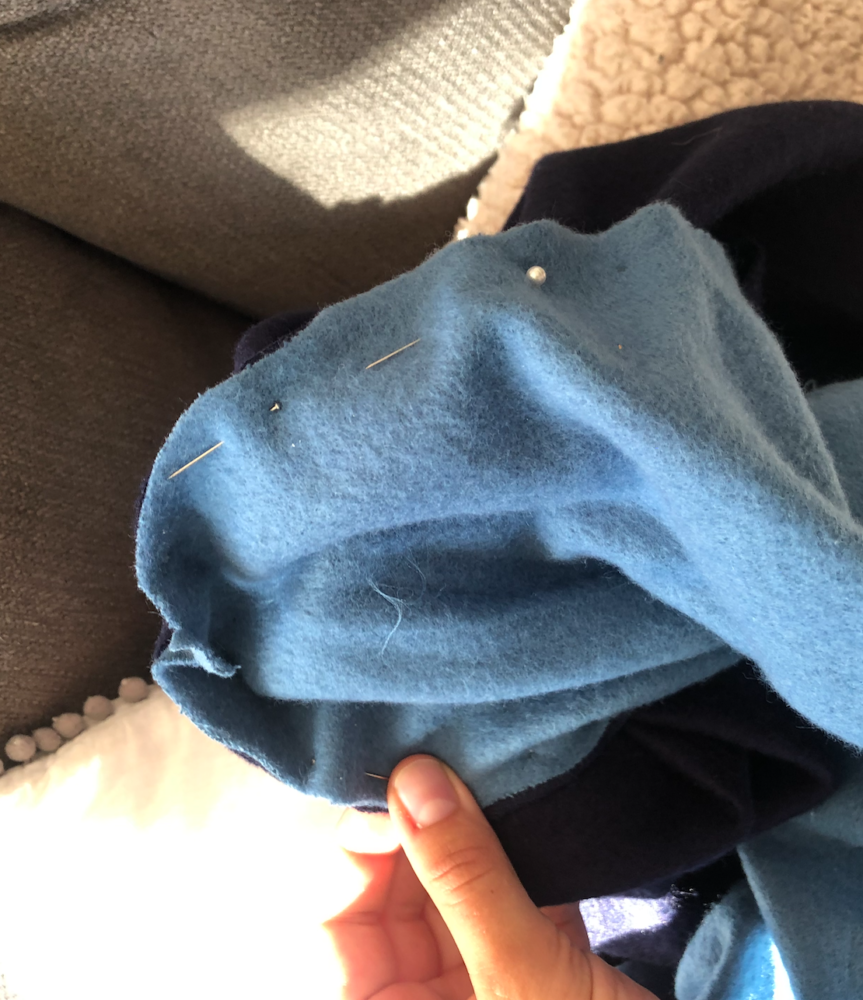
I first sewed the front and back of the fabric together as well as two sections from recycle’d hood’s that I had cut up. I then put together the front and back of the sleeves and attached cuffs from a previous blue sweatshirt. I then attached the sleeves to the body of the fabric inside out, using lots of pins to keep everything together. I attached the hood to the body and lastly, added a pocket.
![]()
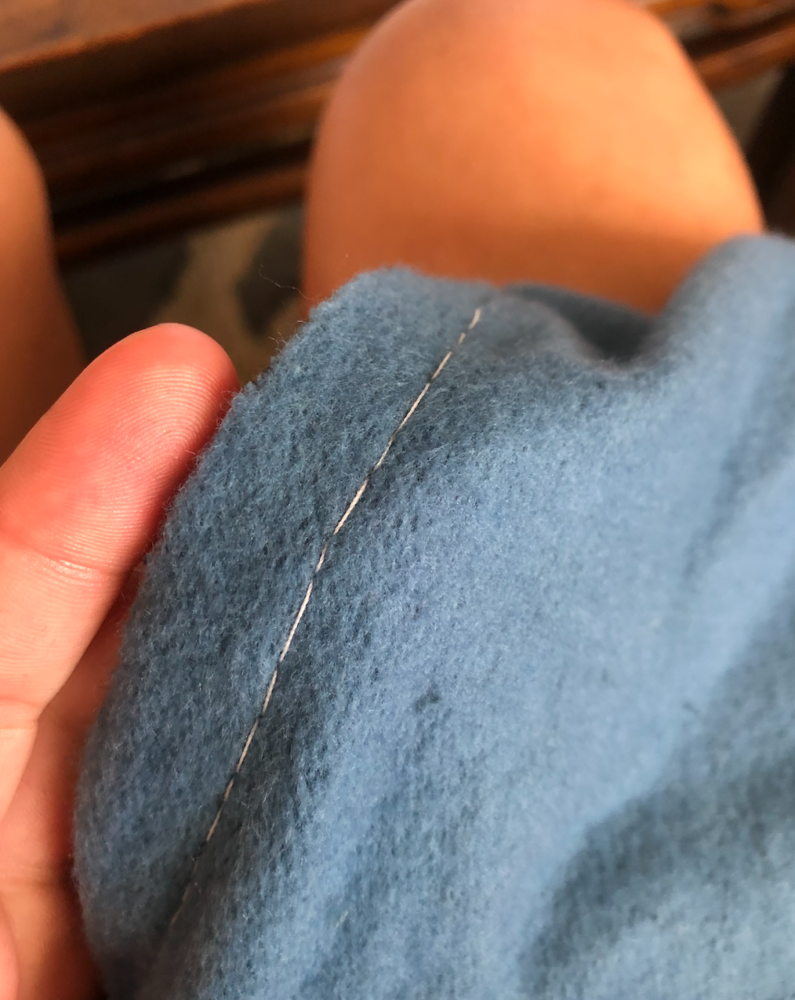

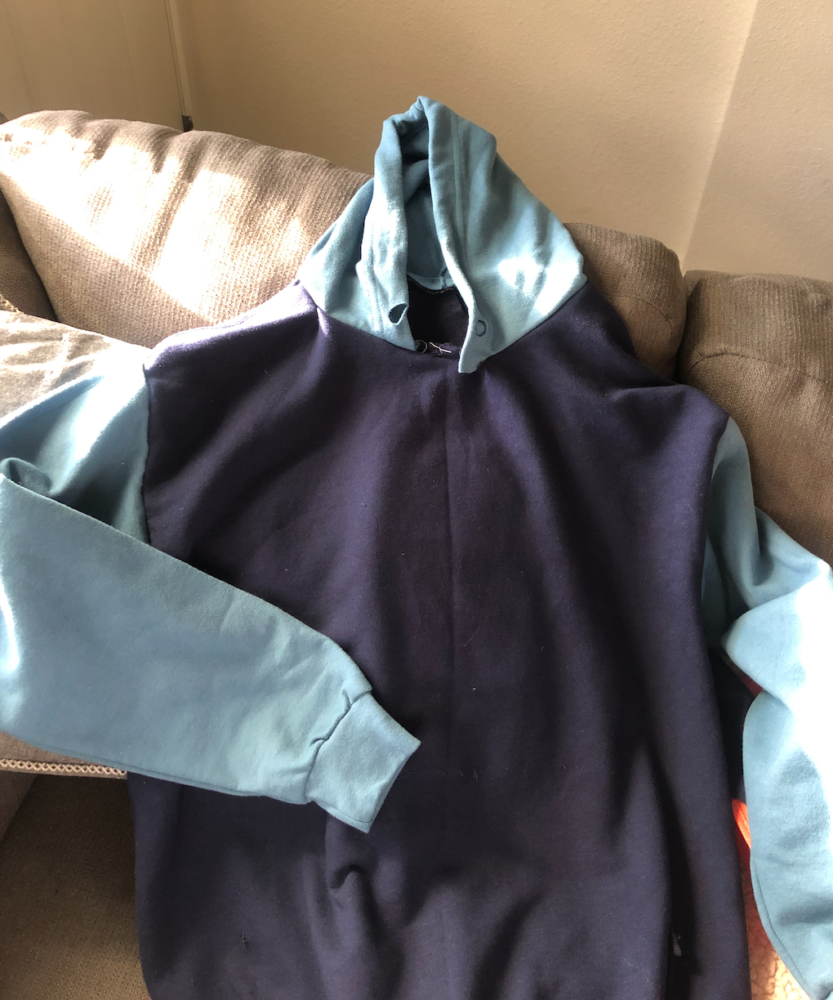
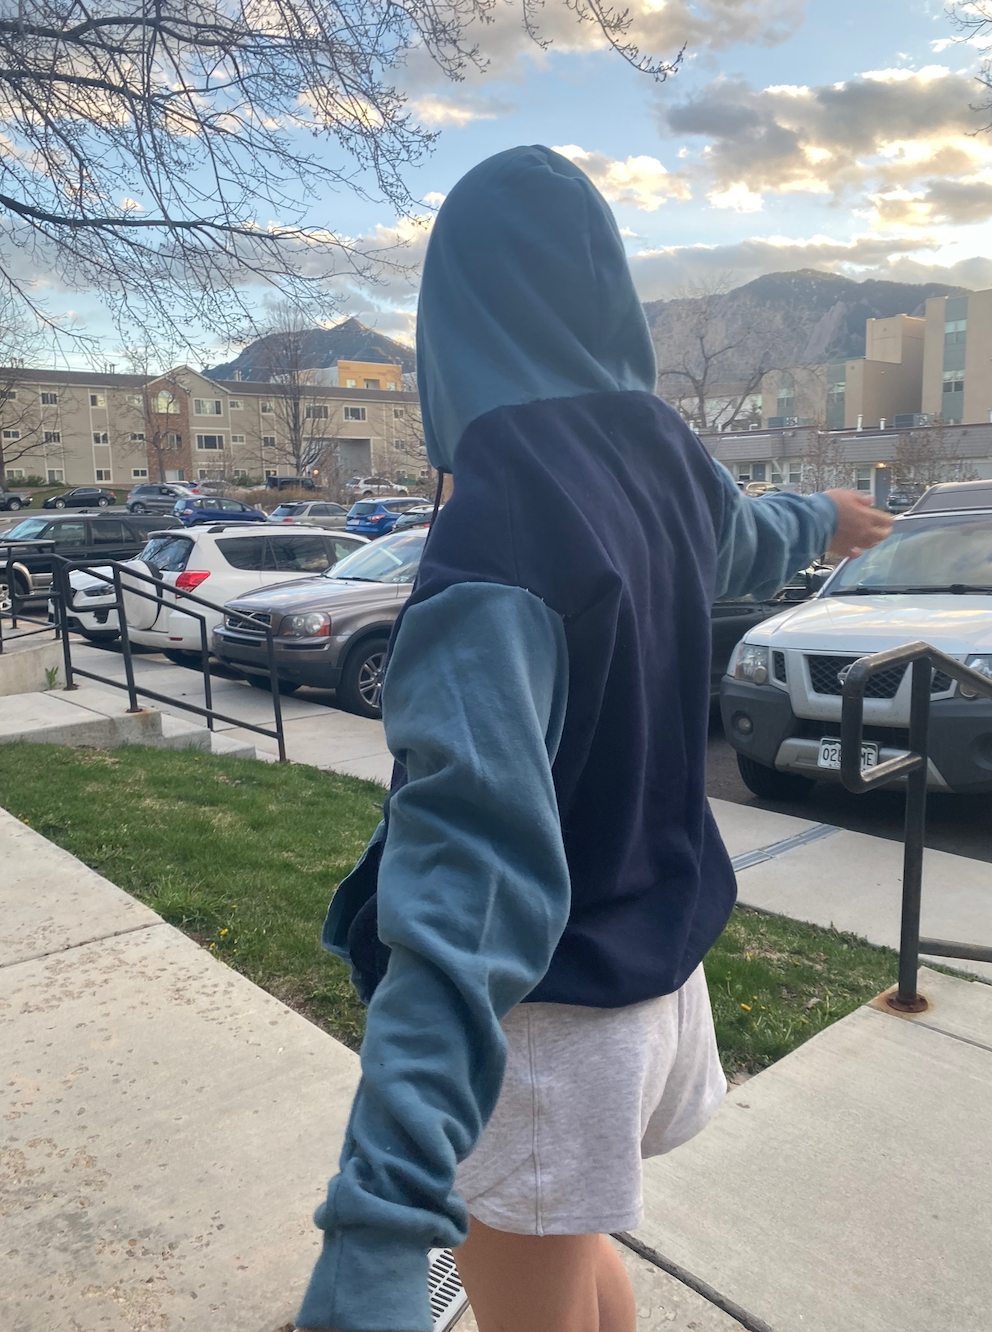
I had a lot of issues with the machine, with it not sewing a proper stitch and constantly breaking the thread. There was one setting that I got the machine to work on, and for the sake of making this sweatshirt I went with it, but the majority of the stitches were very uneven and poor. However, it was the best I could do and I spent an awful amount of time trying to get it to work, so for the time being I am happy with the finale.


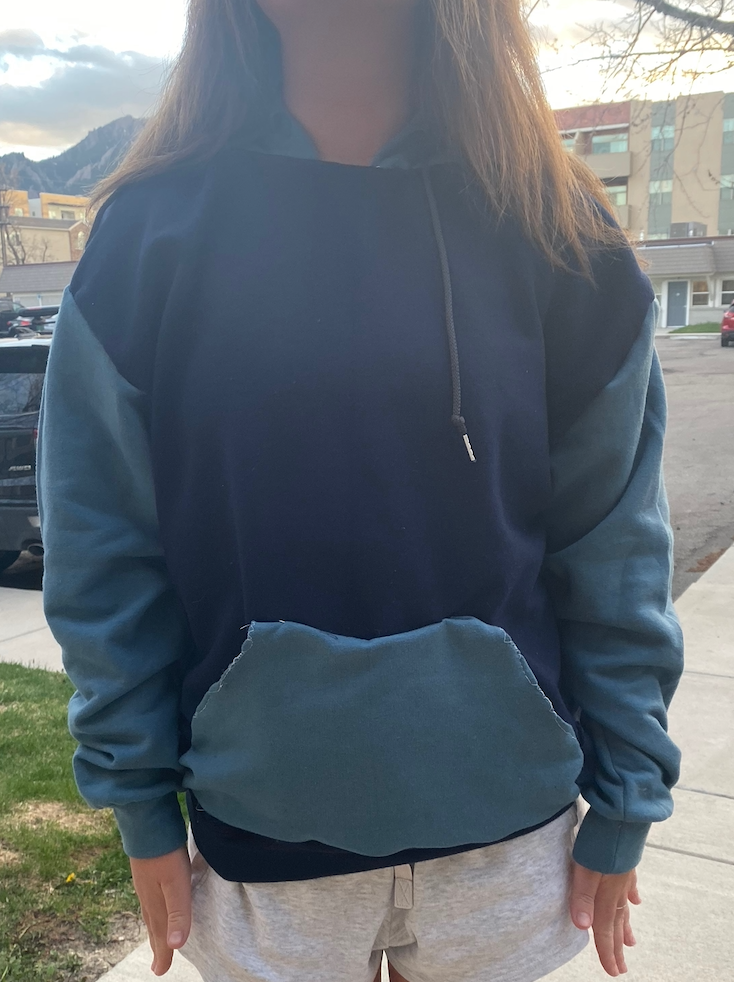
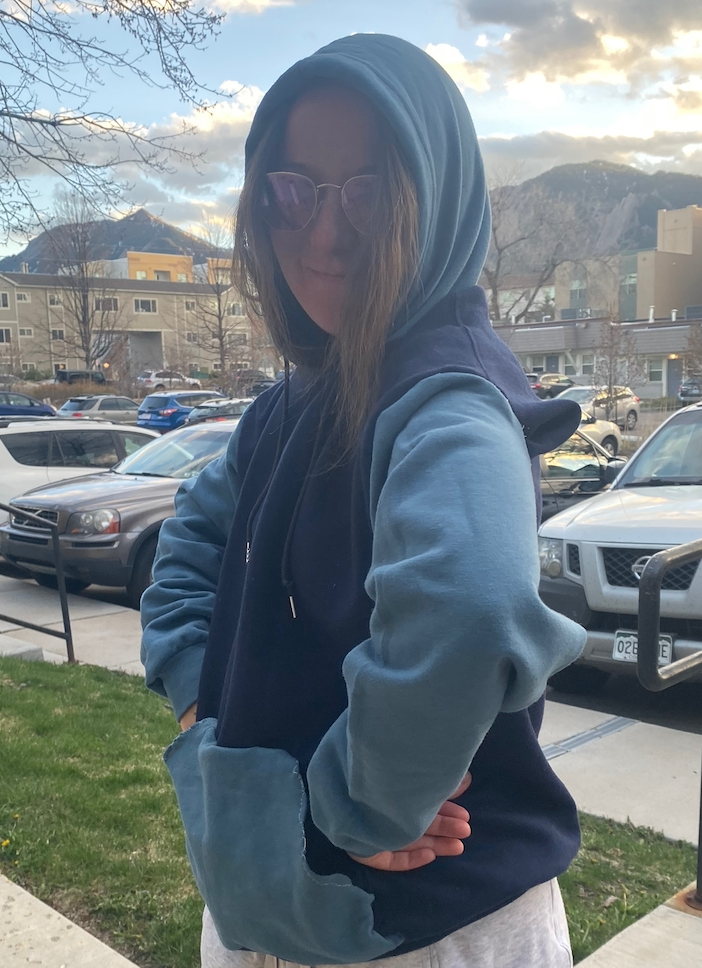
The entire fabrication of the project took be about 25 hours, not including personal research and exploration for the design. A lot of this time was due to the fact I had attempted learning an entire new skill, but also because of machine malfunctions and redesign processes that I hadn’t anticipated. The final product looks very similar to what I had imagined I could create due to the restrictions in this time, but I do wish to further this project on my own and create something I would enjoy wearing.
Conclusion
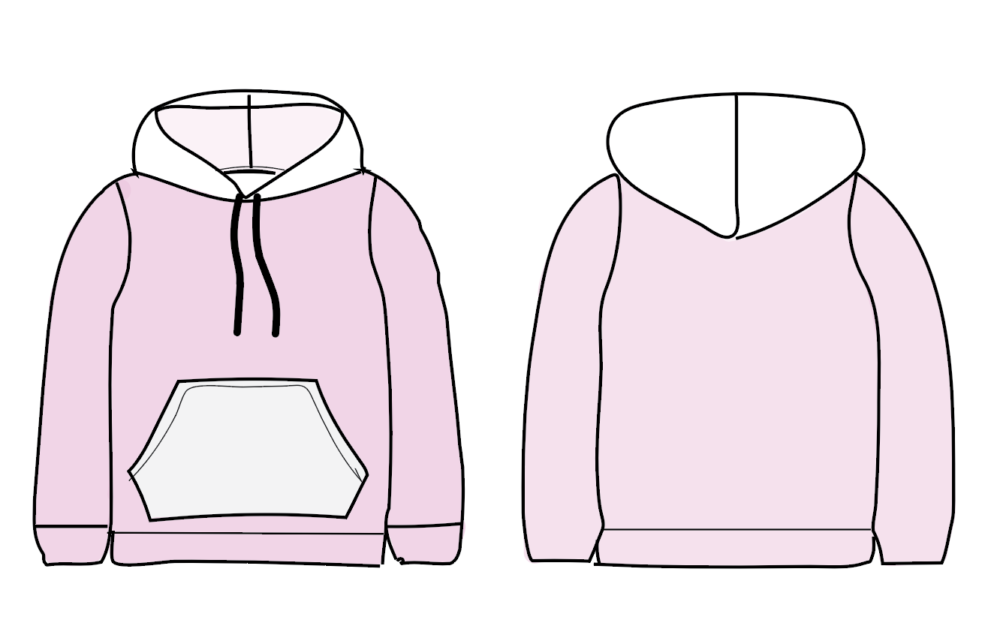
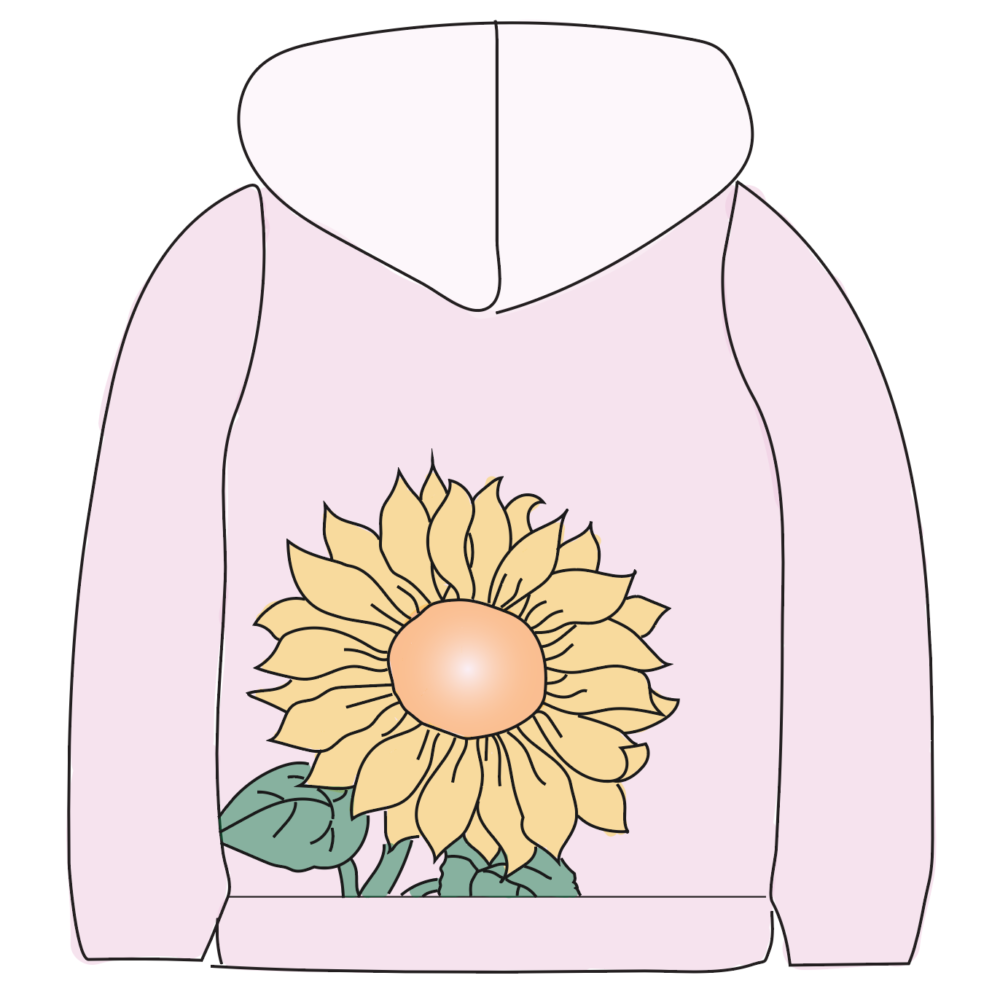
I started with the hopes of creating a unique, individualized sweatshirt, which I did end up with! Although it took a lot of patience and flexibility, I am proud that I was able to complete this project despite the challenges COVID-19 brought us all. If I were to do the project again, I would invest in a pastel pink and white fabric that would be warm and comfortable but waterproof as well. I think this is a really interesting concept for a sweatshirt, and something that people haven’t really thought of yet. The colors would better match my personal aesthetic, being more light and energetic. I would also plan to embroider a big flower on the back of the sweatshirt, with a small matching one on the upper left corner of the hoodie. The idea of moving past societal pressures to “fit in” with clothing is so powerful, and a flower would be a very fun way for me to represent my own personality through my hoodie.
My current creation will probably continue as a draft work for future projects. I will probably use it primarily to draft embroidery and future sewing projects; however, I do wish to recreate my own hoodie with the colors and tone mentioned above. I think this piece did exactly what is was created for, and was a fun, distracting project during an otherwise stressful time.
Presentation Link
Citations
https://www.rebelsmarket.com/blog/posts/harajuku-style-what-is-it-all-about
1 Comment. Leave new
Hi Hailee! I love how your project came out, the matching sleeves and pocket are very unique. A design on the back would be great next step, like in the image with the flower. I enjoyed that you took your stitching skills to the next level, I would wear this!