

The intent of this upcycle project was to create a lighting element that was well-incorporated into the space (such that it is not obvious it is a light) and to give off the vibe that the light was from the future.
[ Starting Point ]
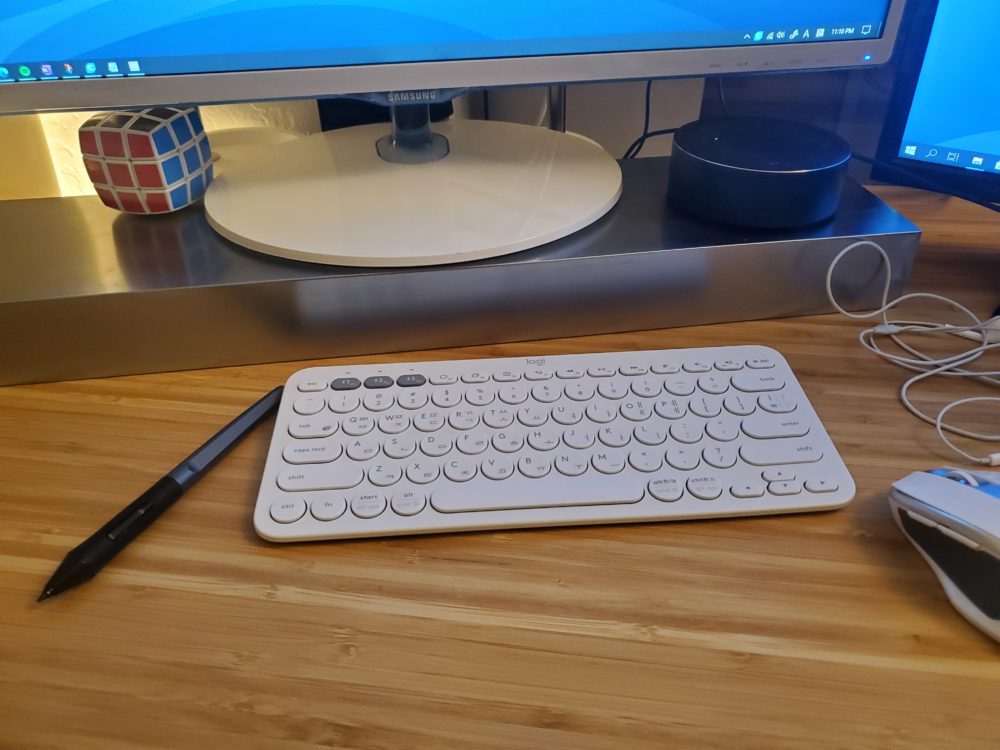
I had already repurposed this metal shelf as a moniter stand. The moniter needed to be slightly higher, so I decided to incorporate the light underneath the shelf to give the effect that it is floating. This position of the light also hides the lighting element and makes it feel as if it is part of the space.
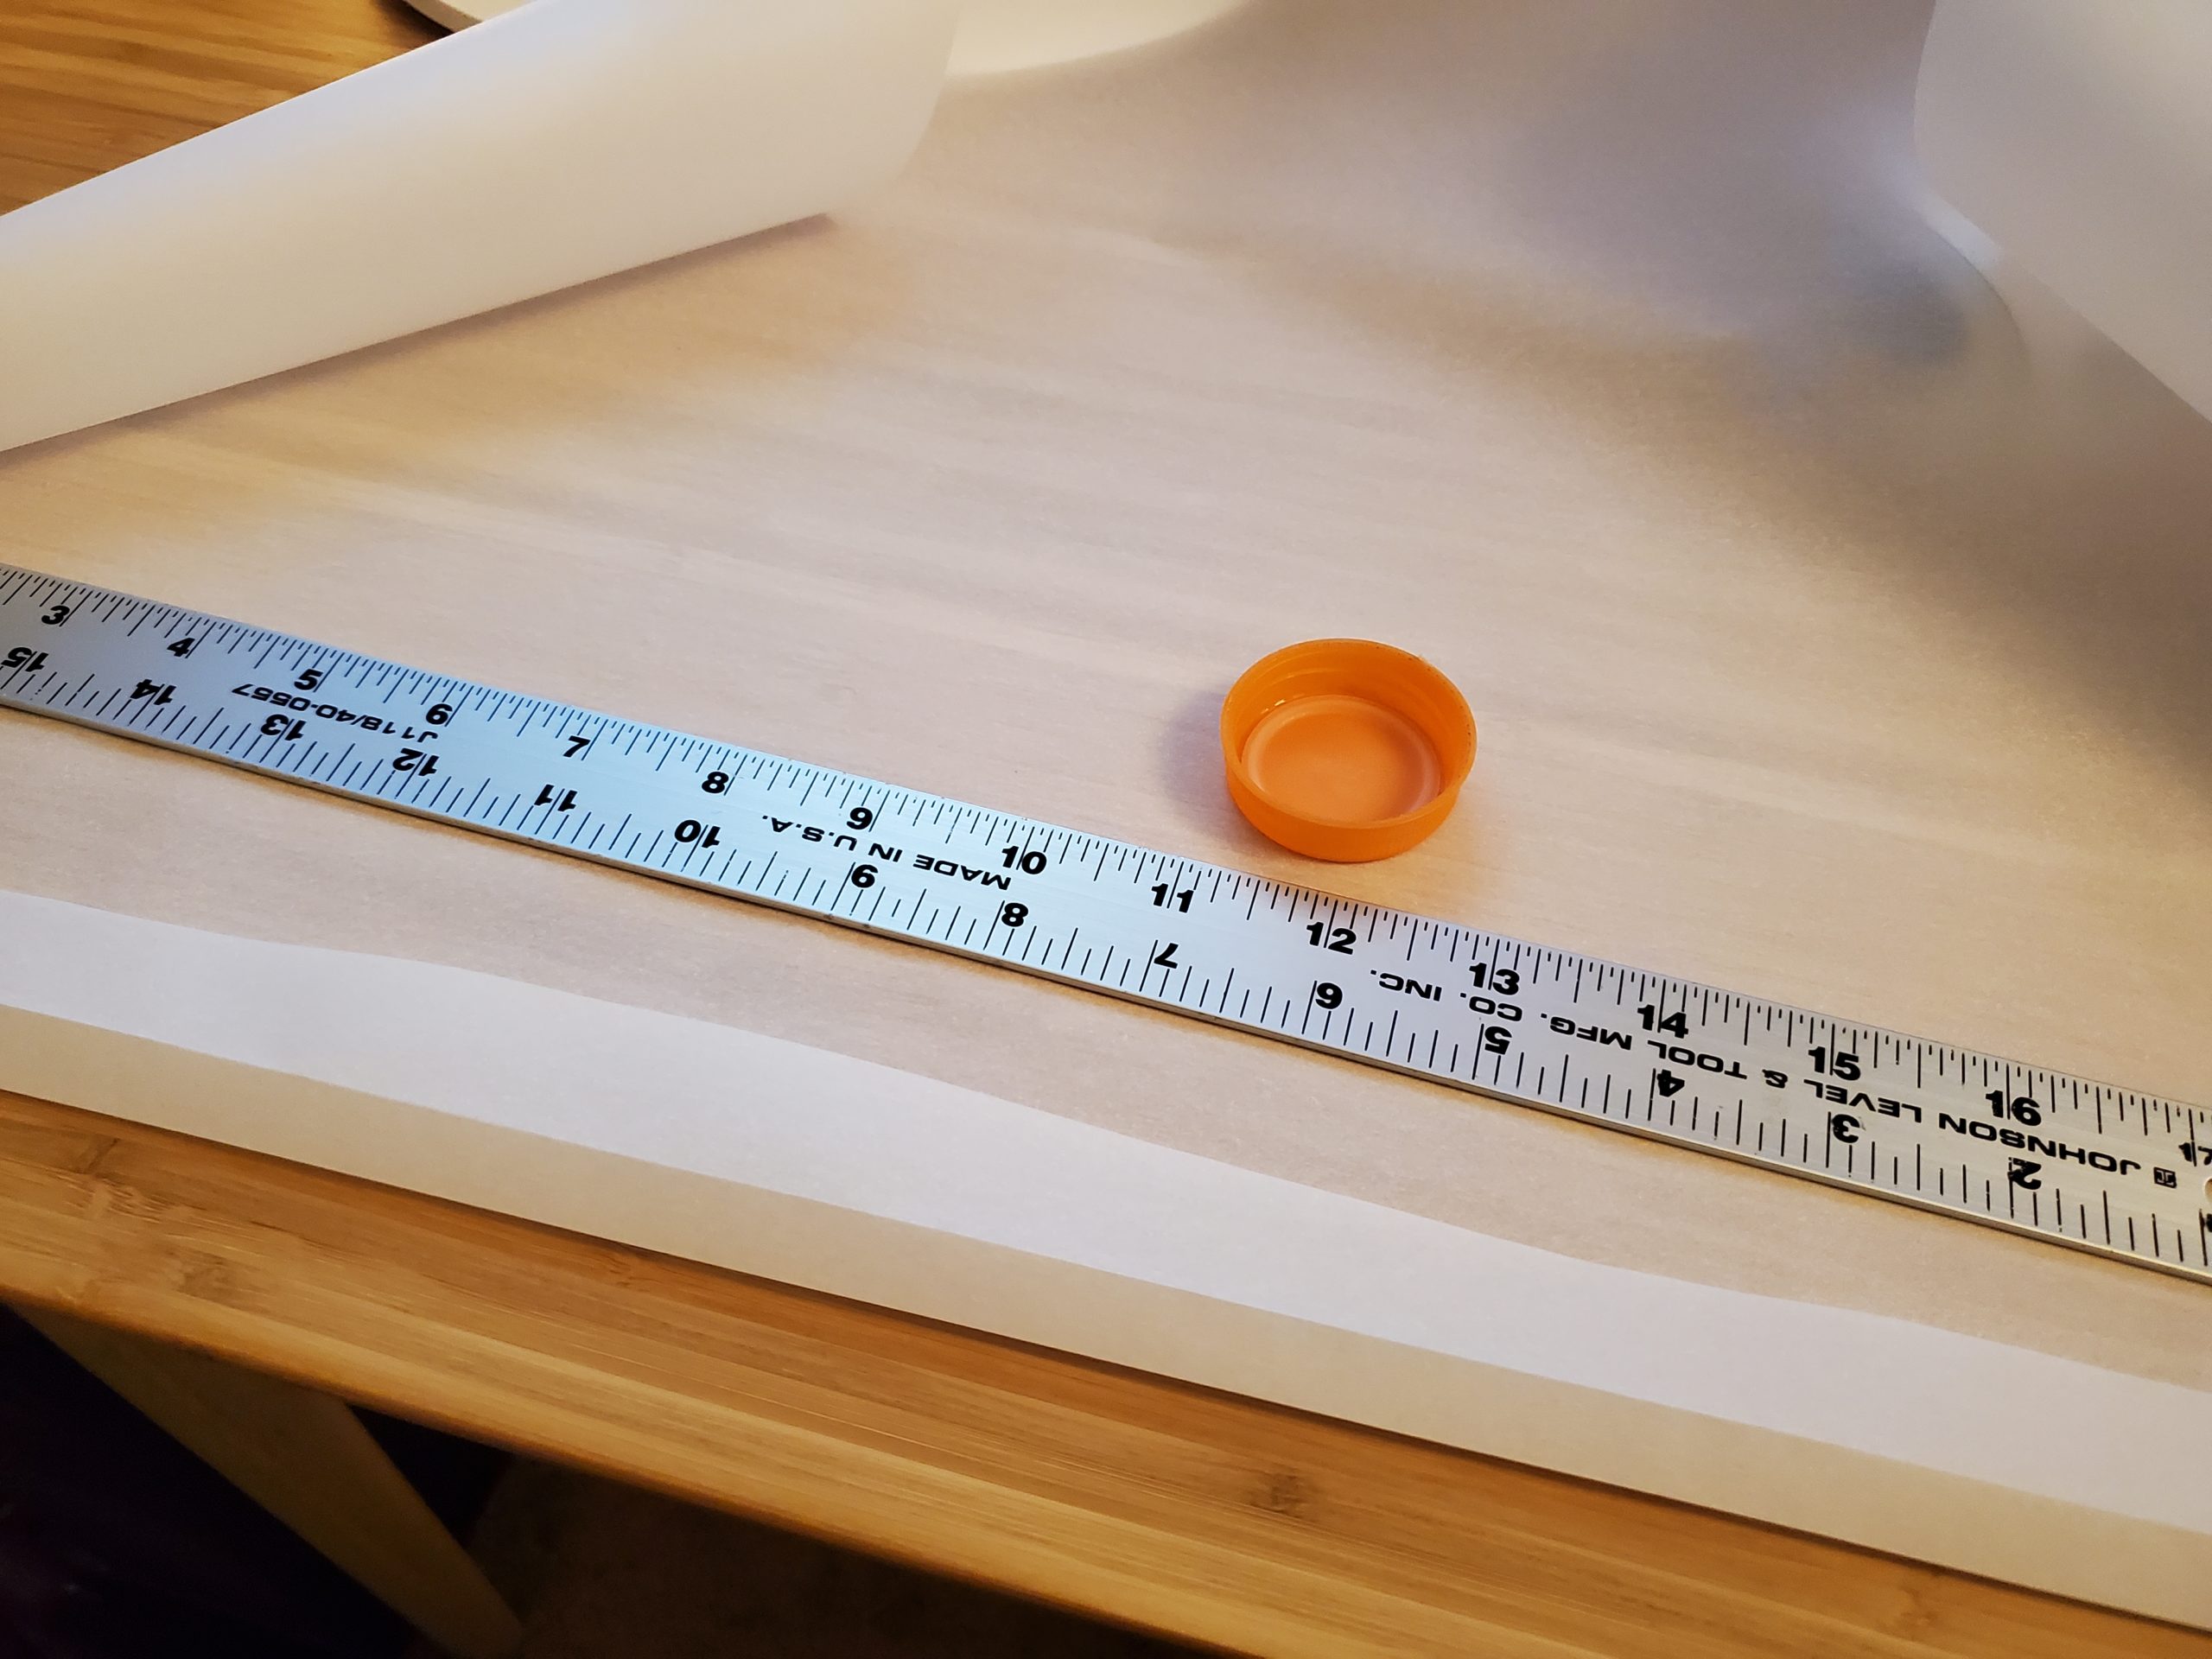
[ Risers ]
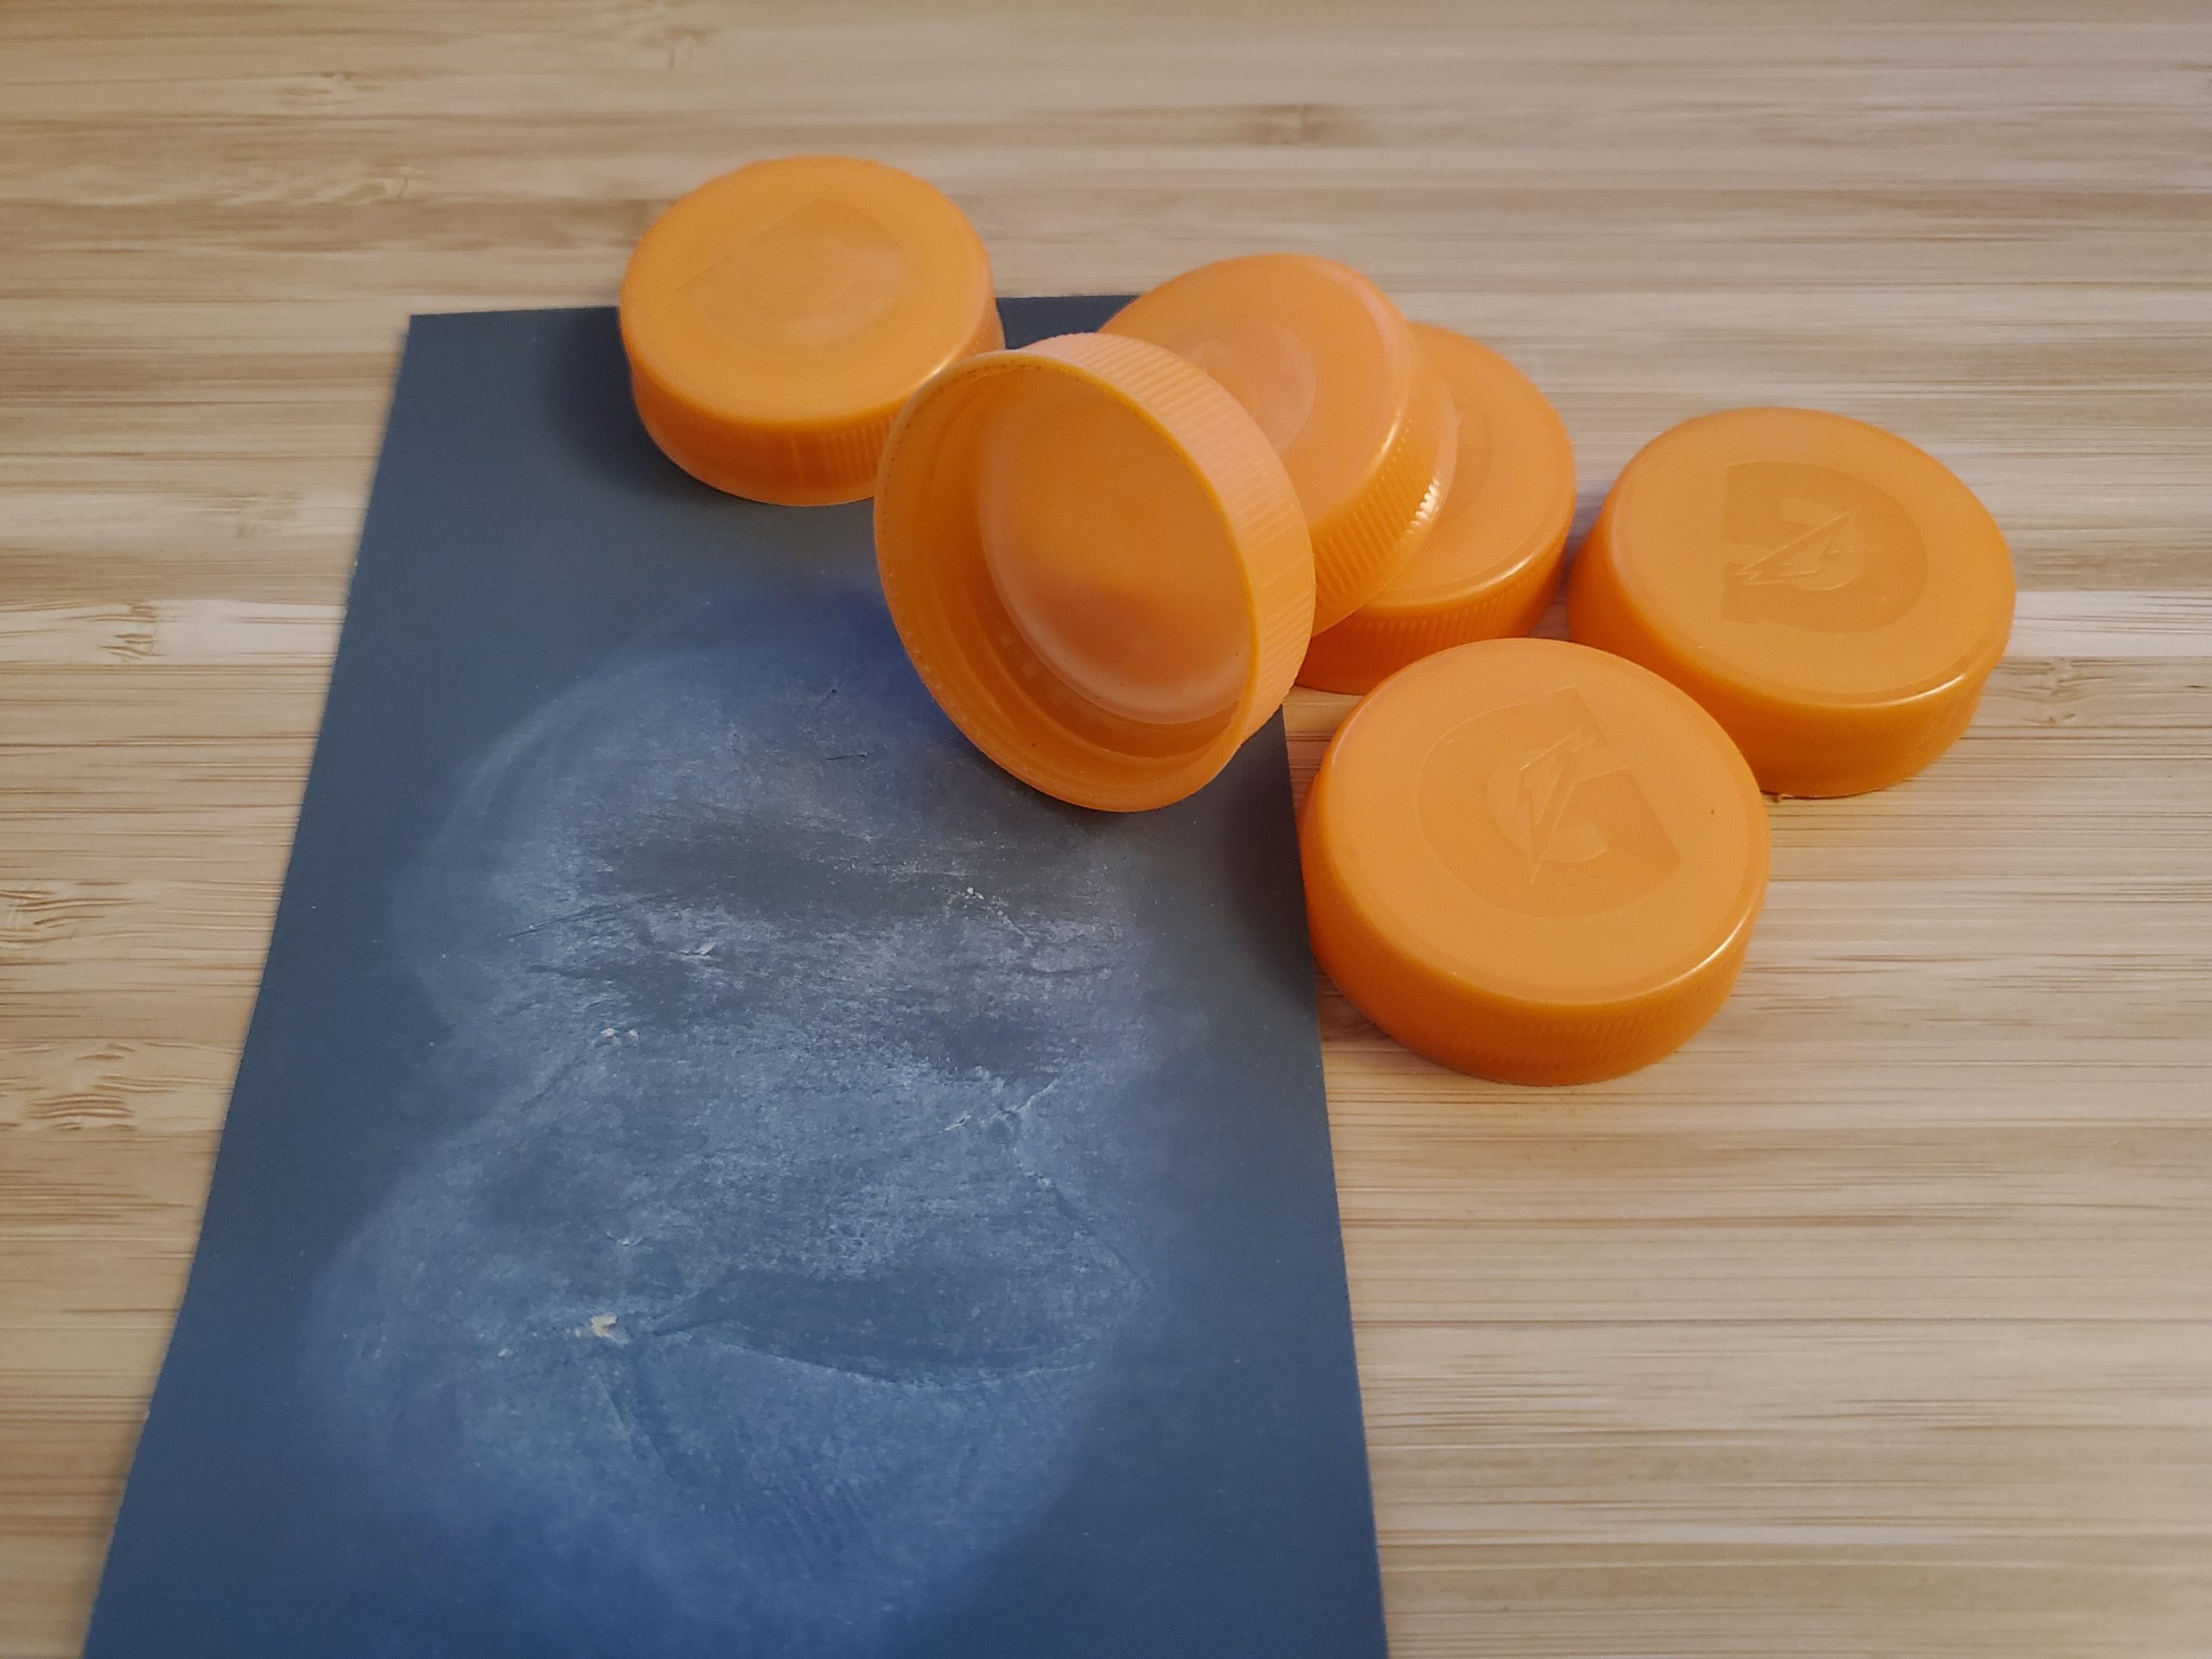
In true upcycle fashion, I decided to use Gatorade bottle caps as the stand risers. This was a quicker and easier alternative to 3d printing a similar part. I sanded down the rough edges of the lids to prevent them from scratching the desk.

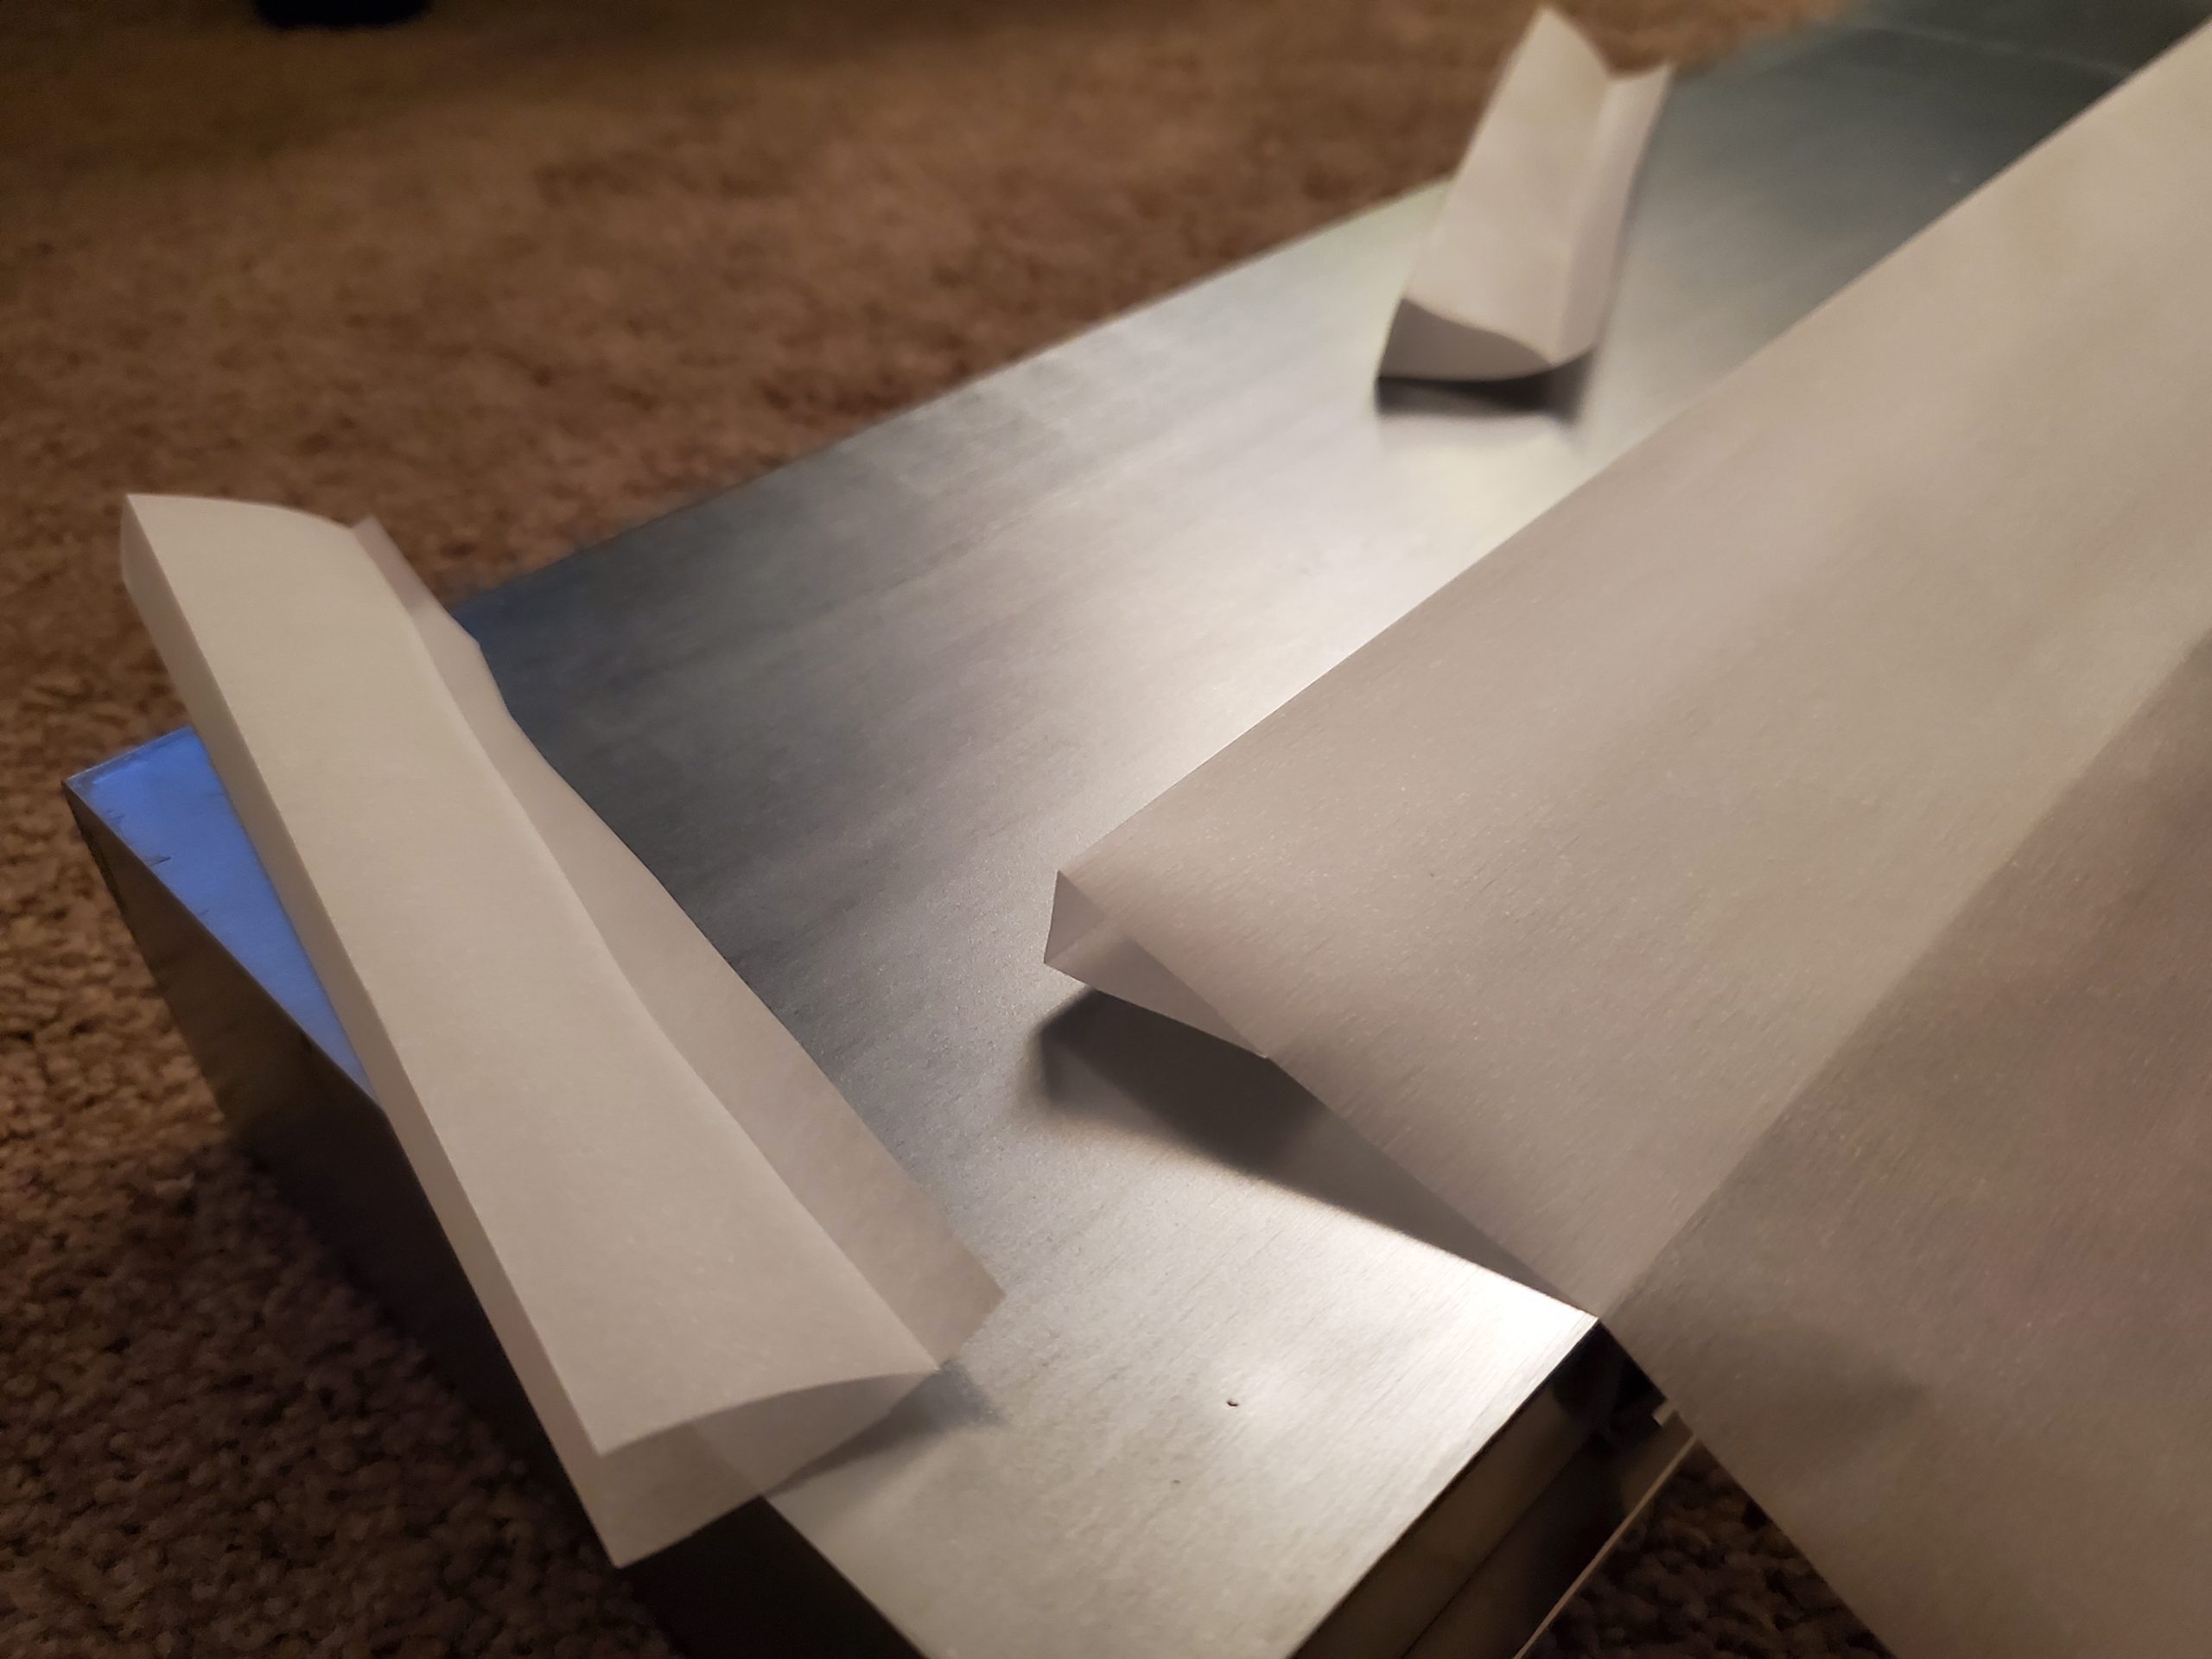
[ Light Diffusion ]
In my previous post I compared different diffusion materials in a lighting study. I determined that a diffusor with adequate separation from the lighting source is necessary to achieve the intended effect. I created a fold with the height of the bottle cap to give the front diffusion material some structure and something to attach to the shelf with. As I found out later, there is very little room for error in this thickness, so it needed to be quick accurate (otherwise the material deforms when the shelf is placed on it, or there is a visible gap underneath it.)
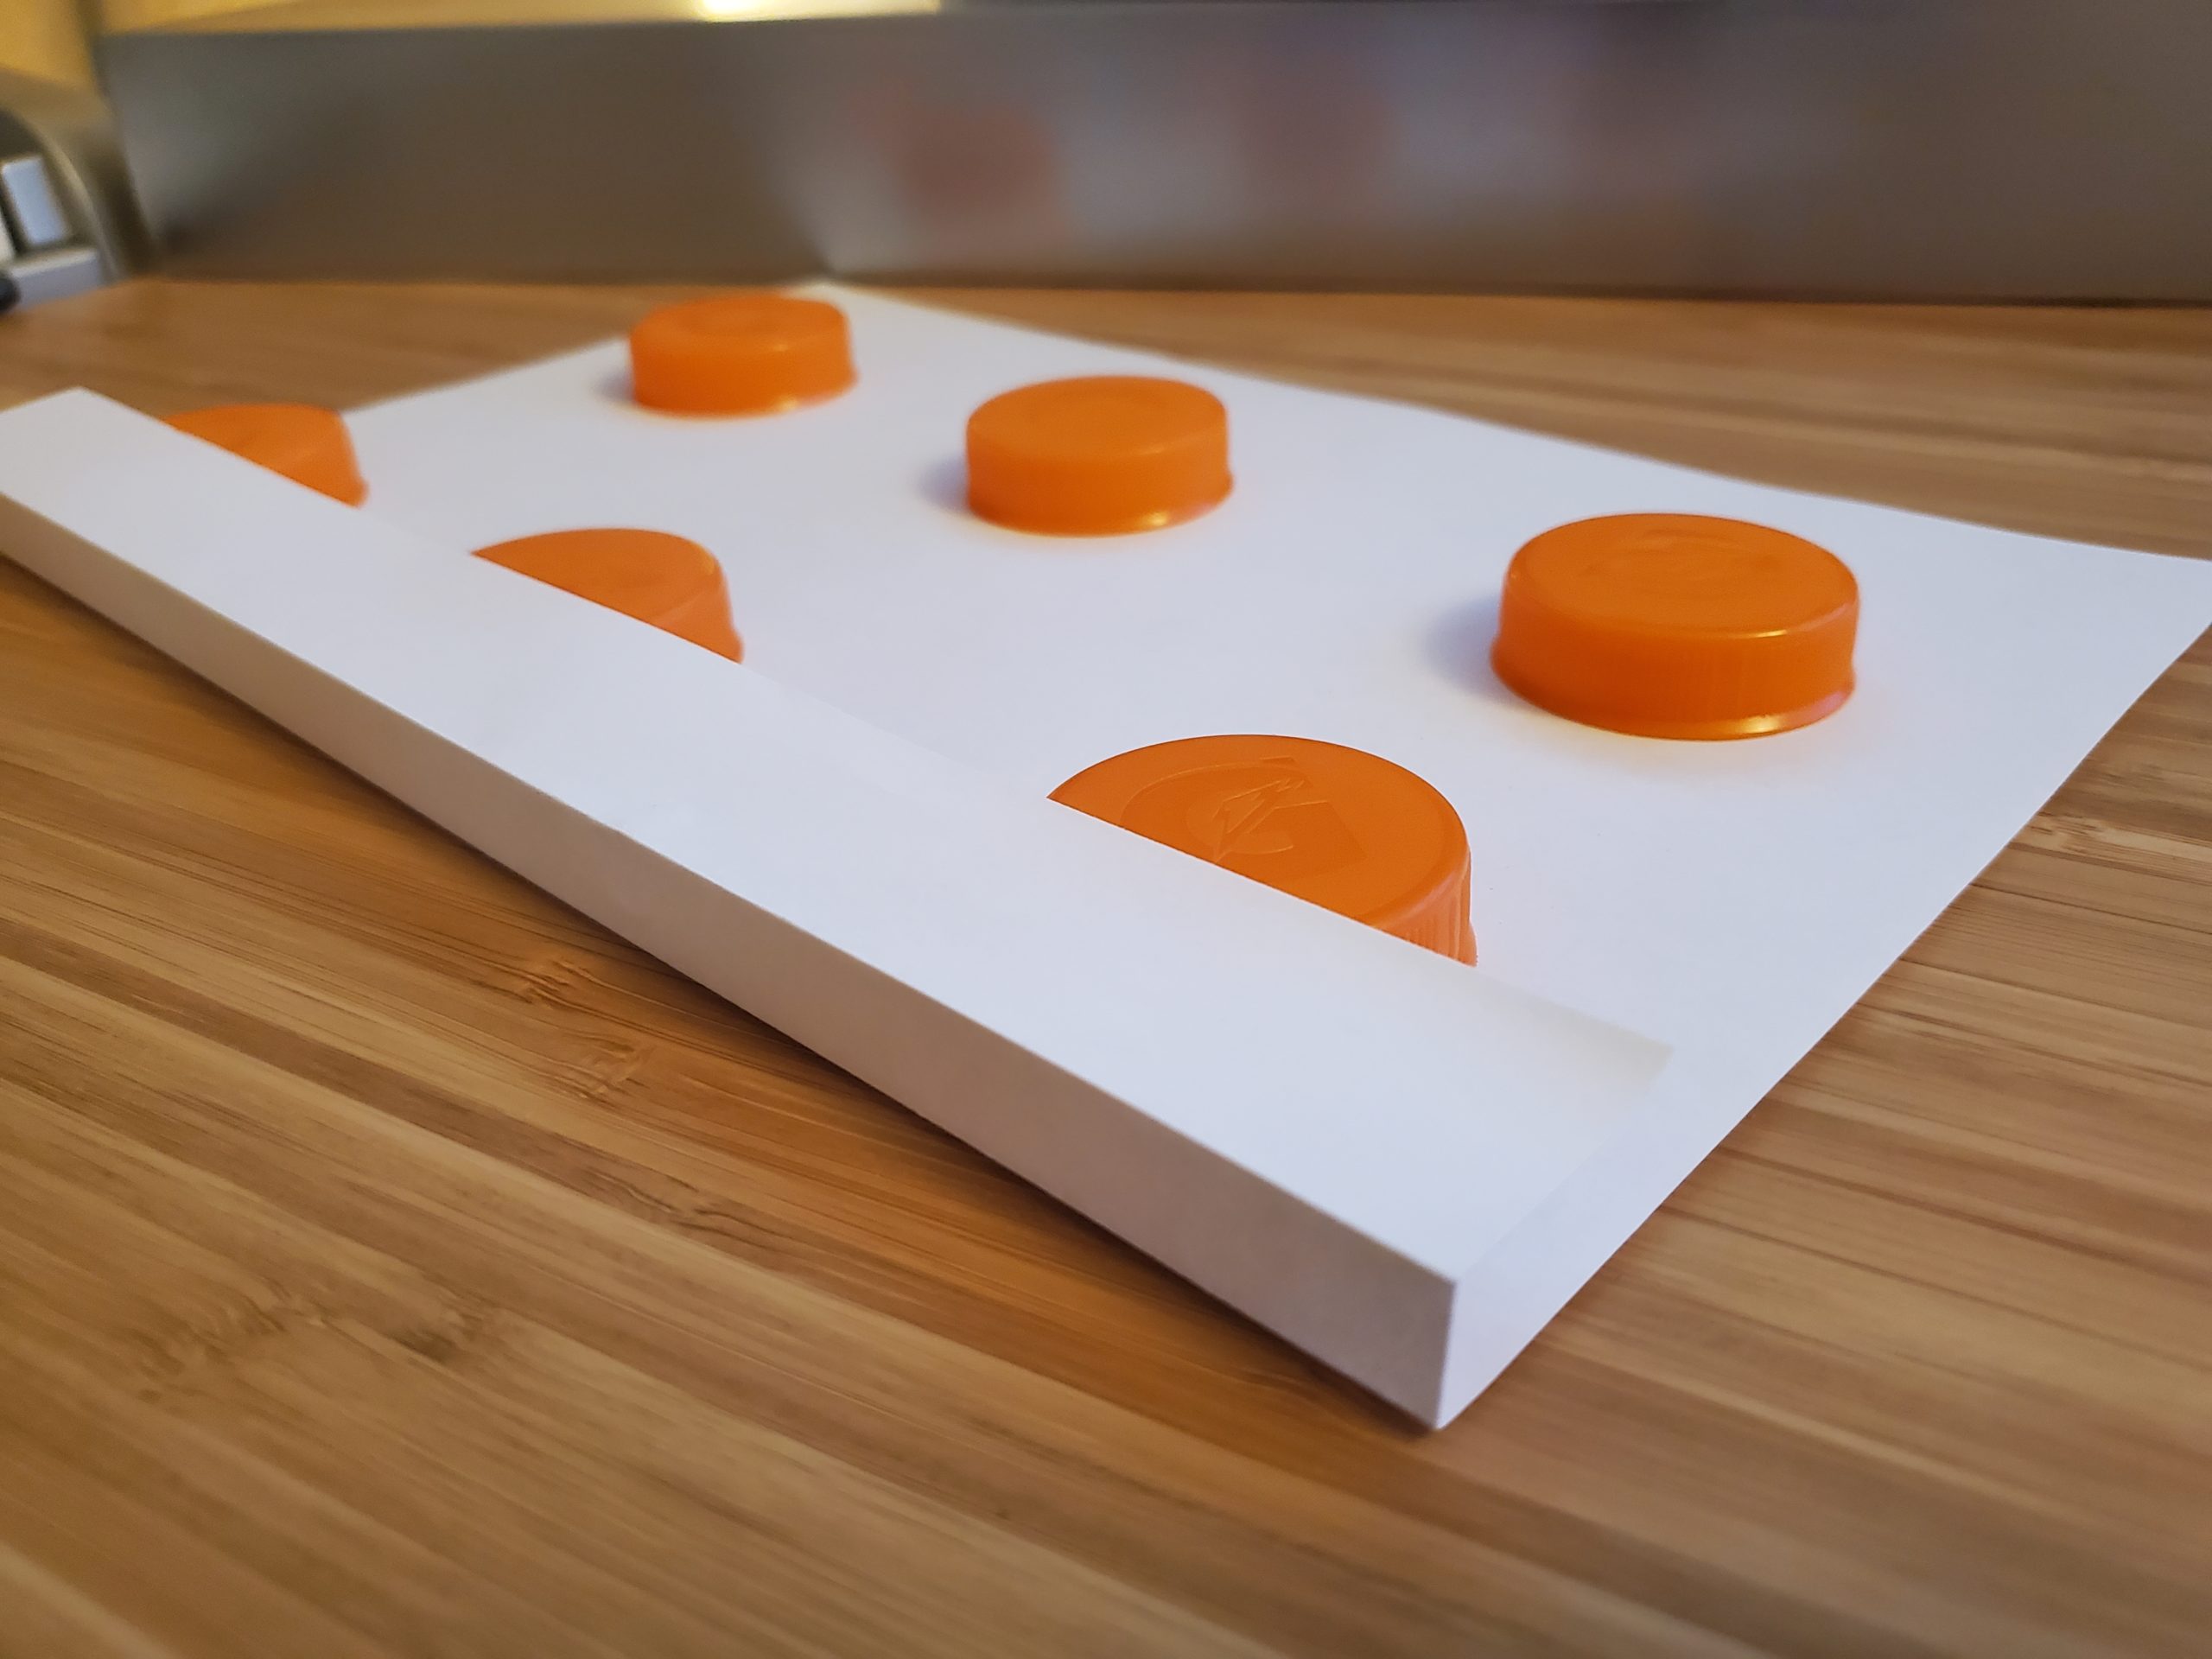
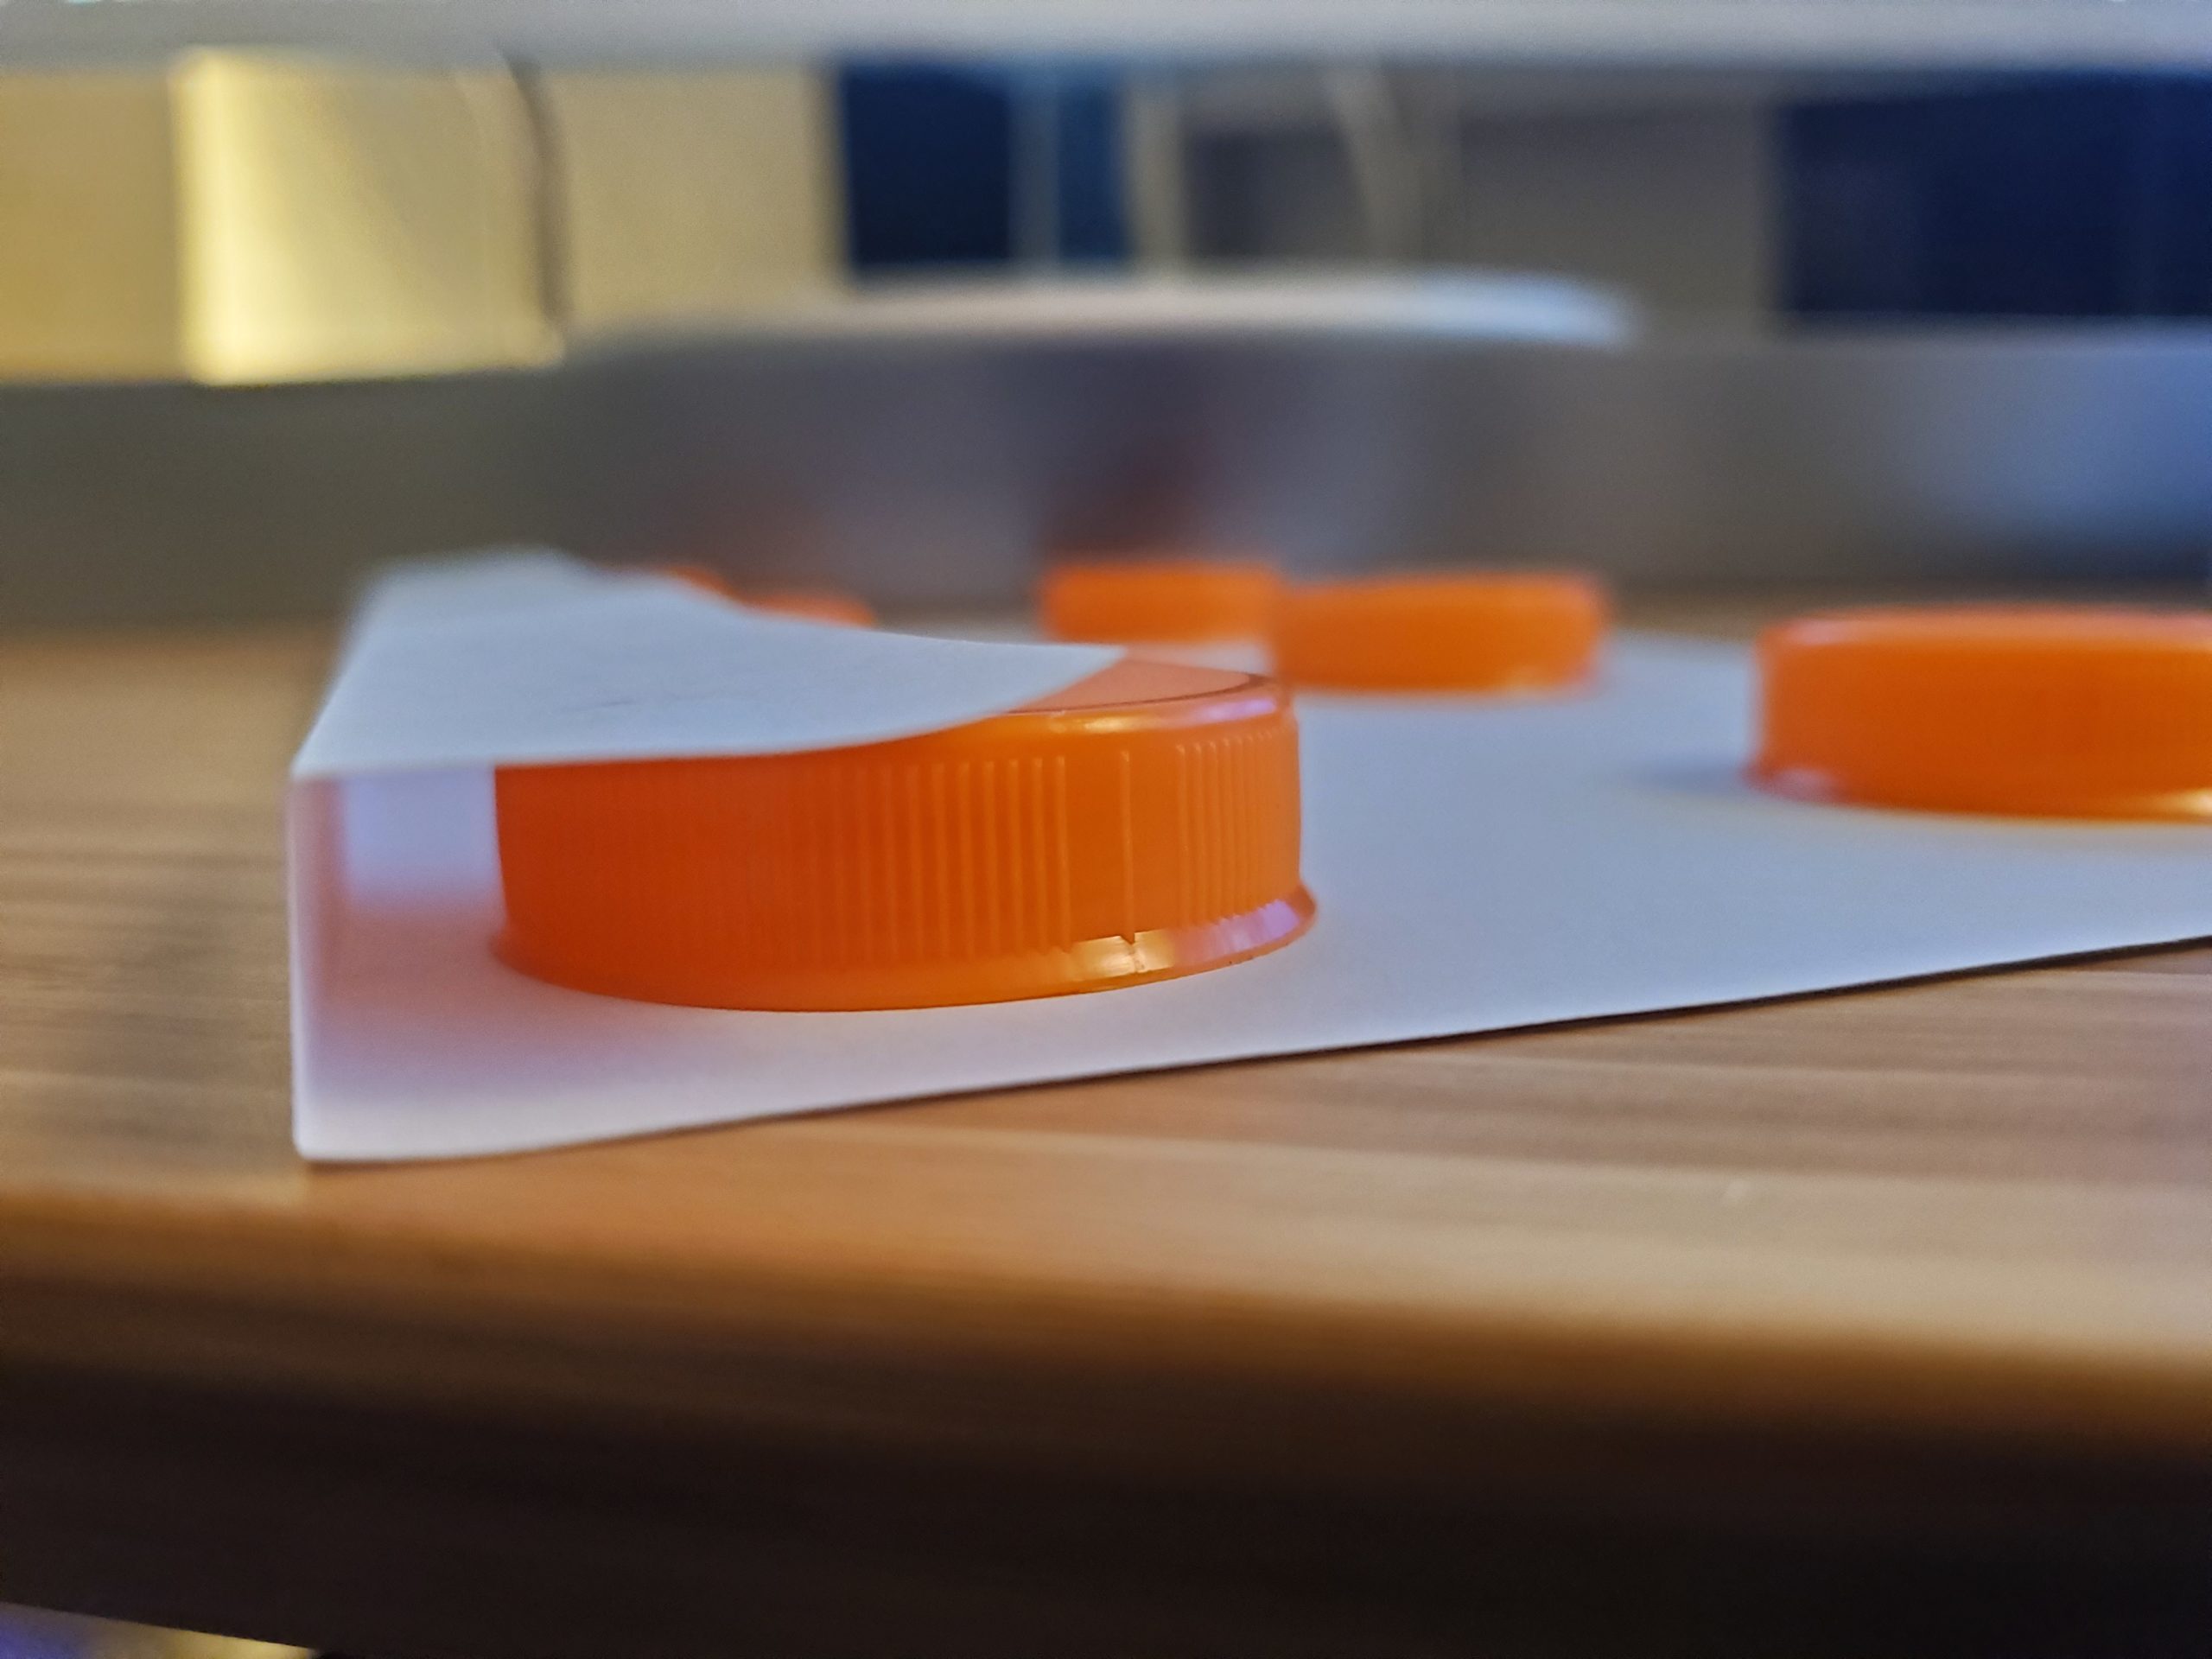
I originally planned to use white printer paper, but since it was not long enough, I switched the paper for parchment paper since the roll allowed me to use a piece as long as it needed to be. I created three pieces – one for the front and two for the sides. The paper folded quite well and maintained the shape.
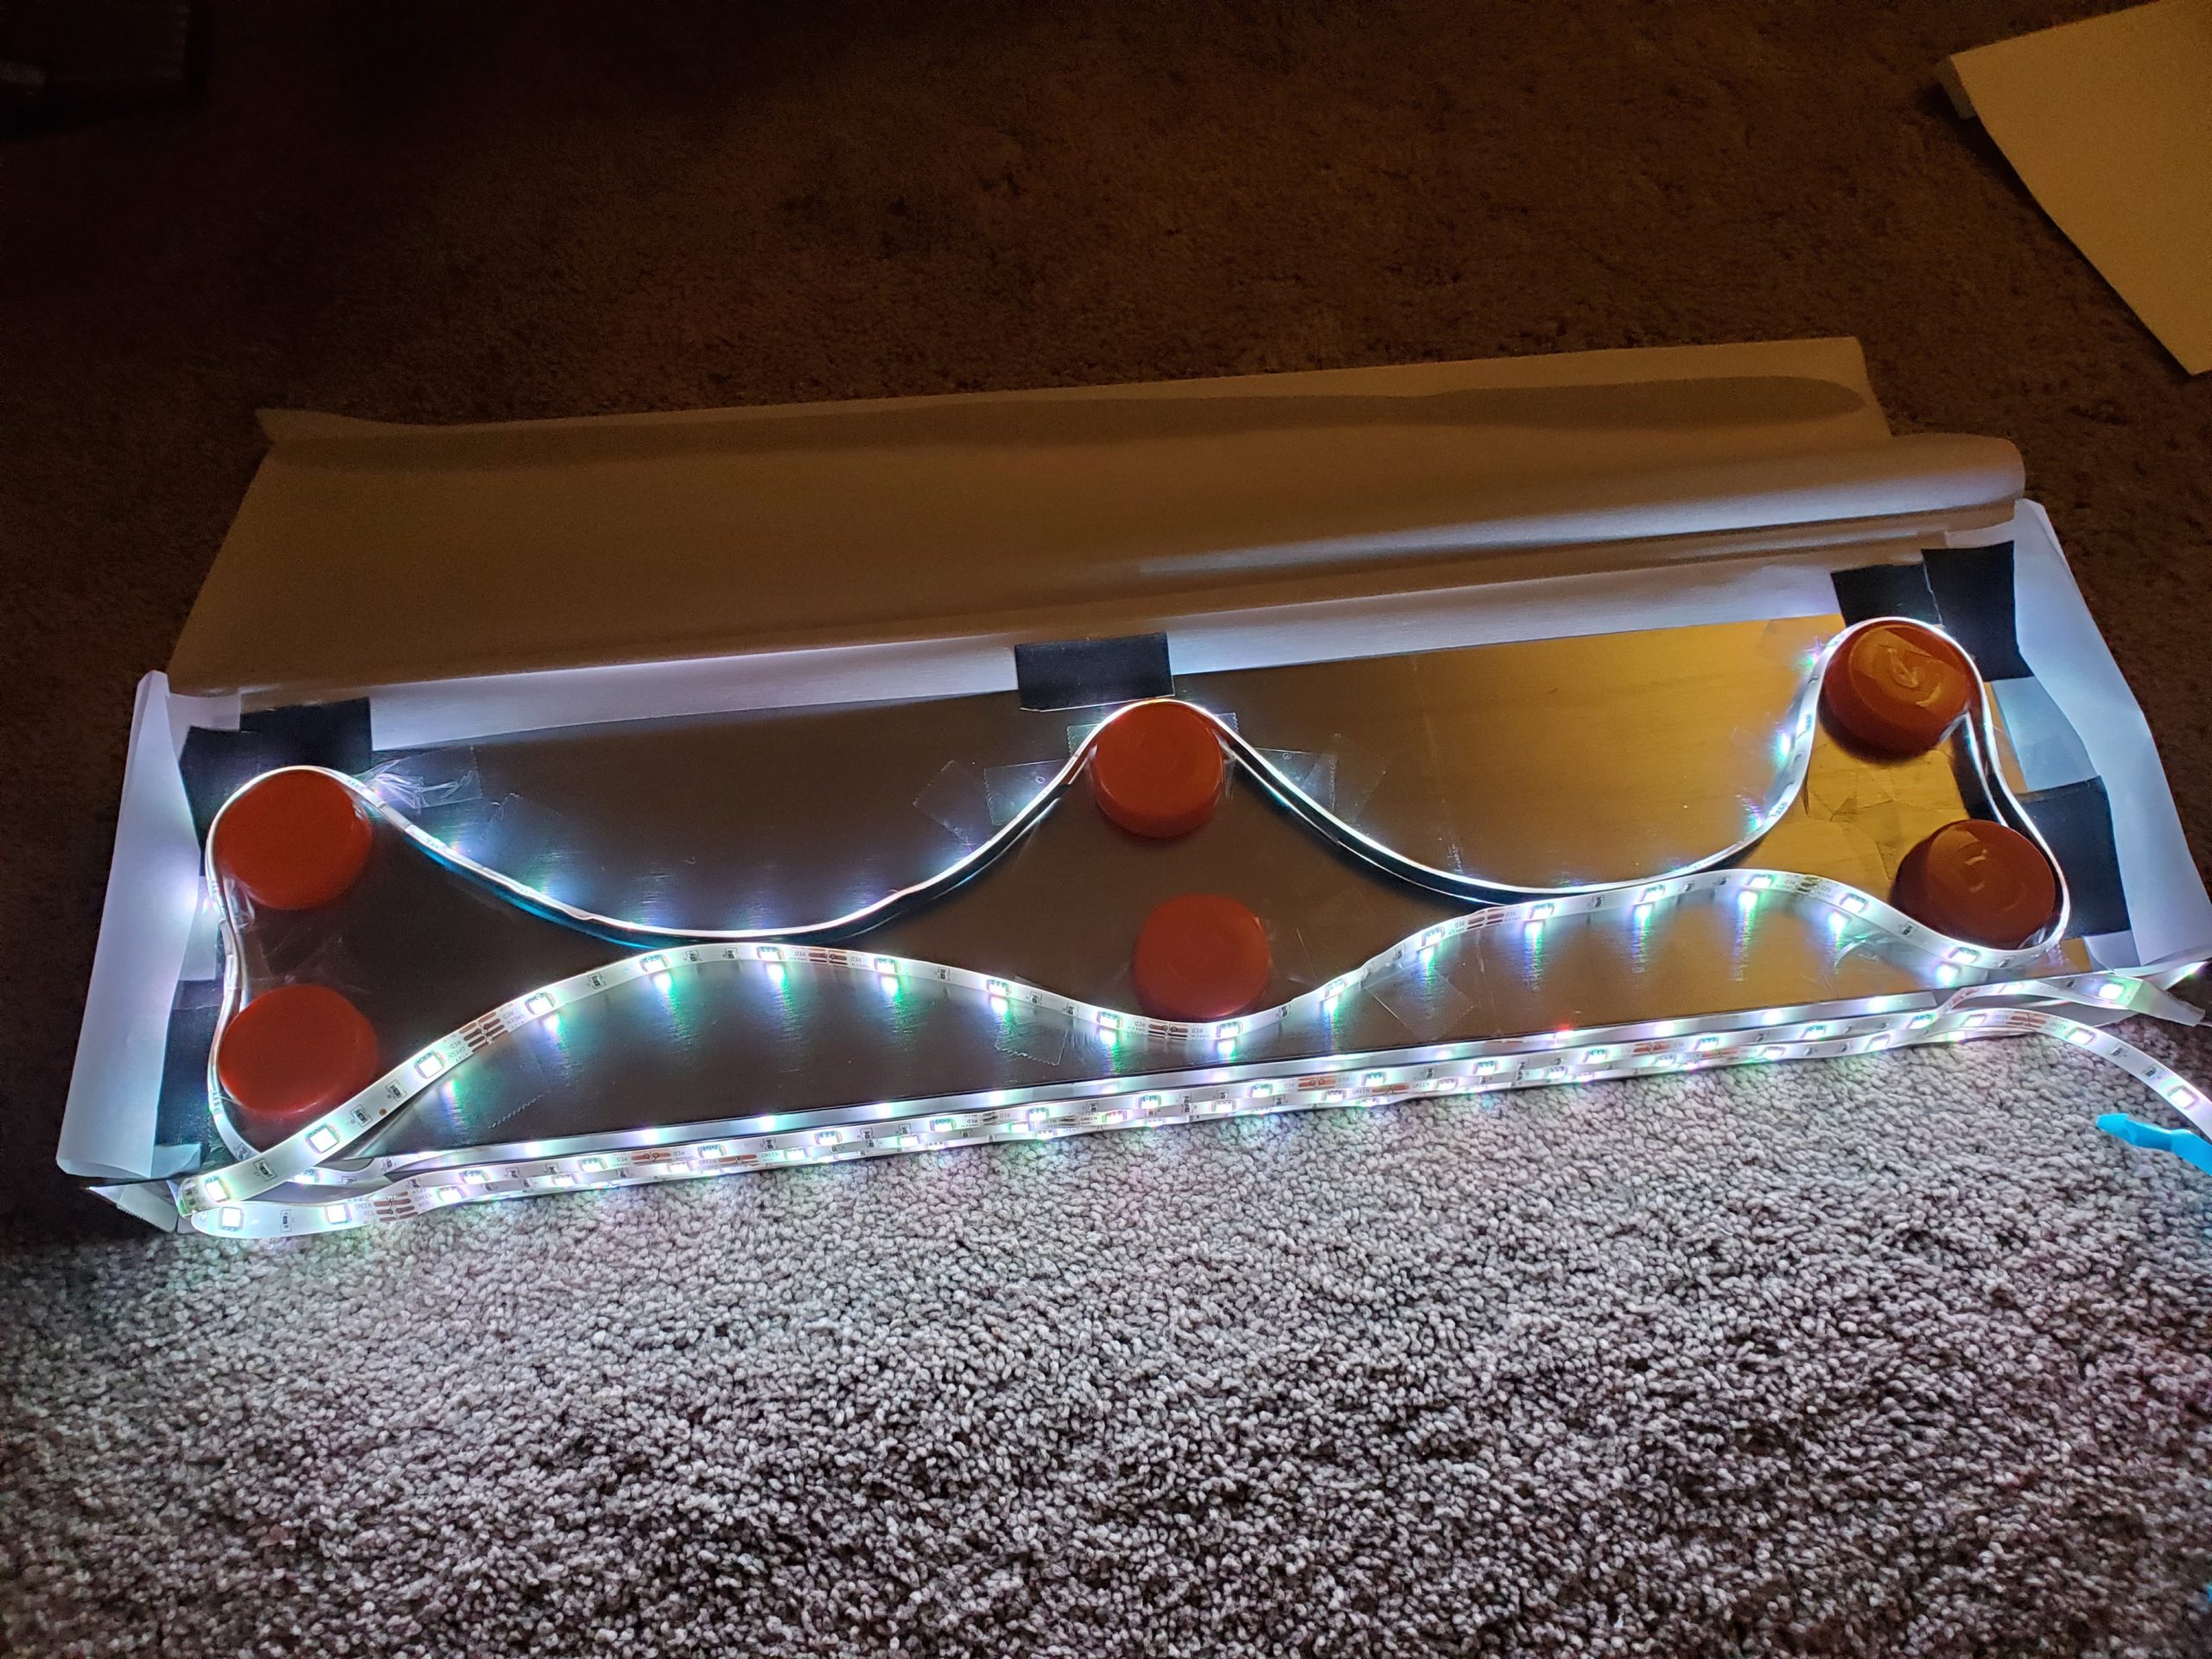
[ Assembly ]
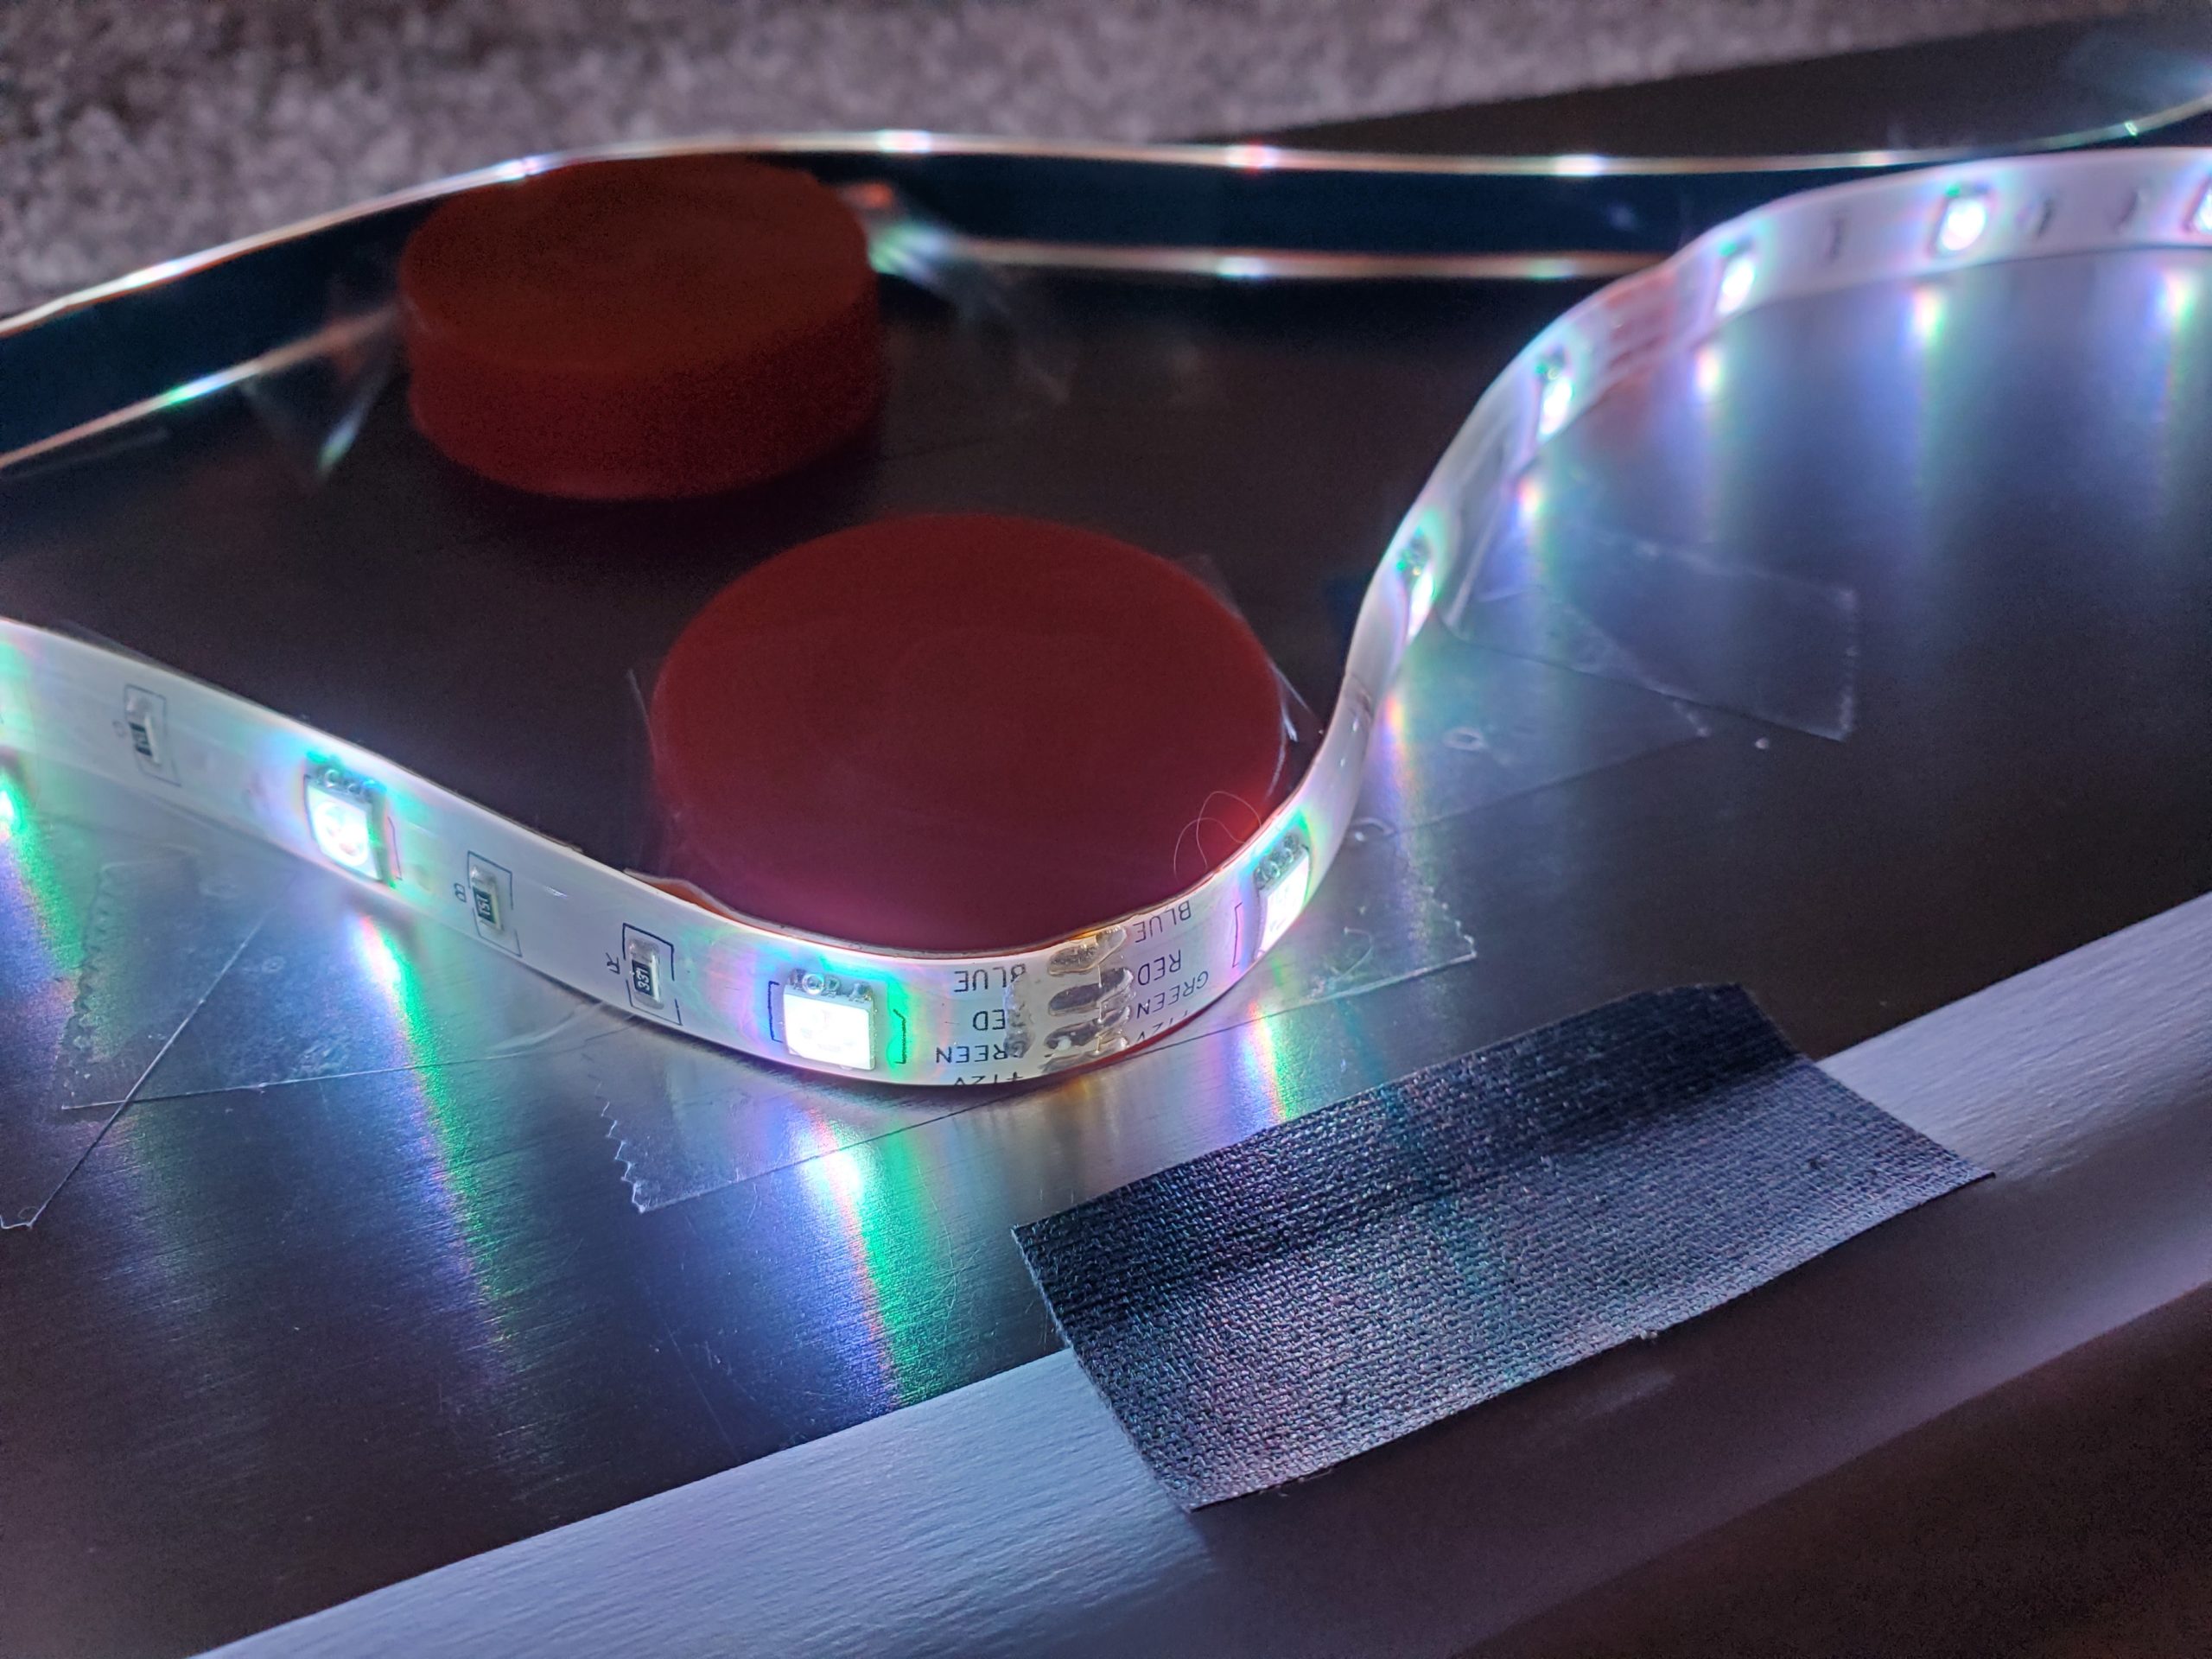
I used an old LED strip I had laying around for the lighting element. The paper, lights, and caps were all tapped onto the shelf. It was not essential to have a strong bond to any of these parts since gravity will hold the entire apparatus together once flipped over. However, the paper was difficult to get to attach at all as parchment paper is non-stick by designed and tape is no exception. After a few different tapes, I found one (Gaff tape) that works somewhat okay.
The layout of the LED strip is very intentional to prevent hot spots from forming on the diffusion surface. The half moon shapes increase the distance from the point light element to the surface of the paper. Since the caps are supporting the shelf (and can’t be moved any farther from the front surface) the lights on the front of the caps were attached so the point LED was not on the front of the cap – this helps prevent a hot spot from forming.
[ Completion ]
From here, the only remaining step was to turn the shelf over and replace the desk element. In combination with a few other lights on my desk the cyberpunk aesthetic can be achieved. The lights can be controlled with a small remote to change the color.
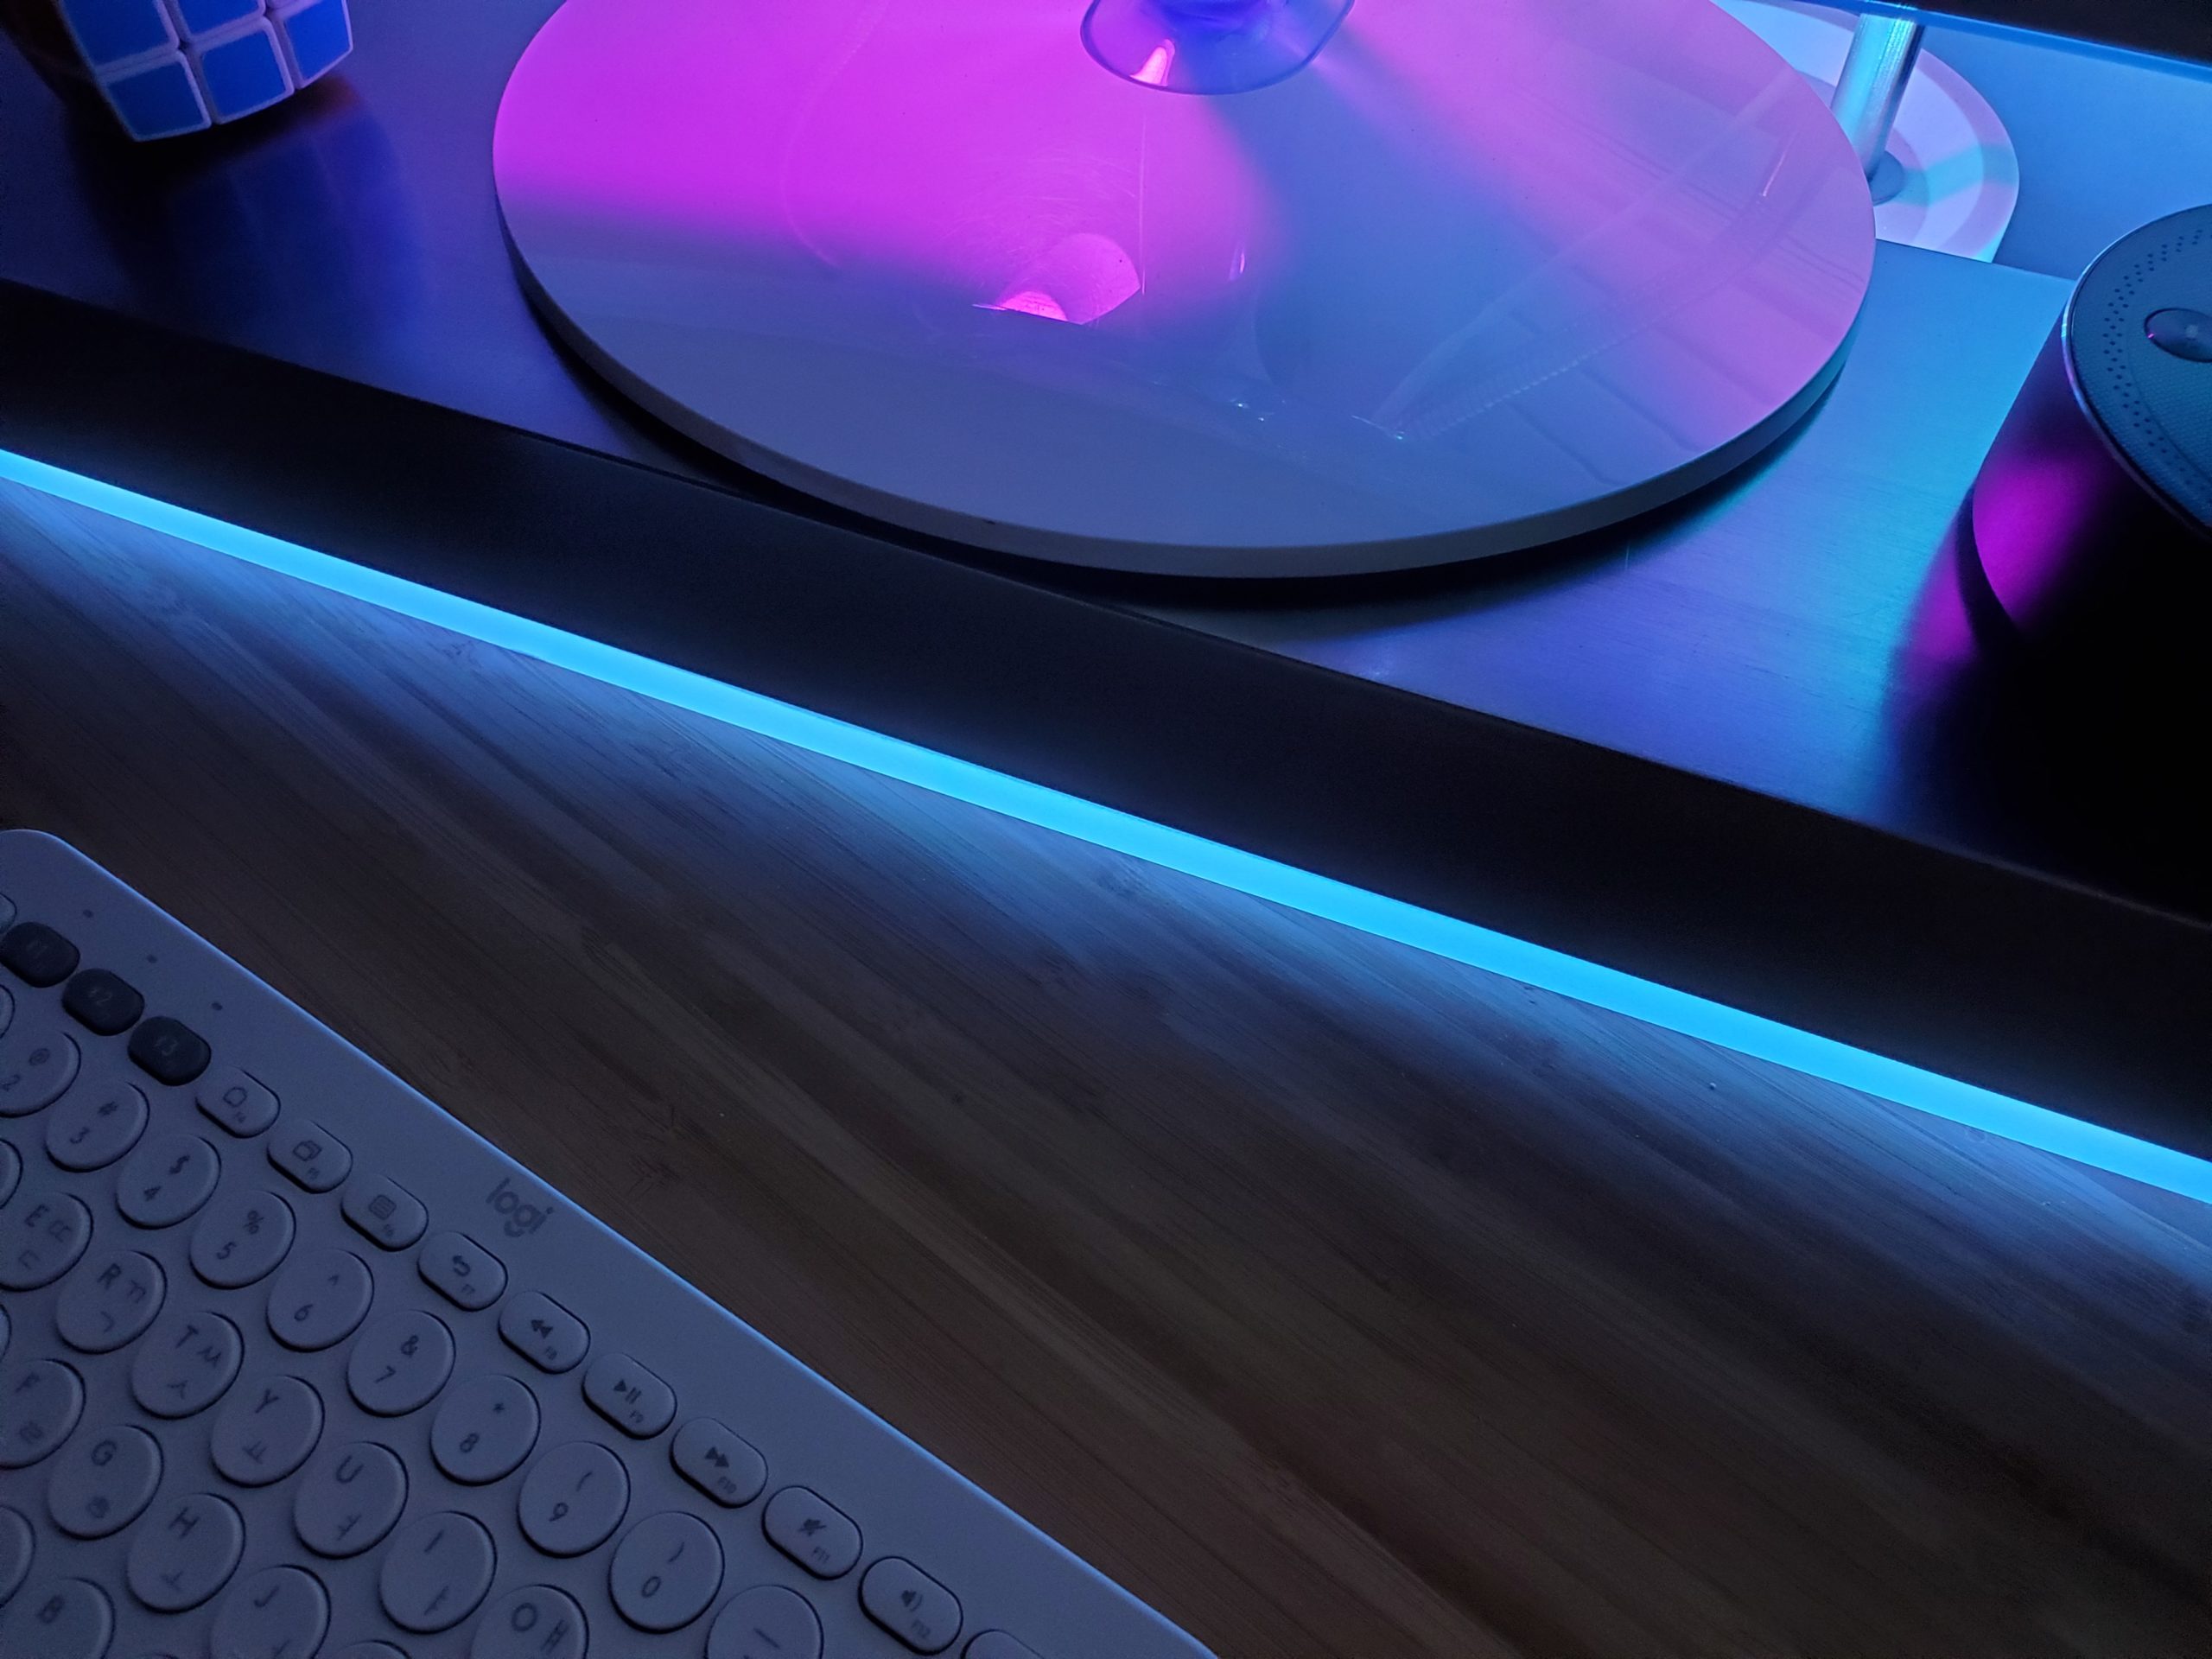
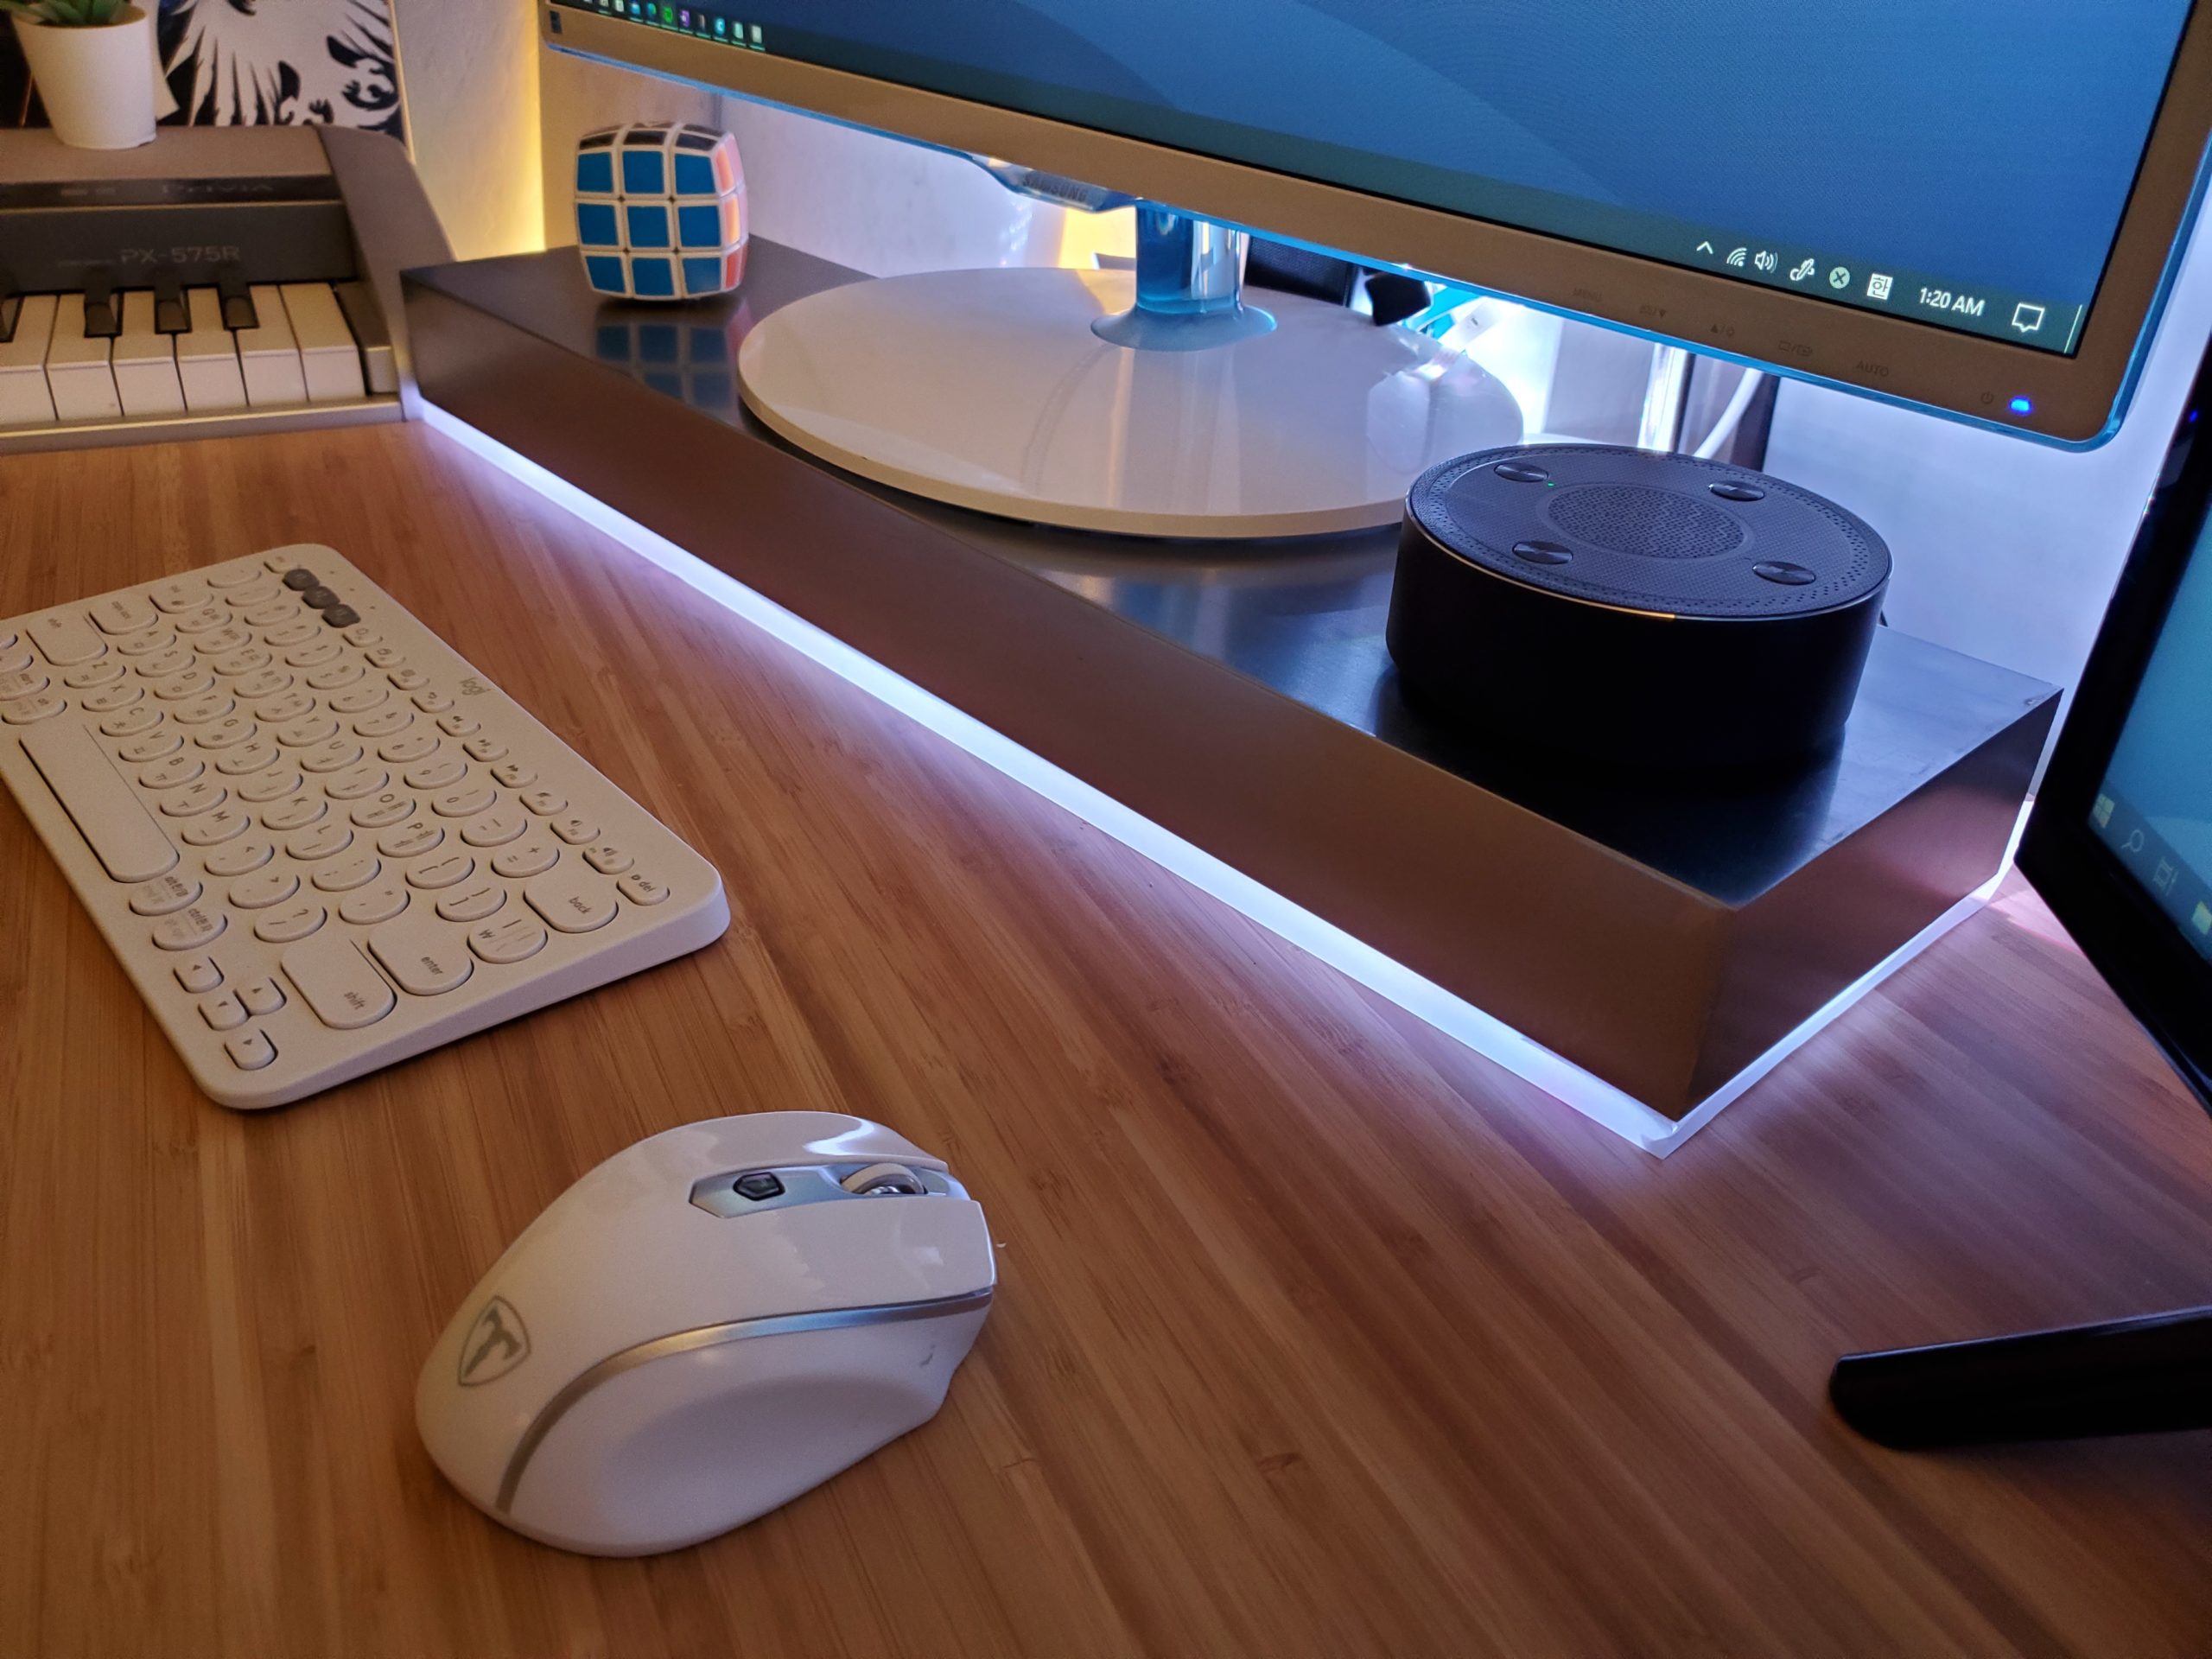
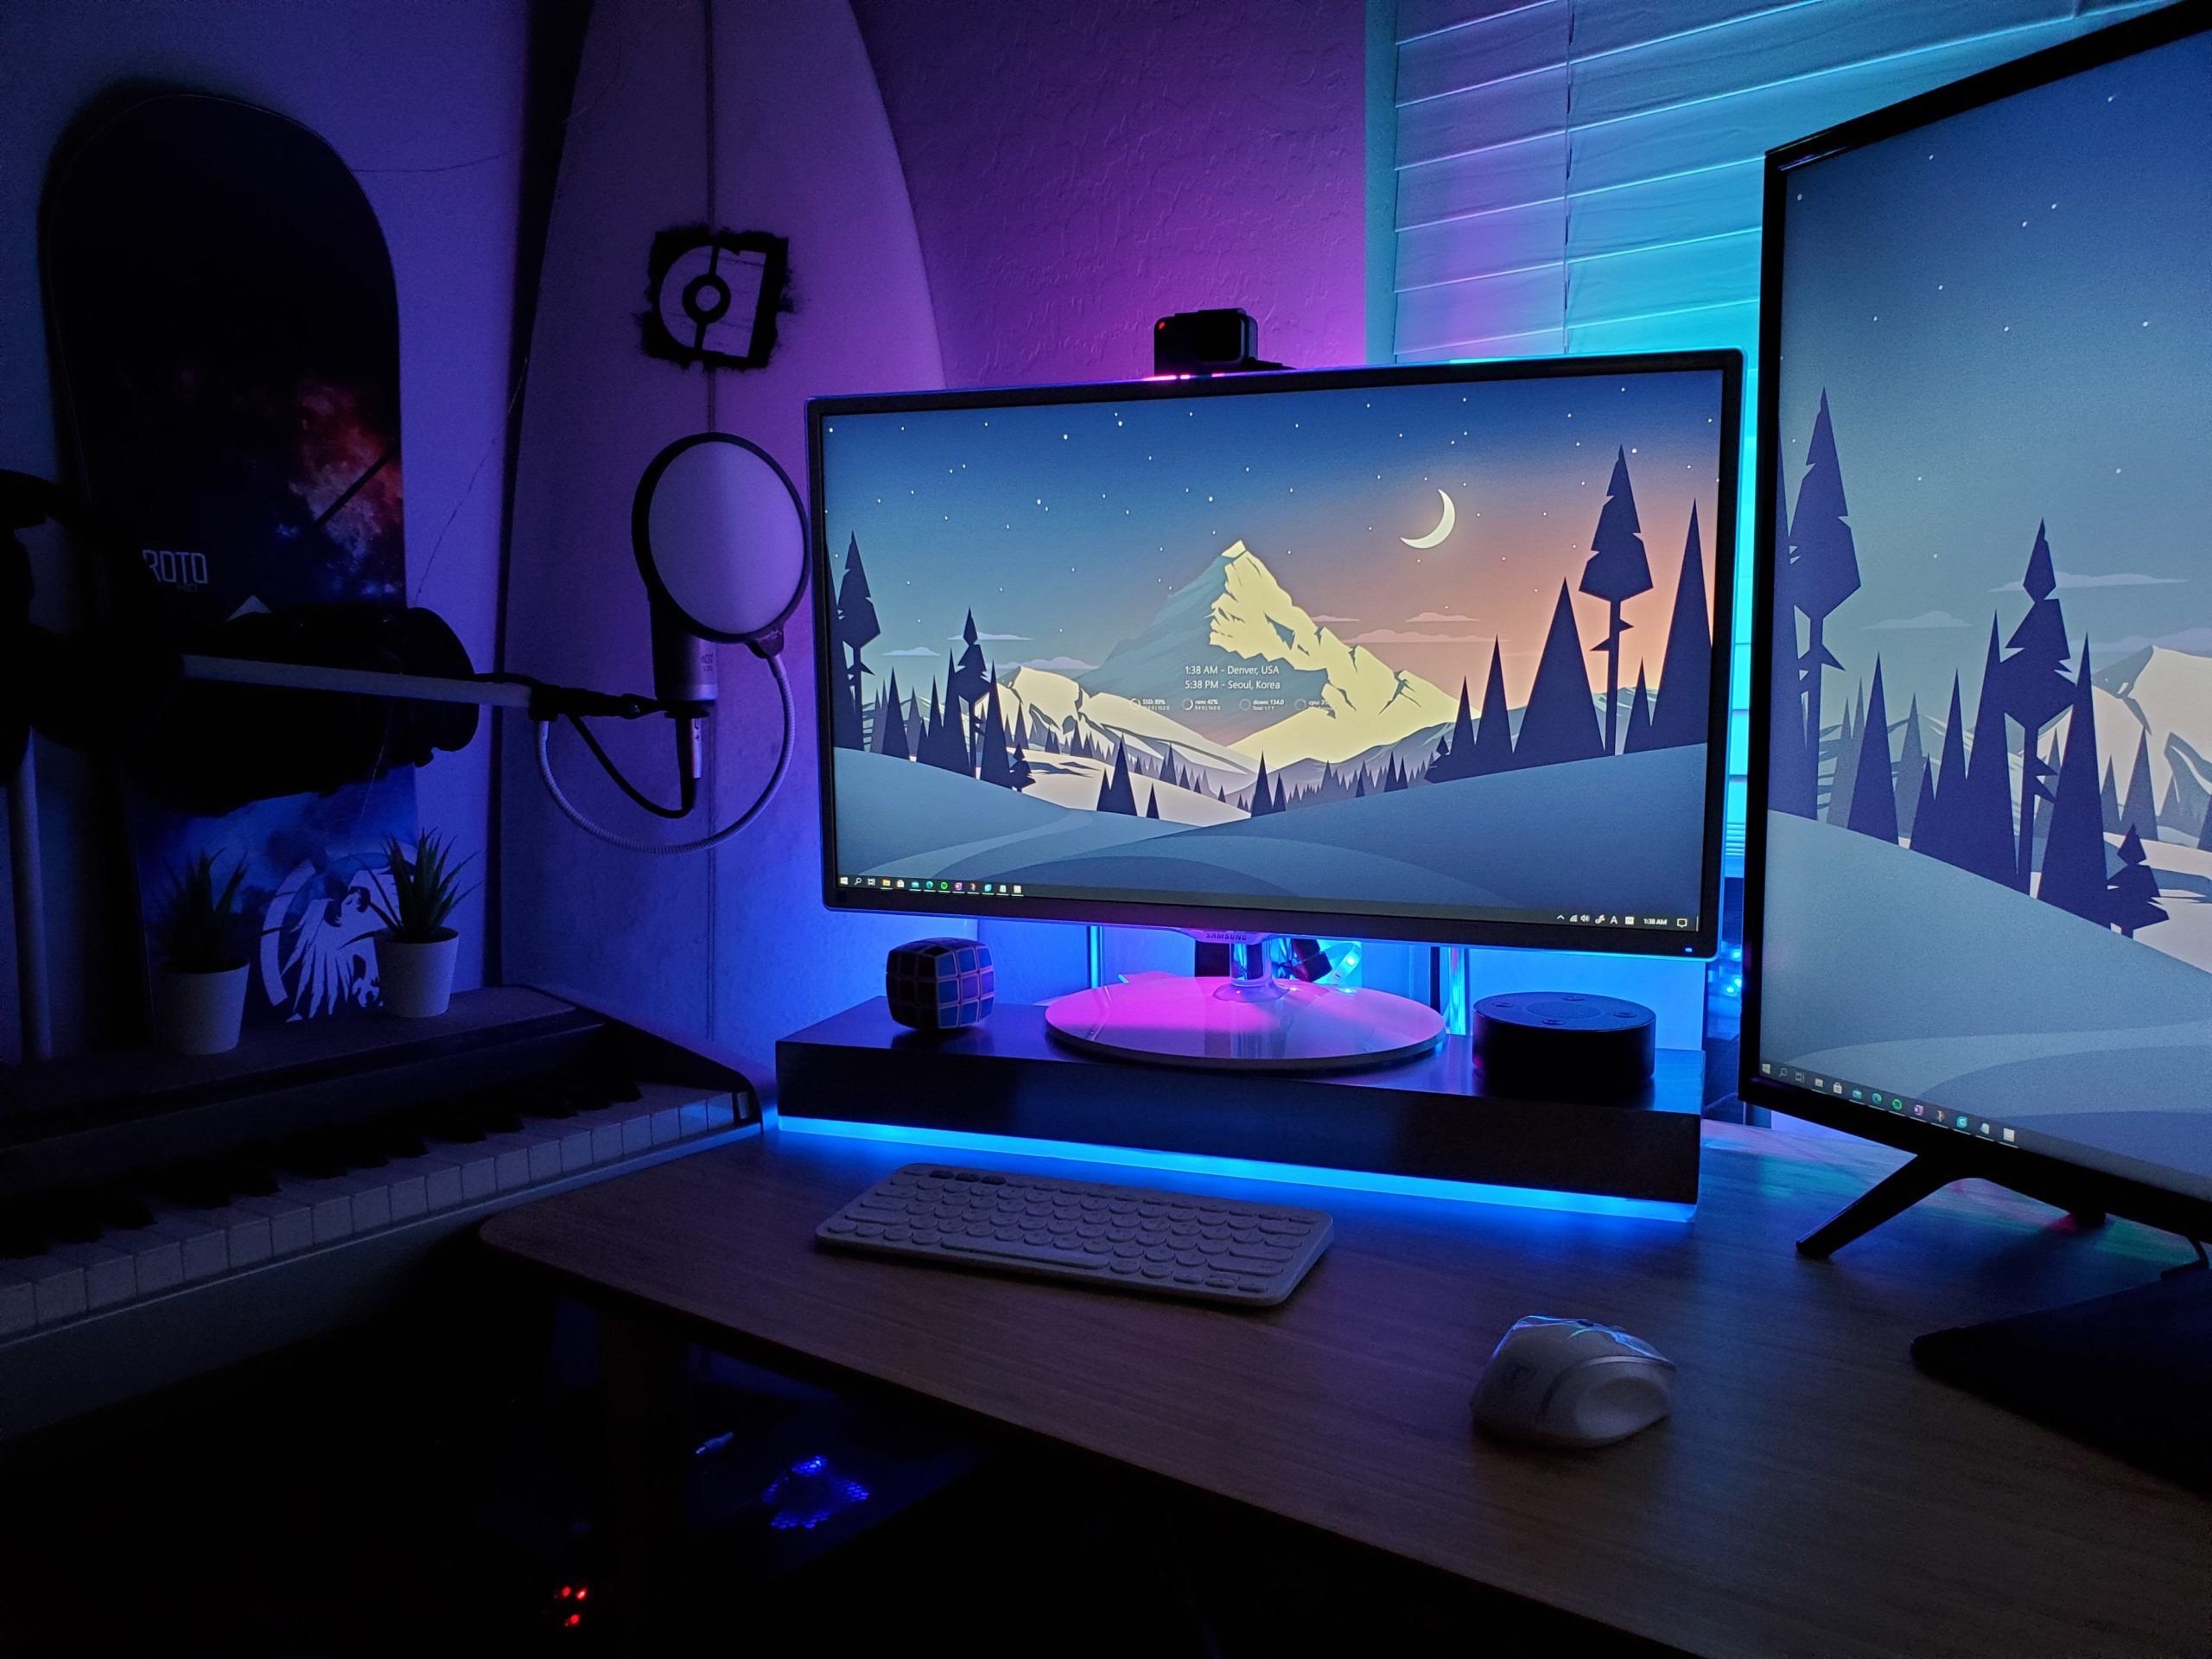
I am really happy with how this light turned out. When the light is off, you almost cant tell it is there at all. When the light is on, the ambience it creates in the room is really nice, and I think it fits the futuristic aesthetic really well.
A link to my video presentation:
https://vimeo.com/517696877
3 Comments. Leave new
Brayden,
Great work on this! I think the finished product came out looking great. I think you nailed your initial goals of having the light not stand out and having a futuristic aesthetic. I also really like the bottle caps you implemented into the design, I think that was pretty creative. Regarding the LED strip, did you end up powering it using a battery or an outlet? I’m just curious since I don’t see any wires sticking out. I think if there was some visible wiring it would probably ruin the aesthetic slightly. In terms of the design of the bottle caps/paper layout, did you have an initial design in mind or did you just go with what worked best?
I really like the final product, I think it looks clean. Its amazing how the subtlety of the light pars well with the space and completely transforms it. I also like how it makes the shelf look like its floating, and it definitely fits the aesthetic. I like the little details like preventing the hot spot by arranging the lights on the cap in the way you did, but I had to look at the photos a couple of times to see how you went from assembly to completion. I feel your report could have benefitted with a schematic drawing detailing where everything is placed relative to the final product (maybe an exploded view).
Hi Joshua, thanks for you comment! I’m really glad the subtlety of the light within the space showed through to the end product, since that was something I was hoping to achieve. I agree that it is a bit confusing jumping from the last step to completion. Basically, gravity holds the whole thing together. Going from the last assembly photo to completion, all it did was turn it over and place it on the desk. An exploded view could certainly help explain it though. Thanks!