
It’s always a good feeling to take something you’re ready to throw away and use it to make a useful product. My upcycle project involved taking an old bicycle wheel that was completely useless and transforming it into a functional clock. My goal for the aesthetic of the clock was to have a modern and simple look. Design-wise, I knew I wanted to use some RGB lights for both the modern look and nighttime functionality. My design is inspired by different clock designs as well as products that have RGB lights.
Materials Used:
- Bike Wheel
- Plastic Numbers
- RGB Light strip
- Blank CD
- Old Clock(mechanism/hands)
- Spray paint
- Hot Glue gun
- Painters tape
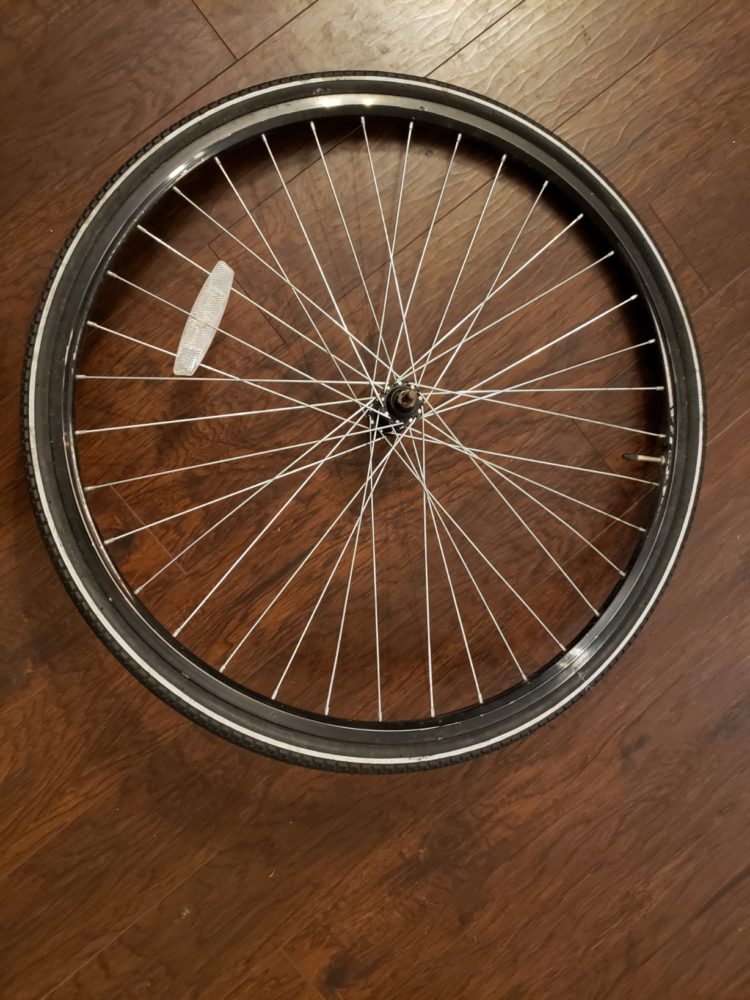
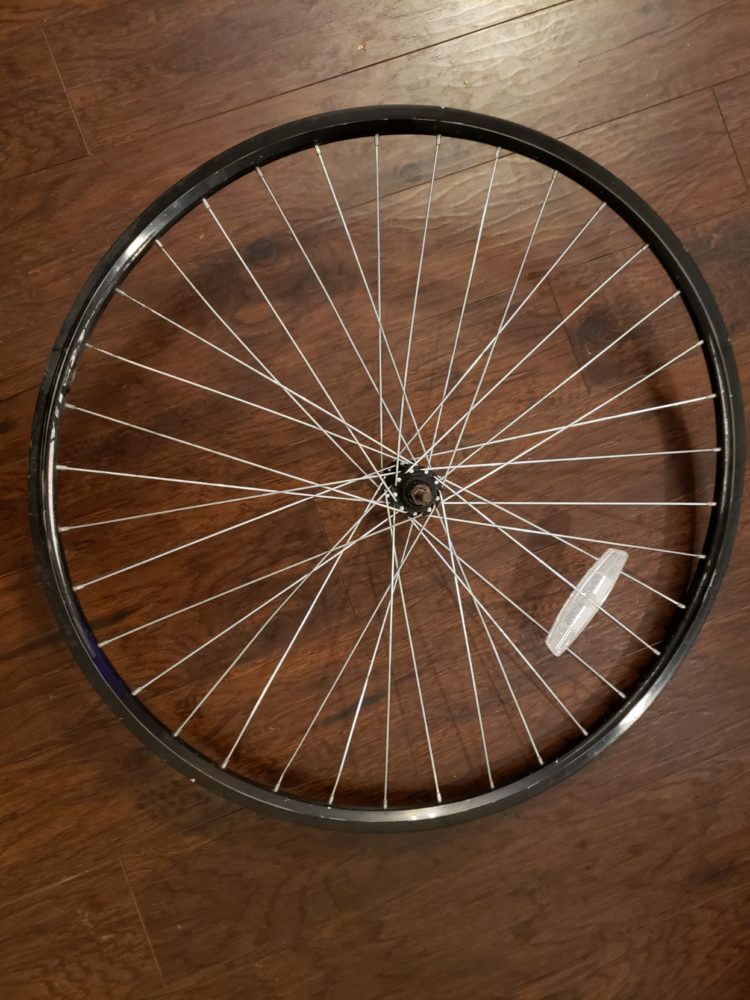

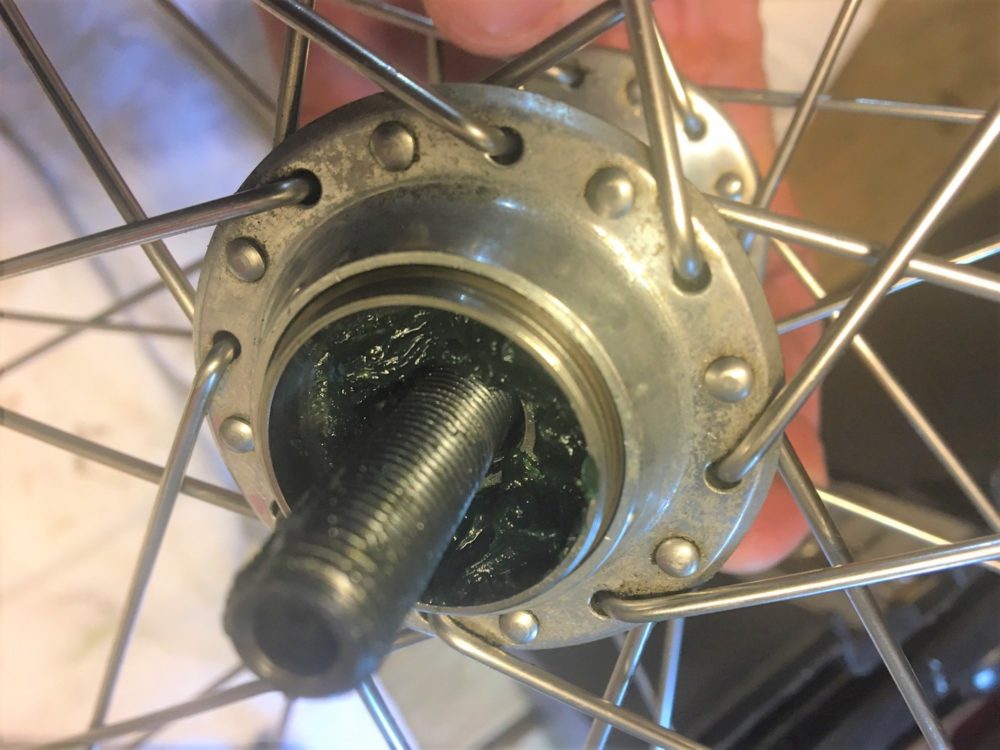
Initially, I took the tire tube out of the bike wheel and cleaned the entire rim using acetone to make sure all the grease/dirt was completely gone. For my design to function, I knew that I needed to remove the bearings of the wheel so that the clock mechanism could attach to the center of the wheel rim. After spending much too long trying to unscrew both sides, I finally got the bearings out and cleaned the inside of the hole.
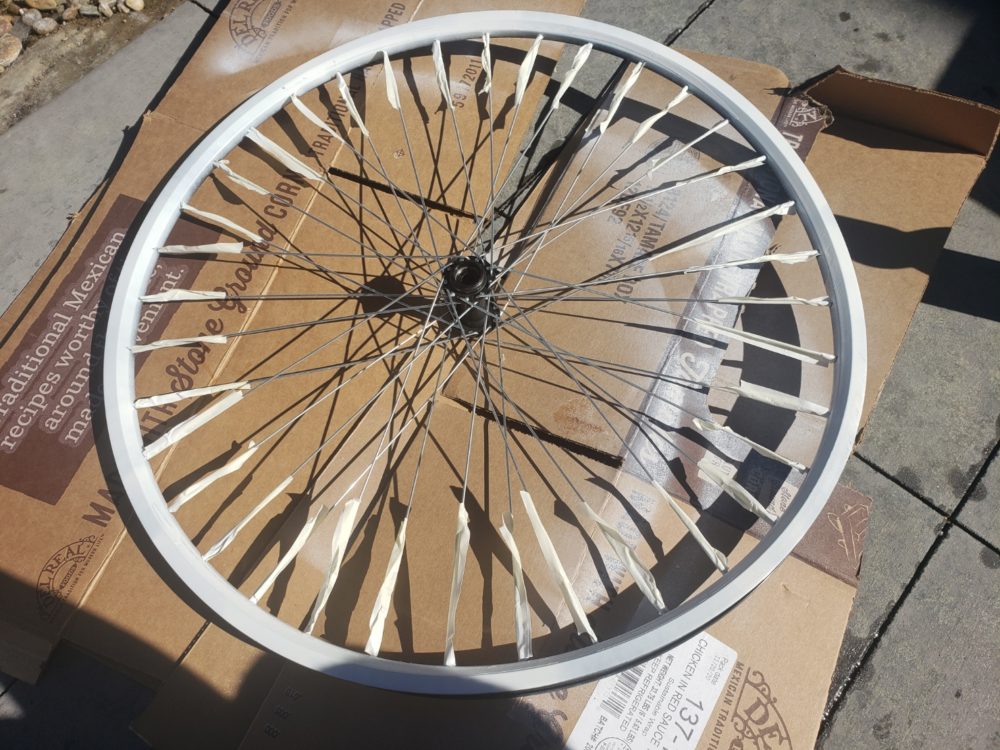
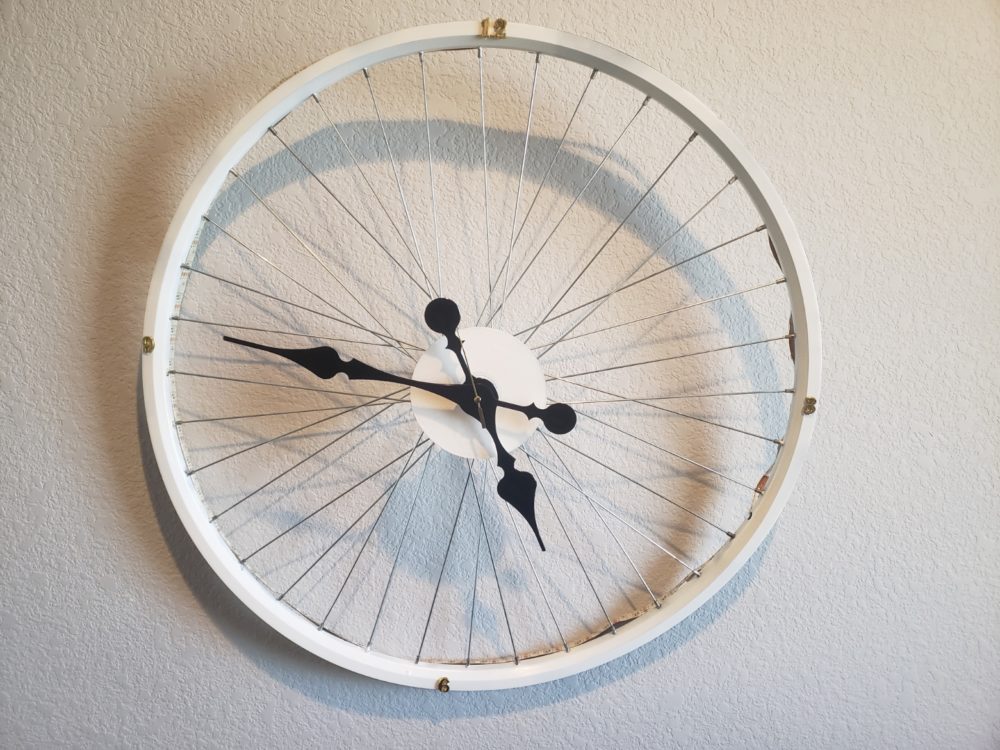
The next step of the project included painting the rim to make it look more polished. To ensure the spokes didn’t get any paint on them, I got some painter’s tape and taped down all the edges of the spokes. Next, using some old spray paint I applied two coats to both sides of the rim to make sure I didn’t miss any spots. On top of painting the rim, I also painted the blank CD since that piece would be in the center of the design.
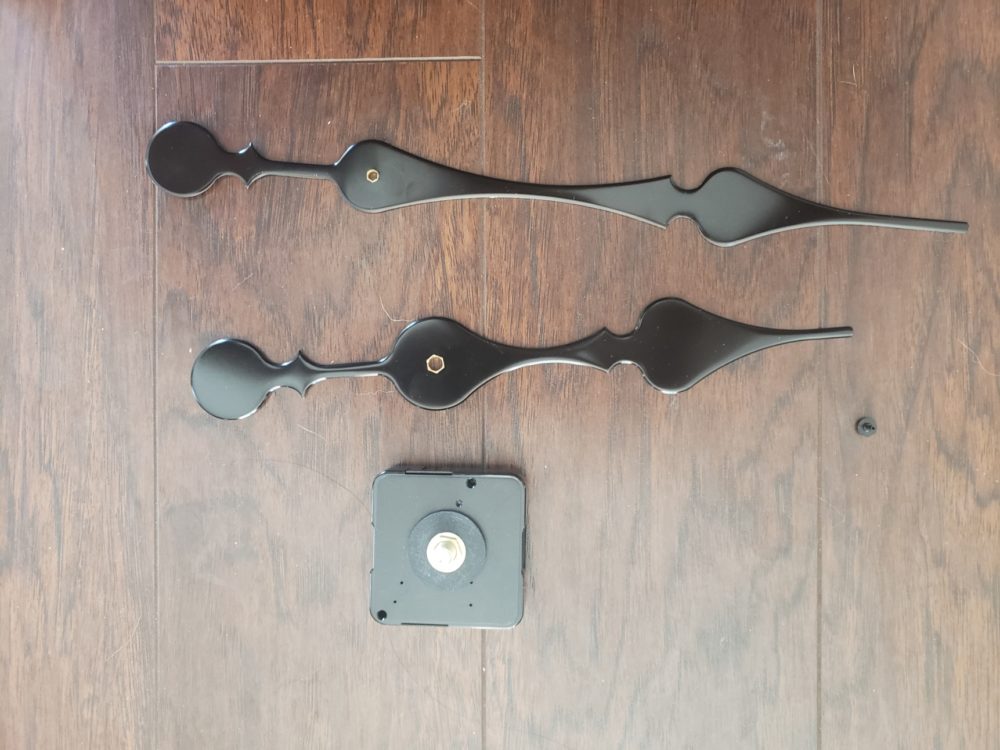
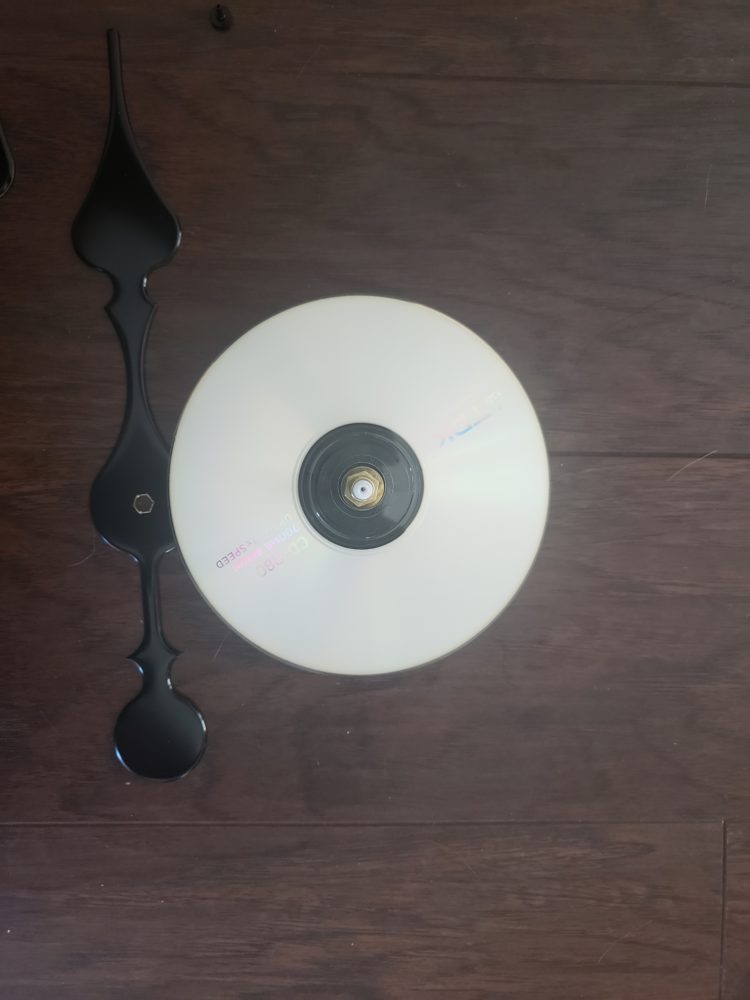
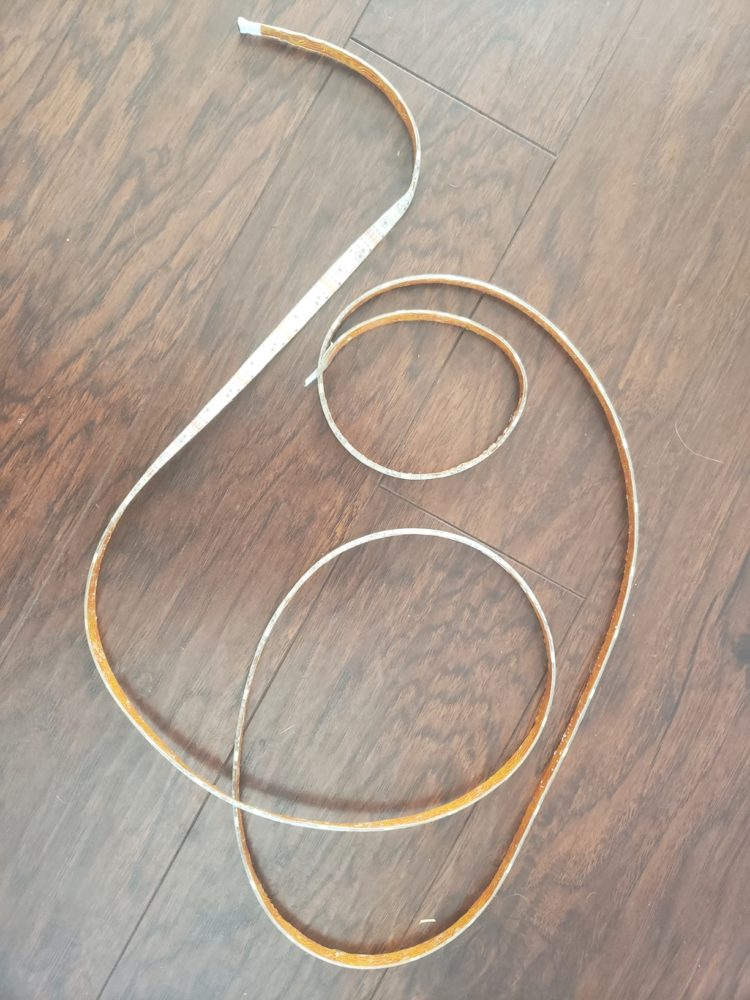
After all the painting was complete, I started the assembly process. Using a hot glue gun, I glued the plastic numbers to their corresponding locations. To make sure I could take the clock out and change batteries when I needed to, I used velcro strips to attach the clock mechanism to the center of the wheel. The toughest part of the entire project was attaching the RGB lights to the wheel. Initially, I started attaching the strip using the adhesive it comes with, but I realized pretty quickly that this was not going to work. Then I decided I would to attach the lights using small velcro strips. I cut velcro into tiny squares and attached them to the rim. The velcro in addition to the adhesive ended up working pretty well to attach the lights. The next step was taking the blank CD and hot gluing it to the face of the clock mechanism. After inserting a batter into the mechanism, the clock was ready to go.
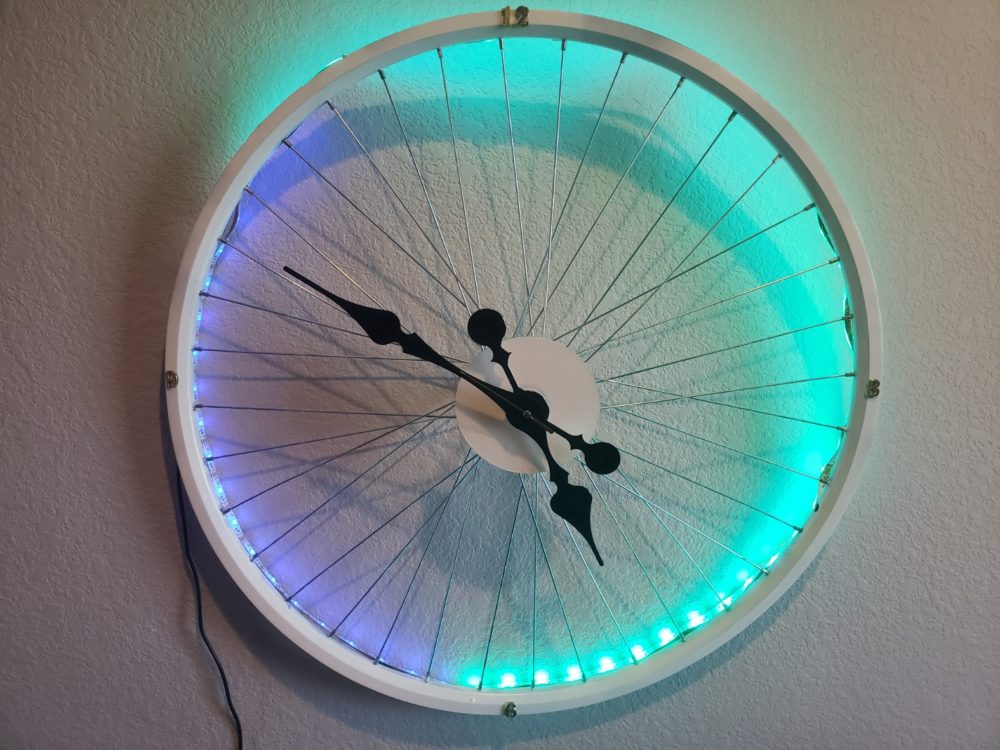
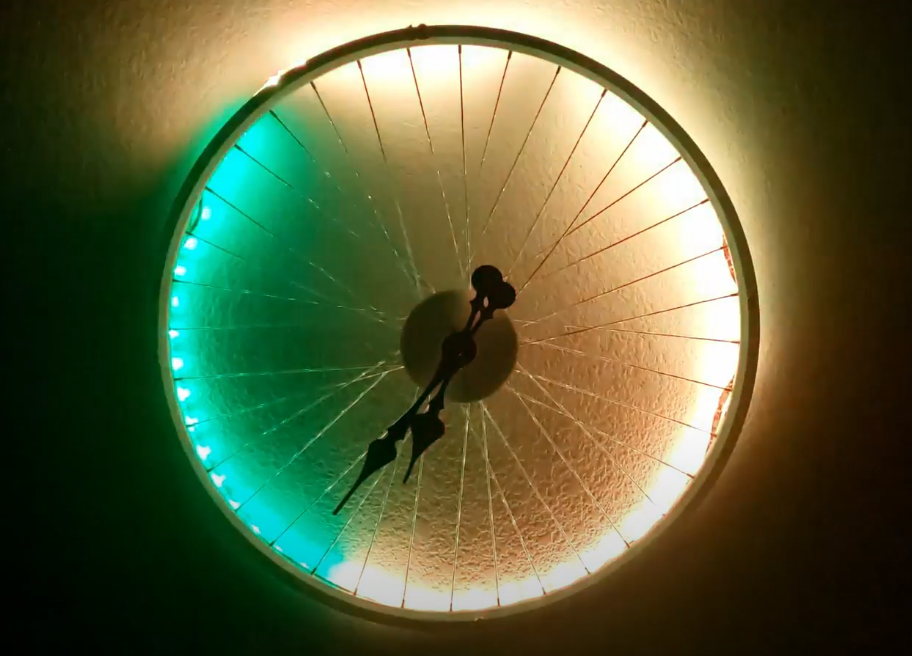
The final step of the project included powering the RGB lights. After doing some simple wire routing through the inside of the wheel, I taped it all together and turned it on.
Evaluation of final product: The final product achieved all my initial goals. Aesthetically, my intended futuristic and simple goals were achieved, and functionality-wise, the clock works great.
There are a few steps I want to take in the future. Firstly, I want to get bigger numbers to attach to the rim. I wanted it to look simple, but the size of the plastic numbers in relation to the size of the wheel is definitely too small. secondly, I want to straighten out the rim of the bike slightly to get a more centered look. Finally, I want to figure out a better wiring situation to ensure parts of the wire are not visible since it takes away aesthetically from the simple look.
2 Comments. Leave new
Sohan, this project turned out super cool! I like that you ended up combining your ideas and making an RGB clock, and I love that it is functional! I think it’s very interesting that you ended up using Velcro for many different pieces of the clock, especially the RGB strip. You said the Velcro ended up working out, but if you were to do it again, would you try a different method?
Hey Sohan, very cool project! I really like the use of the old bike wheel, and I think the LED lighting adds a really nice effect. I wonder if you could set up a timer so that the light only turns on at night or something. Anyways, you came away with a nice clock, and I think it will look even more nice once you make the edits that you mentioned.