
What:
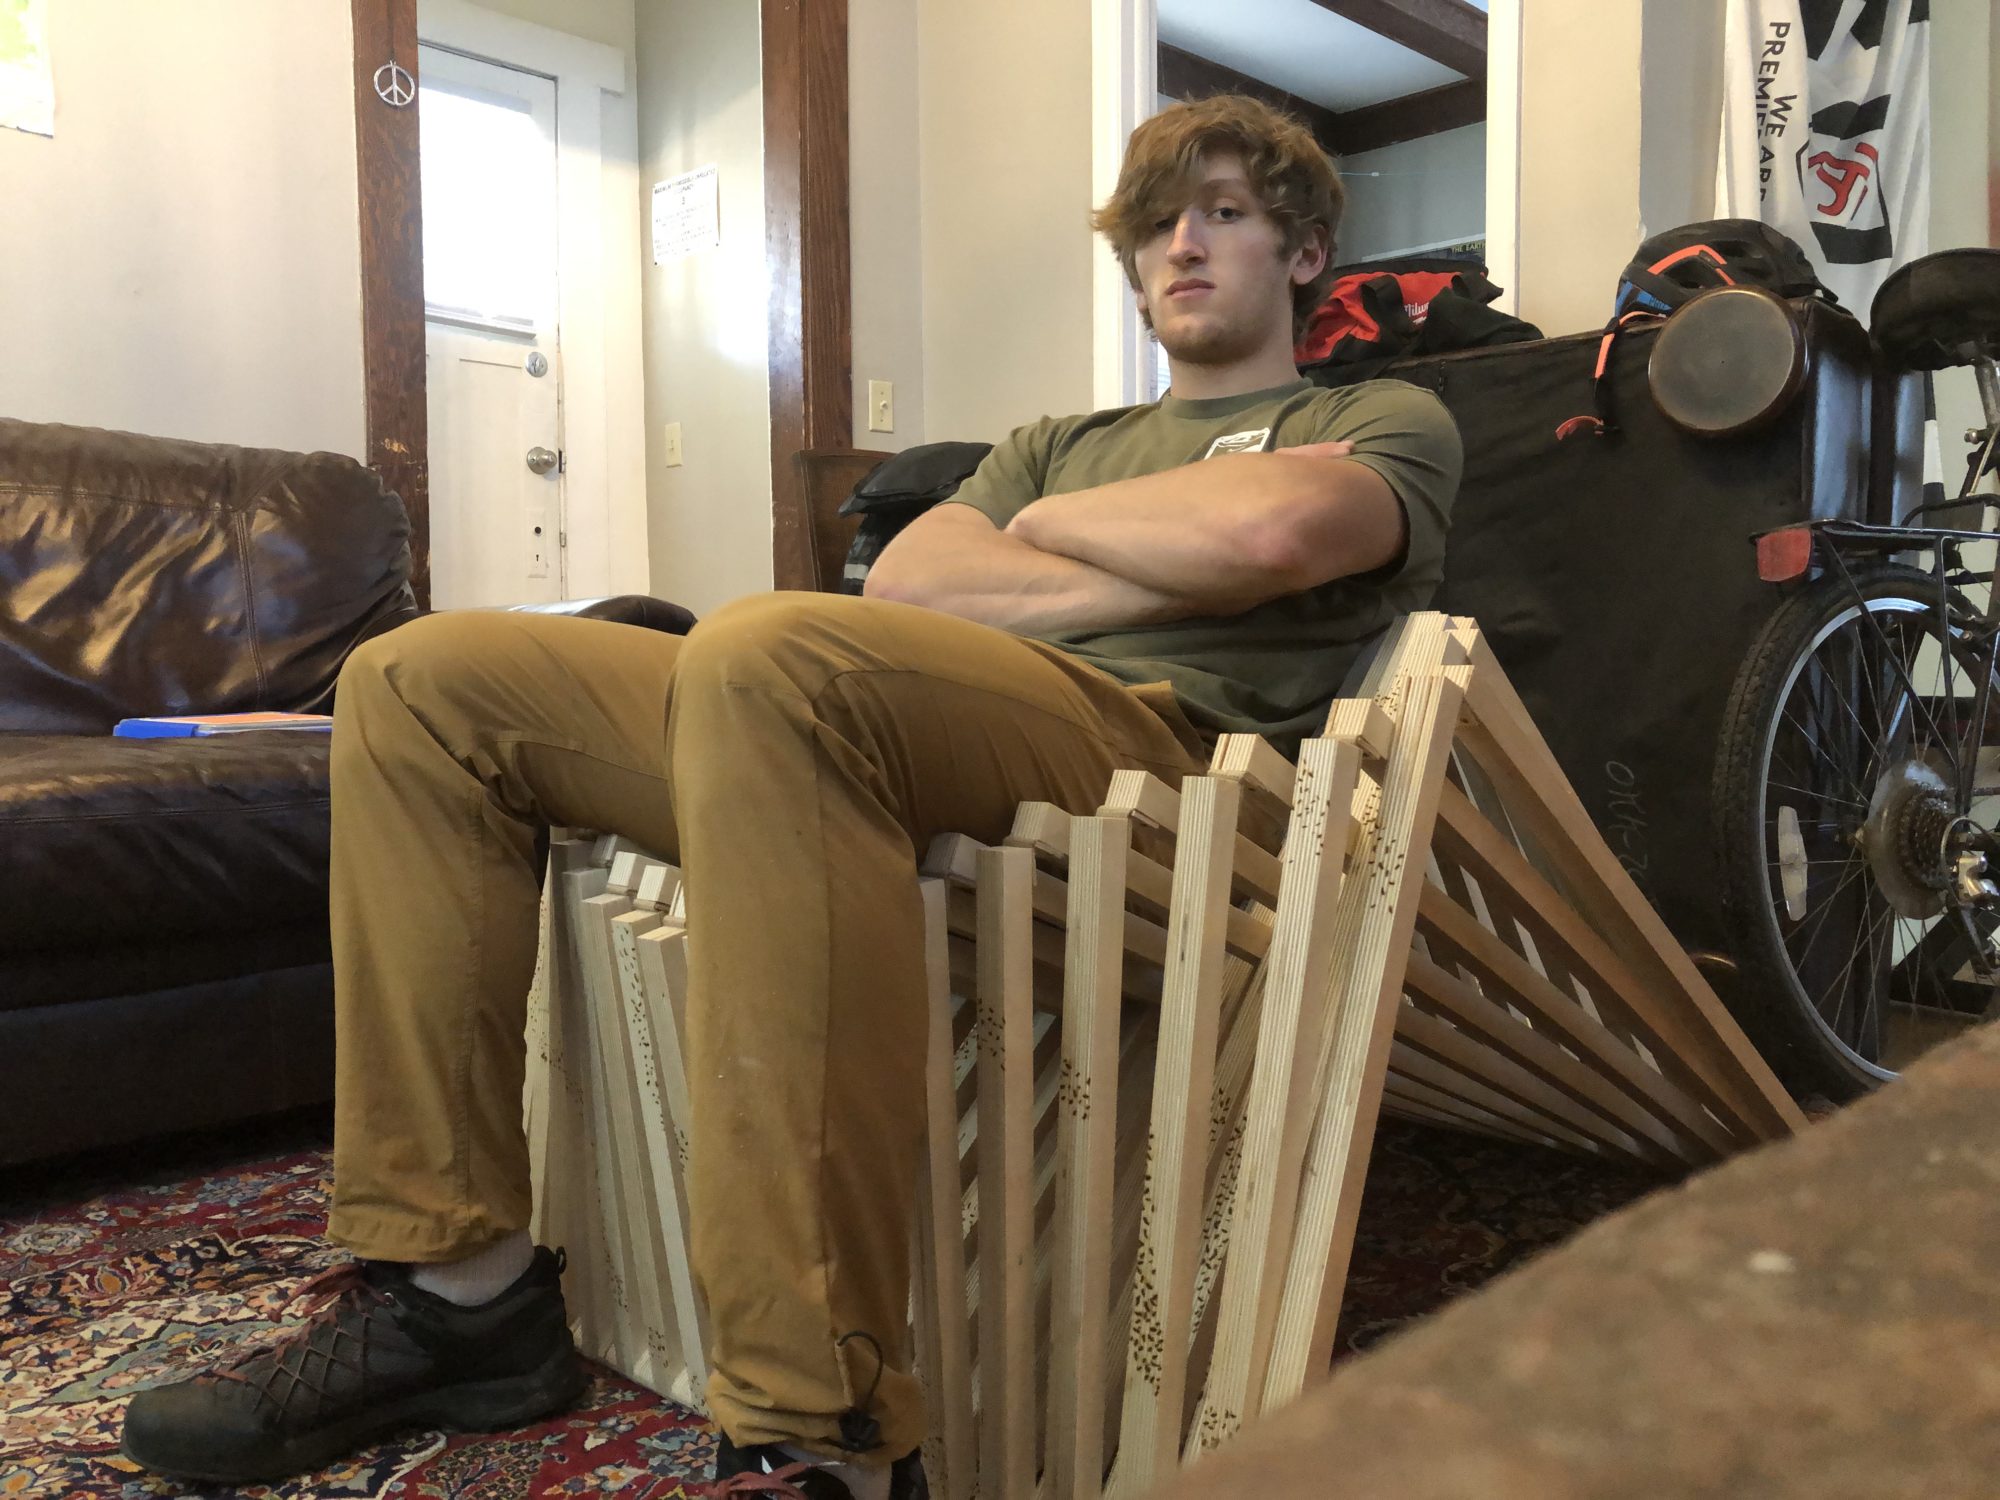
The chair mural is a functional piece of art. When folded flat, it can be laid against the wall as a decorative mural. When folded into its chair form, It can be used as a piece of furniture.
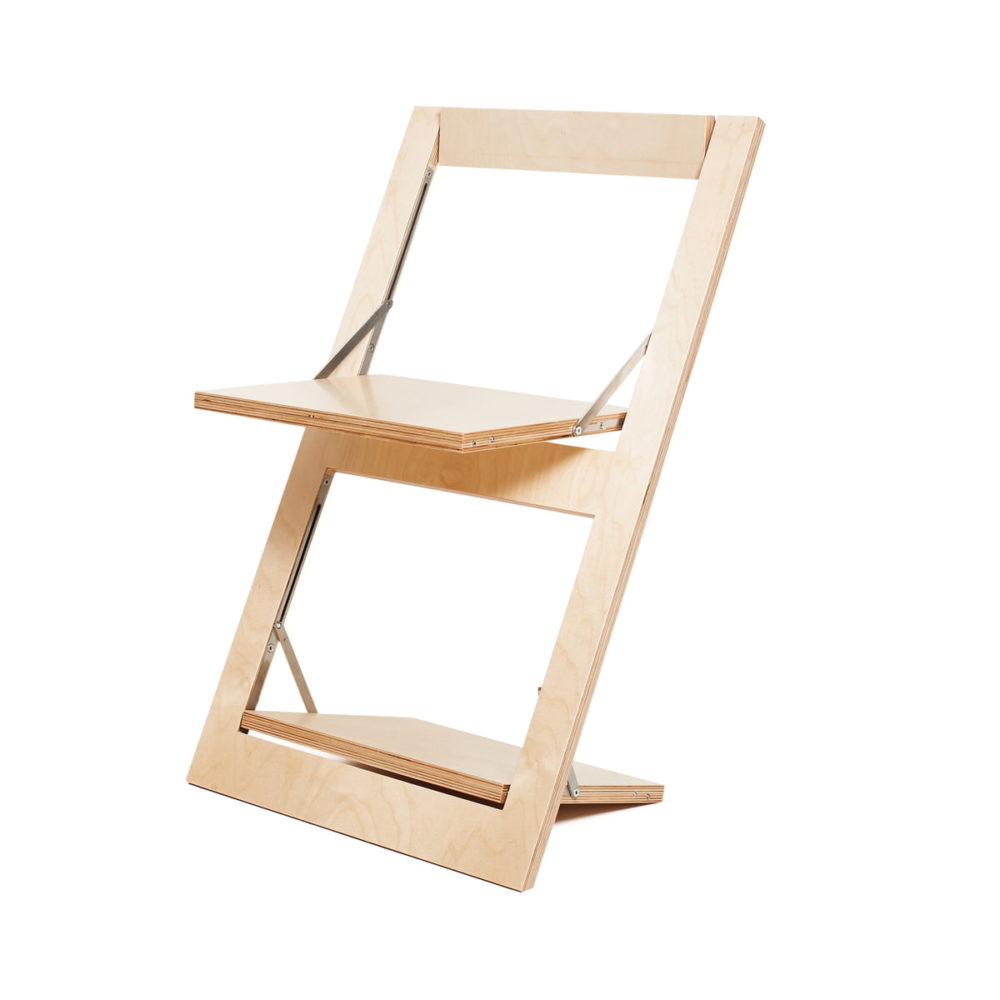
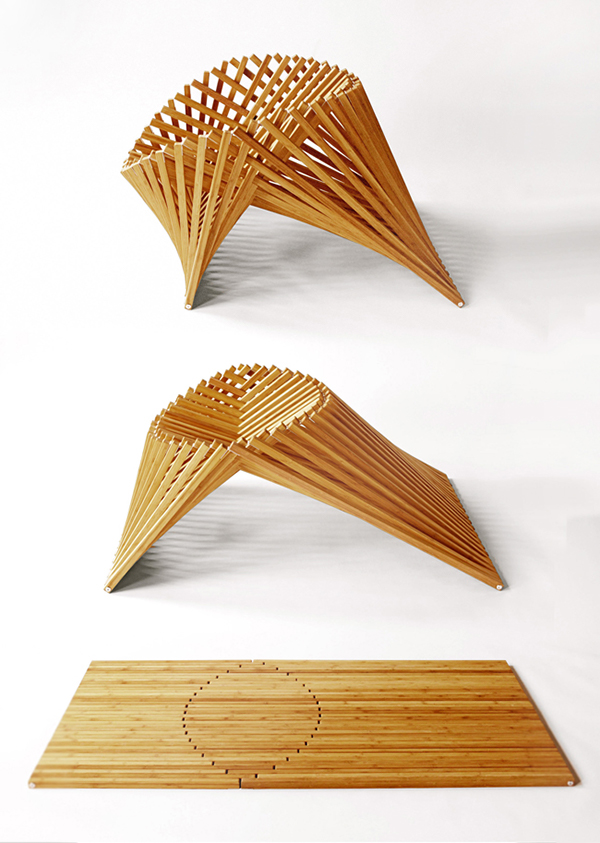
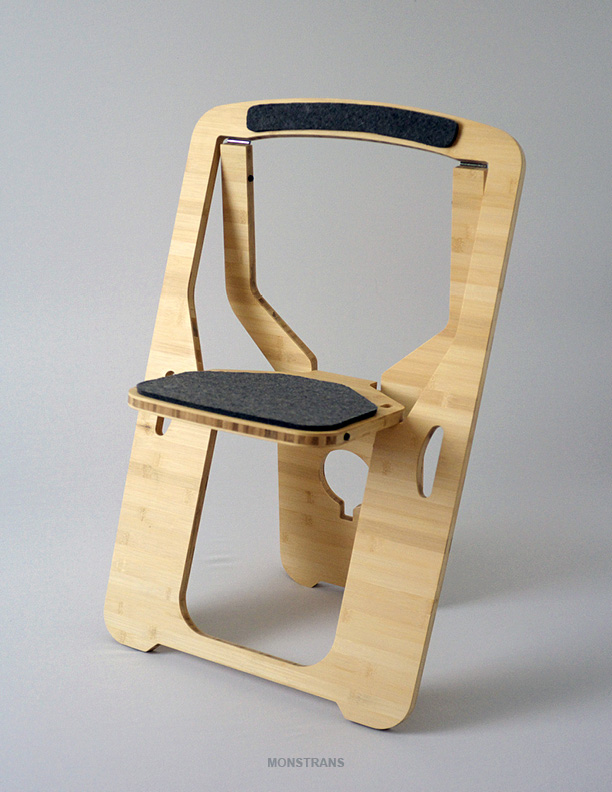
To start I’ll describe my inspirations. I needed a folding chair that folded as flat as possible, so I did some research, and come up with the three designs above. They all function as chairs, but also fold completely flat. The design that I chose to go through with was the Robert Van Embriqs (the one in the center) because of its uniformity (which I feel would be good for a mural), its many pieces (which also would break up the mural when in “chair” form resulting in a unique design), Its minimal hardware, but also just its coolness factor. As I will explain later, the organic nature of the chair would add to the final aesthetic
Below are the specifications I created for the chair form:
- Comfortable form for one person to sit
- Working overall mechanism which folds from a chair to flat
- Graphic Design able to evoke the same aesthetic in both chair and flat form
- Structurally sturdy construction
- Carefully sanded edges to minimize pinching

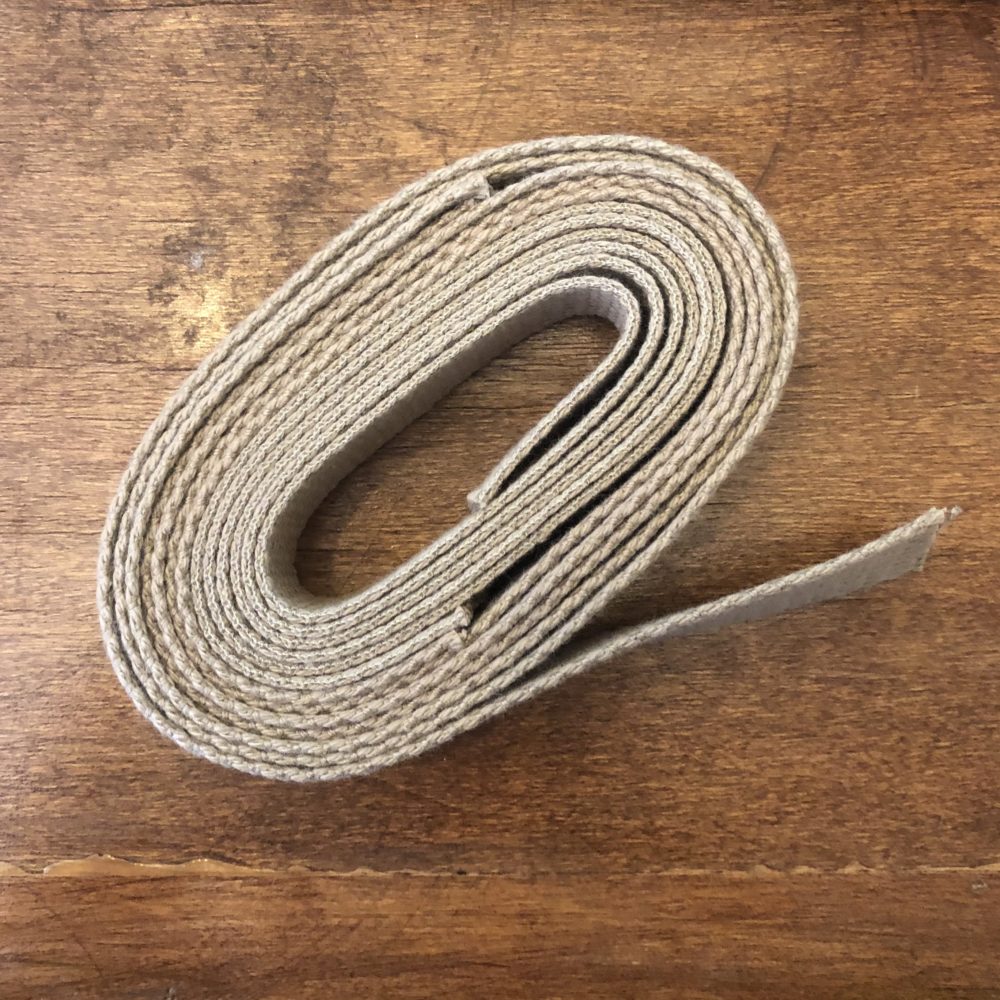
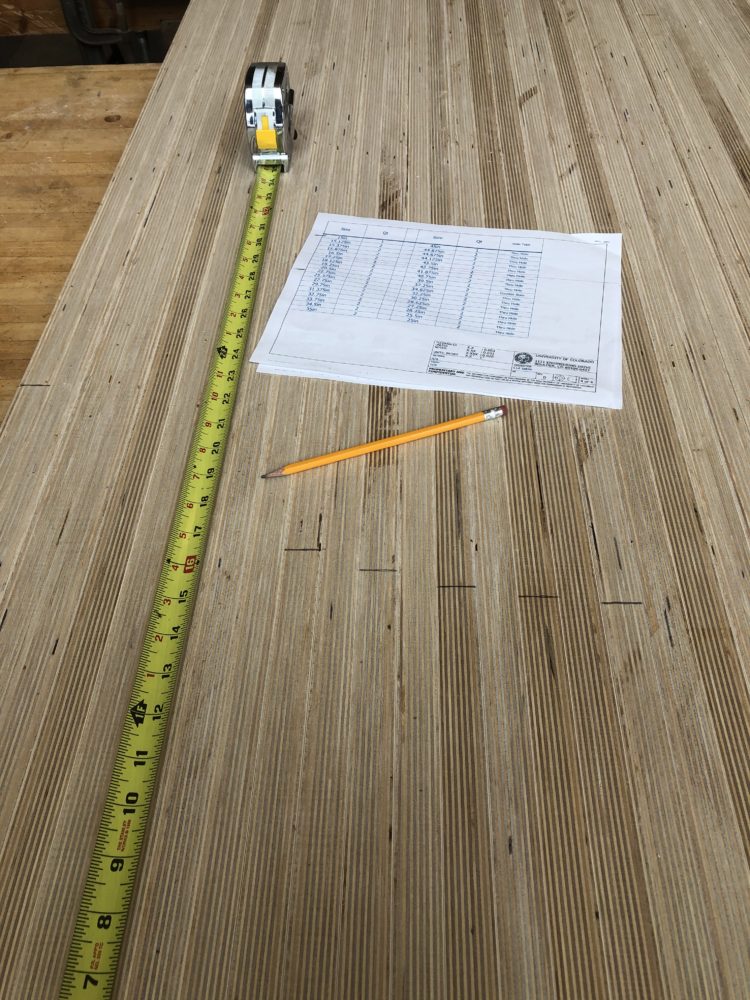
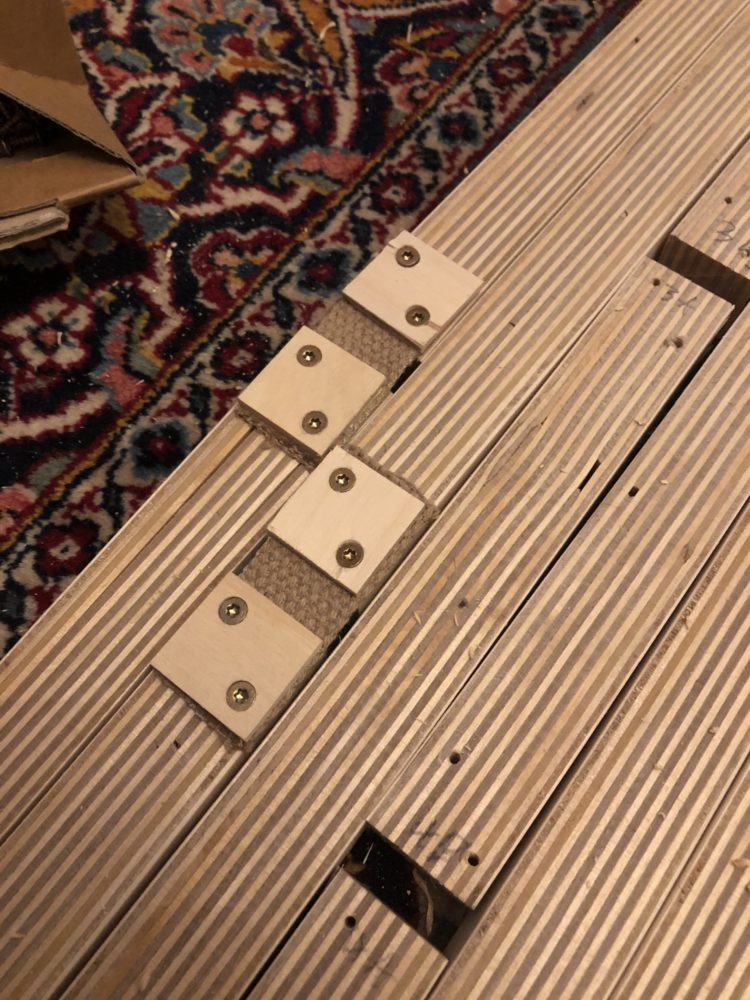
To start out, I drew some sketches of the form to get a general idea of scale (see above). I examined the original chair and noticed that I had to connect the pieces at the ends with a through rod, and in the middle by some sort of flexible hinge. I also noticed that the pieces were about 1in wide and there were roughly 36-40 pieces across the chair. It also seemed to be 5ft tall when flat given some other images I reviewed. I found strap for the hinges which I attached with screws.
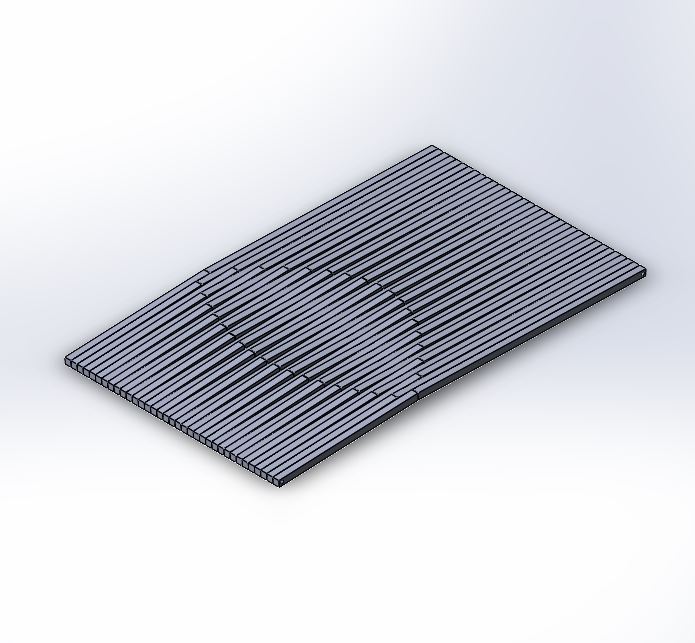
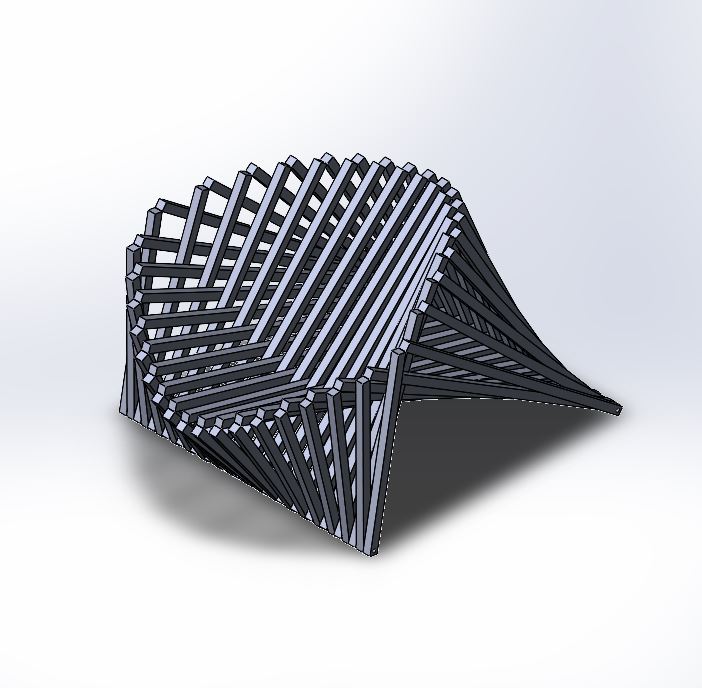
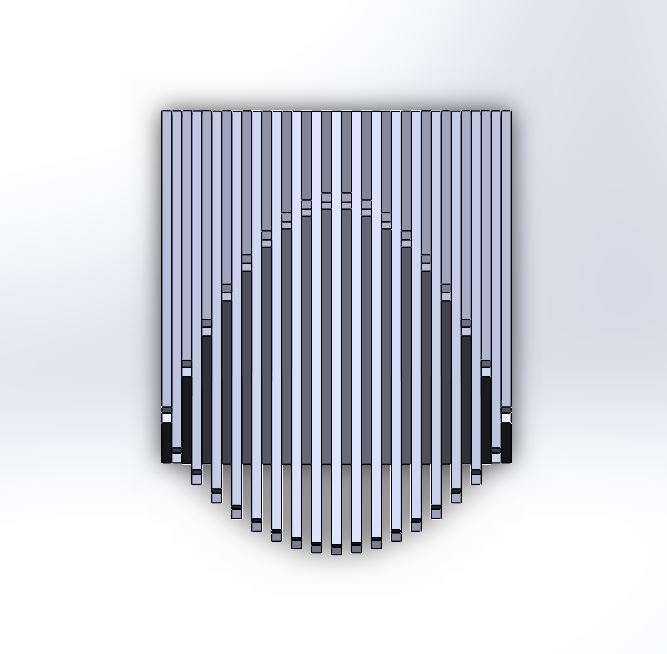
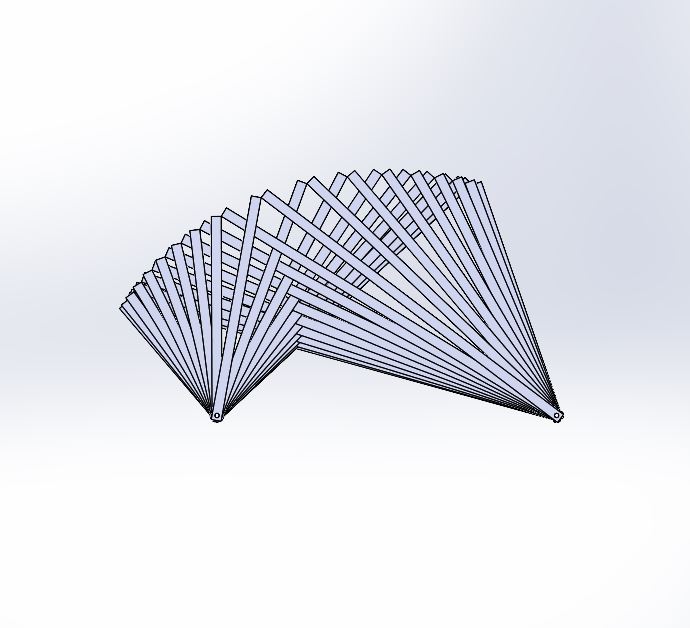
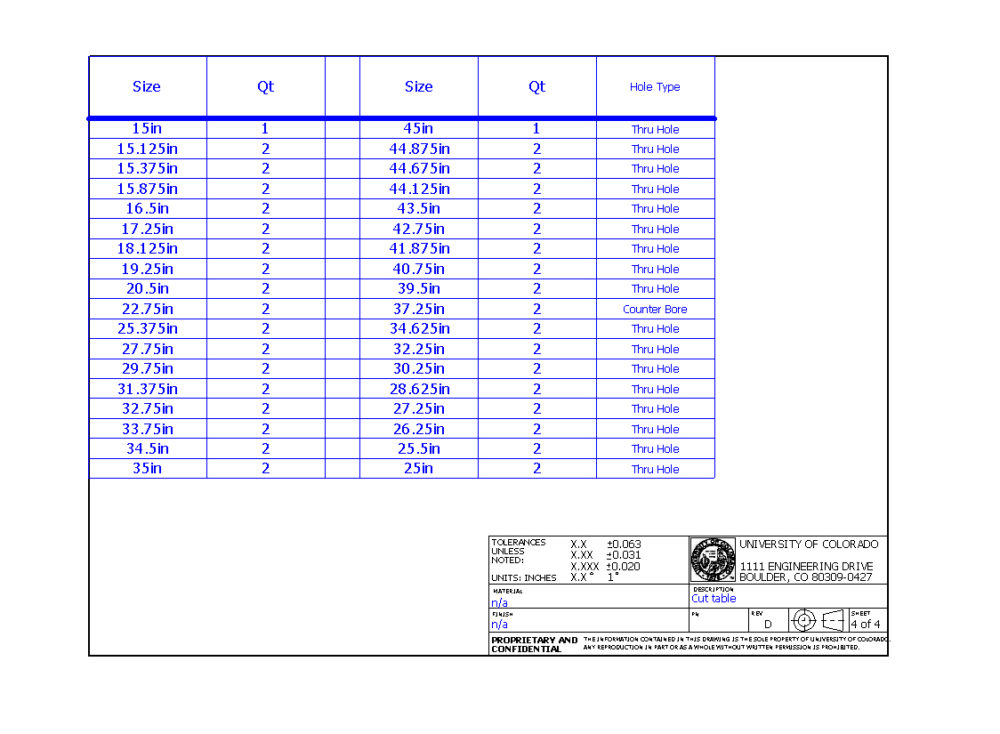
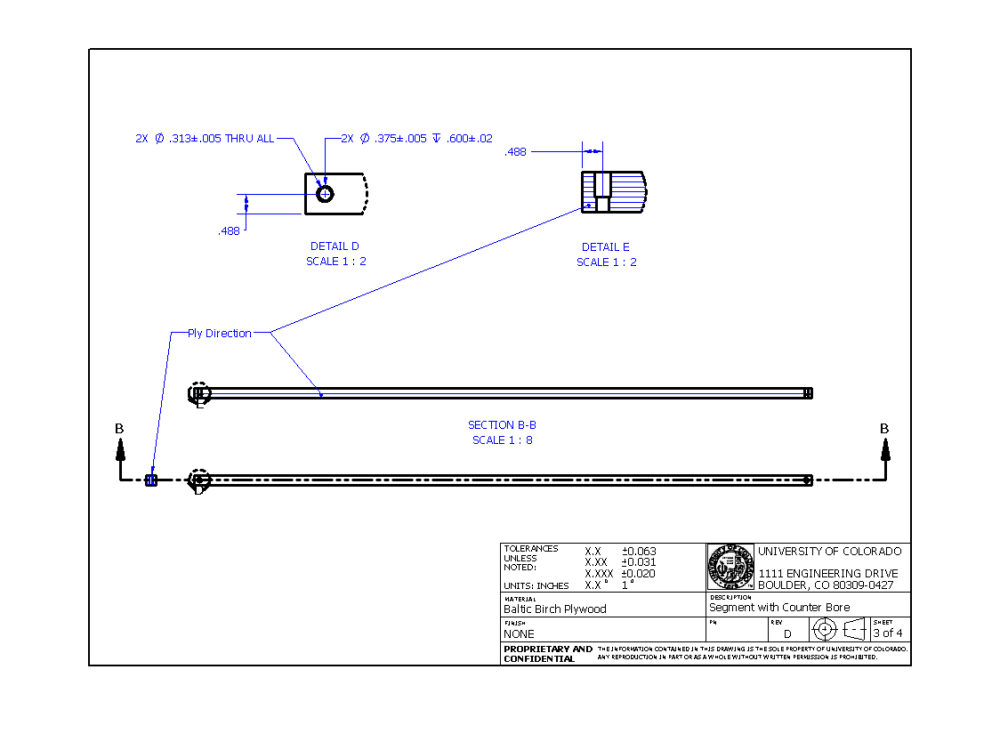
The next step was to determine the lengths that I need. I started by making a model of one piece. This was pretty simple and I also added the hole for the through rod. I then imported the piece into an assembly (multiple times) and used equations to vary the lengths of the rods. This was very difficult and I think that I didn’t do it in the most efficient way, but it worked, and I made it so I was able to modify certain variable to change the design. I messed with the variables until I got the form you see above. from here, I created part drawings of the segments, and for simple wooden caps to hold down the straps (see below):
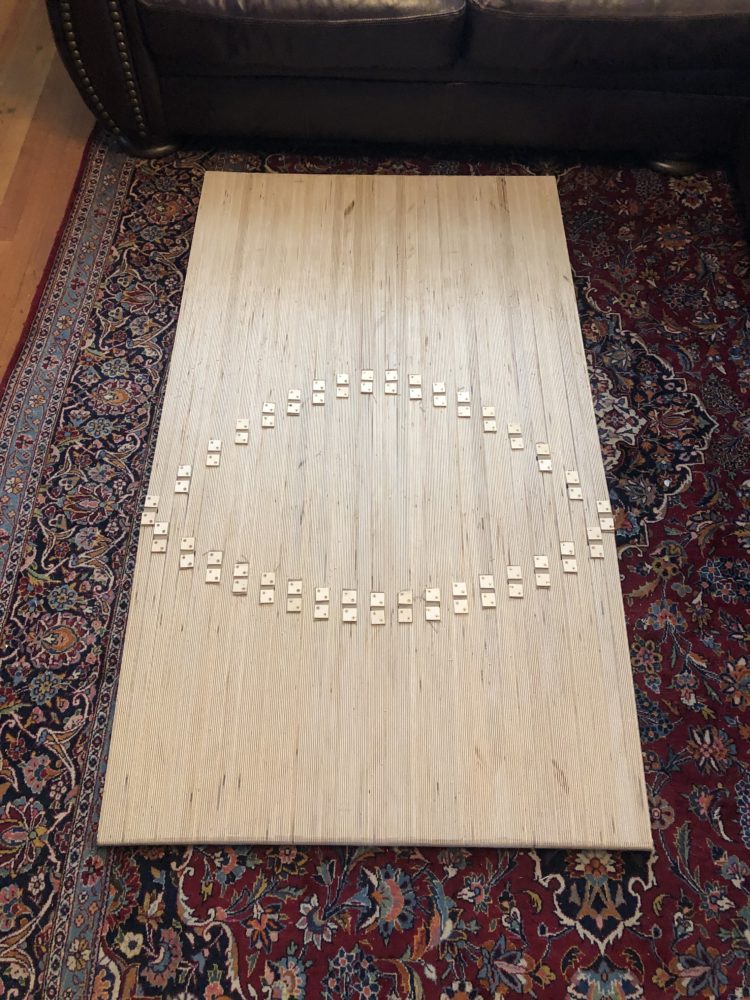
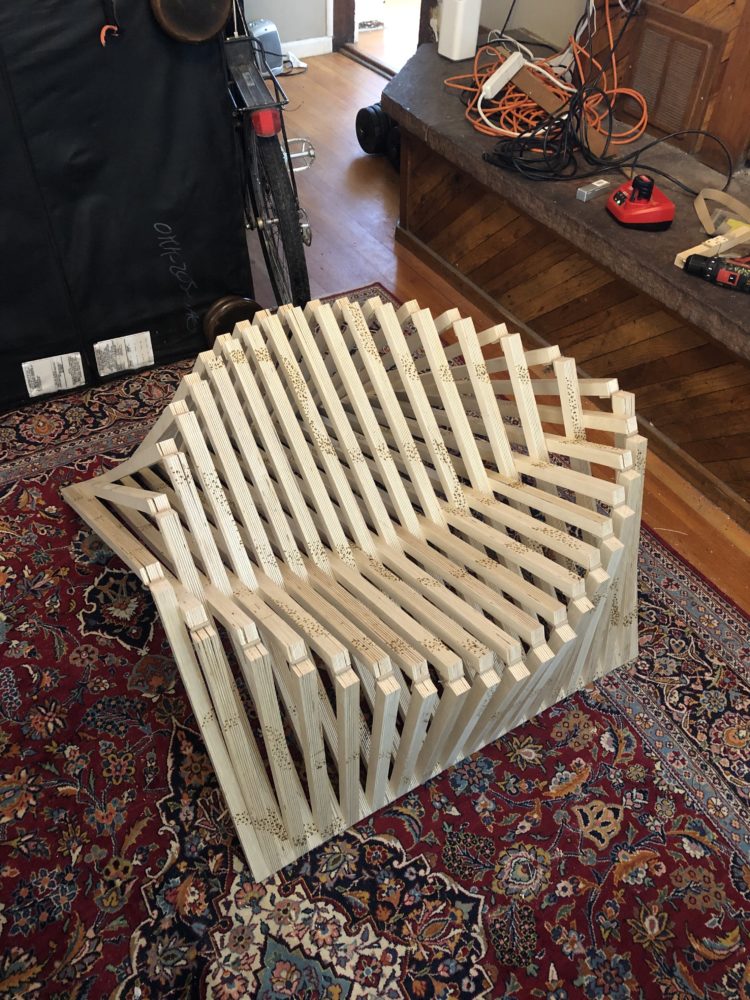
Essentially I have 70 total segments with which there are 35 sets of 2 which each total 5ft in length. there are then 70 wood caps which hold 35 straps to connect the two segments which interface with 140 screws.
![]()

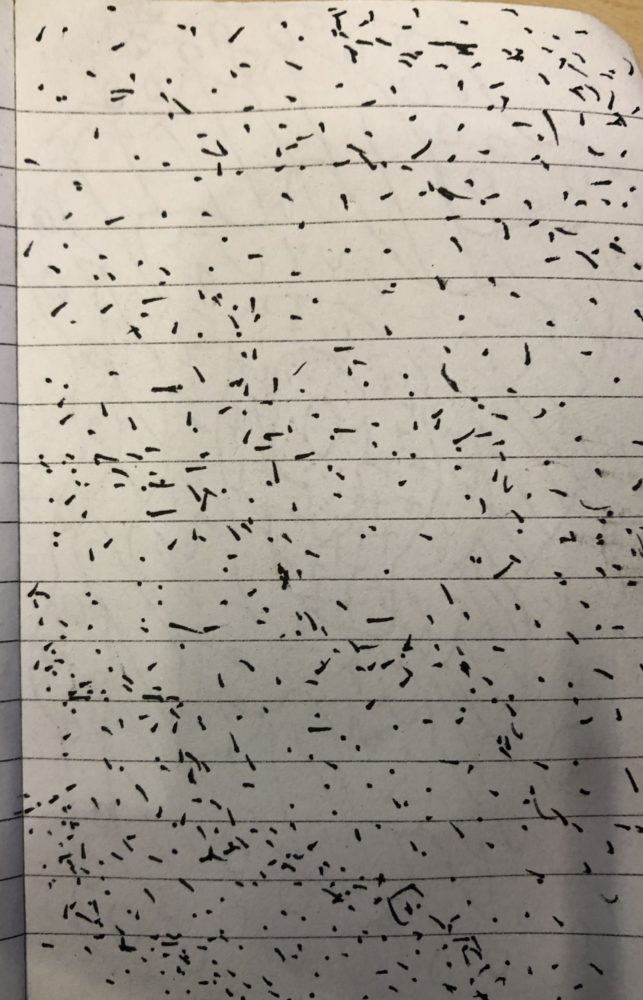
The Aesthetic that I ended up going for is an abstract organic aesthetic. Since I was basing the mural design off of the form of the chair, I had to chose something that went with the natural aesthetic of the chair, and also was able to be conveyed when flat and in chair mode. My initial sketches showed me that abstract designs would most likely achieve this versatility over modular and pictorial designs. I was really drawn to the dotted wispy design which was natural and organic as well as abstract, and reproduced it henceforth to explore this Idea. This gave me inspiration for when I would eventually freehand it with a wood burner.
How:

Above is my timeline that I developed for the design preview. The “What” section outlines pretty much everything to the left of the dashed line. The right side of the line is all fabrication which I will outline below
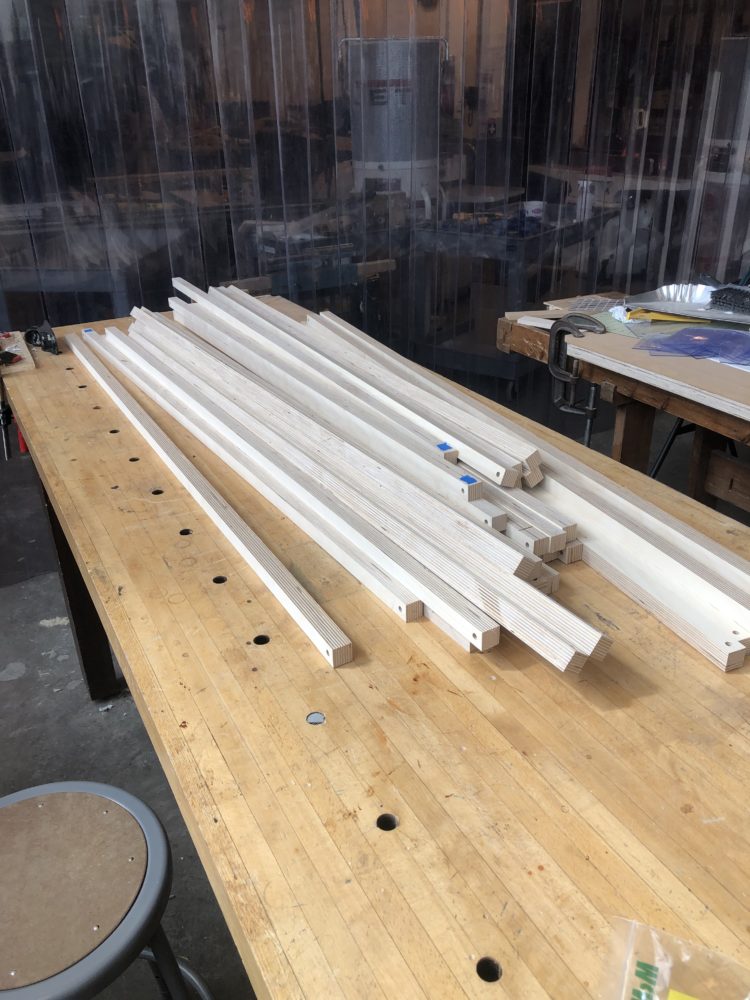
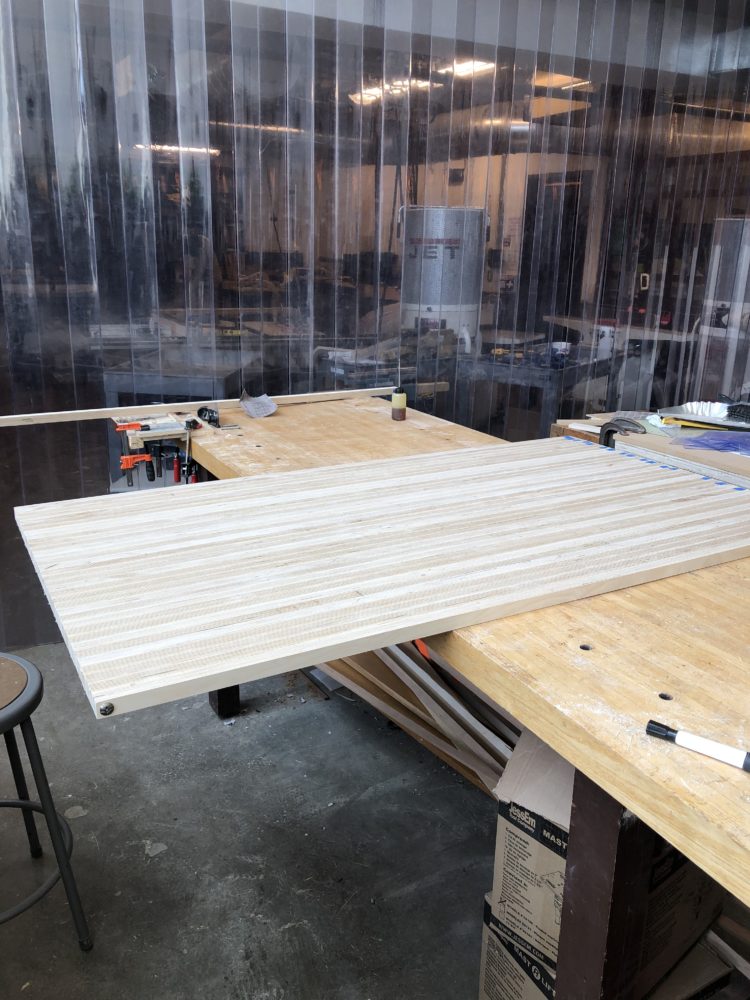
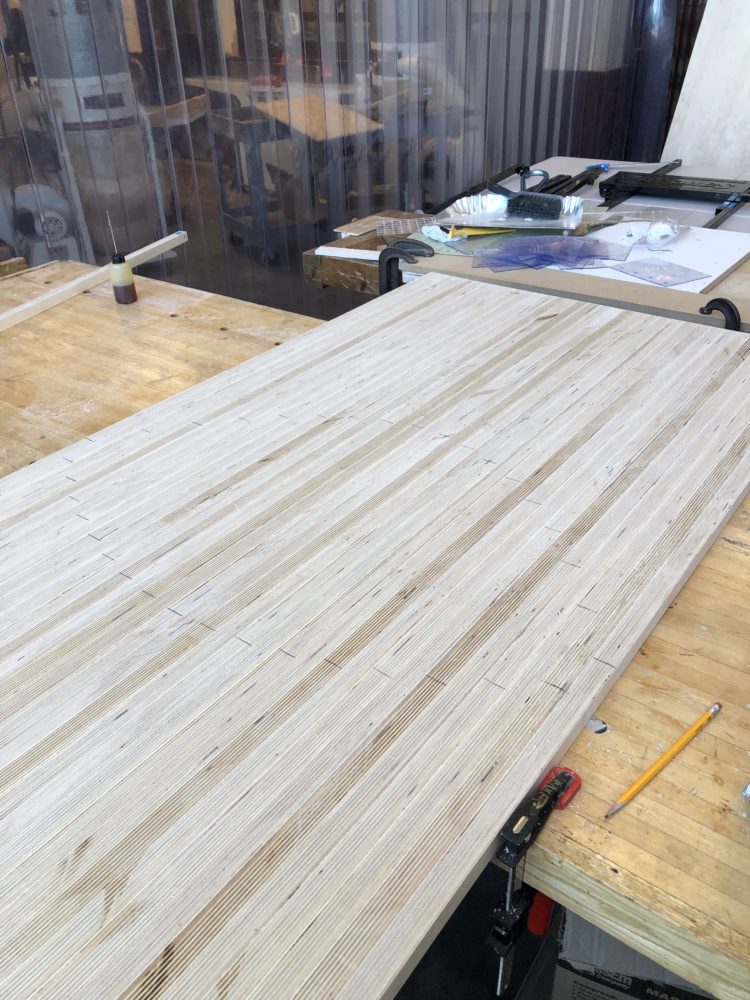
I got the fabricated lengths from the wood shop which had the holes drilled. I began the process of sanding the edges to get rid of splinters and smooth out the shape. after this, I assembled the wood lengths into a board with my through rod that I bought at McGuckin’s and my 4 binding barrels sourced on McMaster Carr. I then decided to plane the ends on a curve as a suggestion from a wood shop technician. this helped streamline the edges and made it look really nice.
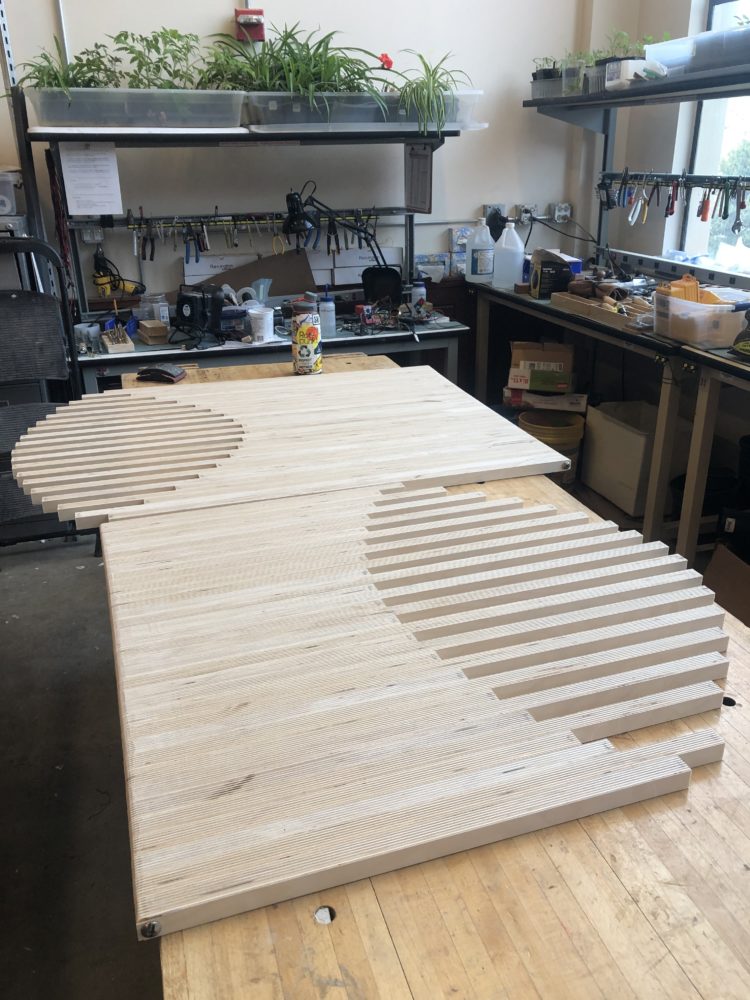
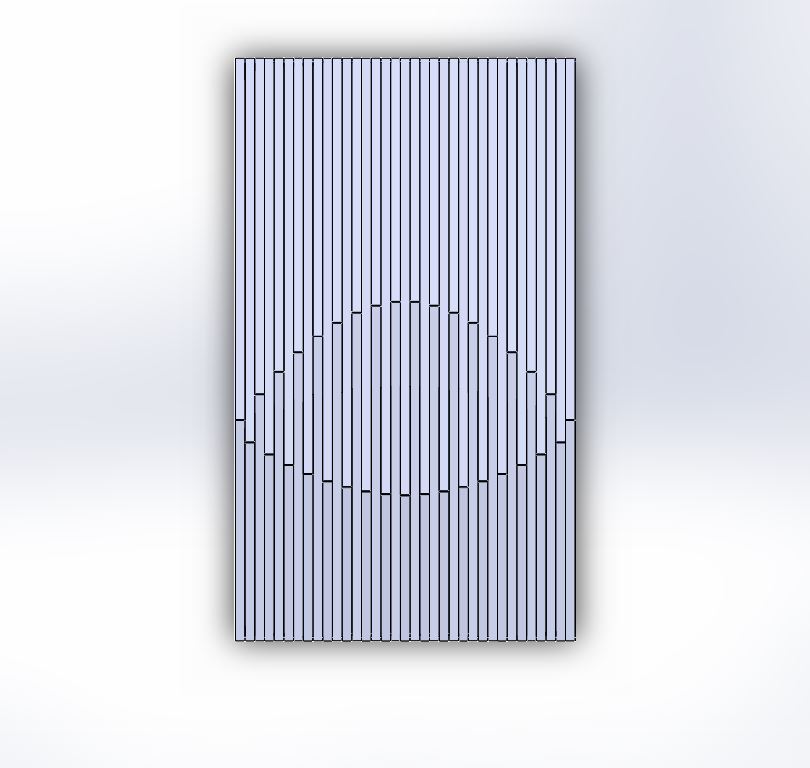
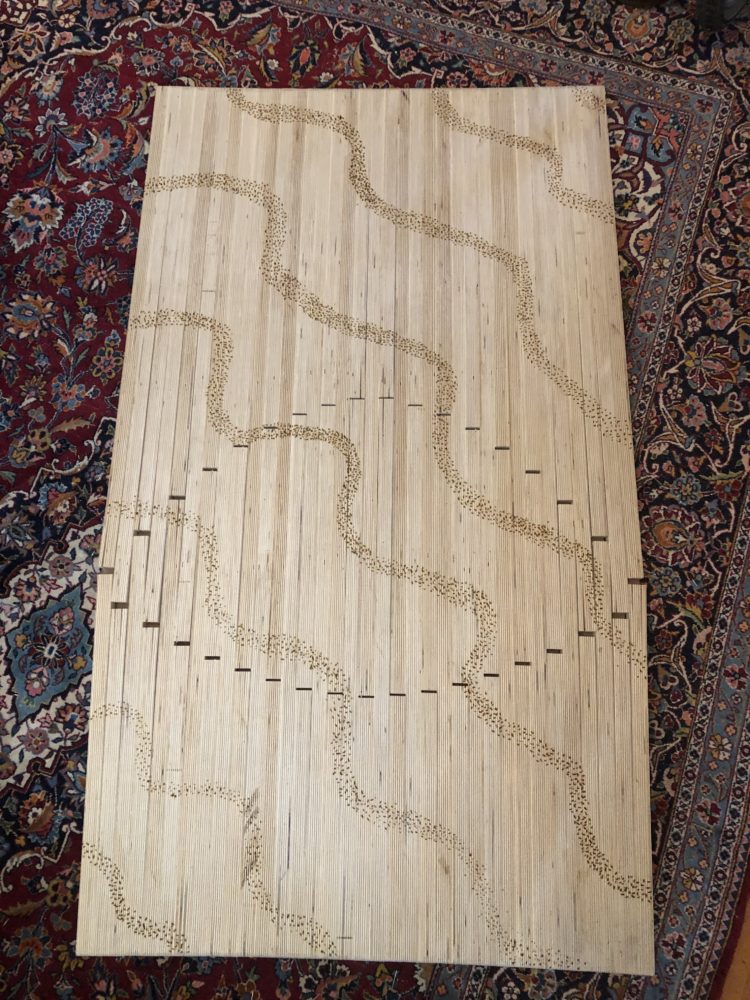
From this I measured and indicated the cuts that I would need to make on each section. I then wood burned my design (which I will outline below). After I burned the design, I cut the lengths and reassembled the pieces.
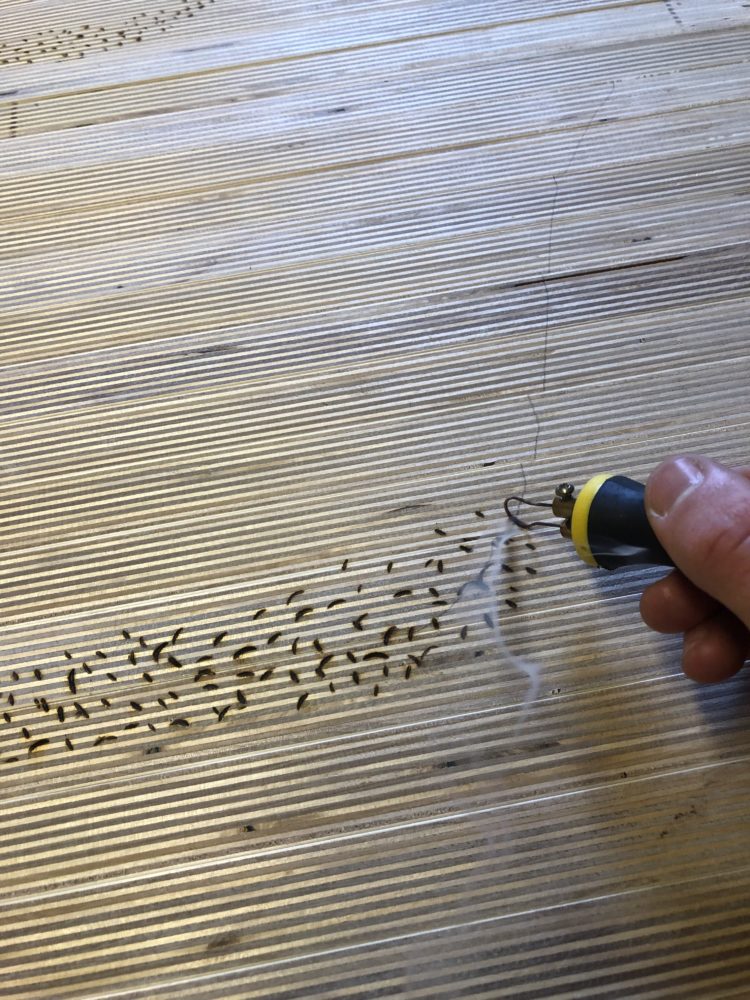
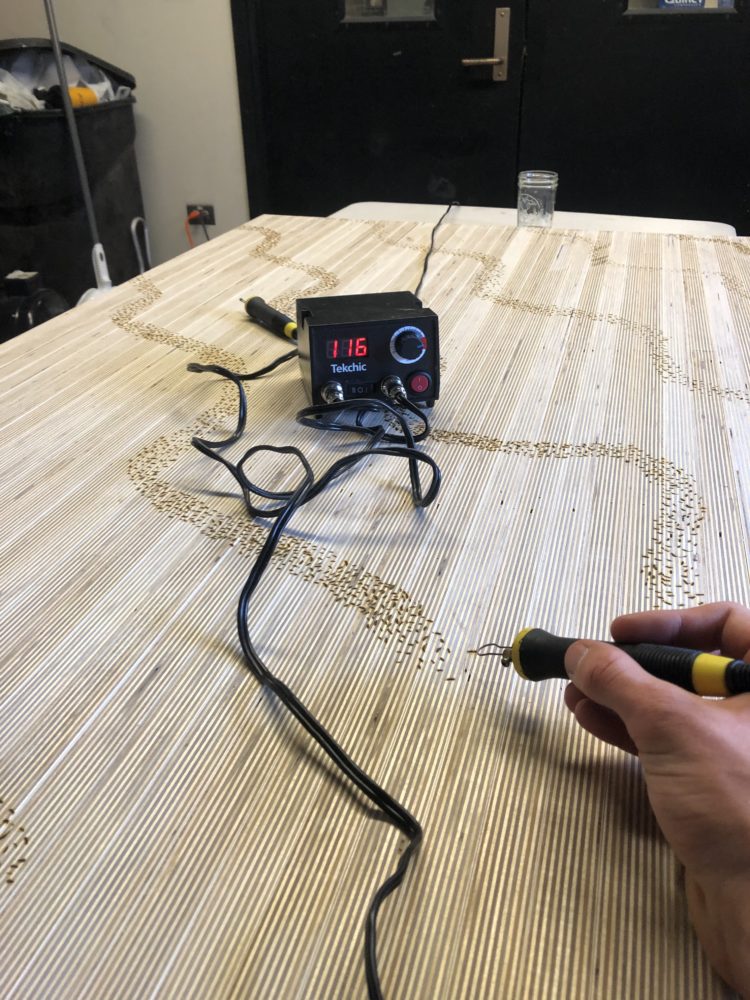
The wood burning took a very long time to do and I actually didn’t get to all that I wanted to do. I decided to go with wavy diagonal lines as my final design. I felt that this pattern conveyed the abstract organic aesthetic that I wanted to achieve, but also looked pretty clean.
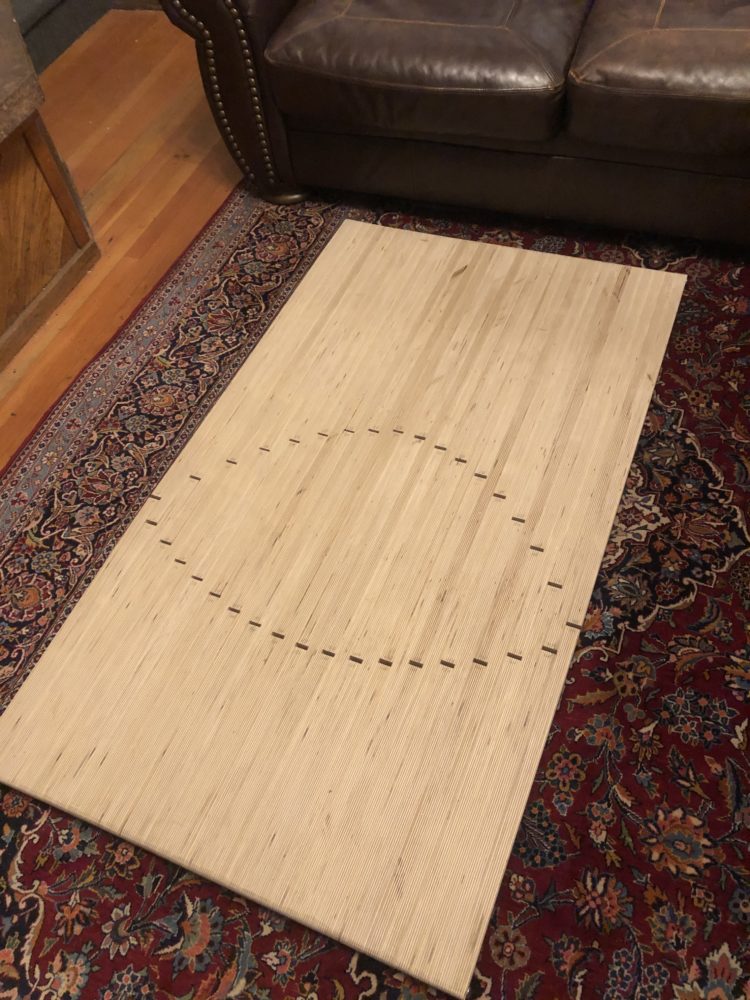
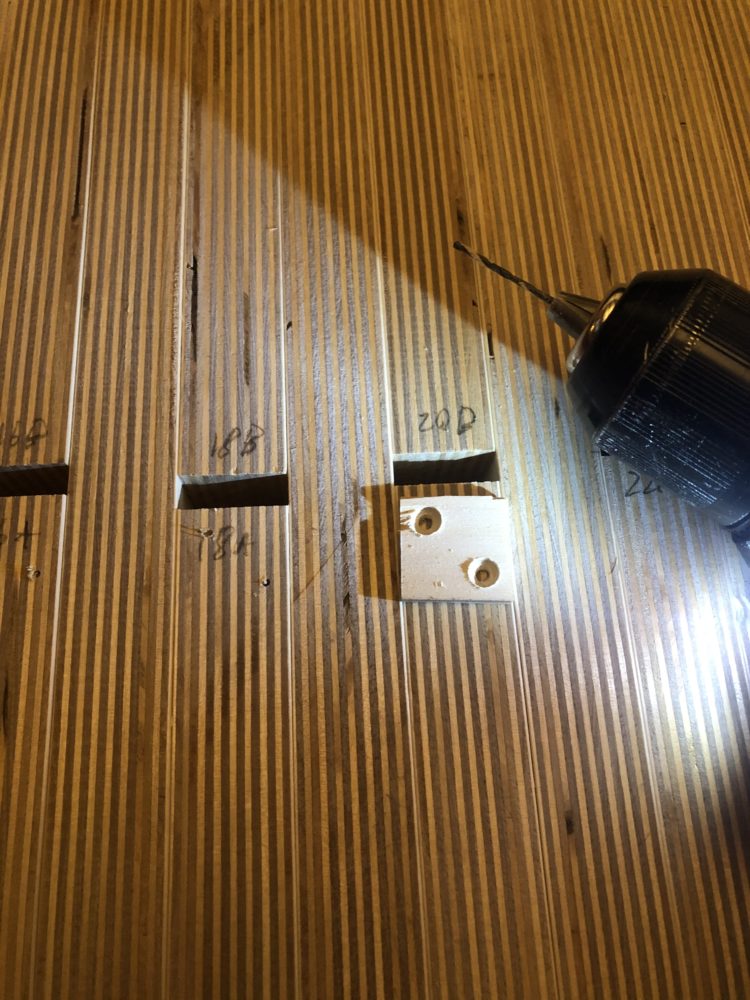
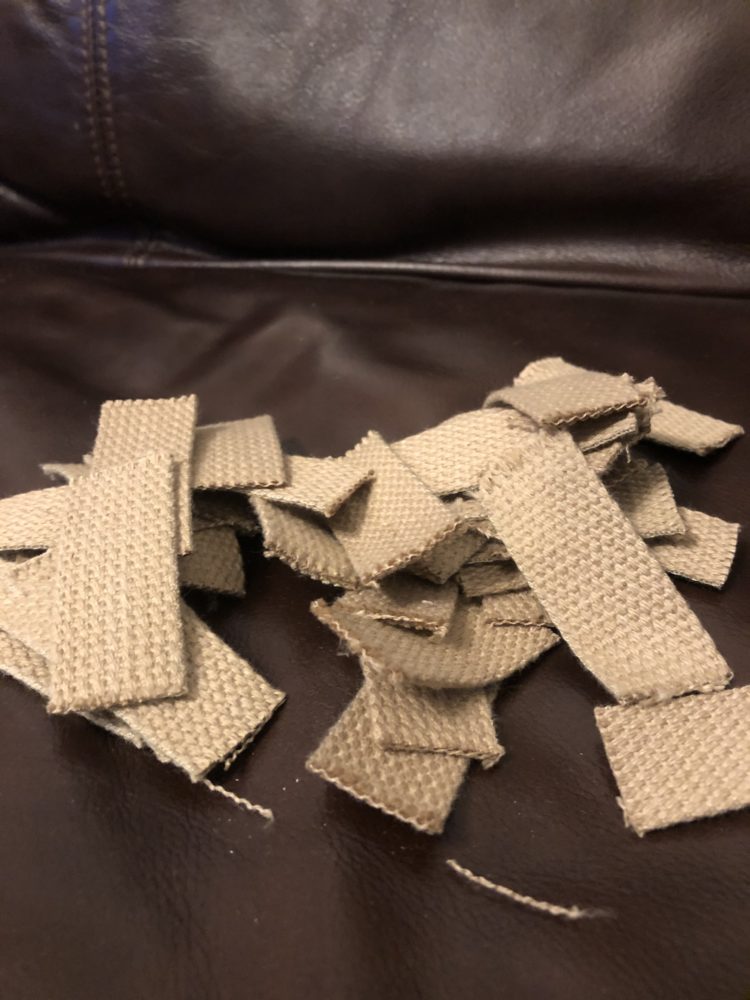
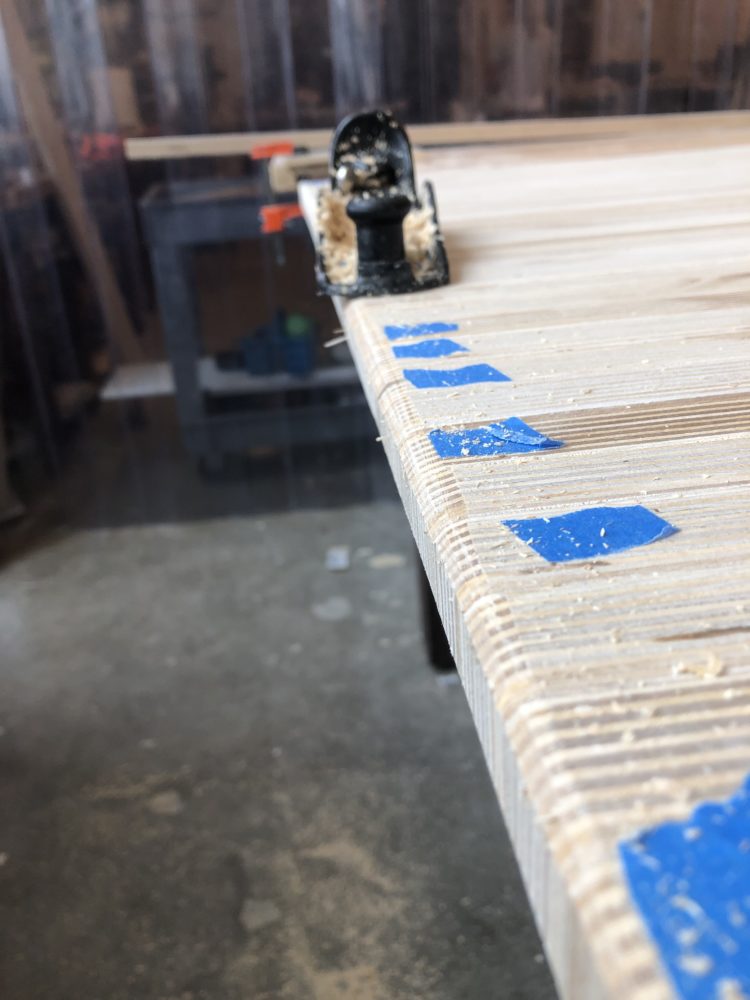
I then brought everything home and laid it all out. All I had left to do was attach the hinges. I started by drilling all 140 pilot holes using a plywood cap as a guide. After this was done, I cut the straps to 35 uniform lengths and began to screw the hinges together. This took a lot of time and some issues arose with wood splitting which I would have to address later. overall However this step was very tedious but satisfying to do.
Conclusion:
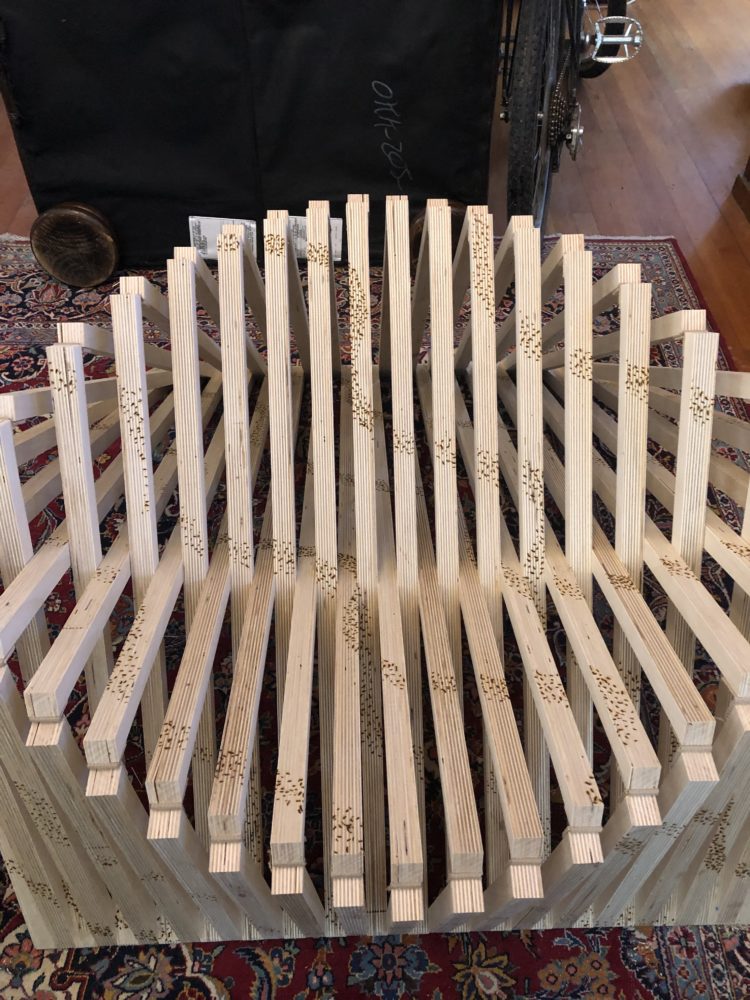
So to conclude, The final chair as you can see above worked as intended. At the start, I wanted to make a chair which transformed from mural to a useable piece of furniture. I also wanted the aesthetic to be conveyed the same in both forms. I definitely think that my choice of chair style (being an organic shape), The material choice (wood and woven fabric), as well as the abstract organic artistic style allowed me to achieve this well. Functionally, I think I could have improved the project with a different hinge material, and possibly taking more care when drilling the pilot holes. I found that the slats shift a bit due to how flexible my hinge is, Interference with my slats and some of the wood caps, and that I had wood splitting on some of my hinges which I had to go back and glue shut. Aesthetically, The design is conveyed well within the piece although I do feel that with more wood burning, I could get a more noticeable and better conveyance of the aesthetic I was going for. In the future I might do more wood burning to darken or add more to the design. The shape is not really changeable so to improve the piece in the future will be mostly with the artistic design. Burning the wood on the side might also be an interesting option to go with in the future as well.
Video:
Below is the video of my presentation:
Images:
Products by AMBIVALENZ Fläpps Folding Chair Collection | Archiproducts
4 Comments. Leave new
Okay, woah this turned out so great. Its almost exactly as I pictured it would turn out after seeing your other posts! I really like the squiggly line design you came up with. It helps sell the organic vibe and it works quite well with the wood burning. I’d say your execution is spot it. It certainly looks quite pinch prone, either to fingers or to legs… Hopefully it doesn’t pinch really bad, that seems like it would be quite painful!
Hey Brayden,
The wood burning and design were things I thought would pair well with the form (although I do want to do more). I actually haven’t found it to pinch at all (unless maybe when you close it). The biggest problem I’ve encountered and my friends have noted is the sharp edge created at the base. I think sanding it smoother could help with this as it does feel kind of sharp when you sit back into it.
Joshua,
I’m really impressed with how the chair came out it looks really really cool. Your addition of the simple organic curves with wood burning really give the char a cool look both when folded up and when in its chair form. It sounds to me like the majority of your difficulties came from the design of the chair, and making sure things were going to line up properly, but did you run into any substantial assembly and manufacturing challenges? Also, maybe more importantly, how comfortable did the chair end up being? Again great work!
Hey Jake,
The biggest challenge was with the wood splitting when I went to drill it in, I had multiple splits in a couple segments which was a problem. This was fixed later with wood glue and clamps. The only other problem I’m seeing is that given my strap choice (being more flexible), the inner pieces tend to move towards each other pulling the outer pieces apart. This isn’t a huge issue but a more sturdy strap material would have fixed this. Also I do get some overlapping with the wood caps which causes opening to take longer than I intended it to take.
It is fairly comfortable when you sit in it. It feels very secure and the round shape feels nice. It is somewhat sharp on your legs at the hinge which I could probably fix with sanding, and it could maybe use a pillow, but overall it feels good.