
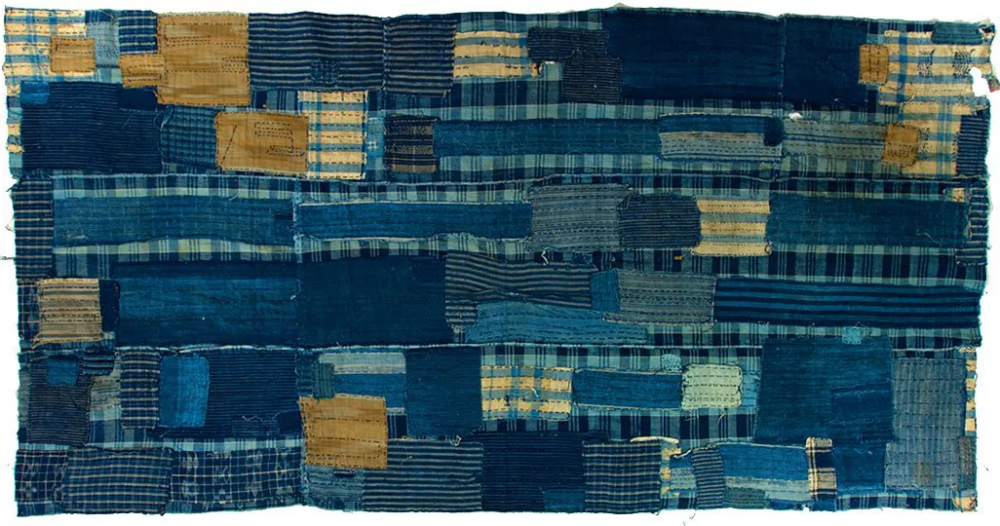
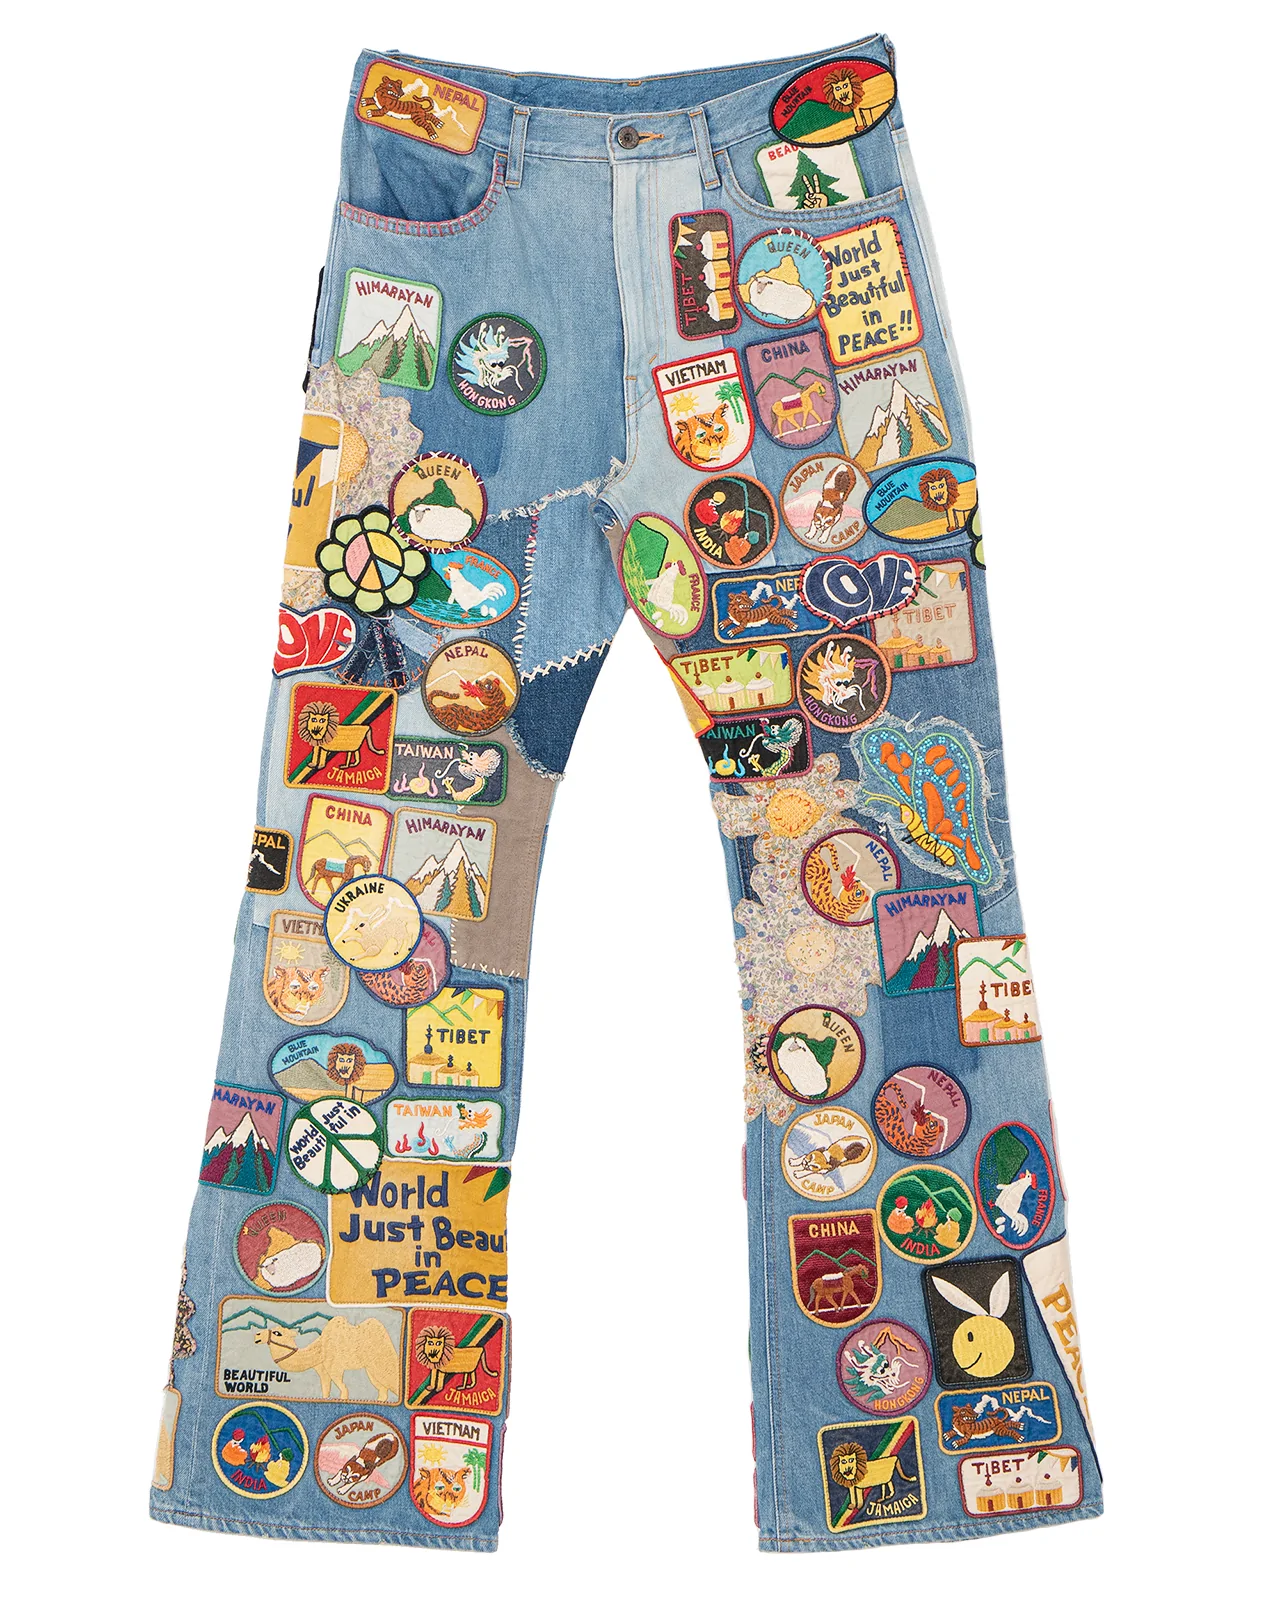
I have always wanted to make a Japanese boro style denim tapestry, so I thought this project would be the perfect opportunity as it is an upcycle. These kinds of tapestries were created by peasants in Japan during the early 1800s. As items became worn they would get repaired with mismatching fabrics due to a short supply of materials. Boro style is heavy on the arts and crafts aesthetic because it was created out of necessity and resourceful thinking. This also led to quilts and later tapestries as the art became more respected. The most famous example of boro style denim is working on a kimono or repairing jeans. This can be seen in modern brands such as Kapital and needles, where they sell clothing items that mimic the boro style. Originally I got the idea for this project after seeing a pair of Kapital pants that were made in boro style, but decided that an art piece would be more achievable to complete. This piece below was my inspiration for the project.
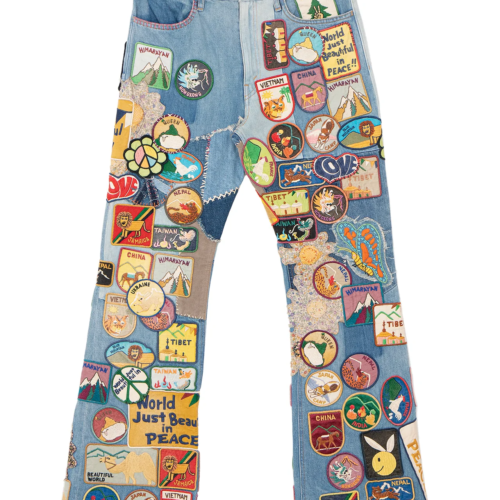
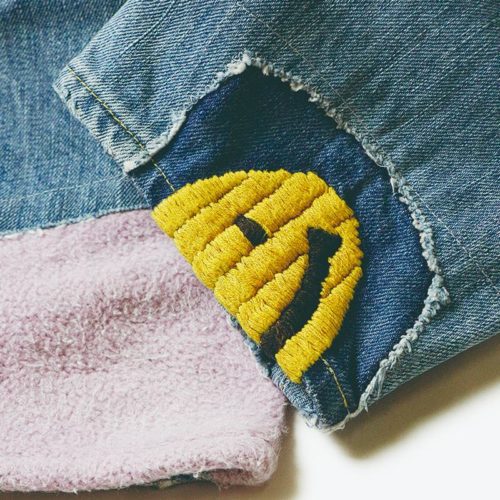
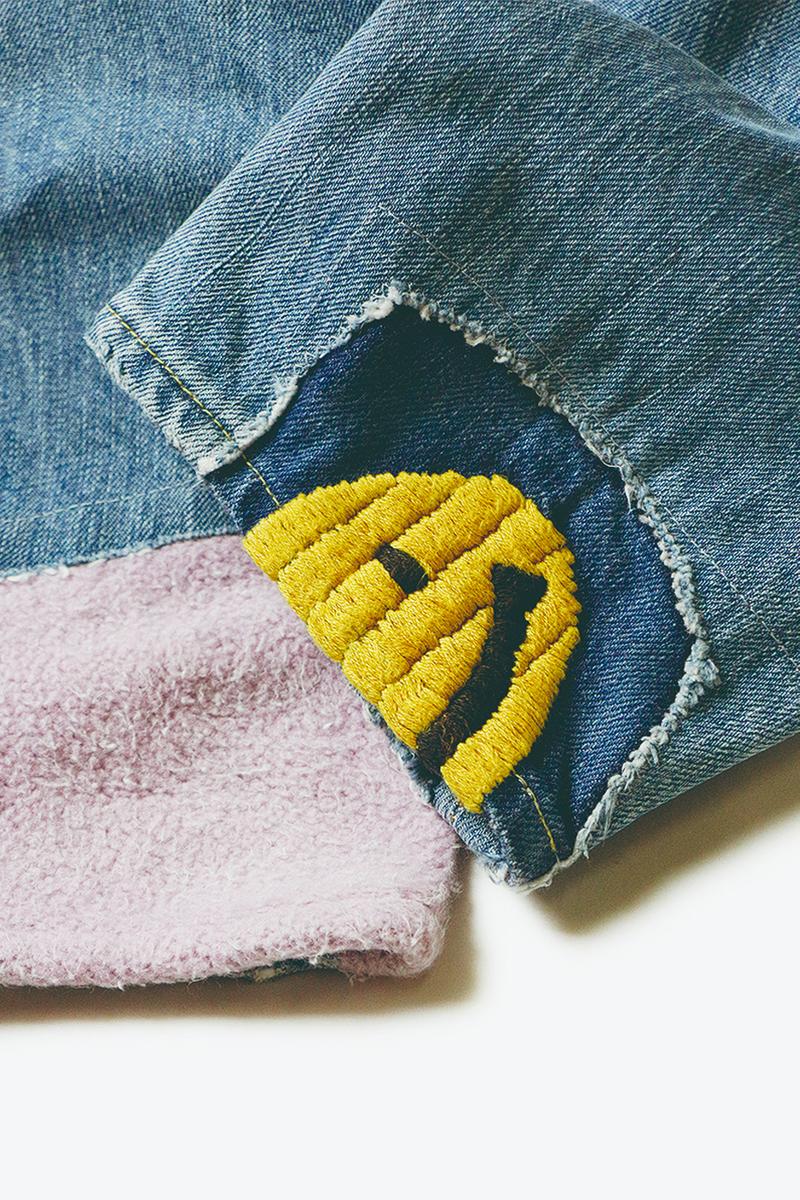
I was also inspired by the brand Kapital, specifically how they combine boro style and the use of different materials to add detail. On the left is a pair of Kapital patch denim, that has several panels that are substituted with a different material. The stitching is large and in a zigzag pattern, which is something that I incorporated in my piece. On the right is a Kapital jacket that uses embroidery to add a smiley face detail on a different color patch, which I also took inspiration from.
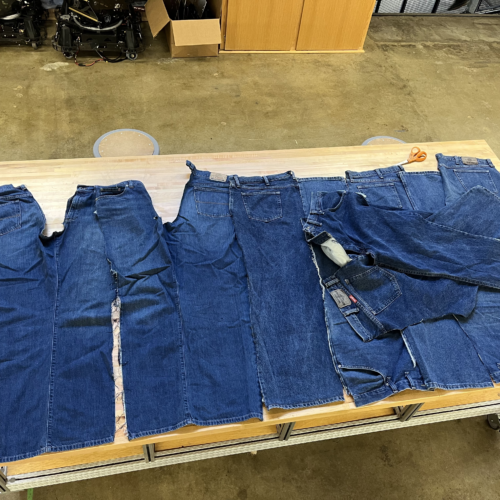
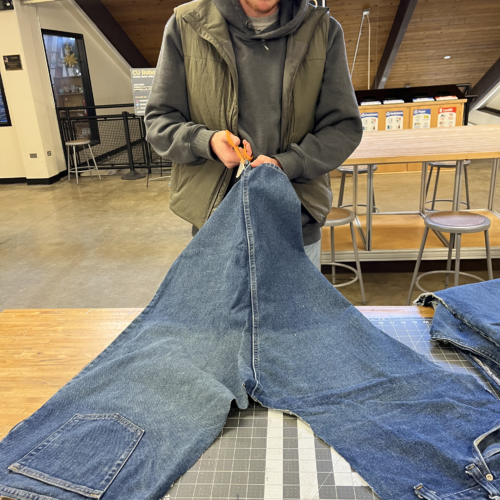
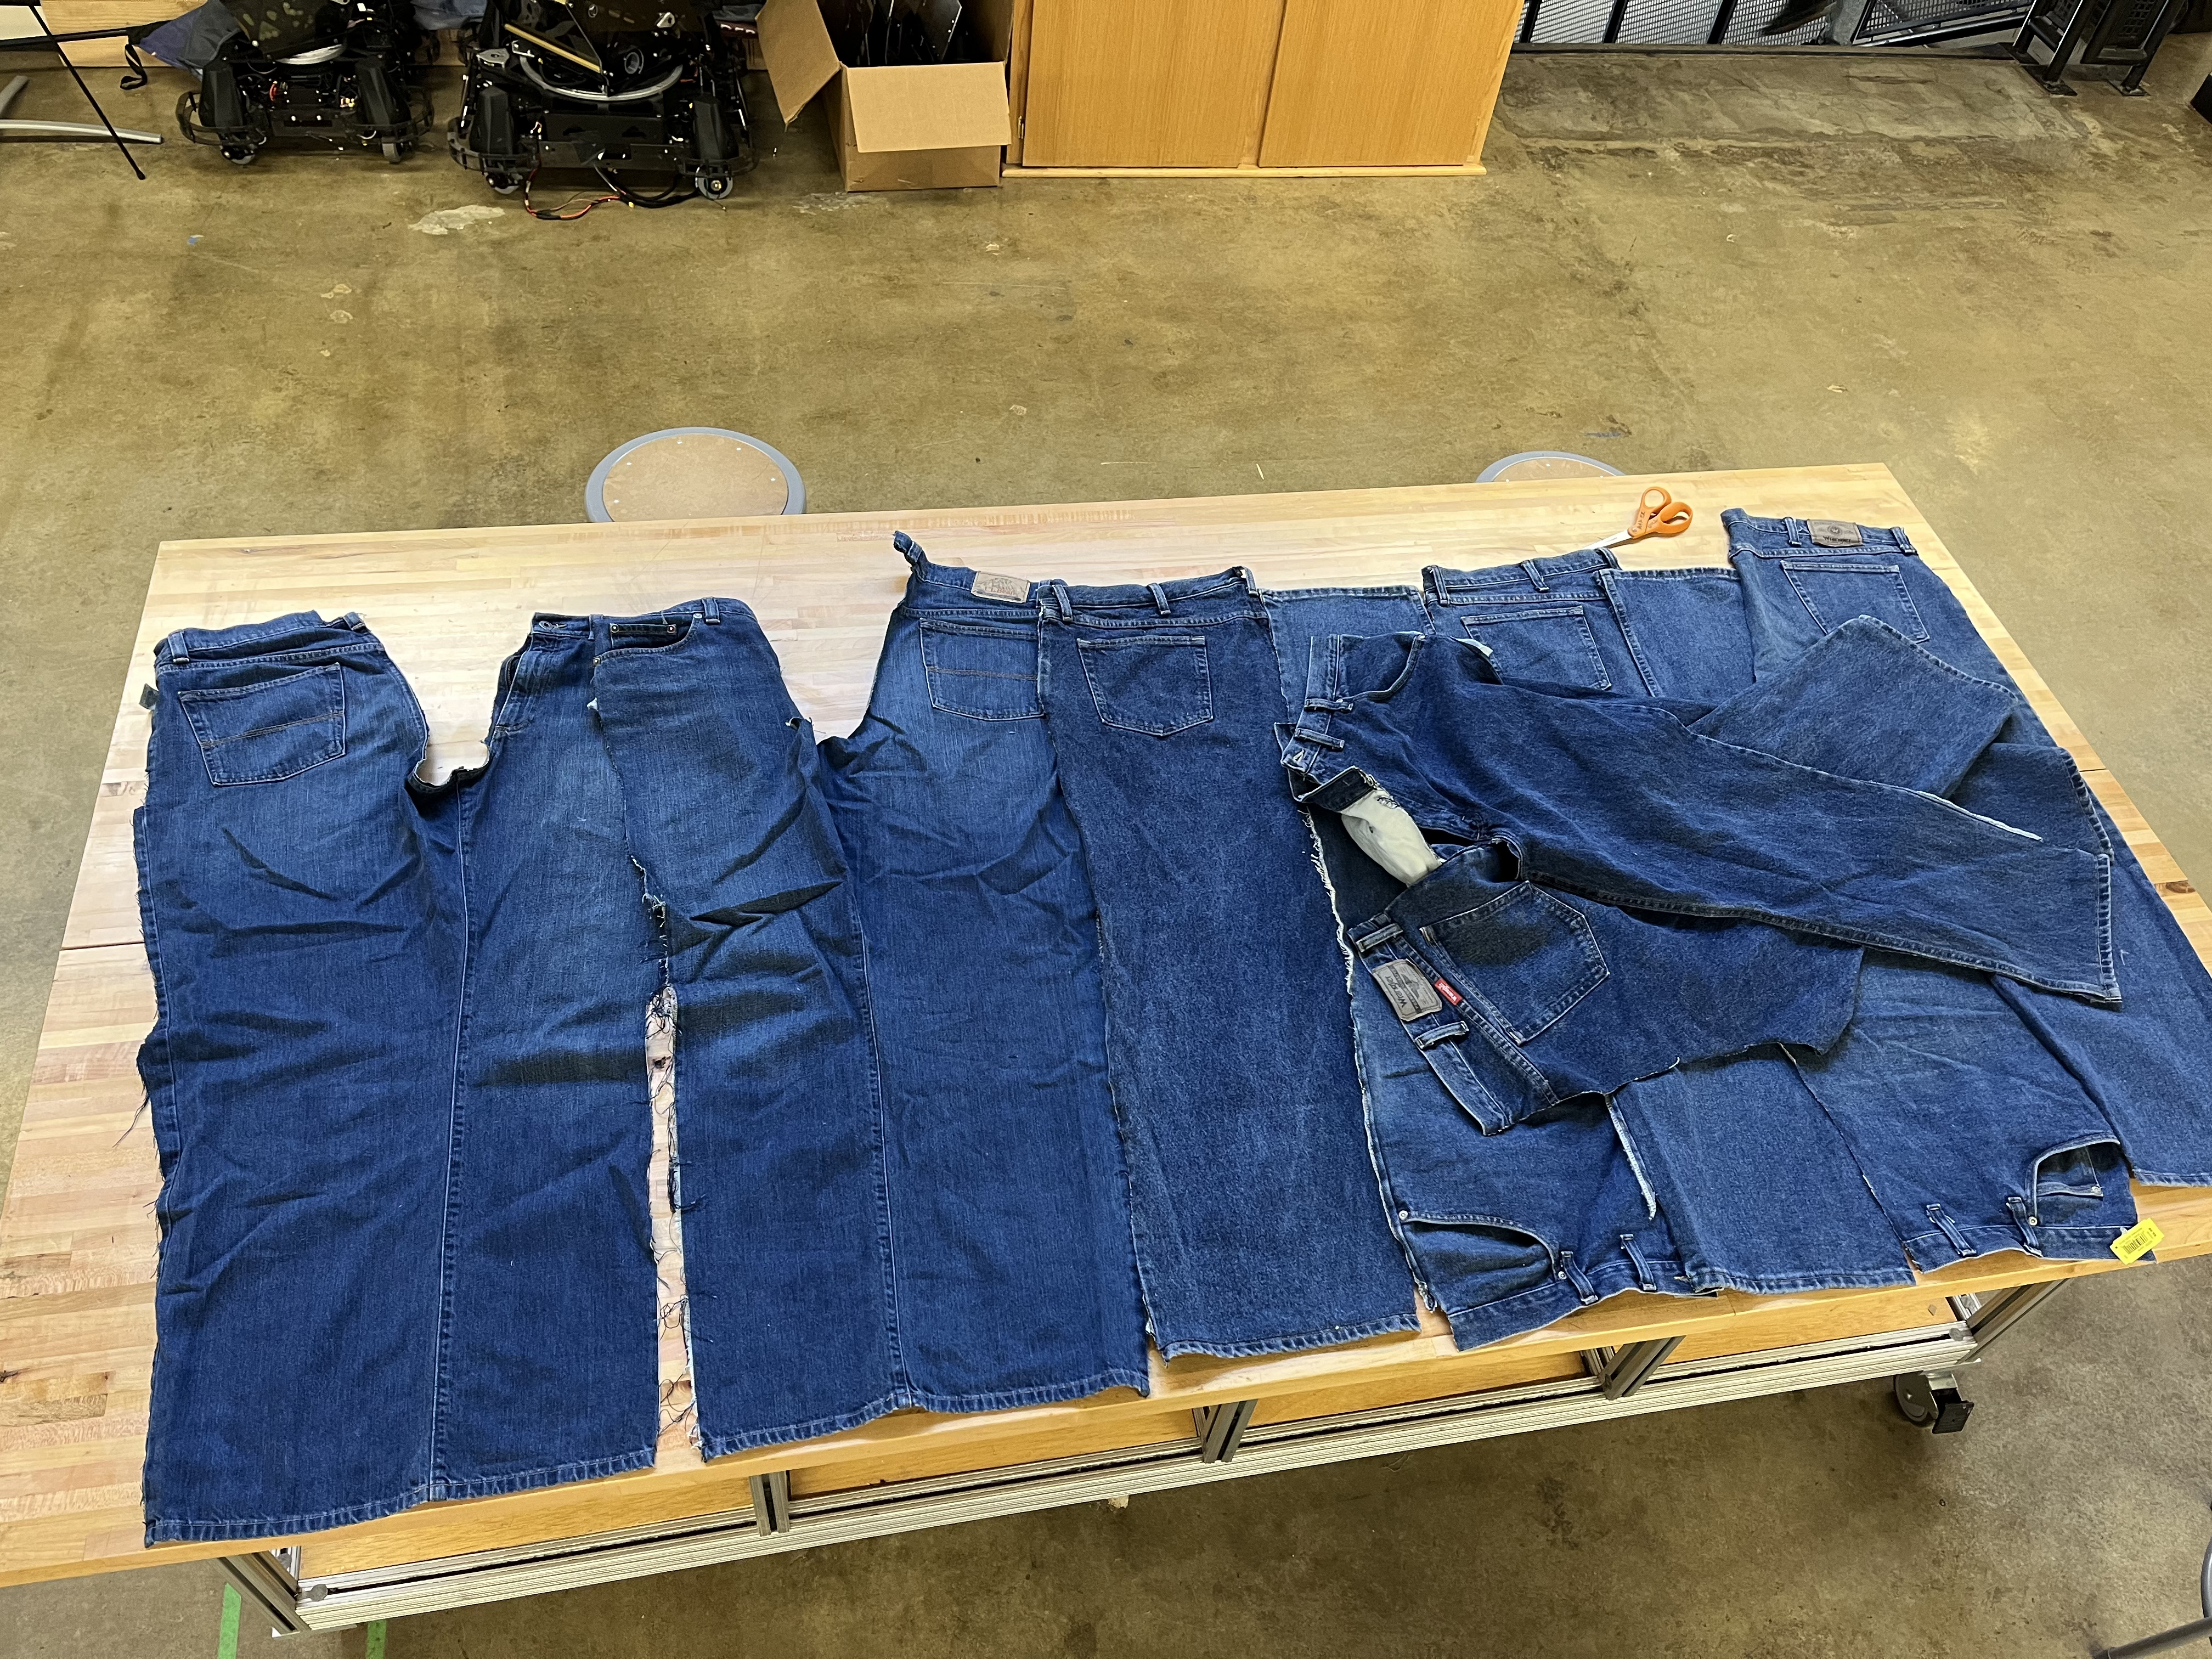
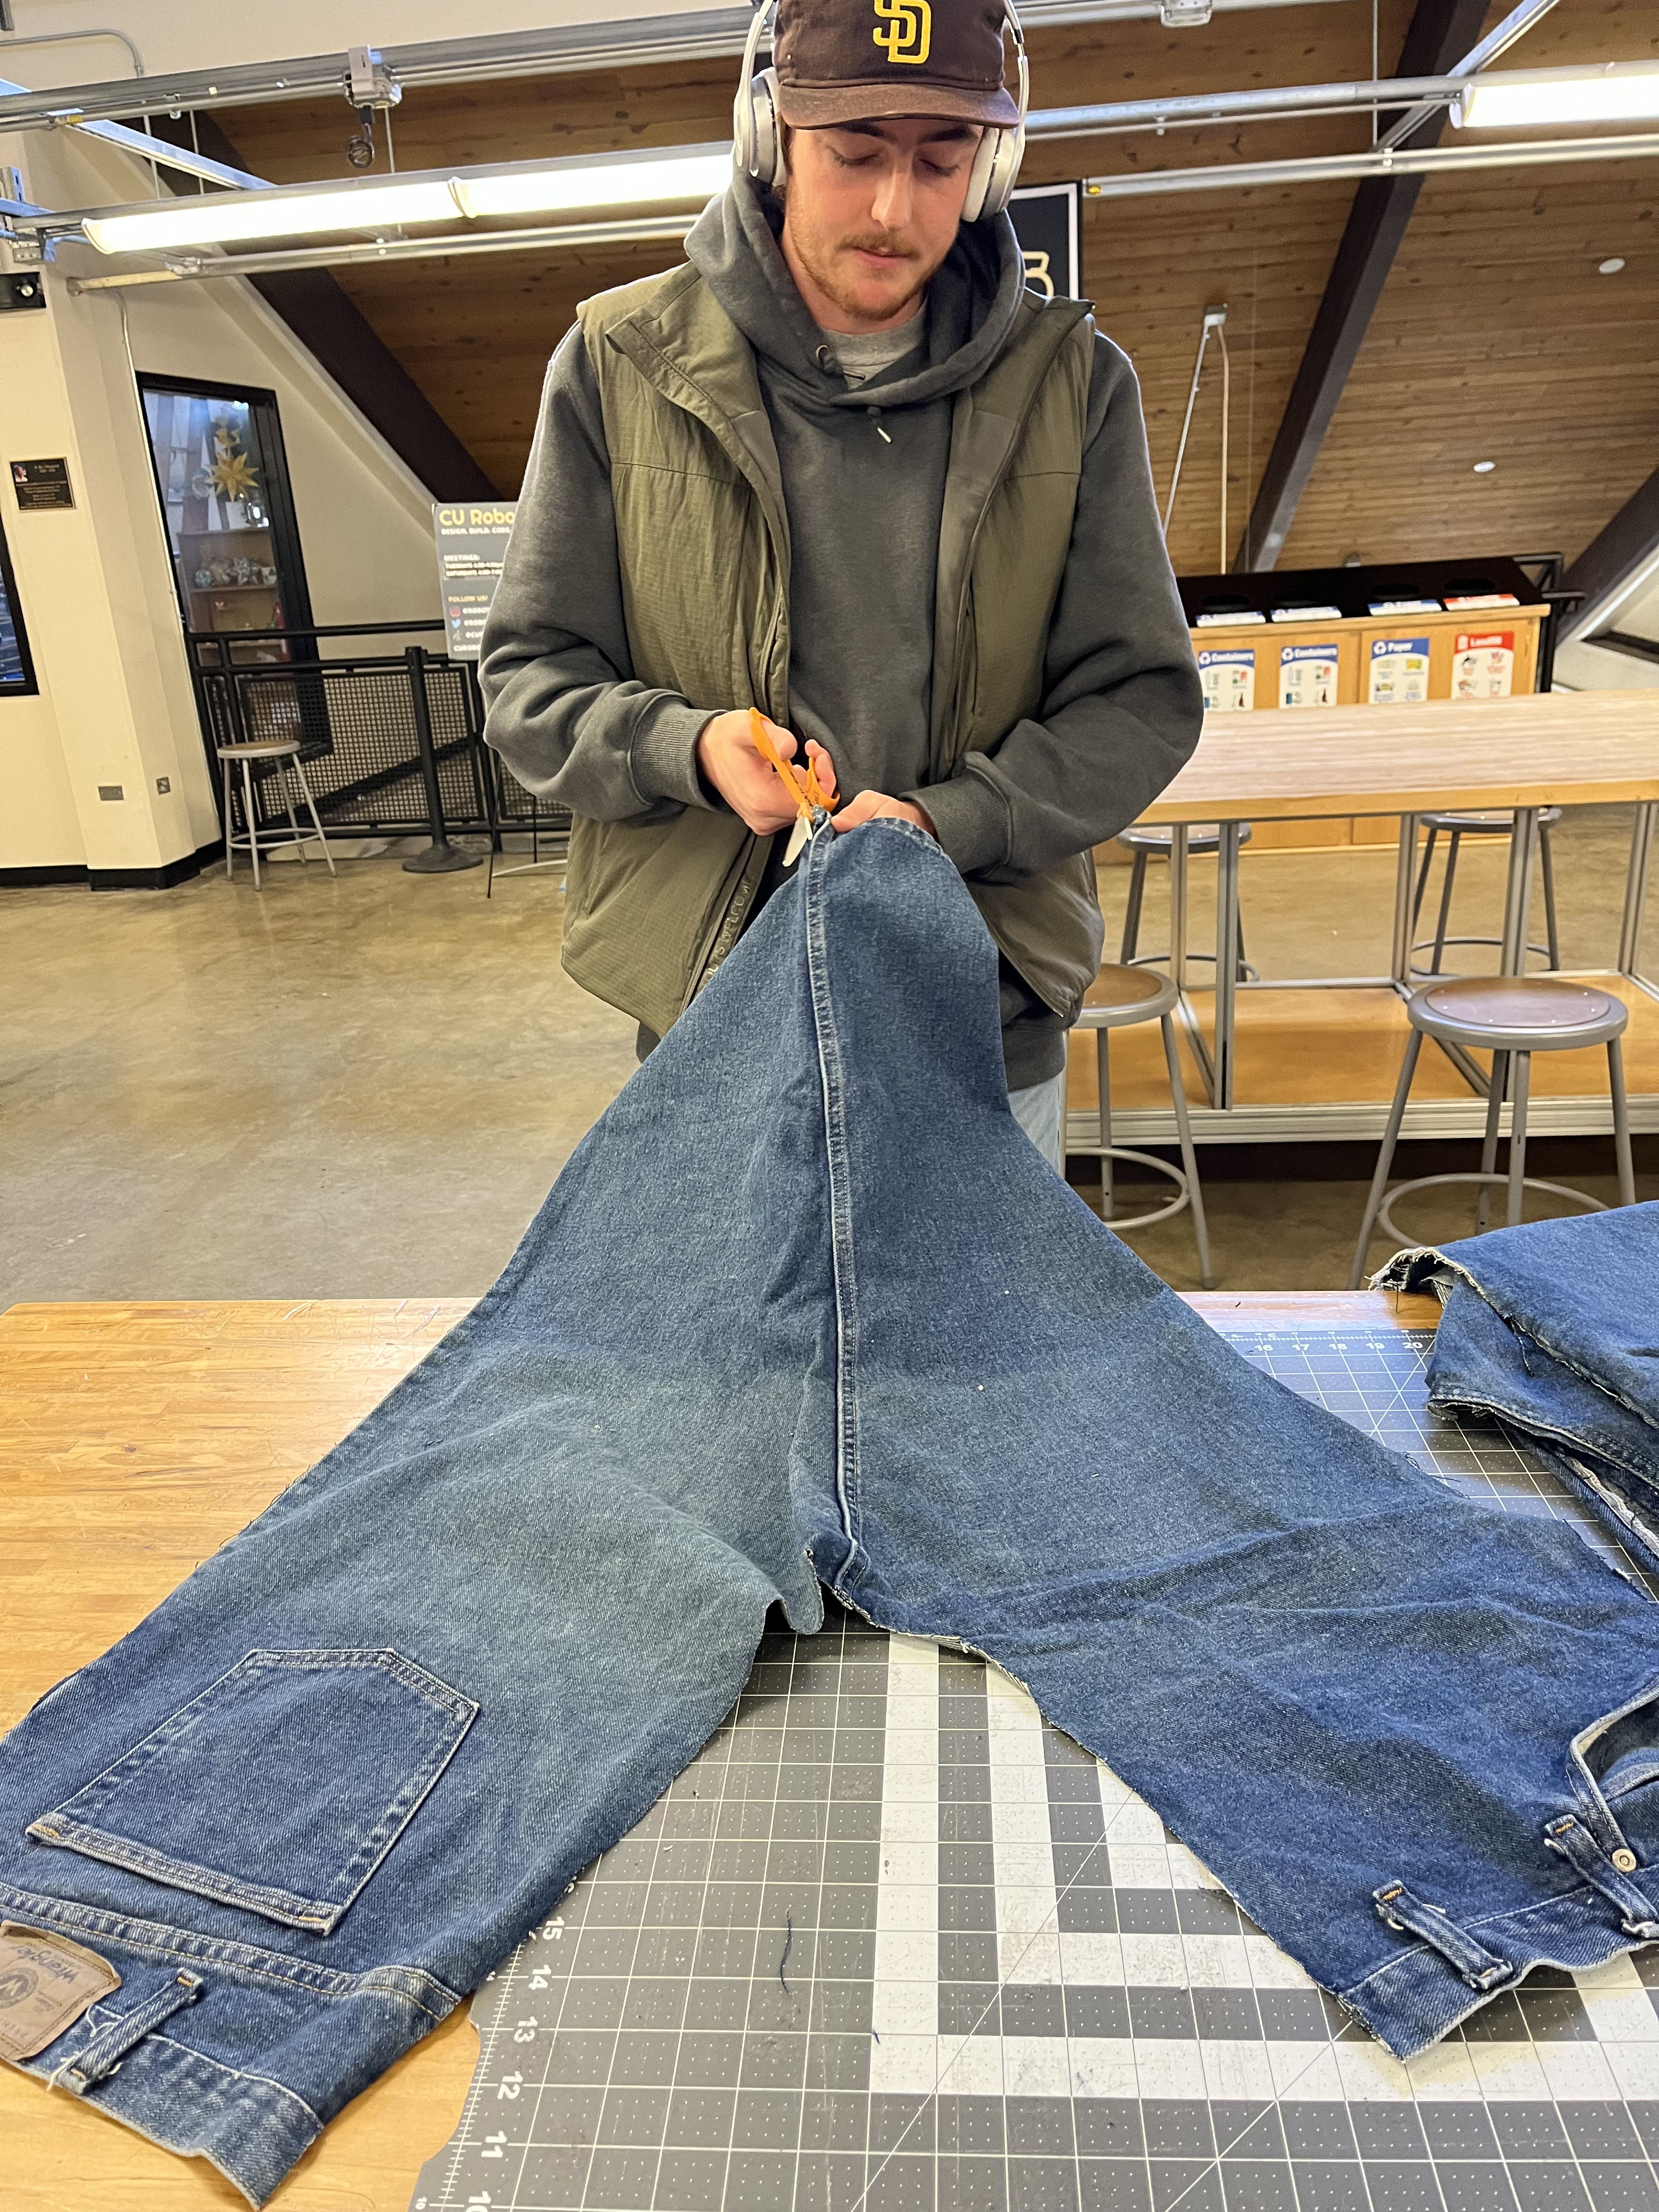
Since I knew I wanted to create an upcycle with denim beforehand, I was able to find 3 pairs that I could use in addition to my thrift store purchase. At the thrift I spent $30 total on two pairs of extra large Wranglers and a flannel with a pattern I liked. Most of the materials ended up being different shades of dark wash. I like how they look together as nothing is the same color but they all are around the same, I also have some lighter denim material that was used for detail. The first step of the project was to select the pairs of jeans I was going to use, and then cut them up into sections that I could cut panels from.
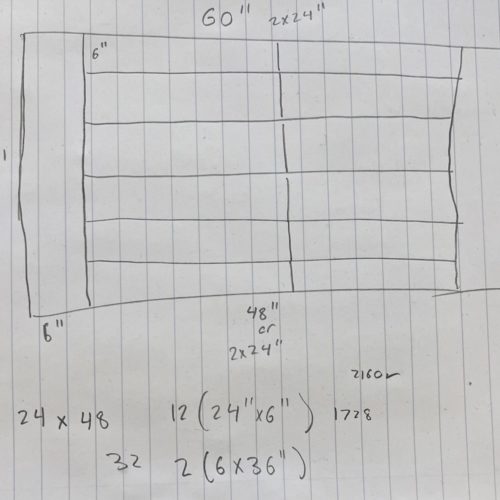
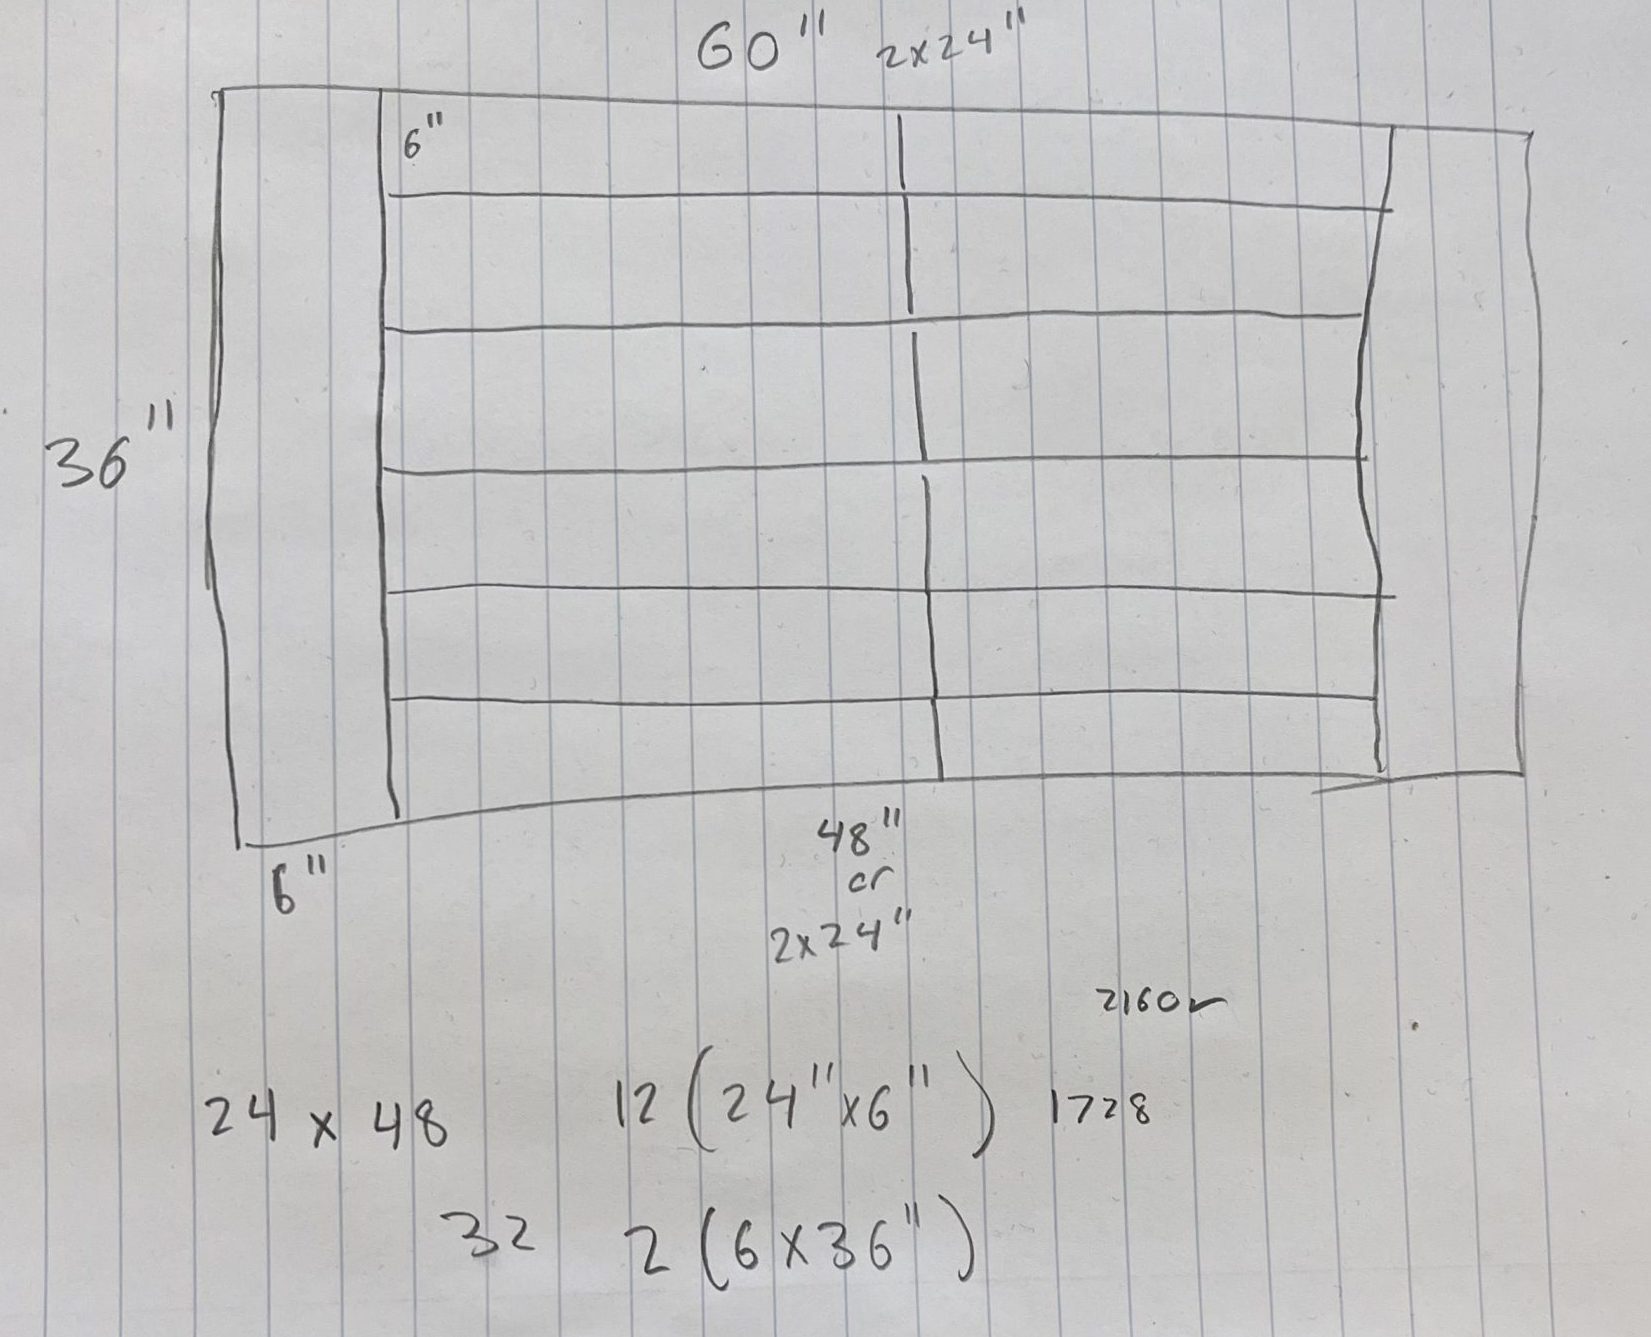
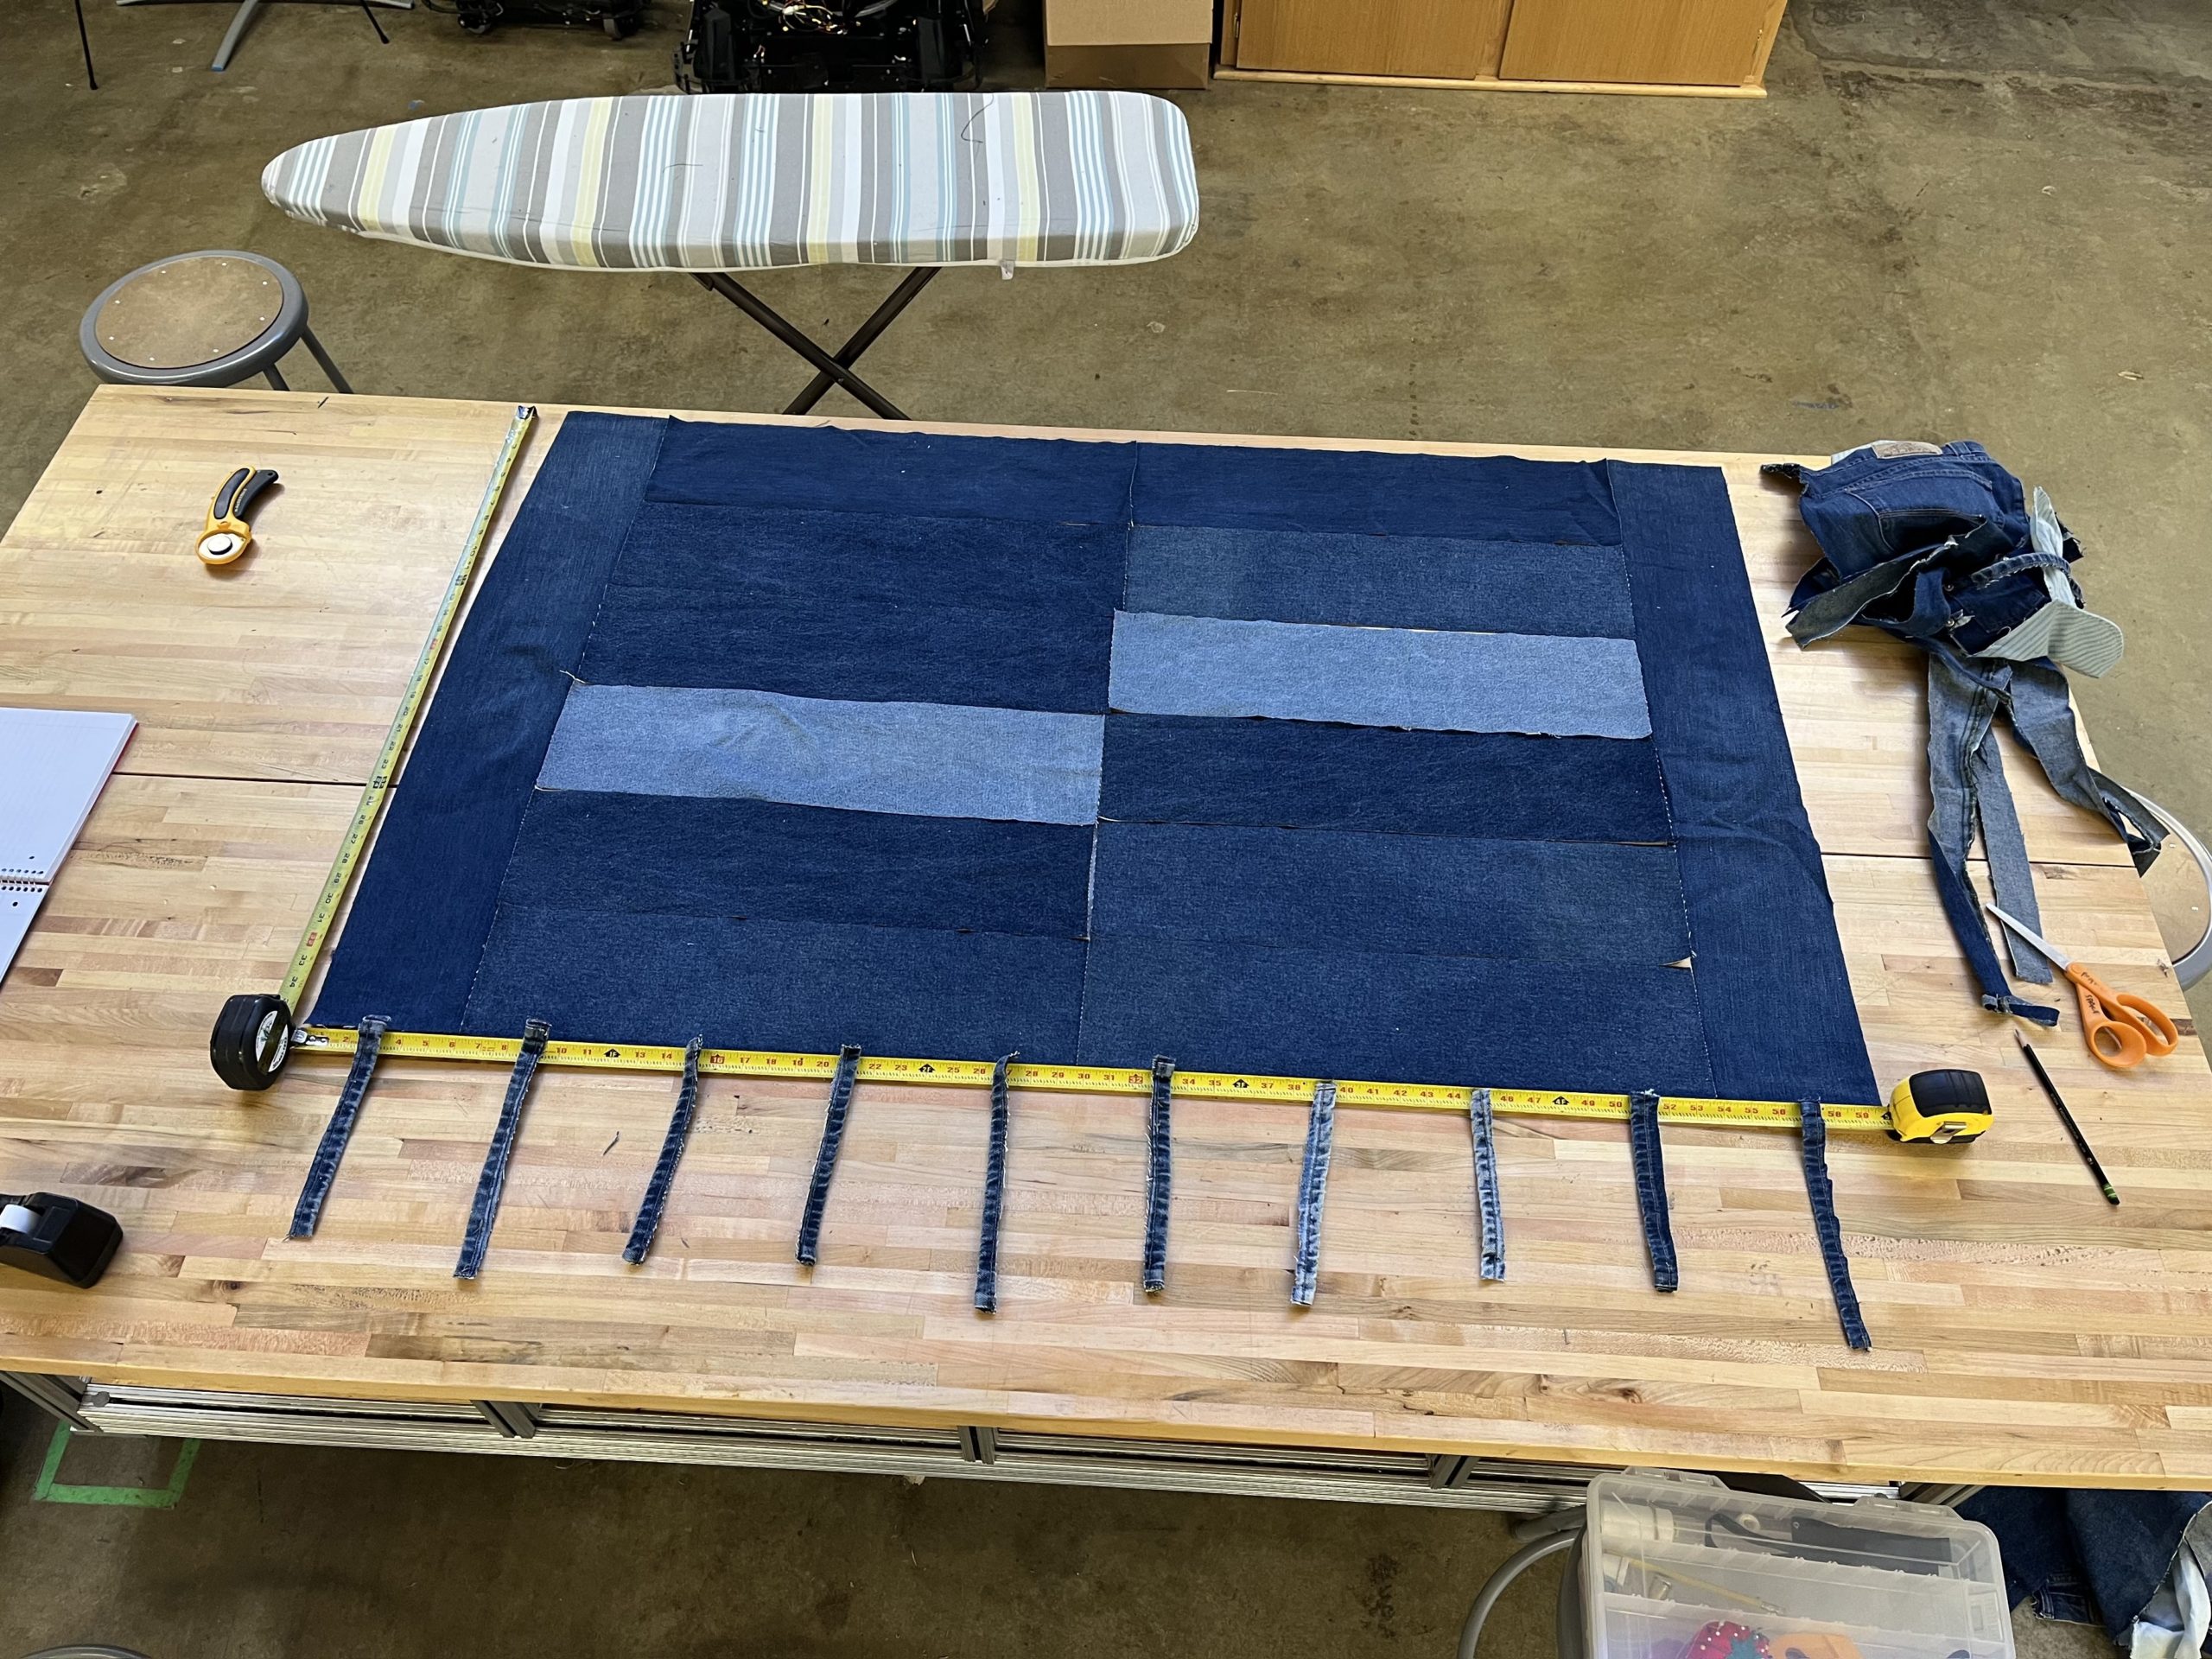
The next step was to plan how I was going to layout the tapestry. I decided to sketch a pattern and determine how many panels I had to cut and also determine the dimensions. Originally I wanted the piece to be 3′ x 5′, which left me with 12 6″ x 2′ panels and 2 6″ x 3′ panels. I then cut the panels using a rotary cutter and laid them out on the table.
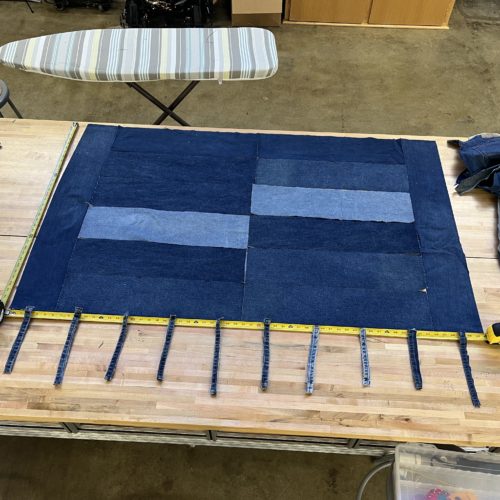
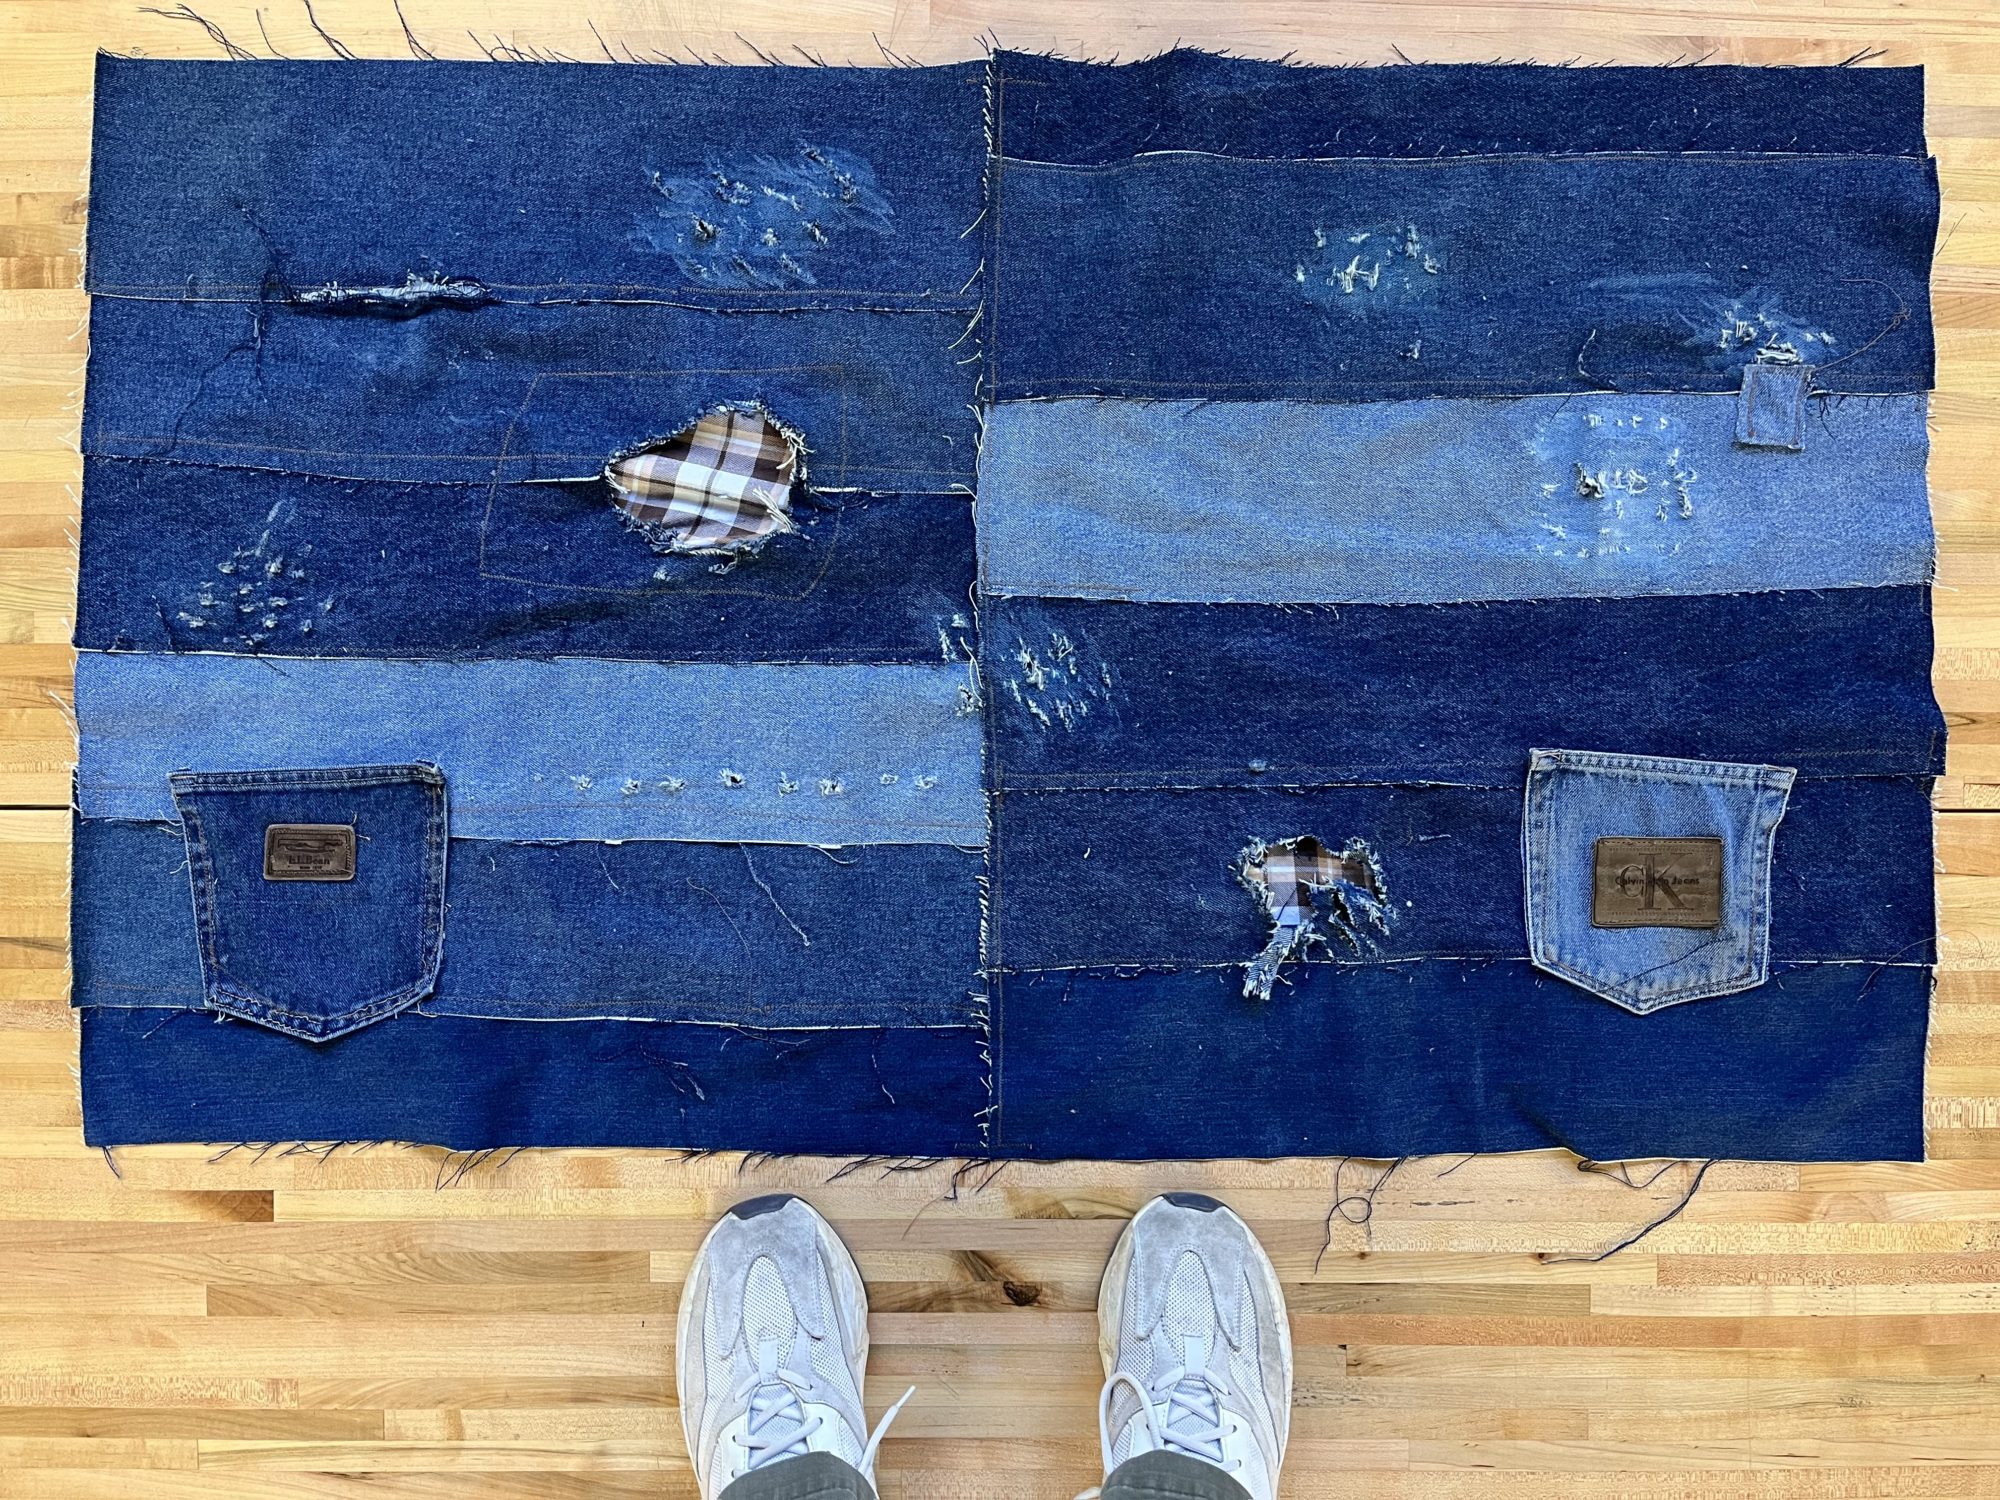
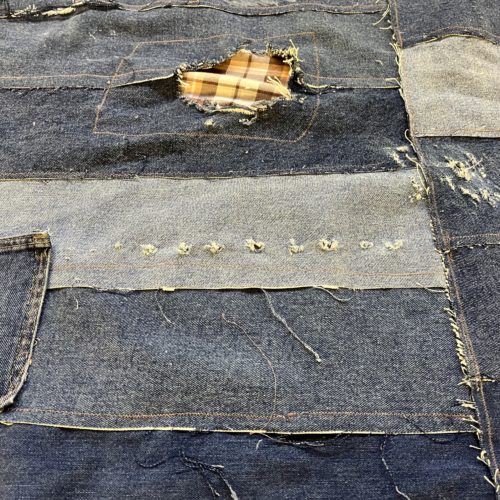
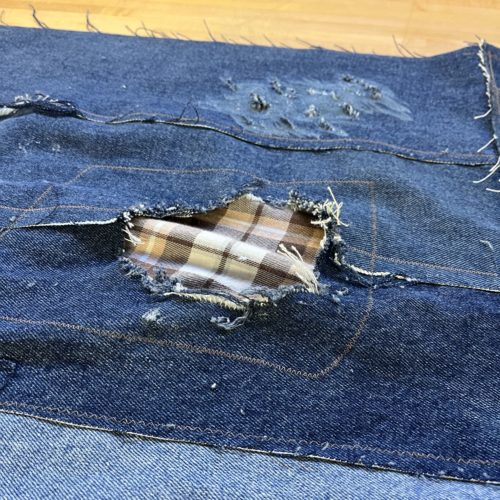
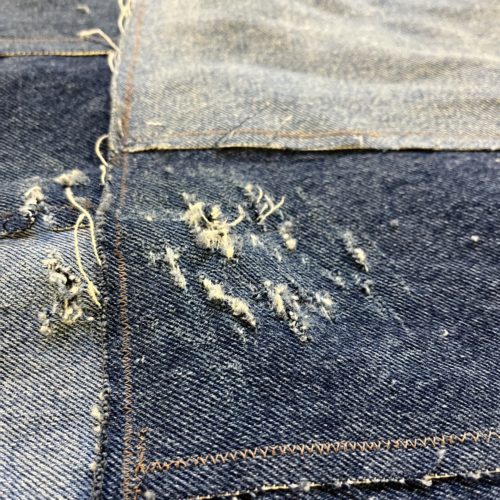
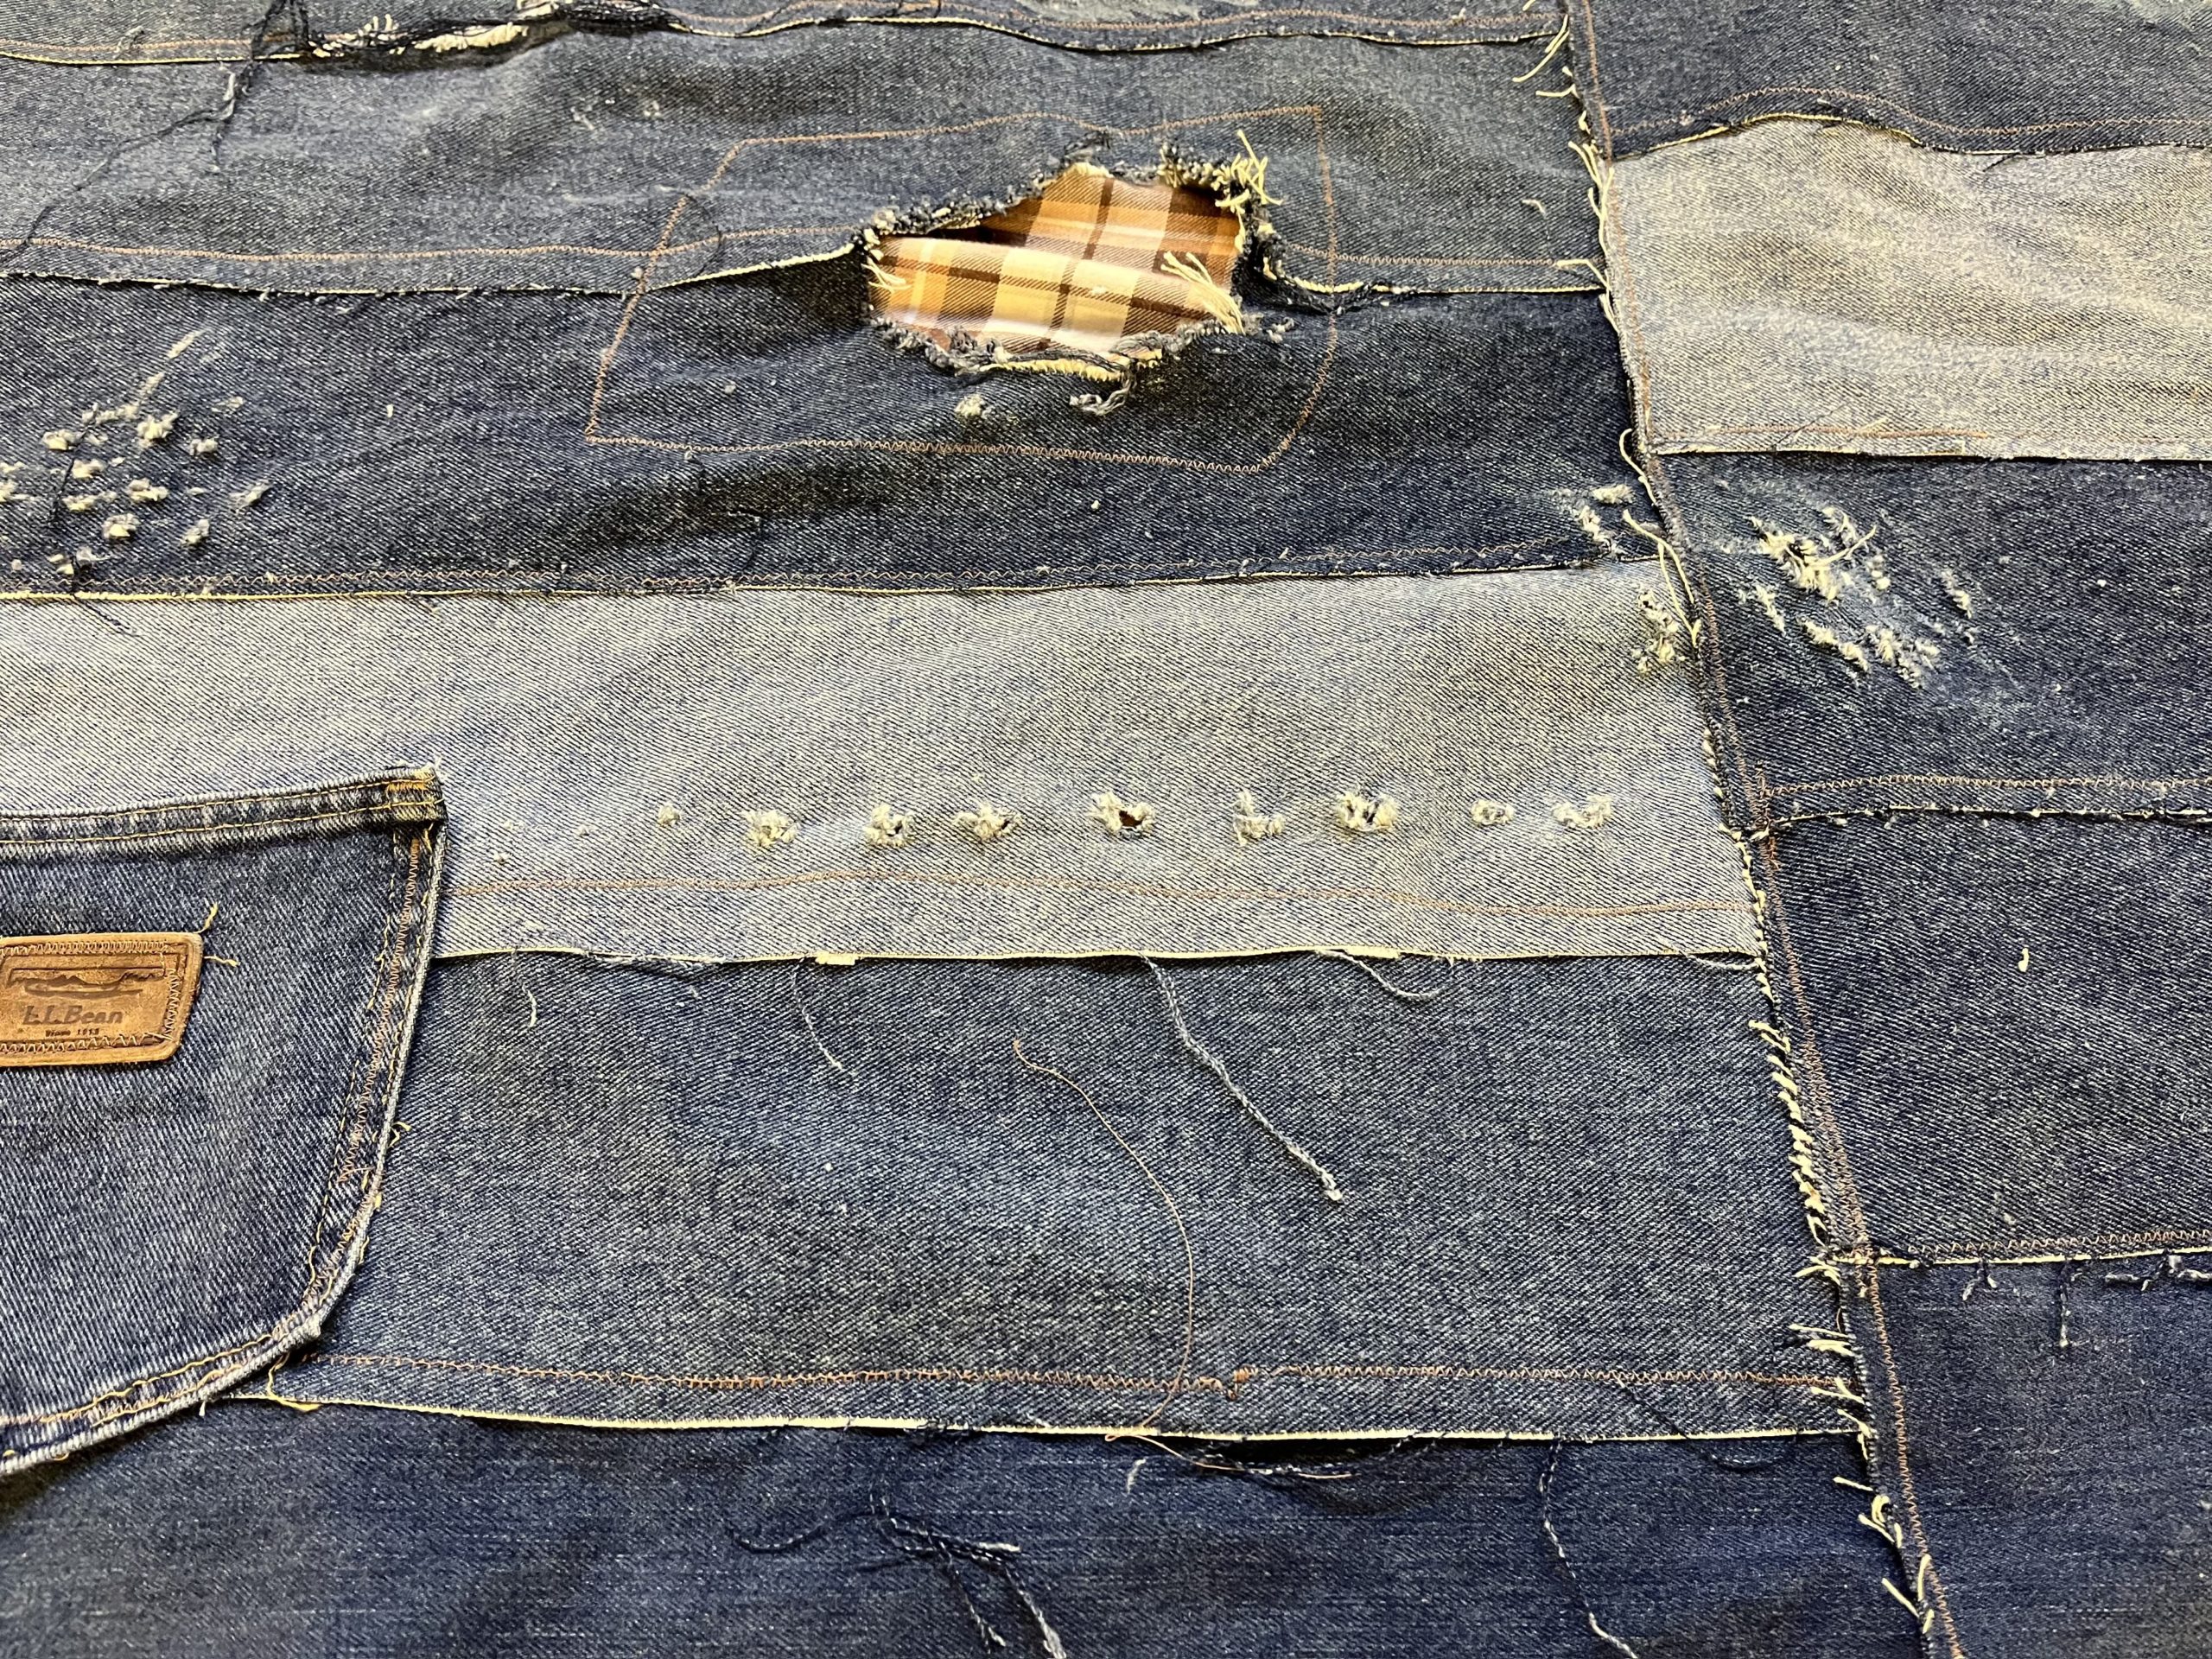
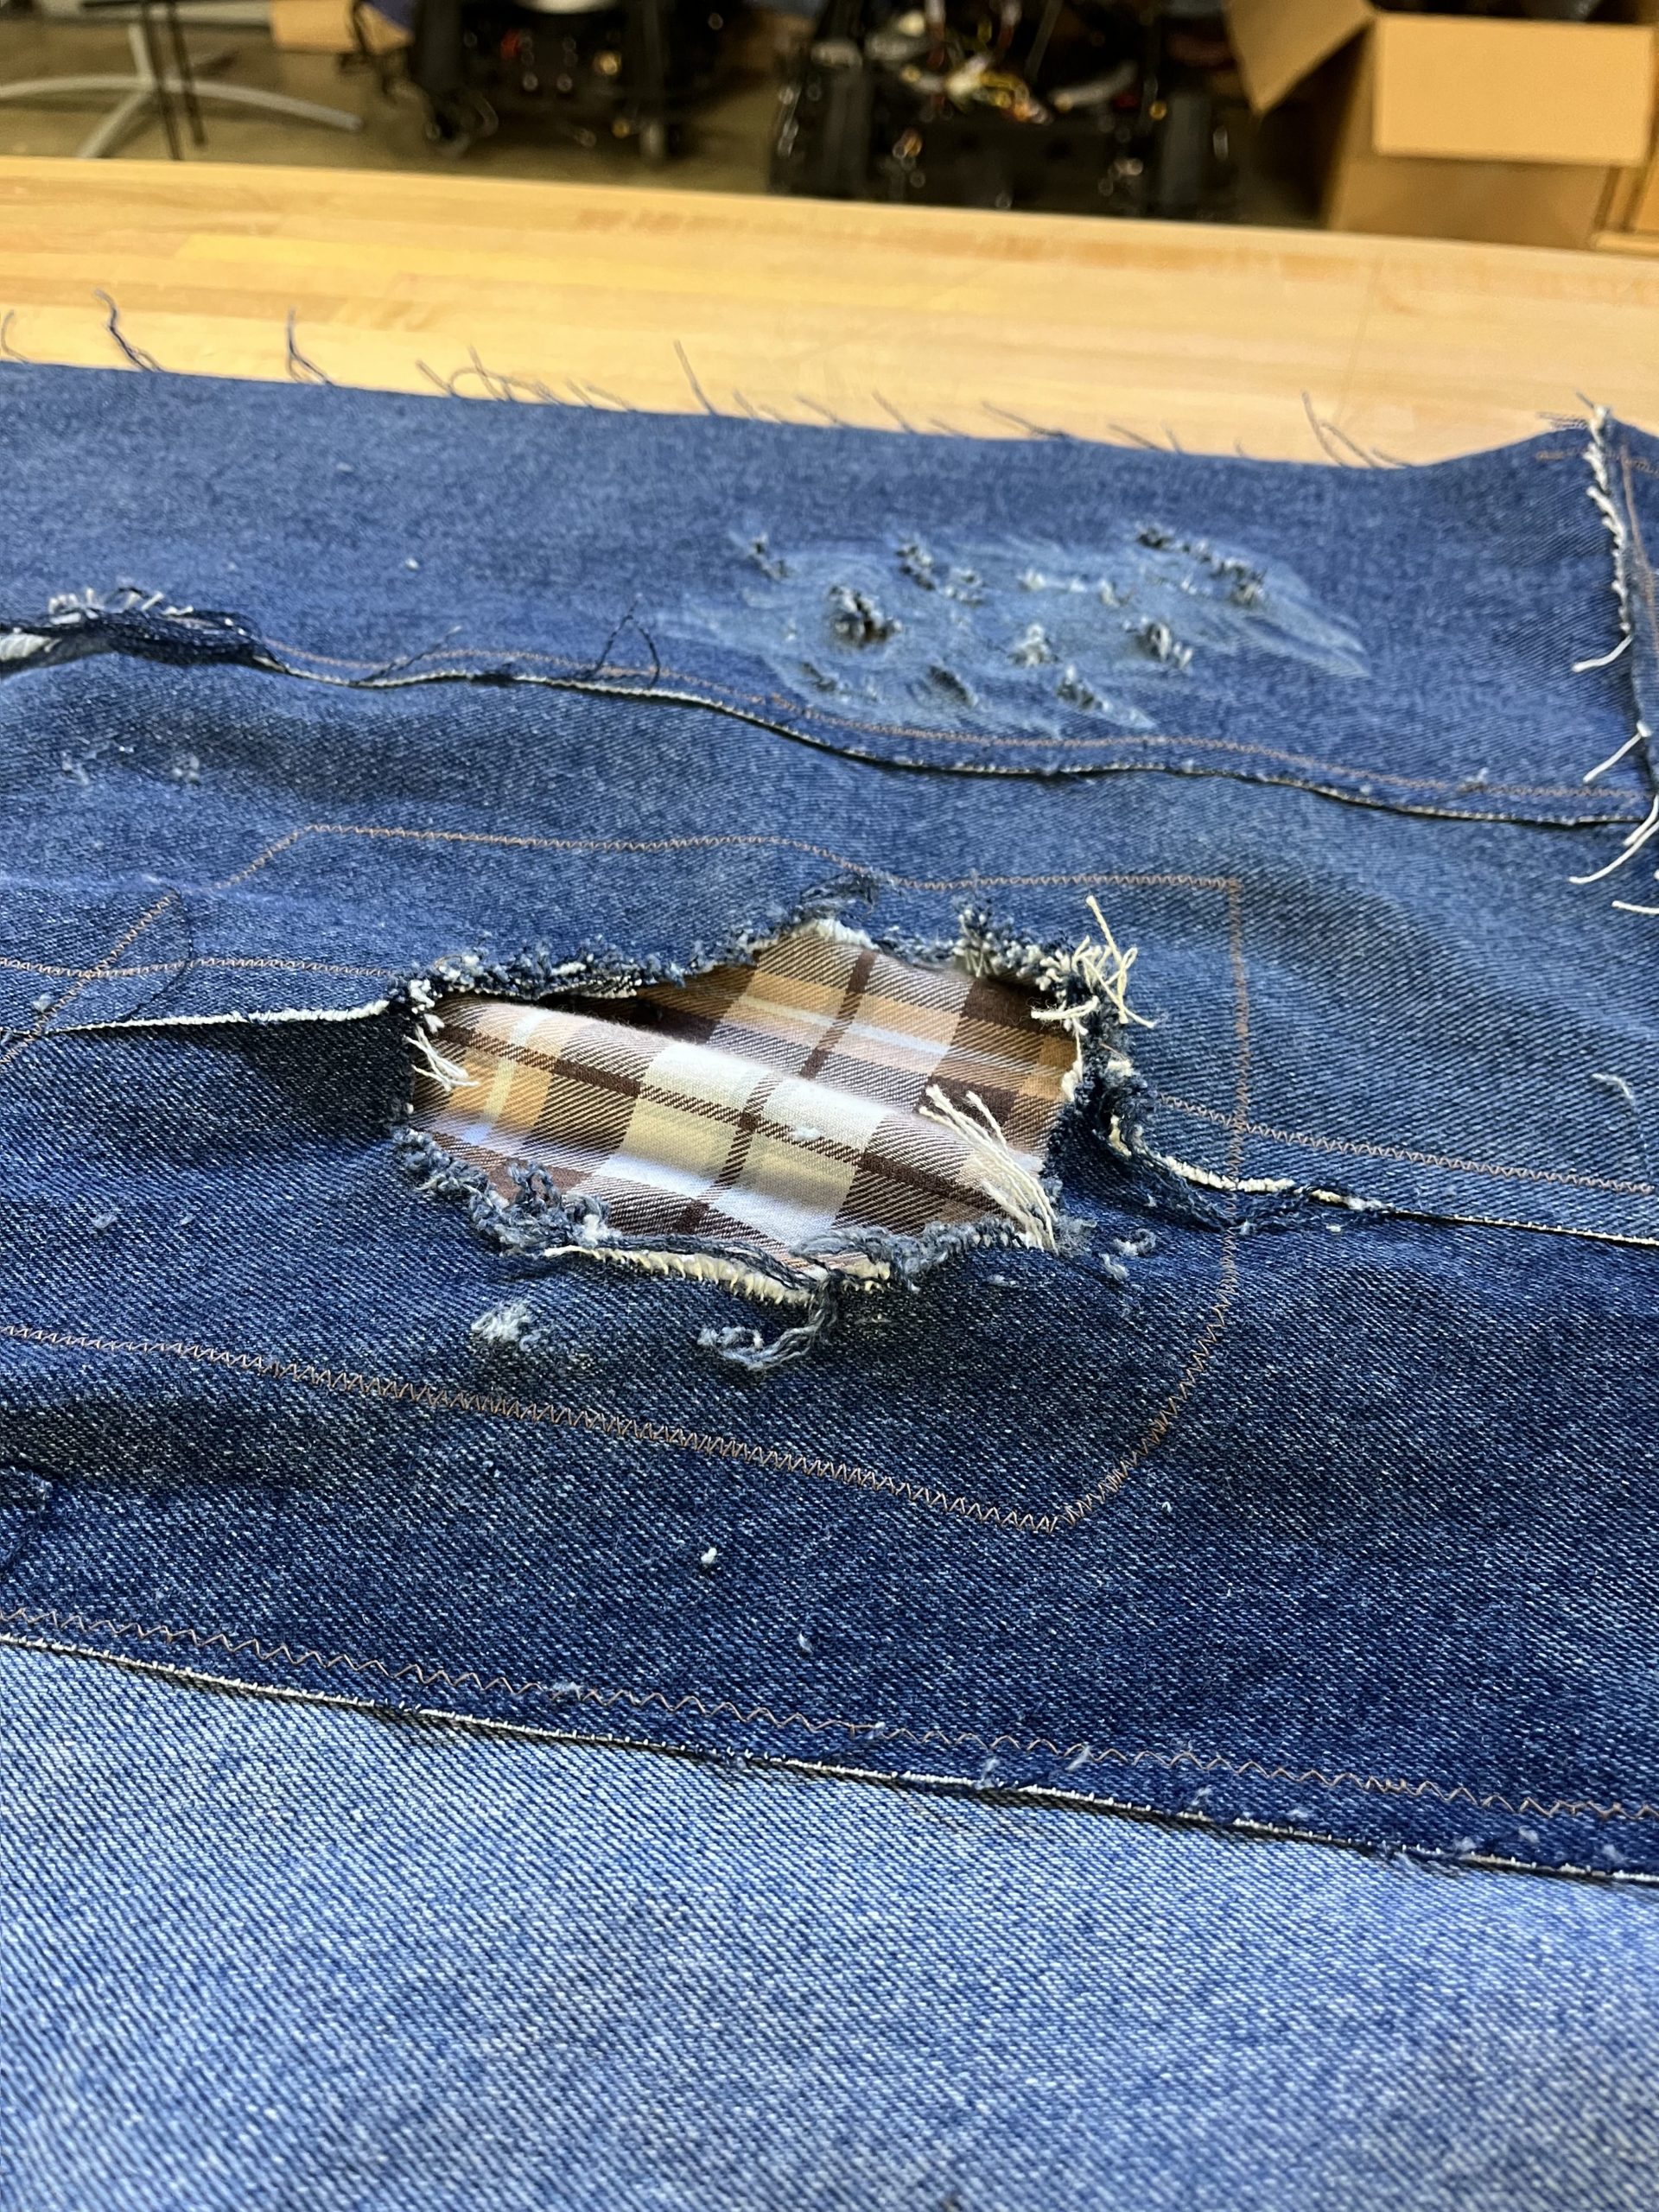
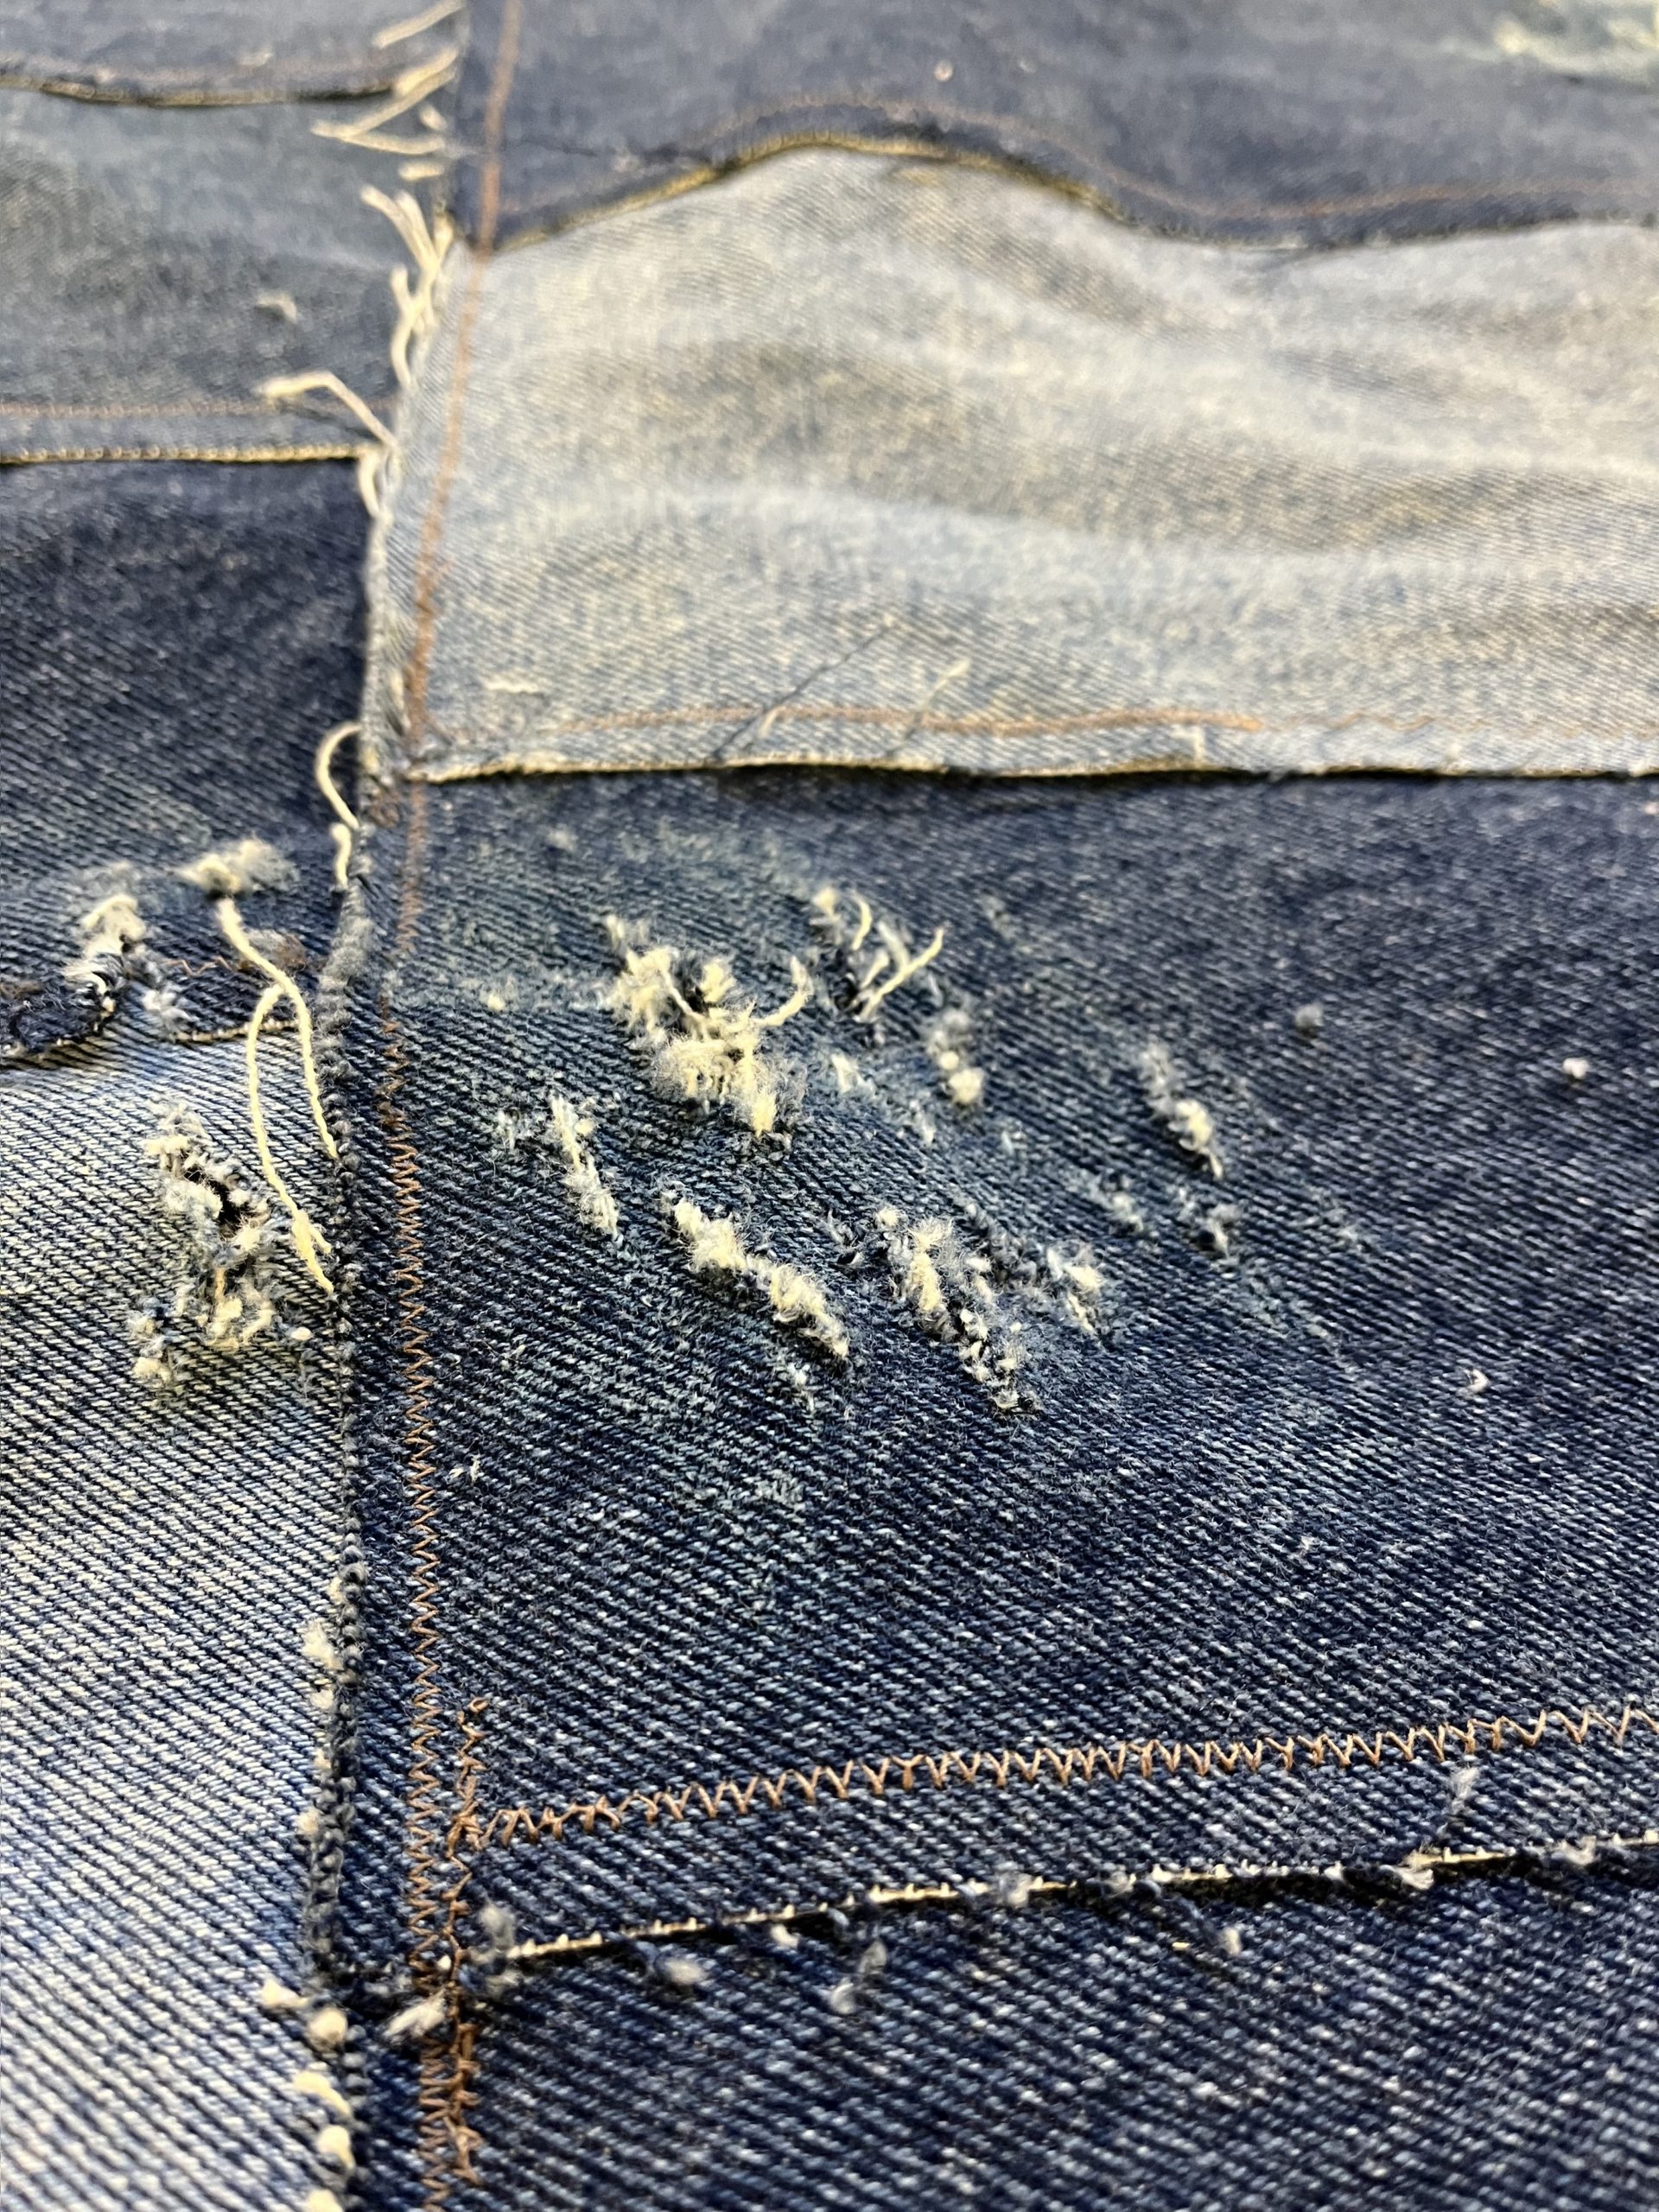
The next step was to sew the panels together. This is where the design changed as I realized that 3′ x 5′ was bigger than I really wanted and that I did not like the vertical panels on each side. I also decided to layer the panels like shingles to add depth to the piece, rather than trying to have tight seams. I sewed six of the 6″ x 2′ panels vertically by working with sections of two and then combining them. I did this twice and ended up with two pieces that lined up together. I then decided to offset the seams by taking a section off the bottom of one panel, lining them back up, and then cutting the excess from the other side. This left me with offset seams which I think works really nicely with the layered pattern. Another aspect of the aesthetic that I really wanted to capture was the distressing of the material, which emphasizes fixing a broken item. I used a file and steel wool to distress the jeans, and sewed a patch of flannel to cover an artificial hole. I also added a darker back pocket to contrast with the lighter materials.
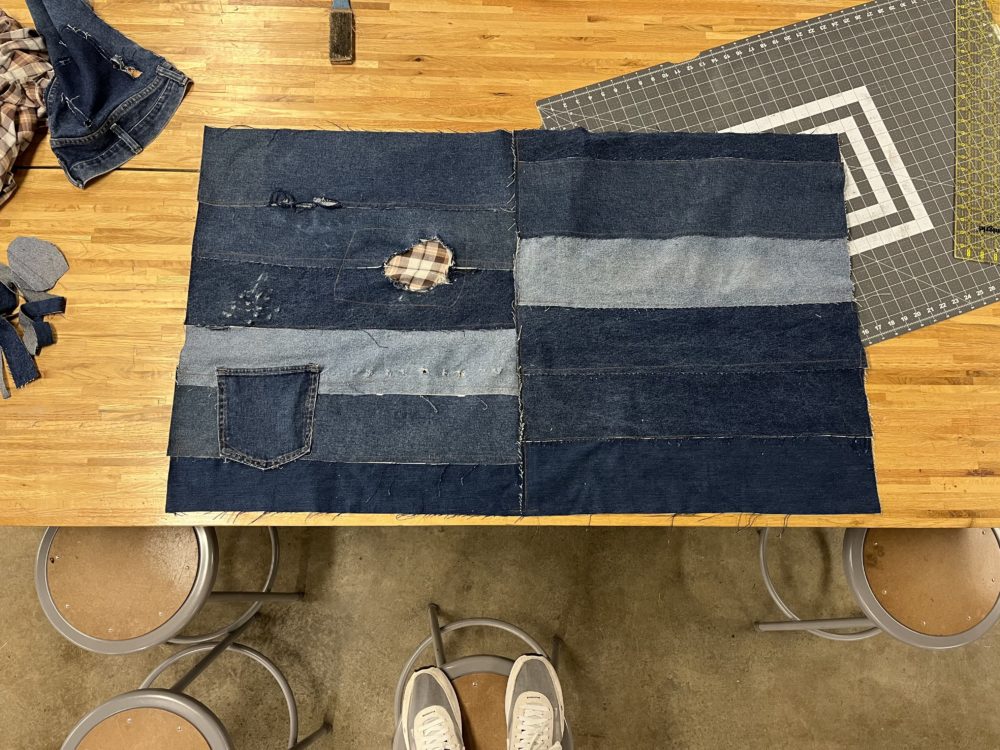
Next I wanted to ensure that the entire tapestry was distressed, and that I used more materials that I was able to get from the jeans. To get better distressing I used a dremel with a cutoff wheel, which worked much better than the file and steel wool. I also added patches from the back of the jeans to replicate the Kapital patch jeans. I also patched a hole on a dark surface by using a light colored patch, which I was inspired by the Kapital jacket. This is the final result of the tapestry for now, in the future I might add on more to it but I am happy with the result.

Overall I have had a great time with this project, as I feel I have been able to be creative and practice my sewing skills. I am very happy with the final product and plan to add on more to this over time.
Citations:
[1] “shaskio stitching boro patchwork” International Quilt Study Centre, University of Nebraska-Lincoln, 2009 [2] “KAPITAL 12.5OZ DENIM 5P RAT FLARE PANTS” Haruyama, 2022 [3] “Kapital Smiley Face” Pinterest, 2022
2 Comments. Leave new
Love the progression of your work on this project! I specifically like the little pockets you have and the small piece of flannel that adds texture and a pop of color. Also like that you decided to layer the pieces to add depth and you showed some calculations and sketches for your vision of the piece and you were able to adapt to a change in that design.
Where do you see the lifecycle of this piece? Once you have added more to it will you gift it to someone or perhaps hang it on the wall or even wear it?
I think this is something that I will keep for a long time, I had a really great time working on it and would like to make another that potentially explores earth tones. I plan to hand this on my wall above my bed, this is where I based the size of the piece off of. Lastly, I think I will continue to work on this project over time as well.