

At this stage, I have imported the code and done the soldering, so it’s now very robust on the connection between the led, the resistors, the wires, and the board. Also, I got a 9V battery for the power of the whole device. I’ll probably include a switch button (still not decided) to the device.
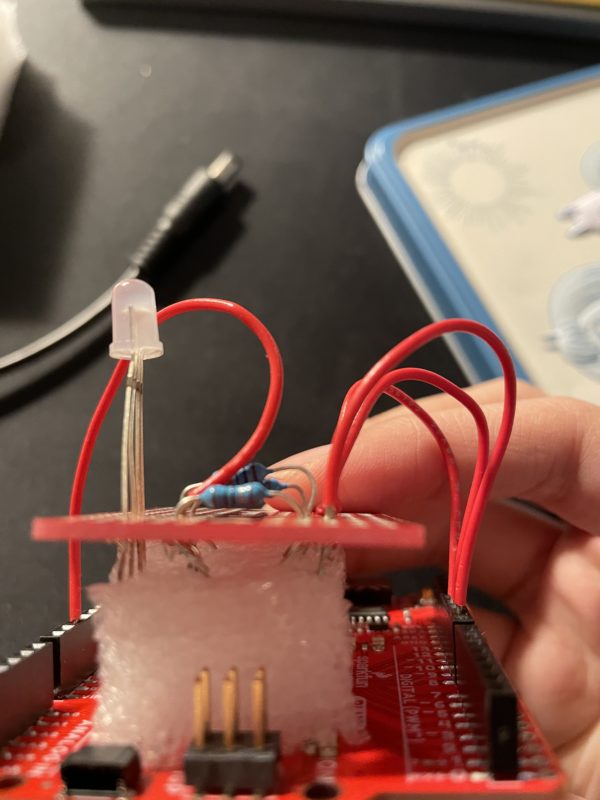
After I’m satisfied with the result of soldering, then I started to generate a box for laser cutting and do the laser cut in the BTU Lab. The first few cardboards I gave tests on are not going successfully. Though the power was set to 100%, still could not pass through the material. Finally, I got the board cut and glued it up with wood glue.
The prototype looks like this. (I accidentally found some pieces of tracing paper in my place, and they create some visually appealing illumination). And it inspired me of changing the material again when seeing these blurring effects. Why not hatch the acrylic boards, then make the roof of the cube thinner so the projection can pass through the material in the dark, and also can have a blurring effect on the shape hatching in normal natural indoor lightning?
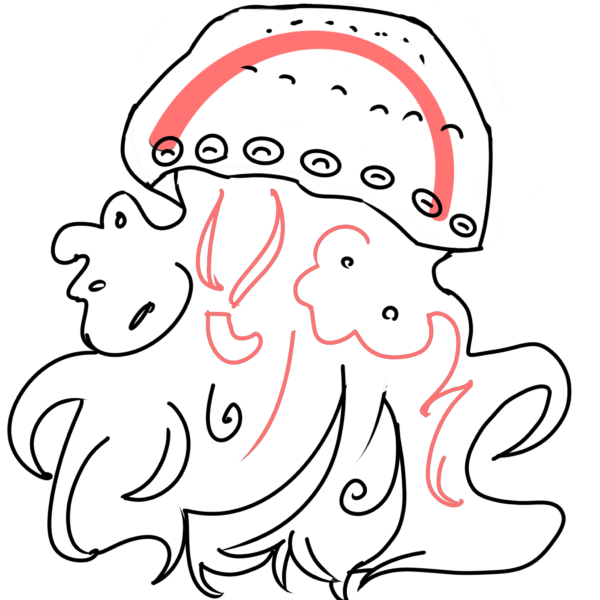
After I did a few sketches for the shapes by Procreate, I did the laser cut again to see how it would look on pre-sanded acrylic boards. Hatching and engraving will be added to the chosen material in the further progress.
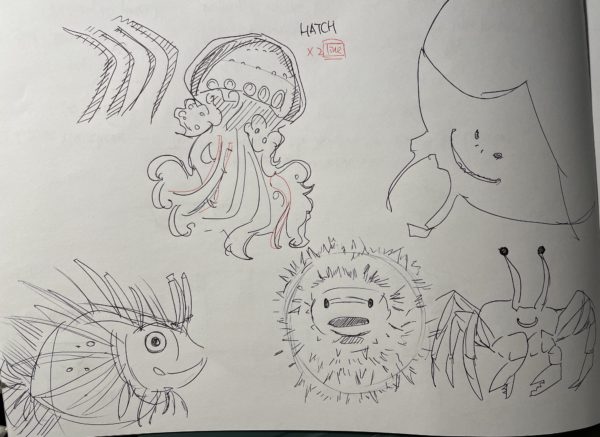
Initial paper sketches:
Final digital sketches:

2 Comments. Leave new
Amazing sketches! Will the entire box be made of acrylic, or just one side?
It’s looking really cool so far! Have you had any luck projecting things onto the ceiling yet?