
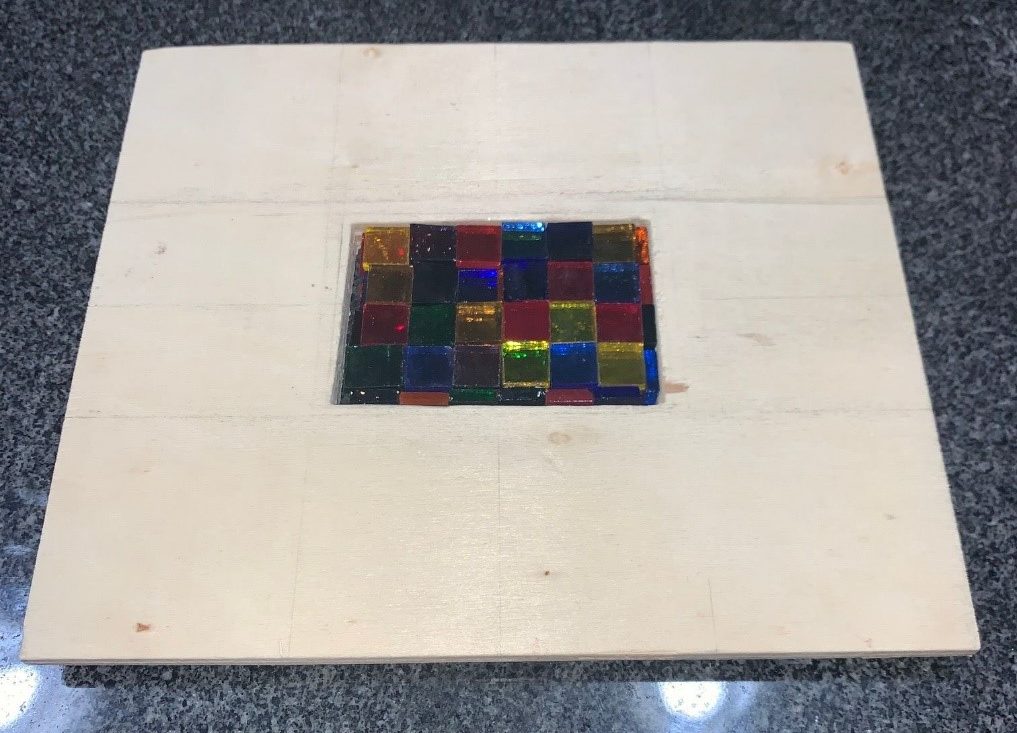
The final bit of this project has been solidifying secondary operations on the jewelry box. I was able to make the rectangular cutout in the lid for the stained glass. Using the scroll saw I was able to make that cutout in the center of the panel. Because the scroll saw is very sensitive it wasn’t a perfect rectangle so I used a wood file to make those edges straight.

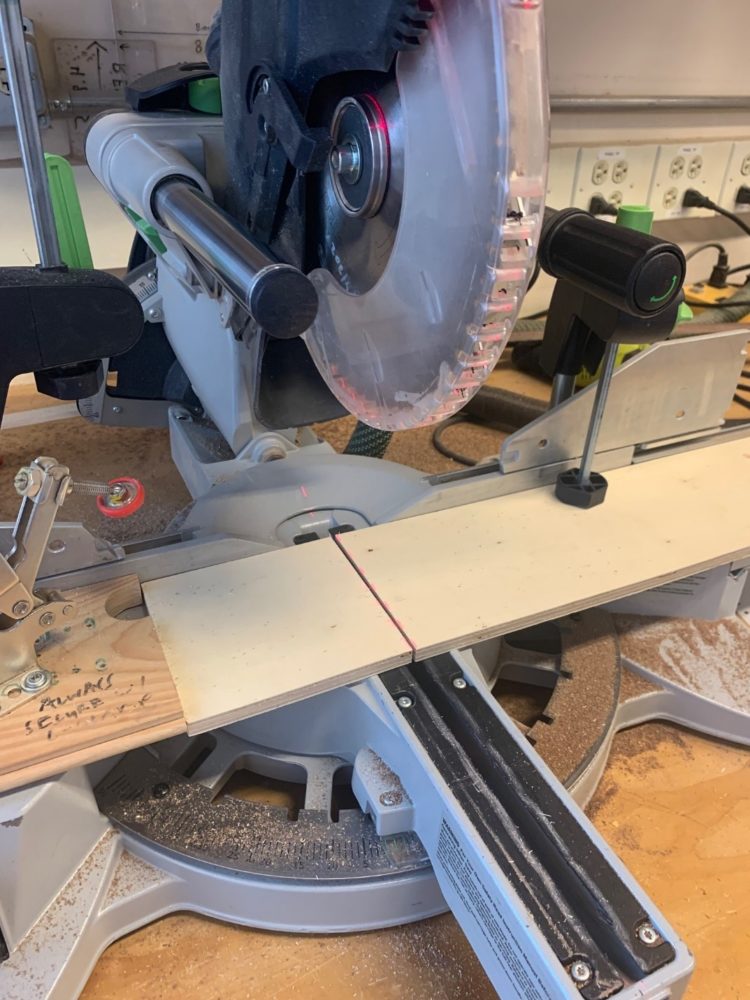
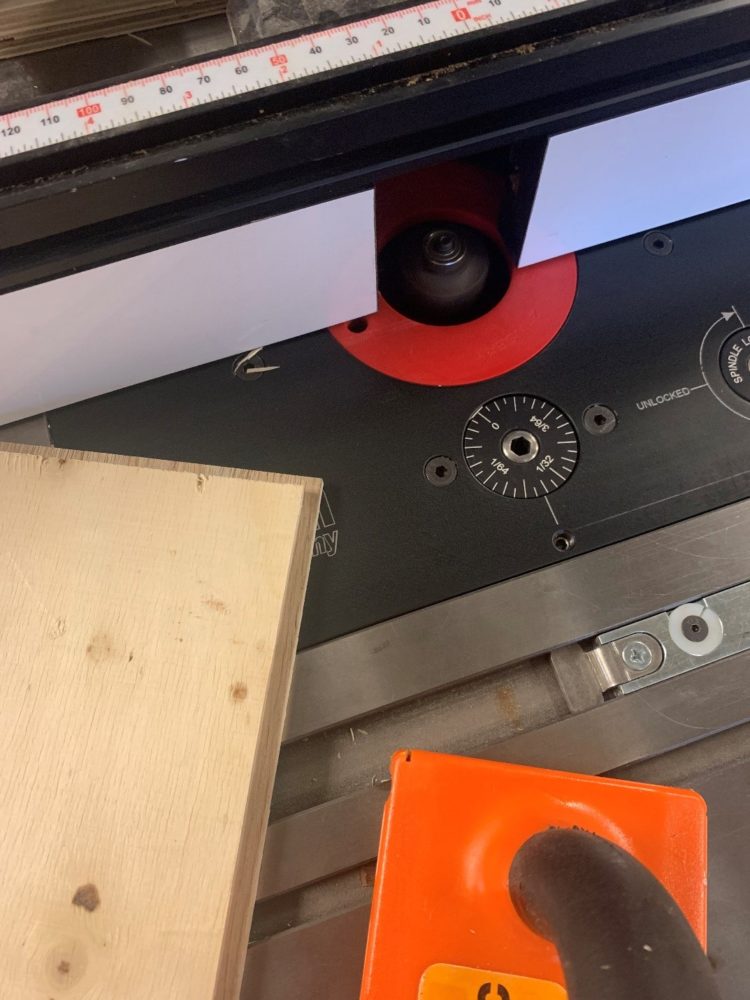
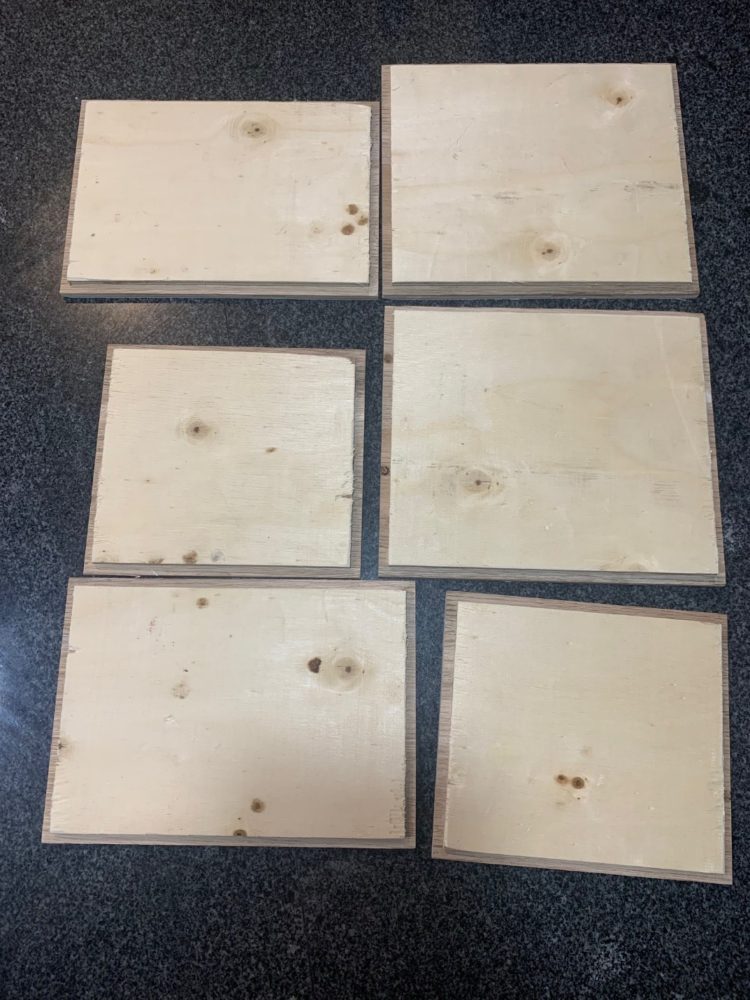
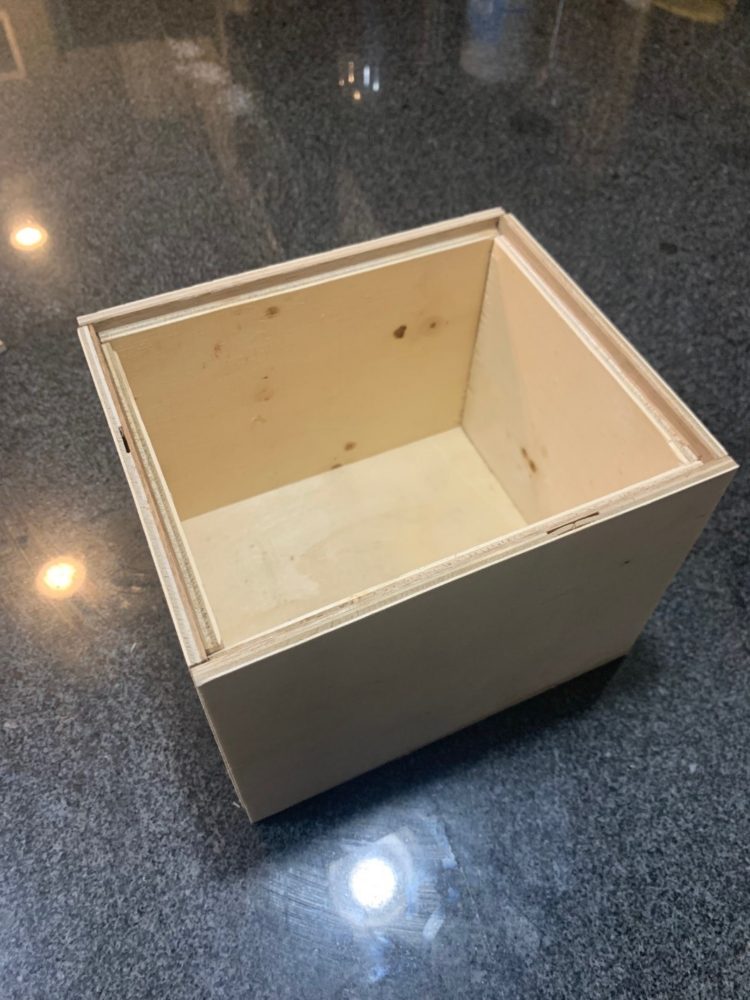
My previous posts give a more in depth description of the math and design intent behind the fabrication of this piece but essentially I used a circular saw, a router saw, and the scroll saw for the entire fabrication process. I made dado cuts on all the panels in order for them to fit more securely upon assembly. Here are a few images from manufacturing progress and the dry assembly of the box.
Moving forward I’ve sort of switched gears with the aesthetic. I decided I like the natural wood look a lot more than oversaturating it with black and gold paint. I’ve decided to go for a wood stained look and will apply some shade of light-dark polyurethane varnish to bring the wood to life a little bit more. Once I coat those panels I will be able to add the hinges to the back for a functional box! Because the box is slightly larger than intended for small jewelry, this could work as a decorative piece that holds various trinkets that I have. The next post will detail more of the aesthetic side which includes coating, hinges, and maybe a felt interior for placing keys and other items in the box.
1 Comment. Leave new
Hey Rachel! So good to see the process you’ve made on this even just from the last time you presented. The glass looks great and I can’t wait to see the finished piece!