
Skateboarding has been around since the 60s and has changed quite a bit since its introduction. Over the years, advances in manufacturing, materials, and general deck knowledge have caused the skateboard deck to evolve significantly. For my final project, I made my own skateboard deck using a homemade press and mold. The mold provides the contours into which the deck will be pressed, while the press provides the force which tightly adheres the wooden veneers together with glue. This method of manufacturing, while on a much smaller scale, is identical to how most decks are manufactured in today’s commercial woodshops.
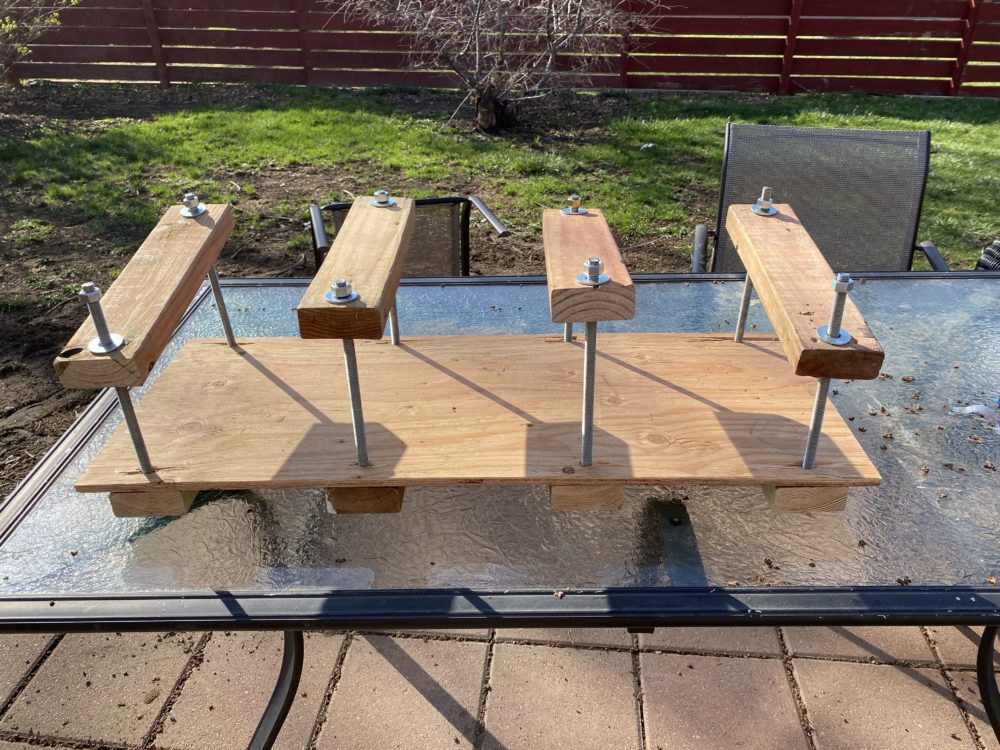
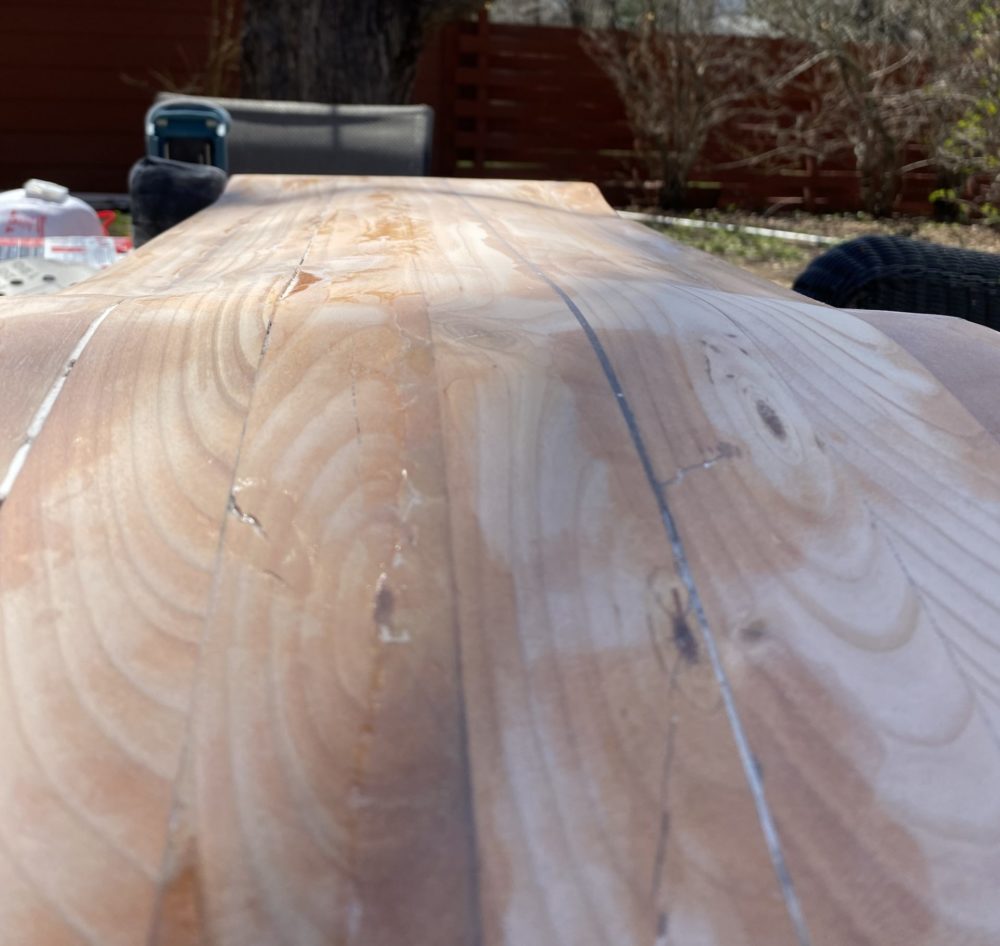
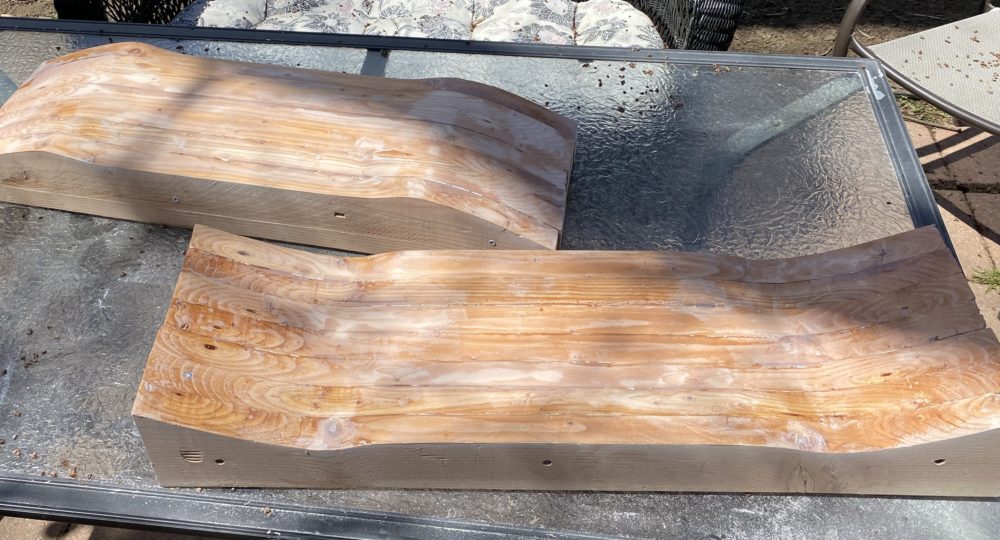
(1) Homemade Press (2) Wooden Mold (3) Wooden Mold
I wanted to create a deck with an 80s pool skating aesthetic that will function like a modern-day street skating deck. Pool and vert decks are generally wider, have longer wheelbases, and have long and blunt noses. On the other hand, street decks are usually symmetrical with a slightly shorter wheelbase and squared shovel-like noses. My deck has a similar width and shape as a pool skating deck but with a much shorter wheelbase. The mold I created has a 13.875″ wheelbase, making it even shorter than a street deck. This modification will allow me to control the board like a street deck, regardless of its cumbersome size. It was essential that the mold be extremely smooth with no drastic high or low points and I think I have done a good job in accomplishing this.
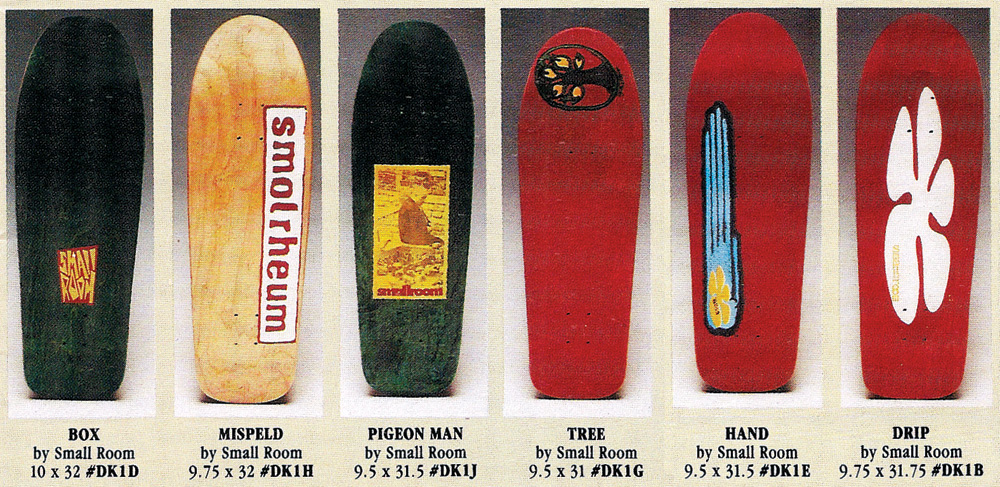
(4) Pool/Vert Decks
I’m happy with the shape of my deck. It might have added to the aesthetic if I had put more of a taper toward the tail. As of now, the upper half of the board is about 9″ wide and it tapers down to 8.5″ at the tail. While this doesn’t seem like a whole lot it will certainly be noticeable when riding the board. I cut the nose a bit more round than I anticipates but I think it will be more practical for street skating this way anyhow. The tail is probably my favorite part of the deck. It’s quite squared off on the corners but there is still some curvature along the end to help with tricks where you need to pop and flick off of the corner of the tail. Due to the way I made the mold, this deck has some steep concave between the bolts. Most decks have a flat zone in the middle of the board and a curl along the edges but this deck almost comes to a channel in the middle. I’m excited to see how this will affect the performance.
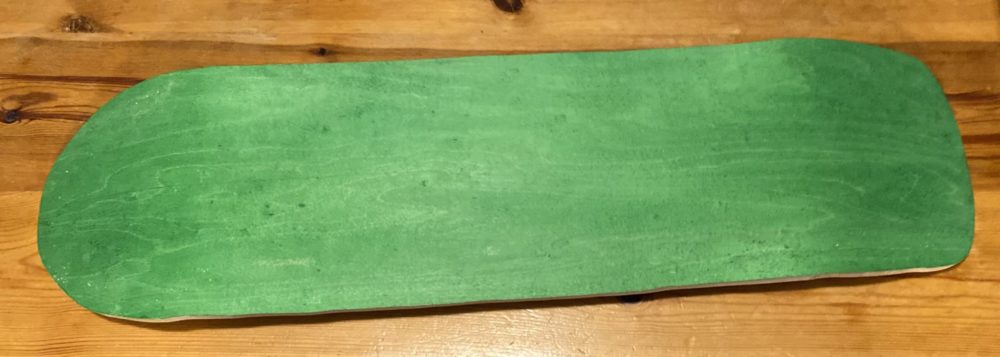
(5) Deck Before Finishing
I decided that any type of design on the graphic would detract from the qualities of the deck I wanted to highlight. After receiving the dyed veneer I knew it was too beautiful to cover up. However, I also, felt like a completely green deck would be a little too plain. To merge both of these ideas. I decided on painting a third of the deck black. I thought the dark black would provide a nice contrast with the bright green and a sharp line between the two would further emphasize this contrast.
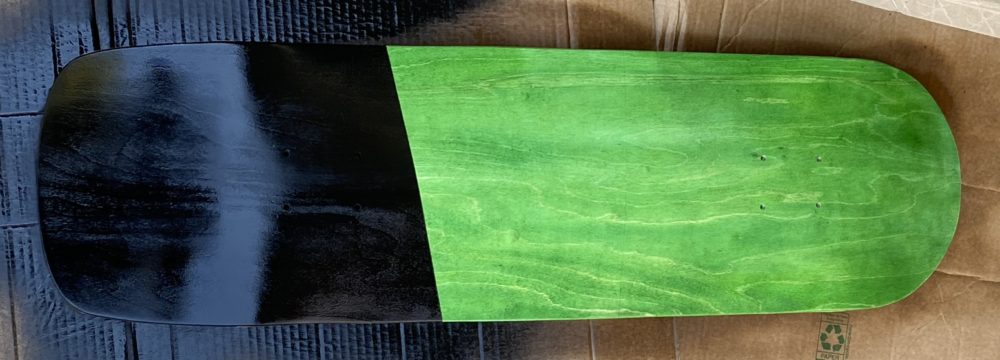
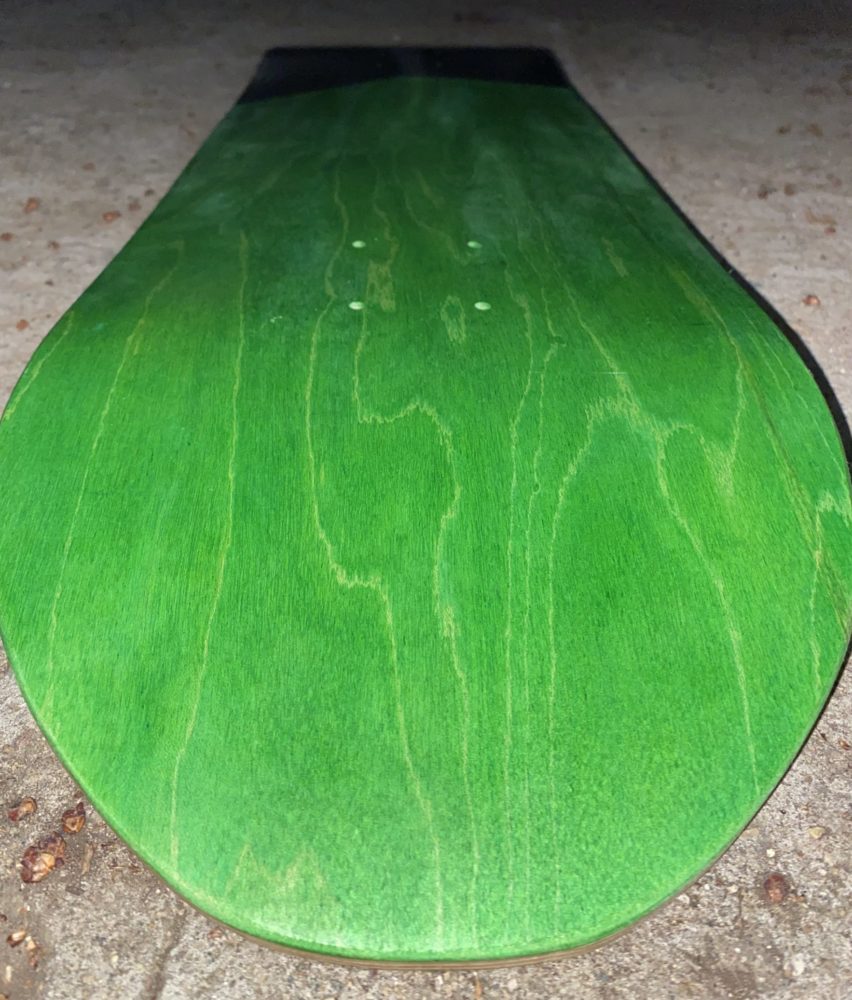
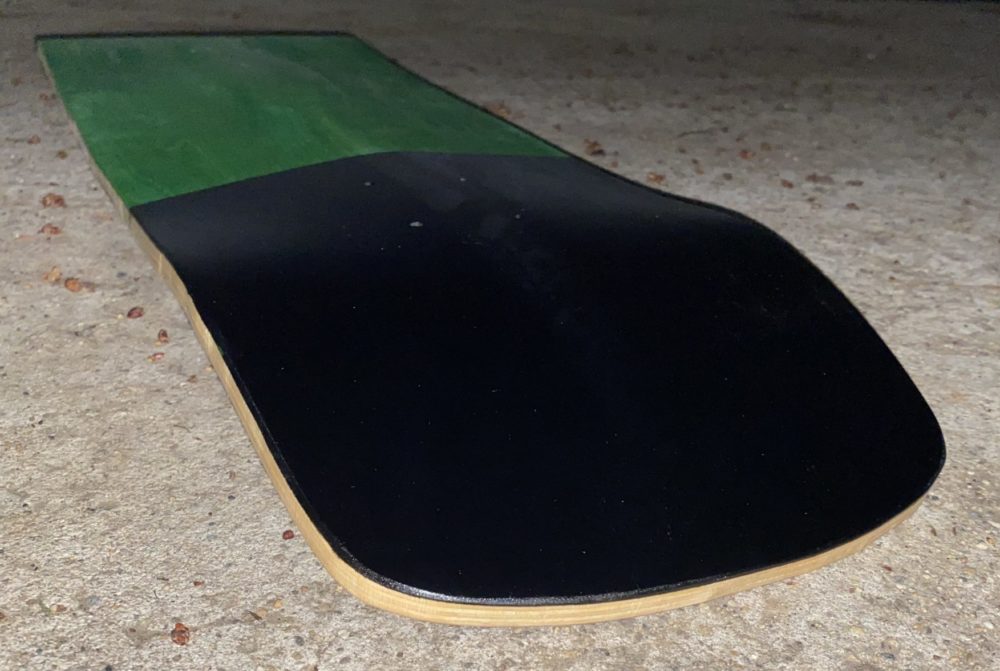
(6) Deck After Finishing
I’m very happy with how my deck came out. I’m simultaneously super excited to see how it skates and too proud of it to let it slowly get destroyed from skating.
References
(4) http://vertisdead.blogspot.com/2016/08/small-room-skateboards.html
2 Comments. Leave new
Wow this turned out great! Really cool to see it all come together. Leaving the stained veneer as is looks great! Have you tested it out yet?
Hi Lucas, I’m glad to see that your project was a success. I think the black and green paint job looks great, I think you should add a video of you skating on the board.