

Part 2: How
Although, I kind of flopped on documenting and taking photos of my project throughout the creation of this project, I am able to go into depth about the process, tools, and materials I utilized throughout the duration.
Timeline Graphic:
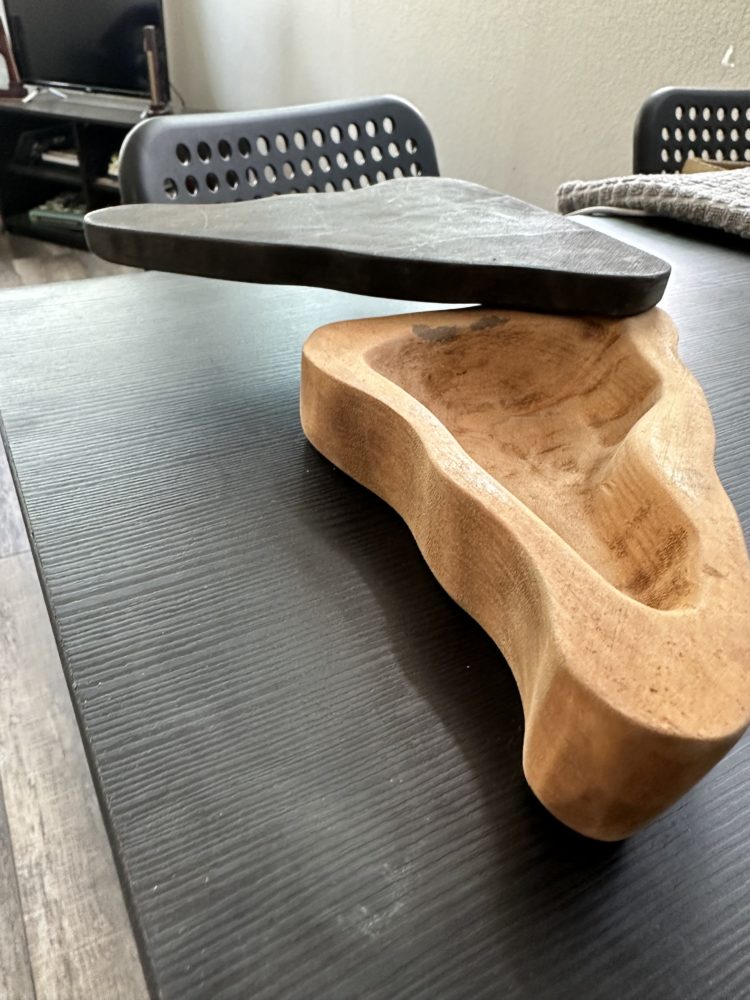
The first step I took to create my jewelry box was taking a deeper dive in my aesthetic; midcentury modern furniture. This involved creating a concept board ( included below), studying various designers from this era (refer to my previous post, final report part 1), and just making note of common themes and characteristics of Mid-Century Modern design. After doing my due diligence, I started to sketch some ideas and looking at some options in relation to materials. I was aware that teak wood was highly popular and utilized at during the 50s and 60s for midcentury modern furniture. But teak wood is awfully hard to get ahold of, so that wasn’t really an option. So I ended up looking at t options that just fit the budget. So I ended up just using plywood, that way it would be easy to little away at. When to Home Depot, bought small pieces of scrap wood and was able to basically build everything while I was home for Spring Break. Used a band saw to cut the organic shape, an industrial sander to begin to hollow out the inside of the box and then also used the sander to sand down the outside of the box. I wasn’t satisfied with the way the inside was turning out so I ended up just hand sanding, and whittling it down. I was not an easy process, nor my favorite but it got done. Took a ton of time. After that, I was able to stain both sides of the box and then insert the pin. This was not as smooth as I would’ve hoped for but we got it. The pin is so thin, I was able to just hammer it into both sides and then solidify it with glue.
In conclusion, I was able to basically finish the project and get to a decent point. But I would say it’s not exactly where I would like it to be in terms of quality. The box could still use another coat of varnish and some more sanding. Overall though, I am pretty pleased with how much I was able to do in such a short period of time, on top of everything else I had going on. Just very glad to be wrapping everything up! If I were to do this over again, I definitely would rework the way I hollowed out the inside and I would probably look at some other options for the sizing of the box itself. I almost think it would be easier to work with if it was scaled up, rather than being as small as it is at the moment.
Anyway, thank you for reading my post. I wish you all the best of luck in your future endeavors!
![]()
![]()
