
 All of the software and emulation in the Pirtle is powered by a Raspberry Pi 4, while this is probably overkill for the types of games I’m looking to play (gameboy, arcade, and NES for example) its what I had on hand during the chip shortage and the crazy high prices of Raspberry Pis. The power management is handled by the pi sugar s which came with a 5000mah battery. Running the pi, 5″ LCD, and controller, this will probably give around 3 hours of battery life.
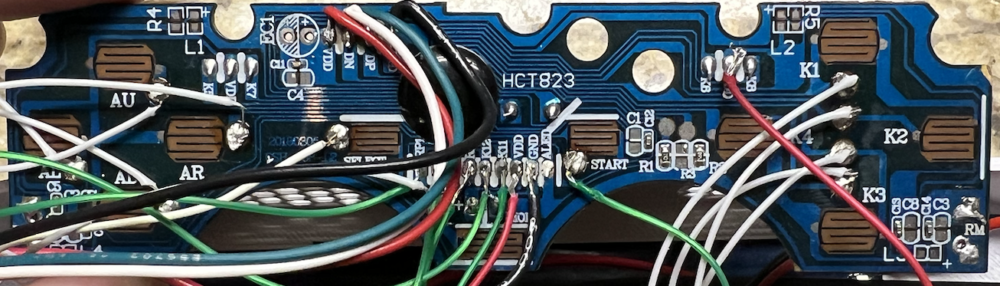
Because the Raspberry Pi doesn’t accept any analog input, and I didn’t want to slow down the emulation on the Pi by adding processing load, I decided to use the motherboard from the retro power dual-shock controller to read alll of my controller inputs and communicate them to the pi via its USB.
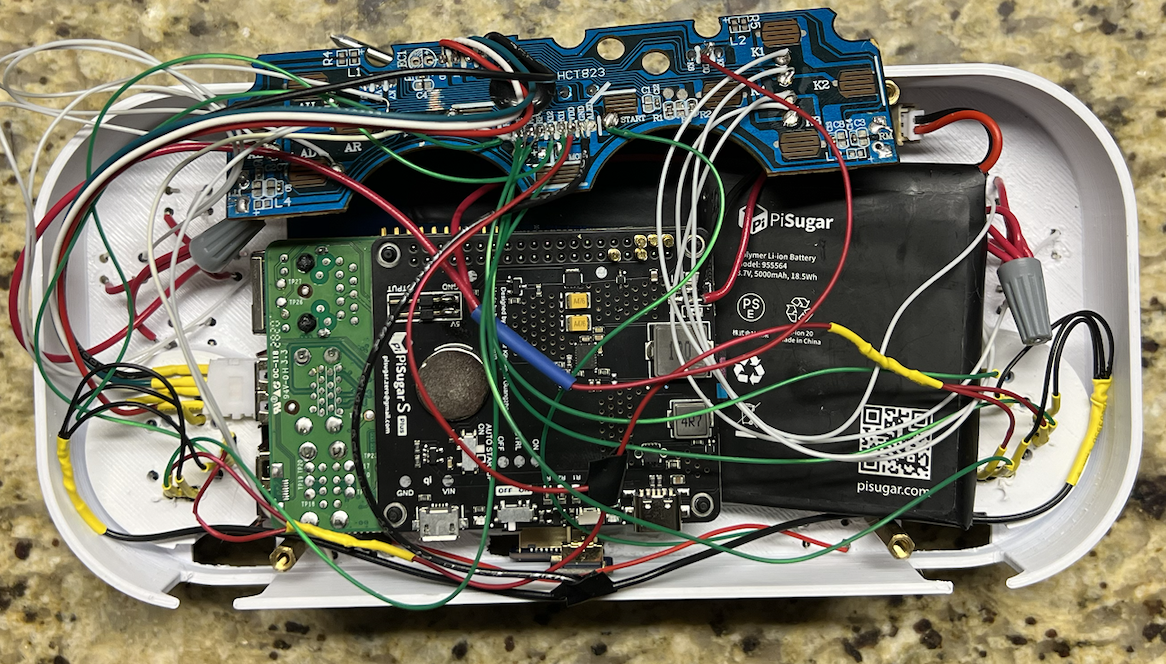
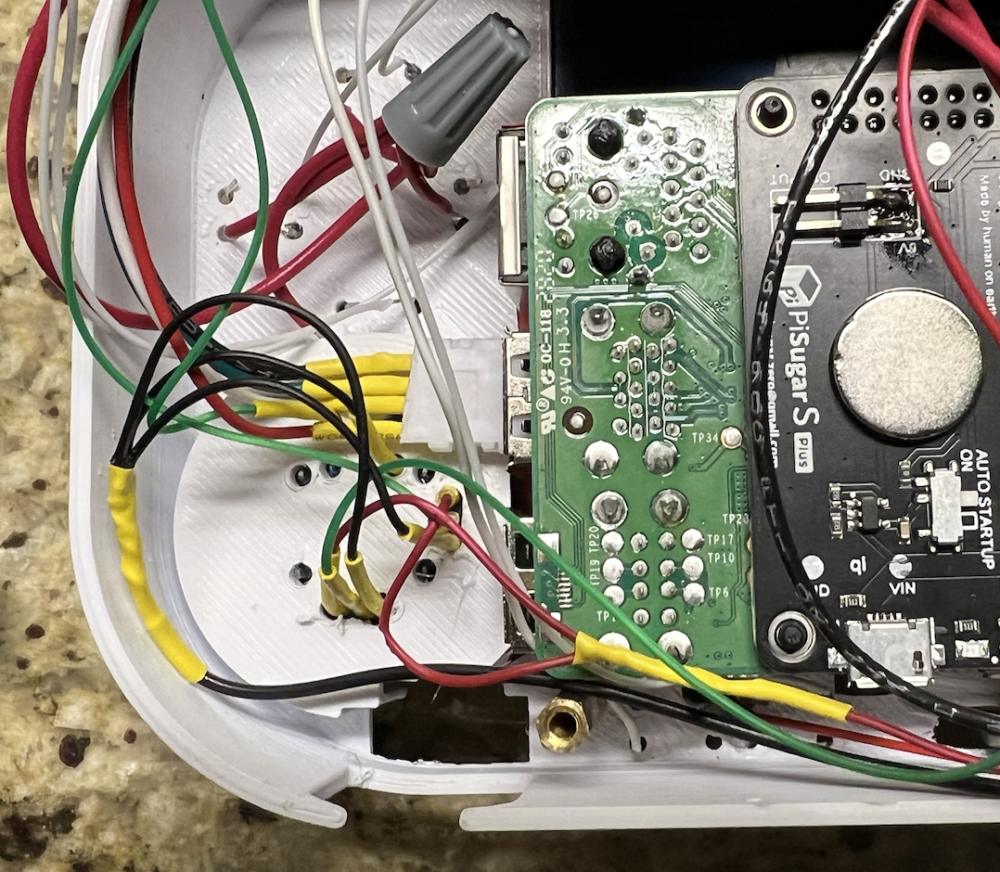
Luckily the dual-shock PCB fits perfectly snuggly between the R-Pi and the standoffs from the LCD display, so the back of the controller can fit to the back of the LCDS standoffs. The bottom of the joystick shelf is so close to the usb ports on the R-Pi that I had to fully deconstruct a male USB for it to fit. I also havn’t yet added the quishy buttons for the bumpers/triggers, so their covers are loose and can be sunken into the device.
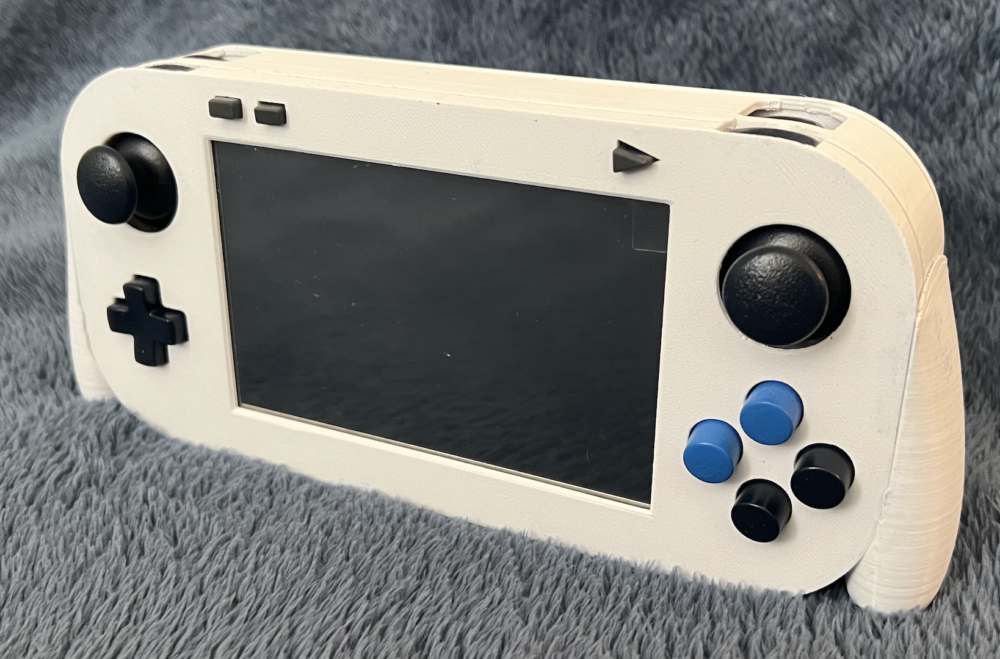
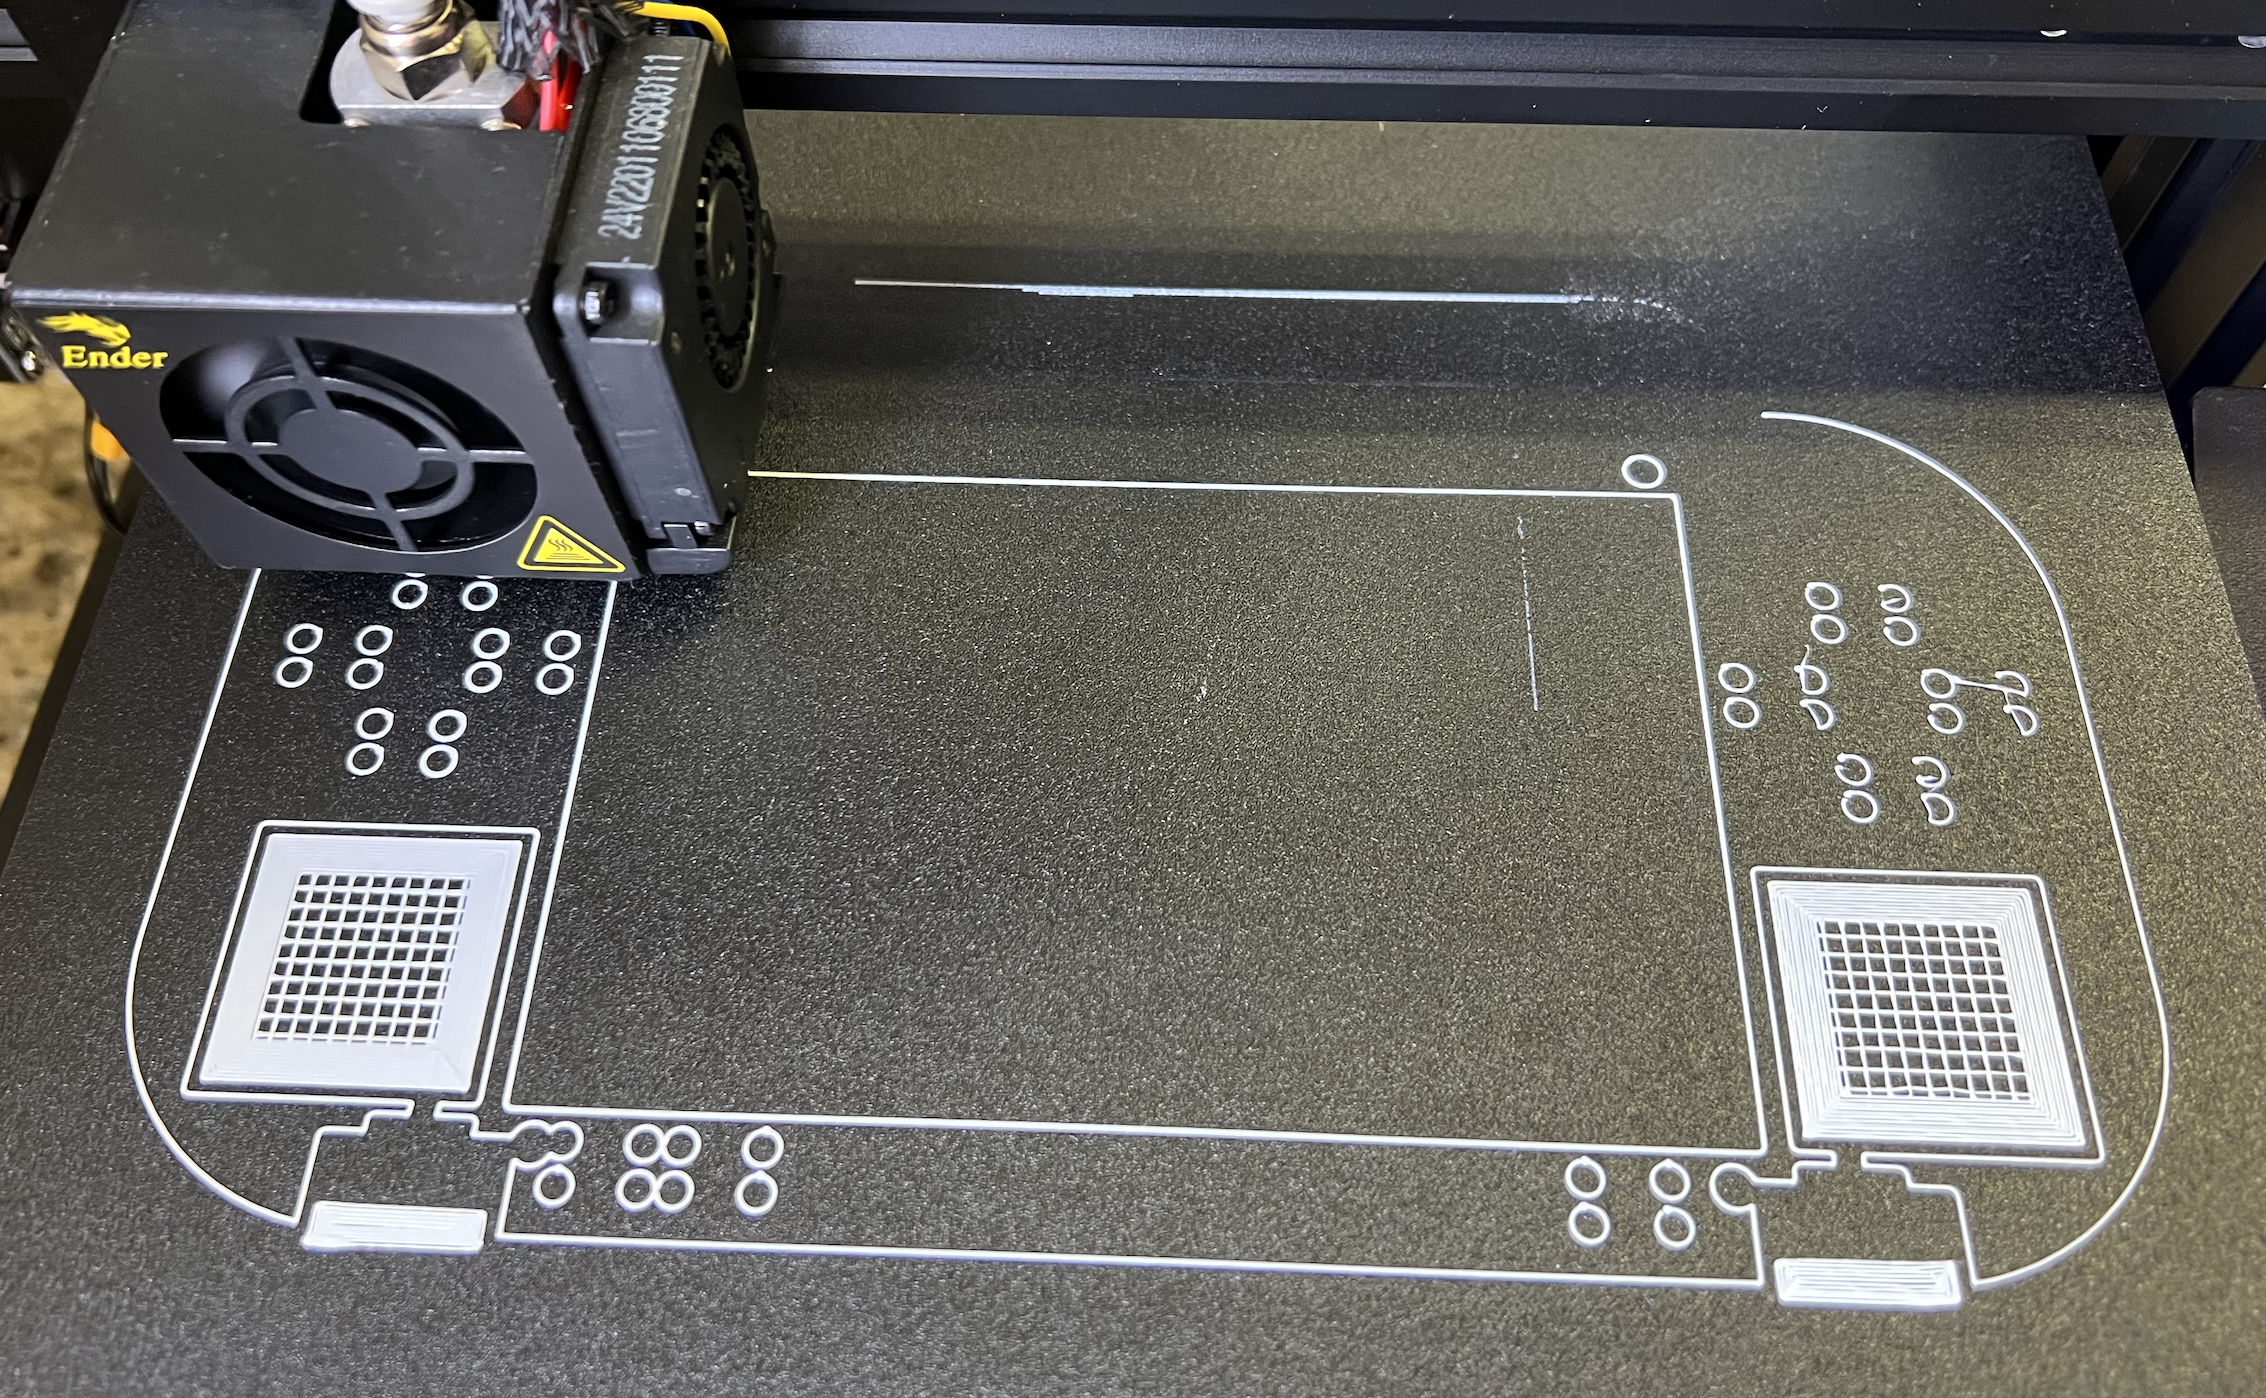
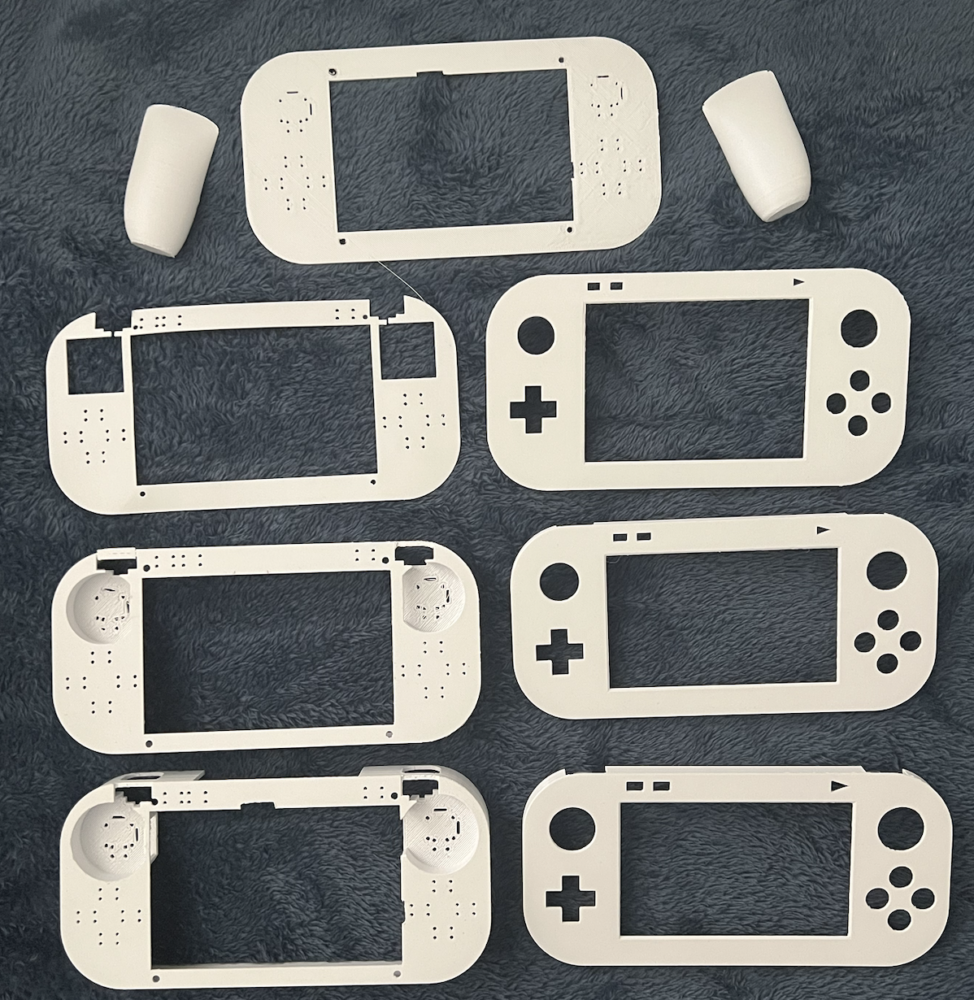
The body of the controller I 3D printer on my Creality Ender 3 pro, consiting of a base plate, a main body which acts as my “pcb” and is where all of the buttons are secured. Most of the iterating was tweaking the size of the button holes and placements, as-well as the depth of the tall joystick components. I also had to make sure the joysticks had room to move freely next to the supports for the bumpers and triggers. Those supports extended from the bottom of the faceplate, which covers the buttons and holds their covers in place.
Many thanks to Lauren Darling and her student staff at the CU Boulder Electronics Fabrication Center for their help repairing my PCB and more.
Components:
soft tactile buttons – https://www.adafruit.com/product/3101
buttons, bumpers, and triggers covers and control board – RetroPower PS2 dualshock controller
Waveshare 5″ LCD – https://www.amazon.com/waveshare-Raspberry-LCD-5inch-HDMI/dp/B00TIA0PMQ
pi-sugar s – https://www.amazon.com/Portable-Platform-Raspberry-Accessories-handhold/dp/B097RCFHD2
speakers – https://www.adafruit.com/product/3923
amplifier – https://www.adafruit.com/product/987
Raspberry pi 4
Dpad and joysticks – https://www.amazon.com/Controller-Thumbsticks-Joysticks-Headphone-Replacement/dp/B09ZDT952G/ref=asc_df_B09ZDT952G/?tag=hyprod-20&linkCode=df0&hvadid=647227245595&hvpos=&hvnetw=g&hvrand=13327770056588129201&hvpone=&hvptwo=&hvqmt=&hvdev=c&hvdvcmdl=&hvlocint=&hvlocphy=9028817&hvtargid=pla-1953947279196&gclid=CjwKCAjwov6hBhBsEiwAvrvN6M4kDgQer7jCn2owHCWuxlNuRbKqhk5NuIV5SDKBoNWSjvXQXeVd1hoCNMsQAvD_BwE&th=1