
Post 3 – Upcycle Progress
Main Update
Hi everyone! I’m excited to share that my Upcycling Project is going smoothly so far! This week, I’ve made some important progress on my prototype that I’ll be sharing with you in this post.
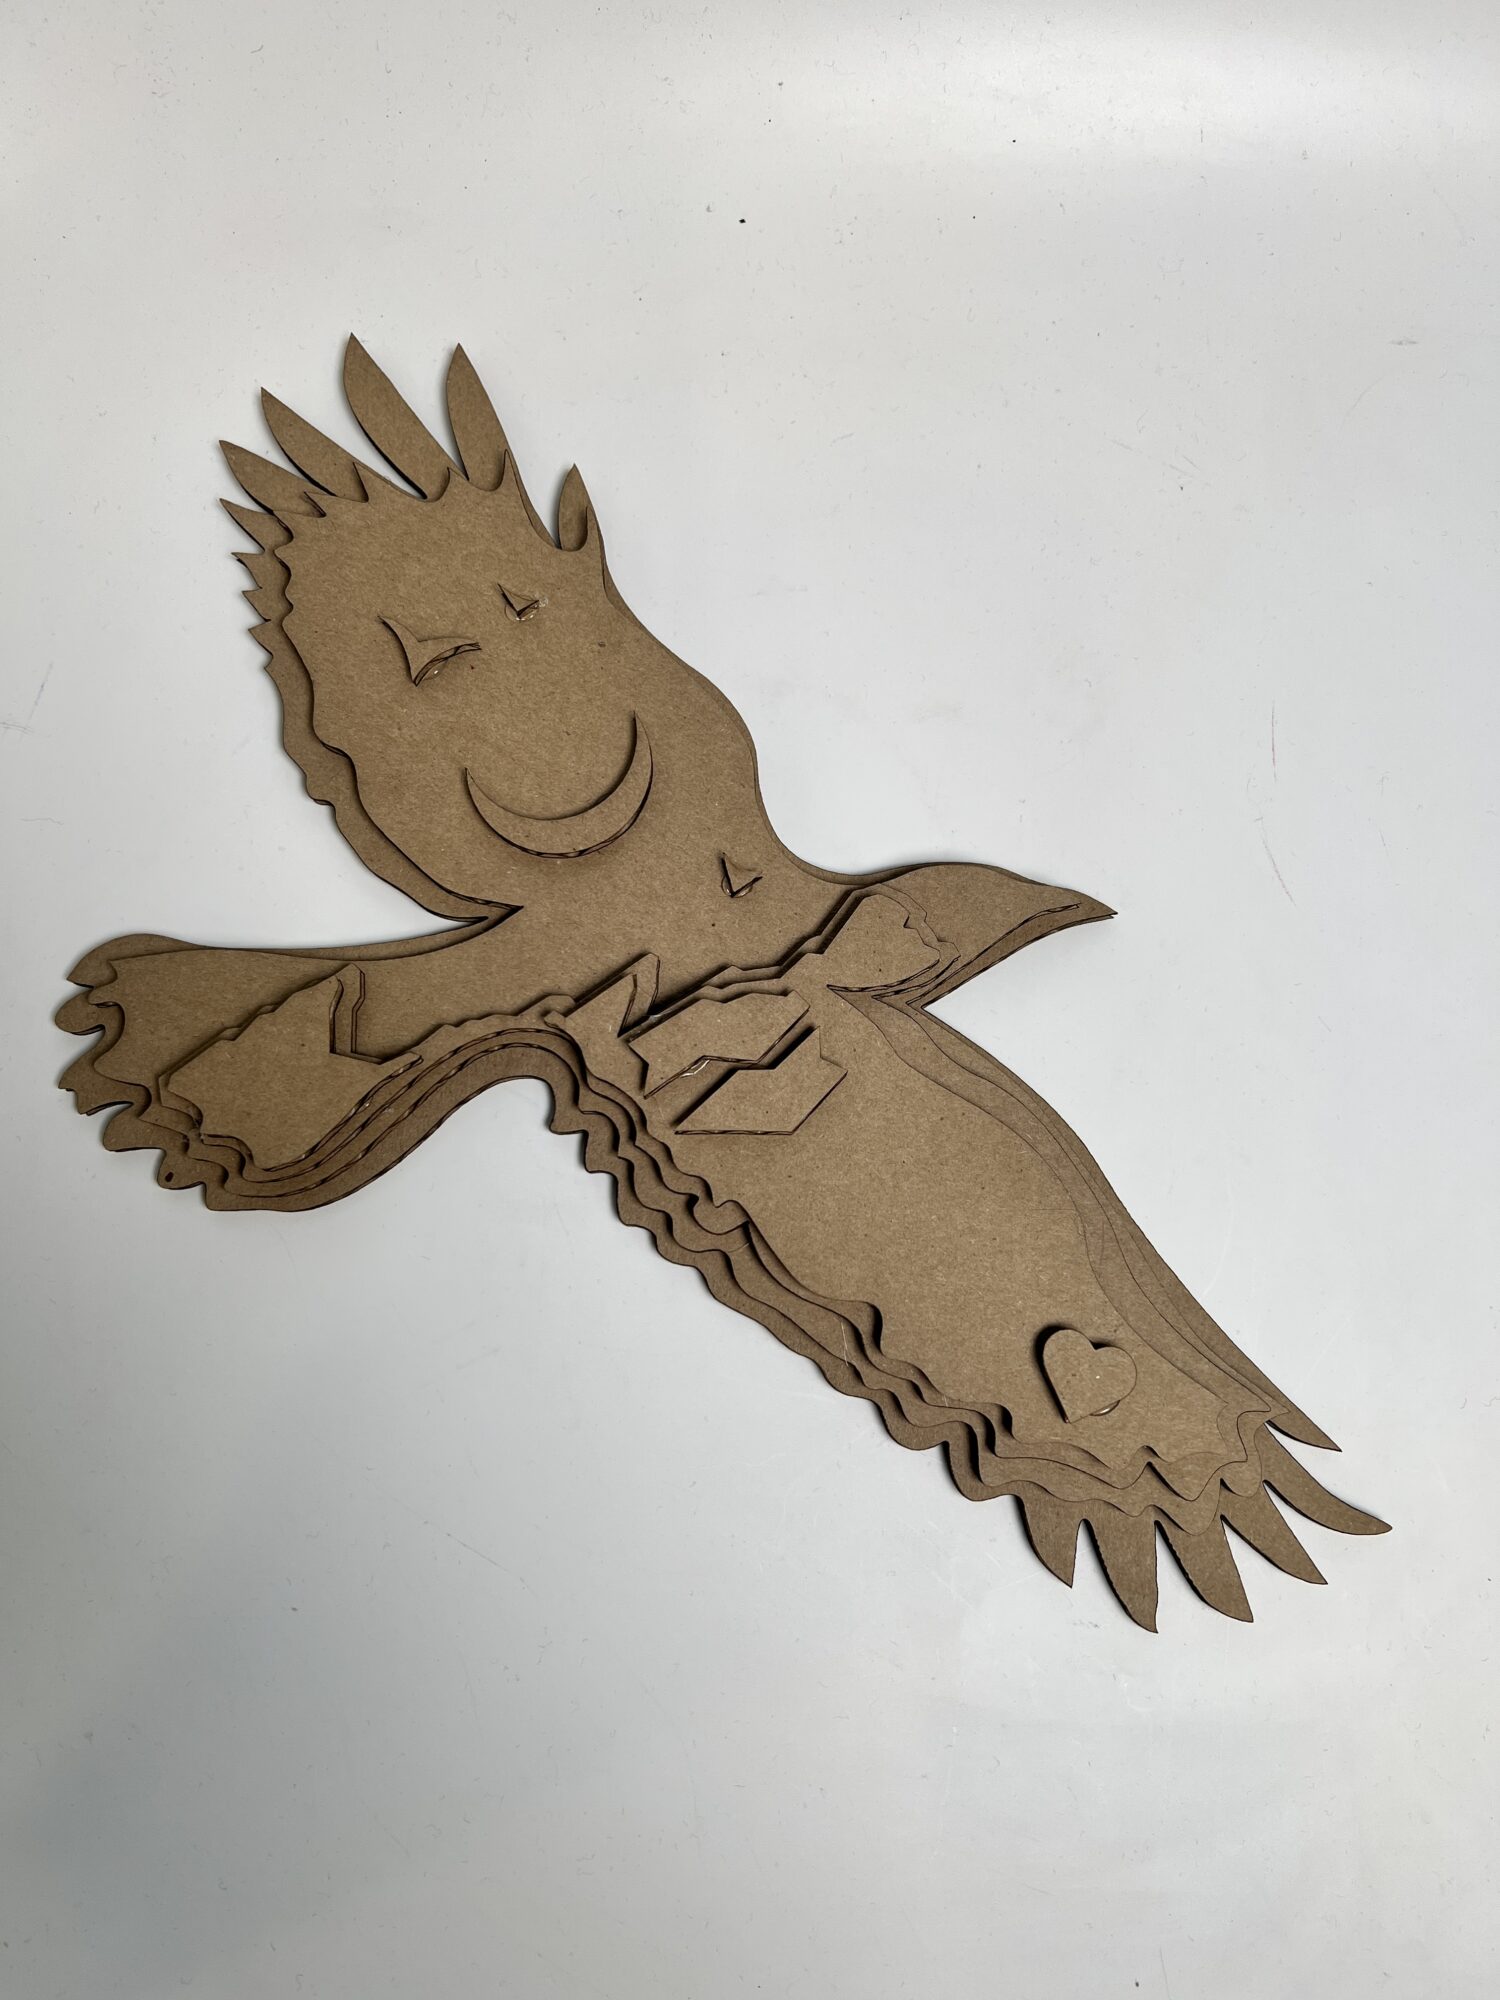
Currently, I have a miniature prototype made up of cardboard that I laser cut today. I decided to make this prototype to both verify that my cuts (created in Illustrator) could be translated into the laser cutting machine, and that the layers will fit well together in a physical piece. Also, having a physical prototype in my hands serves to help me understand how the LEDs will be hung behind the piece, and also the scale that I want to cut out the wood-cut version.
Preparing to Laser Cut
Before I laser cut, I first had to translate my Illustrator file with the outlines to a 3D modeling software: Rhino 7.
In my first attempt, I downloaded each layer of cuts in Illustrator as SVG files. Then, I attempted to import those files into Rhino, but quickly ran into an issue where the outlines in Rhino weren’t considered to be solid curves.
In an attempt to troubleshoot, I decided to simply import the entire Illustrator file as a .ai file into Rhino. To my surprise, this process worked perfectly! The outlines were all considered solid curves and I could easily separate each layer to lay out in whatever orientation I wanted to fit within the cardboard pieces for cutting.
Laser Cutting Process
As I finally had my Rhino file configured today, I could move onto laser cutting the cardboard in the BTU lab. The final step I took before laser cutting was to scale my outlines to fit within the three cardboard pieces I had–which were all a foot in width and height–as well as converting all of the outlines to “Hairline” cuts in Rhino so the machine would understand how to cut them.
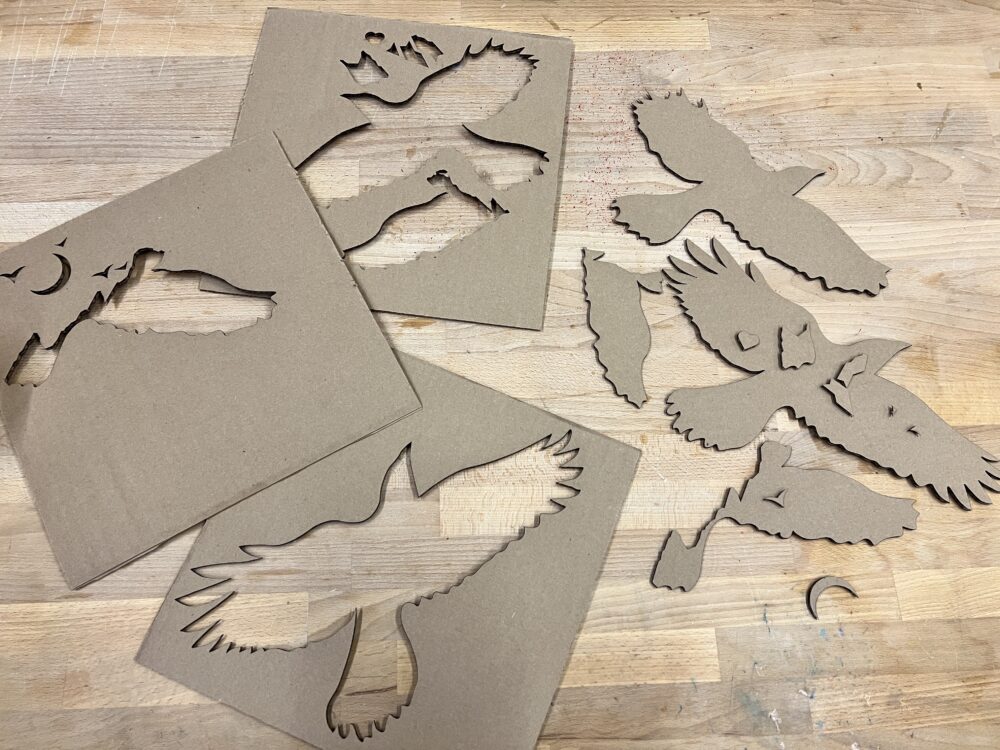
The process of laser cutting the layers in total, took about 30 minutes to do. Cutting through cardboard is a quick and simple process for this machine. All I had to do was match up the machine’s viewport to the outlines in Rhino, and cut each layer out on the three cardboard pieces.
One issue I ran into during this process was that some of the small pieces, like a few birds and one of the top outlines of the Flatirons, fell through the bottom of the machine, and I was not able to retrieve these pieces. However, I’m not worried about this happening to the wood cut version, as it will not only be much bigger than the cardboard prototype, but will be made out of a sturdier material: wood.
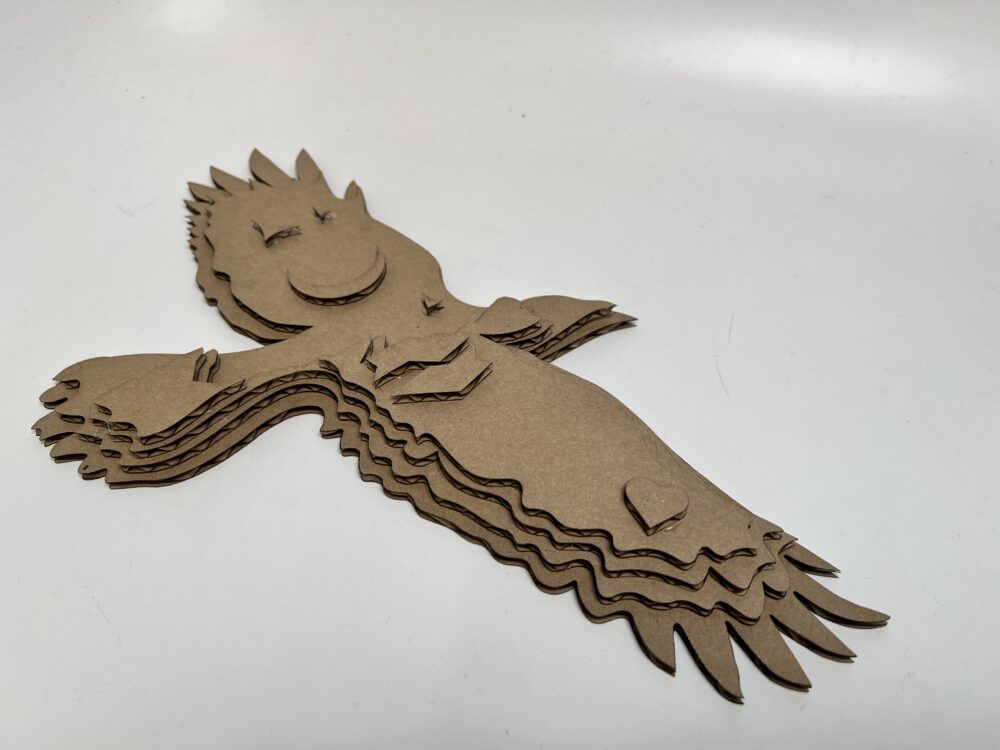
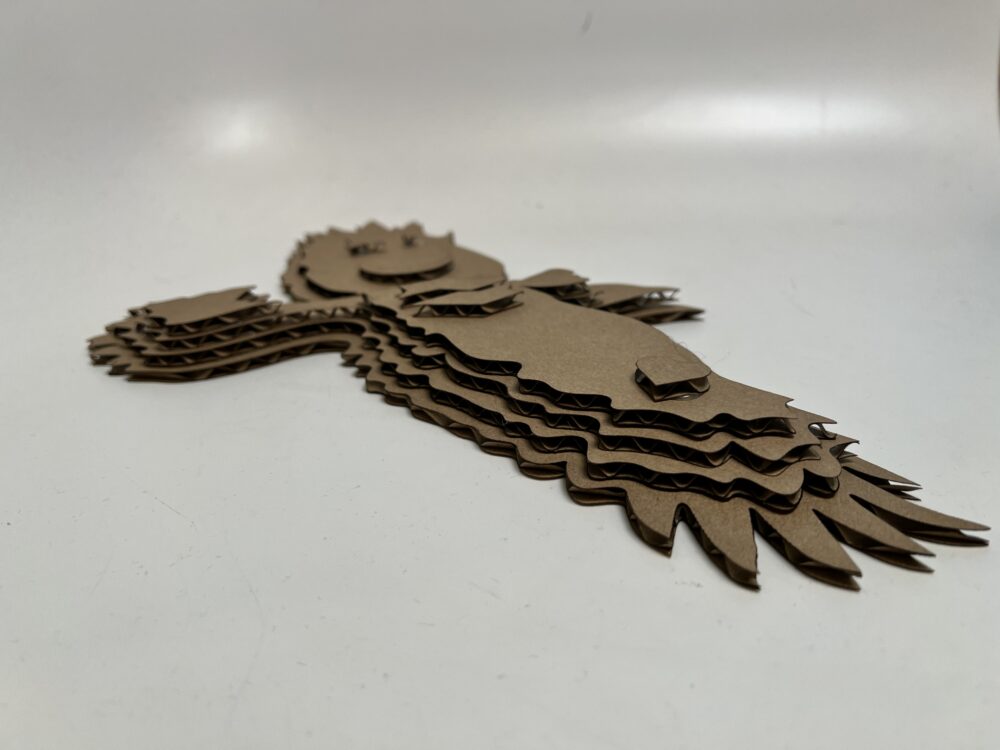
To assemble the layers, I used hot glue, which worked well for the cardboard; in my wood cut version, I plan to use a stronger adhesive, such as wood glue.
Below are the images I took of my cardboard prototype!

Moving Forward
Overall, I’m happy with my cardboard prototype’s look and feel. I think that I’m ready to move onto laser cutting my final piece on the wood scraps I’ve gathered either later this week or early next week.
Some things I feel that I still need to consider, however, are:
- The design of the Flatirons – maybe I add in more detail as the final wood piece will be much bigger than the cardboard prototype
- The ultimate size of the wood cuts. How big should I make the final product?
- How will I hang this on a wall? Should I design pieces that can connect to a wire or nail?
- How will I stain the piece to add texture and maintain visibility between the layers? Maybe each layer will be darker than the one above it?
- Should I add any text engraving to the top layer? Maybe a poem?
If you have any comments or suggestions on my prototype, please let me know in your comment! I’m completely open to ideas as I move forward to the next phase of my project.
Thanks for reading!
2 Comments. Leave new
I am amazed at how clean the cut cardboard pieces came out, despite the loss of a few. I also appreciate that you included the informative process you took to prep the cuts for laser cutting. Regarding your decision to include more details for the final project, I’d wager the project would benefit from having fewer details. Having too much detail may take attention away from the overall design, and fewer details would help shave the weight of the project down.
Hi! thanks so much for your compliments! I definitely agree with you that keeping the design as simplistic as possible is the way to go — I’m going to stick with my original design, save for maybe adding a poem, as I move forward with my final wood cuts this week. Thanks again for your feedback!