
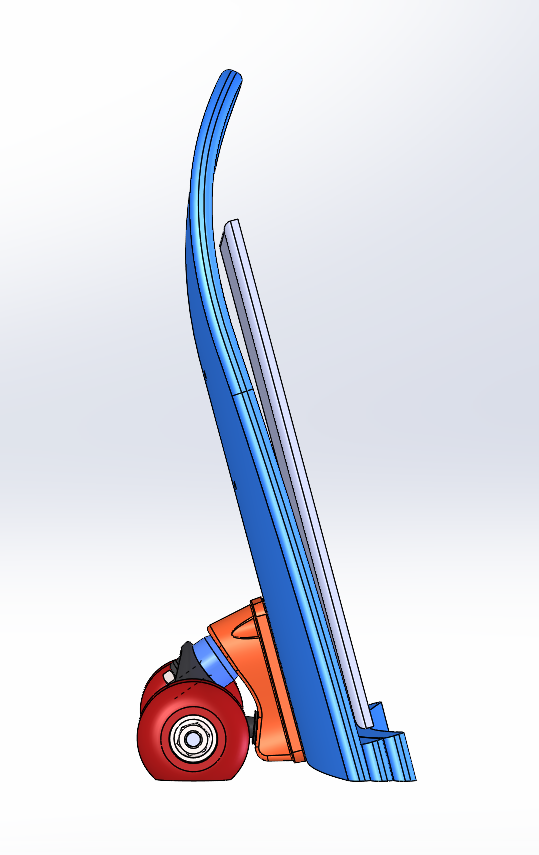
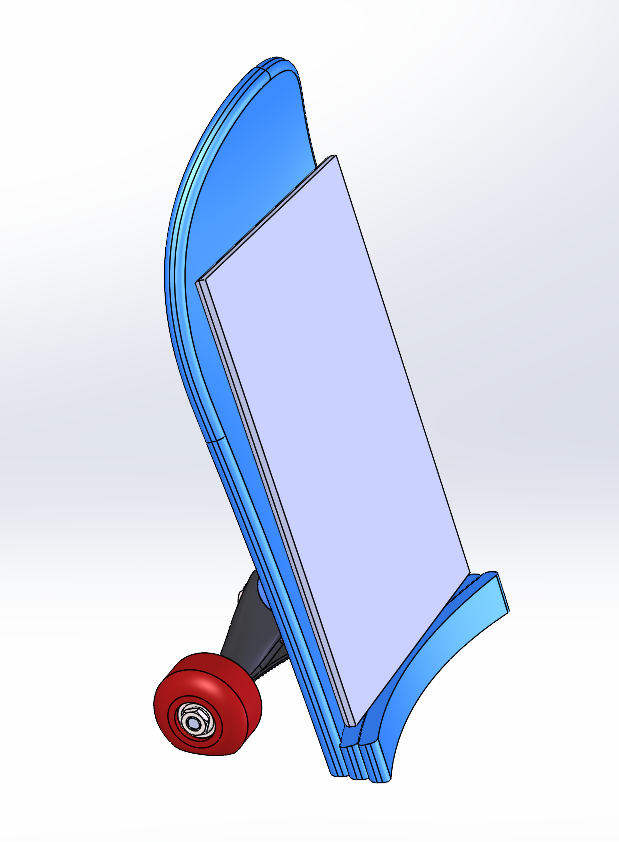
Since my last post, I discussed the plans for my iPad holder with Josh Colyer, the man who runs the Idea Forge Woodshop. He gave me some good ideas for how I should go about fabricating my stand as well as some design considerations. Using Josh’s feedback I created a CAD assembly of my design by modifying skateboard CAD files I found online.
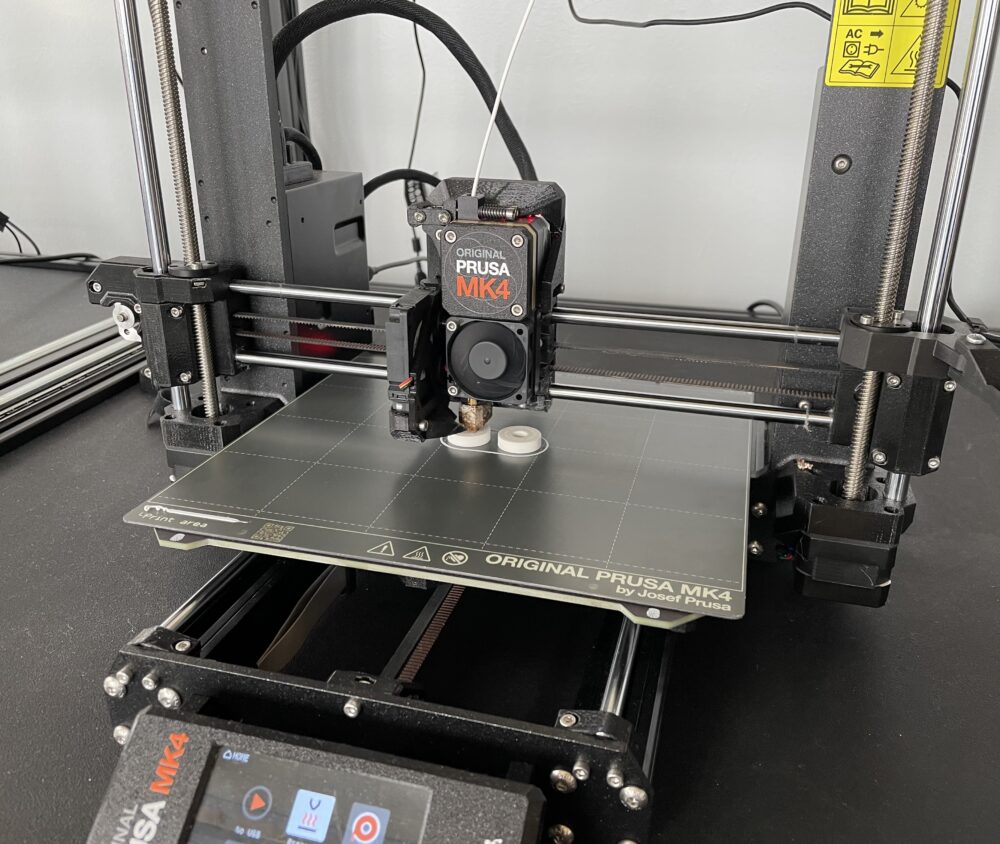
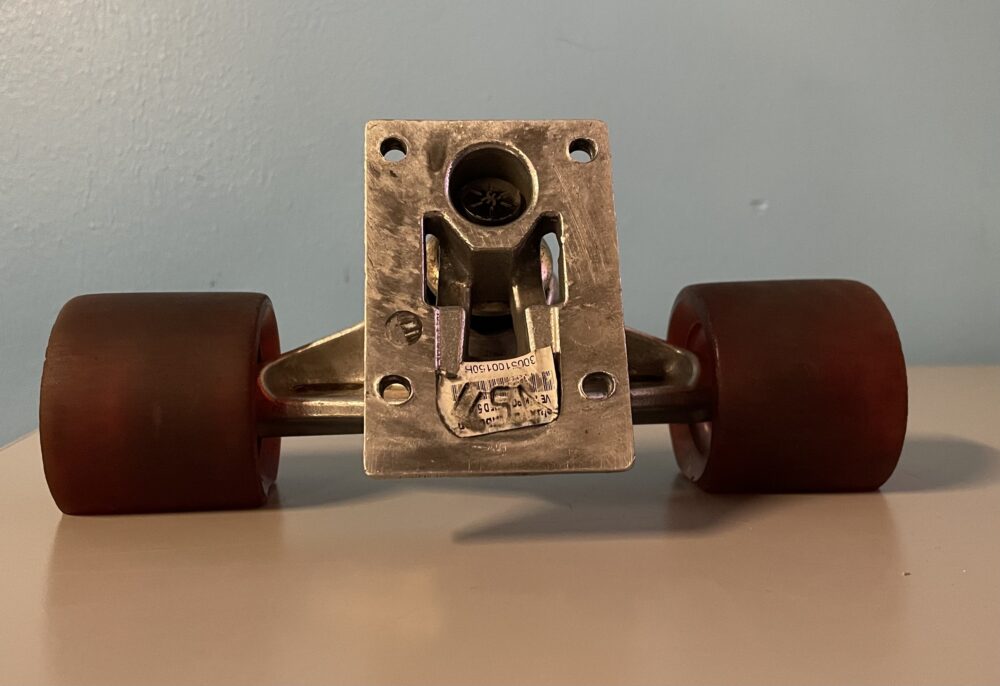
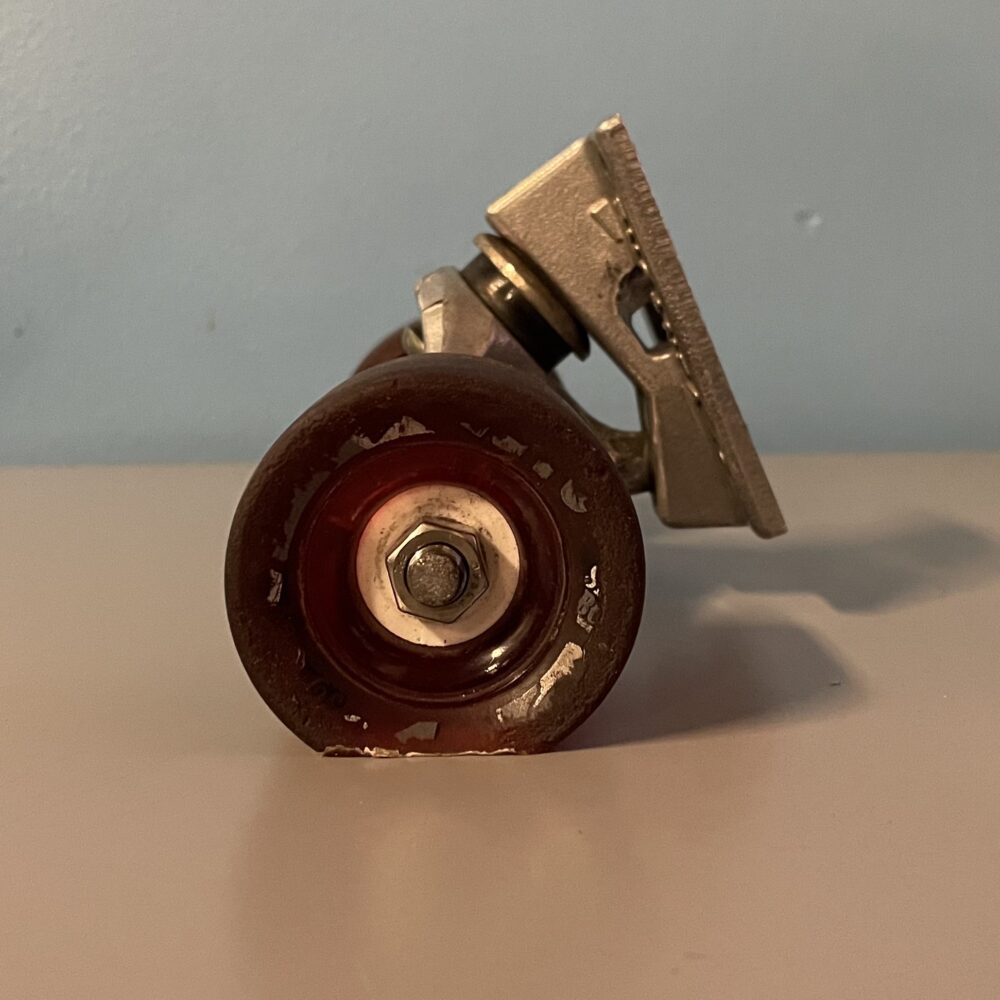
One thing Josh and I talked about was making a rig to help me sand the flat spots on the wheels. For my rig, I found a piece of scrap wood and simply drilled a hole 19mm from the edge. I used this rig to sand one wheel at a time so that each wheel would have the same depth flat spot. To secure the wheel to the rig and stop it from spinning I needed to 3d print plastic placeholders for the bearings. I quickly made a 3d model using the standard dimensions of skateboard bearings and printed them for free at the ITLL.
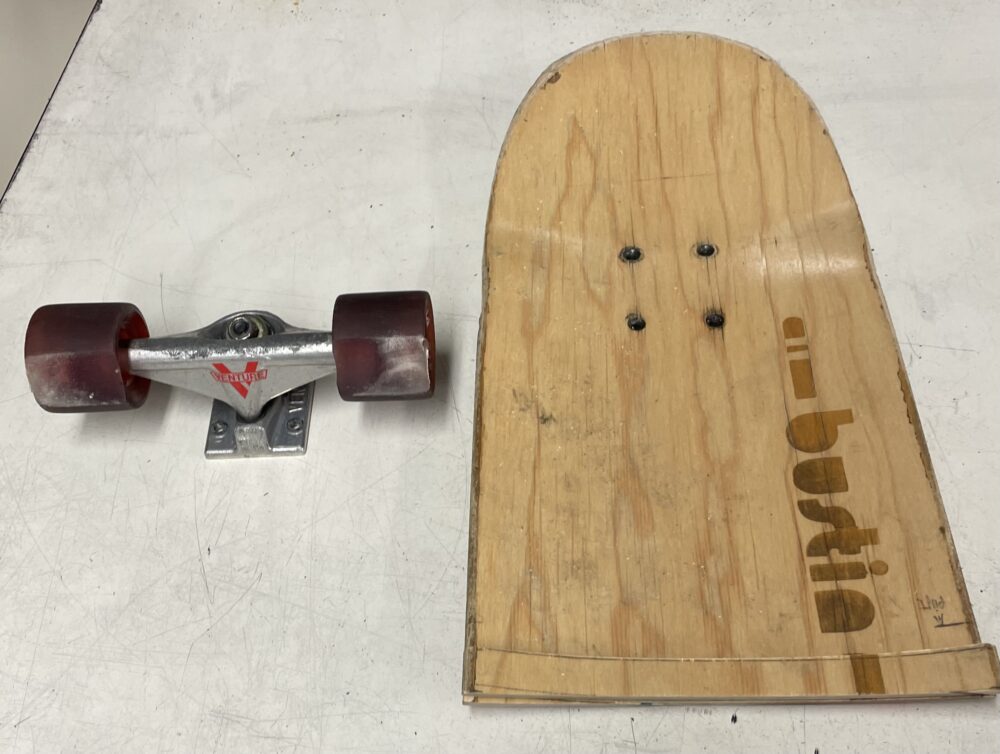
Next, I inserted the bearing placeholders into the wheel and secured it to the rig using hardware I grabbed from the ITLL project vault. Once I flat-spotted both wheels I secured them to a skateboard truck to complete the base of my stand. The image below shows what the rig looked like fully assembled as well as the completed base of my stand.
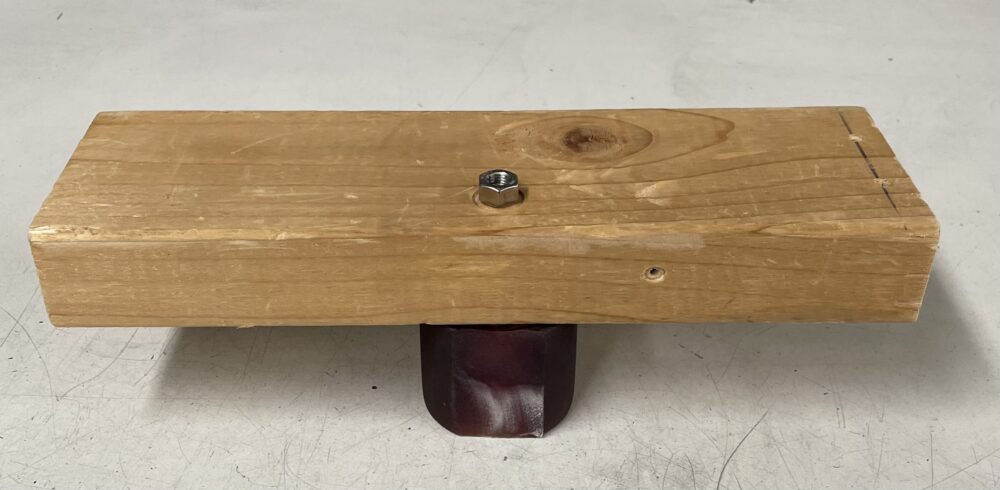
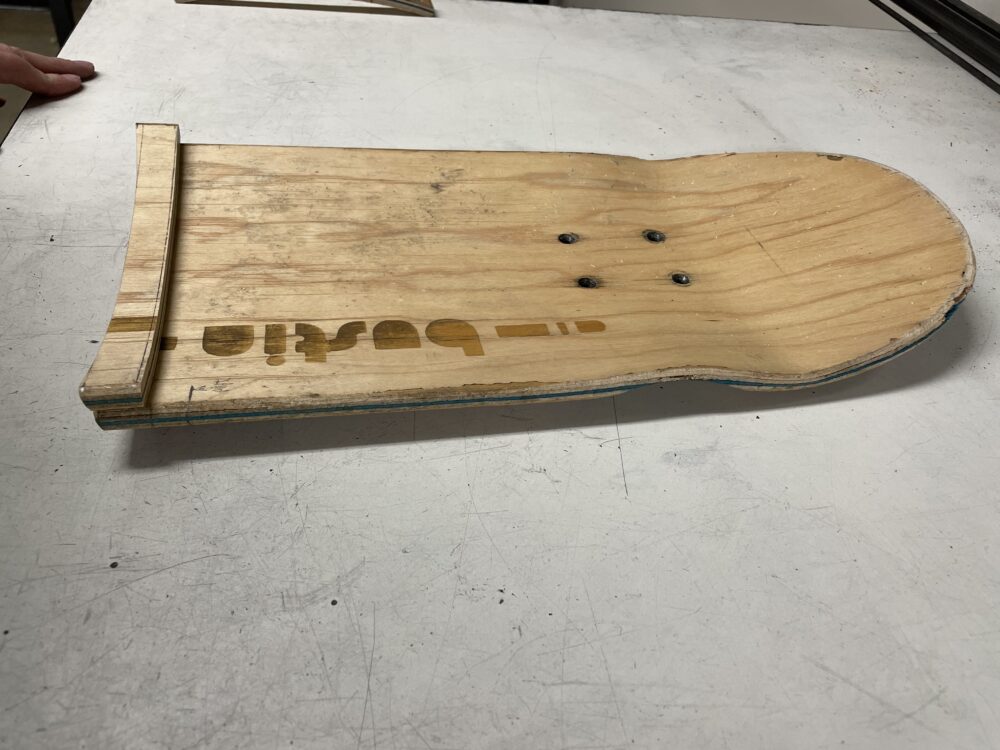
Josh and I also discussed what material I would use to make the ledge at the bottom of the stand that supports the iPad. We decided it would look cool to cut two thin pieces of the board and bond those together so that you can see the laminated layers of the deck. Before I could start cutting the deck I needed to remove the grip tape. I used a heat gun to heat the glue so I could easily remove the grip tape. Next, I cut the skateboard deck to length and cut one of the two thin pieces for the ledge mentioned above.
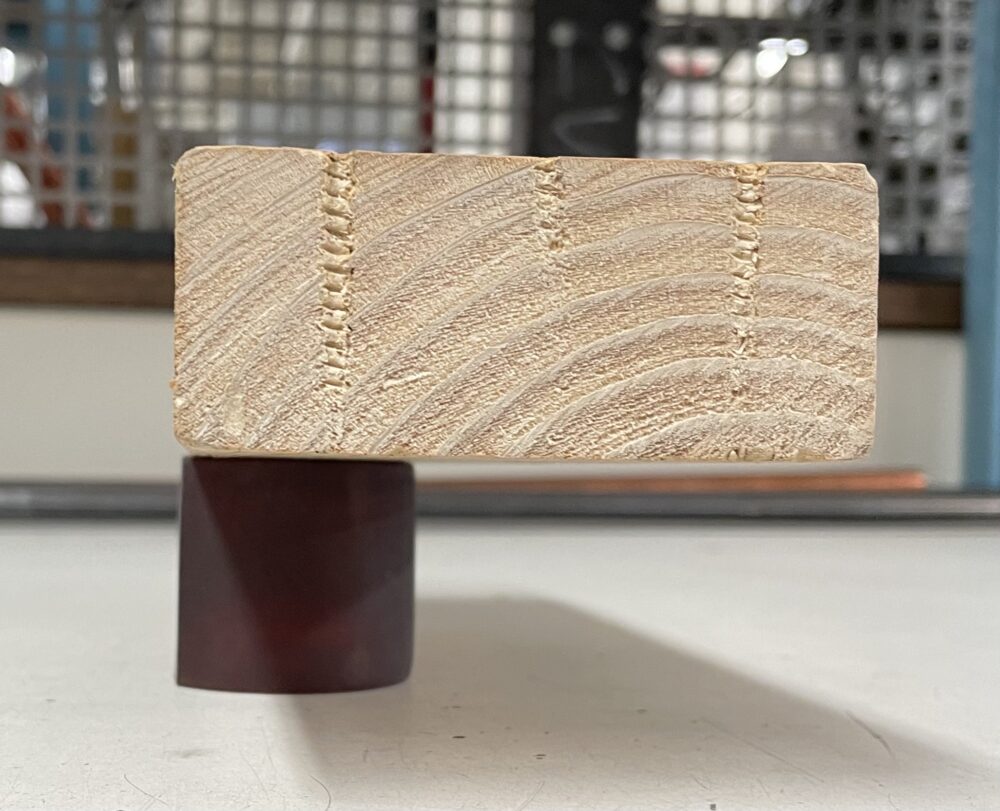
Before I can cut the second piece of the ledge I need to make a rig to help me clamp the board in place. After that, I need to bond the thin pieces to the bottom of the deck and drill holes to mount the truck. I would like to have this finished by the end of the week so that I can spend next week adding the stickers and applying any last-minute finishing touches. One design choice I am still considering is whether or not I should clean the edges on the board and the scratches on the truck. I think the beat-up look fits into the skateshop aesthetic I am looking for, but I am not sure. I would be curious to hear other people’s opinions. For now, here is a picture of the progress I have made.
4 Comments. Leave new
This is a super creative idea and seems practical as well. I am wondering if the back of the deck has any graphics that you are incorporating, or if you are considering changing the appearance of it at all? Or are you primarily focused on applying the stickers to the front and keeping it bare wood? I agree that keeping the board looking “beat up” fits the aesthetic better.
The back has a scratched-up graphic that I was planning on keeping how it is. My plan is to sticker-slap the whole front of the board, but there is a possibility I will do the same to the back. I am gonna feel it out as I go along. Thanks for the input on keeping the “beat up” look!
I appreciate the breakdown you took with Josh when sanding the wheels down and ensuring that it would not budge when assembled to the stand. Also, are you considering sanding the bottom portion of the skateboard deck at an angle like the wheels or leaving them as is? From the images, the bottoms are flat as opposed to the CAD, which are angled.
So the bottom of the boards in the picture were actually cut at an angle, but it is hard to tell in the images. I think an image where those angled cuts are flush with the table would be a great addition to show the angle of the stand.