
I knew that I would want my upcycle project to be something that provides enjoyment for me and the people I care about. I wanted it to be something I would use, be proud of, and potentially even gift to someone. I began my search by looking around the house for seemingly useless items. I immediately knew what I was going to make after finding some empty glass bottles lying around. I wanted to make a lamp by upcycling a glass bottle.
With the initial idea in mind, I needed a way to capture a specific aesthetic with my given materials. My plan was to work within a casual bar setting given my selection of glass bottles. The Jameson bottle I found could have been upcycled to fit the 1920s speakeasy aesthetic, the wine bottle I had would have been perfect for a wine cellar, and the Tito’s bottle I was gifted had a wide range of aesthetic options.
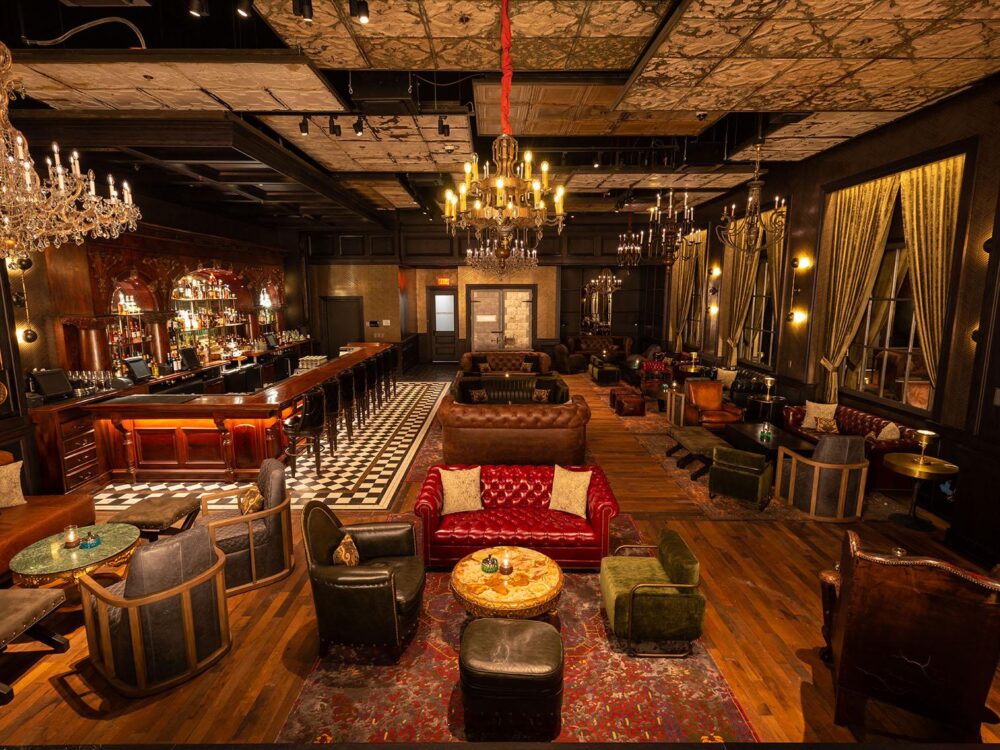
I really enjoyed the potential of making a lamp like those found in speakeasies using the Jameson bottle. Speakeasies came about during prohibition in the 1920s when the sale and consumption of alcohol was made illegal in the United States. These establishments served as underground bars where many would come to partake in the recently forbidden activity. They were often characterized by hidden entrances, secret passcodes, dim lighting, vintage decor, and craft cocktails. I wanted to create a lamp that achieved the subtle lighting that allowed speakeasies to operate undercover illegally during prohibition. My initial vision was to pair the dark coloration of the Jameson bottle with a red or green lamp shade and a dim yellow lightbulb to achieve the desired look.
[1]
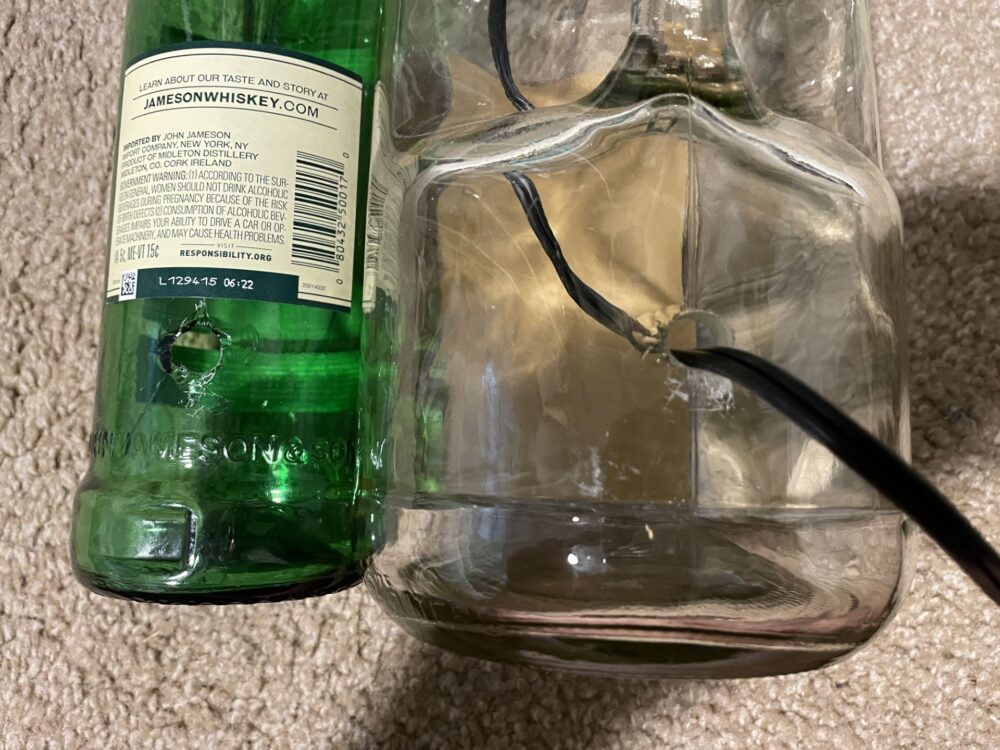
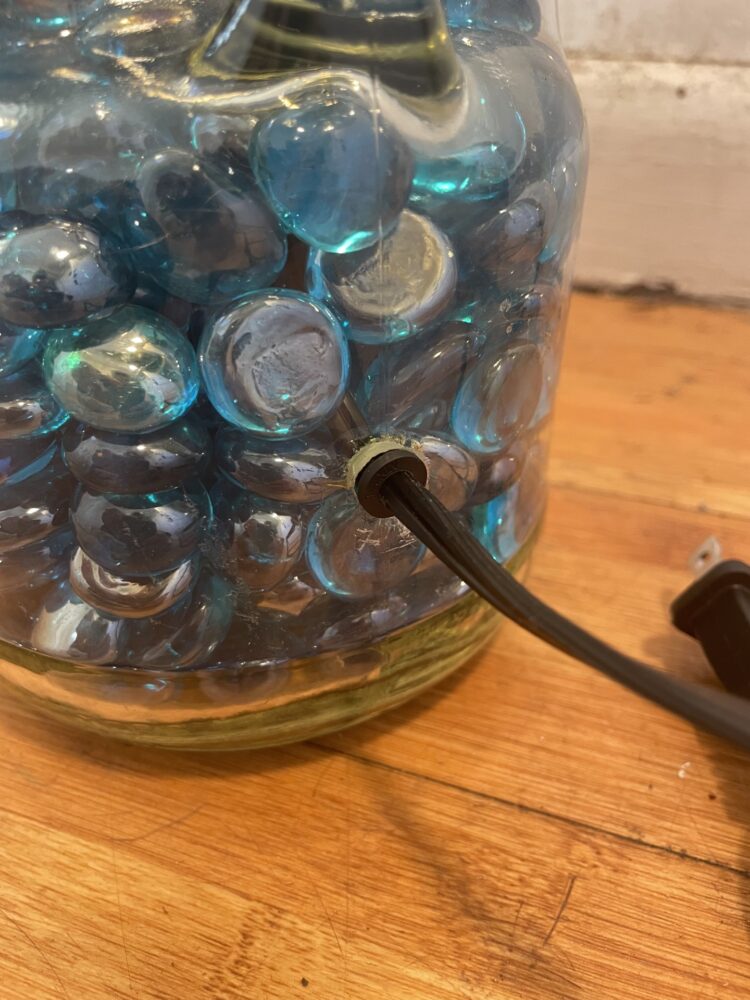
Before creating my lamp, I needed to source the necessary materials to make it. I was able to buy a lamp kit that came with a glass drill bit for cheap online. Drilling the holes in the glasses was the most difficult step in the manufacturing process. It was very hard to tap the initial hole while running water over the drill bit to avoid cracking. I tested this process on the wine bottle before drilling holes in the Jameson and Tito’s bottles. I found it helpful to use a sponge with a V-shaped groove cut in it to maintain the drill’s alignment. The Jameson bottle ended up with some slight fracturing, but the Tito’s bottle hole came out clean. Once the holes were tapped, it was easy to wire the electrical hardware which the lightbulb screwed into. A fellow student recommended that I come up with some way of covering the edges of the hole to avoid accidentally cutting myself. I was able to reuse a small, rubber plug from an old lamp to decrease the cutting risk.
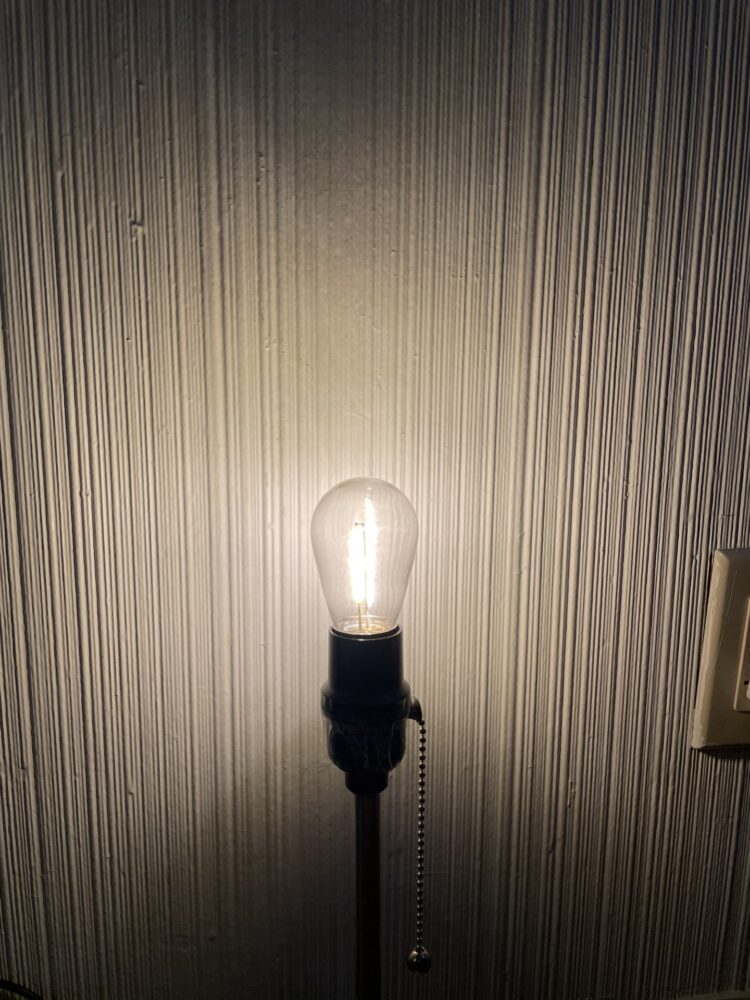
I then needed to find a lightbulb that gave me the amber hue typically found in a speakeasy. Luckily, I was able to make use of some old cantina lights that used to be strung up on my front porch. These bulbs happened to give off the cozy warm glow I was looking for.
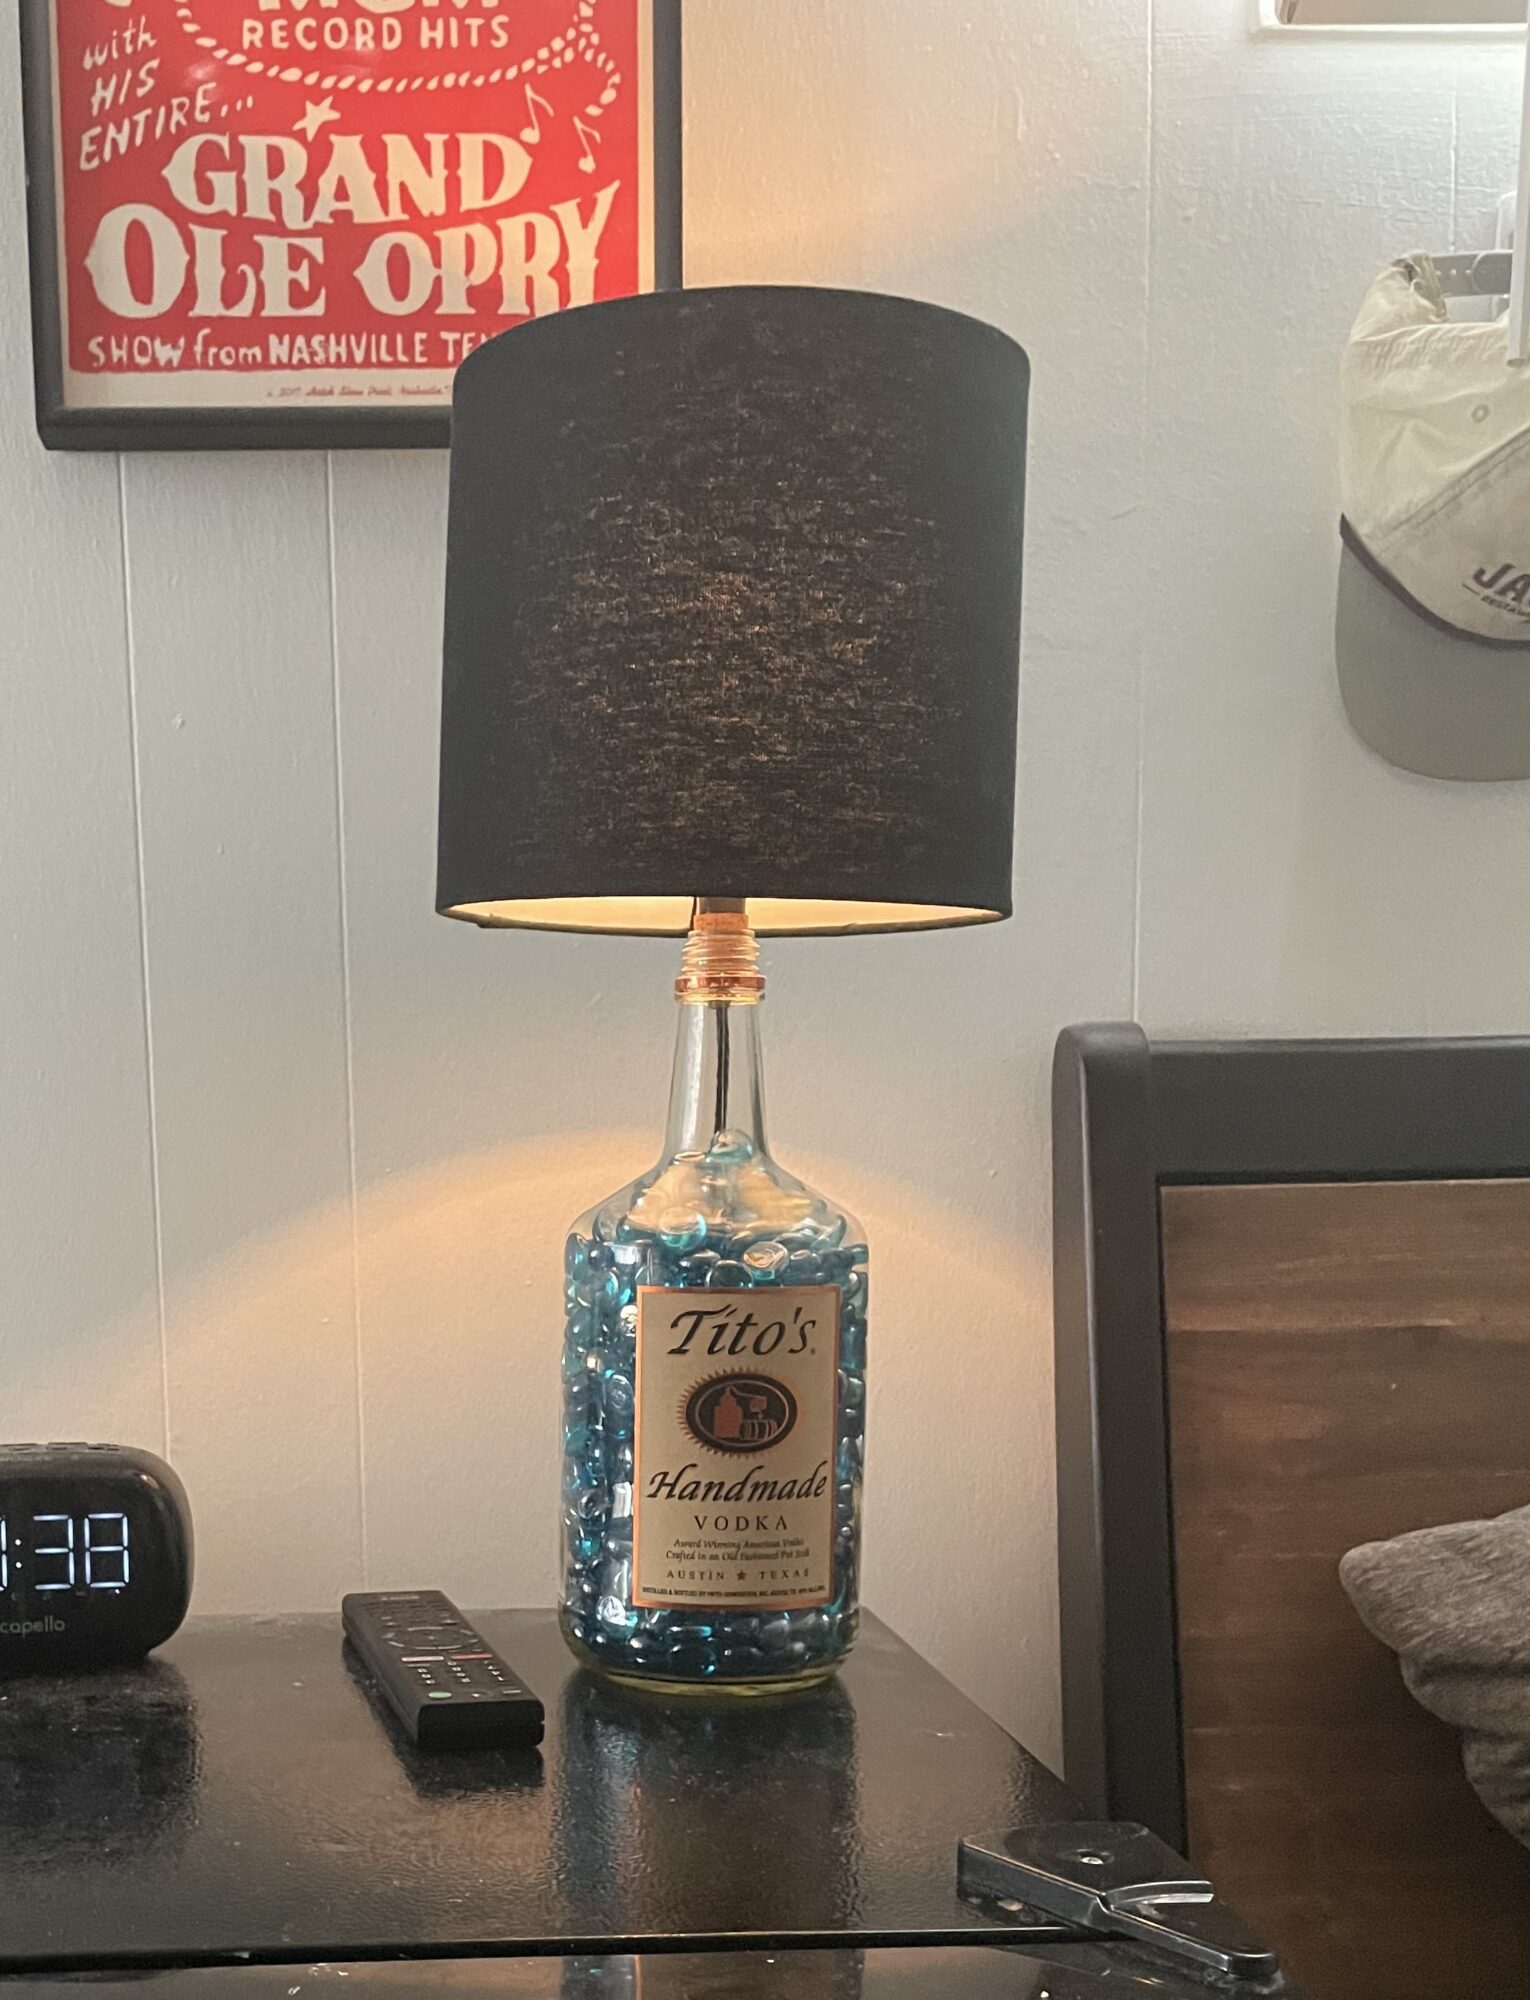
So far everything was going smoothly, but I still needed to find a lamp shade that captured the specific aesthetic I was trying to achieve. This proved to be very difficult. I went to Goodwill and Facebook marketplace hoping to find a lamp shade that would work, but I came up empty handed. However, I did have a dark blue lampshade that matched well with the Tito’s bottle. I kept an eye out for speakeasy lampshades while holding the Tito’s bottle as a backup.

The final step in the manufacturing process was to get a material to fill the bottle with. The idea was to get a filler that would cover the black wire running through the bottle and potentially even reflect the light in patterns on the table below. A fellow student suggested in a previous blog post comment that I use glass shards used for fire pits as a filler. I thought this would be a nice touch to the lamp, and the Home Depot website said there were some shards available for sale at the Boulder location. Unfortunately, the website was incorrect, and the local Home Depot did not have what I was looking for. I opted to buy some flat, glass marbles for sale online instead. These worked really well to hide the wires in the Tito’s bottle, but they did not fit into the opening of the Jameson bottle. Once again I found myself having trouble getting supplies to make the Jameson bottle fit the speakeasy aesthetic I was going for. I decided to put the Jameson bottle to the side and shift my focus towards making something artistic with the Tito’s bottle. It had a clean hole, proper filler, and most importantly a compatible lamp shade. I put it all together and ended up with a finished product that I liked.
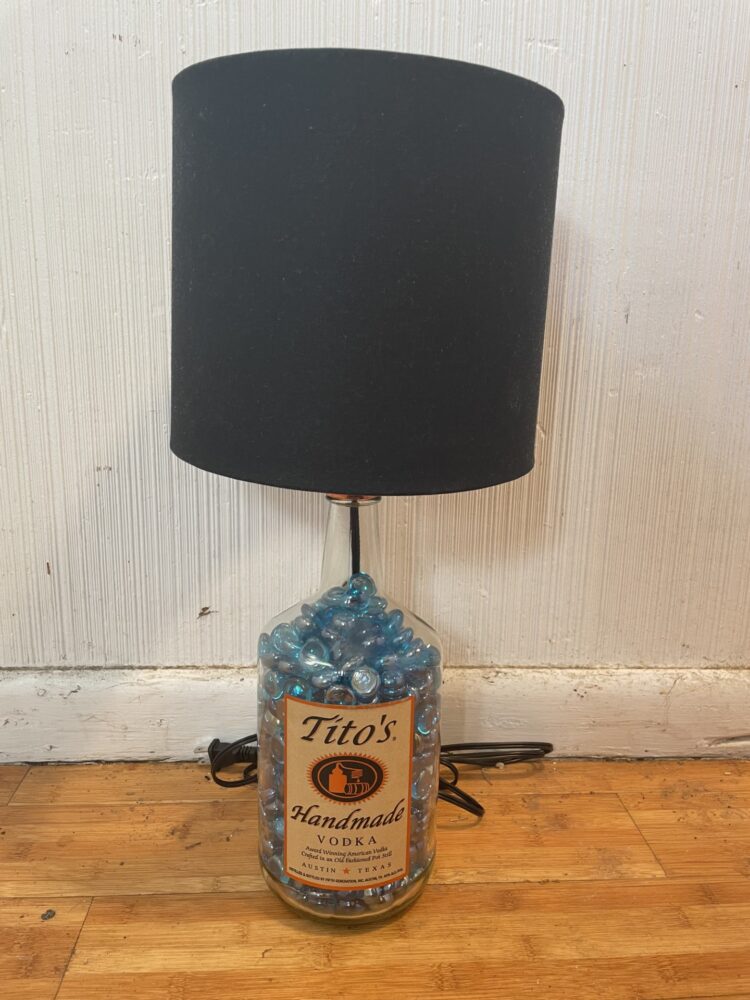
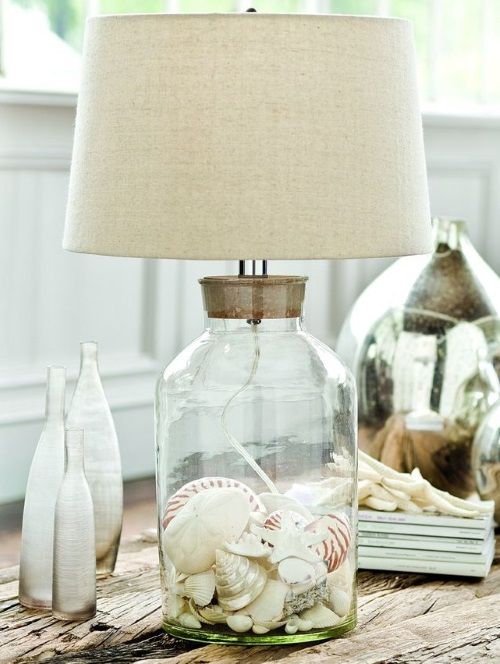
My final product ended up being much different than the speakeasy aesthetic I was initially going for due to the difficulty of sourcing recycled materials. I learned to work with what I had and trust my iterative approach to the process. I would say that my final product fits well within the beach aesthetic. This aesthetic is classified by varying shades of blue, nautical elements, natural lighting, and flowing ergonomics that match water features. My lamp checks all of these boxes with its blue shade and filler, sun-light hue, and gentle glass curves. As a result, it looks like a light fixture that could be found in a beach-side house.
 [2]
[2]
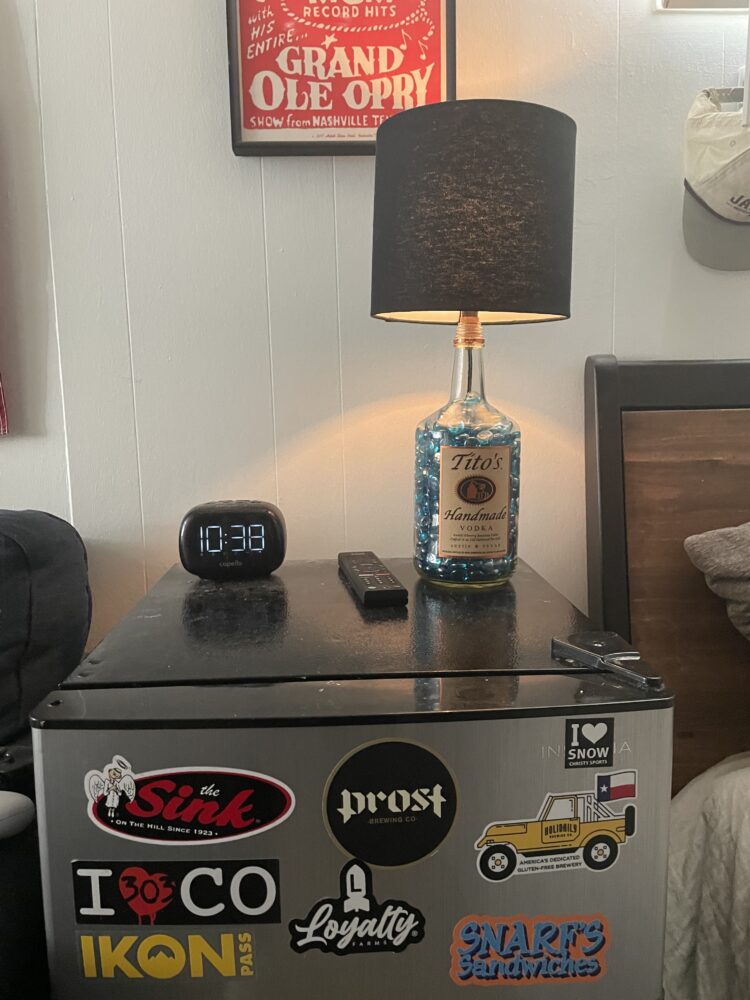
Though the final product did not match my initial idea, I do believe that I have met my artistic goals. I successfully combined a few useless items into a practical product and picked up some new skills along the way. In the future, I would do a better job choosing my desired aesthetic based on what I have available. I got excited by the Jameson bottle’s color scheme early on and became attached to the idea of the speakeasy aesthetic before thinking through all the other required materials. In a perfect world, I would have ended with the aesthetic I was going for initially instead of searching for a classifying look in the final product. I would also opt for a different filler material. While I found the beads to fill the empty space effectively, I realized that the process of putting individual beads into a bottle was very time consuming. I would like to either use a funnel with smaller beads or some other alternative material to accomplish this more effectively next time. With all that being said, I am still proud of my work. My lamp has found its home at my bedside, and I use it almost every day now. This is definitely a project I could see myself doing again in the future. Especially now since I have the tools and real-world experience to make a quality lamp.
Sources:
[1] Brown, Alyssa. “All of the Speakeasies & Hidden Bars You Need to Visit ASAP.” The Venue Report, 3 Oct. 2019, www.venuereport.com/roundups/all-of-the-speakeasies-and-hidden-bars-you-need-to-visit-asap/[2] “Beach Bliss Living: Perfect Beach Lamps.” Pinterest, 20 Jan. 2016, www.pinterest.com/pin/the-perfect-lamps-for-beach-bliss-living–240731542559594107/.
4 Comments. Leave new
Well done making such a cool and useful lamp! I think the blue marbles were a great aesthetic choice on this project, with the clean looking shade being a nice touch as well. I wonder how it would look with a simple wooden base, perhaps routed with a cool trim on the edge and stained? I think that has potential to add to this lamp’s appearance. Either way, this makes me want to make a custom lamp of my own to use, great job.
Jadin, I really enjoy your idea of adding a wood base. This is definitely an option I will consider in future lamp builds!
Oliver,
Sweet project, this one really caught my eye. It kind of puts a spin on college kids saving liquor bottles, which is a cool plus. I’m impressed that you were able to drill a hold in the bottle, and I like that you went so far as to add a rubber stopper to it once the cord was put in place. Even though your desired aesthetic didn’t come through like you wanted it to I think you should still be really happy with the work you’ve done here. I’m curious about how you attached the lamp light to the bottle, though, since your pictures don’t depict this. I see you weren’t totally happy with your choice of filler, if you had a choice of anything to fill the bottle, what would you use?
Noah, thank you for the clarification question. The lamp kit I had came with a neat way of attaching the bulb to the bottle. The light bulb screw-in holder came with an attached cork that could be press fit into the top of a wide variety of bottles. I would highly suggest using a kit with this cork design if you would like to make something similar.