
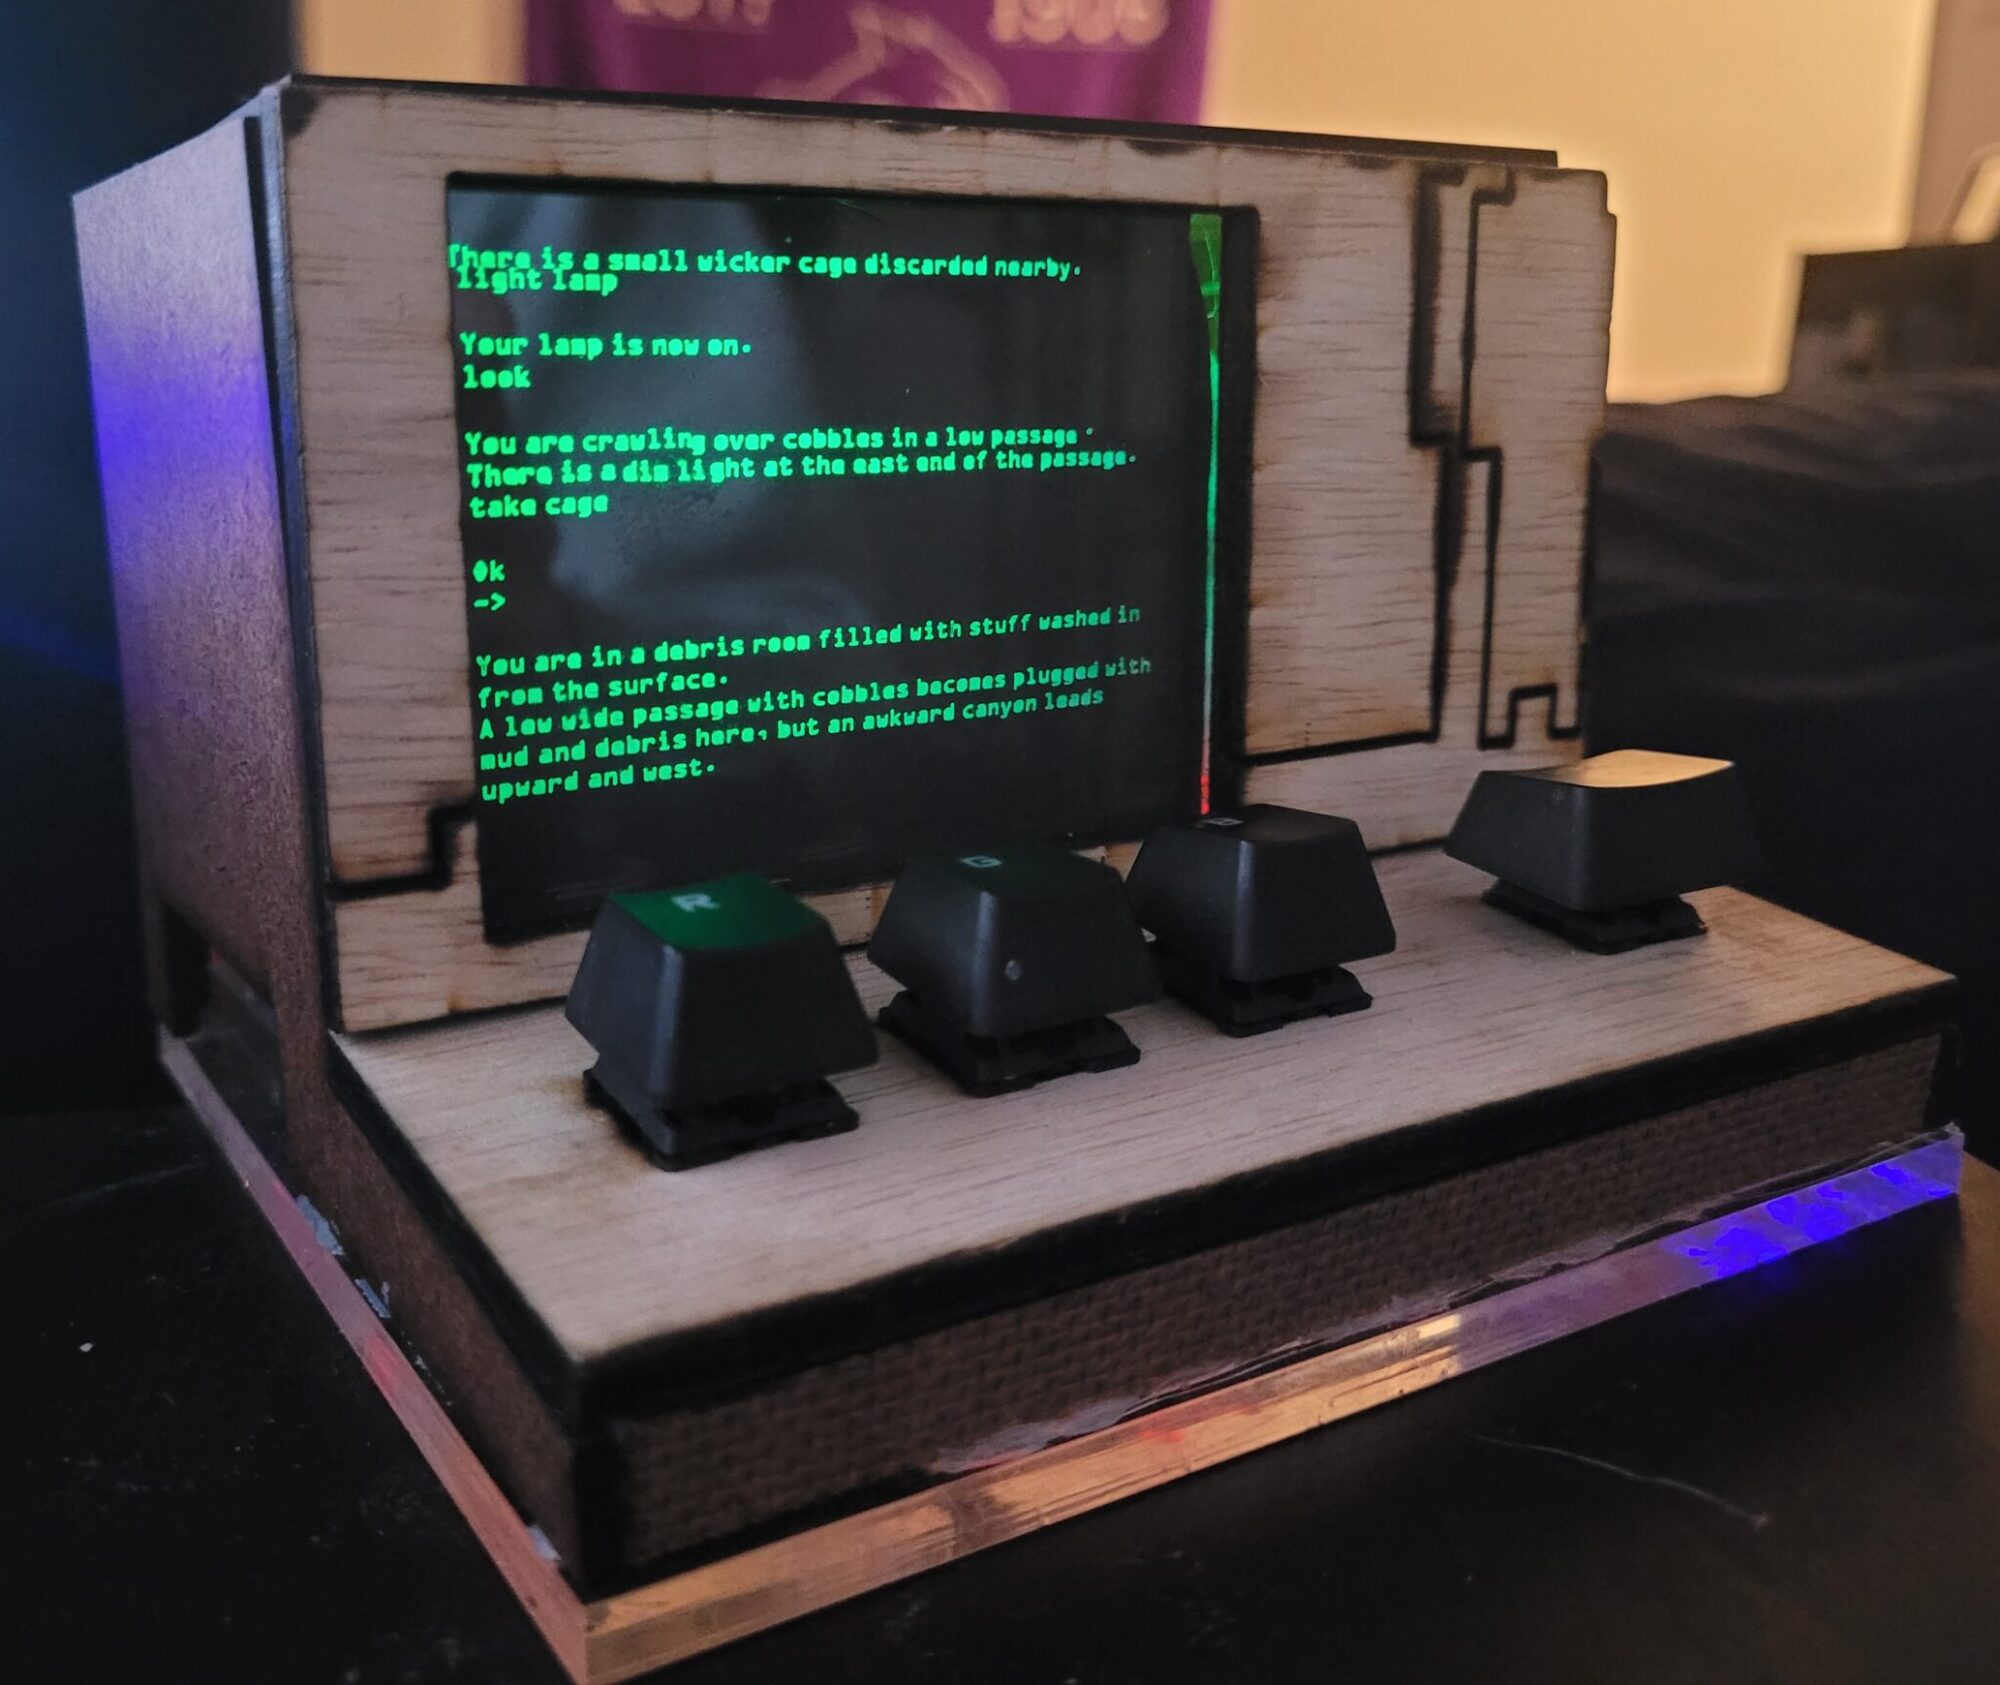
I really enjoy both the visual and tactile elements of old computer terminals from the 1970s and 1980s. While the technology that we interact with now has digital representations of buttons, switches, and knobs, there is something that is enjoyable about the tactile feel and sound of physical buttons from early computers. When brainstorming what I wanted to do for my project, I found my old bin of broken electronics, including a broken mechanical keyboard, some old Arduino components and a worn out Xbox controller. This inspired me to want to create an interactive piece, utilizing the old switches and knobs that I can find. For my upcycling artifact I made a small model of a 1970s era computer terminal. I reused some old keyboard switches, glass panes, and laser cut wood scraps to create the body of the computer. I also used some LEDs to backlight the “display”, which will is a cutout of a text based adventure game from that era. While most old computer displays use green monochrome displays, I added the ability to cycle through various colors using the recycled keyboard switches, which will add some more interactivity.

I would characterize these old computer models as having a very boxy aesthetic, with curved edges and cream colored plastic. From a design standpoint, models such as the VT100 have built in keyboards, with the full range of keys including the numpad. Like most functional equipment produced in that era and before, the designs are very utilitarian and industrial. They have monochromatic crt displays, often with green or blue backlighting. There is also a text based interface with a characteristic digital font. The cases are generally plastic with off-white and beige tones, mixed with darker accents, they also have large vent grates for cooling. The keys are large and chunky, with typography that is simple and bold. Auditorily, there is also the distinct whir of fans and a loud, “clacky” keyboard.
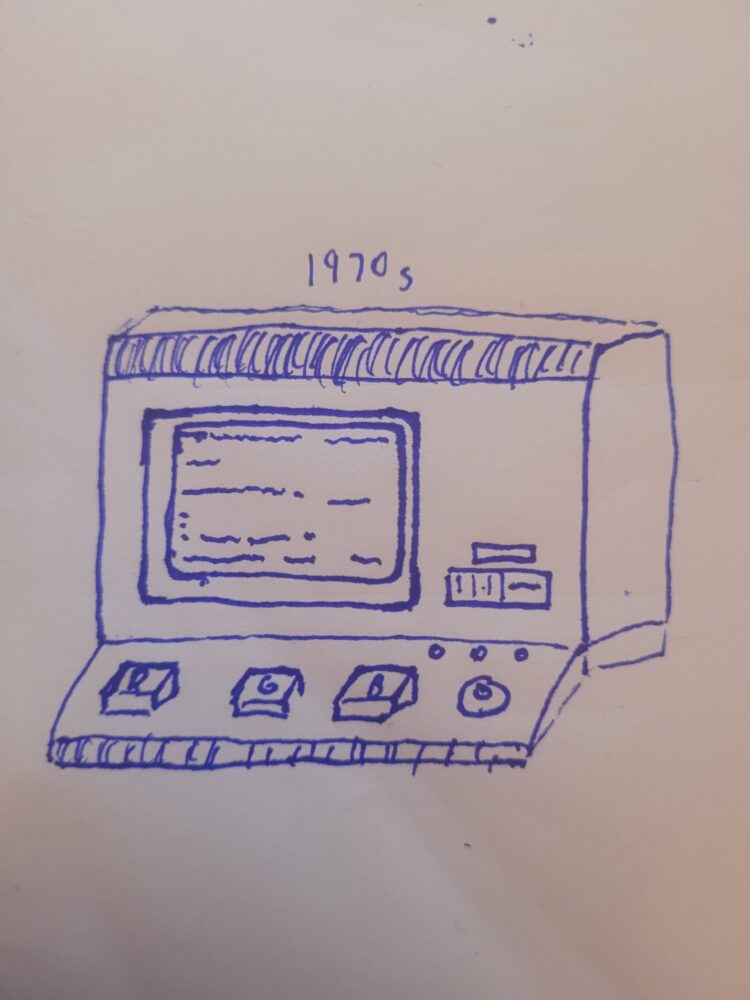
For the fabrication, I first started with a proof of concept sketch:
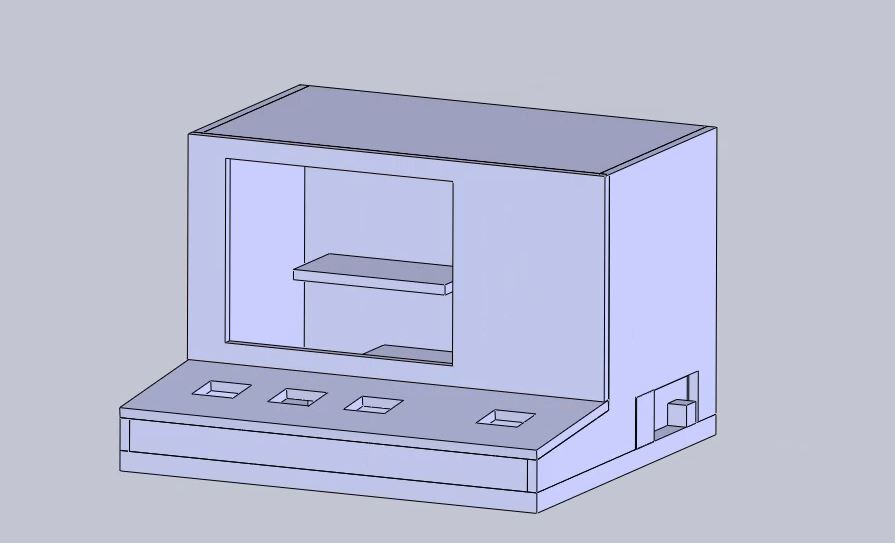
Once I had a more fleshed out idea of what I wanted the final design to look like I began creating a solidworks model for the body pieces that I would laser cut:
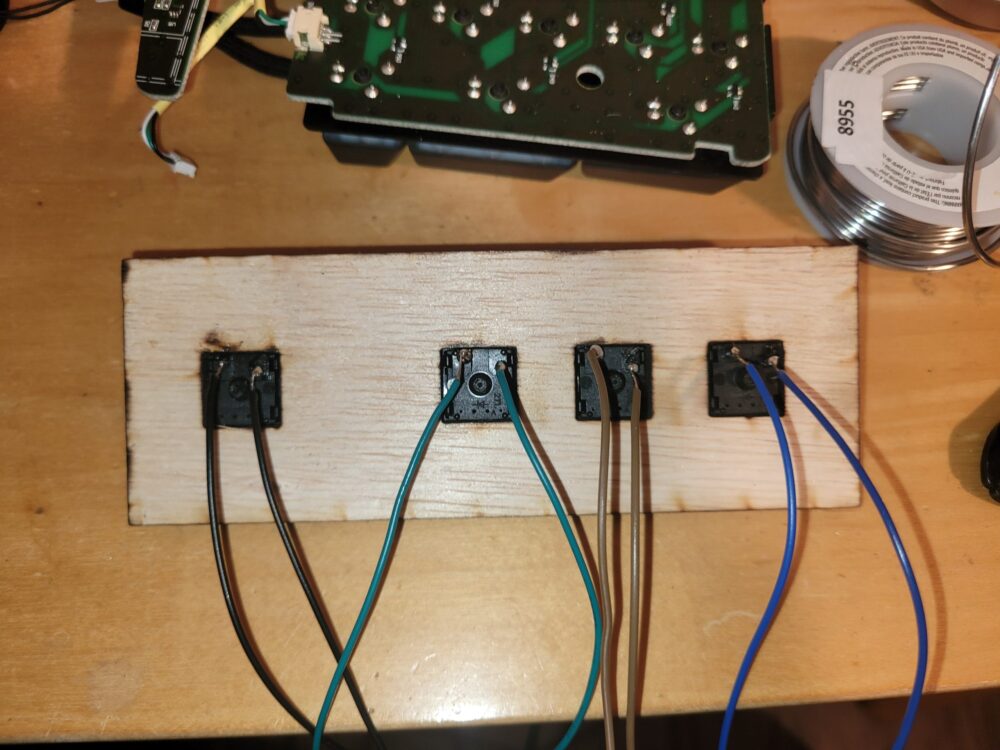
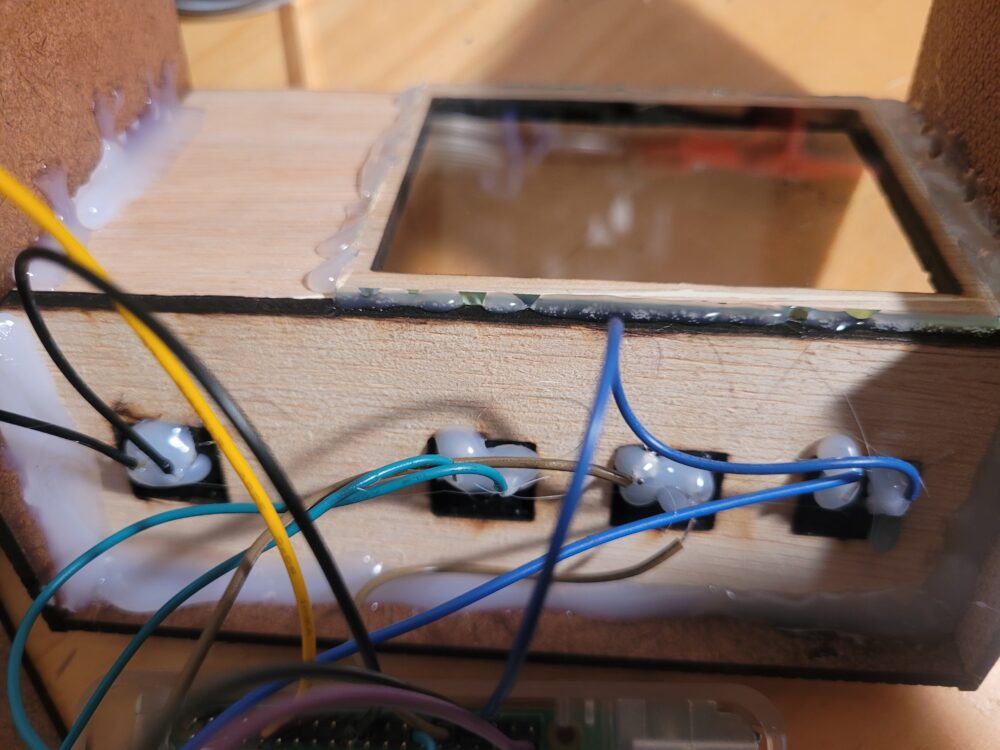
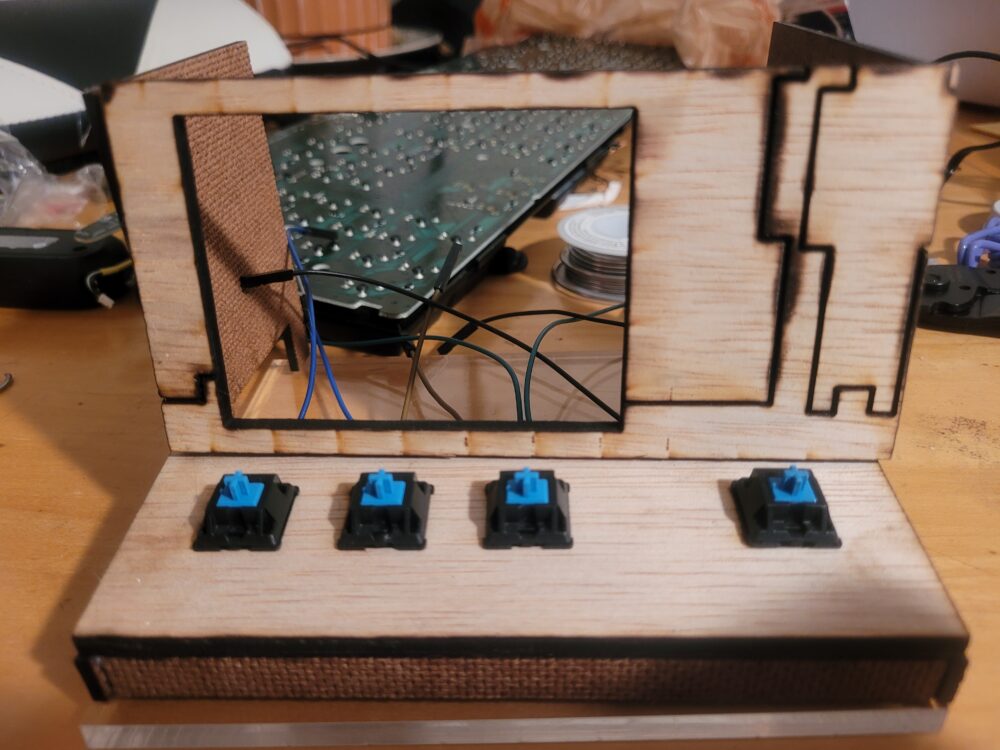
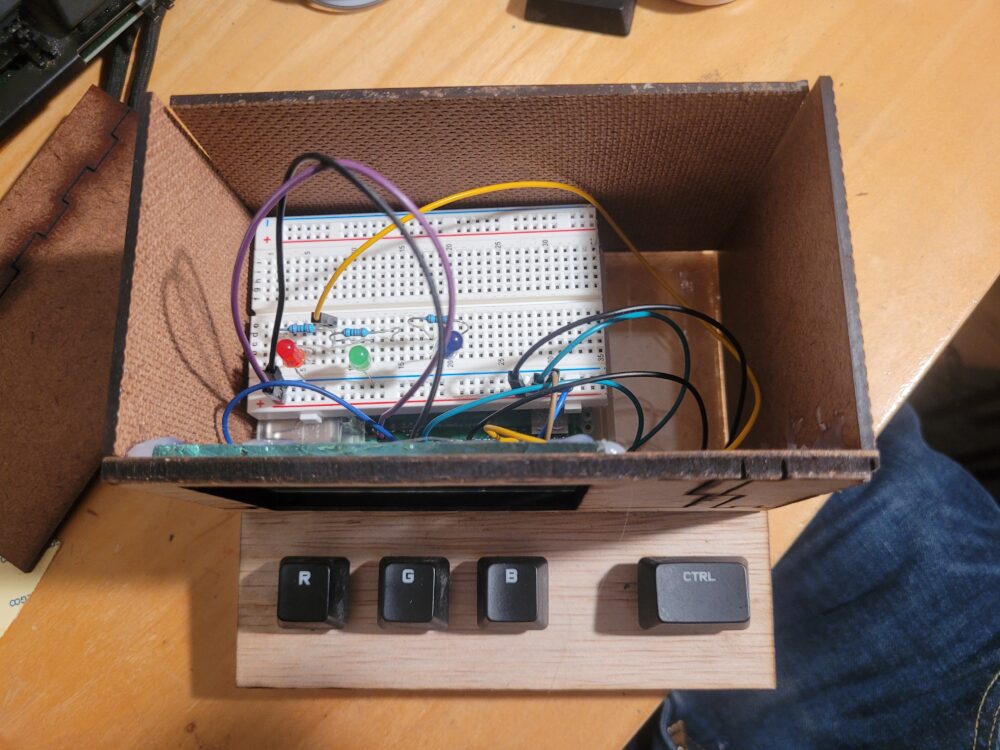
I then began selecting scrap pieces of laser cut wood. I prioritized selecting pieces that were large and had interesting burn marks on them. I used the laser cutter to cut out the shapes for all of the body pieces. Once I had the body pieces, I started to work on the electronics. I originally planned to use an Arduino, however the Arduino that I planned on using turned out to be broken. I decided to use a raspberry pi instead. I used a breadboard to prototype the circuit and ensure that the switches would work how I intended. I then began construction on the final product, starting with inserting the switches into the switchplate and soldering the leads. I made sure to add hot glue to provide strain relief to the solder joints.
I continued with hot gluing the side pieces, and inserting all of the electronics into the case.
Once the body was done, I used the laser cutter to cut out the text for the display on a black piece of construction paper. I then glued the paper to the glass, and put another white piece of paper behind to diffuse the light more evenly across the display. In the end it creates a really cool effect of a monochrome display.
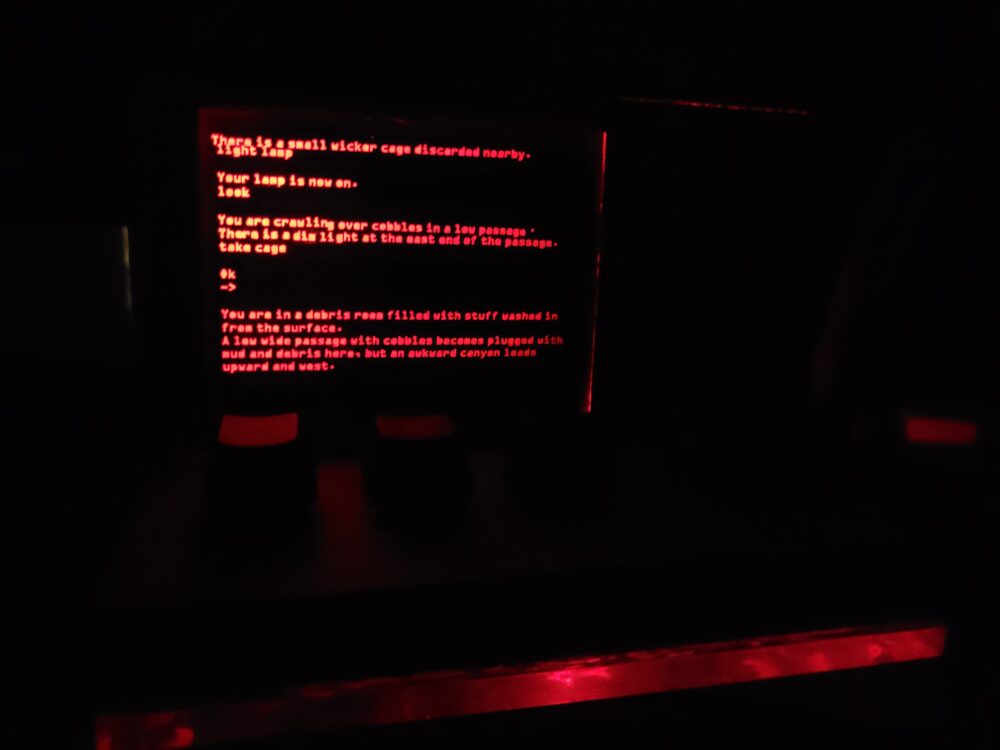
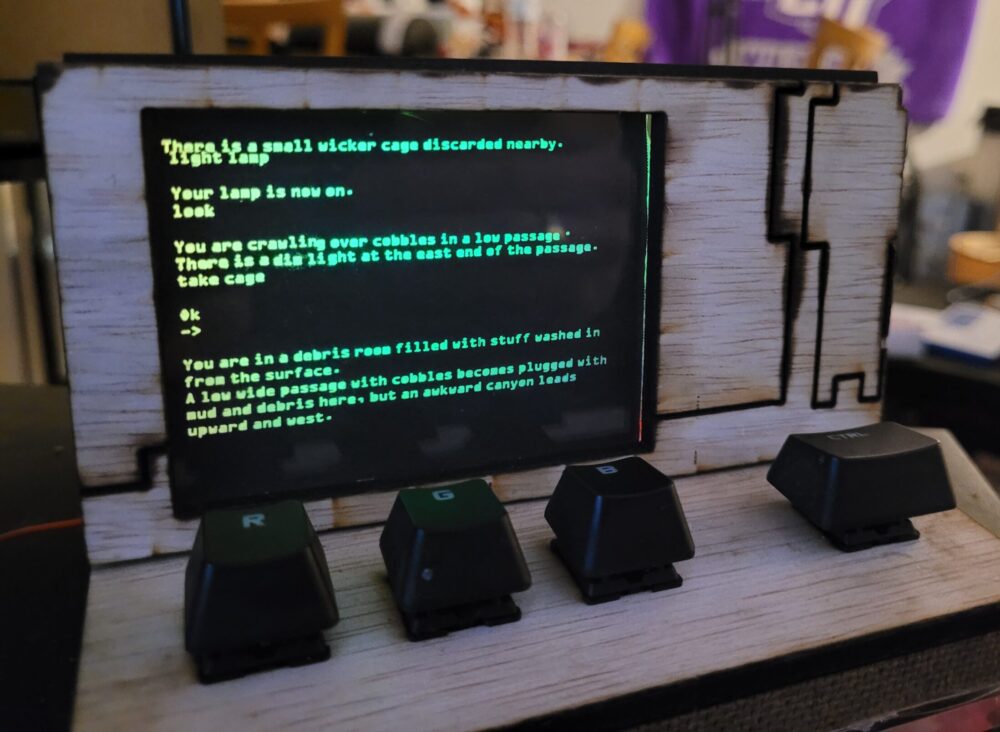
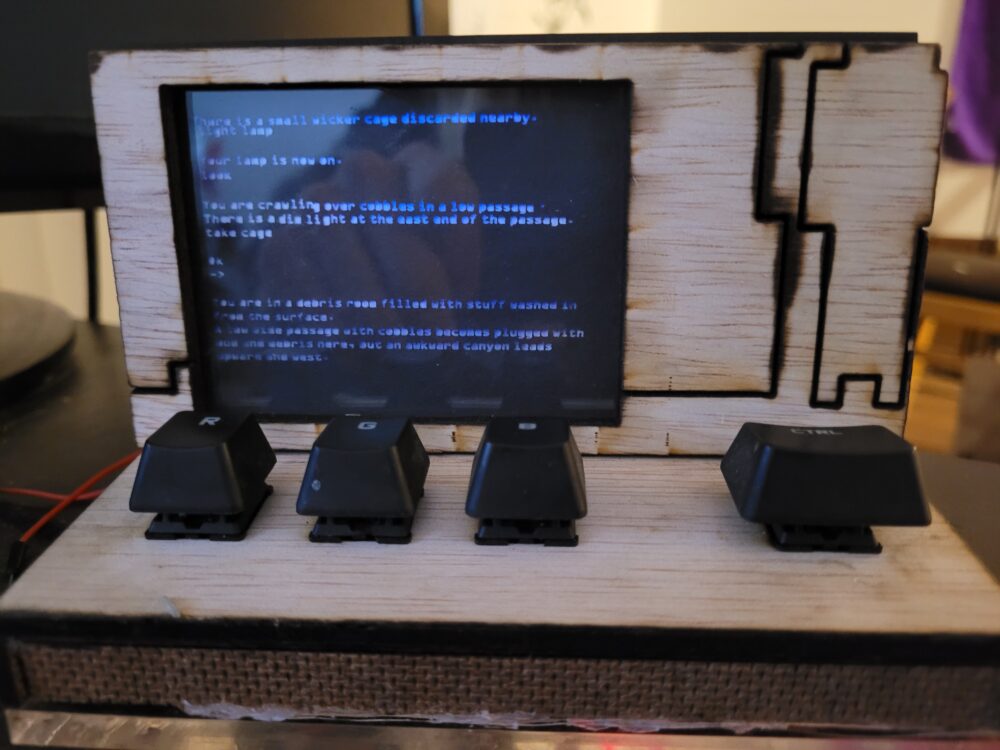
Overall, I think that I achieved my functional goal of creating a piece that is interactive. The colors can be added together to create different visual effects, and the tactile sound of the clicky switches in the wood body creates a very satisfying sound. Artistically, I am also pretty satisfied with how it turned out. I think the burn marks on the wood creates an interesting aesthetic, and the different wood colors mimic the cream and brown tones that were prevalent in 1970s terminals. However, I wish I had spent a bit more time to make the pieces fit together better, as some of the light can leak out of some seams along the box.
Since I used a raspberry pi, there are many infinite possibilities of what I could do in the future. aside from just using the raspberry pi as a normal single board computer for programming. There is an existing market of keypads that people use to play a rhythm games, and I am considering turning it into an actual keypad that can plug into a computer and input keystrokes.


CITATIONS:
https://www.hpmuseum.net/exhibit.php?cat=11&class=1
https://en.wikipedia.org/wiki/Computer_terminal
https://abelimray150.com/story/personal-computer-1970-onwards
amazon.com
4 Comments. Leave new
Hey Luke ,
Your project, where you creatively repurpose old computer parts into a vintage-style terminal, truly showcases your passion and ingenuity. I’m curious, have you considered fine-tuning the assembly to enhance its appearance and maybe expanding the Raspberry Pi’s functionality for added interactivity?
Hey Luke,
I think this project came out really well. I liked seeing that you used blue switches for the keys, and think that those switches in particular capture the feeling from the 70s/80s from an auditory perspective. For the wood, I think the burn marks and light leakage aren’t necessarily bad; it reminds me of some of the issues companies like Apple and HP were having with their own displays (i.e. burn-in, picture distortion, etc.). I’m a big Raspberry Pi fan, so seeing you use that was fun too 🙂 Have you thought about running old arcade games on it at some point? You could swap it out with a small tablet and then run old arcade games on the Raspberry Pi with RetroPie. There are a bunch of guides online; might be something fun to try!
I really like the use of the RGB screen! The real keyboard switches are also a nice touch and I like that too. How did you do the text on the screen? That looks really cool and I’ve never seen anything like that. One thing I am wondering is how did you choose a pi as a controller?
Hey Luke, I think that the laser cut wood provides a really cool contrast to the screen, but still matches up with the colors you were aiming for. At the end you mentioned programming a rhythm game you could use those buttons for, would you ever consider upscaling this project to a full size display and keyboard you could use with a modern computer?