

The goal of this project was to construct a chalk “bucket” that will be used primarily for indoor climbing/bouldering. The idea behind the bucket design is that it can hold more chalk than a traditional chalk bag, as well as brushes, tape, and other items that we want to have easy access to while climbing. The aesthetic we are going for here is workwear, and for this we are making the main body of the chalk bucket out of denim. This has been sourced from an old pair of jeans, and the denim will provide a durable material so that the bag is able to withstand any sort of abuse that it may suffer.
The workwear aesthetic is defined by functional, rugged items, both clothing and accessories, that were originally designed for people such as carpenters, fishermen and construction workers. These items are designed to be used every day and to withstand the type of abuse that comes with many of these professions. Traditional workwear pieces include carpenters pants or classic denim jeans, trucker/chore jackets, and of course, the classic flannel overshirt. Workwear often features sturdy fabrics, reinforced seams, and copious amounts of pockets to accommodate tools and accessories. We also see a lot of looser, boxier fits for added comfort and mobility. Workwear also gets better with age, with many people seeking out vintage and thrifted pieces because of the added character and uniqueness added through time and use. While initially designed for practical purposes, certain workwear items have evolved into fashion statements, with brands incorporating elements of utility wear into mainstream styles.
“The appeal of workwear is that it doesn’t date,” says Chris Gove, founder and creative director of British menswear brand Percival. “It was never designed for a particular era or movement, so the purpose and appeal of workwear remains relevant, transcending trends.”
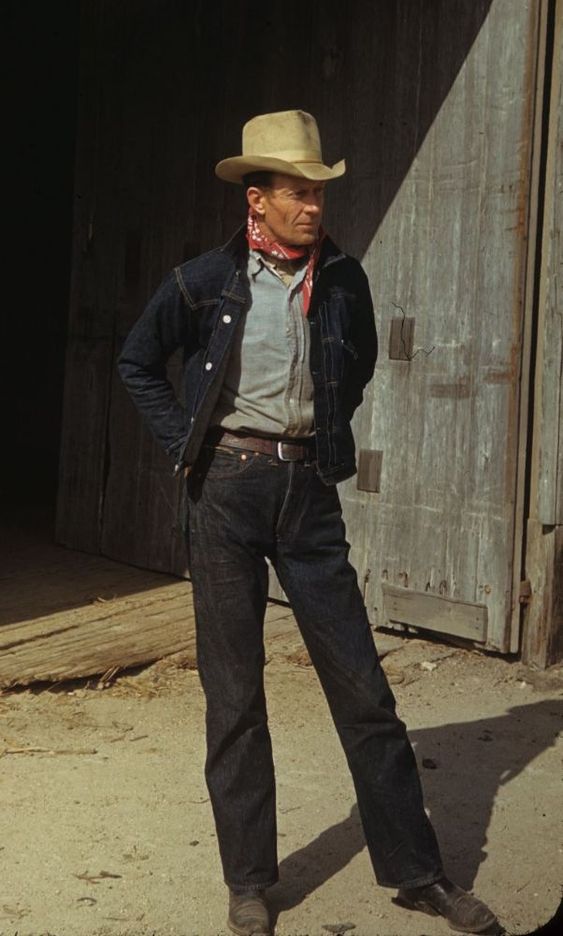
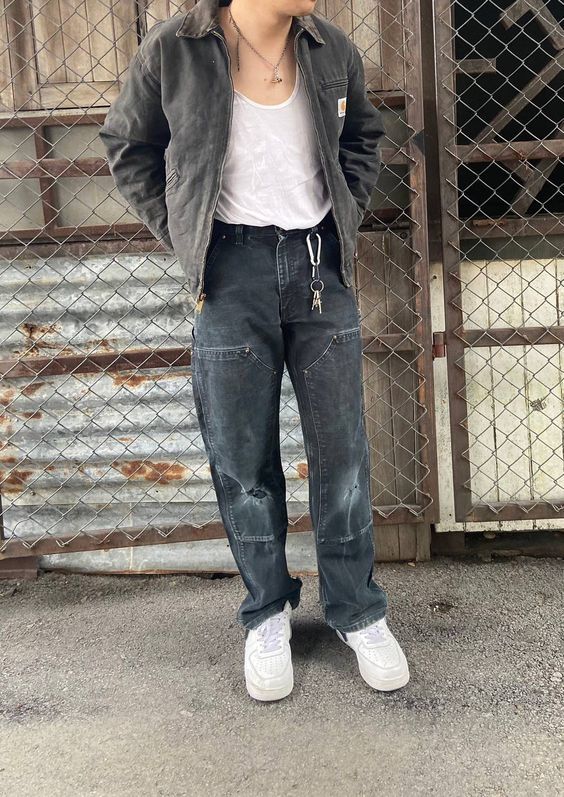
A traditional workwear outfit (Left), compared to a more modern example of the workwear aesthetic (Right).
Workwear is appealing because of its comfort and functionality, even if not being used for its intended purpose. This is the reason why I chose it for my upcycling aesthetic. My upcycling project is going to be making a chalk bucket for indoor rock climbing (mainly bouldering), with the main material being denim reclaimed from an old pair of jeans. The interior lining of the chalk bucket will be a flannel/fleece material, likely also recycled/reclaimed, to reduce chalk dust and provide a great user experience. The bucket will also have lots of functionality, in the form of pockets, brush loops, and buckles, adding to the overall workwear aesthetic. I wanted to make this because I climb quite a bit, and while this is not something I would buy, I thought it would be a cool thing to have, and I don’t have a lot of experience working with these types of softer materials.
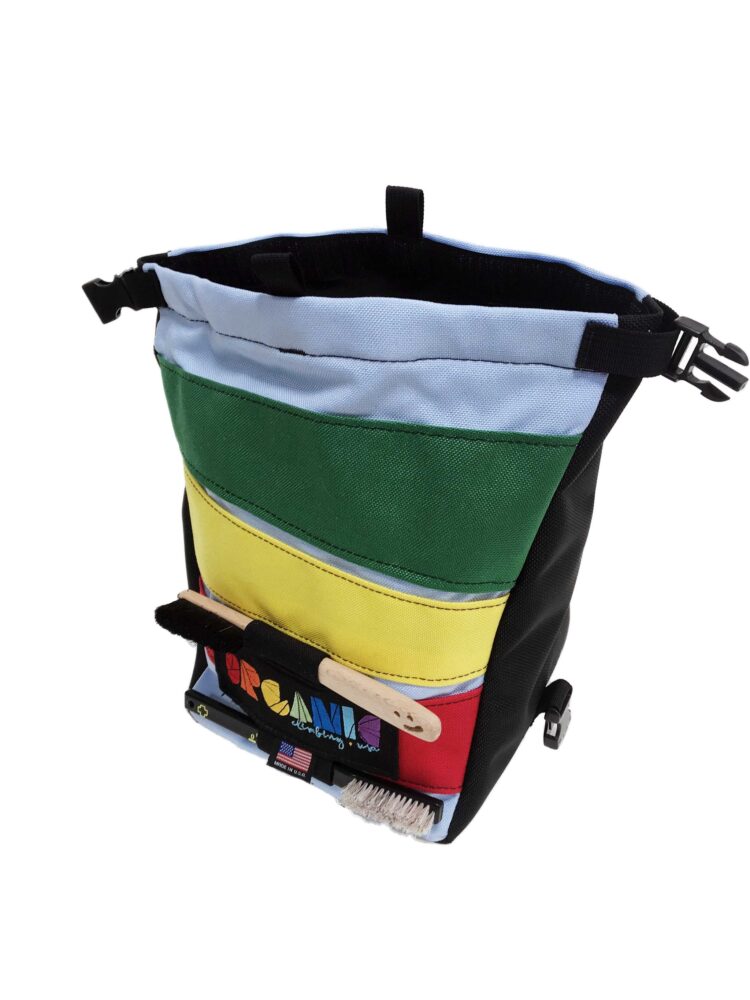
An example of a Chalk Bucket by Organic Climbing
As this bag gets used, the chalk will accumulate and give it a used, weathered look, which adds to that vintage workwear vibe that is so sought after. The usage of rugged fabrics like Demin will ensure that it remains rugged and durable, and I can throw it around without fear of it ripping or deteriorating. This will an item designed to be used hard, and will patina and improve with use and wear over time.
I am using a modified sewing pattern that I found from Fraser Gust (linked at the end of this post) and changed slightly to better suit what I was trying to do. Below is an image of the pattern I will be using (all measurements are in cm).

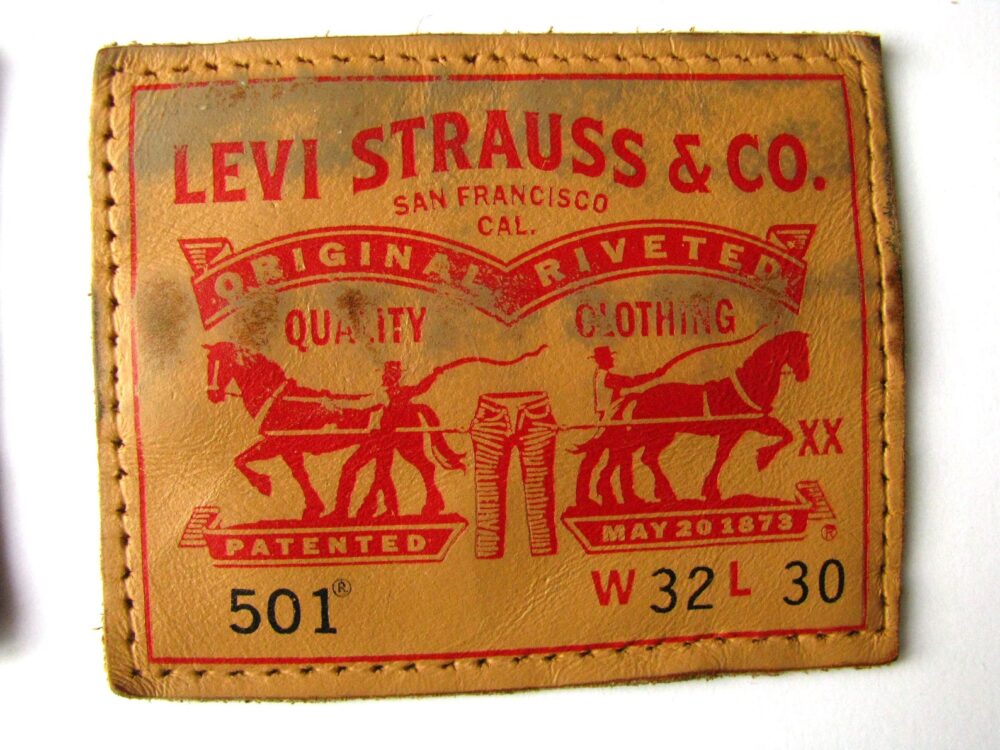
One fun idea that I had was to incorporate the Levi’s leather patch from the back of the jeans into the chalk bucket somehow. My idea was to use it in lieu of a logo, to sort of mark where the chalk bucket came from. Below is an image of a chalk bucket with a logo, which I want to take inspiration from on where to place that leather patch.
Design and Fabrication process:
The first step in this process was to get my modified patterns printed out onto paper so that I could cut them out to make templates that I could then trace onto the fabric that I would be using. For the liver of the chalk bucket, I cut the inner pattern (shown earlier on in this post) out of a fleece fabric that I got from my sister that was left over from a project she did last semester. The outer pattern (also shown earlier on in this post) was cut out of an old pair of jeans, which was my main upcycling object for this project.
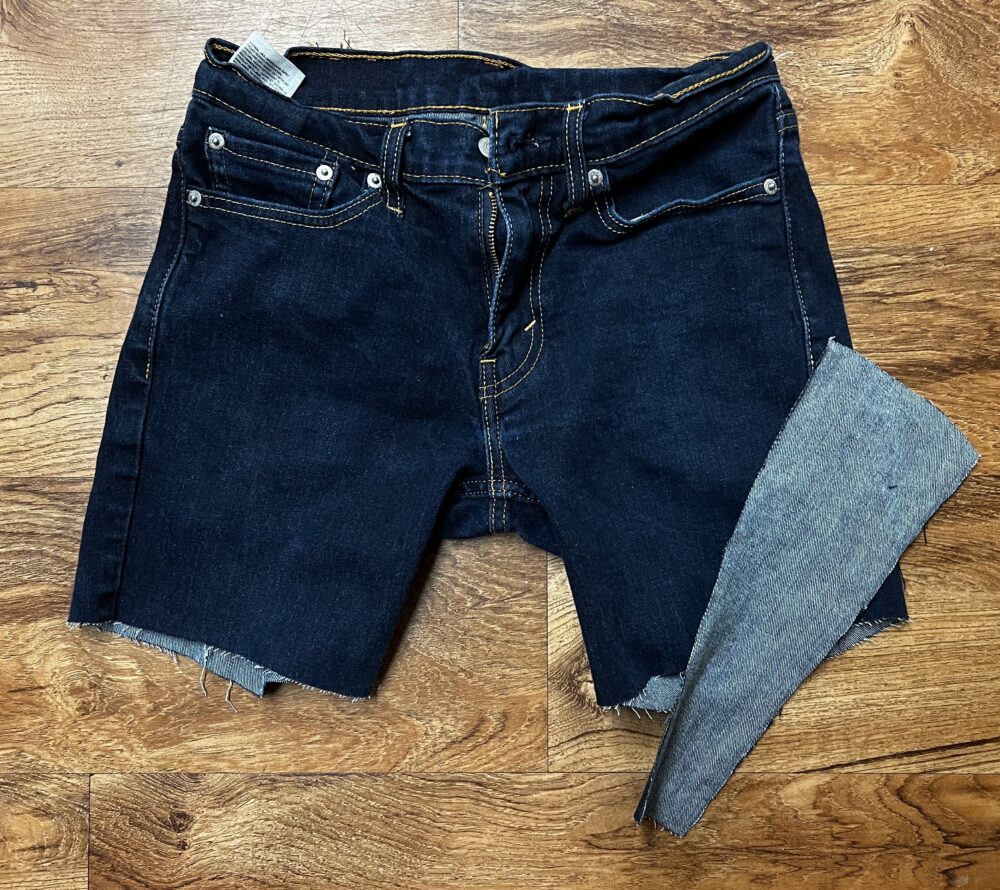
I forgot to get a before picture from the jeans, but here is an after photo. I managed to get all of the material that I needed from the legs, so I now also have a sick pair of jorts. With the panels cut out, I decided that I didn’t like the original wash of the jeans, so I decided to have the inside facing out in the final design. Once all the panels were cut, it was time to start attaching all of the buckles, patches, and pockets that would be much harder to sew on once the panels were sewn together.
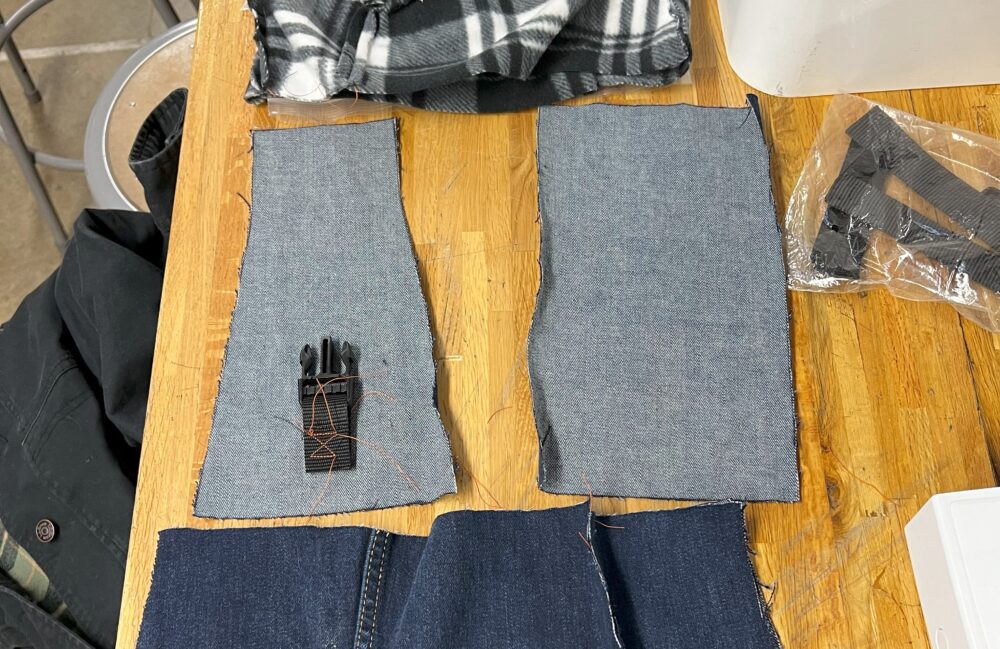
Here are some of the cut denim panels (shown are an outer side panel and the pocket panel), and I am in the process of sewing on a buckle to the side panel. I decided to use an x-pattern stitch (not sure if there’s an actual name for this) on all of the buckles and pull tabs, and the first few were pretty rough but they got a lot better as I got more practice and coffee. This was my first time using a sewing machine on this scale, so there was a bit of a learning curve figuring out how to get the best results out of the machine. Once all of the accoutrements were attached to the outer panels, I constructed the outer and inner bags separately.
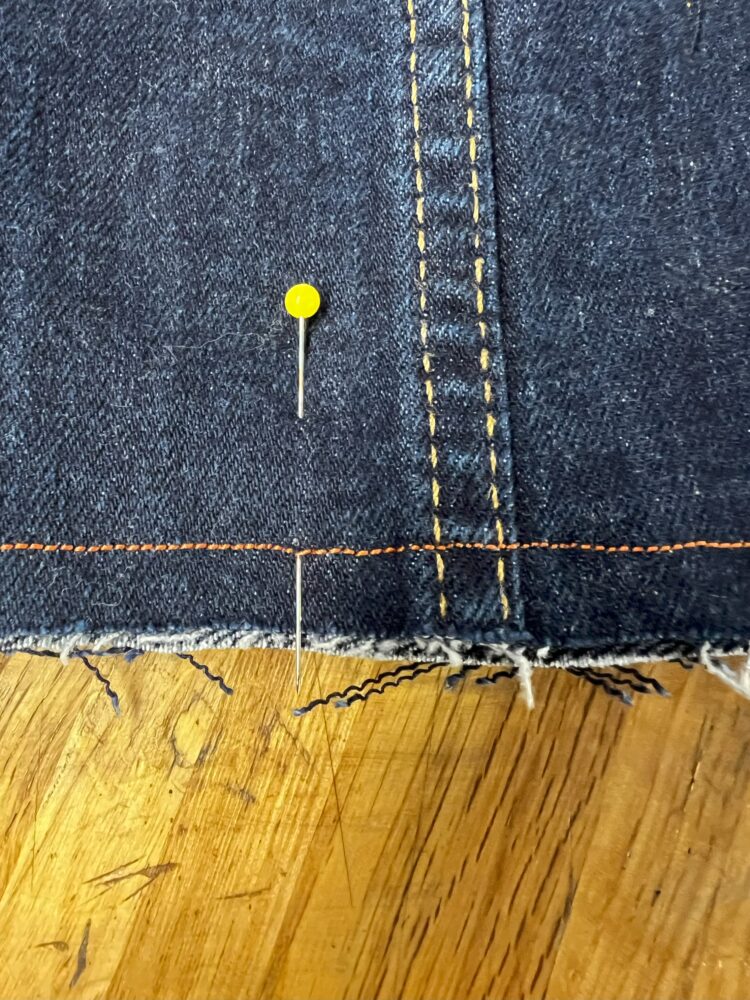
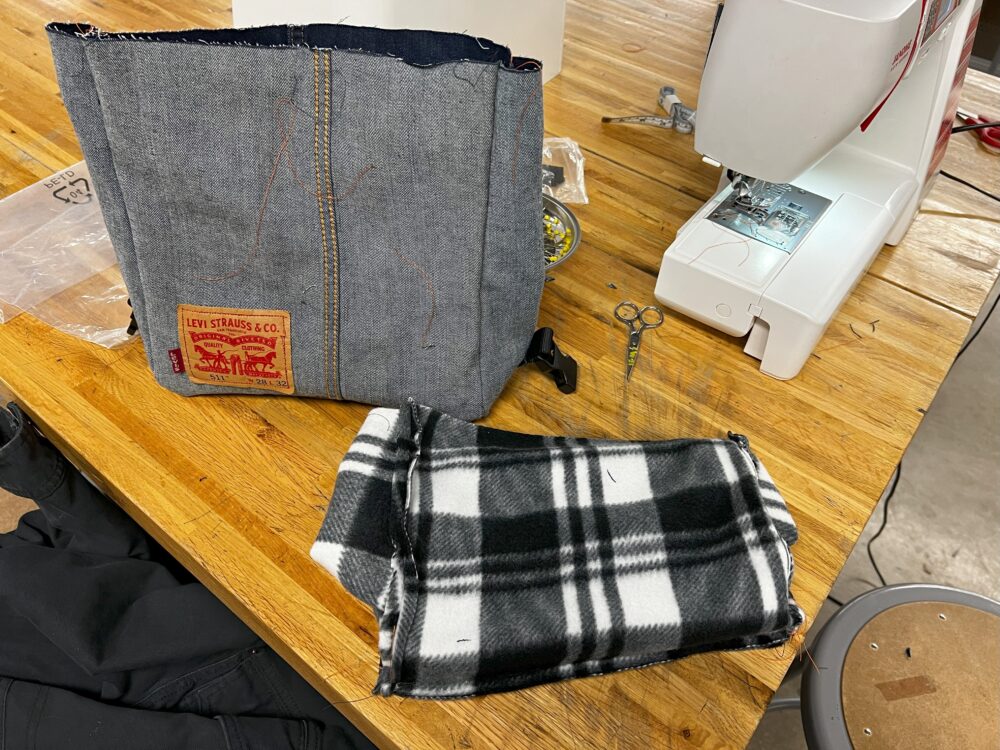
I tried to use a thread color that matched the original as closely as possible, so I chose this orange that you can see in the above image, and I thought it turned out quite well. Below, you can see the inner and outer bags completed separately, and then how they look when sewn together. I kept the original Levi’s leather patch and red tab, as well as included one of the original seams from the jeans, and I am super happy with how they both look and I think they contribute a lot to the workwear aesthetic I am going for.
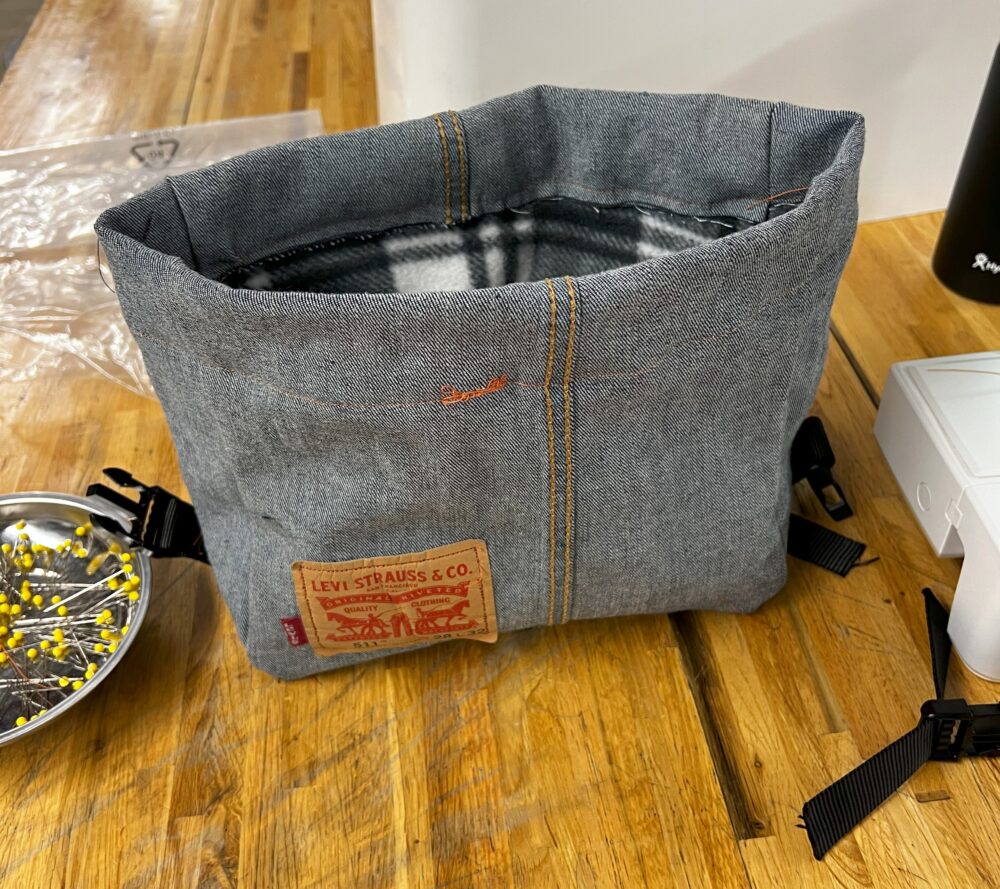
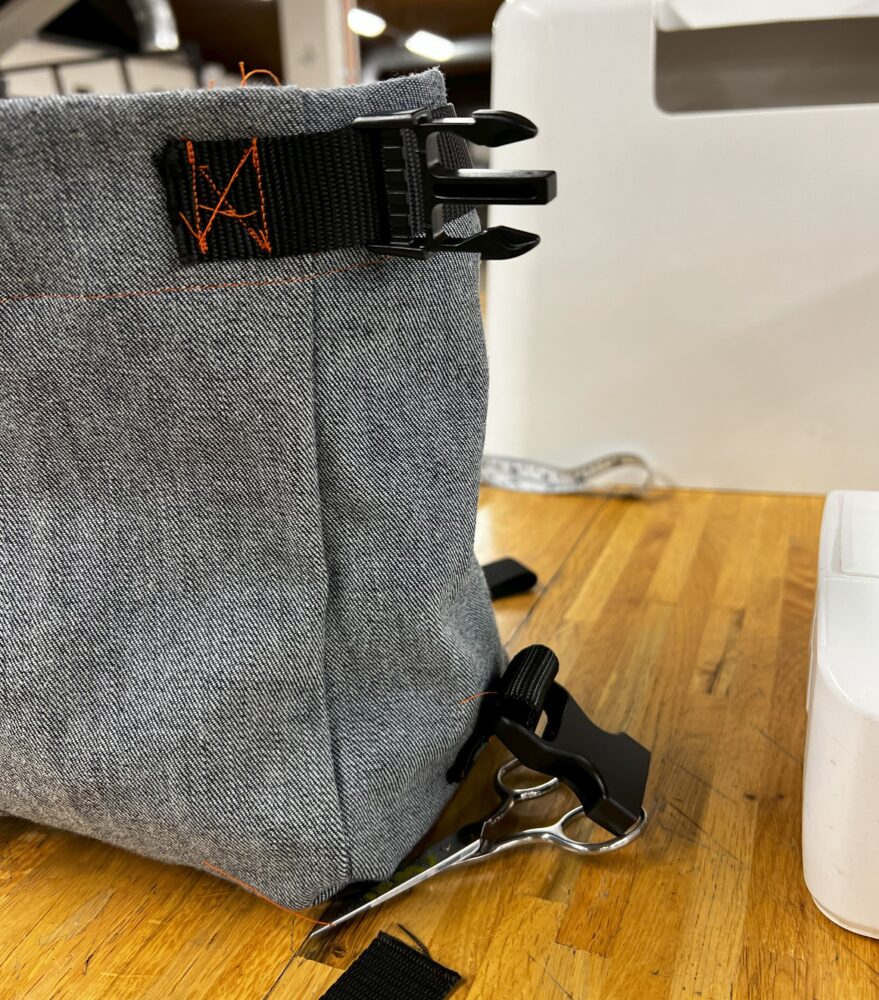
Once I had the inner lining sewn into the bag, I attached the final buckles, pull tabs, and Velcro to the bouldering bucket to make it fully functional. There is Velcro along the top of the main compartment of the bag, as well as a little bit holding the pocket on the back closed. Below, you can see how my x-pattern stitching is looking better as I attach the buckles along the top of the bag. These buckles allow me to secure the bag in a closed position in two different orientations.
Once I had all of the final functional features attached, I moved on to cutting off all the excess thread and cleaning up all the stitching. My stitching isn’t the prettiest, but it should be sturdy and functional and I am happy with how it turned out. Here is a picture of the finished design:
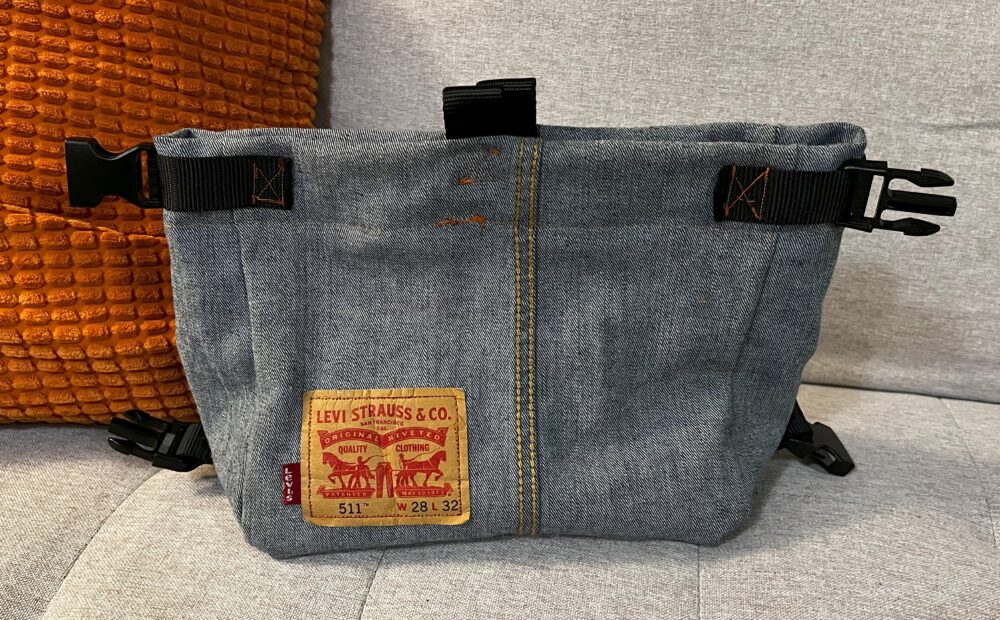
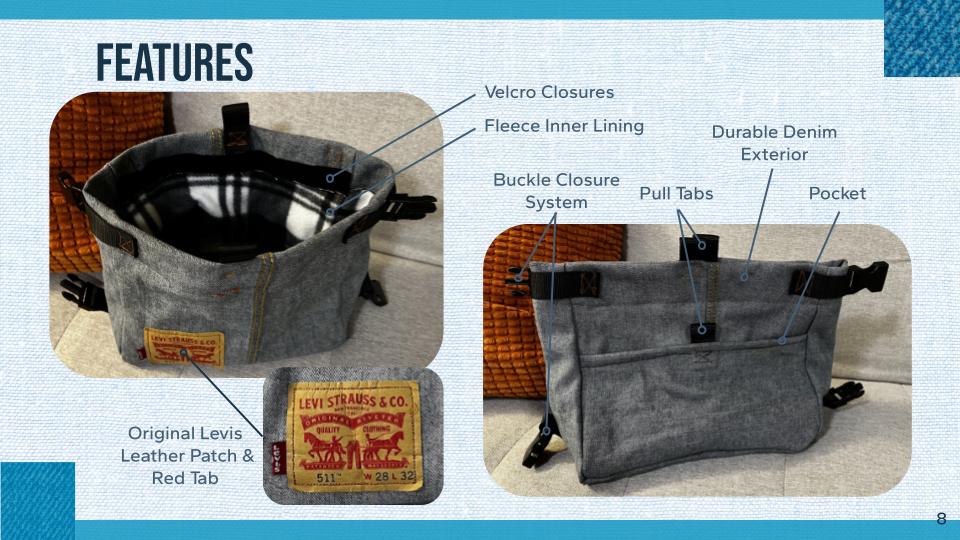
The durable outer denim, functional fleece liner, buckles, pockets, and pull tabs all help to add to the workwear aesthetic of this finished piece. Overall, I am really pleased with how this bouldering bucket turned out and I am excited to use it. I will try and come back to this post in a couple months and post a status update on how it has held up and what it looks like with a little bit of wear and tear. Here is a slide from my presentation that points out all the rad features that were incorporated into the final design:
If I were to do this over, I would want to use a slightly stiffer or thicker material for the outer shell, as well as make it quite a bit taller. I thought I had left myself with enough height to be able to roll the top down a couple times but that is not really the case. Despite this, I am stoked with how the final product looks and feels and I really learned a lot while working on this project.
Images:
- On Point Fresh, https://onpointfresh.com/wp-content/uploads/2022/08/2fc55d783c4156e7ad43f47324d8effe.jpg
- On Point Fresh, https://www.pinterest.com/pin/workwear-aesthetic-men-in-2023–622481979768617294/
- Organic Climbing Deluxe Chalk Bucket, https://organicclimbing.com/cdn/shop/products/IMG_4073_1_2048x.jpg?v=1573996318
- https://www.etsy.com/listing/946611652/vintage-leather-original-two-horses
References:
- On Point Fresh, Workwear Fashion for Men https://onpointfresh.com/workwear-aesthetic/
- THE COMPLETE GUIDE TO THE WORKWEAR TREND, Alfred Tong https://www.fashionbeans.com/article/mens-workwear-fashion-trend/?http://ignorenitro=8af23741d4d94d44bf9d19af6e3a88c1
- Fraser Gust: https://www.youtube.com/@frasergust
7 Comments. Leave new
Hey Max,
I just read your detailed blog post about your chalk “bucket” project, and I have to say, it’s incredibly impressive! Your meticulous attention to detail and dedication to the workwear aesthetic shines through every step of the process.
Using denim from an old pair of jeans as the main material is not only a sustainable choice but also adds a rugged durability to the bucket, perfect for withstanding the rigors of indoor climbing. The incorporation of flannel/fleece for the interior lining adds a cozy touch while minimizing chalk dust—a thoughtful addition to enhance the user experience.
I love how you’ve thoughtfully repurposed elements like the Levi’s leather patch, seamlessly integrating them into the design to maintain that authentic workwear vibe. And your dedication to mastering the sewing machine, despite the learning curve, speaks volumes about your commitment to this project.
The final product looks fantastic, and I can imagine it becoming even more characterful as it accumulates chalk and wear over time. Your attention to detail in both design and functionality is truly admirable, and I’m excited to hear about how it holds up in the months to come.
Keep up the amazing work, Max! Looking forward to your future projects.
Best,
Jon
Wow Max! This has been so fun to see your project come to life. I was glad to know how well your choice of material worked out for this project I also especially like your choice of using the Levi logo to brand your bag. I’m curious how it ended up working out if you had the chance to climb with it yet. I also wondered if you would change anything with this after completing the project or if this project inspired you to do another project similar to this.
Maddox, thanks for the enthusiasm and kind words about my project. If I were to do this over, I would want to use a slightly stiffer or thicker material for the outer shell, as well as make it quite a bit taller. I thought I had left myself with enough height to be able to roll the top down a couple times but that is not really the case. I have not had the chance to climb with it yet, so I am excited to see how well it hold up to actual use.
Max, you did an amazing job on this project! It was cool how effective the material was for this and using the signature Levi patch pulls the aesthetic together perfectly. It is a fun read and I’m just curious to hear if you have used your artifact in action yet and how you like it or if there are some design changes you would make for another iteration.
Hey Colton, I have unfortunately not had the chance to actually use it yet, so I’m not entirely sure how functional things will be and how the actual experience of using it is.That being said, if I were to do this over, I would want to use a slightly stiffer or thicker material for the outer shell, as well as make it quite a bit taller. I thought I had left myself with enough height to be able to roll the top down a couple times but that is not really the case.
Hi Max, well done on your project! The chalk bucket looks amazing, and really displays your workwear aesthetic beautifully. I particularly liked that you incorporated the Levi’s leather patch and iconic red tab. Additionally, I can see the care and effort you put into this project, and was thoroughly impressed by the quality of this post as well.
I was wondering if you could tell us more about the front pocket on the design. Was that designed with anything specifically in mind? I look forward to hearing back from you and seeing your future update on how it holds up in the coming months!
Hey Dylan, I was also super stoked on how well the leather patch/red tab combo turned out. The pocket is for everything that I want to have with me but don’t want to put in my pokets or just leave on the ground. This includes my phone, earbuds case, tape, cleaning brushes, and other random junk I might have on me. This way, I dont have to leave my stuff on the ground or have to go back and forth to my backpack if I need something.