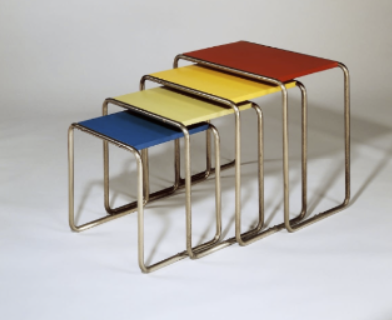
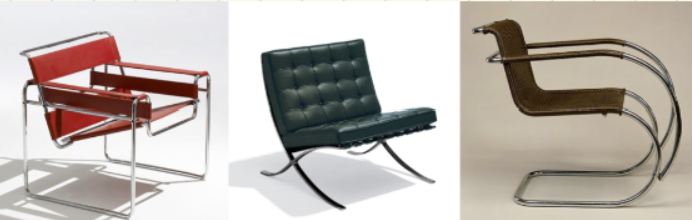
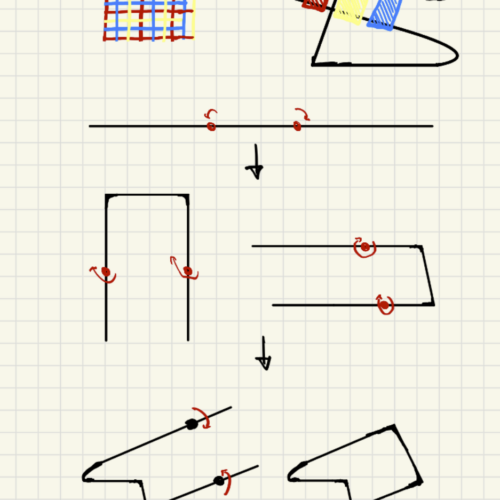
Idea: Bauhaus Laptop Stand This project began with looking at Bauhaus furniture that really spoke to me. Looking at these designs made me think of a product that I have been needing and searching for: laptop stand. The linkages in the chair and table designs from this era, I think, could pair really well with a laptop stand. This could be a design that could be functional and really speak to the Bauhaus aesthetic. Also, applying some of the design ideas from the Bauhaus era to a more modern product is something that could be interesting and add some cool meaning to this piece. So far, I have done some initial research and found common ideas across Bauhaus products like simple geometry and vibrant colors, to name a few. Using these ideas, I developed some initial sketches that show some of the key features and overall form of the laptop stand. Before the next update, I plan to make more sketches, develop more concepts and start getting materials.

I took this design to the machine shop at the idea forge to talk with the machinists and make sure I was on the right track. We discussed what tools were available there for the types of bends that I need for this design, and I included a photo of those hand-held swivel handle tube benders. For using these, I knew I needed 1/2” outer diameter aluminum of some sort. After these discussions, I headed over to Ecocycle to see what I could upcycle for the metal tubing. I found an outdoor chair that I noticed had 1/2” aluminum tubing for the legs, so I grabbed that. This upcoming week, I plan to separate the metal tubing from the chair and do some bends and figure out how I am going to connect each link. Also, I am going to check out Art Parts and Goodwill to see if I can find any good fabric to upcycle to add to the design!
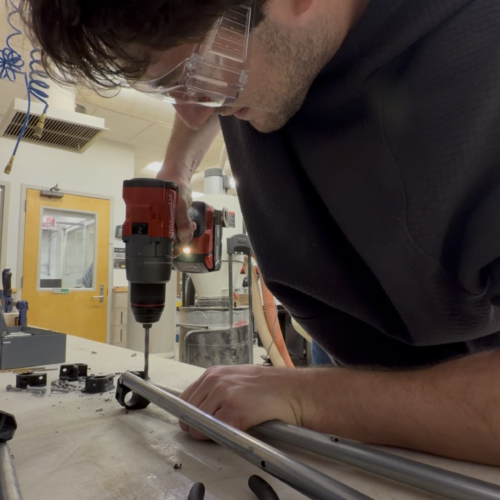
I began by taking apart the camping chair that I upcycled to strip it for the steel rods that used to be the legs. This process was not as easy as I was expecting and took way longer than I thought. The links were all connected by rivets which, it turns out, are really annoying to remove, especially when mounted in multiple cylindrical rods. I digress. Once the rods were all extracted, I began to test out several hand tube-benders in the shop. Every tube bender that I tried to use ended up in the same result: the rods would fail at the rivet. I had a feeling this would happen remembering some of my solid mechanics and some remembering how stress concentration works, but I was thinking it may work if I just don’t bend the tube on the rivet hole. I tried some other methods, like cutting divots into the steel tube and trying to hammer the bend around a wood template… this didn’t work either. So, in the end, I decided that I need to redesign the part and design some additional parts as well. For the bends, as opposed to bending the steel that apparently can’t bend, I’ve decided to move forward with 3D printed joints that will connect all of the steel rods.
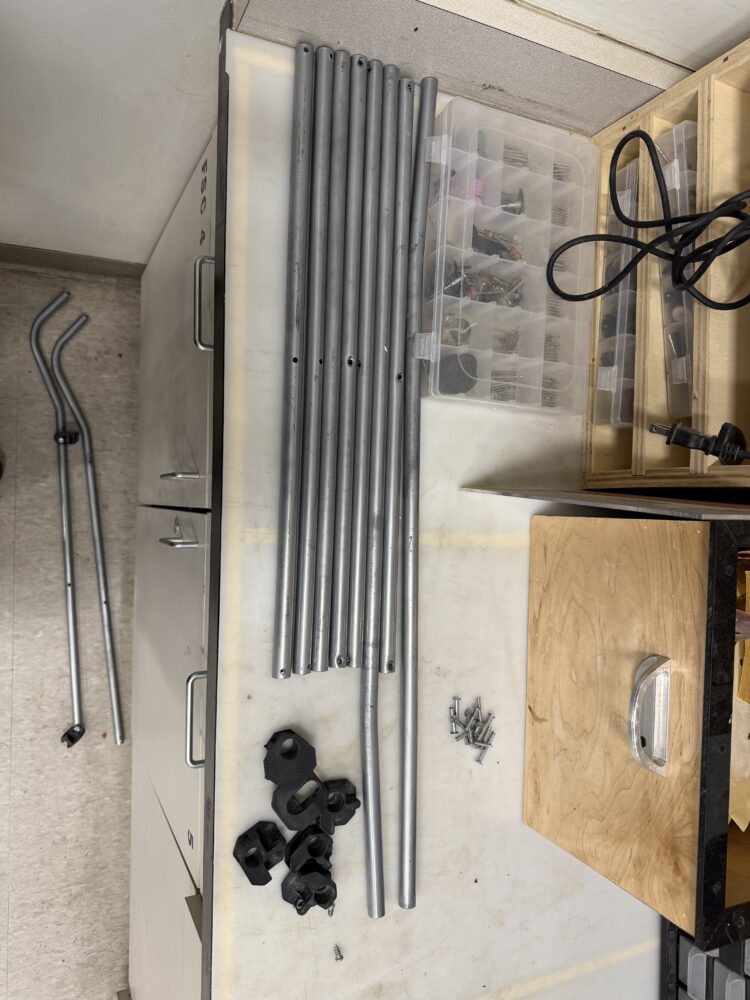
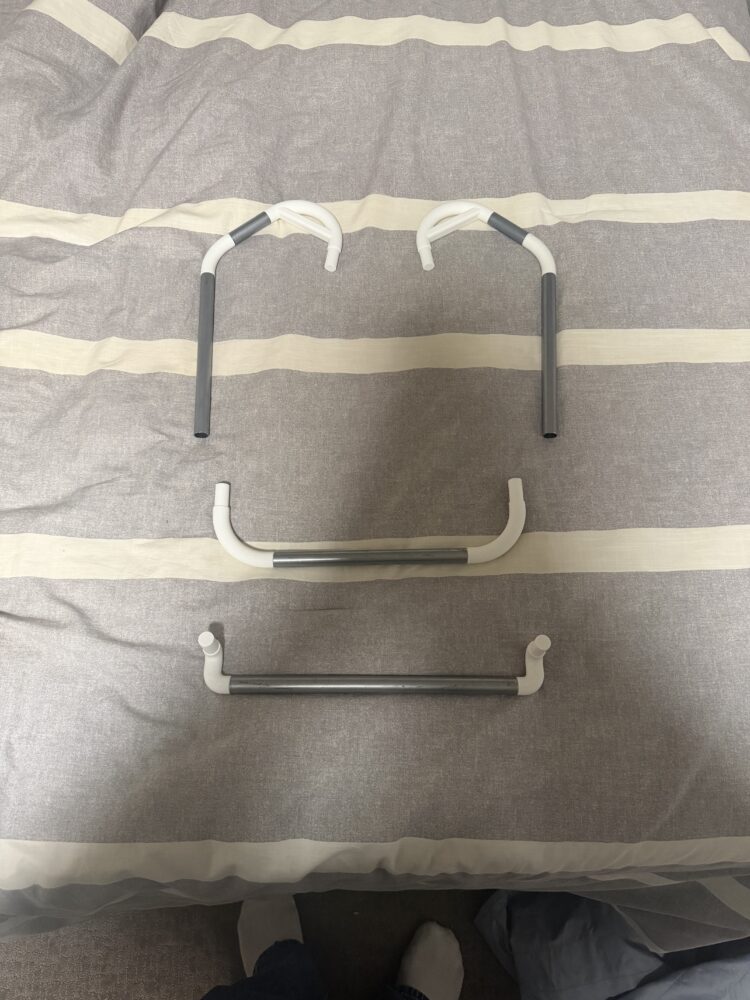
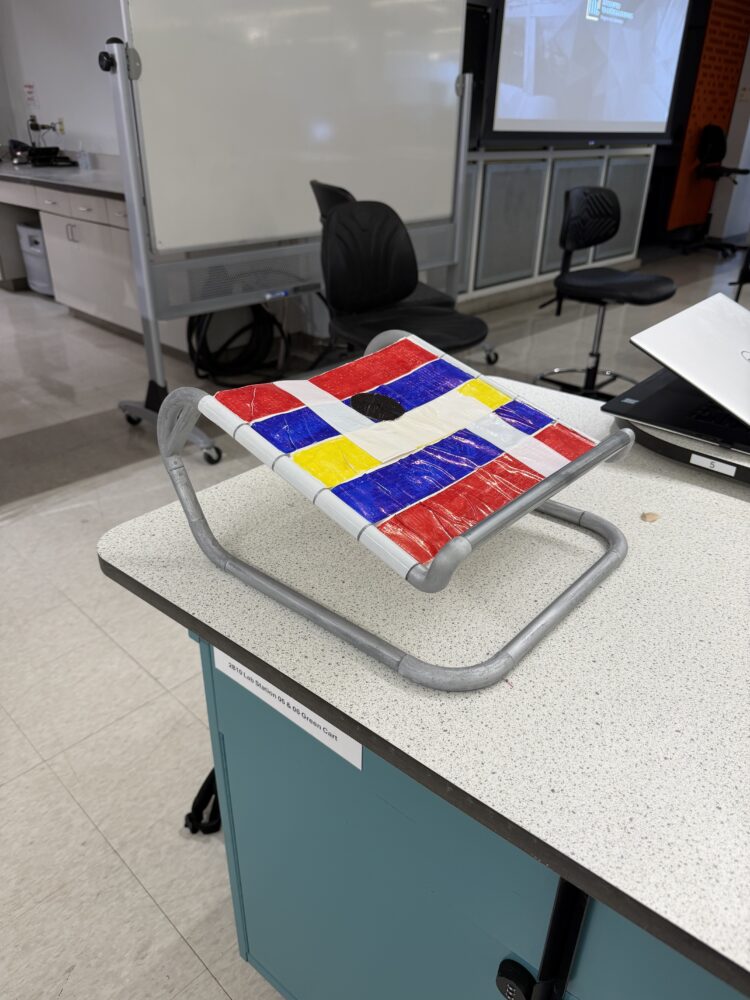
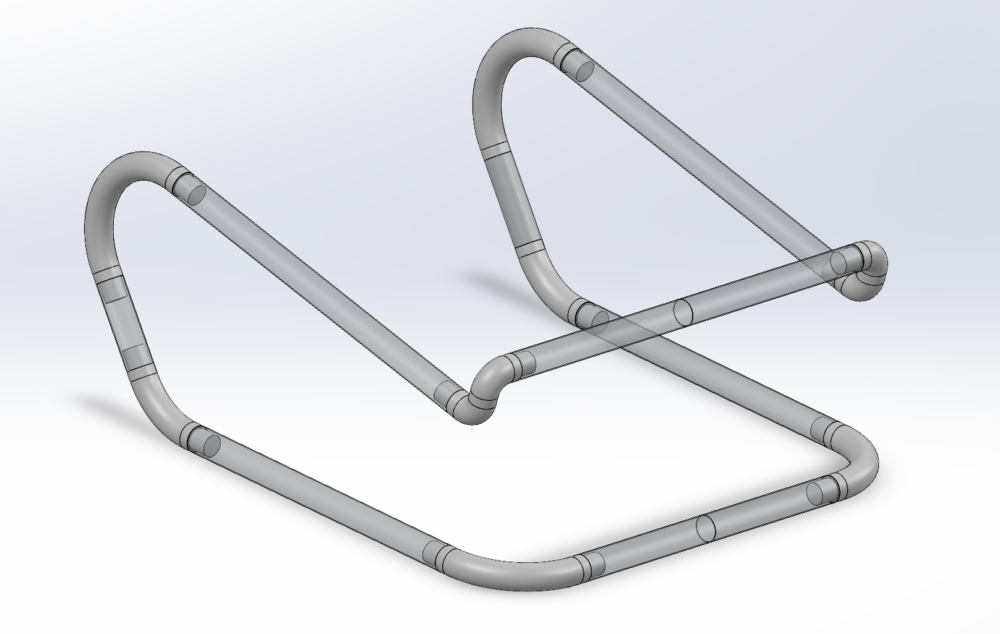
In the past week, I have started and finished manufacturing for the project. It started with the raw materials from the camping chair which I extracted last week. First, I needed to redesign the assembly in SolidWorks to support the design changes, going from all steel rod bending to the integration of 3D printed parts for the bent joints. I cut all of the steel rods to size, and 3D printed all the bent joints that were needed. My printer was having a lot of problems, so I had to spend a ton of time debugging the printer itself, but that was a separate issue. Once I had finished the steel rods and 3D printed parts, I was able to put the parts together… roughly. Here, I realized that the 3D printed parts were bending too much, which then led to some redesigns for some of the parts. After the redesigns, I put the assembly together again and it looked much better. Then, I glued together the joints that I wanted to be fixed, and the frame was set! After reaching a point where I was happy with the frame and the structural support of the stand, I started thinking about adding some Bauhaus inspired graphic design onto the piece. First, I experimented with some fabrics from both the Idea Forge and Artparts. After some simple eye-tests, I realized this didn’t really look the way I was hoping. Instead, I decided to use white duct tape and color it with the vibrant colors that we see in Bauhaus furniture and graphic design. I was at a point where the piece looked quite good, but then I overengineered the graphics part and made it look kinda laminated… oh well. Overall, I think I created a pretty nice-looking part that incorporates several different Bauhaus principles. First, the frame is built to be very minimalist, using a small number of simple parts with some cool bends and shapes, similar to the furniture created during this era. Second, the front cover was made using Bauhaus graphic design which uses the combination of simple shapes and vibrant colors.