
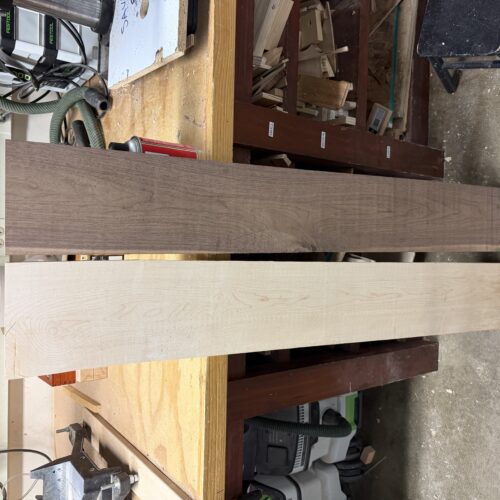
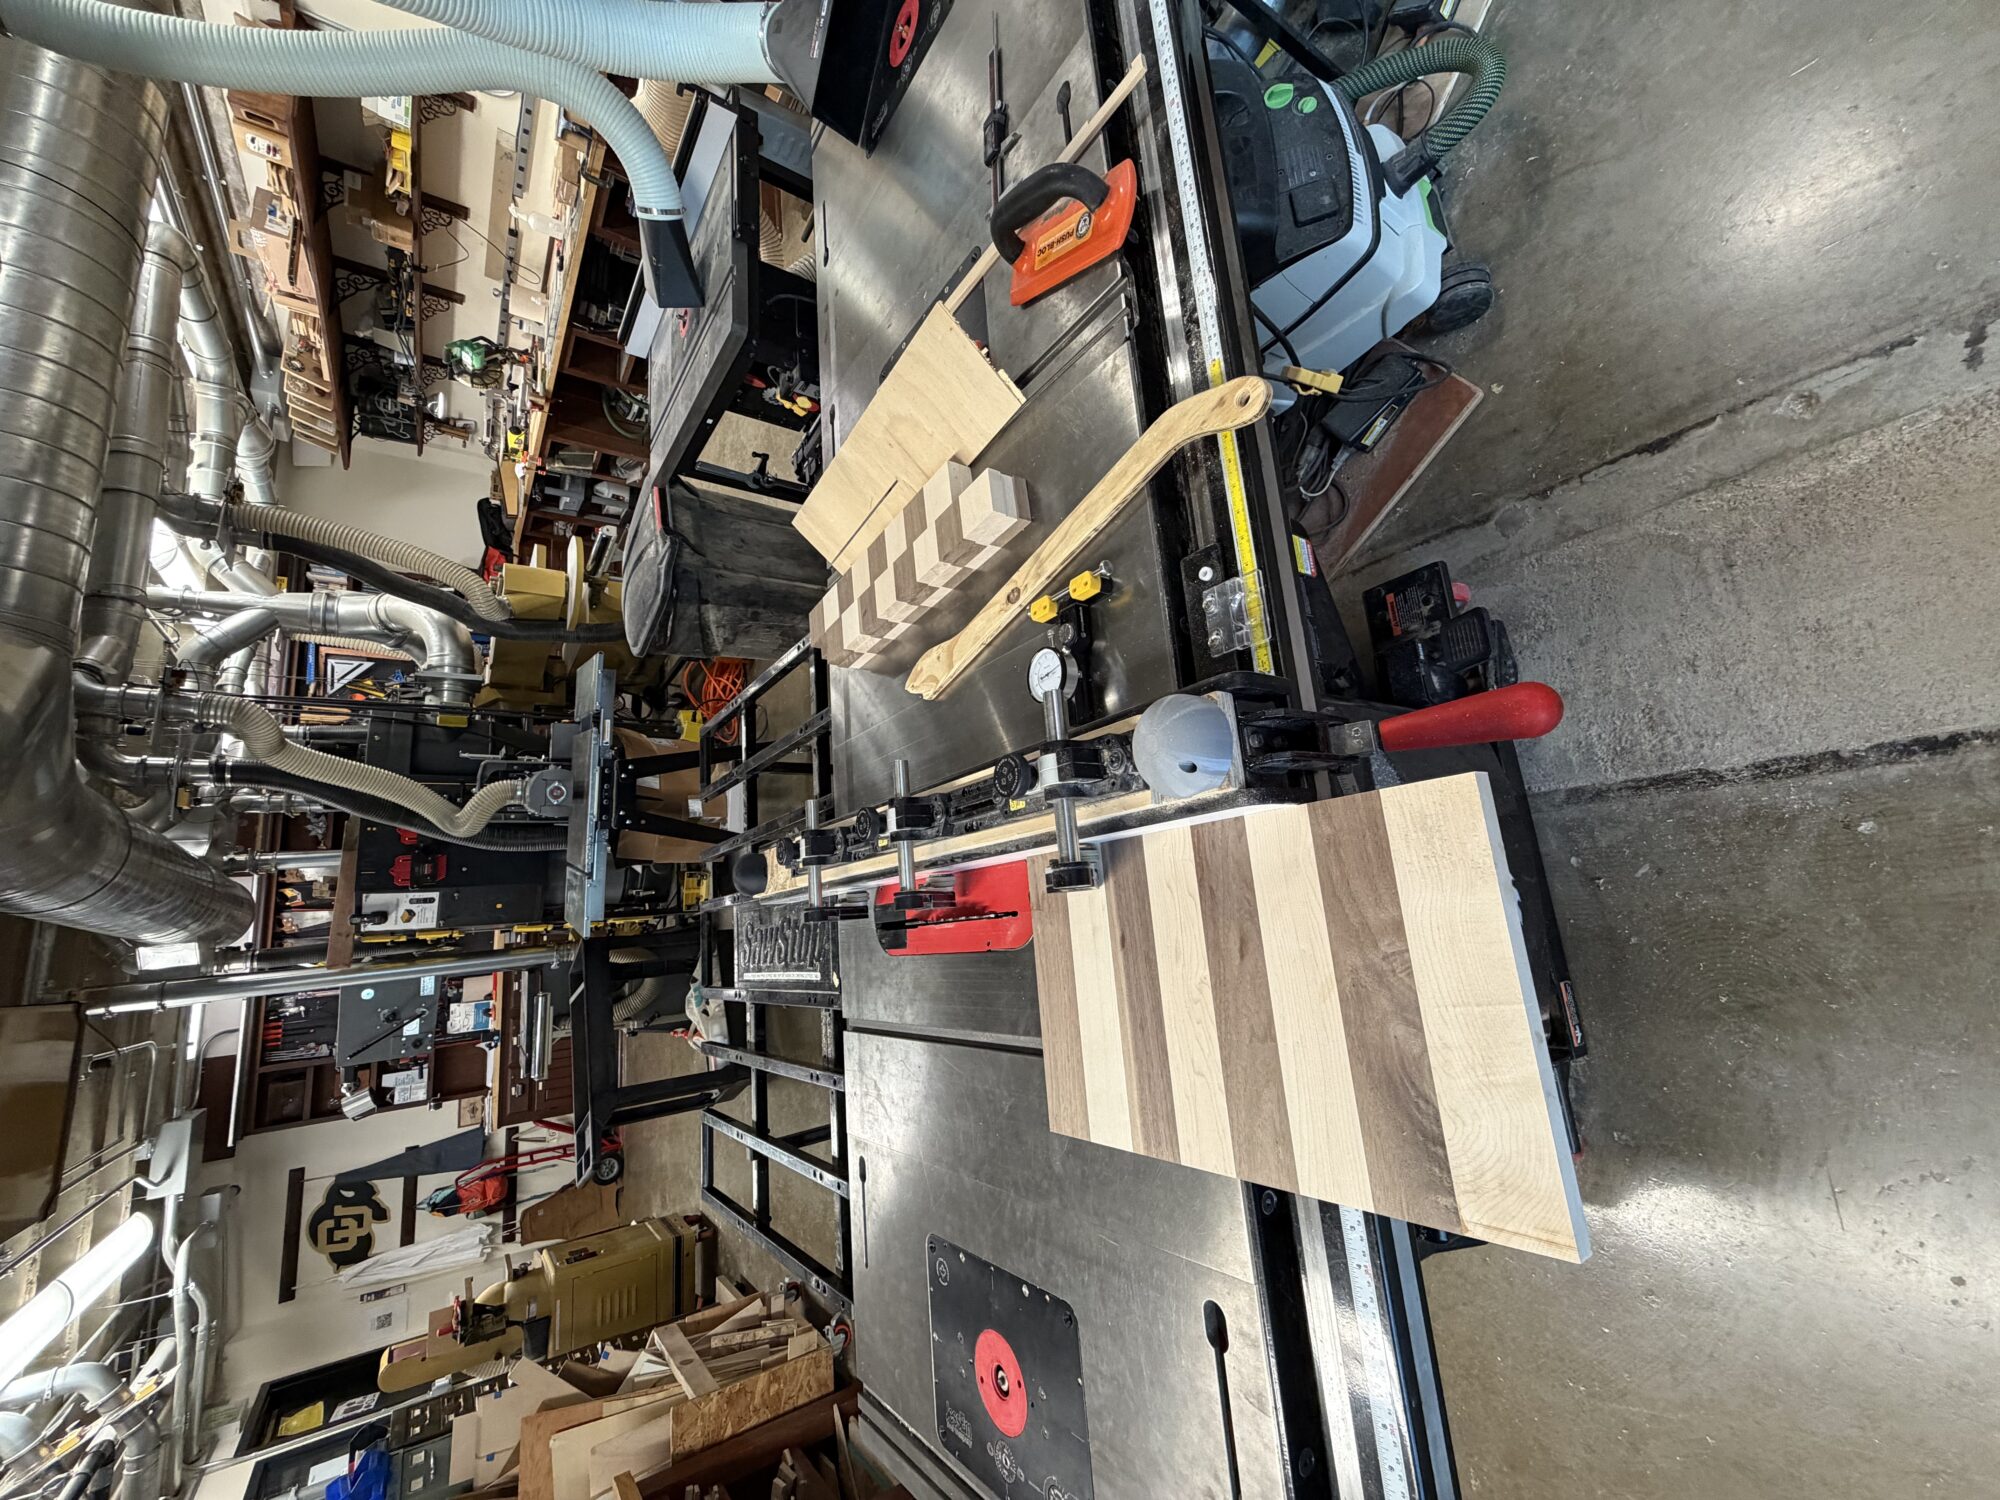
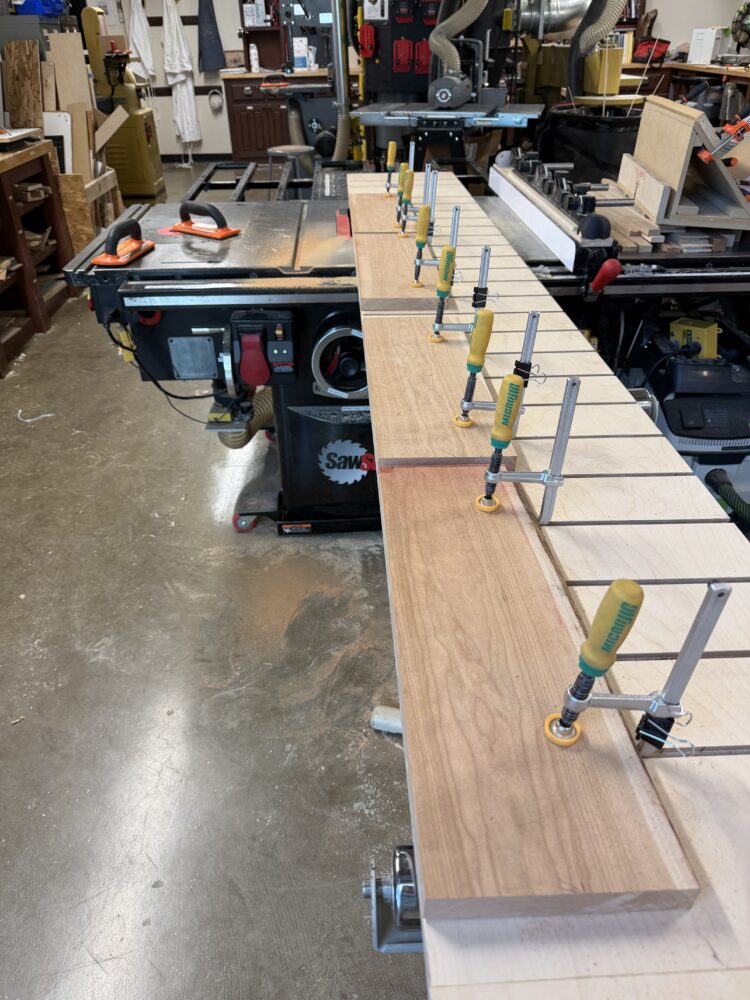
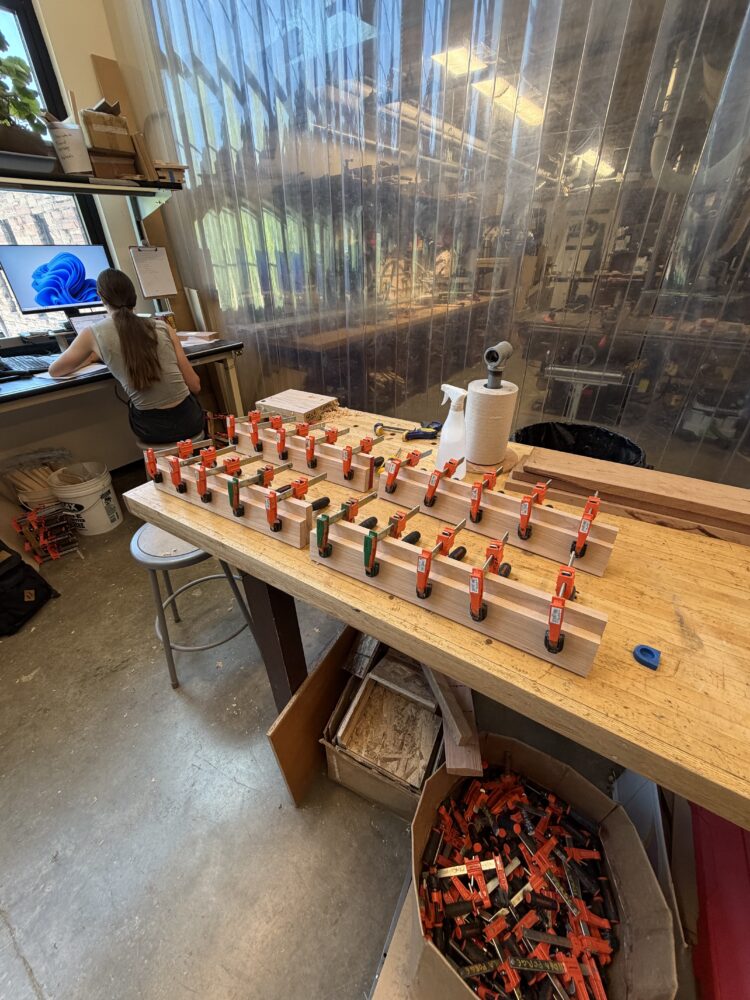
So up to this point, I got my materials for the board (using walnut and maple for the dark and light squares, respectively). I had to clean them up which included first trimming the edges, cutting the boards, planing and drum sanding them, and then cutting them to size. For the last step, I chose a method that ensured 5 thou precision, which included cutting the boards to just over size, then trimming the last bit on a router. Once all the pieces were to size, it was time for the glue-up which took some time and many many clamps. After that, the board was cleaned up (with similar steps as previously mentioned) and it was time to start the next process.
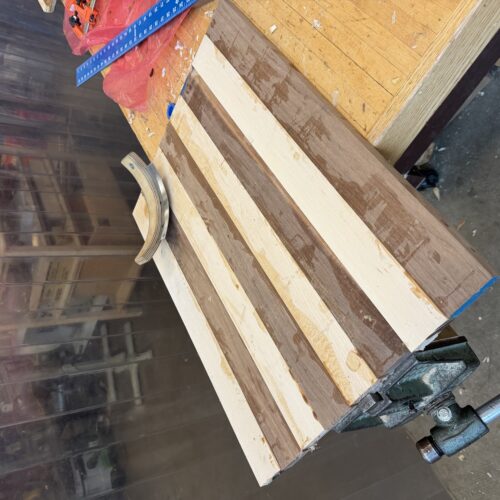
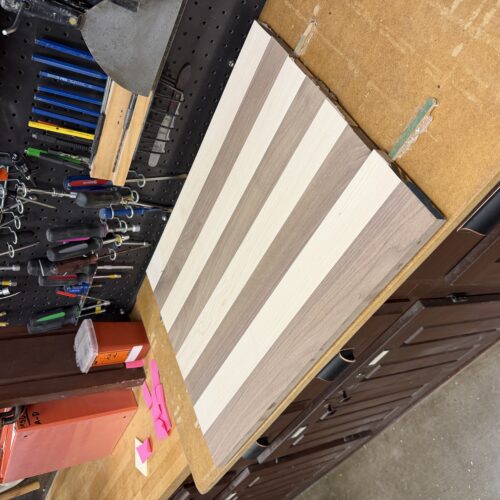
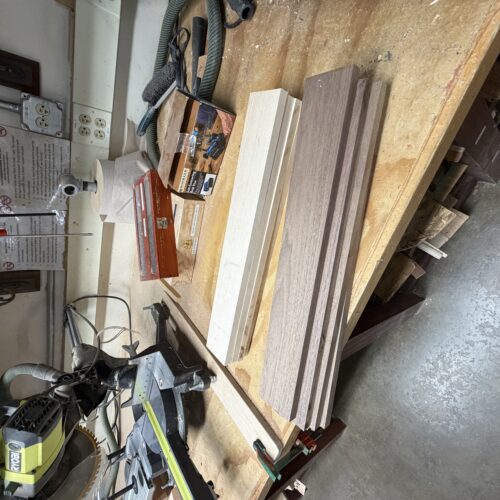
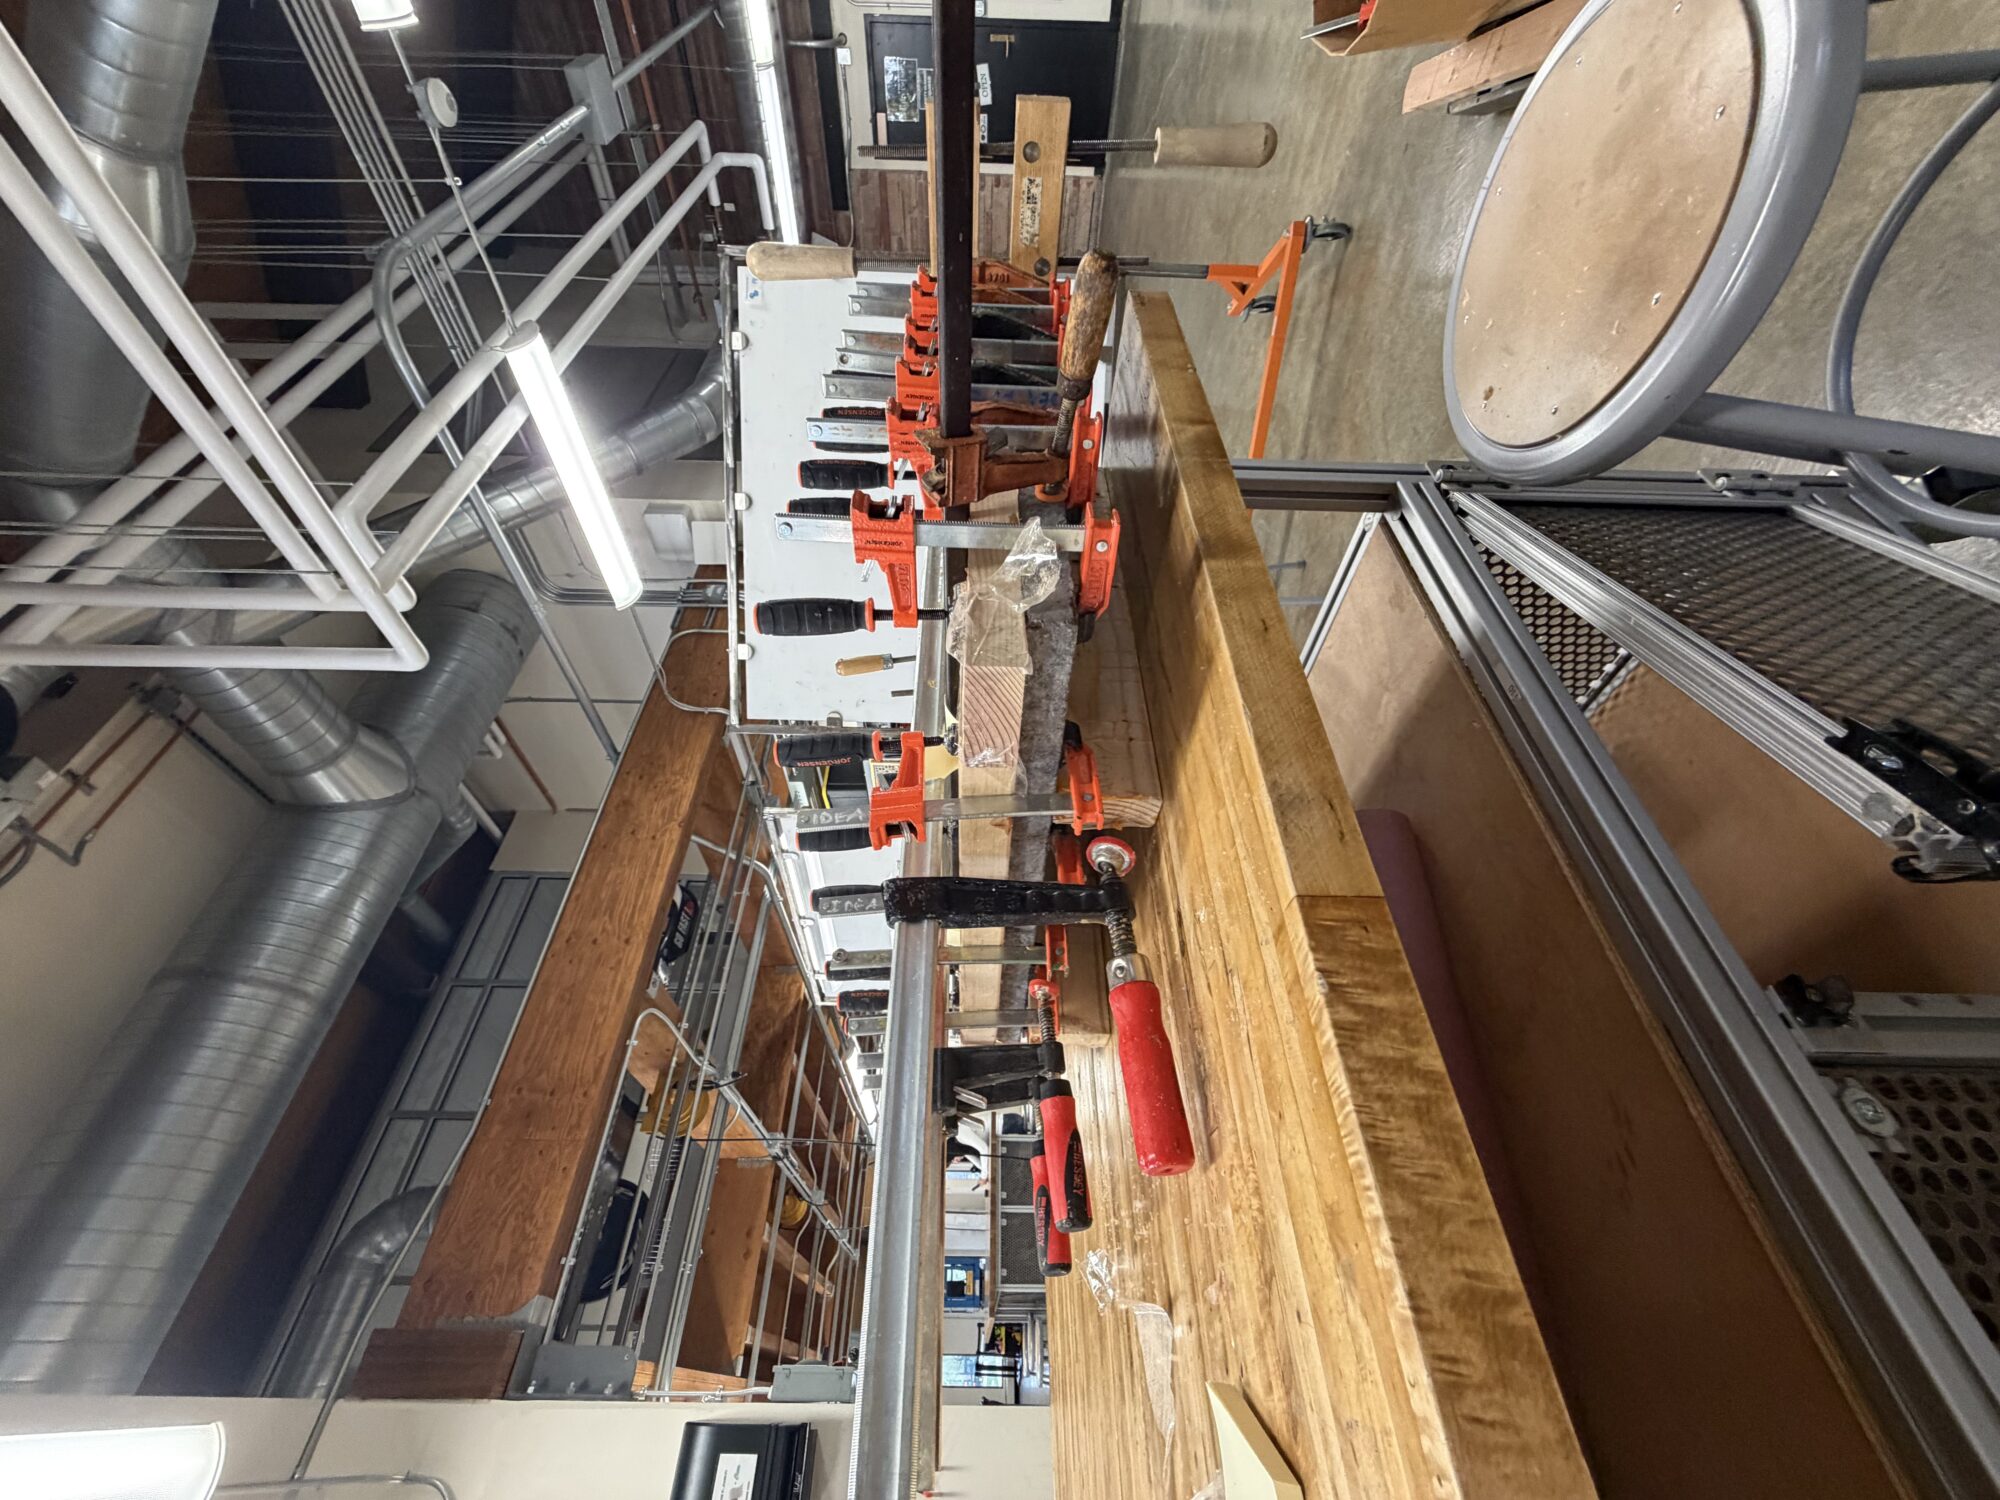
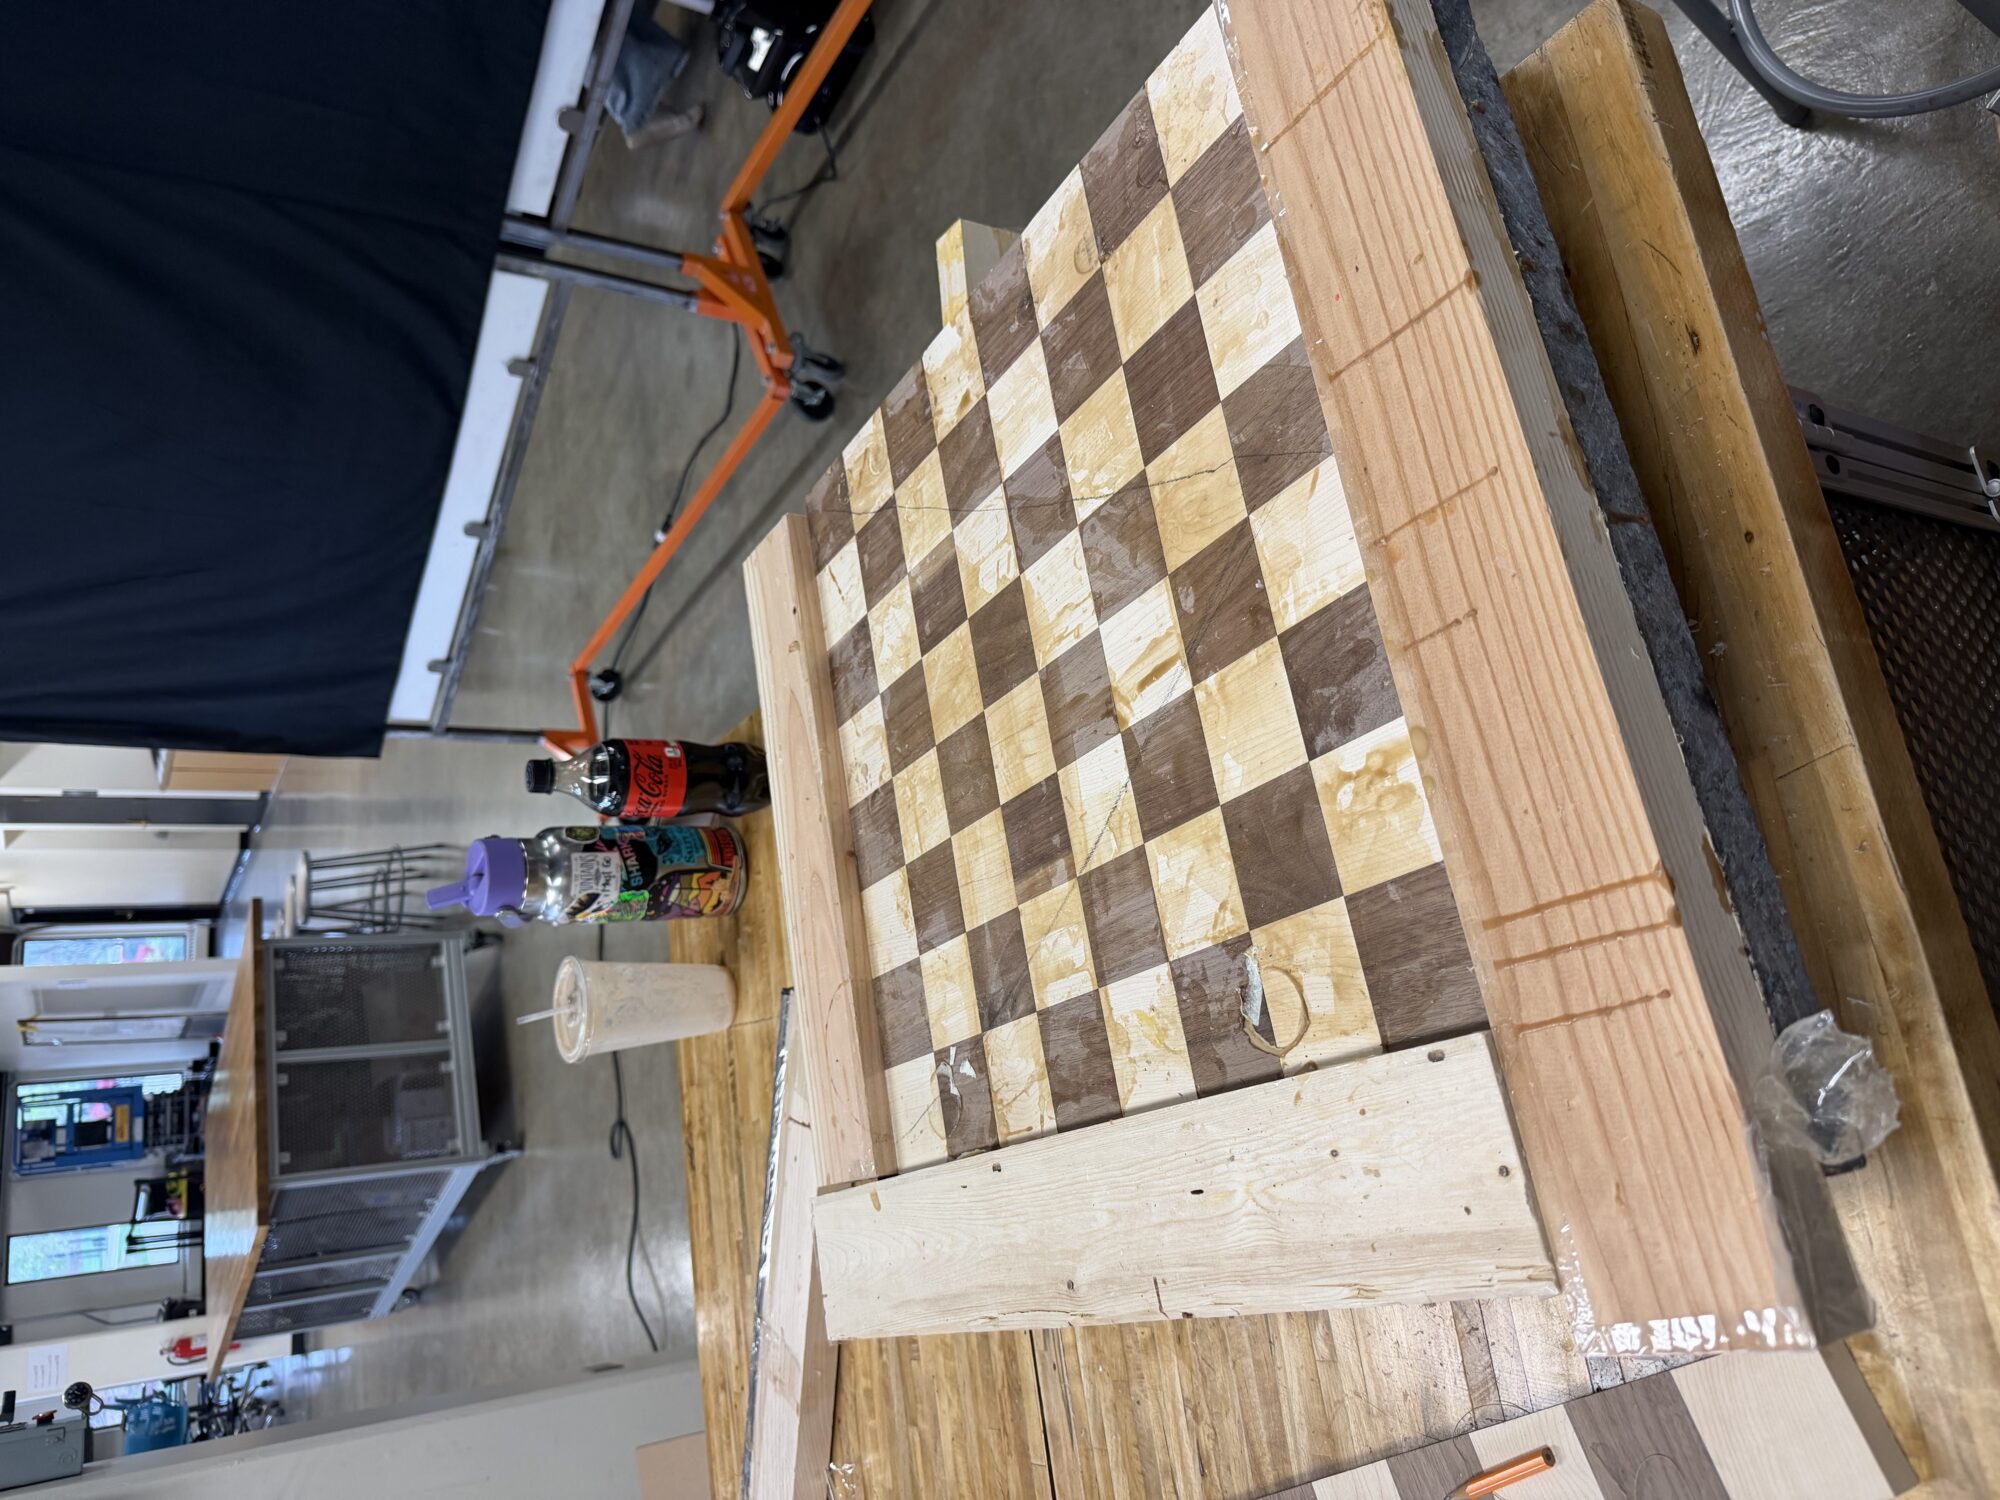

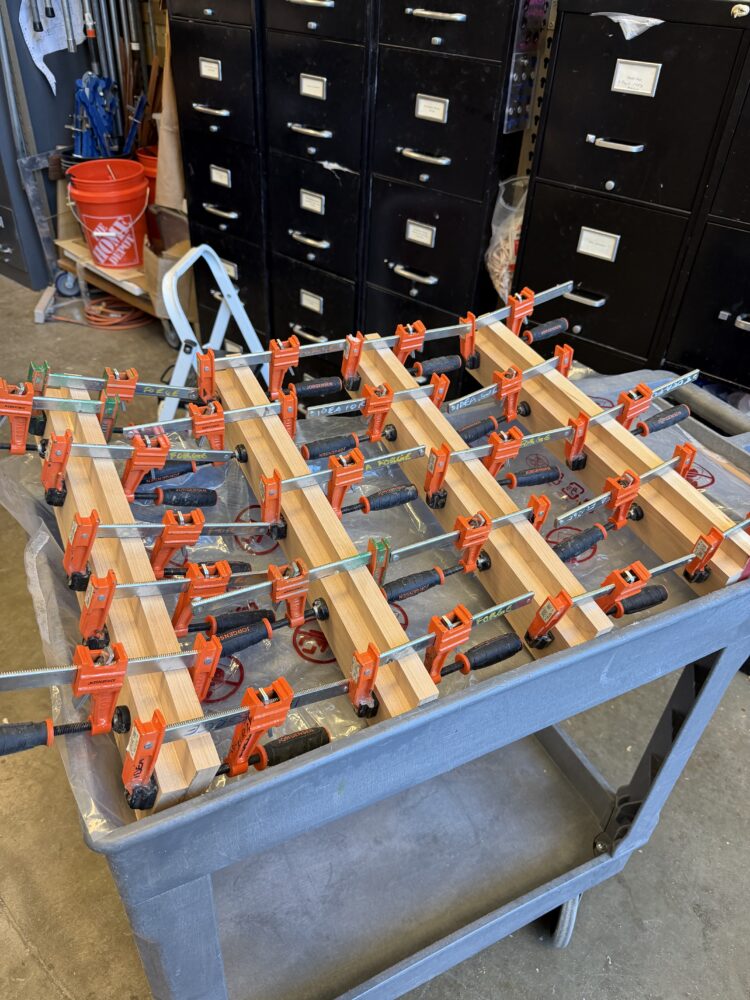
So finally I have something that looks like a chess board! Since the previous update, I cross-cut all of my 8 pieces, using the same method as before for the initial cuts, and I glued up the strips after alternating them to create the checkered pattern. This glue job took even more clamps and even a roughly designed vice to hold everything together while gluing.
After the glue dried, enough to take the board out of the vice, the board was then set up-right to dry over the weekend. At first, I noticed some serious warping from the initial glue-up, but then was reassured that allowing the board to dry over the weekend in that up-right position would settle this. And it looks good now!
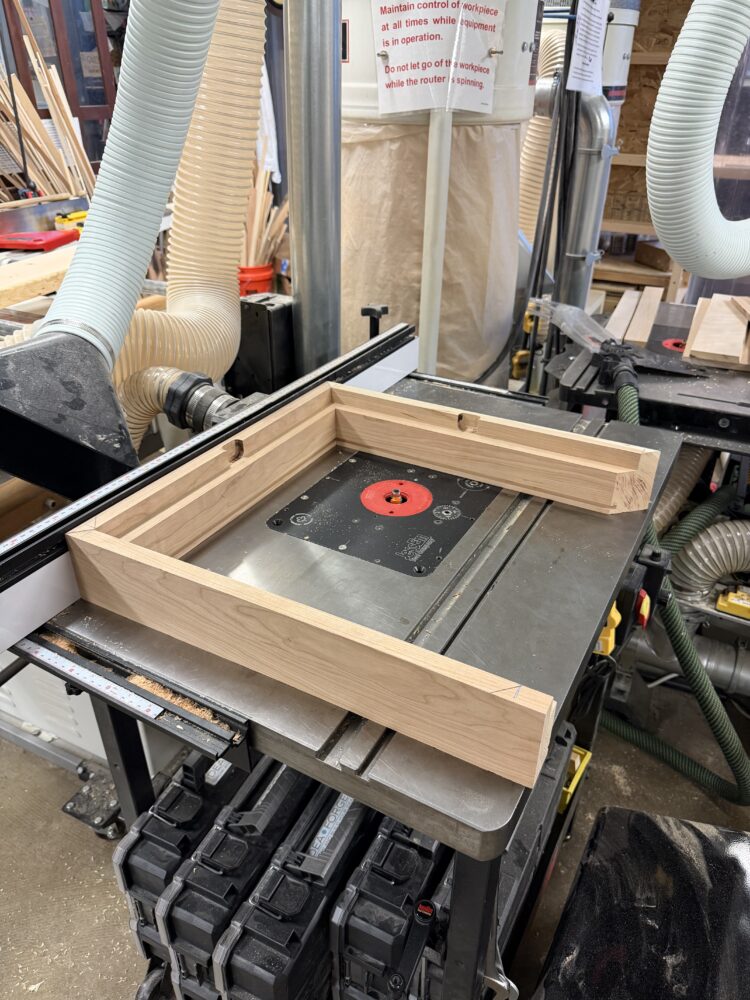
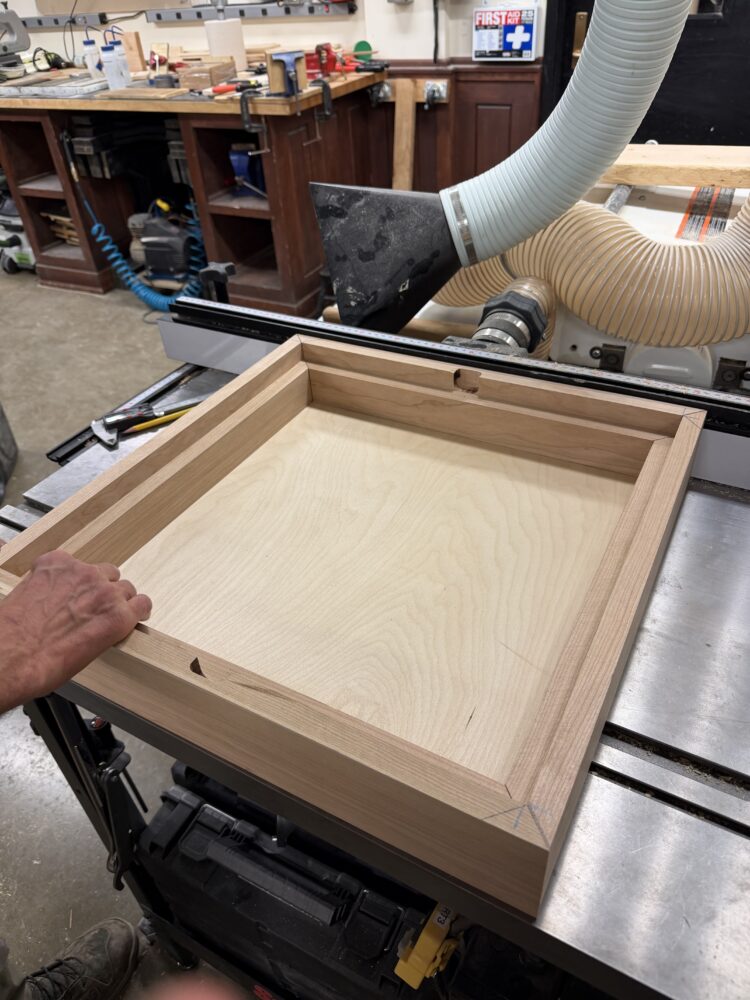
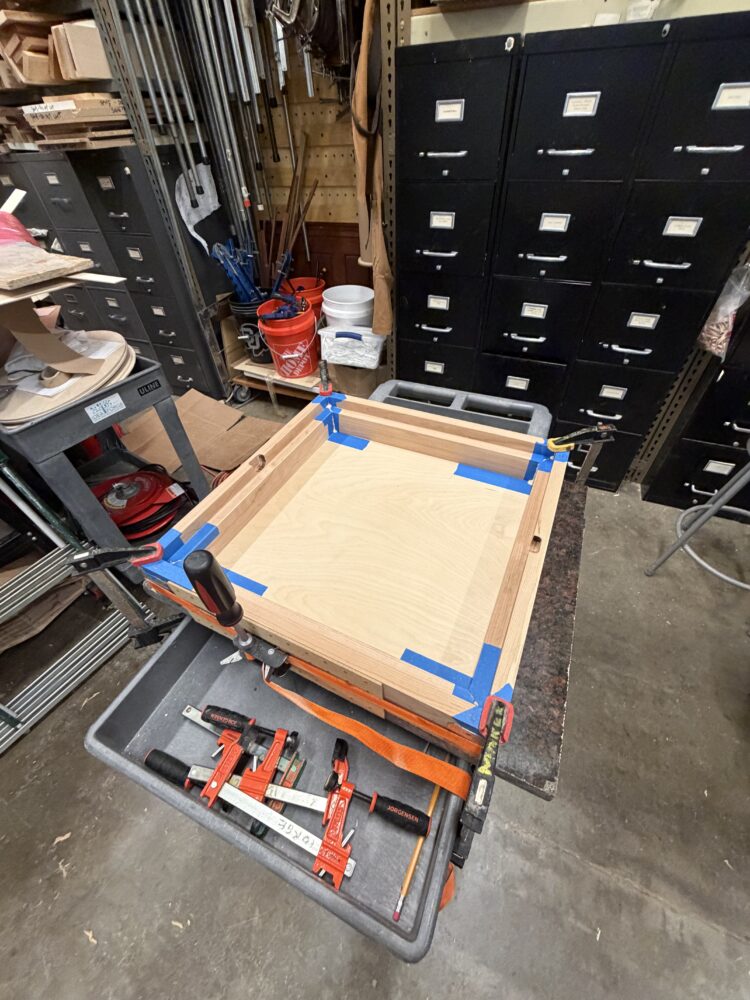
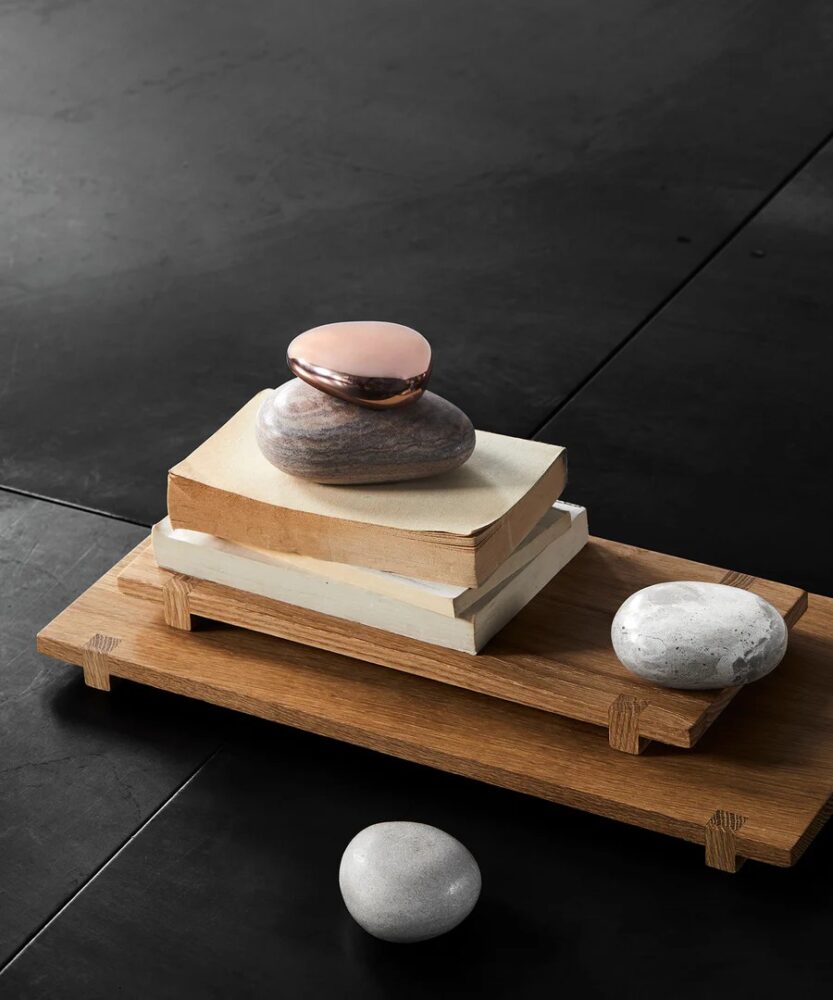
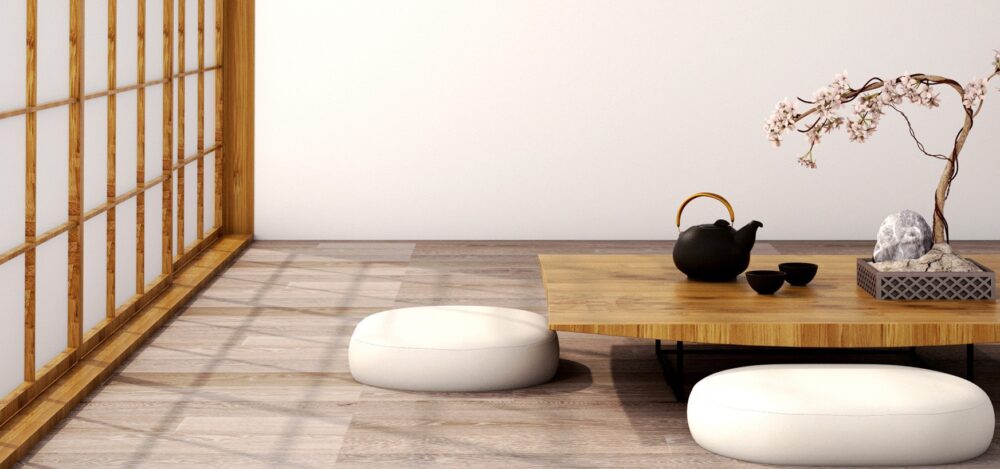
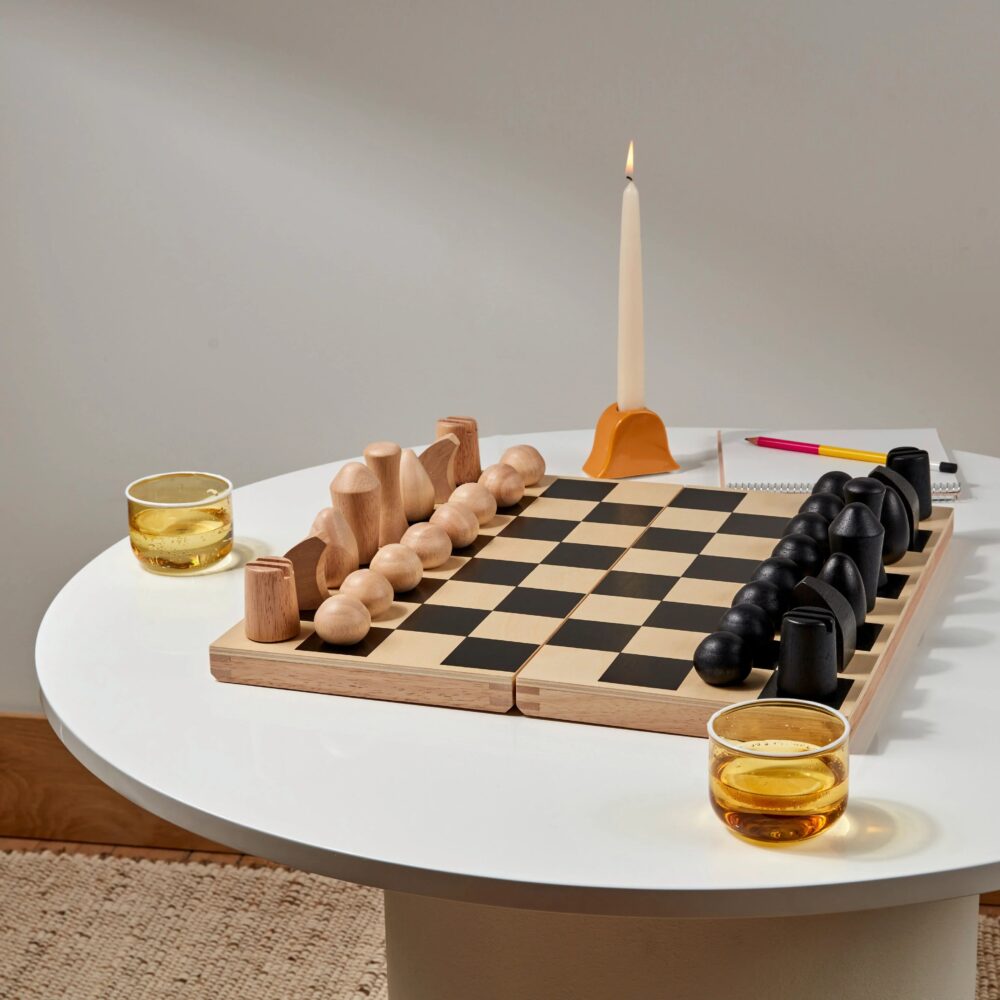
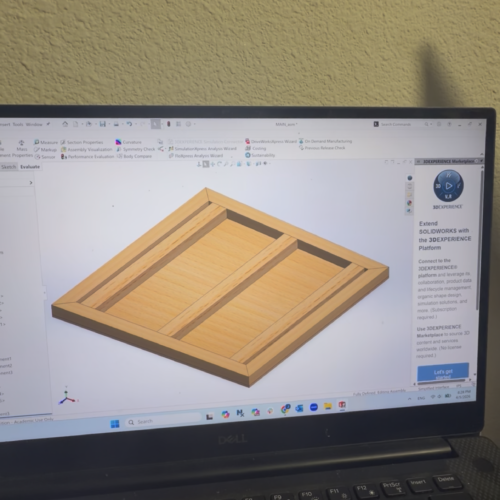
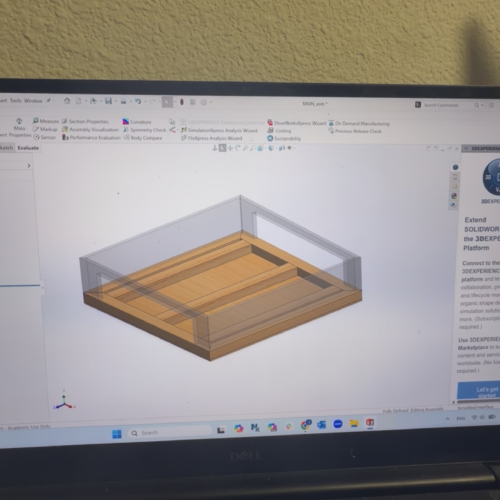
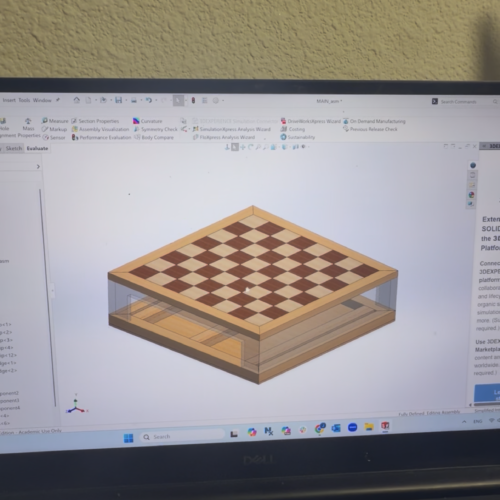
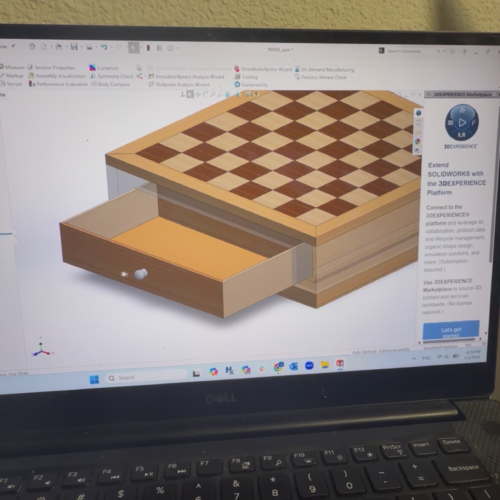
After making my board, I knew I needed to adjust the scope of my frame for this chess set. Since it’s my first real woodworking project, things took reaally long, so I designed a new iteration of the frame that was somewhat simpler to manufacture. For this frame, I also felt that this spoke to my aesthetic far better because I was designing it around a Japanese tea tray.
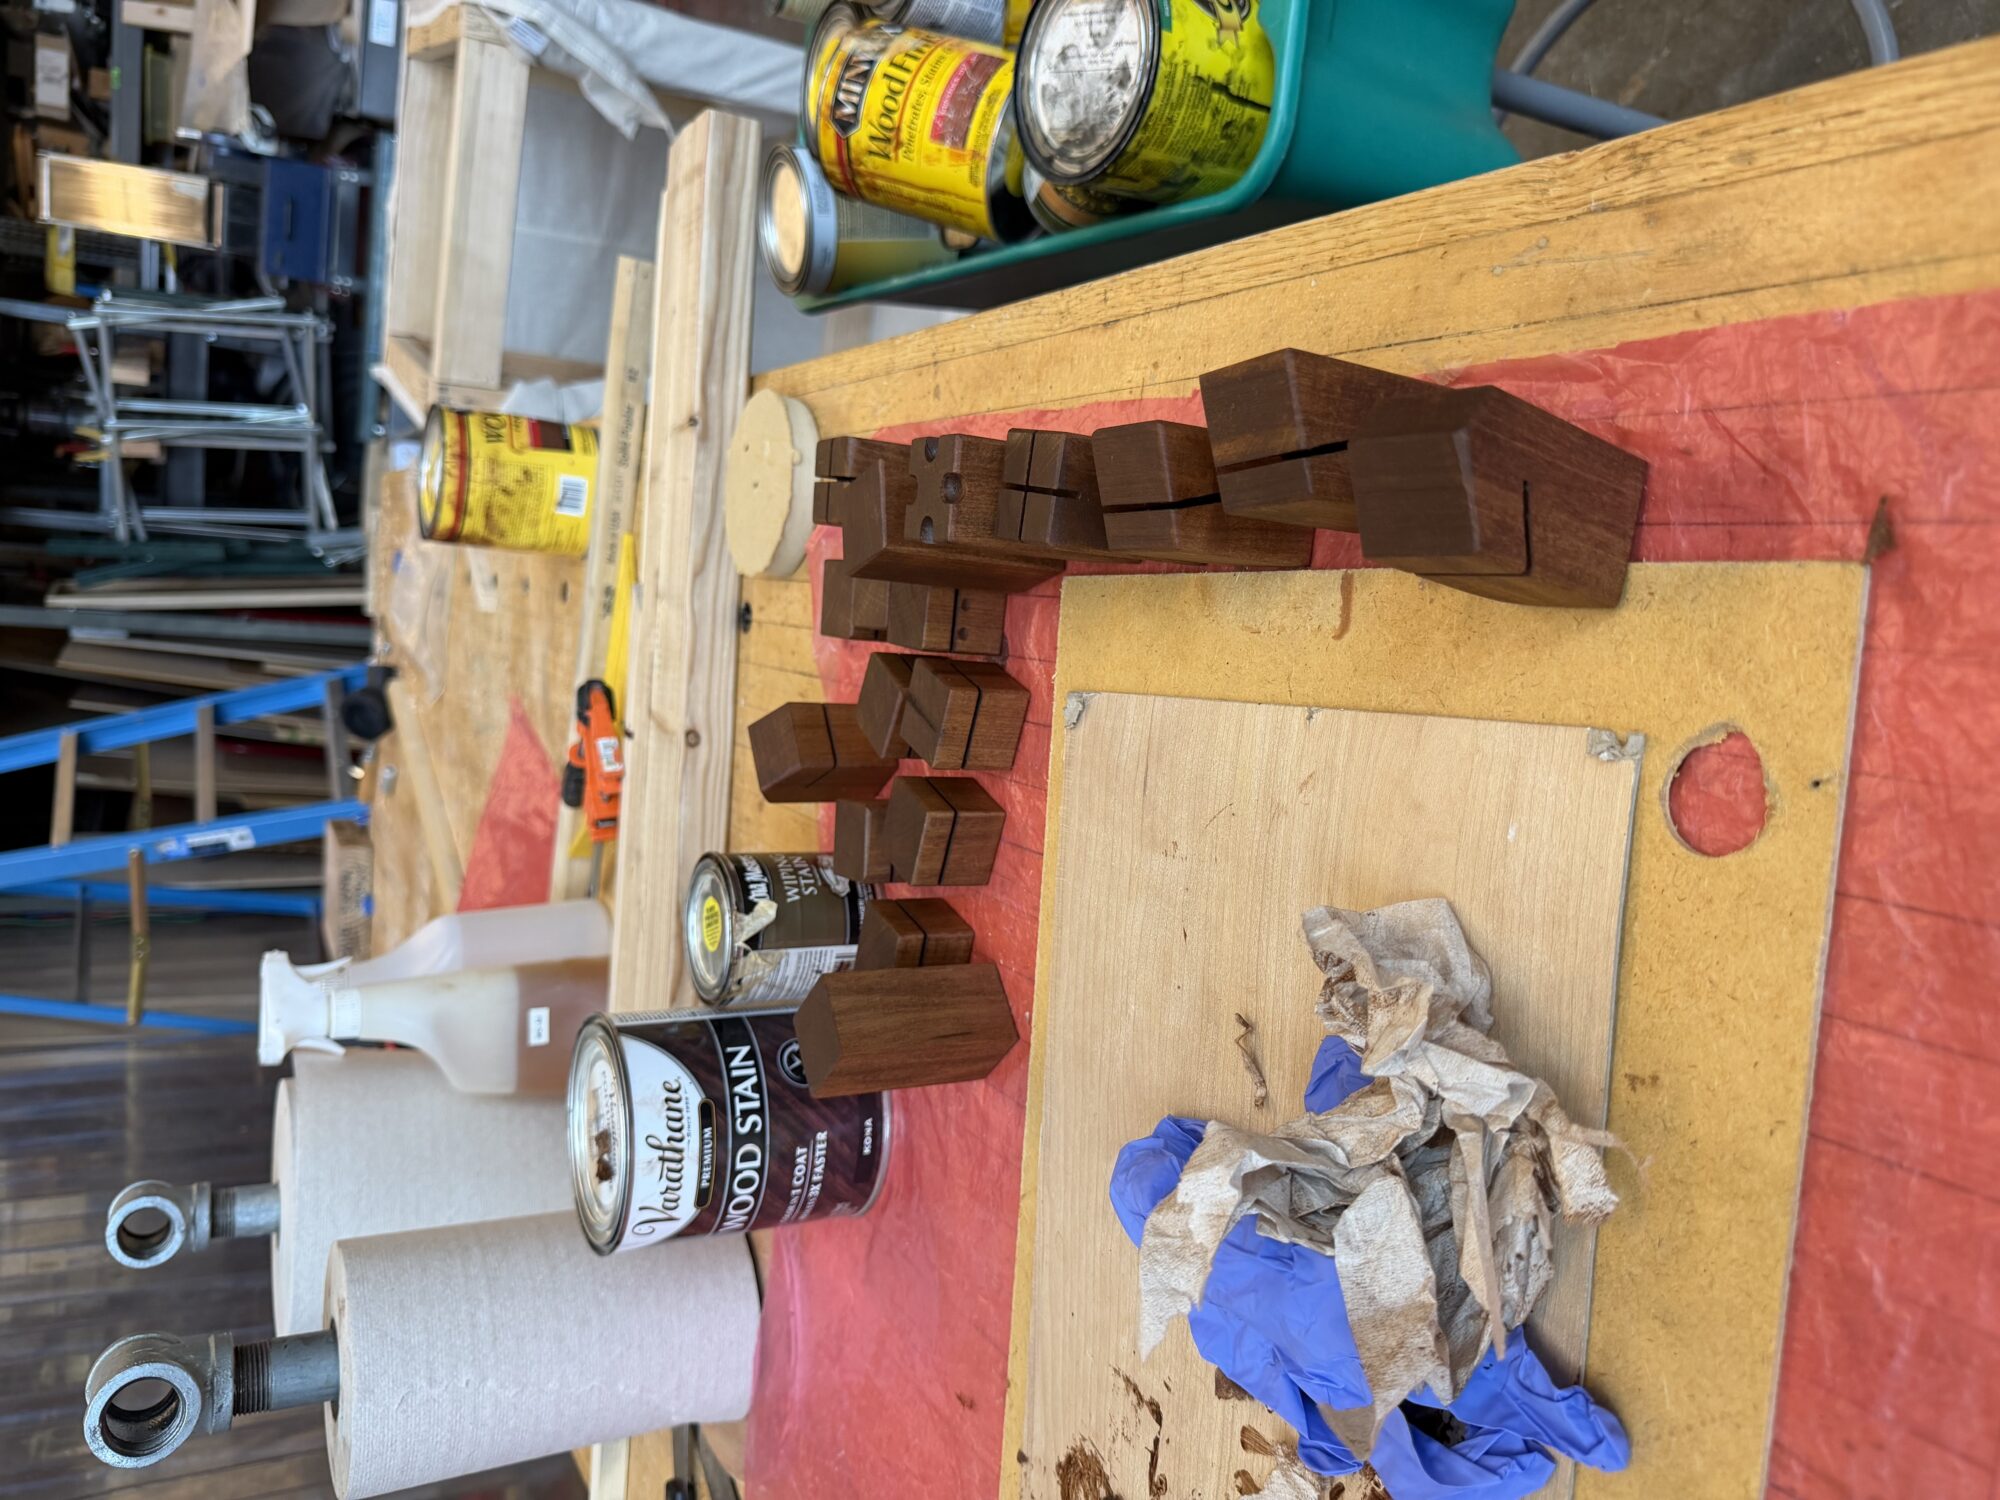
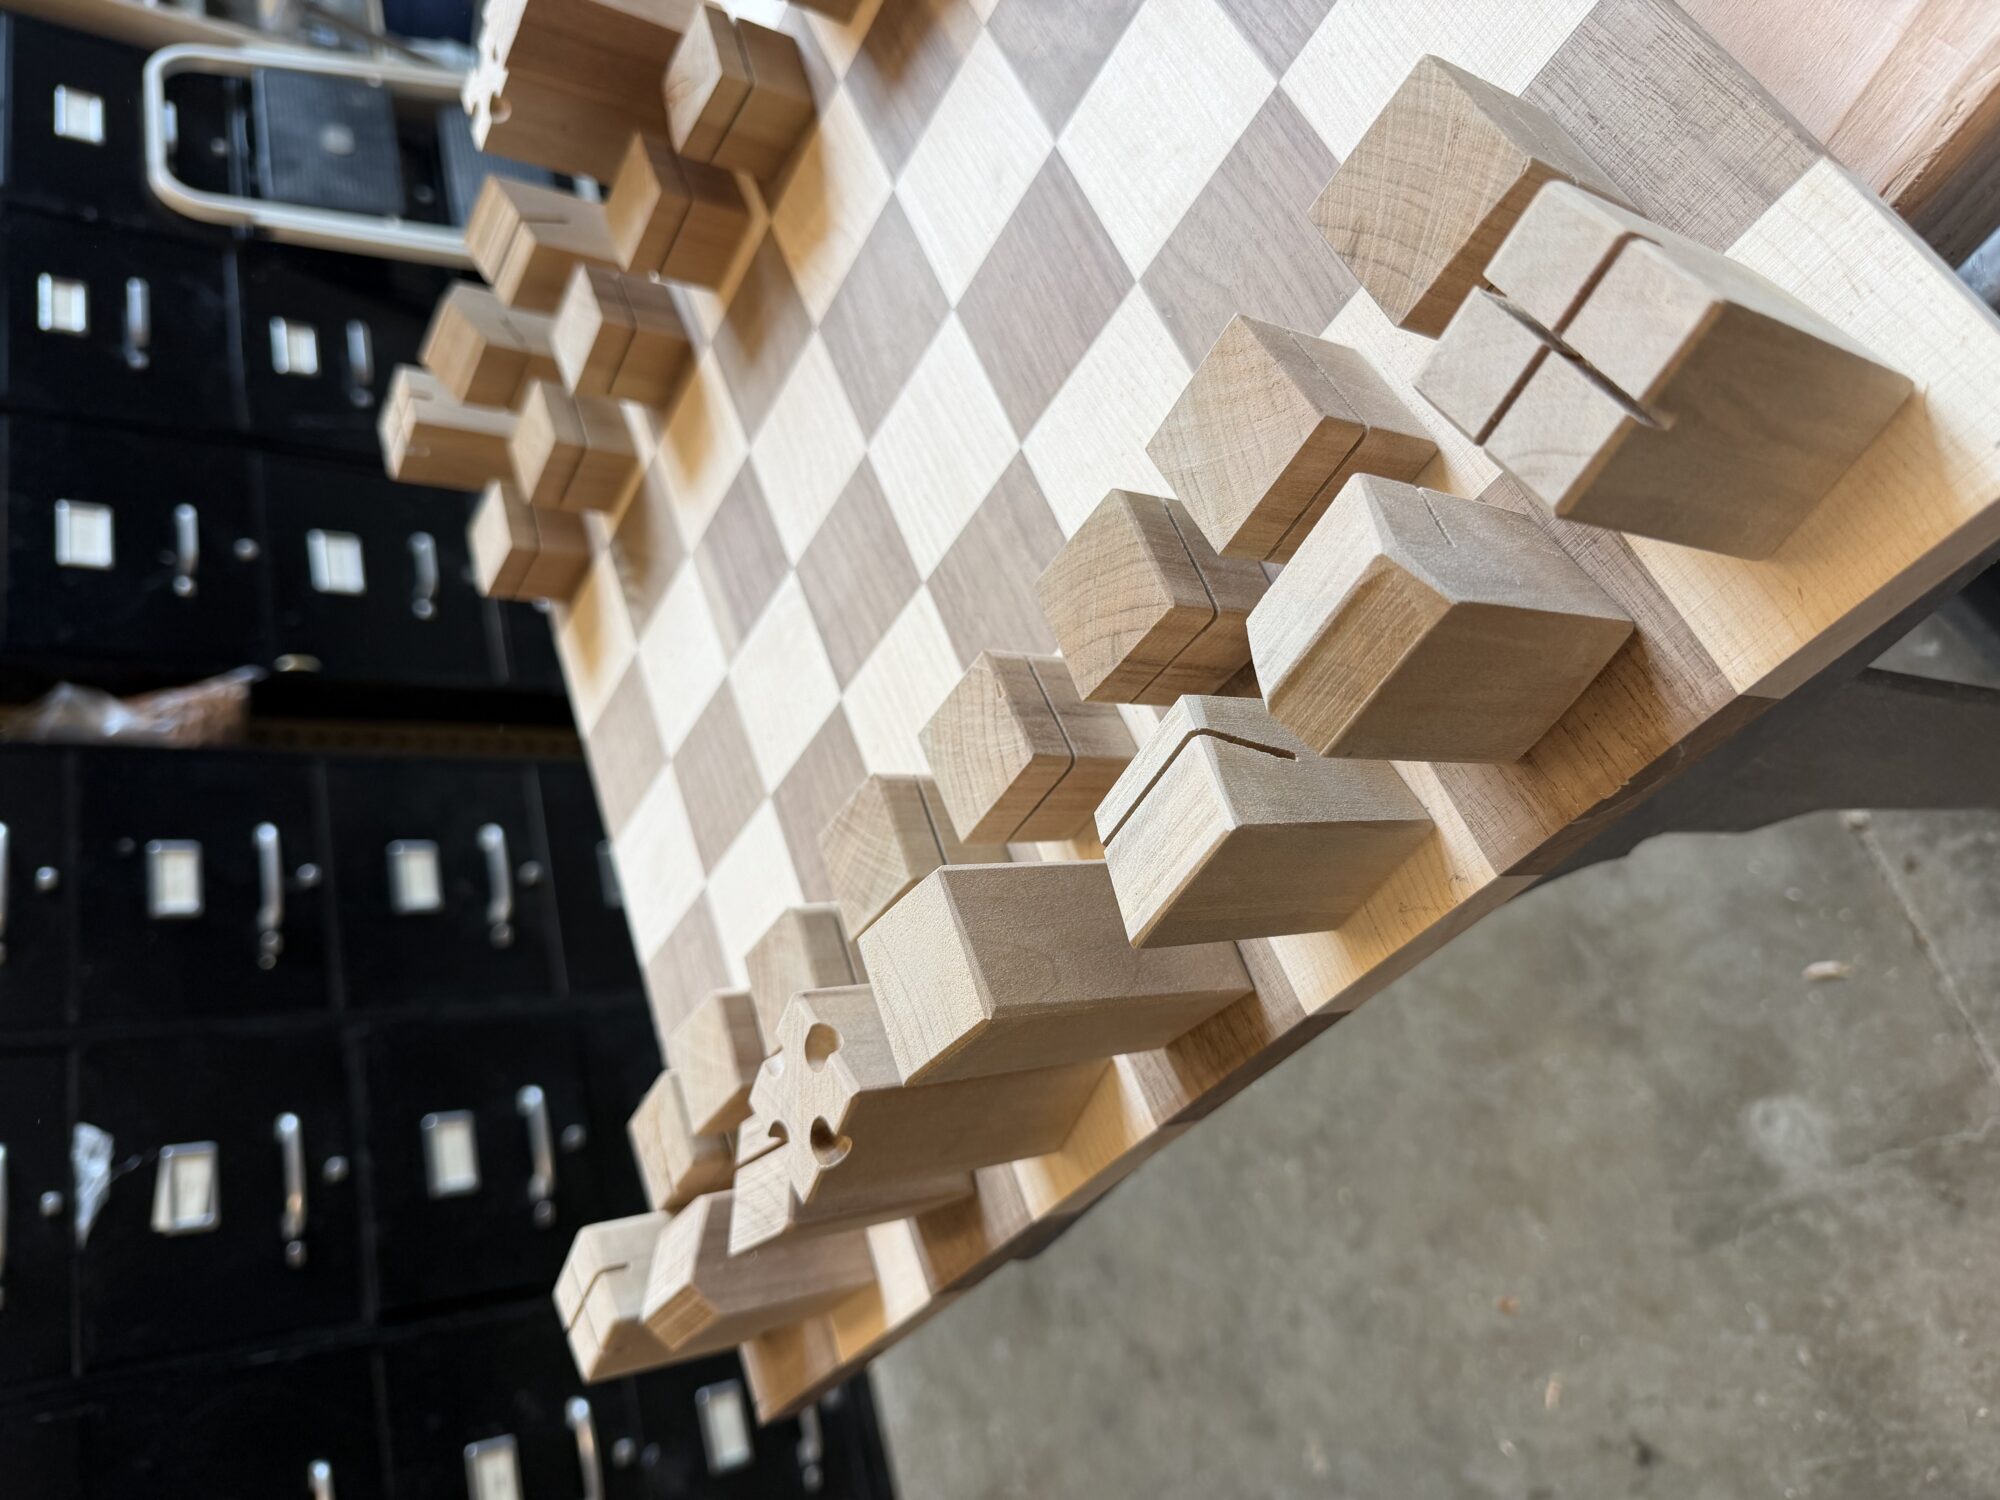
For the pieces, I was really happy how these turned out and think they really match this design to the Japanese Minimalism aesthetic. I was honestly surprised how well the parts turned out, and I think I kept the differences between the pieces relatively small, while still making it really easy to distinguish which piece is which.
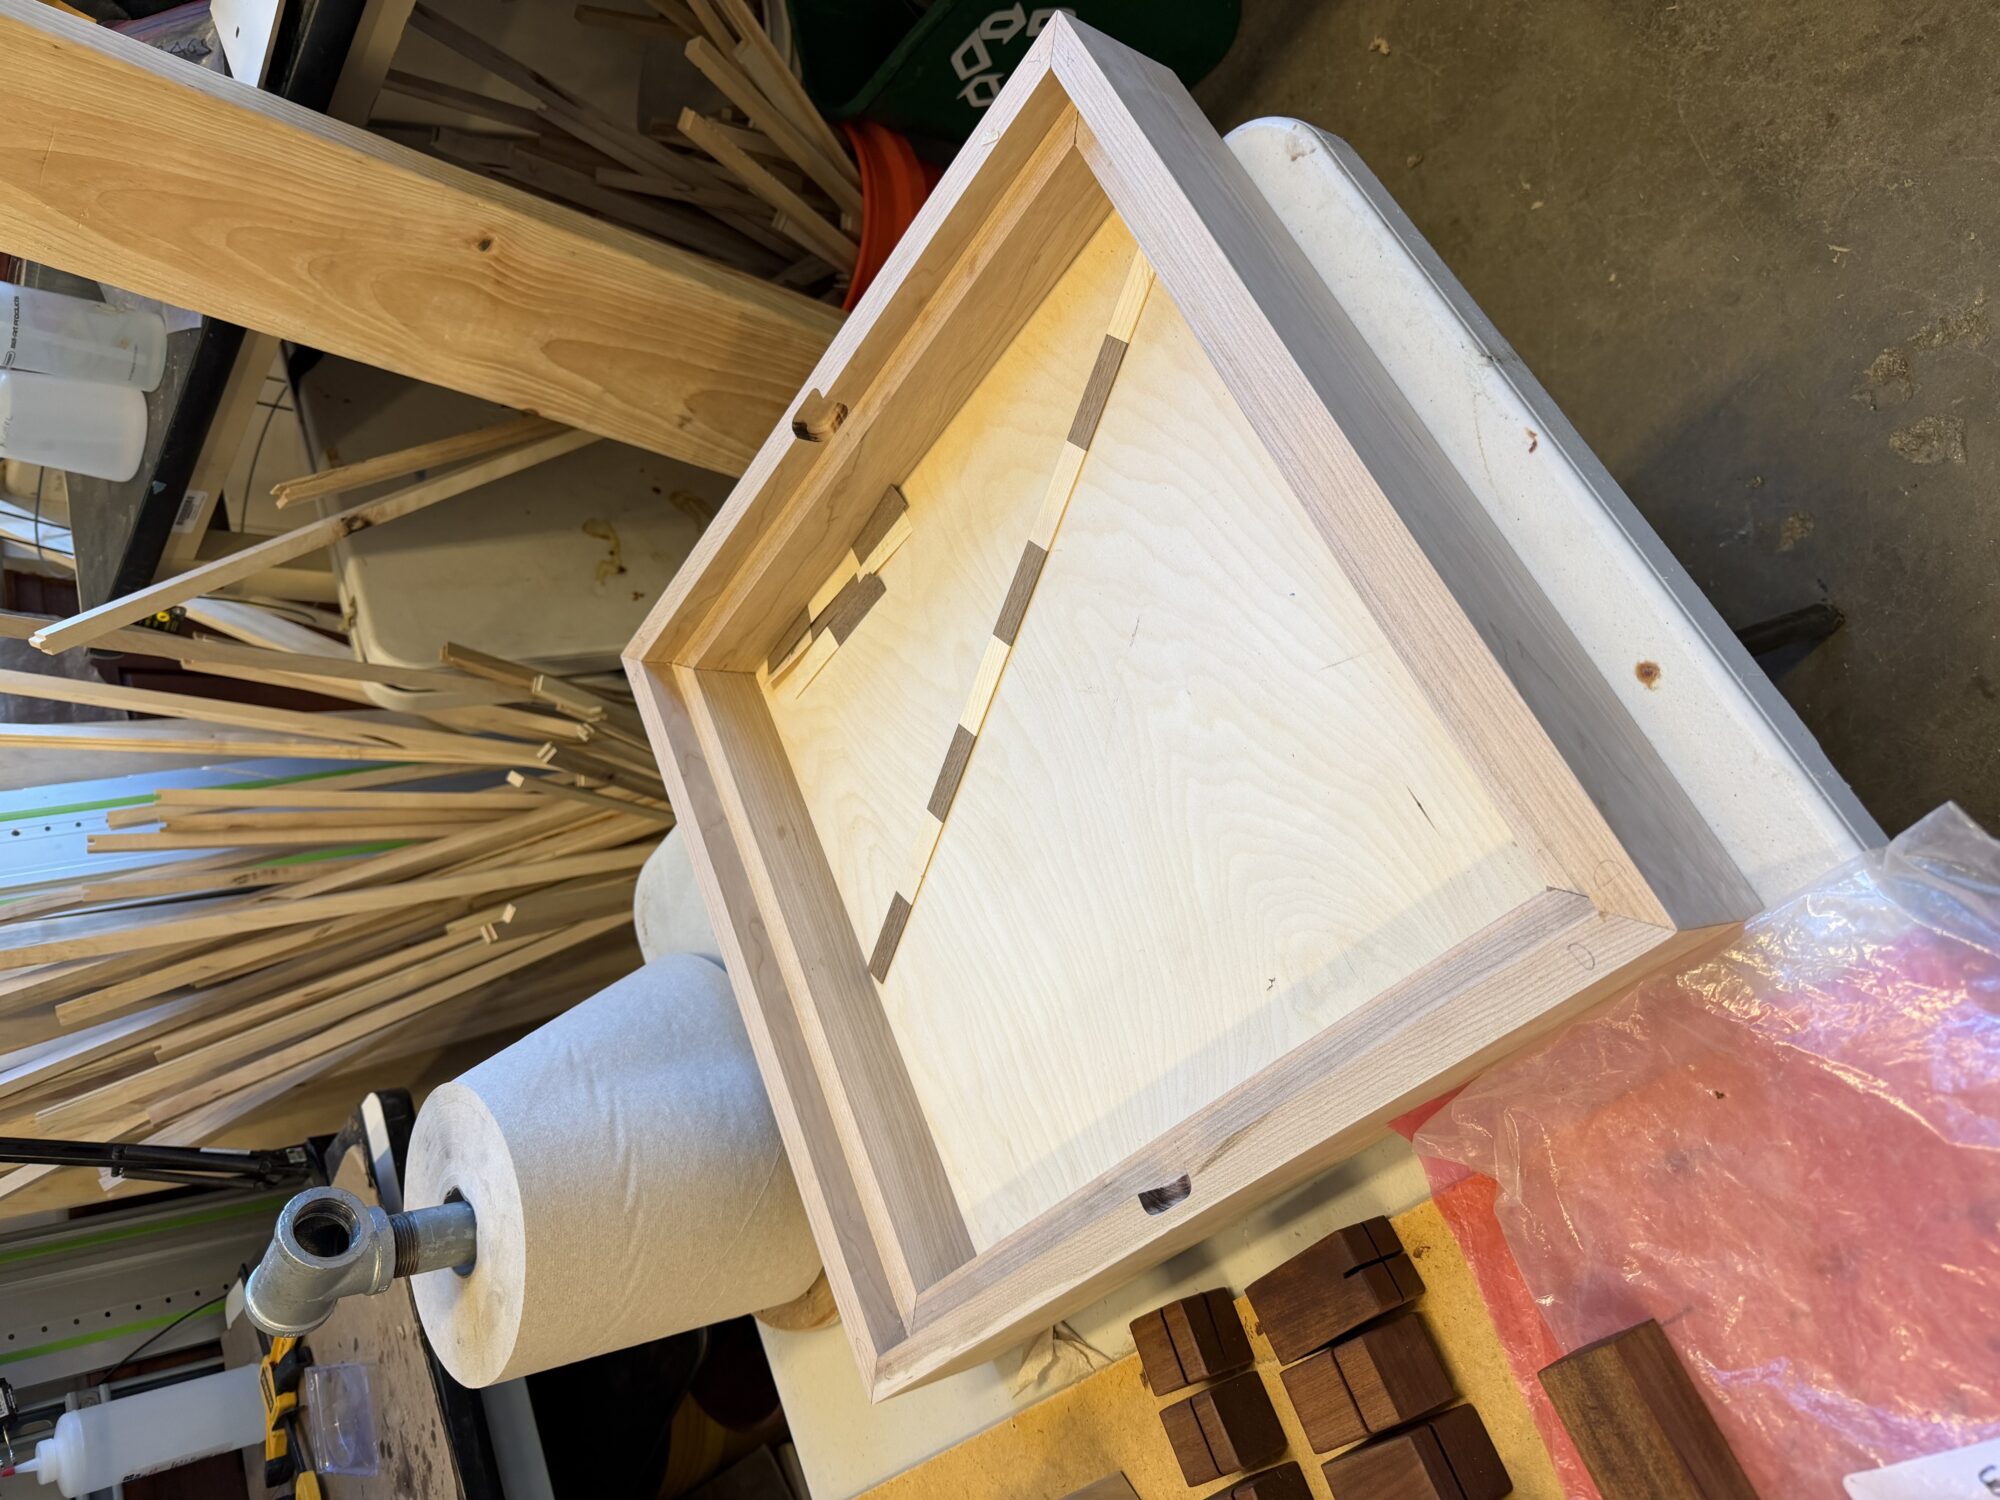
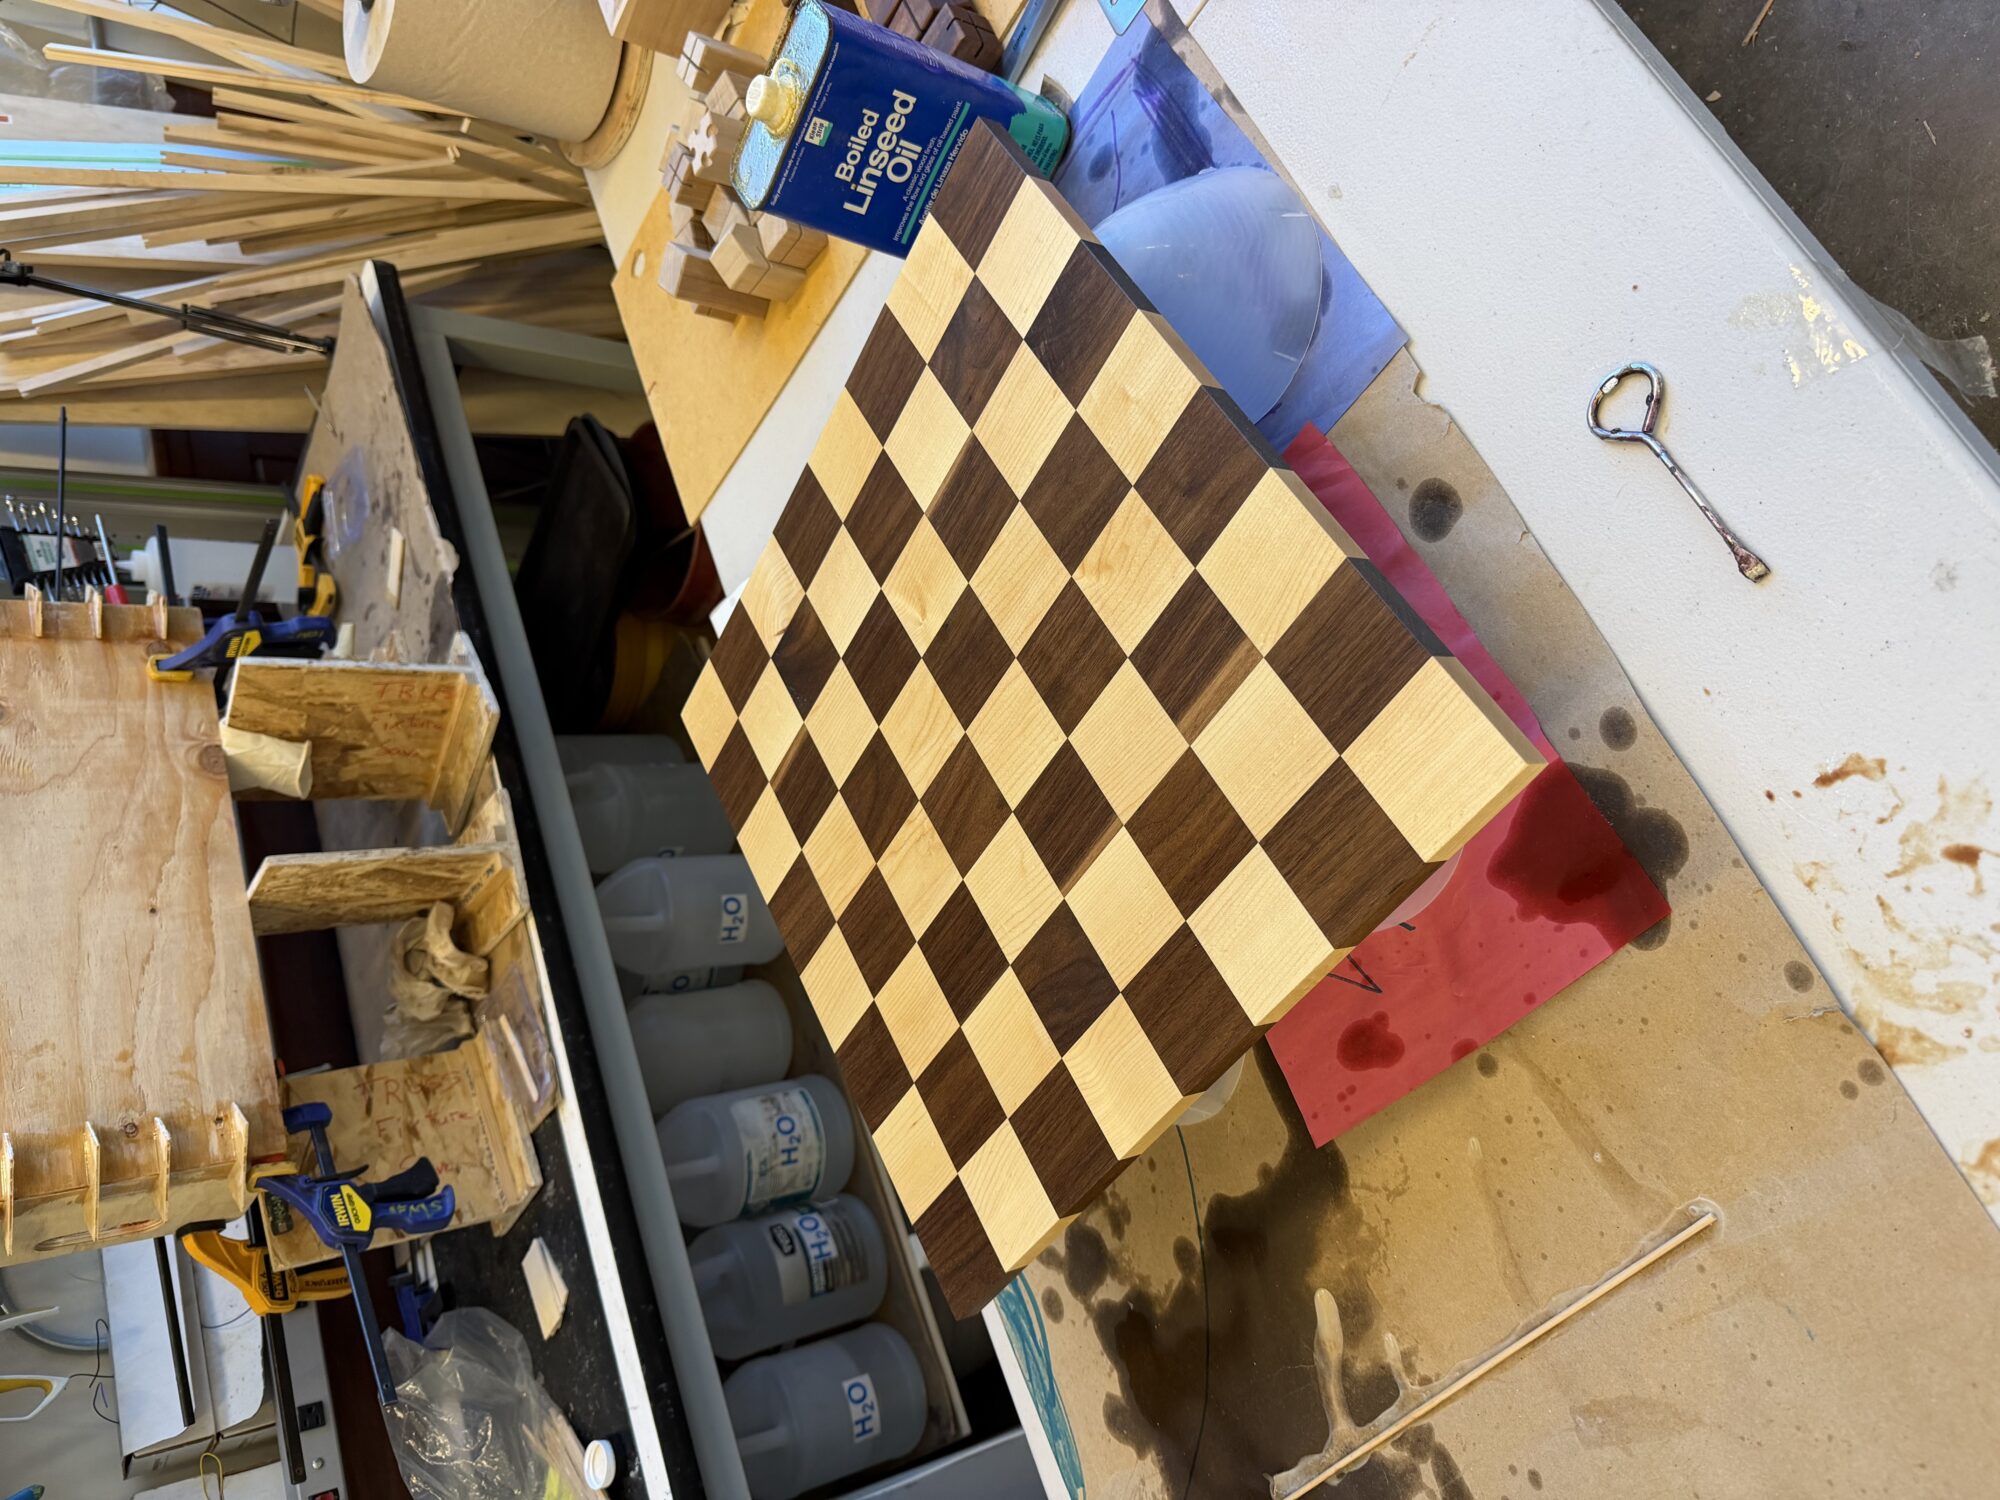

Finally, once the frame was made, I trimmed the board to the correct size and finished it with boiled linseed oil and I think the walnut and maple with that finish look really nice and is another part that speaks to my aesthetic.
After probably 45-50 hours in the woodshop, I am finally done.