
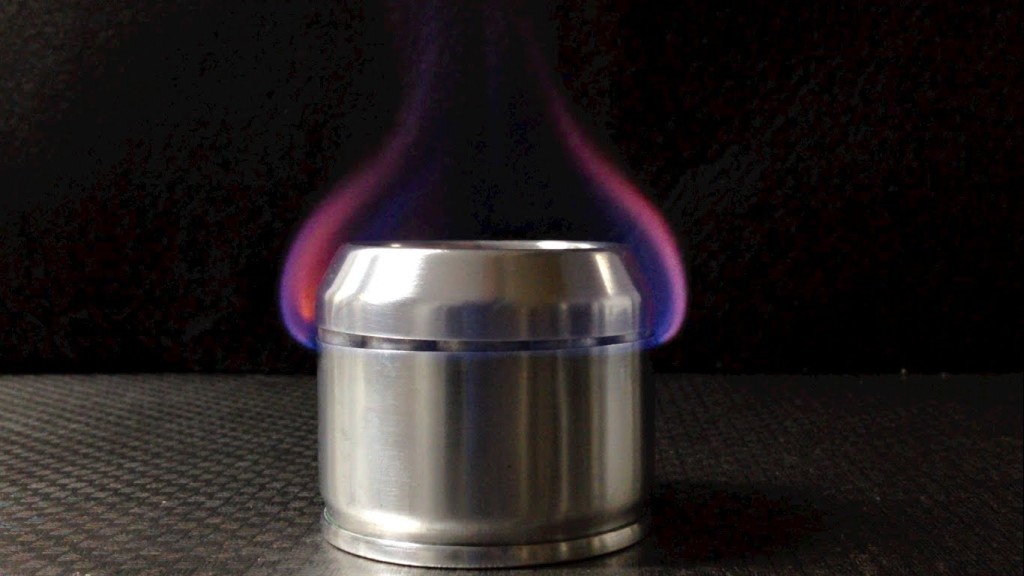
I have chosen to create an alcohol stove following a modern and minimalist camping aesthetic. Since I was a little kid I’ve been intrigued by the designs of minimalist camping gear such as stoves, pots and pans, silverware, and multitools. This summer my buddy and I made some crude alcohol stoves from aluminum cans and the experience really piqued my interest in making a more precise version. I want my design to have a refined and modern look, while being compact and highly functional.
Alcohol stoves can be made in a variety of different styles, ranging from very simplistic to moderately complex. I plan on following the general concept of an “open jet” stove. Below is a cross-sectional view of a basic “open jet” design.
The dark blue represents the fuel (denatured alcohol), the lighter blue is alcohol vapor, and the lightest blue is flame. To use an “open jet” stove the fuel in the central reservoir must be ignited allowing for the stove to prime itself. Once the fuel has been lit, the stove begins to warm up and vaporize the alcohol. The vapor pressurizes within the side chambers and begins to flow out of the top from small holes, where it is then ignited from the central flame. Depending on the design of the stove a stand may be required to hold the pan above the flames.
From a functional standpoint, I want my design to have high heat output with variable temperature control as well as a built in stand. Aesthetically, I plan on the design being sleek and compact when not in use.
The most critical aspect of this project is not necessarily one part, but rather the manner of construction. The whole design must be constructed very precisely for the stove to work really well and be reliable. Additionally, aluminum cans like to tear and crumple making them really fun to work with (sarcasm). I have a feeling I will be making a handful of prototypes to hone my skills.
Cost Estimate:
J-B Weld: $6
Wire: $7
Denatured Alcohol: $8
Various Cans: $15
Micro Hand Drill $12
Total: $48
Timeline:
3/2/16 Order parts
3/3/16 Shop for various cans
3/4/16 First prototype of stove
3/6/16 Incorporate stand into prototype
3/10/16 Functional testing of first prototype
3/13/16 Second prototype
3/16/16 Testing second prototype
3/28/16 Begin final design
4/3/16 Finish final design
4/10/16 Revise final design
4/17/16 Refined final product complete
4/18/16 Project complete
Sources:
http://zenstoves.net/How.htm#FlameStabilization
Presentation:
https://vimeo.com/164913139
7 Comments. Leave new
This looks cool, I can’t wait to see how you pull this off. I would recommend that you make this a tightly sealed container if you want to go camping with it.
Kenzy, this is going to be a cool project. I’m excited to see where this ends up going as it has potential to be a great many different things.
I really like the aesthetic you pulled out. I hadn’t thought of camping/backpacking equipment having an aesthetic but it definitely does. I like the separate reservoir idea discussed in class although you would need to get it hot somehow so its “primed” to vaporize when its in the stove. Really interested to see your designs.
Here are some of the links I mentioned I don’t know if you’ve found them already but there are some cool designs for inspiration.
http://zenstoves.net/PotStands-Conical.htm – cool website with lots of info
https://www.traildesigns.com/stoves/caldera-cone-system – Caldera cone, this guys does some other neat stuff as well
Kenzy – additional thoughts since your presentation:
One of the cool things that you seem to be grappling with is how these actually work – with a big hole in the middle, it seems strange that it will only burn through the outsides. Could you explore the physics of this in you project, maybe by making it out of glass or something see-thru? It’d be cool to actually see where the fuel is inside of the stove.
Another thing we talked about was a “refill” canister – again, not typical for a stove and likely not minimal like backpackers would actually want, but could be a neat and dynamic thing to look into.
I really like the opening image that you have. I’m interested in seeing you apply the modern but multi-functional aesthetic to this. You mentioned bending wires to support the pan, what sort of wires were you planning to use? I think if you can get a hold of some 1/8″ tubing or something you can easily bend some nice, consistent shapes. You might have to weld the standoffs onto a plate or something, or you can somehow make it all one piece.
I’m glad you’ve looked a bit more into the aesthetics – really cool comparison to the Leatherman Skeletool. I’m excited to see what you end up with!
I wonder if you could have a wire stand fold out from the bottom. You could also cut out some thin aluminum struts and use those instead of wires. That could get you more towards the aesthetic of the ‘skeletool’.