
This week I finally saw my project start to come together with the LEDs. Unfortunately, cutting and rebuilding the LED strip ended up being a lot more tedious than I initially anticipated as the solder did not want to cooperate and there was a lot more soldering that needed to be done that I initially anticipated. For each two strands of LEDs that needed to be connected I ended up having to cut 4 different length wires and individually solder them to each strand to create a flat curve of wires. It took a while, but in the end a functional LED array was able to come together. Pictures documenting this process can be seen below.
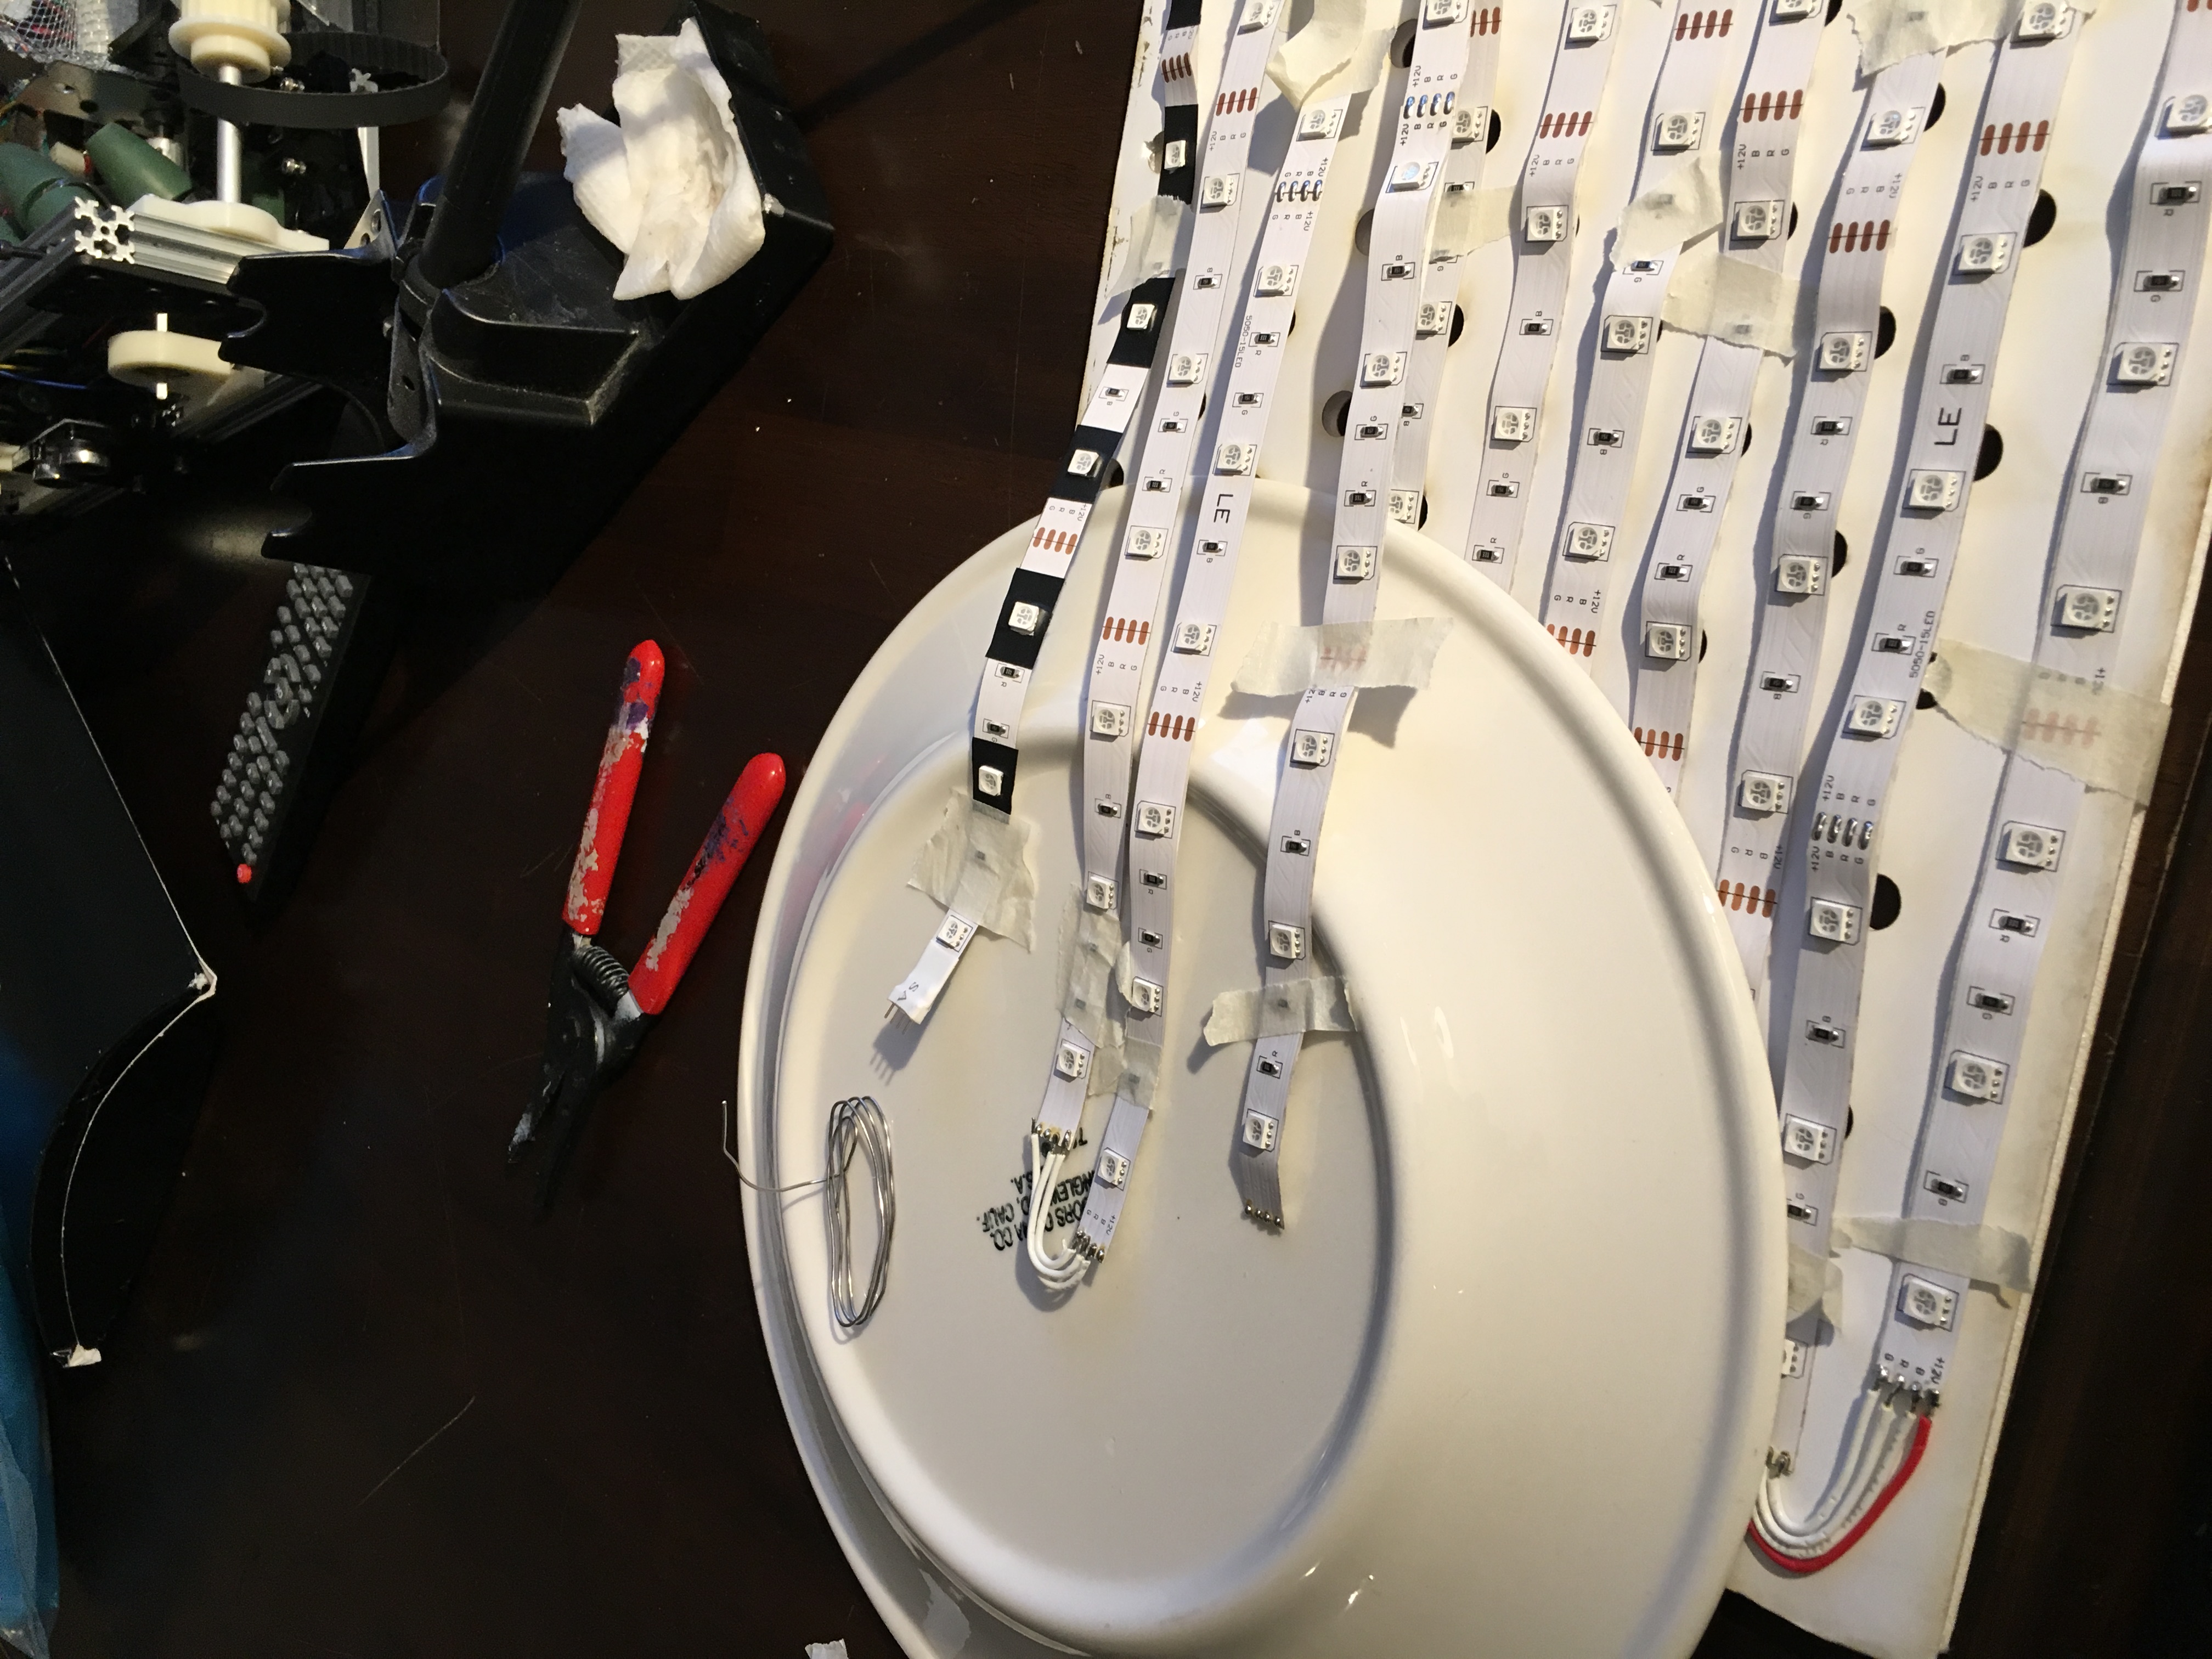
Soldering LED Ends
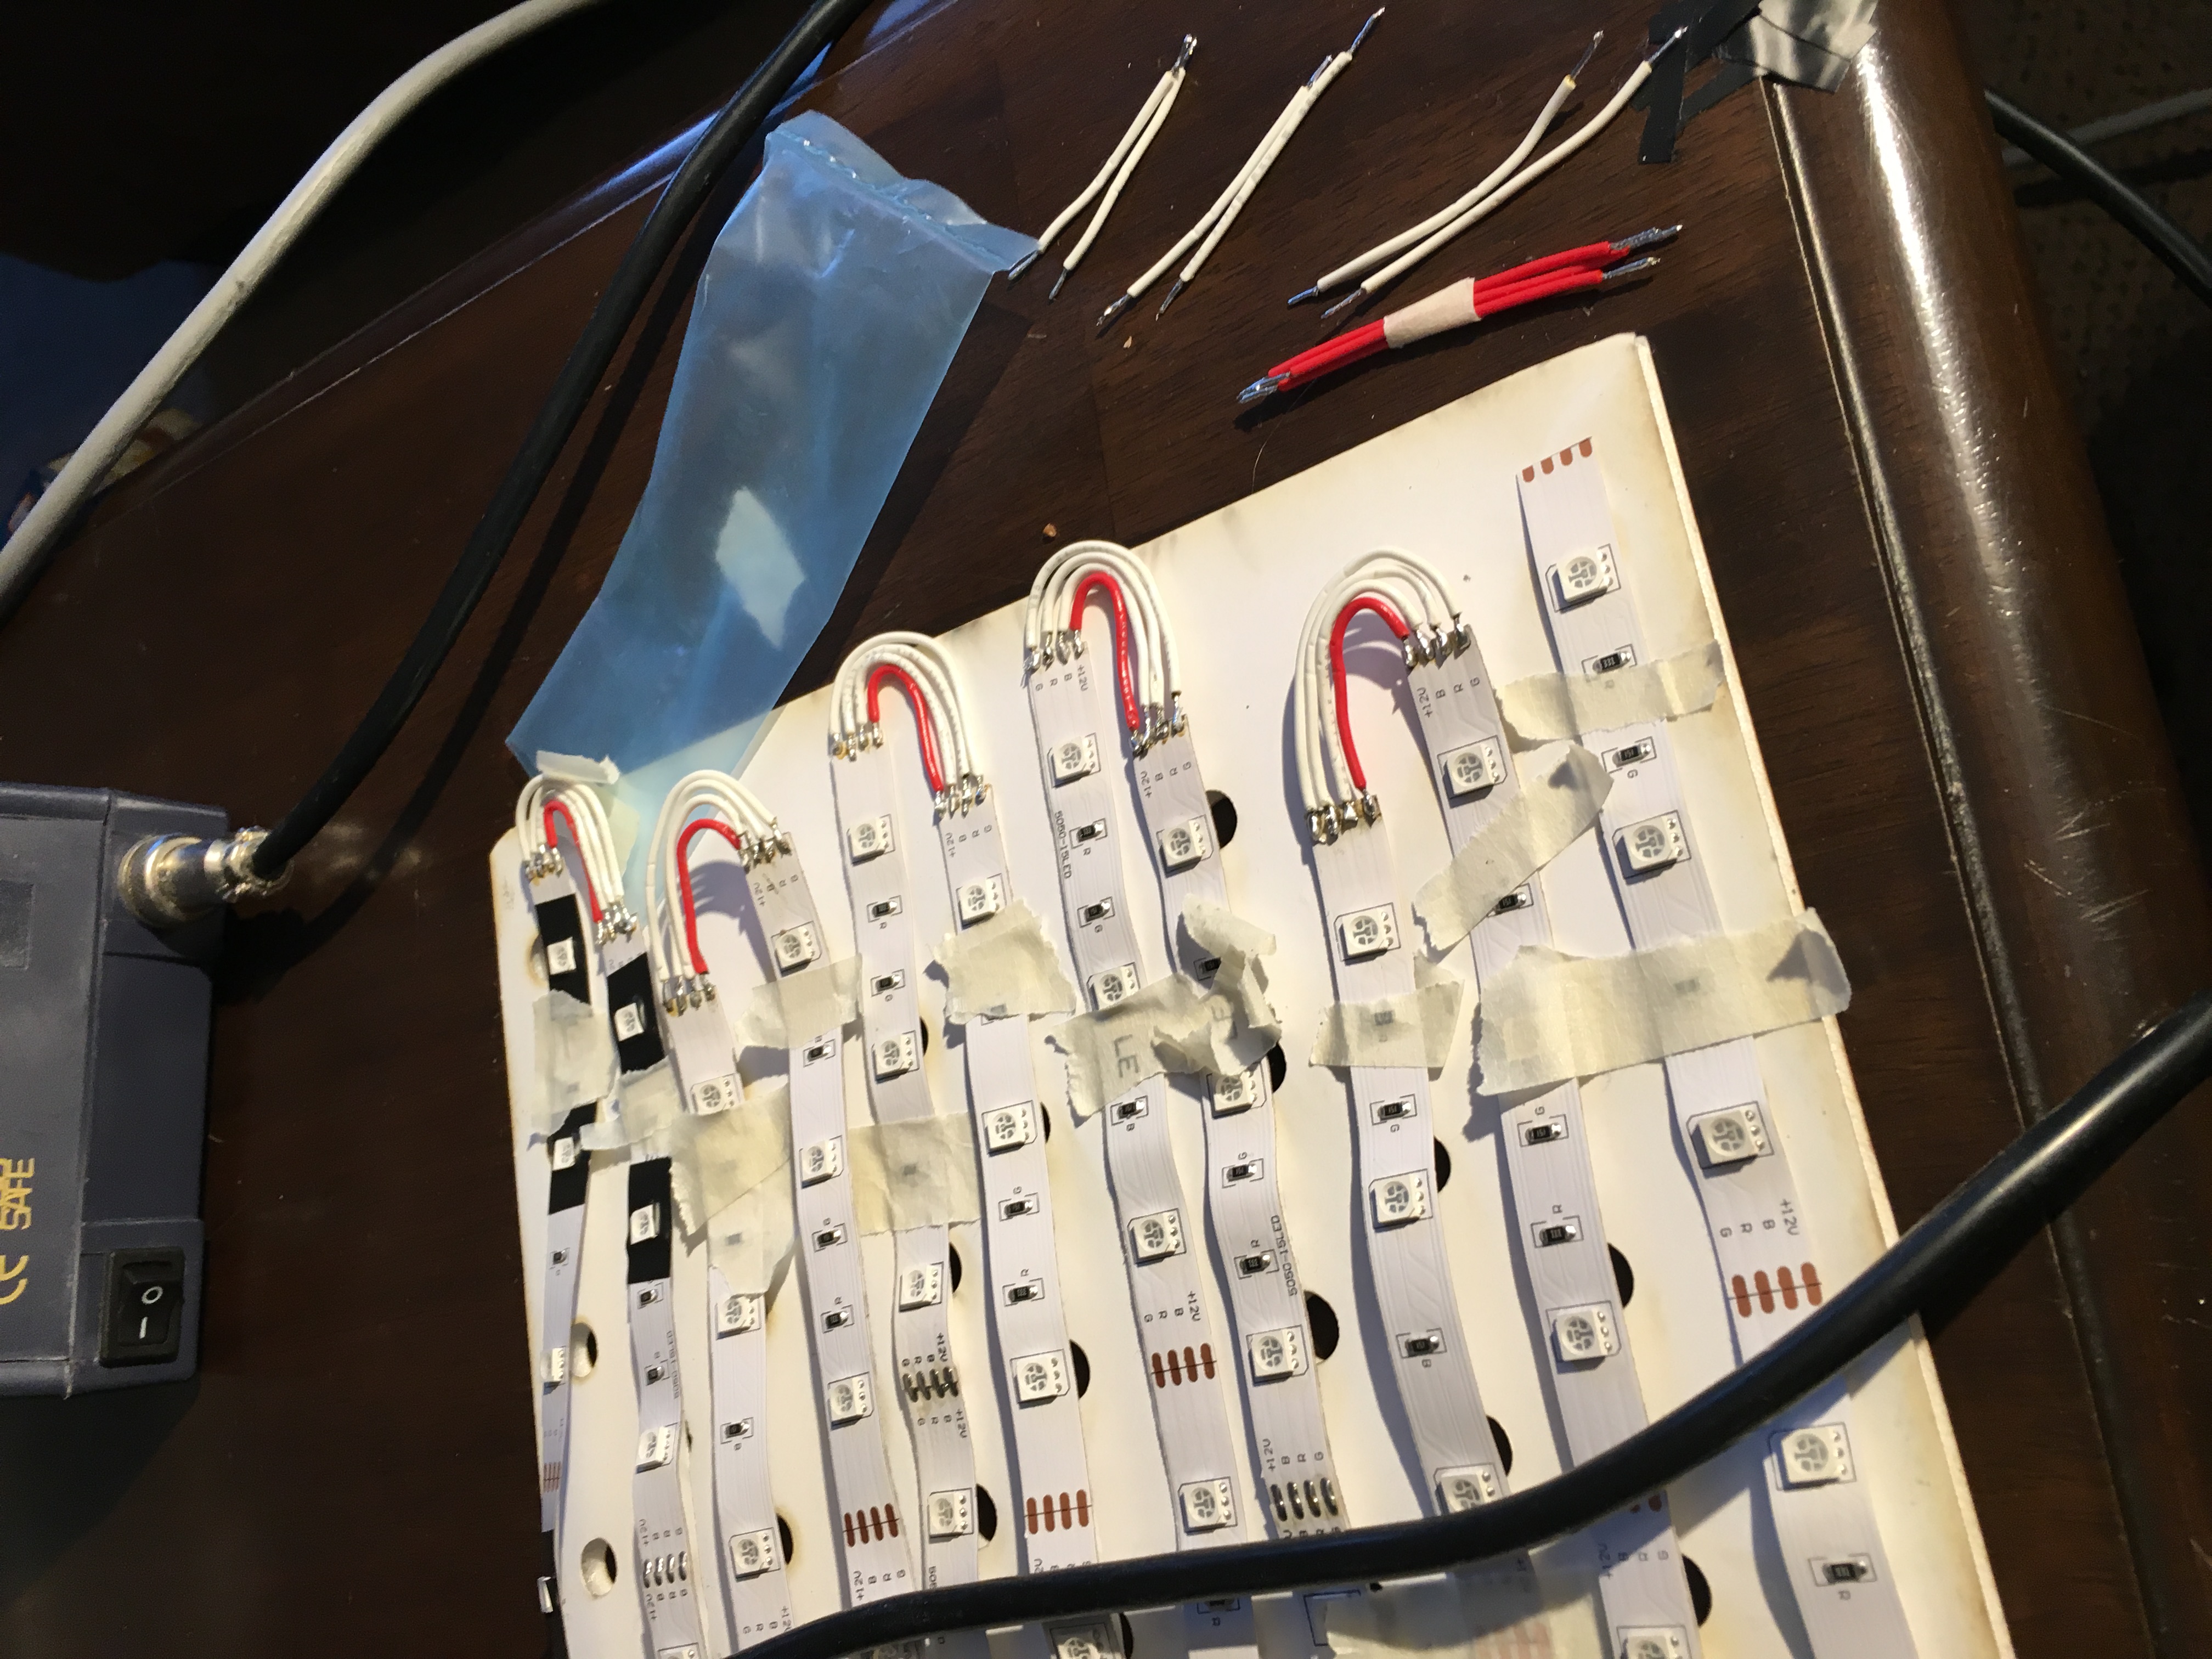
Completed Wiring

Lit LED Strip Post Soldering
Once the LED strip was completed, I decided to cut out the base design I had created out of foam core to make sure everything would fit and then attached the LED Strip and arrows to see how it was all fitting together. The results can be seen below.
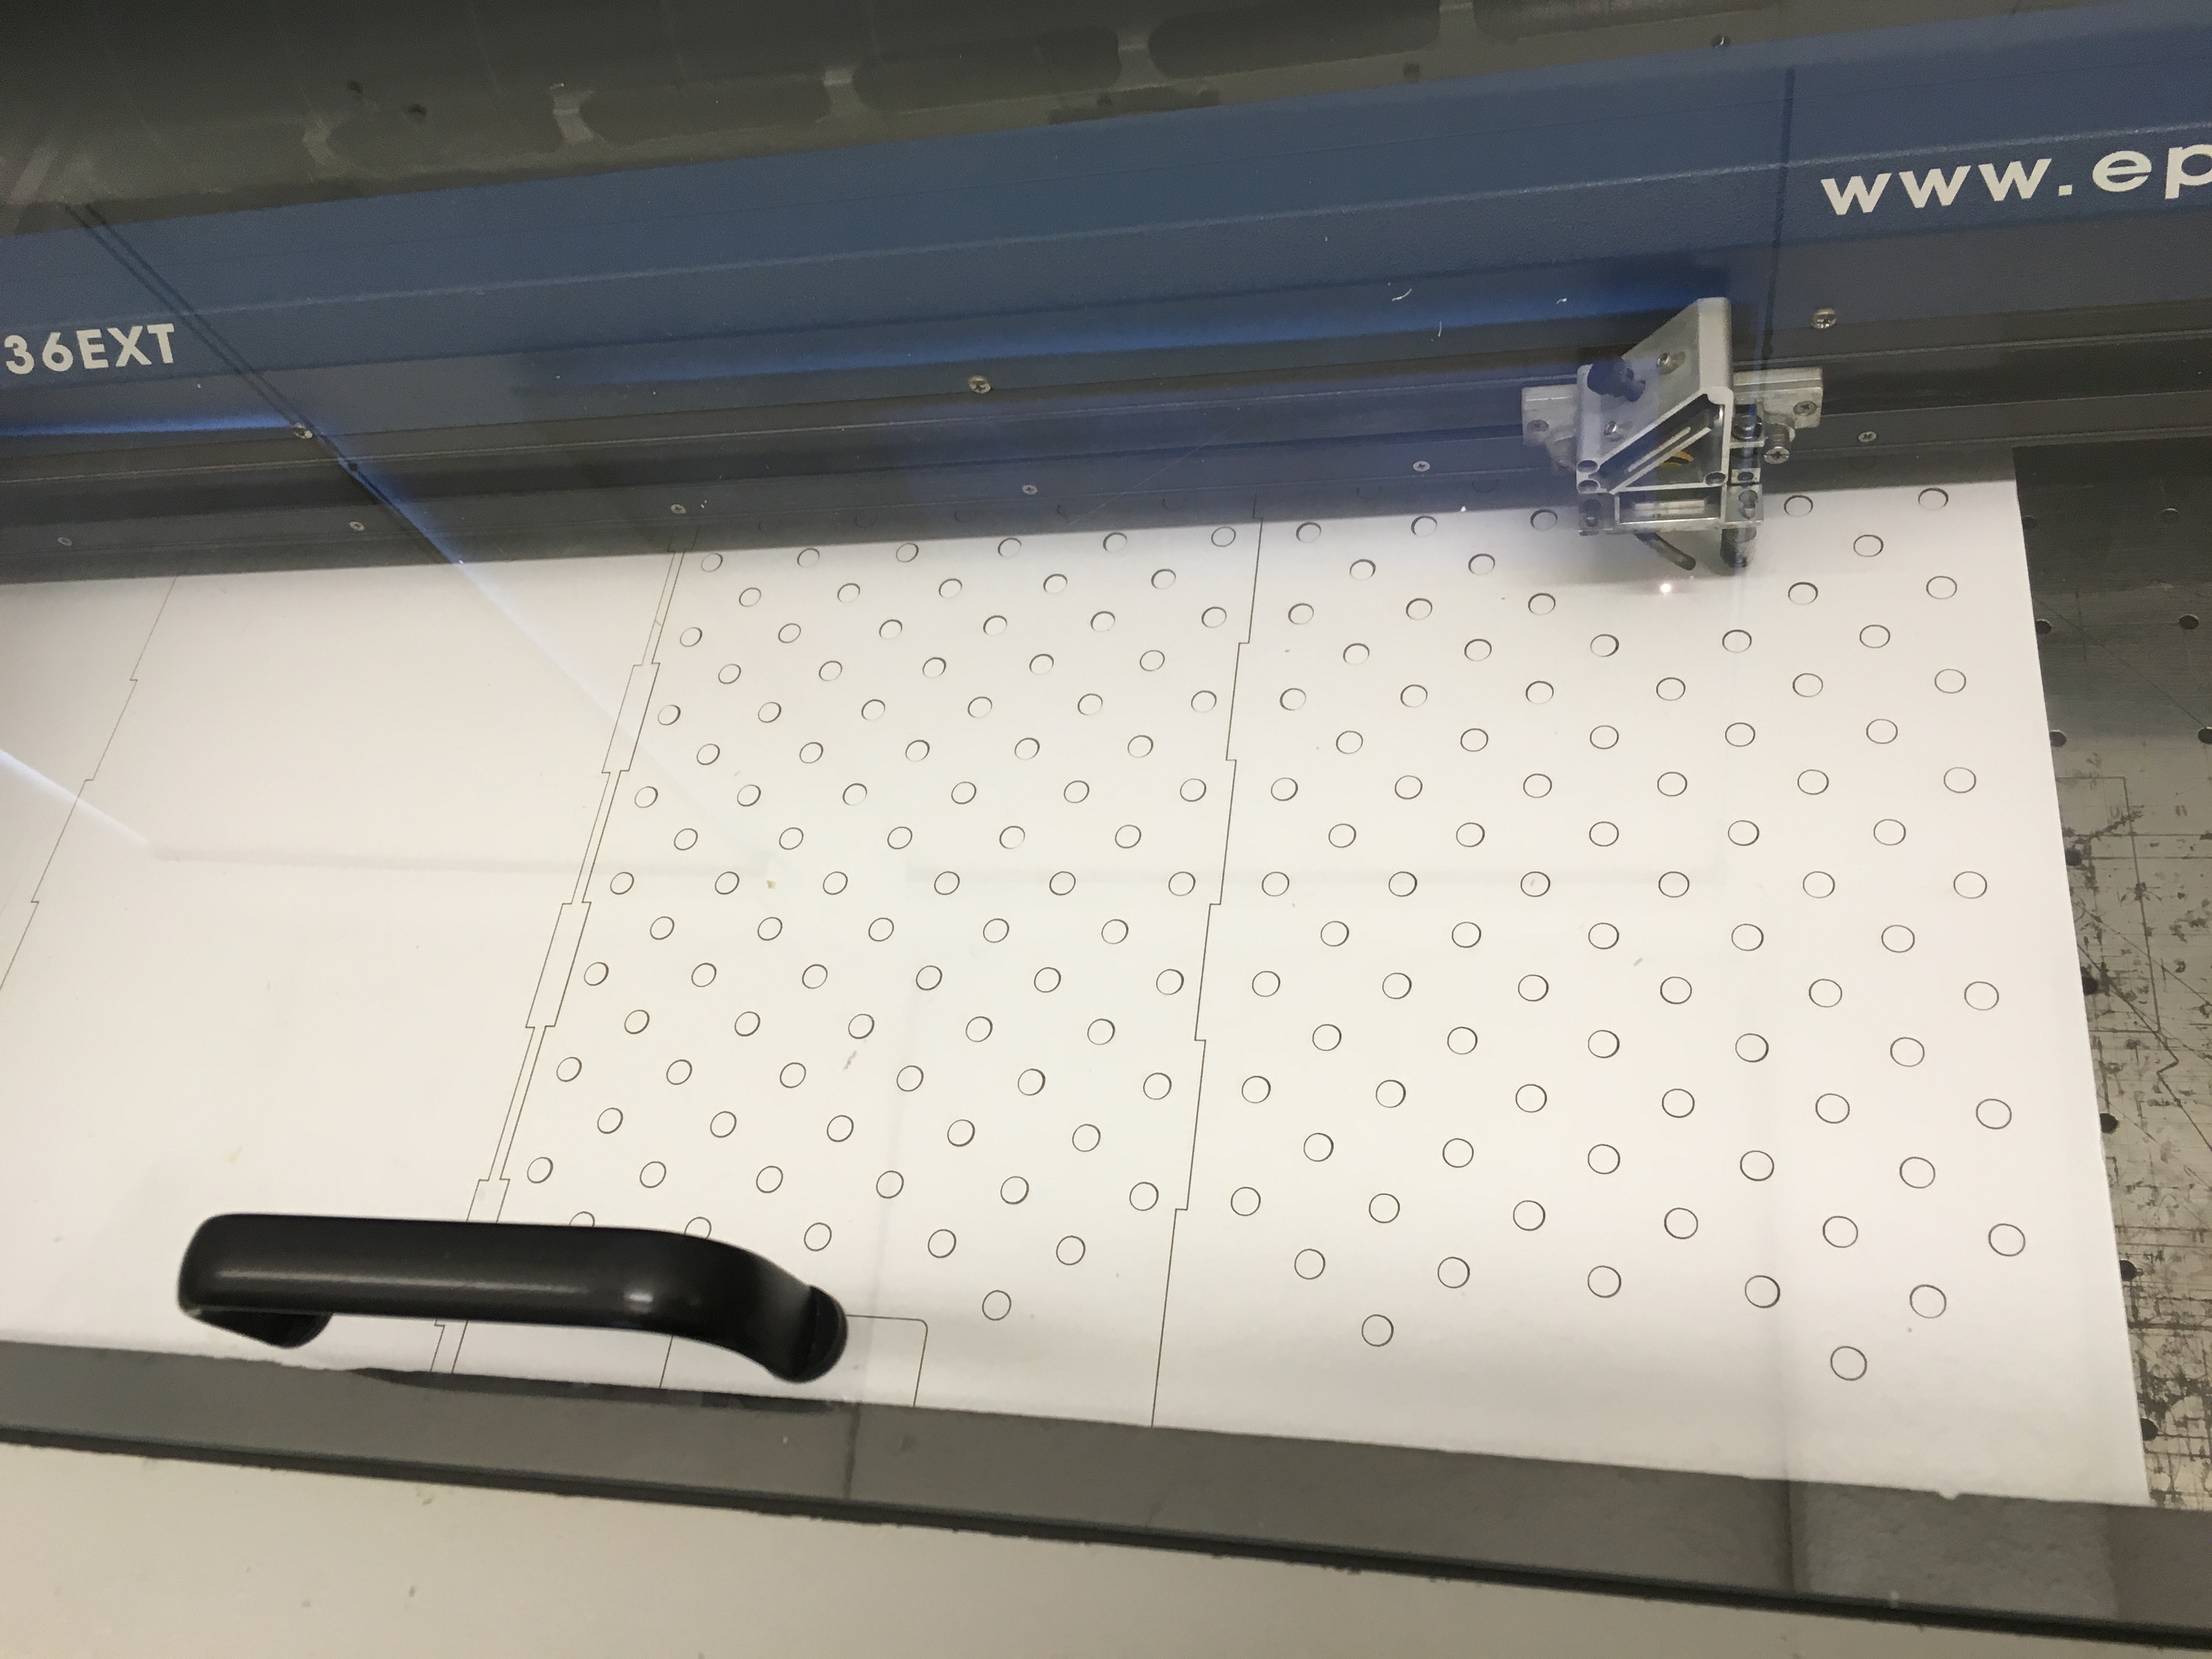
Laser Cutting a New Base
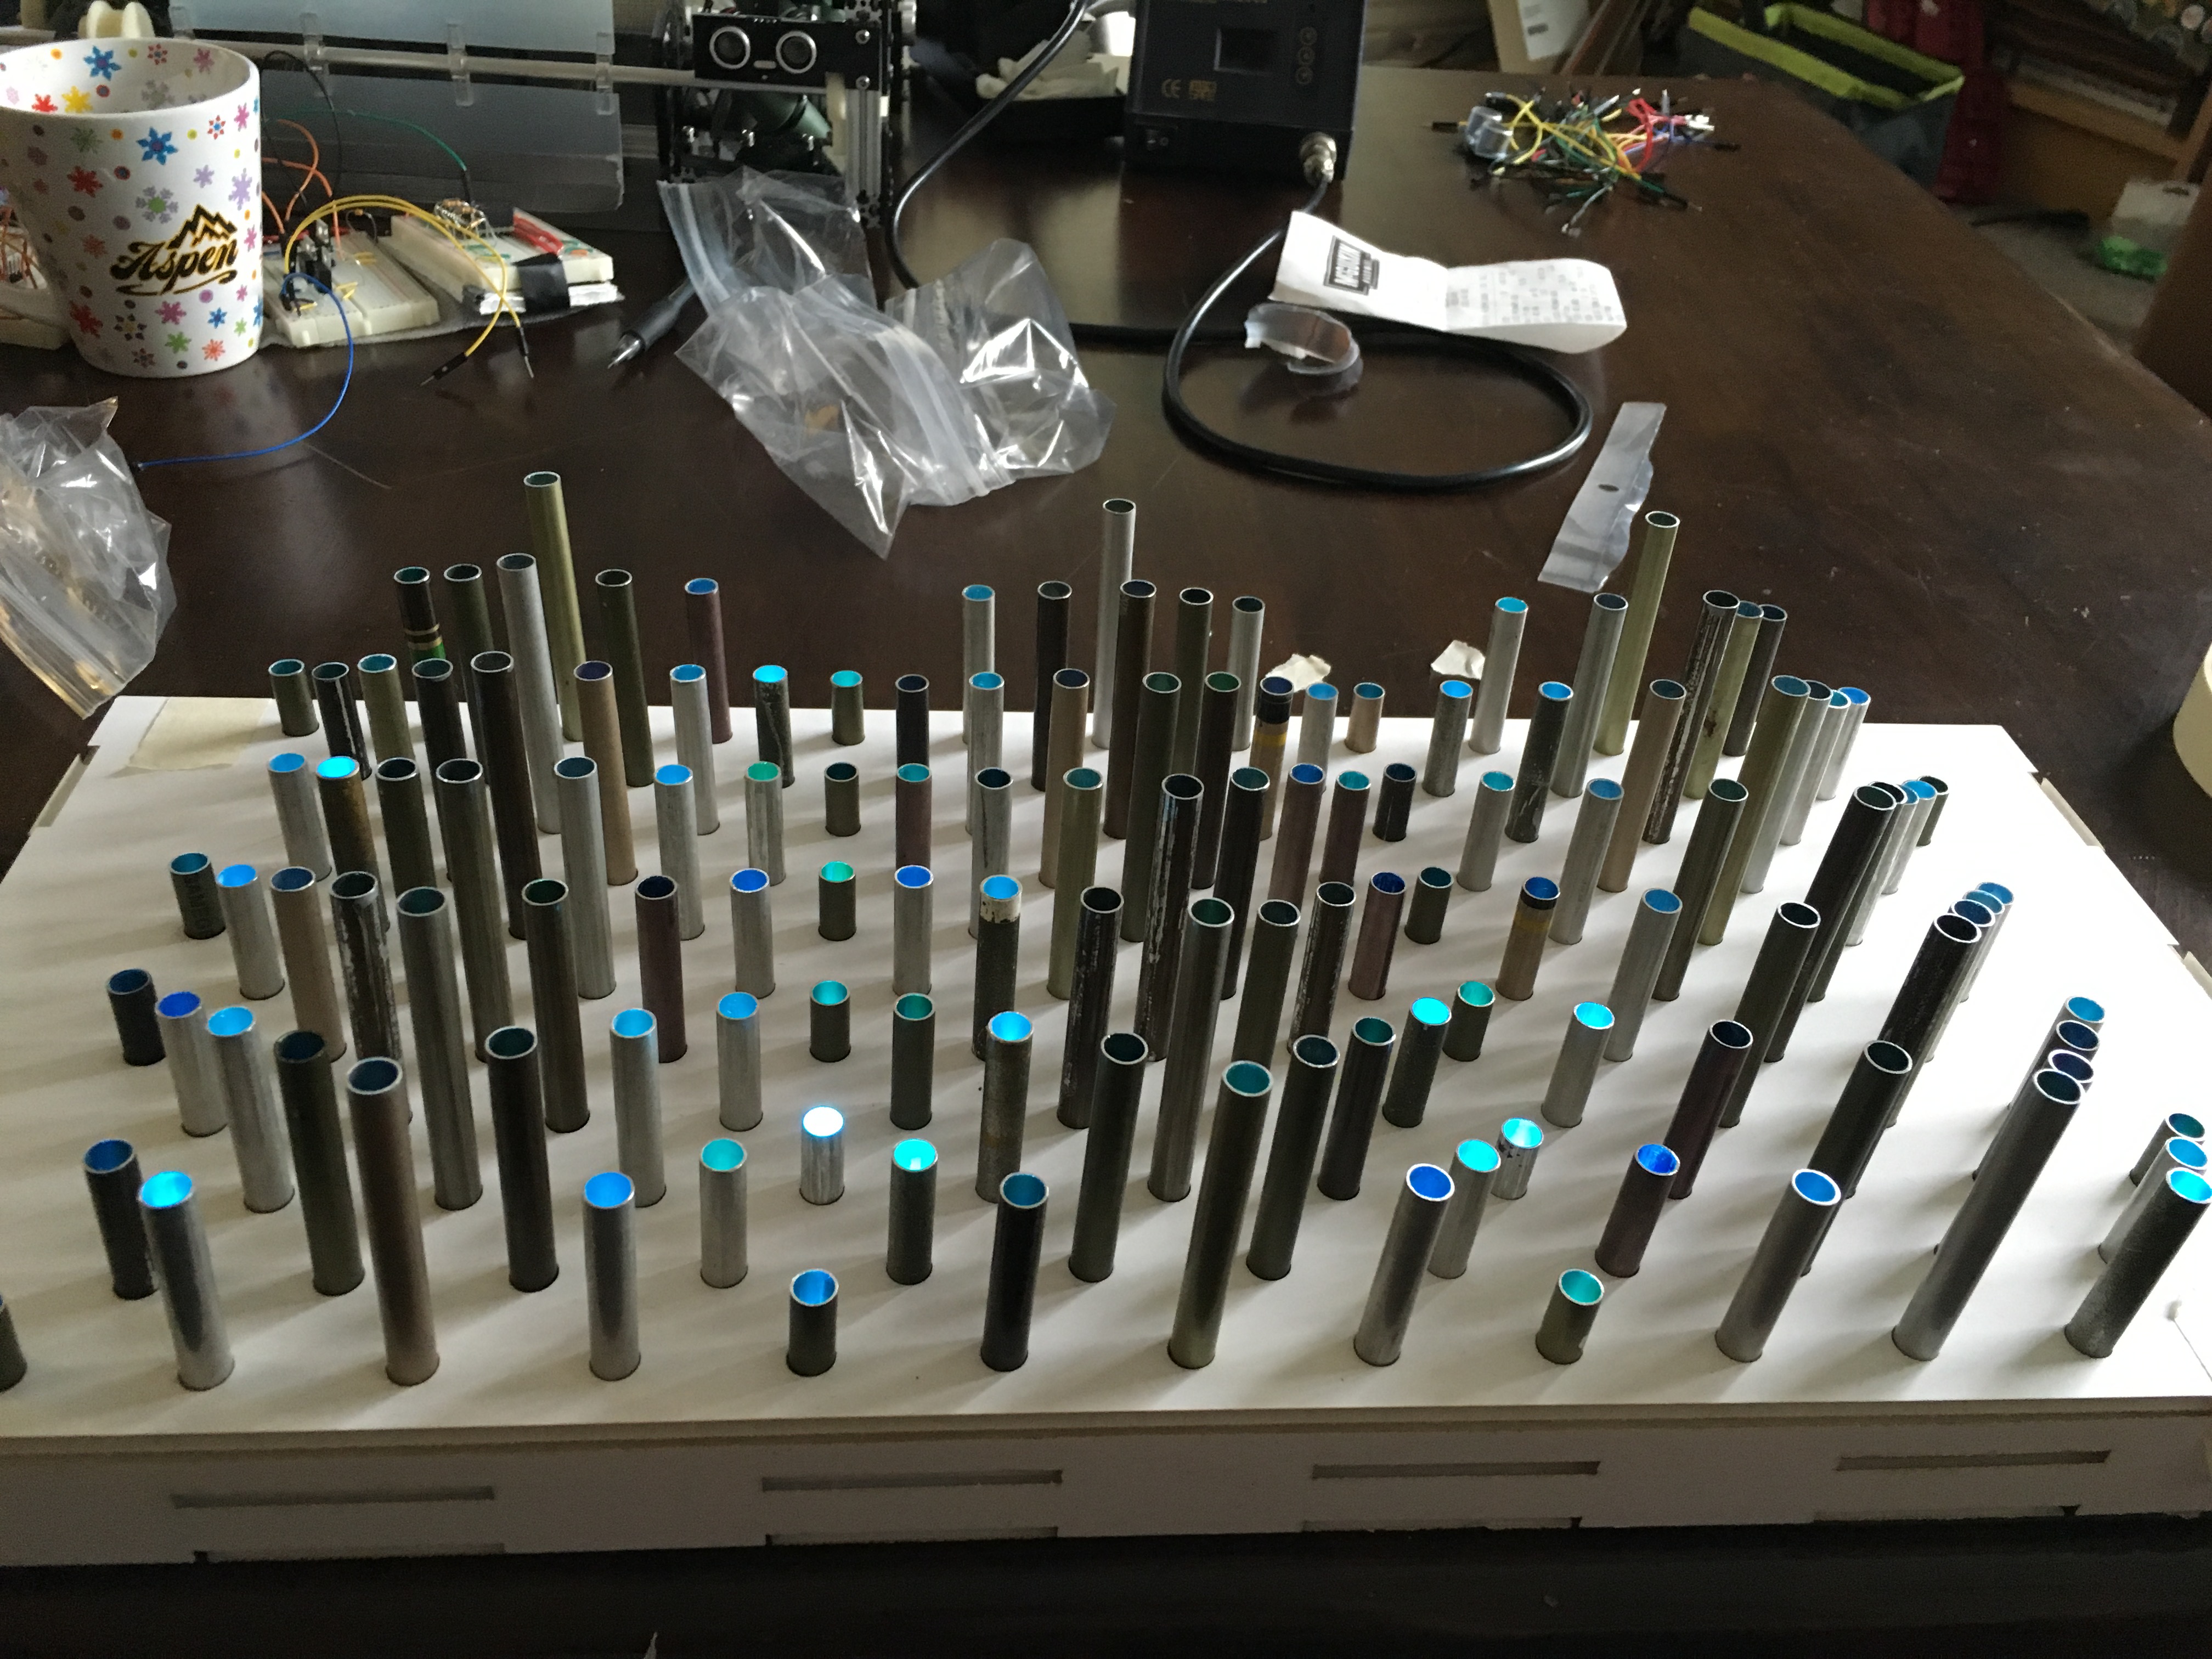
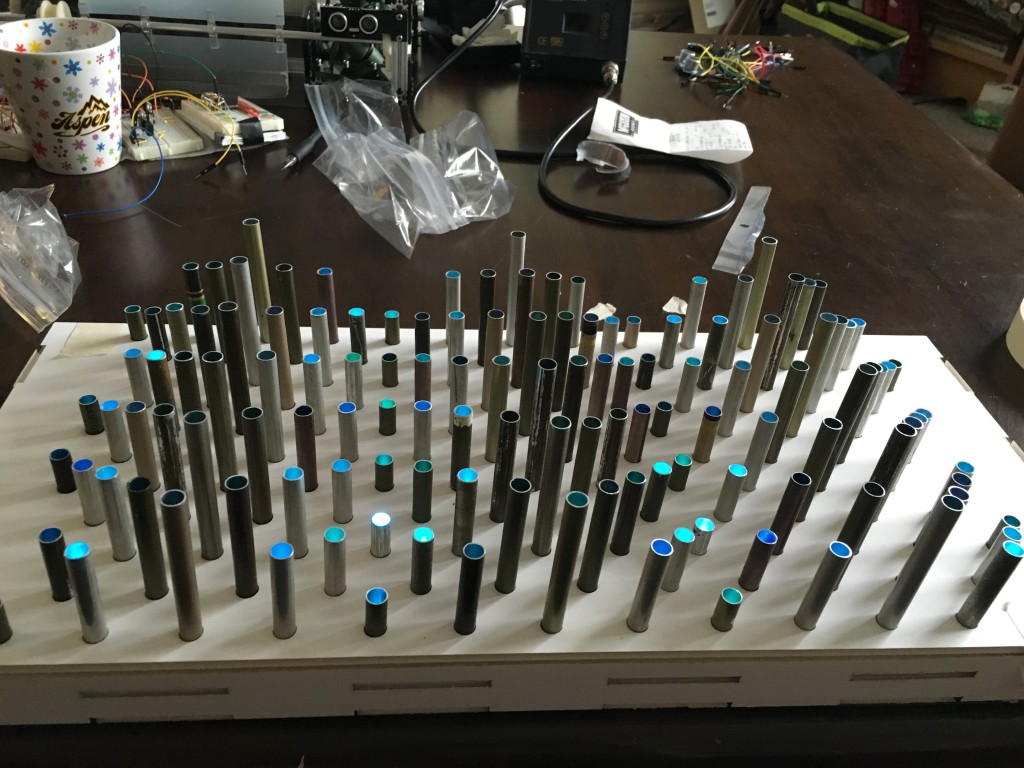
Everything Together for the Final Prototype
The LED lighting ended up working better than I anticipated and gives a cool effect when looking at it from the side. The prototype was not perfect as it was too hard to get all of the LEDs to align right underneath the tubes. I plan on addressing this issue in the final design by engraving a guide as to where to place the LED strip on the bottom plate. I also have not yet decided if I am going to paint the old arrow shafts. I want to see how the look with the black acrylic first.
3 Comments. Leave new
The entire project looks cool and sweet. I wish, I chose something easier now! Your project looks clean, and the pattern turned out really nicely. I think painting it (if you have the available time) would be a nice touch to wrap everything to together. But overall well done.
The LEDs look really cool! Not sure if it’s the LED spacing or the inside lining of the arrows but from the picture it looks like there are a few shades of blue. You could somehow work this into your overall aesthetic. I think it’s a good idea to wait and see how the arrows look with the black acrylic before you decide to paint them.
Dang, the LEDs look sweet. It kind of feels like a creative clash of medieval and space aesthetics. If you were to paint the arrow shafts, what color would you propose and how do you think this alteration will affect your artistry? Do the LEDs give off light downward? I wonder what it would look like with a semi-see-through base? (might not be functional in practice or what you are necessarily going for, but just a thought).