
This post summarizes the exact process of how I made this parasol! *Note some parts are copied from previous updates.
First I purchase an auto-open cane umbrella that was decently priced on amazon.

I removed the original black plastic umbrella fabric and have used it to measure and cut all eight white lace panels needed to construct the parasol.
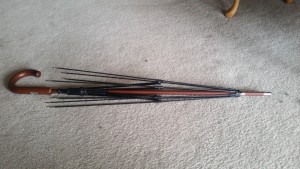
During this process I discovered that the frame isn’t actually made from wood like how the product description… Its made from some kind of synthetic fibers with a layer of paint on top and I accidentally stabbed my thumb with it. I’m pretty disappointed.
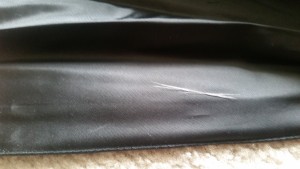
As for the panels, I first separated a single panel from the original umbrella and measured its triangular dimensions.
. 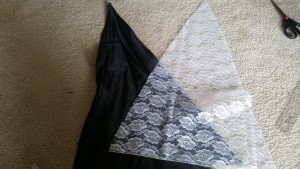
I replicated this dimension and cut out all of the panels as demonstrated below.
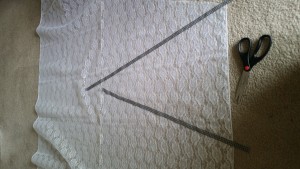
I specifically wanted to use the thick white edge of the bottom of the lace sheet to make the lace less delicate.
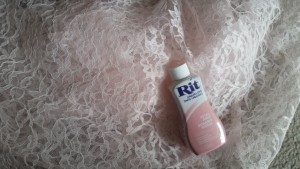
My pink lace was not quite the shade of pink that I wanted, so I dyed it to be pinker which turned out great! (The photo washes out the pink still).
The next step was to sew all of the lace together. I needed to first tackle the white lace before I could attach it to the umbrella.
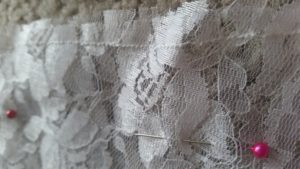
I basically spent the first hour learning how to use a sewing machine. Here’s a close up of the stitch on the lace.
Here’s all eight pieces of the white lace stitched together!

And then, I attached it to the umbrella frame! I did accidentally lose one of the “caps” of the frame where the lace is supposed to be sewn onto – I’ll be 3D printing a replacement this week. For now, I’ve been stretching the lace over the end to make it stay as I finish up.

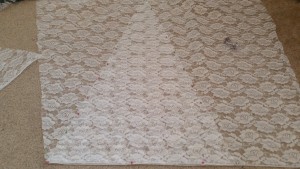
Here’s the pink pieces getting measured and cut.

Next I sewed all of the pink pieces together and then attached it to the rest of the parasol.


Next, I used a brown fabric spray paint to make the brown edges. I used the old umbrella fabric to make the shape and to block the spray from going through the lace and painting anything else. I estimated about 4.5″ length of about how much brown I wanted.


Aaaaaaaaaaaand, it practically looks complete as it is!


Now that all of the lace and brown dye have been applied to the parasol, all that is left is painting on the design. However, testing the lace with extra scrape lace showed that I would not be able to achieve a nice bold strip of color because lace is too perforated to hold paint. I was also planning on putting a clear waterproof layer on top using shower liner, but then I had the idea to instead put a layer of the liner on the inside of the lace so I could paint on it.
I roughly measured out rectangles of plastic liner to fit onto each panel of the umbrella and then hand sewed (since I can’t use a sewing machine without taking the lace off of the umbrella frame) it on using clear, invisible thread. First off, clear invisible thread is a PAIN to use! It feels and works more like optic fiber or plastic, and it tangles all of the time… not to mention, since it’s clear, it easily gets lost during sewing. (I would like to note that it is supposed to be used for embroidery purposes rather than sewing, but I didn’t really have a choice.) Also, turns out that liner cannot really hold the small knot of the clear thread so I had to use a spot of hot glue to keep the thread from unraveling. Once all eight pieces were sewed on, I used scissors to trim the liner away.

The shower liner looks practically invisible! In fact, you can only tell it’s there from where the liner is shiny. Totally worth the 5 hours of rather frustrating hand sewing.

Adding the liner layer underneath was actually really helpful as I could use dry erase marker to first sketch the design on the back before tracing it with paint on the front of the lace.

Painting took a total of about 2.5-3 hours including the retouching I did.

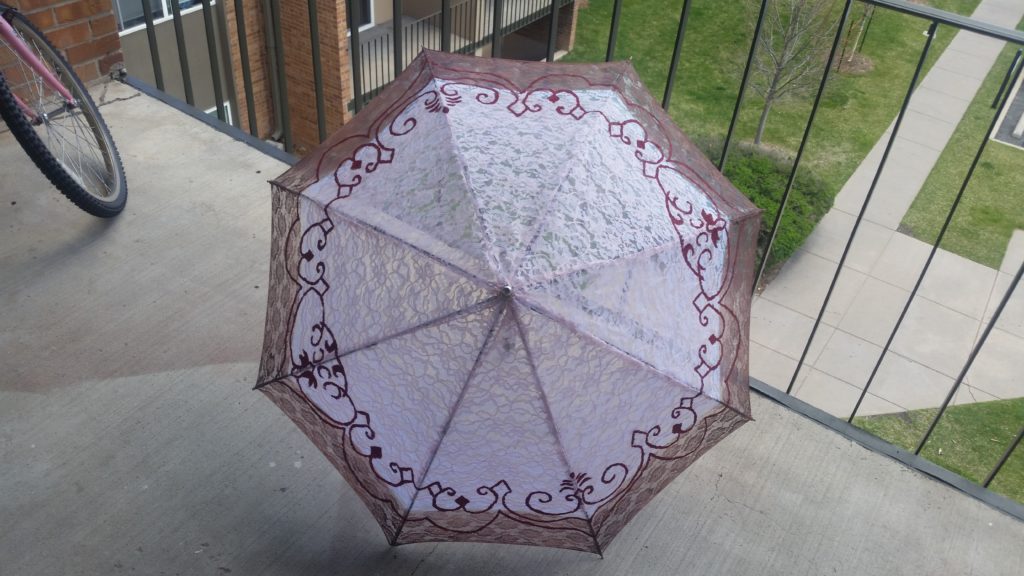
Here it is! The final product!

Lastly, here are some really nice outside photos during the day.


1 Comment. Leave new
Wow! This has got to be the most professional looking project of the class, by far! I can’t believe this is “home made”. You could easily sell these on Etsy if you enjoy making them… that’d be a fun summer side job! 🙂