Introduction:
This is the second part of my final report blog, and it will cover my project summary and lessons learned for students taking Aesthetic of Design. The project summary is a review of the successes, and failures of my wind up spider toy design. The purpose of this part of the report is to reflect on all the project, and again help possibly eliminate headaches for your own projects. The class was a lot of fun, and for future students be flexible with your design process too!
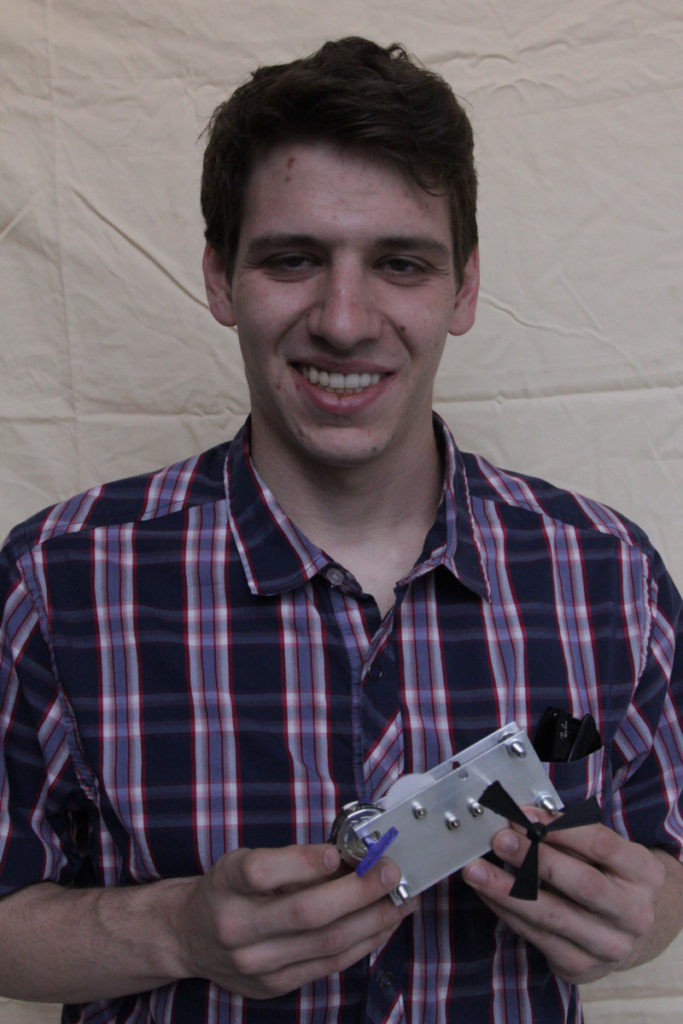
If your wondering my eyes were half closed because of the flash from the camera. I am not trying to look weird, hahaha!
Project Overview:
The project turned into a great learning experience and I have a new wind up toy for my desk, but I would not label the project as triumphant. I was able to complete the wind up toy skeleton, but not the aesthetic spider shell. Keeping the spider shell aesthetic a separate from the wind up toy skeleton was a big mistake in hindsight. I could not narrow down the method of making my aesthetic, because I was too busy focusing on making my project be functional. If the wind up spider toy’s dynamic and aesthetic components were one of the same, then I could have troubleshooted both issues at the same time rather than putting one part of the design down to completely focus on another aspect entirely. This easily doubled the time needed to make my project instead of reducing the amount of labor I needed to put in. For example, one major issue that I encountered after the 3rd iteration of the design (that I should have though about first) was how the spider was going to rest on the wind up toy skeleton. I ended up having to CAD a few support points into my design to hold up the rubber-molded spider shell, but this meant more machining and a more complicated molding process since cores and a second overlapping mold will be required for making support points for the spider shell to rest on. These types of problems were tediousness, frustrating, and gave me a lot of headaches during the fabrication and assembly process. Overall, I was happy with the industrial aesthetic of my wind up toy skeleton. It was metallic, incorporated a lot of geometric design, fasteners (always need lots of fasteners for the industrial style), mini-collars (used to hold the rods in place, but they added a very uniform feel to the toy), and used minimalist design to maximize performance.

This was the final wind up toy skeleton design for reference.
Future Design Considerations/Lessons Learned:
If I was to take this project back 8 weeks, I would start by CADing my entire drive train and wind up toy skeleton, because then the gears would be aligned properly and have much better tolerances for a smoother functioning wind up toy. This step would happen way before I even begin do any sort of fabrication or material procurement, because I need to see if there are any discrepancies in the design and do some analysis to ensure the design works theoretically.
During this project I had a lot of trouble procuring my materials which hindered my ability to collect the proper components, forcing me to salvage from other toys. In the future if I collecting a part is too much of a hassle, I need to ask myself this question: If this part is really that hard to get, does the design really need this specific component? And Why? Because, maybe that specific part is so specialized that going to a standard part/tool/size would be a better design option. An example of this happening in my project was with the plastic gears. It would take the website 2 months to ship the plastic gears from china, so I was forced to use gears from hobby shop kits. Asking myself this question will help eliminate useless expenditures, make me think more about how the overall design will come together, and reduce the overall troubleshooting time.
The last thing that I learned was asking your friends and minions for help and advice on your projects. They can give you advice or help with aesthetic chooses, so use them to bounce ideas off of and to determine the feasibility of the project. Plus, you can have fun making your project together and a six pack always works great as a thank you present if your project requires a lot of labor to build.
Remember to have fun with this project, the class is all about exploring the design process and failure is a just another part of the process.
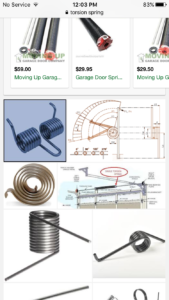
Here is an image of a horizontal torque spring, because some folks were confused about this during my presentation: