

Kensue Kiatoukaysy
Aesthetics of Design
2/11/2020
Upcycle Project:
Captain America Cardboard Shield
“Sanderson, Peter, et al. “Captain America.” Encyclopædia Britannica, Encyclopædia Britannica, Inc., 11 Nov. 2019, www.britannica.com/topic/Captain-America.”
Aesthetic Choice: Aesthetics of Popular Culture
Abstract
The goal of this project is exactly as it sounds; the purpose is to create some sort of structure, artwork, aesthetic with the use of cheap and recycled materials. This can be anything from recycled paper, plastic spoons, leftover food packages or cardboard. For my upcycle project I happened to have a lot of large cardboard planes sitting at my house so I’d thought it would be a great idea to make some sort of weapon out of the cardboard; which the end product turned out to be Captain America’s Shield.
Background/Inspiration
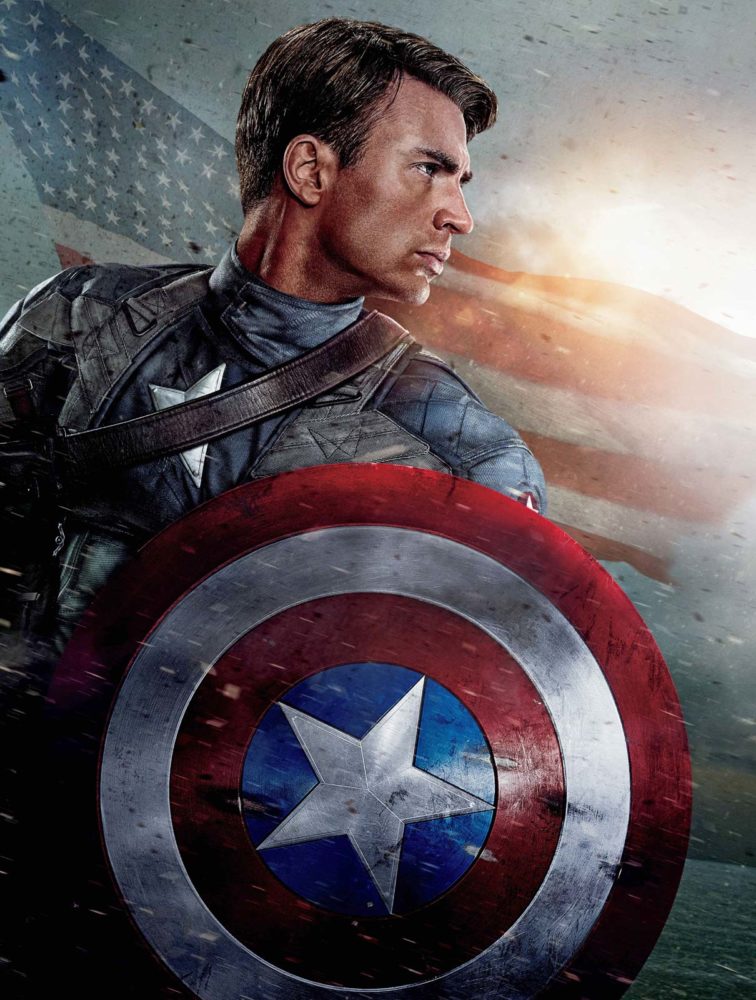
The upcycle project that I had in mind was some sort of sword that was made from cardboard cutouts which were stacked on top of one another. I am a big fan of comics, anime, and videos games so I initially wanted to make a cool looking sword from the Final Fantasy Series owned by the character Cloud. The image of the sword can be showed below. I wanted to do something fun that’s durable enough to swing around and have fun with. As I thought more and more about this project I realized that maybe this sword would not be recognized by the audience; this then pushed me towards doing something that would fall into the category of Aesthetics in Pop Culture. With more research on iconic weapons I eventually fell on the idea of making Captain America’s iconic shield. Hence the research on how to make the shield had begun.
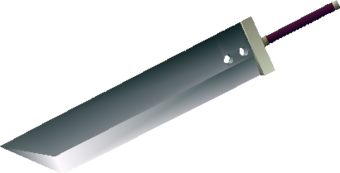
“Buster Sword.” Final Fantasy Wiki, finalfantasy.fandom.com/wiki/Buster_Sword.
Design
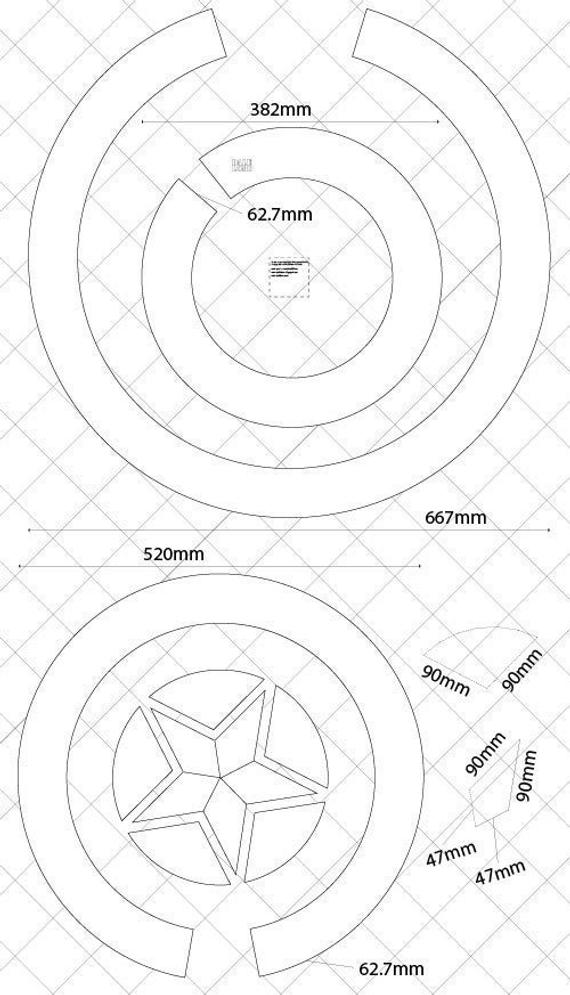
The first thing that was done was simply googling if anyone had done a cardboard version of Captain America’s shield. Fortunately, there were plenty of tutorials on how to make the shield but the one I went with had a PDF cutout for the correct sizing and gave it concavity by Neil Gonzalez. He provided a 20 page print out that you can print on regular 8”x11” paper, which you then glue together in order to make the cutouts for the cardboard. Mr. Gonzalez also provided a wonderful tutorial on how to make the shield on YouTube. Now that I knew how to make the shield it was time to gather materials.
Materials
- Cardboard
- Duct Tape
- Paint (Red, Blue, and Silver)
- Box Cutter
- Paper
- Glue
Fabrication Process
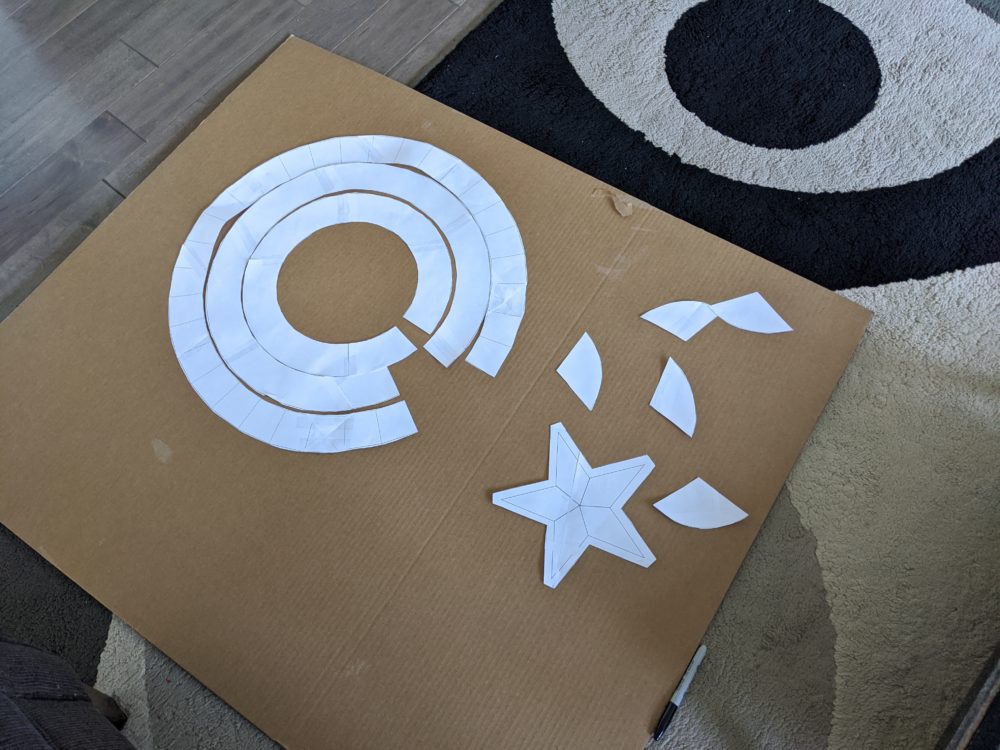
The first step was to print and tape the cutout of the PDF file together which is shown below.
Once all the pieces were taped together, they were glued straight onto the cardboard sheets that I had. Regular glue was used for this process and the results of the step is shown below.
Cutting these shapes out with a box cutting was then done. After the pieces were cut, the next step was to paint them to their respective colors. Spray paint was used to paint this outdoors and three coats of red, blue, and silver were used.
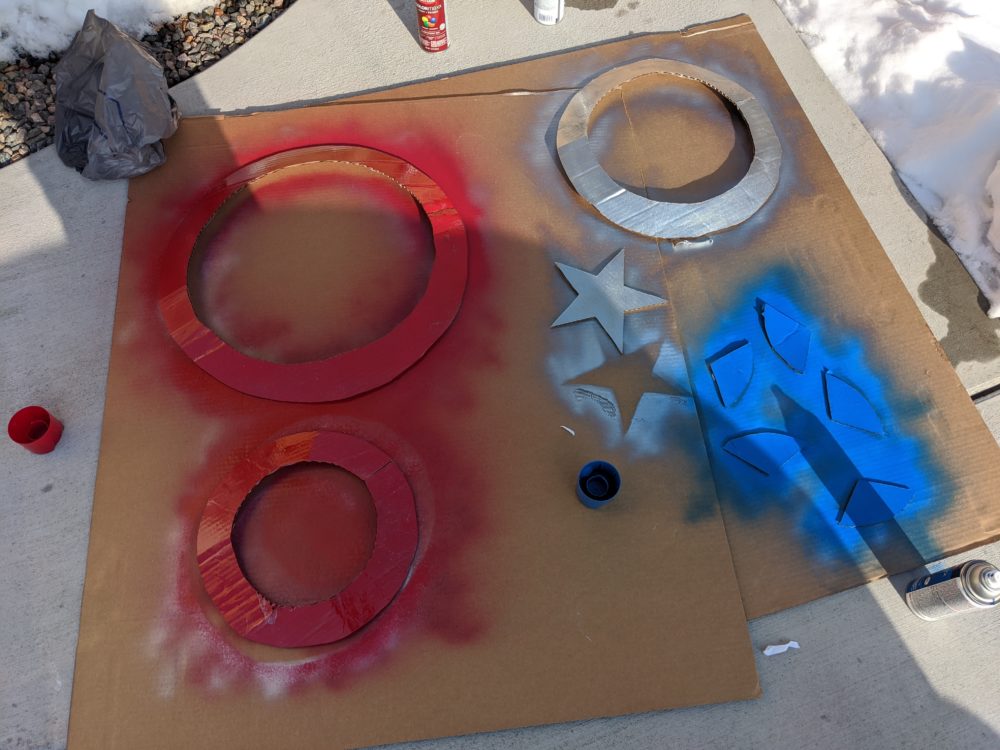
The outer and largest ring, as well the smallest ring were painted a bright red color, the middle ring along with the star were painted silver, and the rest of the pieces were painted blue.
Once all parts were dried and painted the next step was to assemble the whole shield. The back of the shield was stuck together with lots of duct tape. The duct tape was taped all across the entire back for structural rigidity and to keep the concave in the shield.
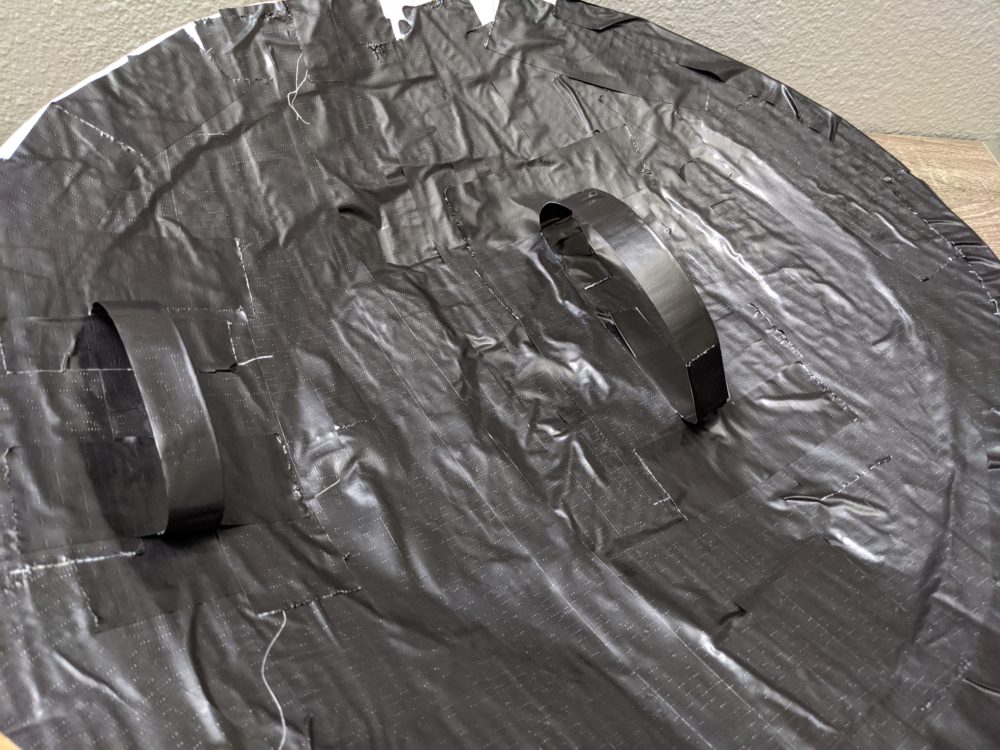
Handles were also added to the back for easier handling.
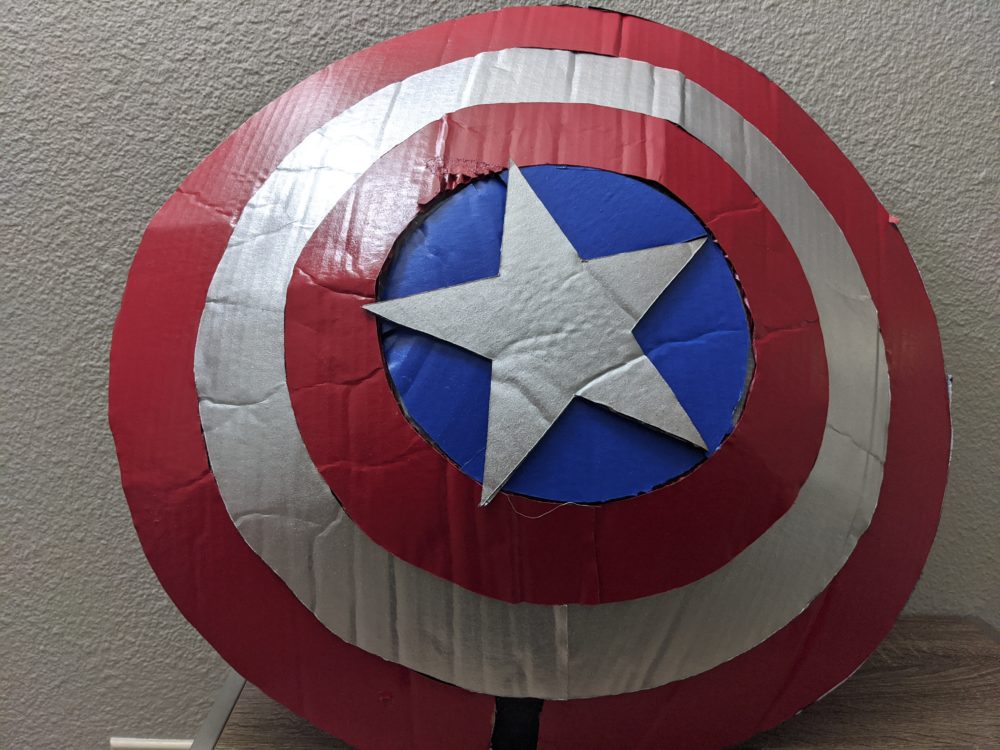
In conclusion the ending results of the shield looks great with a very durable structure.
Functional Goals
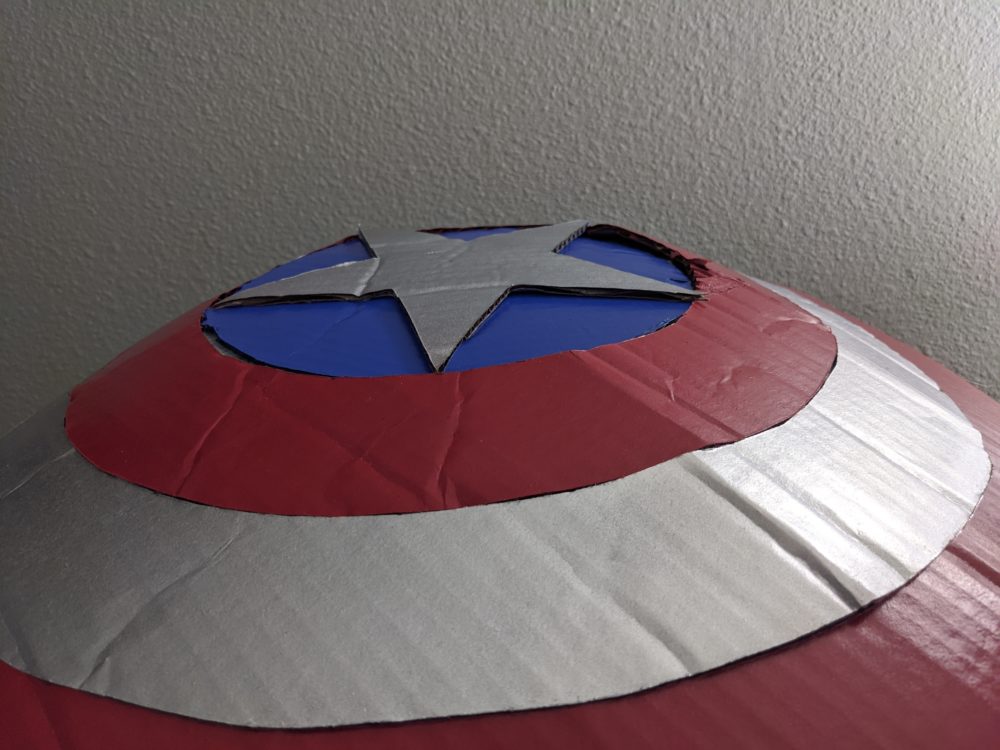
All functional goals were achieved as I wanted the structure to be durable enough to play around with, and usable enough to swing just like Captain America’s shield.
Artistic Goals
The artistic goal was also achieved as it is easily recognizable through the iconic Captain America Shield layout, as well as the object looks aesthetically Pop culture enough. The shields colors also pop out very well and the paint colors matched well.
Future Goals
For future goals I would like to make the shield a smoother surface by using something such as acrylic so it’s smooth and has a higher structural durability. I want to be able to actually hit things with it without it breaking too much.
Presentation Video
https://www.youtube.com/watch?v=hl0u2FsFv_c
Sources:
“Buster Sword.” Final Fantasy Wiki, finalfantasy.fandom.com/wiki/Buster_Sword.
Gonzalez, Neil. “How to Make a Cardboard Captain America Shield for Halloween.” WonderHowTo, WonderHowTo, 19 Oct. 2014, halloween-ideas.wonderhowto.com/how-to/make-cardboard-captain-america-shield-for-halloween-0157787/.
Sanderson, Peter, et al. “Captain America.” Encyclopædia Britannica, Encyclopædia Britannica, Inc., 11 Nov. 2019, www.britannica.com/topic/Captain-America.
7 Comments. Leave new
Kensue,
Sorry I was unable to attend your presentation, but looking over your report I think the shield you made looks awesome! I appreciate the fact that you choice to create something with normally rigid and reflect nature and created a similar shape with cardboard, a lesser material. This project looks like a ton of fun to make, and im sure you enjoyed that process. My only comment for future renditions would be seeing if it was possible to genuinely cut the parts out of scrap metal. With the template you used, I wonder how hard it would be to actually make in real life, that would be pretty amazing. Overall though, I like what you did with your upcycle project!
Statement of Meaning: I love that you took an existing design and put your own upcycle to it, using only materials you already owned. I love the back it made out of only duck tape! It is surprisingly sturdy!
I like how you cut out the individual rings of the shield instead of using a singular piece of cardboard. I thought the fact that it was concave with a straight material such as cardboard. I think the cardboard took the paint on well and it very impressive. I thought the choice of cardboard gave it a softer texture that makes it less like a shield.
Hey Kensue,
I appreciate that you were able to make the shield in it’s concave shape. Would you consider making it more sturdy? If so, how would you do that?
Statement of meaning: I can only imagine how difficult it is to take a flat surface, like cardboard, and make it into something semi-spherical. To me, this is a great example of upcycling! In the future, you could make bowls, and concave plates out of cardboard or similar materials and I think that’s pretty cool. Great job.
I was surprised how good spray painted cardboard looks. I always assume that cardboard is going to look bad when used in a project but I really enjoyed seeing yours!
Kensue,
I really like the idea of the project, and the use of multiple pieces of cardboard as opposed to just one piece. I also think the curvature of the piece came out really well, as well as the reinforced back with the duct tape. It would work wonderful for a costume. It would be cool to consider using layers of cardboard glued together on top of one another with a slowly decreasing diameter, this could give it an unusual but cool look.