
For my upcycle project, I created a cardboard model of the Toyota AE86 from the show Initial D. I wanted this project to capture the realism aesthetic, as well as the Japanese drift aesthetic. My vision for this project was to create a realistic model of the car that looked as similar to the original as possible, using only materials I was able to find in my apartment.
These materials ended up being:
- White cardboard from a Cosmos Pizza box
- Brown cardboard from a Home Depot moving box
- Tape
- Glue(Not super glue)
- Scissors
- Ruler
- Sharpie
- Butterfly knife(To cut the cardboard)
- Printout of AE86 side view
My inspiration for this project was largely the art made by Japanese artist Monami Ohno, who makes extremely detailed sculptures from cardboard. She can make almost anything out of cardboard, and all her material is from old Amazon boxes! While I knew I wasn’t going to make anything of that quality on my first try, I figured it would be a fun experience regardless, and fit the upcycle theme. I decided to make the AE86 from Initial D because it is a car that I really like the design of, and I thought it would be a good candidate for a cardboard model due to it’s boxy shape.
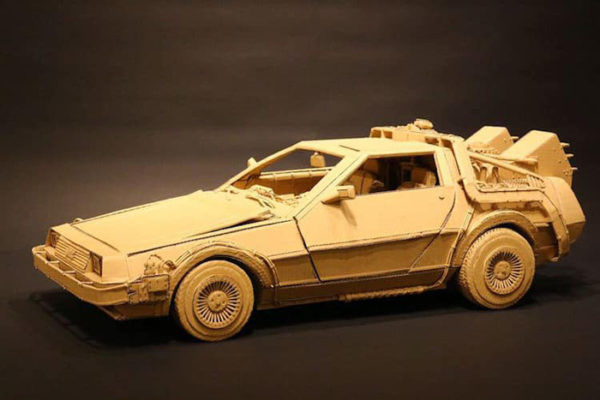
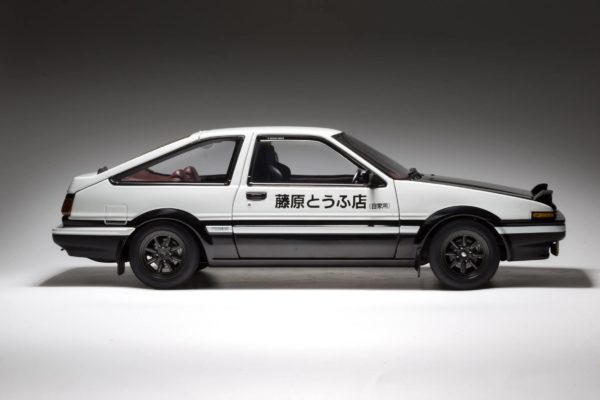
From Left to Right: A cardboard DeLorean made my Monami Ohno, A picture demonstrating the boxiness of the AE86
For my functional goals, I wanted the model to move like a car does, with rotating wheels and opening doors. I wanted the function to mimic that of a real vehicle. As for the form, I wanted the model to have the same dimensions as the real vehicle, but scaled down; I also wanted the paintjob to be the same, as this is a key part of the original cars appeal. To ensure the dimensions of my scaled down model would be correct, I took dimensions from a side view of the vehicle to make a model in SolidWorks. Once that model was made, I was able to use the length of the scaled down model and the length/width ratio of the actual vehicle to find the correct width for the scaled down version.
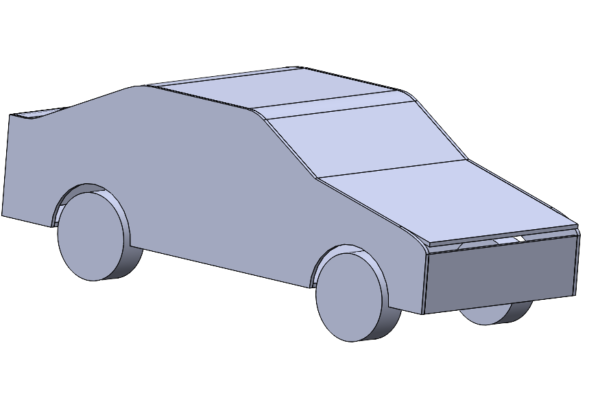

From Left to Right: A view of the properly dimensioned model, The side piece made using measurements from a side view of the car
Now that I had an idea of what I wanted to do, I started thinking more about materials. Initially I was going to use leftover cardboard from other projects I have been working on, but then I realized that I could save myself a lot of time on the final project by using white cardboard rather than the usual brown stuff. It just so happened that I had some white pizza boxes laying around that were clean enough to use, so I made all the main pieces out of that. For smaller pieces such as the wheels, I simply used cardboard from old Home Depot boxes, as they were to be colored in anyways.
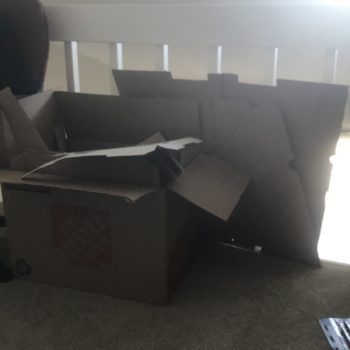
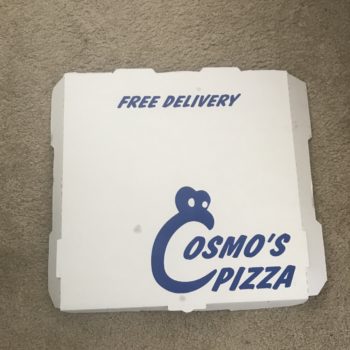
From Left to Right: The material I was planning on using, The Cosmos Pizza box I ended up cutting the main pieces out of
If I had decided to laser cut the cardboard rather than cutting it by hand I could have used the SolidWorks models, but because I did end up cutting them by hand I had to find a different method. After thinking about the best way to get a properly sized piece outlined, I decided to simply print out the side view I was referencing and tape that to the cardboard I was using, rather than use the measurements from the model to hand sketch the outline. Once the printout was taped to the box, I used a butterfly knife to cut along the outline, as I do not have a box cutter and it was the sharpest knife I had available to me. Once I had the first cutout done, I had to use that to outline the next cutout, to ensure they had the same dimensions.
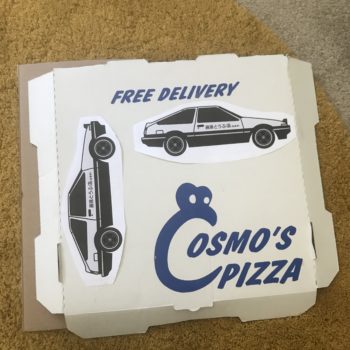
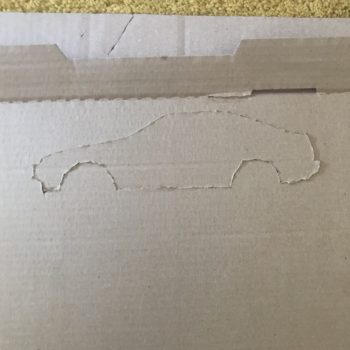
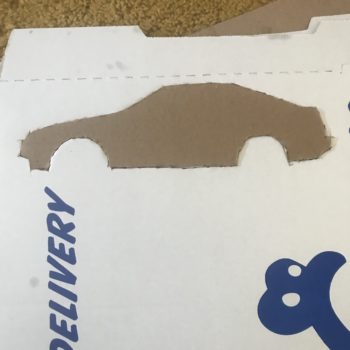
From Left to Right: The side view printouts laid out on the box, The side piece almost cut out, The completed side piece
Once I had the two side pieces cut out, I had to connect them via the floor and roof pieces. Unfortunately at this point in the building process I stopped taking pictures, as I was so focused on getting everything together. The floor was pretty easy as I had made a model of it with the correct dimensions in SolidWorks and it is completely flat, so all I had to do was draw the outline based on the sketch and cut it out. Once I had this floor piece cut, I glued the side pieces to it so I could start on the roof piece. This process should have been simple, but I was using Elmer’s glue rather than any kind of super glue, so it was relatively weak and took much longer to dry than was convenient. Eventually I was able to stabilize the pieces and the glue was able to dry. If I was to do this again, I would absolutely use a stronger and quicker drying glue to avoid the hassle and time wasted on trying to set the glue. Once the glue was dried and the pieces were stable, I began working on the roof. This was the most difficult piece to fixture properly, as I wanted to use one continuous piece which would be bent to sit flush with the side pieces. To get the roof to hold its shape, I held it with my fingers until the glue was somewhat dry, then used tape to hold it in place while the glue dried fully. It was one of my functional goals to have functional doors, but this would have been too complicated for the time I had to work with.
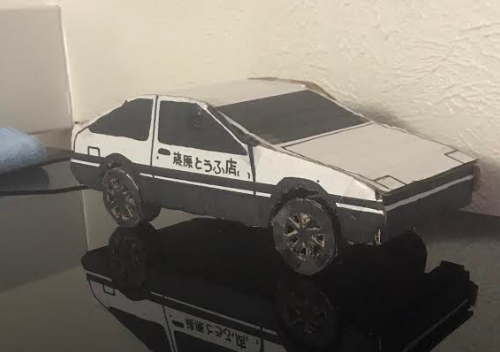
It was only after I had assembled the shell that I realized it would have been way easier to draw on the pieces before they were assembled, but at that point it was too late. Luckily it had been a few days since the shell was glued, so it was dry and completely solid. This made it slightly annoying to color the side pieces, but having the roof in the assembly allowed for much easier placement of the windshield and rear window. I didn’t really have a plan when I went to draw the details, I simply had a reference picture, a straight edge, and a Sharpie. This was a big risk, as any mistakes would have to stay in the final product unless I wanted to disassemble the whole thing. In the end I was actually really happy with how the “paint job” turned out, as it was clean and definitely recognizable as I had hoped.
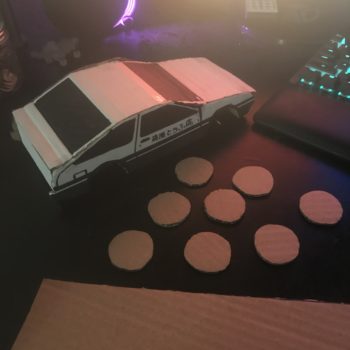
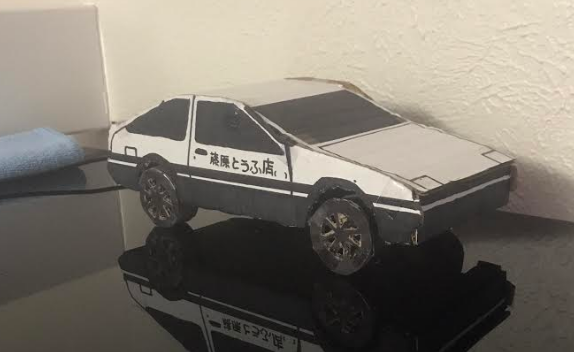
The assembled and decorated shell
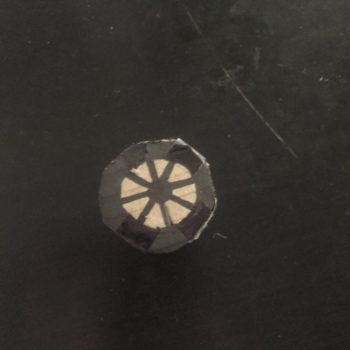
Once the main shell was done and decorated, all I had left to do was make the wheels. I knew I wanted the wheels to be three dimensional and as detailed as possible, so I made the general shape by wrapping a thin strip of cardboard into a circle, then gluing a cardboard circle onto each side. I then drew the shape I wanted on the side of the wheel in Sharpie, and cut out the brown parts(shown below). This is another area I would make improvements in if I were to do this again, by cutting the details out of the wheel pieces before I assembled the wheel. Because I made these cuts after the wheels were already assembled, the wheels would cave in when I tried to cut them, resulting in rough cuts and crumpled cardboard.
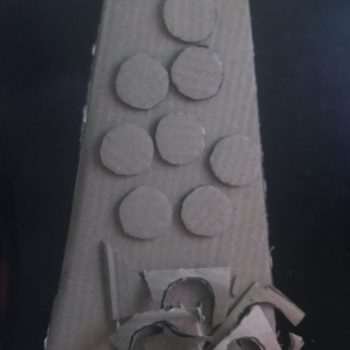
From Left to Right: The wheel faces cut from cardboard, An assembled wheel waiting to get the cutouts
It was one of my functional goals to make the wheels such that they are able to rotate and function as a real vehicle’s would. In order to achieve this goal, I decided to stick toothpicks into the floor piece that would act as axles, and I could simply push them through both sides of the wheels to keep them level. This idea ended up working pretty well, and kept the wheels level, but the floor was too high to get the toothpicks in the middle of the wheels, so the wheels don’t rotate how I intended them to. Even though they don’t rotate they way I wanted them to, I think they ended up looking better than I expected them to.
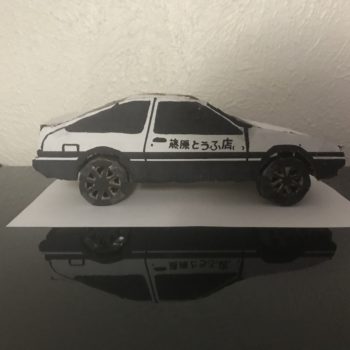
While I didn’t achieve either of my functional goals, I think I hit my artistic goal right on the head. I think my model ended up looking very similar to the car from the show, and would be easily recognized by anybody who has seen it. I also think the dimensions worked out rather well, as the car looks properly scaled, although the shape is a little off, as the sides of the real car are not perfectly vertical as they are on the model. Looking forward, I would like to add functional doors as I initially wanted to, as well as a functional hood. I would achieve this using toothpicks, similar to how the wheels were attached. If I were to do this project over from scratch, I would definitely use a more powerful glue, and think harder about the order in which I make things, to speed up the process and make pieces look cleaner. Overall, although there are things I would change, I am very happy with how the model turned out, and I had a lot of fun making it!
Video Link: https://vimeo.com/518420051
3 Comments. Leave new
I HAVE A BETTER AE86 THAN YOURS!!!!!!!!!
Hi Thomas, I really enjoyed reading your post, It was super creative to use a cosmos box as those things are huge. I like the aesthetic you decided to take on and I think you captured it really well. I am curious if you added rubber rings around the wheels would that provide a better grip to the floor and cause them to rotate? Or is the issue that the toothpick isn’t centered thus the wheel spins weirdly. Although it doesn’t function as you hope it did it definitely does capture what you aimed for.
Hi Thomas, I think this project turned out really well! I think it was creative that you stuck toothpicks in the wheels so that they could actually spin. Do you actually know the Japanese written on the side of the car? How hard was it to mark the kanji on the car? It definitely was my favorite part of the realism aesthetic of the car.