
What I am going to make
INSPIRATIONS
For this project I really wanted to create something that I would use long term as opposed to making something just for this class. I thought of creating a chess board since it is a hobby that I picked up at the start of quarantine to pass the time and yet I still don’t own my own board and pieces. A couple of my friends have made projects using LEDs in the past, so I thought incorporating LEDs into this project as my time changing element could be interesting.
VISIONS
My vision for this board is to have it be a combination of both a rustic and technological aesthetic. The rustic aesthetic will be achieved by having the entire framework of the board be assembled out of wood. The technological aesthetic will be achieved by having acrylic components to make up the board and the compartments as well as LED lights. My vision is to be able to have a board and compartment for pieces all in one assembly. My main goal for this project is to have something that is sturdy enough to last me a long time and withstand lots of use.
SKETCHES AND PLANS
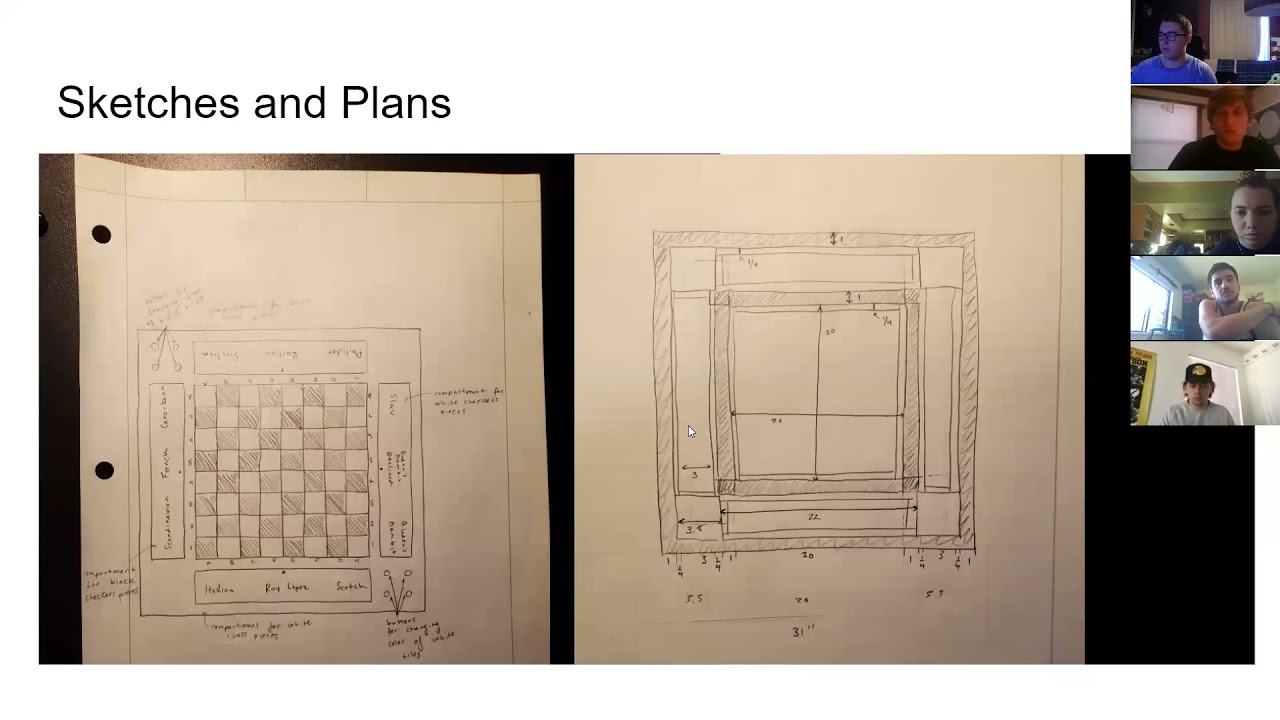
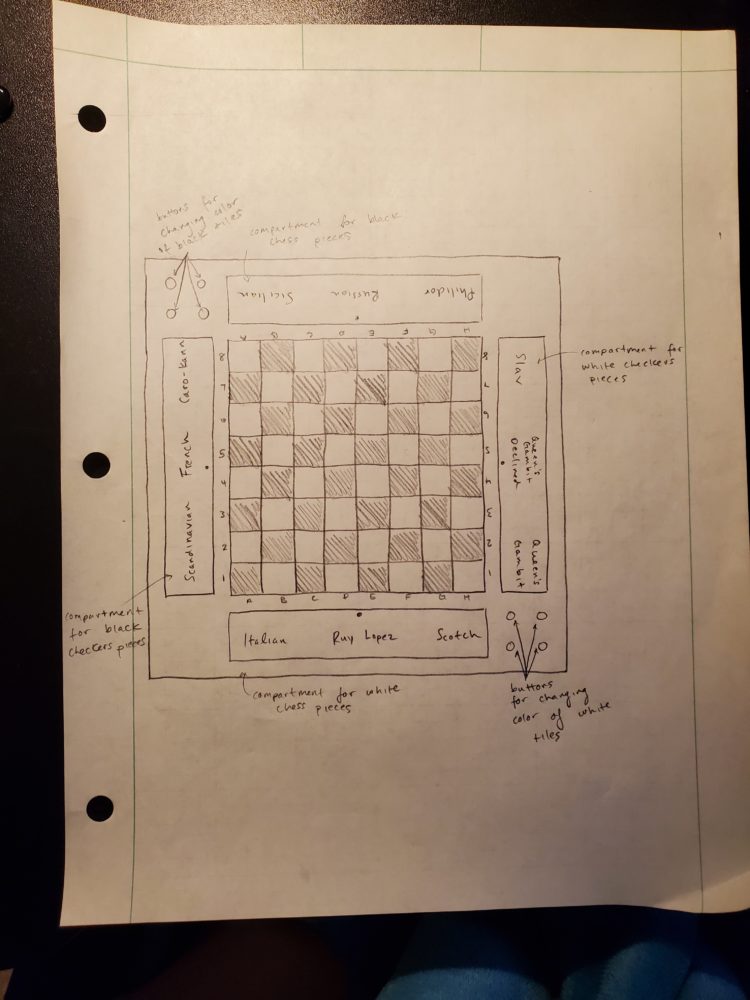
Photo 1: Inside view of the board that shows where all the compartments are going to be to house the pieces and the LEDs
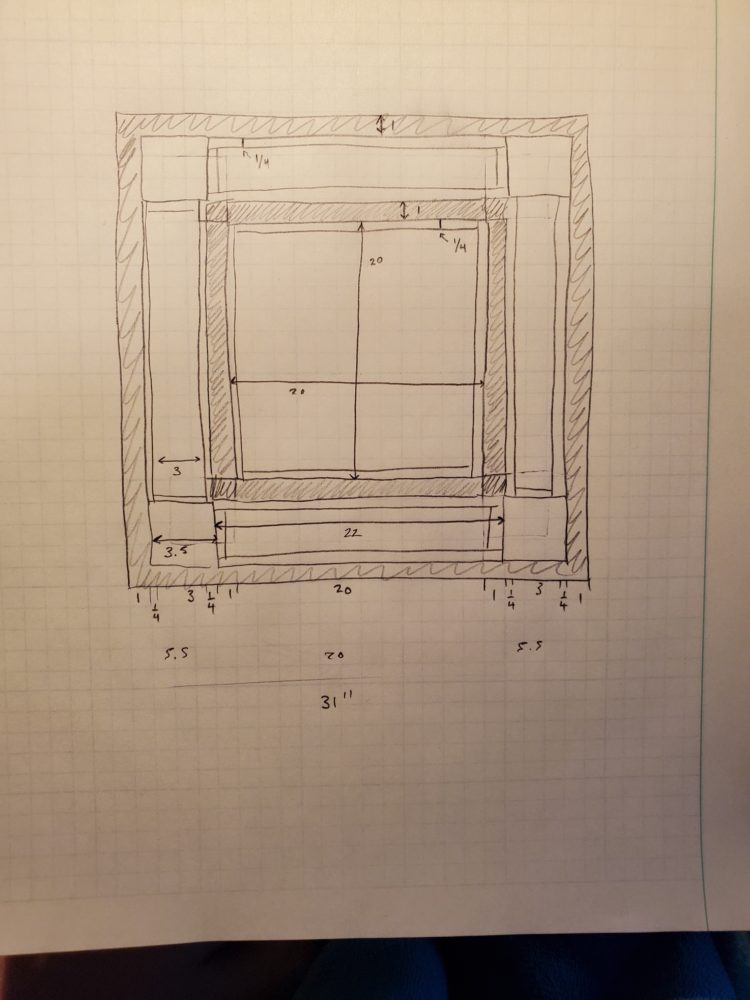
Photo 2: Top view of the board showing what the board itself will look like as well as the covers for each of the compartments
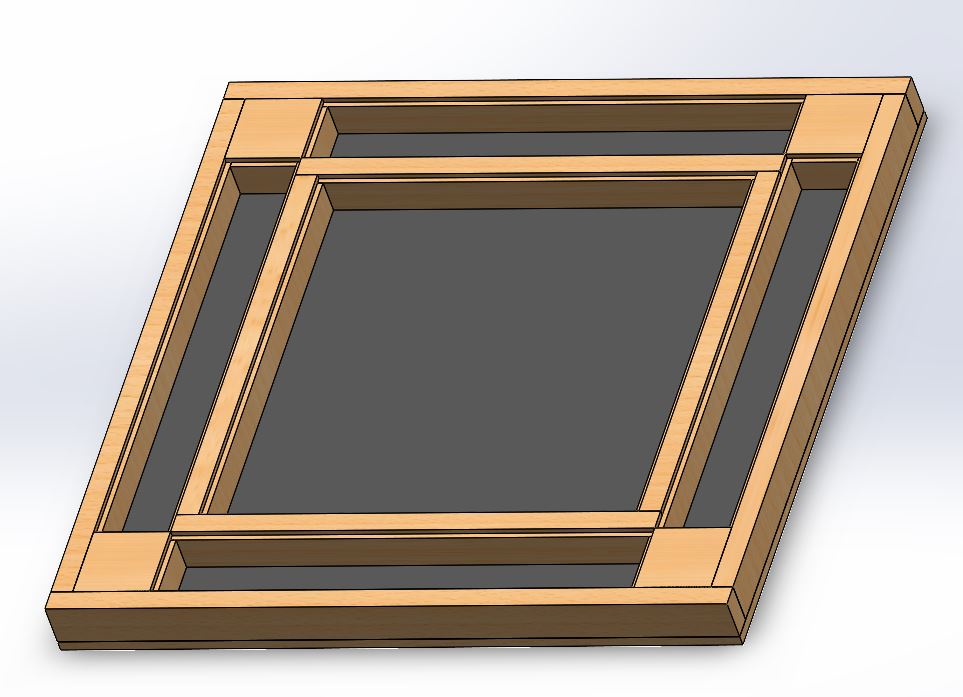
Photo 3: CAD rendering of the wood components of the build
FABRICATION PROGRESS
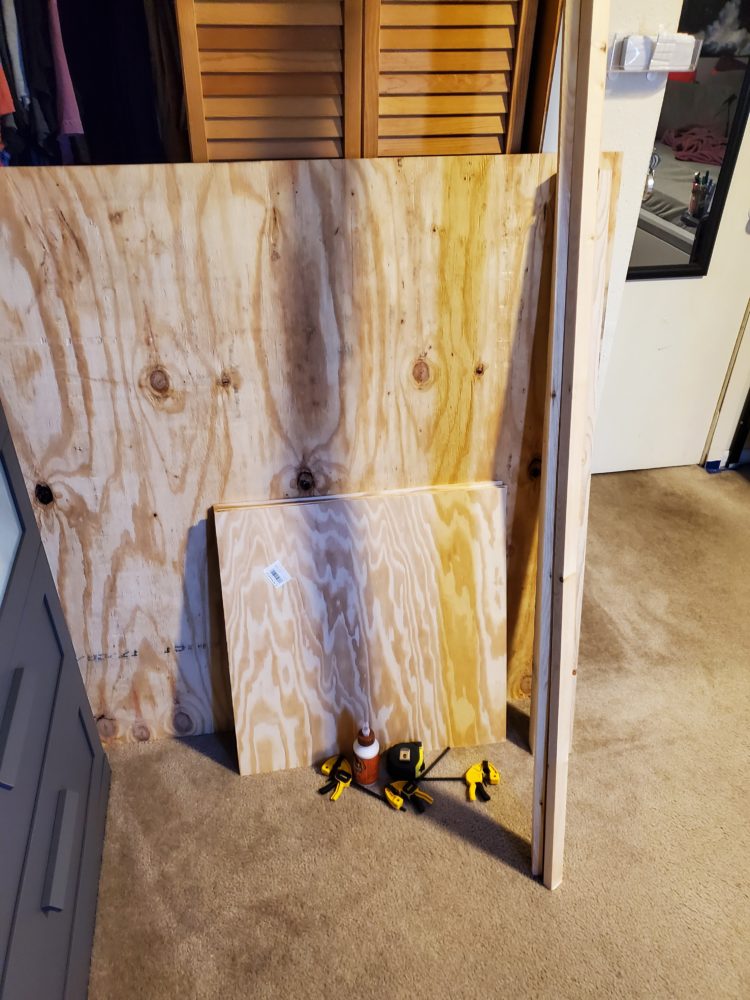
So for the only progress I have made on fabrication is acquiring all of the wood that I will be using
How I am going to make it
TIMELINE
- 3/28 – 4/3
- Cut all the wood down to the correct sizes
- Acquire the types of acrylic that I am going to use
- Order chess/checkers pieces
- 4/4 – 4/10
- Use software to plan out the designs that will be put onto the acrylic covers and cut out the acrylic squares
- Stain/assemble the wood frame
- Purchase LEDs
- 4/11 – 4/17
- Cement the acrylic together to have the board finished
- Figure out how to code the LEDs to do what I want them to
- 4/18 – 4/24
- Implement LEDs into the final build
- Do the final report
FABRICATION PROCESS
- Wood
- Several 1”x2”x8’ pieces will be chopped down to 2 sets of lengths 31, 29, 22, and 20 inches using a saw
- A 2”x4”x4’ piece of wood will be chopped down to four 3.5” squares using a saw
- Several 2’x2’x1/4” pieces of plywood will be chopped down to a height of 1.75” with eight lengths of 22”, eight lengths of 3”, two lengths of 20”, and two lengths of 19.5” using a saw
- A single 4’x4’x1/2” piece of plywood will be chopped down to 31”x31” to serve as the base of the entire board using a saw
- Acrylic
- A single piece of black acrylic that is a ¼” thick will be cut to a size of 20”x20” and have a 18”x18” hole cut out of the center
- Use white frosted acrylic to cut out 32 squares that are 2.25”x2.25”
- Use gray frosted acrylic to cut out 32 squares that are 2.25”x2.25”
- Use acrylic cement to combine all of the above pieces into a single board
- Use black acrylic to cut out four 3.5”x22” covers for the compartments and laser engrave the designs that I want on them
- All cuts/engraving will be done with a laser cutter
4 Comments. Leave new
Hey Callum, I really enjoyed watching your presentation last week! I really like the idea of the changing LED’s throughout the game, I think it will create a very unique piece. I was wondering, have you decided on how/when you will light up the LED’s? I remember discussing if you were going to light the LED’s like with the timing of the game or after certain moves or something like that.
I haven’t really settled on a design yet for when the LEDs will change color. Some ideas I had would be to have them change color either with the pacing of the game, for whoever’s turn it is, or just something that can be manually controlled. In order to actually power them though, I had planned on including a battery to power all of the LEDs.
This is a great concept and will really be a great piece to have. I think you deciding to use various materials to make the chess board will really make your design be a great conversation piece. This is by far one of the projects I am most excited to see as the process continues. Will you be using a certain set of pieces when you play the game or where you planning on making those too? If not I think it might be fun too get an acrylic or glass set to play with to really get interaction with the LEDs in your design.
I was just planning on ordering some pieces to play with rather than making my own. I do agree that an acrylic or glass set would be interesting because then they could interact with the LEDs as well.