
Vision:
My vision for this project comes mainly from my passion for high performance vehicles. This has always been at the forefront of my academic ambition and the reason why I went into mechanical engineering. I have always pictured myself in the automotive motorsports industry: Formula 1, Moto GP, and the likes. Mechanical Engineering is something that embodies that. When I think of Mechanical Engineering down to its core, I think of nuts and bolts. I drew my inspiration for this project from that very foundation and decided to create a metal sculpture of a motorcycle made out of various assortments of machine bolts, screws, and fasteners. What I like about this aesthetic is the raw, stripped down version of the complexity of powersports. I grew up riding dirt bikes in the desert of Jawbone Canyon California. I got my first dirt bike when I turned 10: a little Honda 70 CRF which I have very core memories taking weekend riding trips with my dad and brother. At 19 I bought my first motorcycle, a Kawasaki Ninja 650. Not only a thrill, but a passion from which I have very fond memories. This mini model will be a gift for my father as a dedication to his support throughout my education and introducing me to the world of engineering, art, and motorcycles. The idea is a chopper style desktop paperweight.
Inspirations:
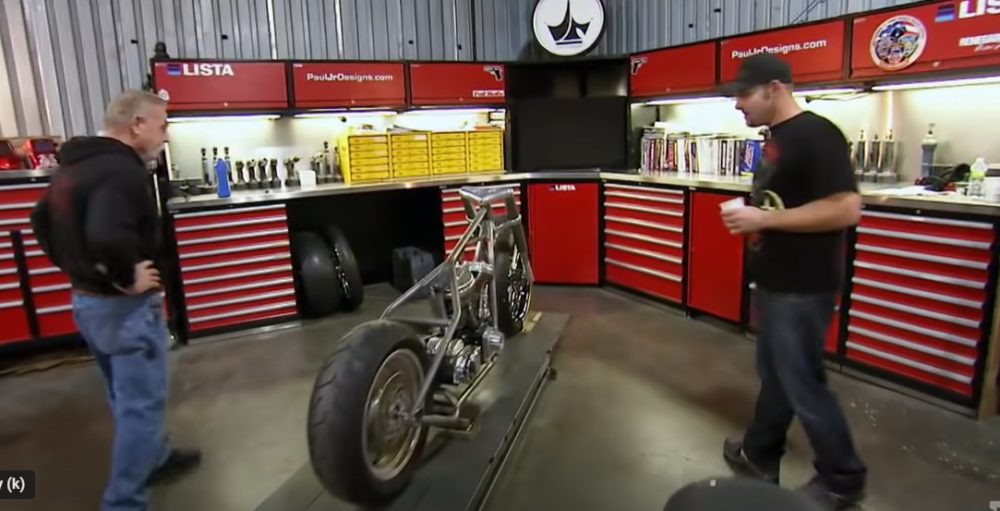
Sport bikes are undoubtedly my favorite style of motorcycle however their aesthetic is more embodied by geometric fairings. Because my goal was to go for the raw base frame of what makes a motorcycle a motorcycle I went for the chopper style. Another notable inspiration is American Chopper. Growing up and watching them take a rigid body frame into a mechanical work of art embodies the core importance of those nuts and bolts.
Piligian, C. (Director). (2006, August 28). American Chopper [Television series episode]. Orange County, New York: Discovery Channel.
As we talked about in class, sites like Etsy and Wayfair are home to the world of makerspace selections of unique and custom handmade artifacts. I adapted a version of the two designs below.
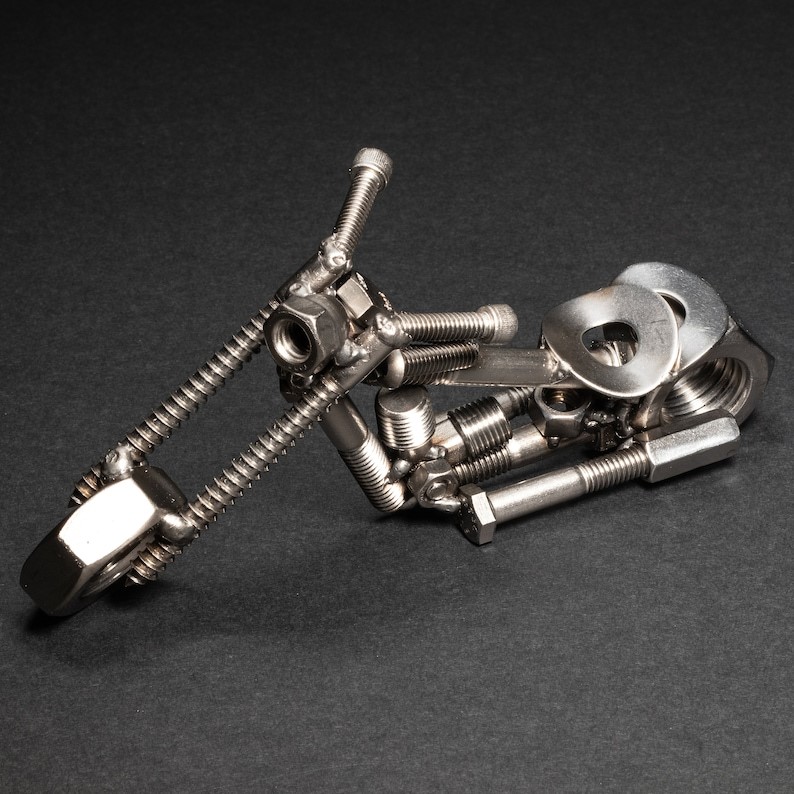
Scrap metal motorcycle figurine steel bike nuts and bolts. Etsy. (n.d.). Retrieved February 7, 2023.
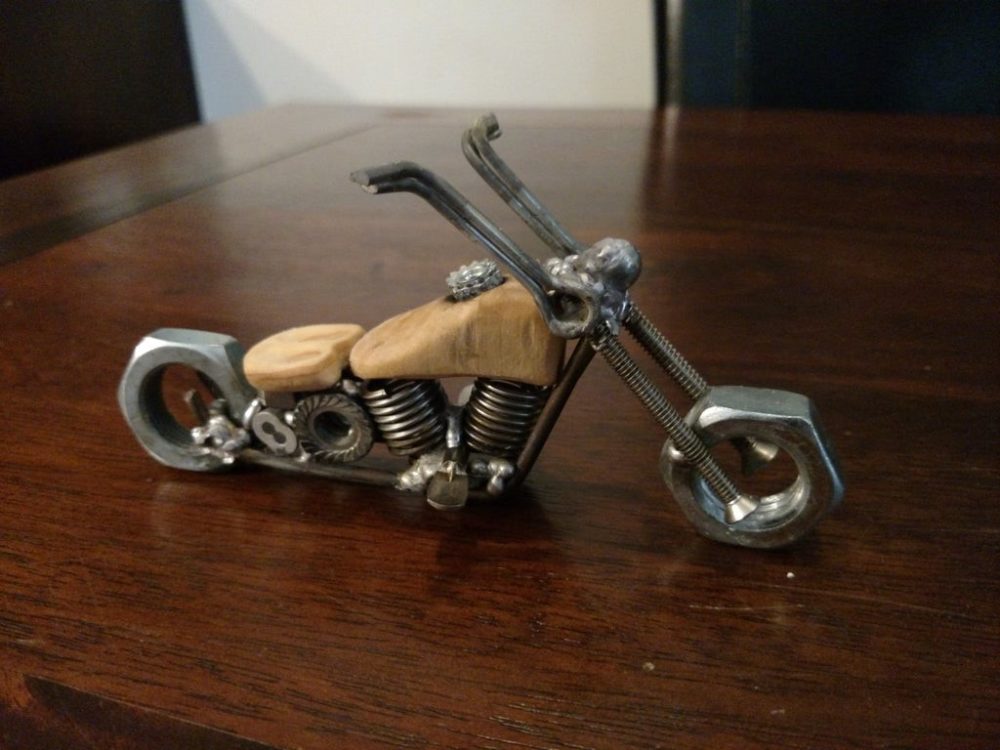
Sculpture, S.P., & Instructable. (2017, September 27). Metal motorcycle sculpture. Instructables Retrieved February 8,2023, from https://www.instructables.com/Metal-Motorcycle-Sculpture/
Aesthetic Specifications:
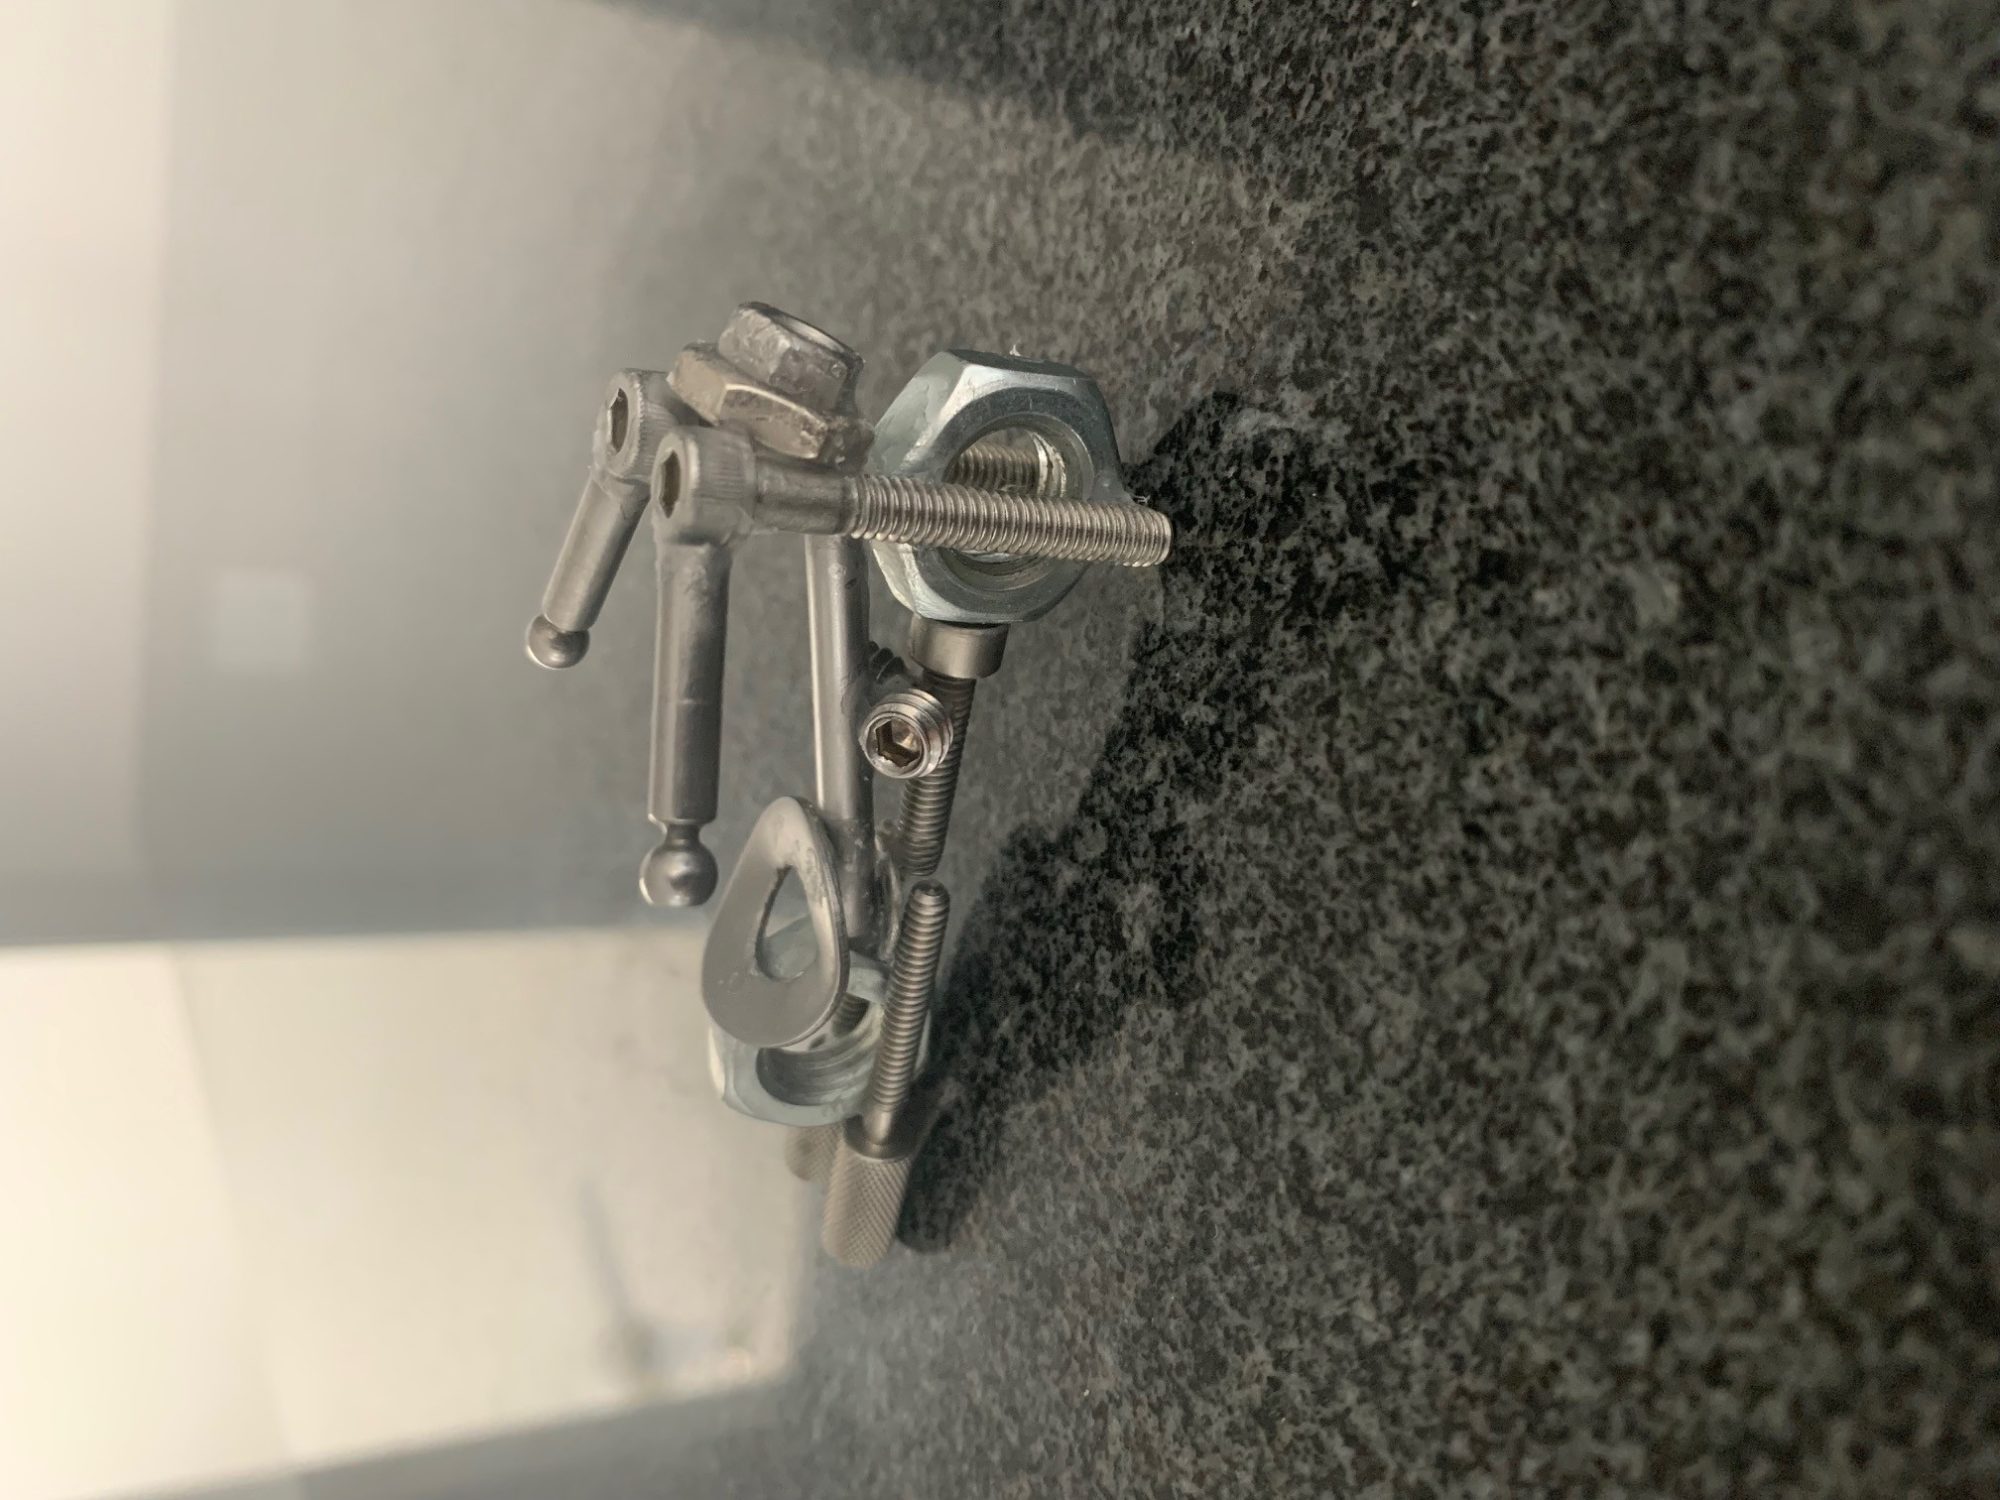
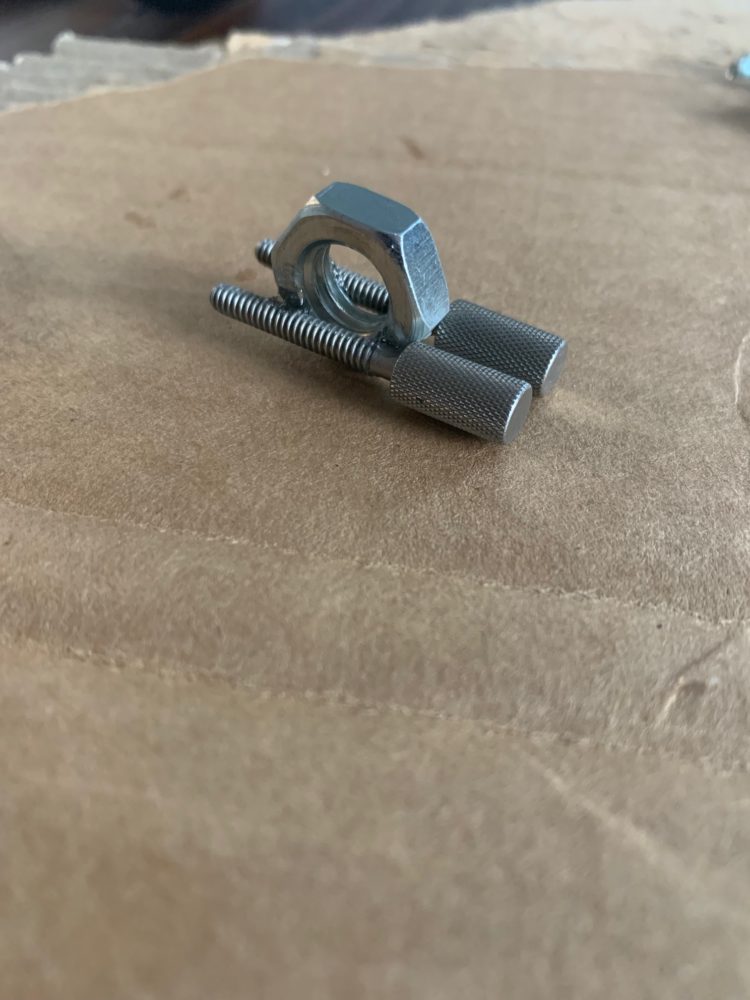
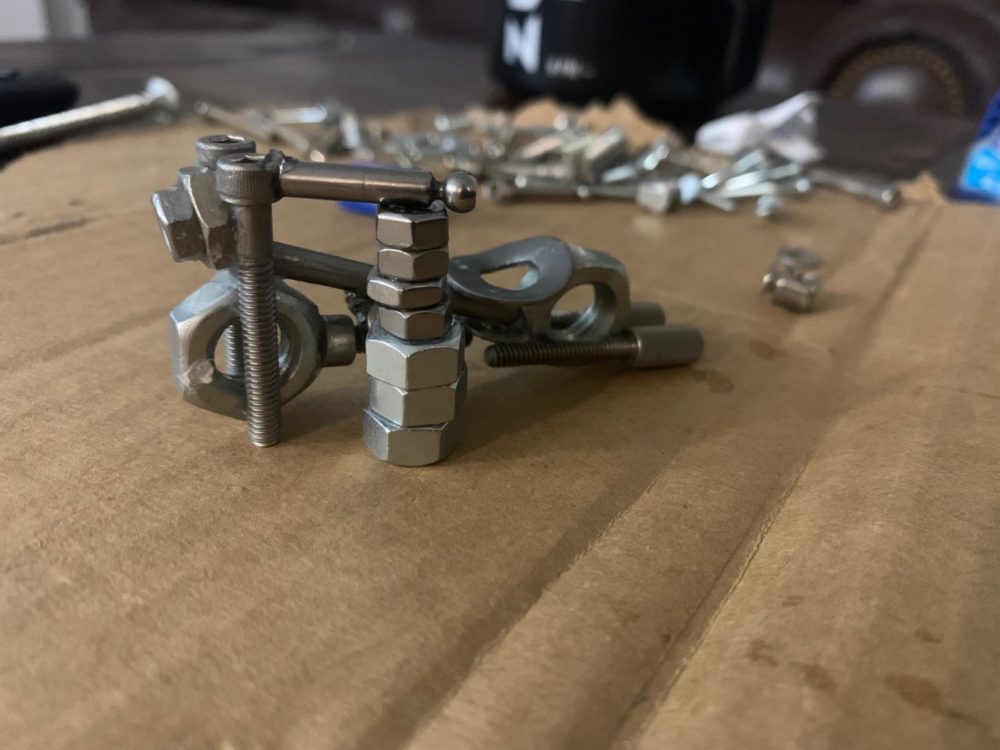
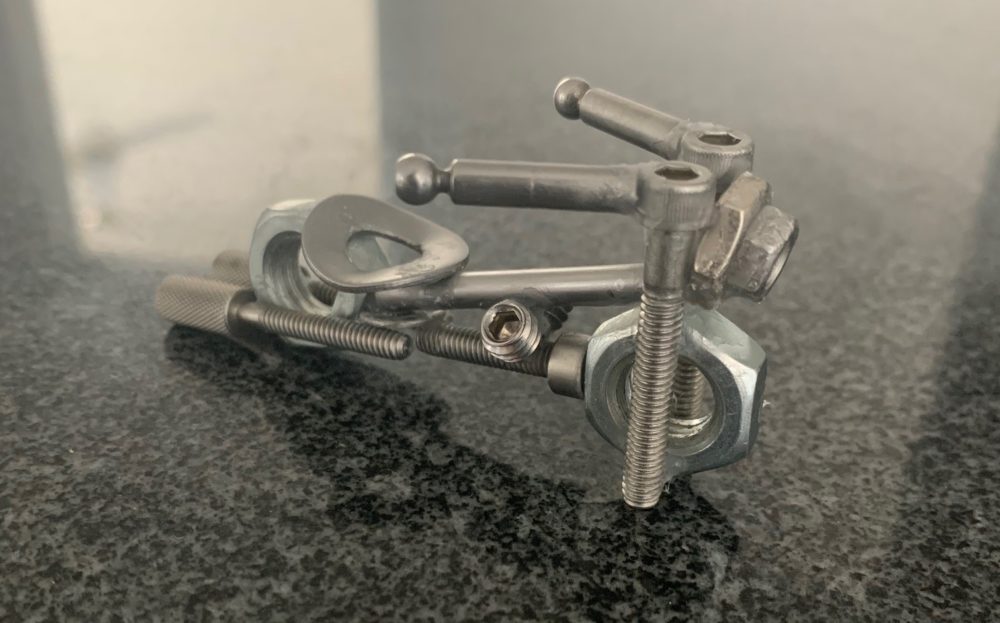
I believe the functionality of this piece falls into the category of desktop paperweight because it is not something that is modular or dynamic and is simply displayed on your desk. The goal was to have a visually pleasing mini metal sculpture that resembles a motorcycle. By the arrangement of the nuts and bolts, I want the audience to be able to recognize that the model of the bike is a chopper. This can be seen by the higher sitting handlebars, low seat, fat back tire, and the classic exposed twin cam engine. The suspension is made from socket screws. The wide handle bars are made from ball head screws. The low chopper style rounded seat is made from a stainless steel washer bent to look like the typical rounded cushion seat. The tires are made from steel hex nuts and the back one is larger. In reality, the function of a larger back tire on a motorcycle is for weight distribution and handling since that is where the power is coming from. The front tire is smaller and skinnier and meant for steering. The recognizable V engine is made from acorn screws. This all metal configuration can also give off a rigidized industrial metal aesthetic from the many screw threads present on the sculpture. Simply put, this paperweight is something that is heavy enough to hold down papers.
Fabrication Process:
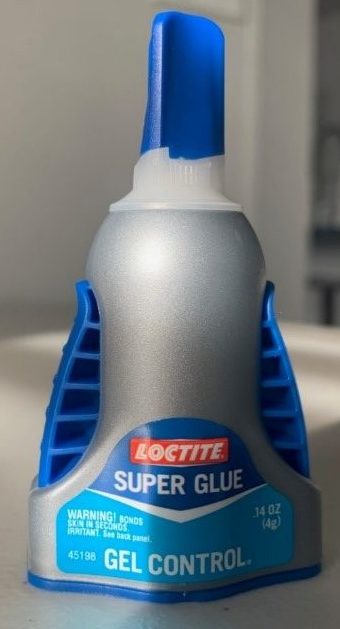
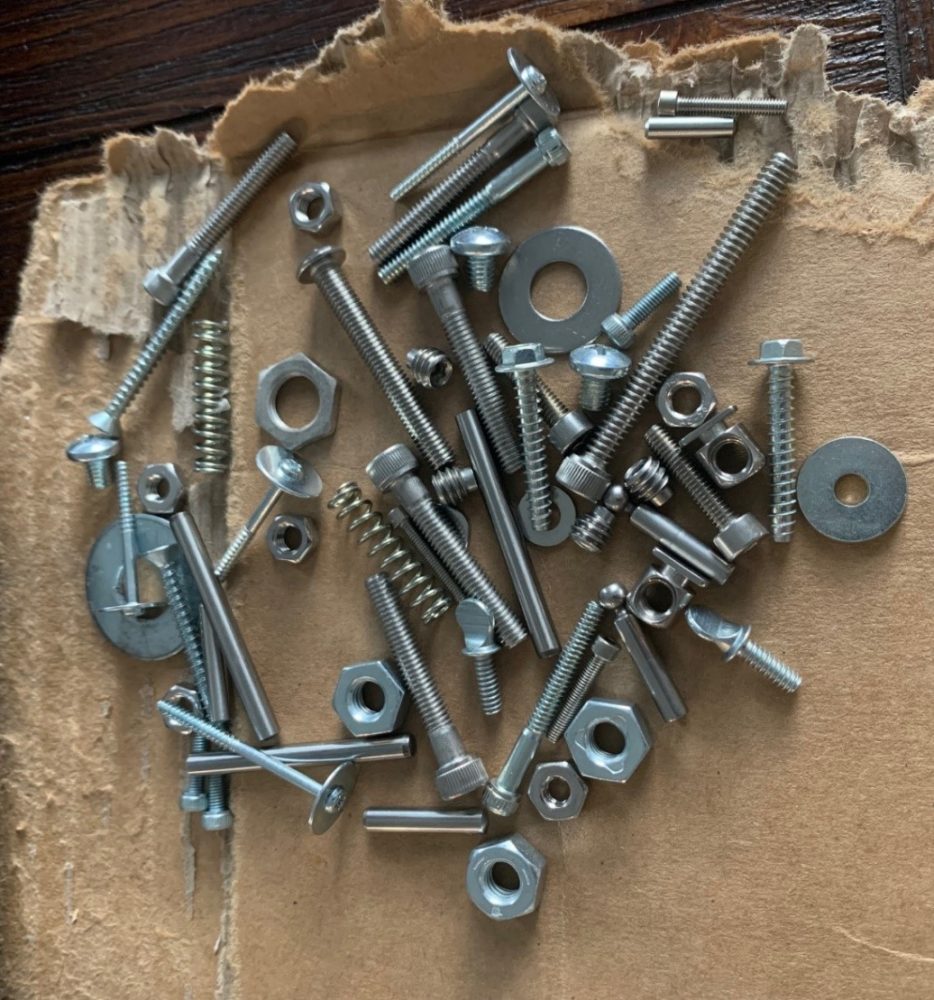
The fabrication was fairly easy and consistent. While the expected budget for this product was approximately $150, a goal of mine was the minimize the manufacturing costs as much as possible. Because I wanted to keep costs as low as possible and nuts, bolts, and fasteners usually come in large quantities and can be fairly expensive so I decided to utilize campus resources. To my luck, the idea forge has an entire workbench full of various metals that are free for taking. The only rule is that whatever is not used be returned for future use by other students. I was able to get my entire assortment of metals and individually pick the necessary ones from this resource. I wanted a very clean assembly so I bought Loctite from Walmart for $2.86 as the adhesive for holding everything together.
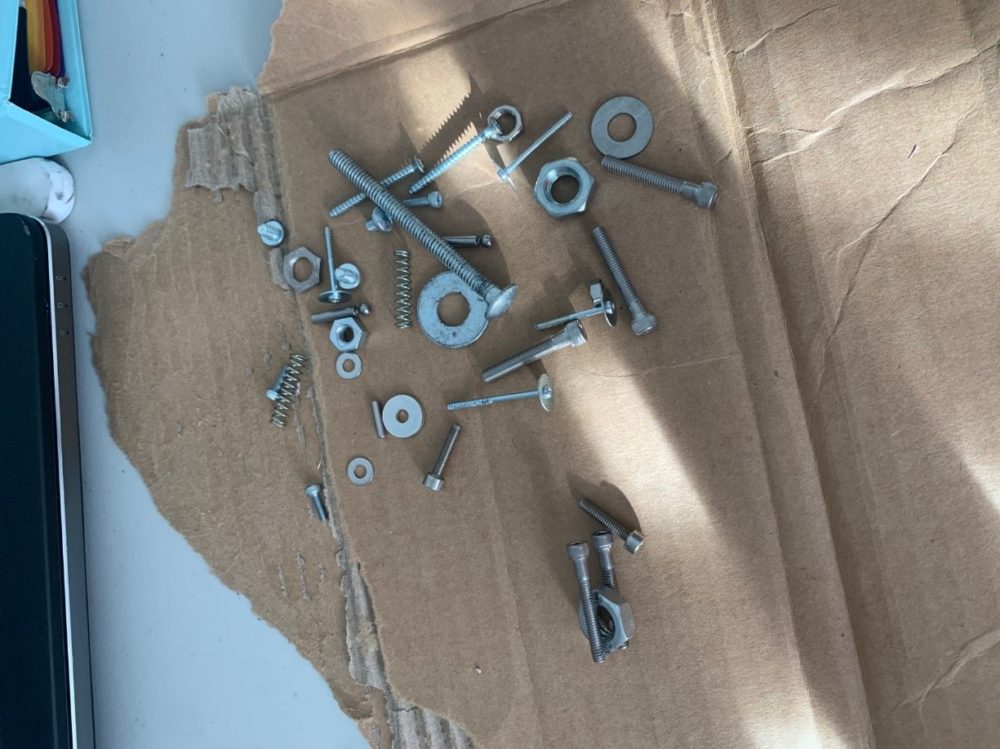
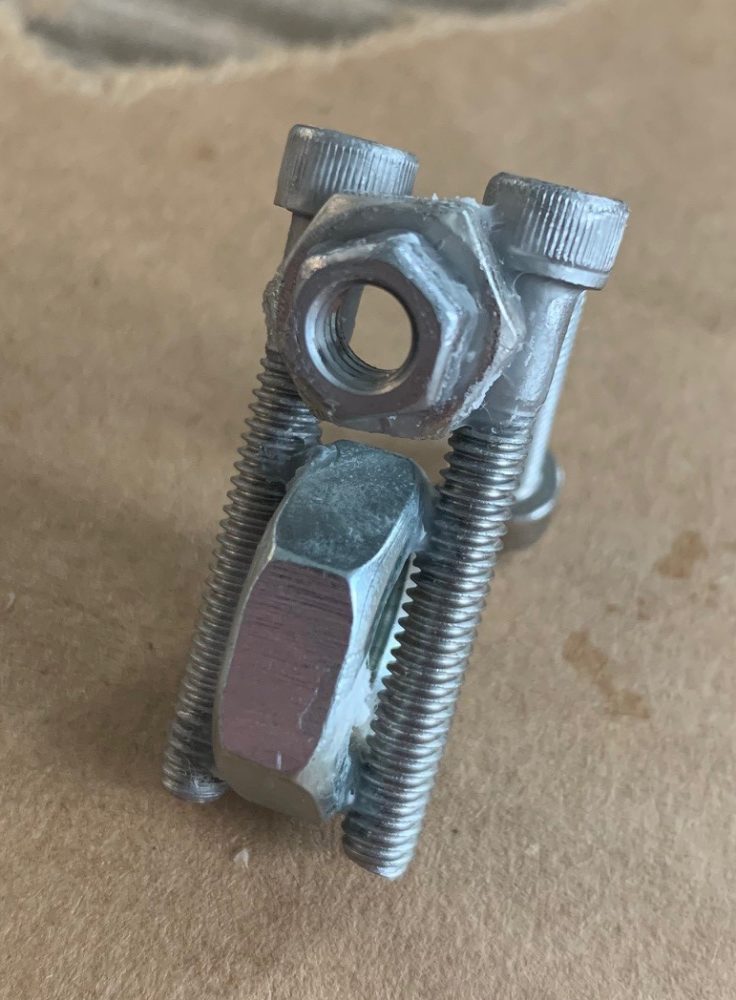
My initial gathering was a little bit scarce and I didn’t get enough quantities of everything so I got a few more pieces to finalize the body. In the beginning it was mainly understanding the challenges of using super glue on small threaded pieces with not a lot of surface area contact. I first started on the front base and handlebars and the separately made the back wheel and double exhaust. These were both structurally sturdy starting points where I can build off of and connect the center frame which was the least structurally sound.
I then used some pliers to bend the seat and used another smaller washer on top of the exhausts to hold up the middle bar frame to the front of the bike.
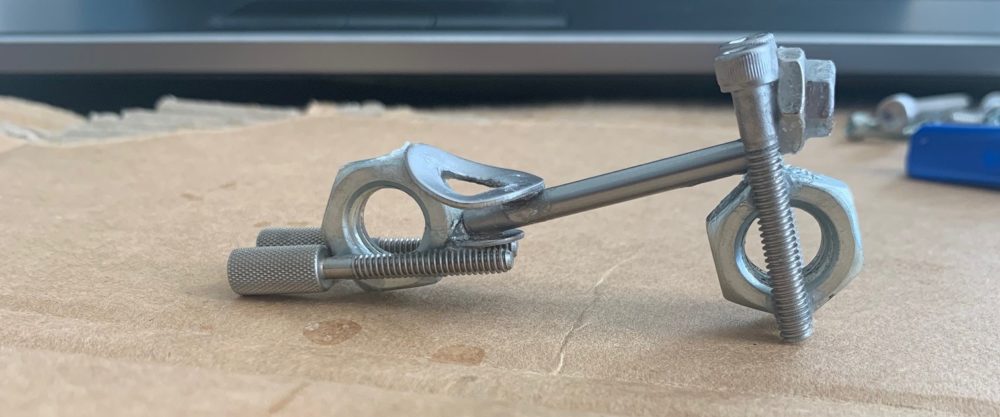
Next I added the bottom frame which was a machine screw and would be the support bar for the acorn screw engine.
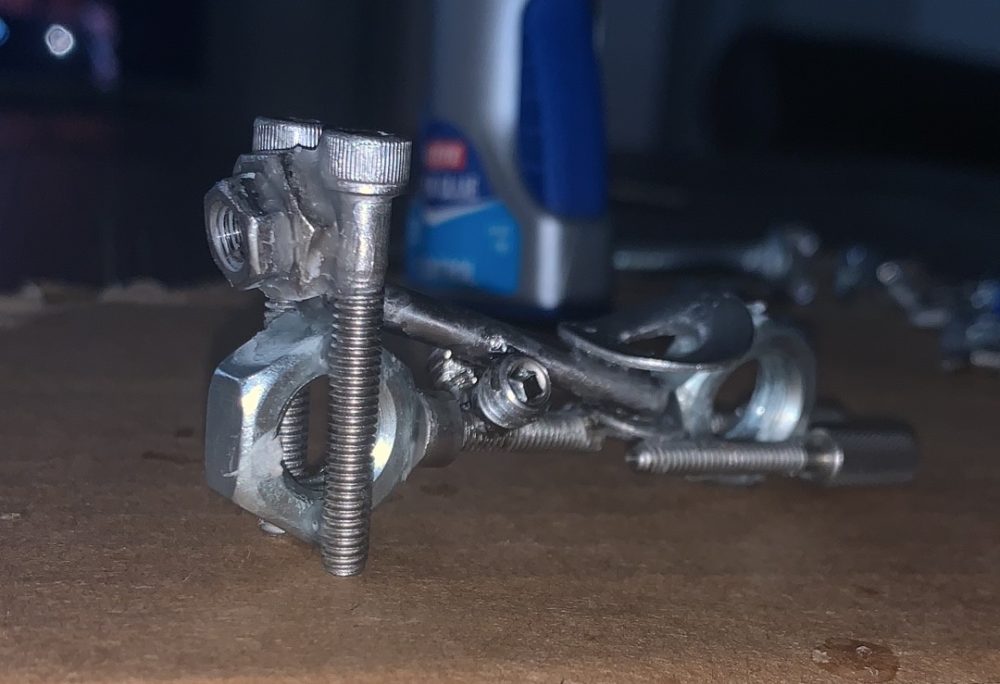
The final step was adding the handle bars. These were the trickiest because it was basically a cantilever beam with only one small attachment point so I stacked a few nuts in order to support its weight while the glue dried. I did the same on the other side.
Final Artifact: Functional and Artistic Goals
I can genuinely say I am pleased with the overall outcome of the piece. I was worried that the glue wouldn’t hold up the pieces because they were too heavy but it dried well. It is structurally sound and I can pick it up without it falling apart. It fits within the paperweight functionality because it’s a solid piece and it can stand up. I accomplished the goals and intentions I had for the piece which was for it to be inexpensive, not fall apart, be sturdy enough to stand up, and look like a motorcycle. The only thing I am not happy about is that I would prefer it stand up on the wheels but as you can see its more standing from the handlebars/suspension and the back exhausts.
Next Steps:
Visually I am pleased with the structure of the motorcycle. However moving forward I think I would like to add some sort of finish or gloss to freshen it up. The glue dried very well and its not clumped but there are certain spots where the matte white glue clashes with the metal look so I would like to sand that down. I will for sure keep this little guy and give it to my dad to put in his office!
Video Link: coming soon
2 Comments. Leave new
Hi Rachel,
I think it’s really cool how you chose something that you’re so passionate about to focus your project around. I’ve always been a big fan of motorcycles but don’t have any experience riding them. Since you plan on going into the high performance vehicle industry, did you ever consider making a more dynamics model that could roll around and steer? Also, I’m curious as to why you decided to use glue and not a more traditional metal bonding technique such as welding or soldering.
Yea! I actually have 4 mini replica sport bikes (about the same size as the one I made) sitting in my apartment. I did get them from Costco as little display pieces in my place and they have all those functionalities that you are talking about. I feel like because of the glue adhesive or welding/soldering you cant really make it modular but if I used like screwed everything together it could be possible.