
Since my last blog post, I’ve gotten a lot done, though not as much as I’d hoped. At the moment, I’ve nearly completed the assembly. I just need to glue and wedge the knobs in place, do some sanding, and apply finish to the piece.
The first thing I worked on was the drawer fronts. I wanted them to look nice so I used some of the best quality wood I had (or so I thought). I resawed ⅜” thick pieces to use and left them out overnight. When I got back, they were cupped! Not sure what to do with them, I left them alone for the moment to work on the drawer boxes.

The cup!
I resawed a bunch of lumber to make ¼” panels. This was effectively the same process I used for the side panels. After taking them to size, I cut finger joints into the sides of each and a groove along the edge for the bottom panel. I assembled these with glue and left them to dry. The bottom panels are the only place in the entire project I used plywood. Its strength and dimensional stability made it ideal.

Dry fitting the drawer box. Neglected drawer fronts sit forgotten in the background.
Unfortunately, the drawer boxes were not perfectly square. Most were acceptable, but the bottom drawer was a whole ⅛” out of square. To account for this, I glued angled shims onto the front so the drawer front would mount properly.
With the drawer boxes done, it was finally time to get back to the fronts. I decided to keep the pieces I had and plane the bow out. I essentially cut material off the top and bottom to get a non-cupped board out of the center. This resulted in much thinner pieces than planned (about ¼” instead of ⅜”) but I figured this was the time in the project to make things work.
After gluing up the drawer fronts I decided to switch gears and make the drawer pulls. I used a wood lathe to turn them from blocks of wood. At first I had issues with tear out. I switched to a sharper set of tools and got better results. The turning was a lot more challenging than I’d anticipated, but it was also one of the most fun parts of the project.
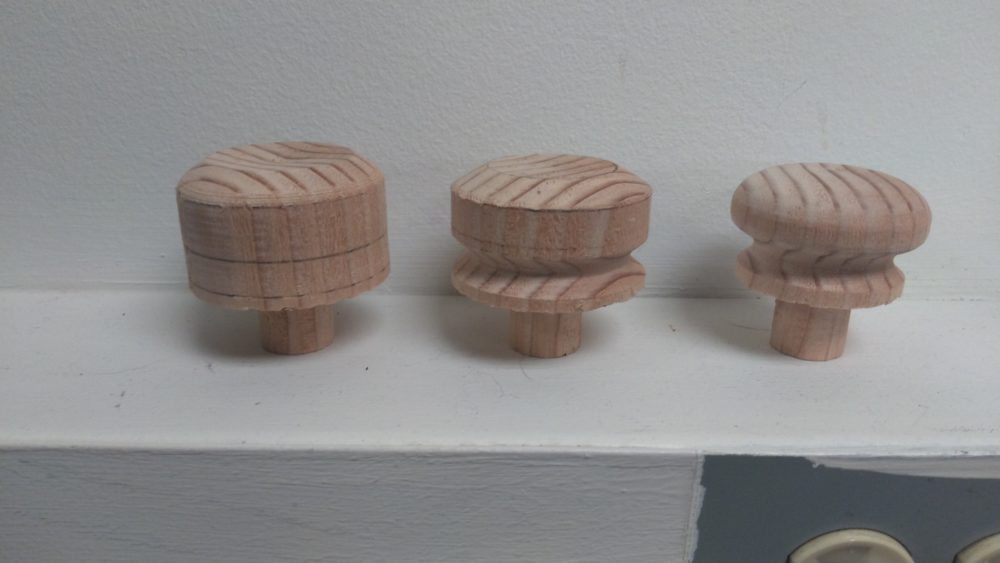
Various stages of turning
Finally, I finished the drawer fronts. I trimmed them to dimension, routed a rounded profile around the edges, and then drilled a hole in the center corresponding to the drawer pulls. I drilled a matching hole in the drawer boxes, then used the drawer pulls to align everything for gluing.
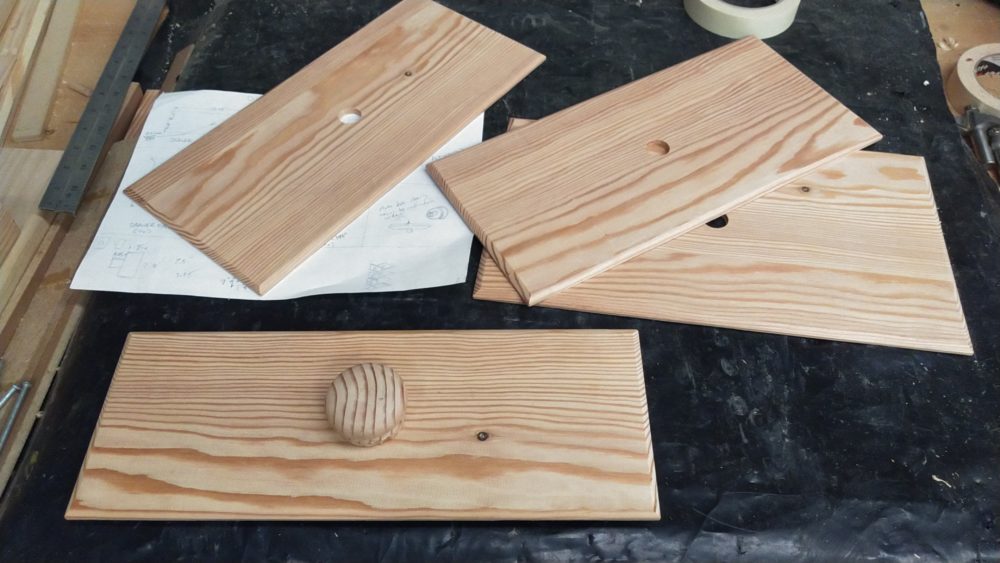
Extra-thin drawer fronts
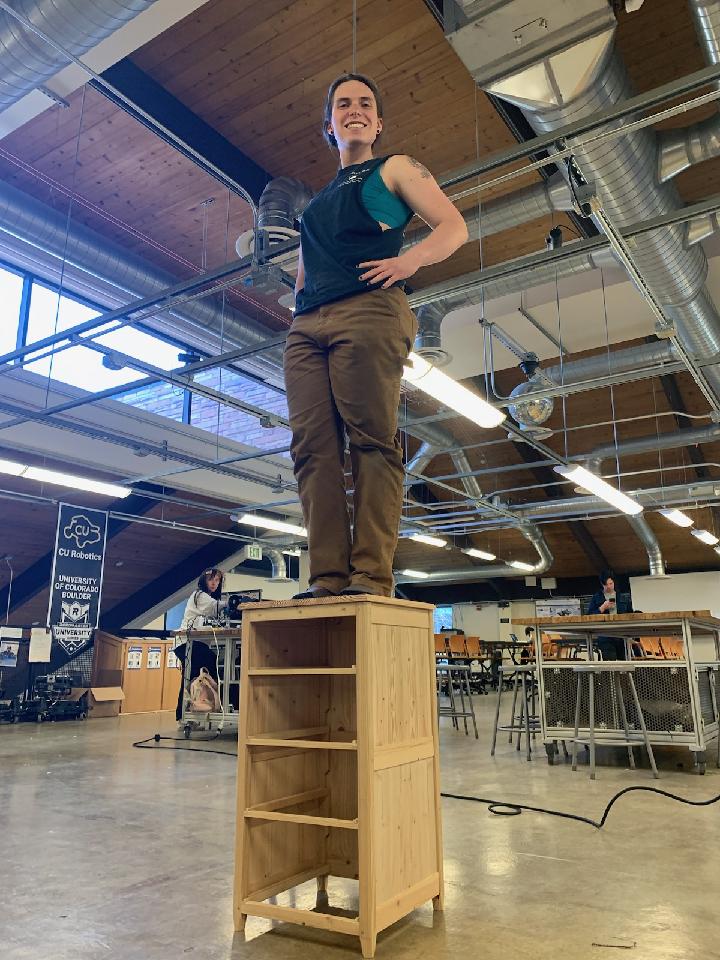
Overall I’m really happy with how it’s turning out. There’s still not one piece of hardware in the entire thing and it’s sturdy as a rock! I don’t think I’ll have time for the ornamentation, but I’d still like to do it in the future (maybe even in time for the expo!
2 Comments. Leave new
It’s nice to hear about your project’s development, even if it wasn’t as much as you had intended. Your attention to detail is clear in the way you correct flaws and use the best materials for each part of the project. I’m sure the completed item will be fantastic, and I’m looking forward to seeing it.
Wow! This is seriously impressive! I had a small taste of the drawer building process in my project, but a lot less patience; measurements that were 1/8″ off were totally in spec. Are you planning on painting/ staining the nightstand, or are you going to wait until you’re finished with ornamentation?