

As this is the is the last post of the year regarding the final project I will give a full overview of the jewelry box design process including: inspirations, vision of function and form, initial sketches, final design plans, fabrication process, and the complete product assembly. That way my entire design is in one place in case anyone missed a few of my posts throughout the semester.
Inspirations:
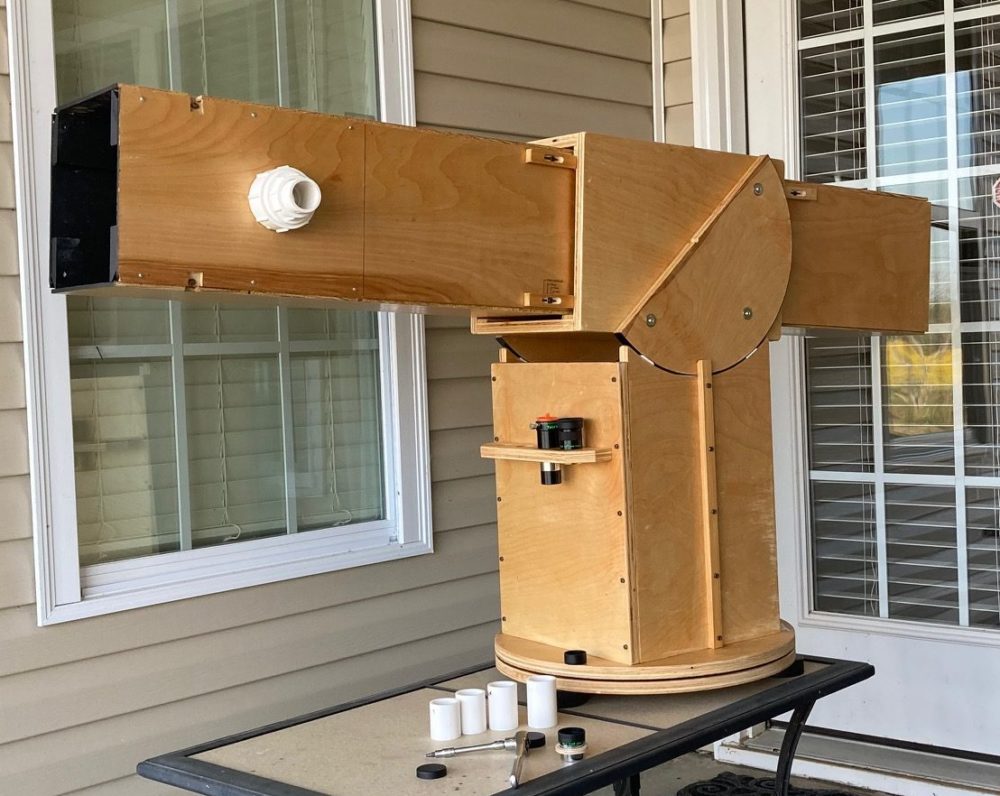
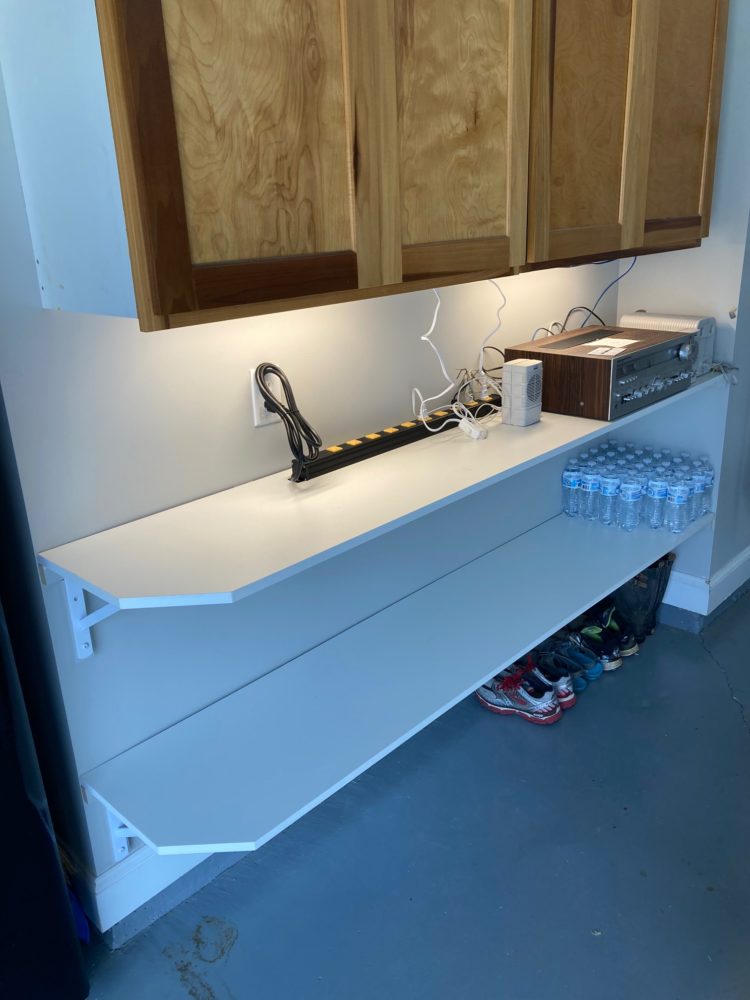
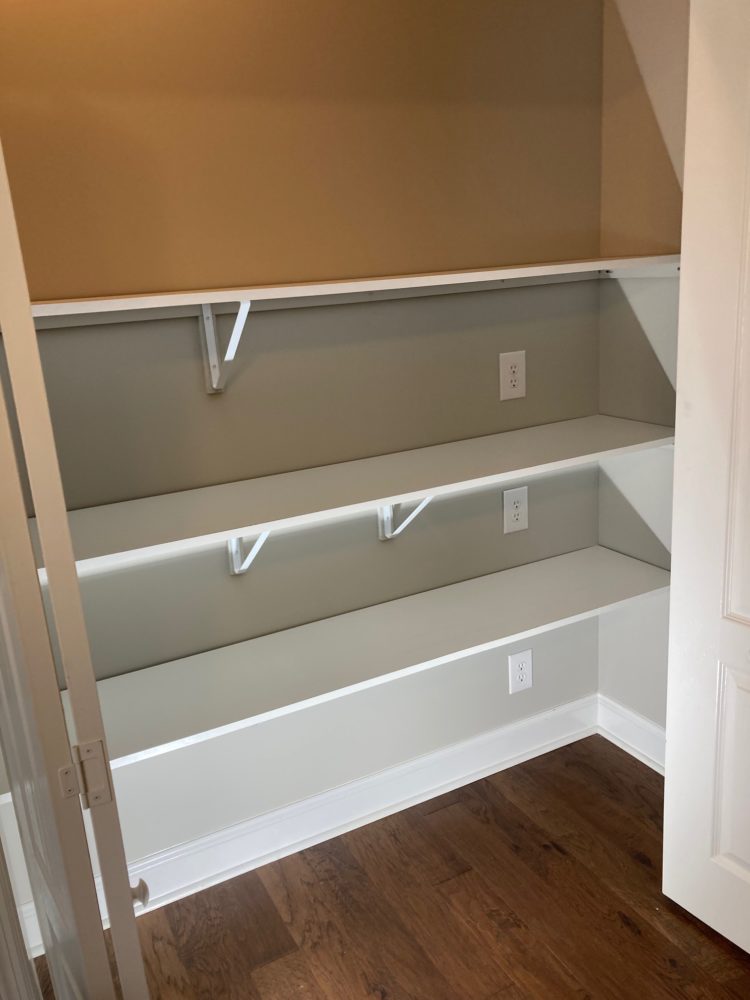
For the final project I wanted to draw on my liking of minimalism, cozy core, and a woodworking aspect. Due to my tendencies of always keeping my space clean, neat, and arranged I want to make good use of this project and my home space. My dad has always been a big inspiration in my life and he has been doing a lot of woodworking at home recently. He has made these minimal style wooden cabinets, storage shelves in our garage and closets, and even a wooden telescope so I would like to do a piece of my own. Here are some of my dad’s works.
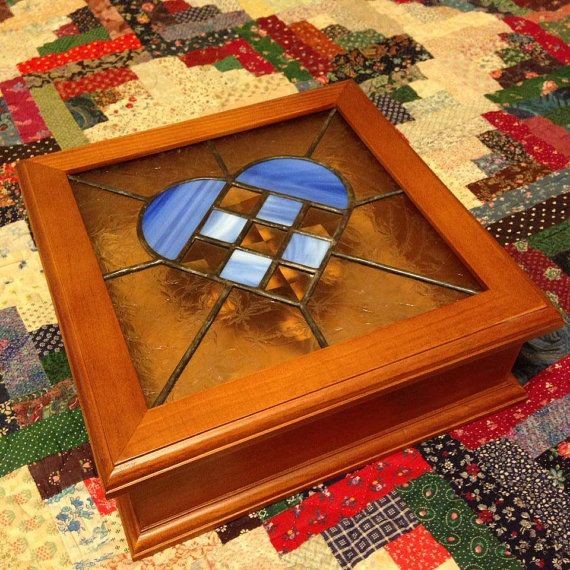
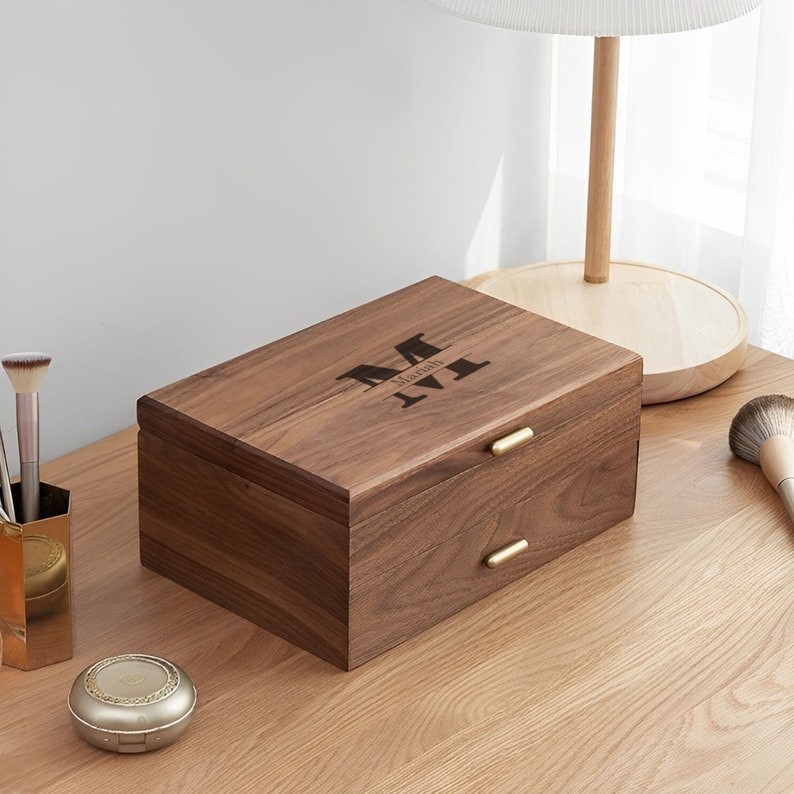
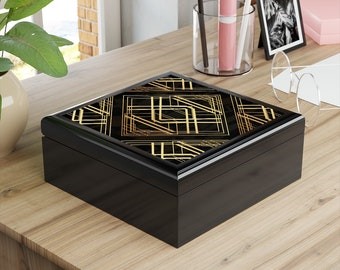
I have a decent amount of jewelry but it can tend to get lost in various bags. I would like to make a small jewelry box with a basic hinged lid. European cathedrals and my own church have very nice stained glass pieces showing religious imagery so I would like to incorporate that into my design. Initially I was going to conform to an Art Deco pattern but decided to keep it minimalistic, stain the wood, and add the stained glass pieces. Below are a few ideas that I have considered.
Sketches/Function/Form:
Top Specifications
-I want the material of the jewelry box to be made of wood.
-I want the finish to be very smooth and pleasing to the eye. Potentially a dark walnut finish as this matches the furniture and styling of my current apartment.
-I want the aesthetic to be a woodwork minimal vibe with a stained glass addition.
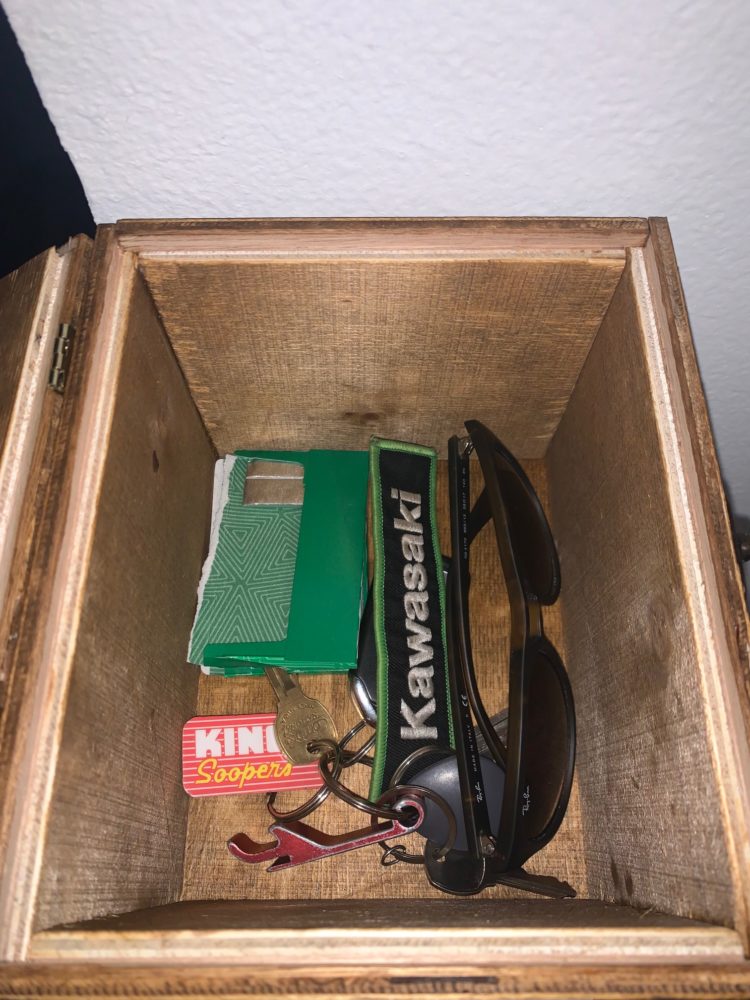
-For functionality, I want the interior to be bare in order to place small items and trinkets inside
-For size I want it to be approximately 7 x 6 x 5 inches (LxWxH)
Top Constraints
– Size: Big enough to hold loose items but not too big where it takes up a lot of counter space
– Location: CU Boulder is the closest accessible woodshop which is 20 minutes away from me. I will most likely have to do 80-90% of the project from the woodshop.
– Cost: The stained glass kits and sources of wood can be expensive. I will try to snag free scrap wood and other resources like wood glue from the shop in order to keep costs low like the upcycling project.
– Skill Set: I am minimally experienced when it comes to woodwork. The biggest thing will be using various saws to cut the panels to size.
– Tools/Materials: If I cannot get free wood from the shop I will have to do some upcycle sourcing or revert to a hardware store for the right kind of wood.
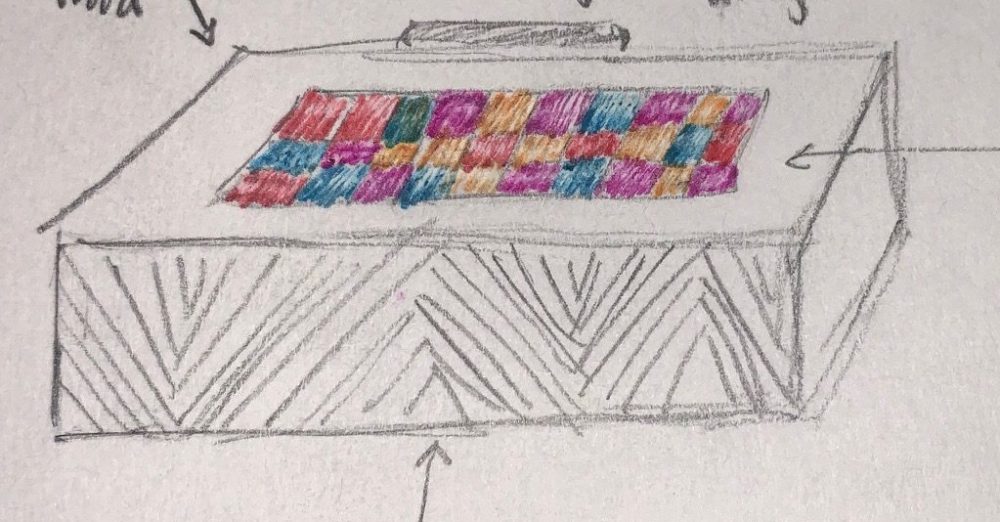
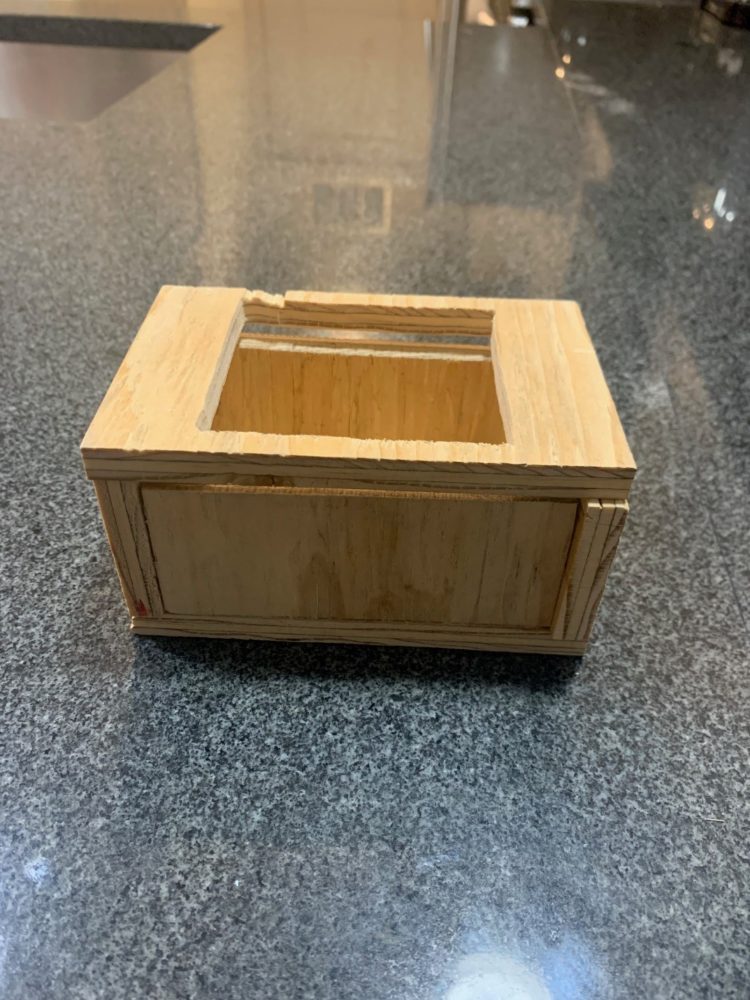
Below is an initial sketch and a crude mockup. The first step in the fabrication was truly just a rough prototype of the jewelry box in order to get a rough idea how things would look and get some practice on the machines. Initially I was going to do a basic butt joint but realized after doing the prototype it would be a nightmare structurally when gluing it. Because this prototype was a rough design I just did nominal sizes and used the band saw for the panels and a scroll saw to create the cutout for the stained glass. As you can see the material is sub par scrap wood and the cuts were terrible but again it was just for the idea. Because the cuts were made on the band saw there are very evident gaps all around. By changing my design to include dado cuts and using a circular saw for fabrication, this gap issue will be solved for the final piece.
Design Finalization:
For the actual product I decided to buckle down on design and some calculations. Below you can see the drawings I created to understand the cross sectional dimensions and dado joint idea I decided to move forward with. By using this joint, it was going to help with the structural aspect as well as even alignment of the panels.
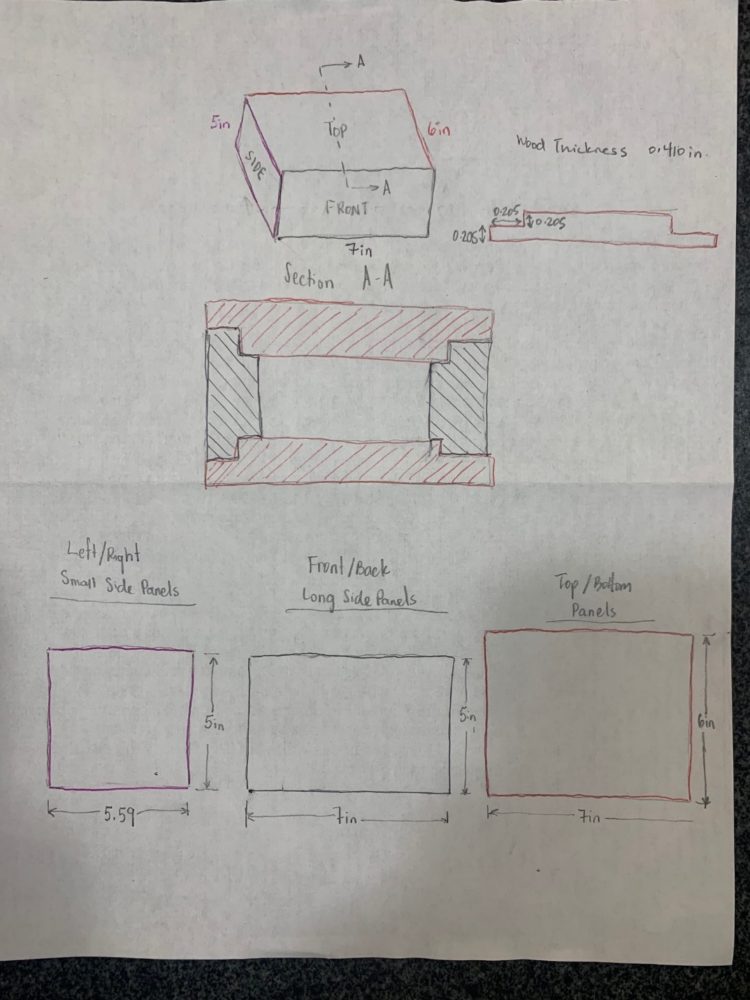
Two of the panel lengths were not whole numbers (5.59in) and that’s for a good reason. When fabricating the dado cuts, in order for them to align essentially two of those panels have to absorb the decrease in material from those cuts. The math behind that essentially takes the width of the base and lid dimensions (6in) and subtracts the thickness of the material (0.410in). The math works out to be (6 in. – 0.410 in. = 5.59 in.). Because dado cuts are about symmetry, you utilize the wood thickness and divide by 2 in order to get those measurements for the dado jig on the machine. Therefore we know that the cuts that the jig has to make are 0.205 in. deep into the thickness of the material.
Fabrication:
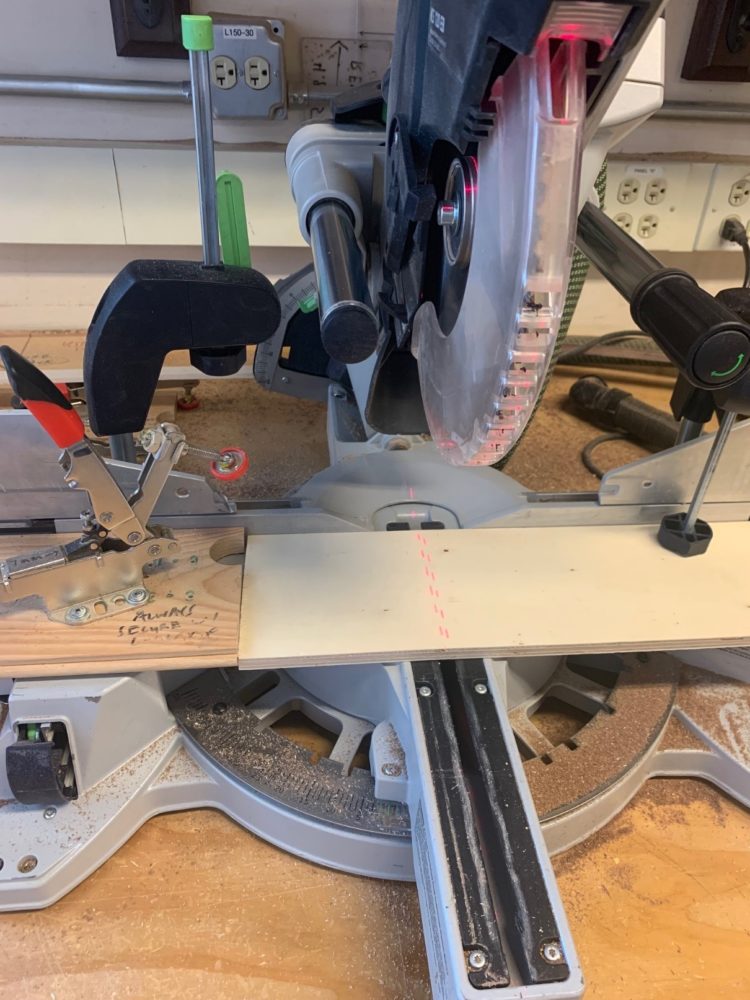
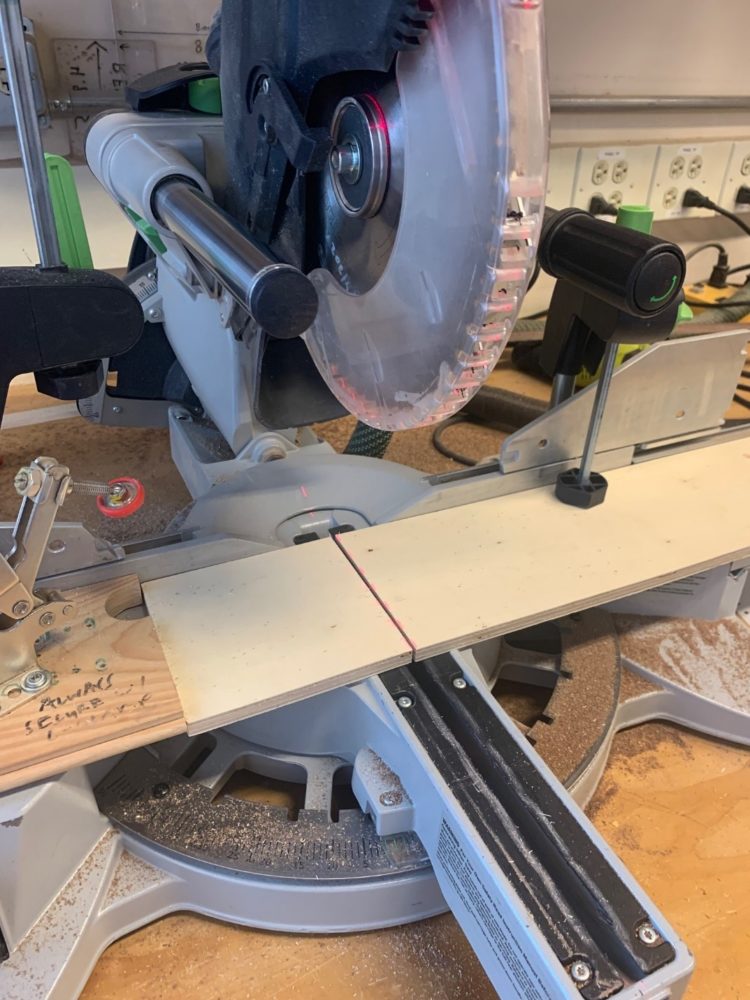
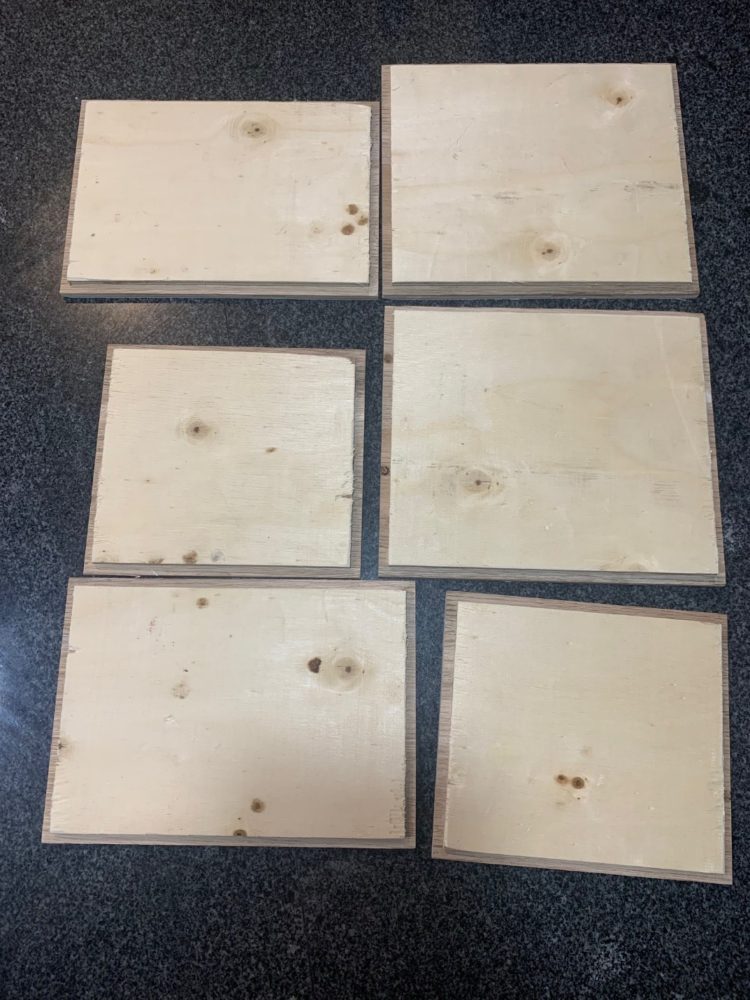
In order to have a solid structure and have an easier time cutting wood and fabricating I decided to make the dimensions (7in x 6in x 5in). This also allows for more interior space for items and easier assembly. I used the compound miter saw in the Idea Forge which is just a regular circular saw that can be adapted for miter cuts. I calibrated the system for the different panels and made sure dimensions were accurate by doing test cuts before and then measuring each panel with a caliper.
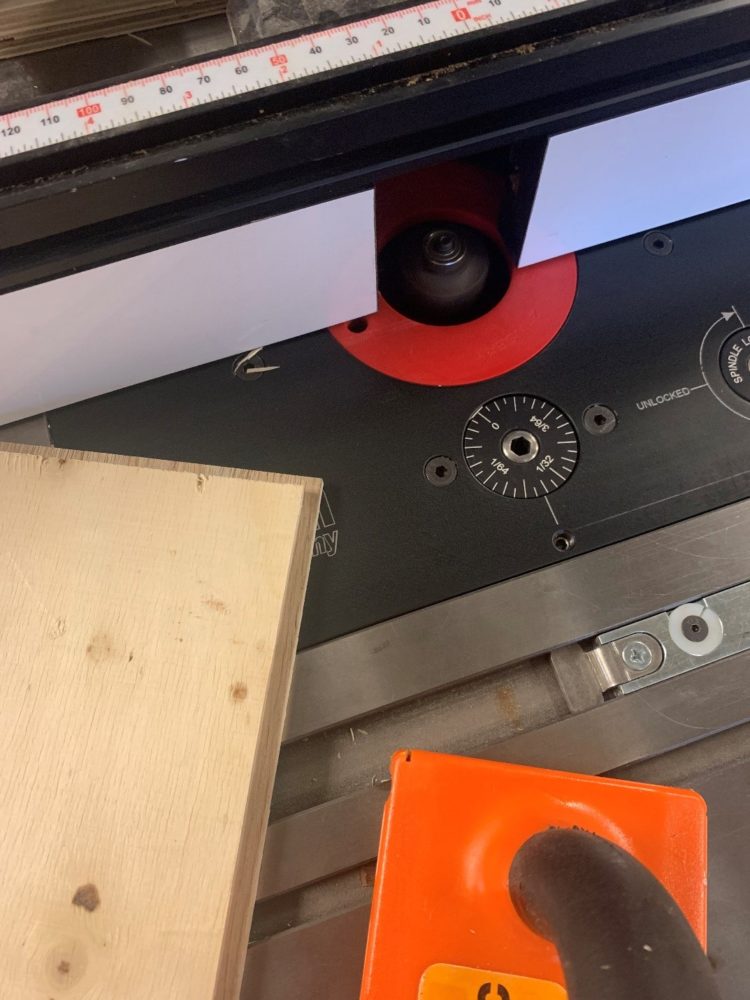
In order to create the dado joint cuts I used a router table saw with the specific sized dado blade in order to cut the 0.205 inch inlays. As I said before, this number was determined by the thickness of the wood that I chose which was some better looking scrap in the woodshop. The wood was 0.410 inches so divide that in half for each panel to be able to match up.
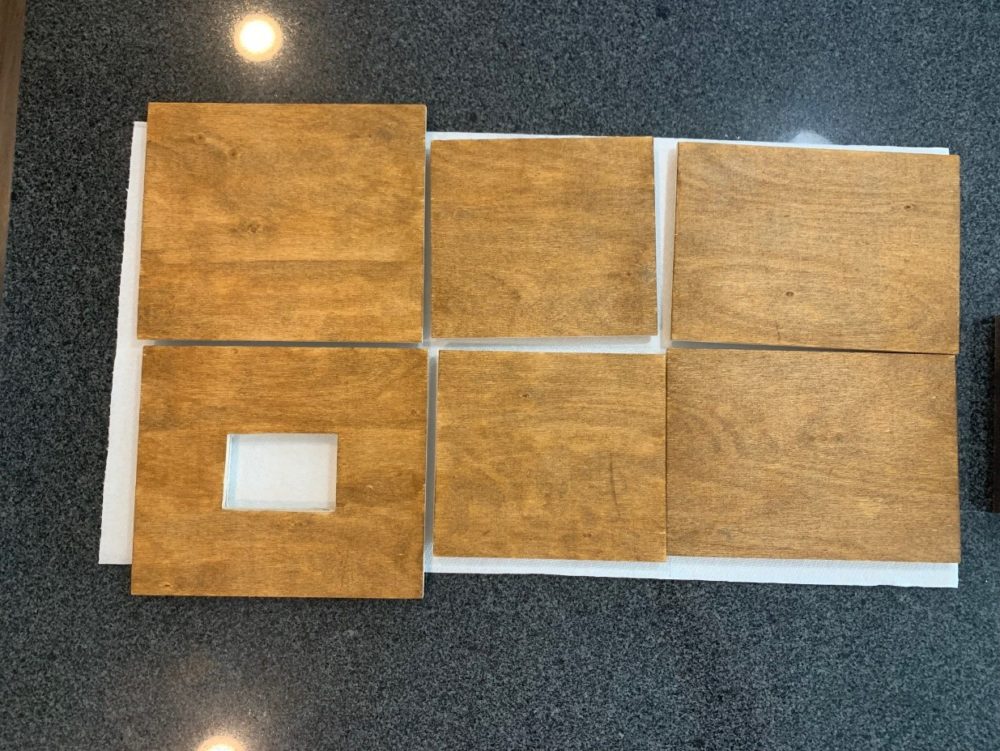
As you can see the panels have a lot cleaner cuts using the circular saw and I decided the most blemished sides of the box would face inward to keep them concealed. There is potential to cover them with a felt material as well.

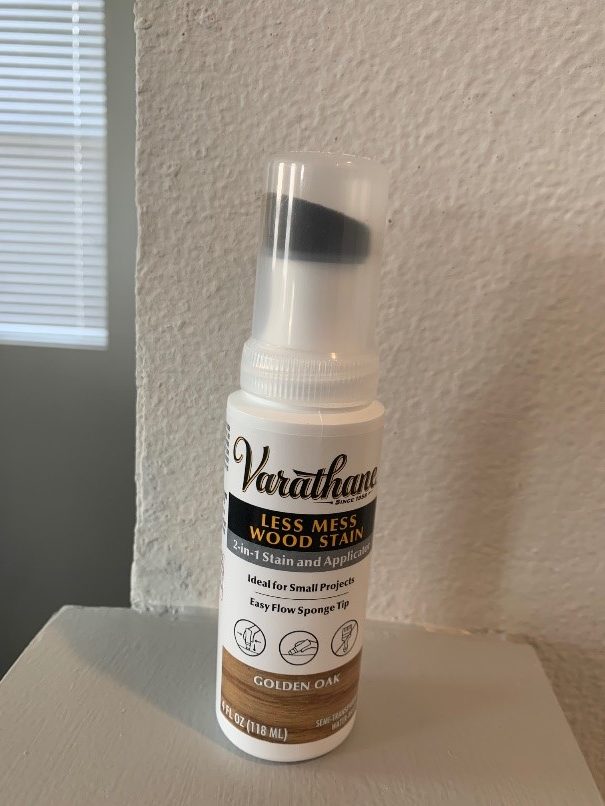
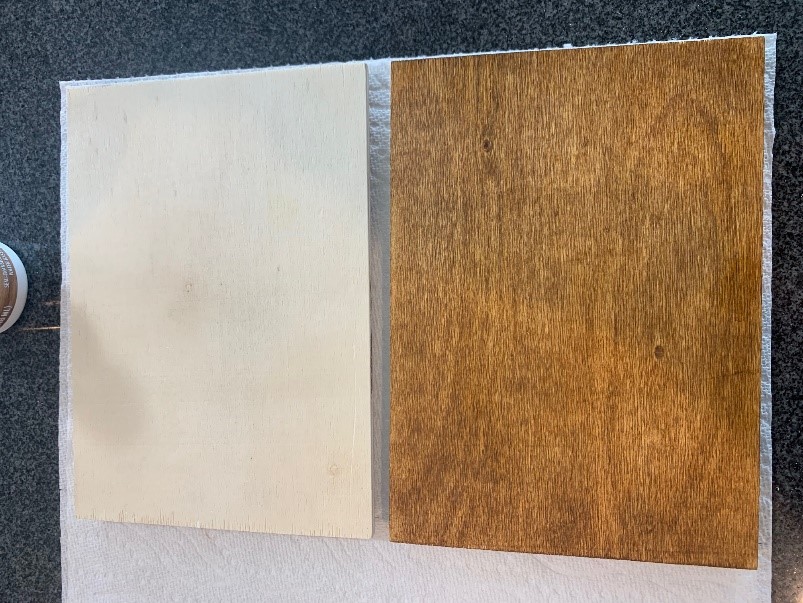
Since I decided to revert back to a minimalistic aesthetic instead of the Art vibe I bought a polyurethane varnish wood stain to coat the wood and give it a better finished look. Below you can see the before and after version of the wood panels after one coat of stain is applied. It also brings out the natural textures of the grain pattern which I like.
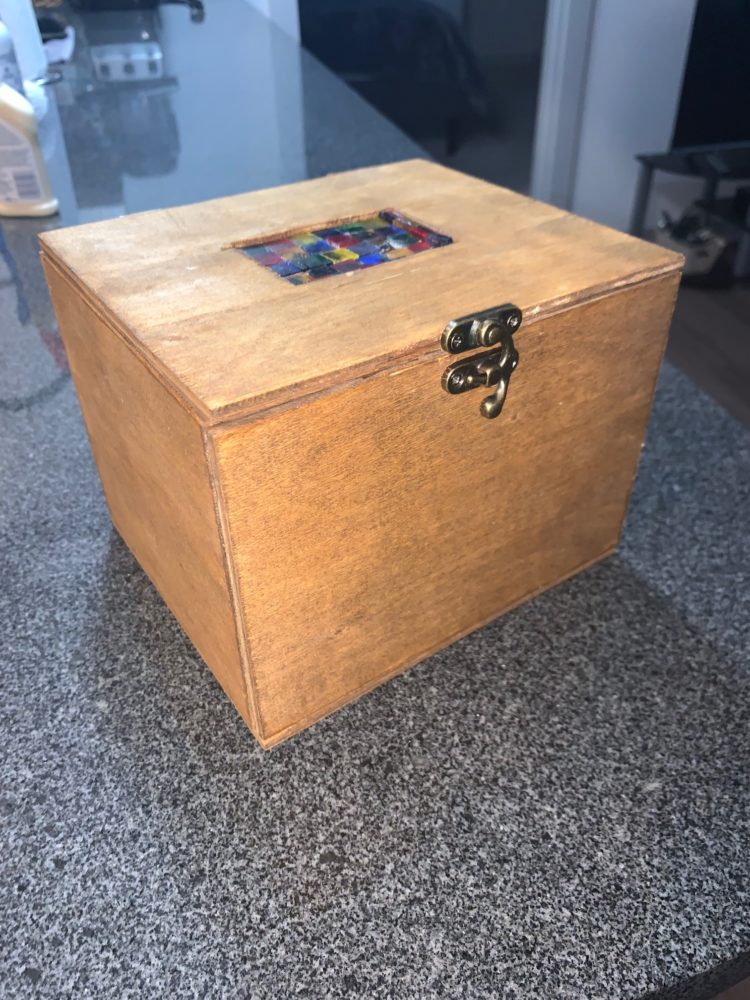
I used wood glue to assemble the box and added small hinges on the exterior in order to open and close the lid with a clasp on the front for an extra touch. Below is the final product assembled and ready to be used to store small trinkets!
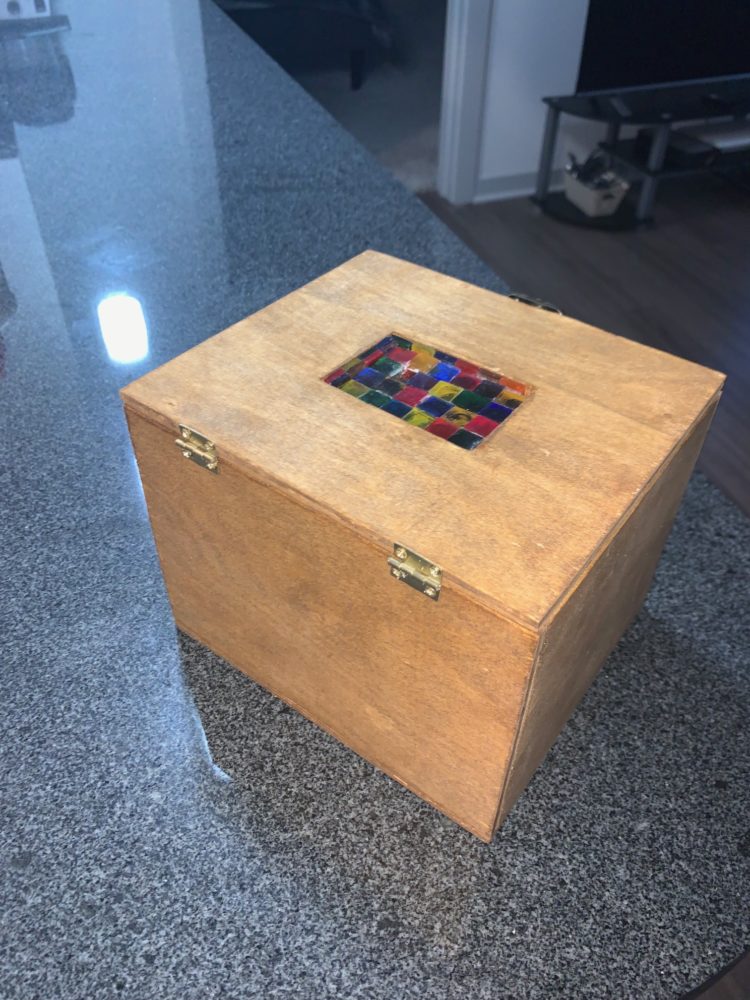
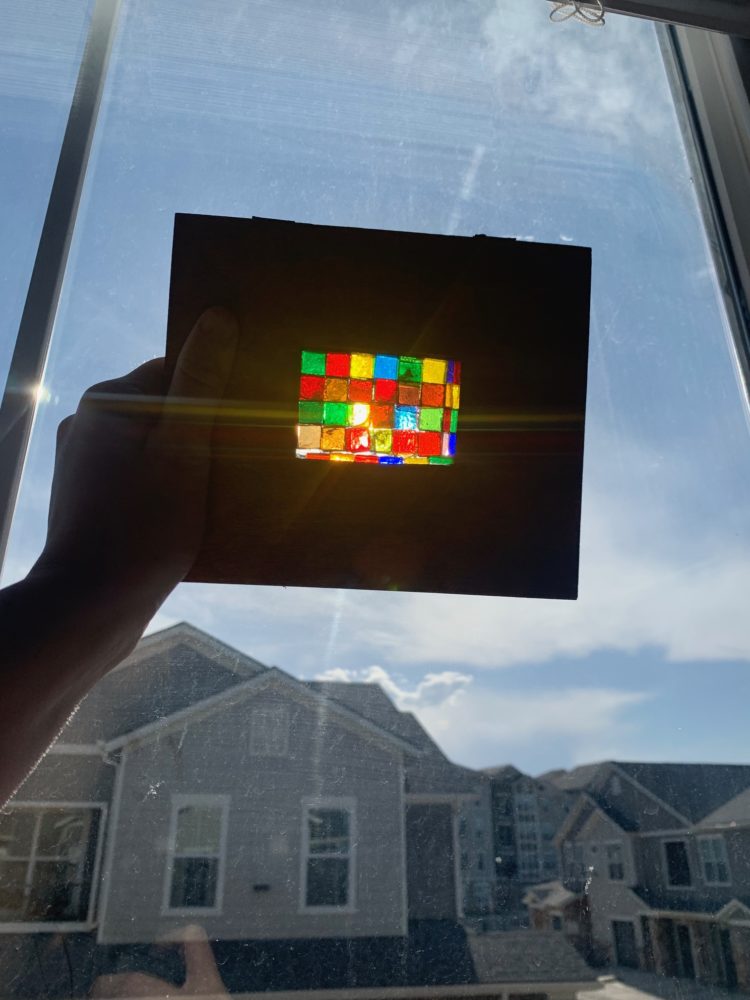
The stained glass looks kind of dull in those pictures so I put the piece up to sunlight to get a natural reflection which looks a lot better!
Now that that the piece is complete I don’t plan to do any future work on it and I will gift it to my mom.
Citations:
https://expertwoodworkingtips.com/styles-of-woodworking/
https://www.etsy.com/listing/1355551729/2-layer-large-solid-wood-jewelry-box?
1 Comment. Leave new
Hey Rachel, I think this was a great idea and I love the inspiration you had for creating this piece. I like you work youve done and think it came out great! awesome job!