

So, now is the part where I tell you about how I made my project. As I said in the previous post, I’ve had a lot going on in my personal life that threw me off my course in making this as perfect as possible. That being said, I’ll tell you about my process.
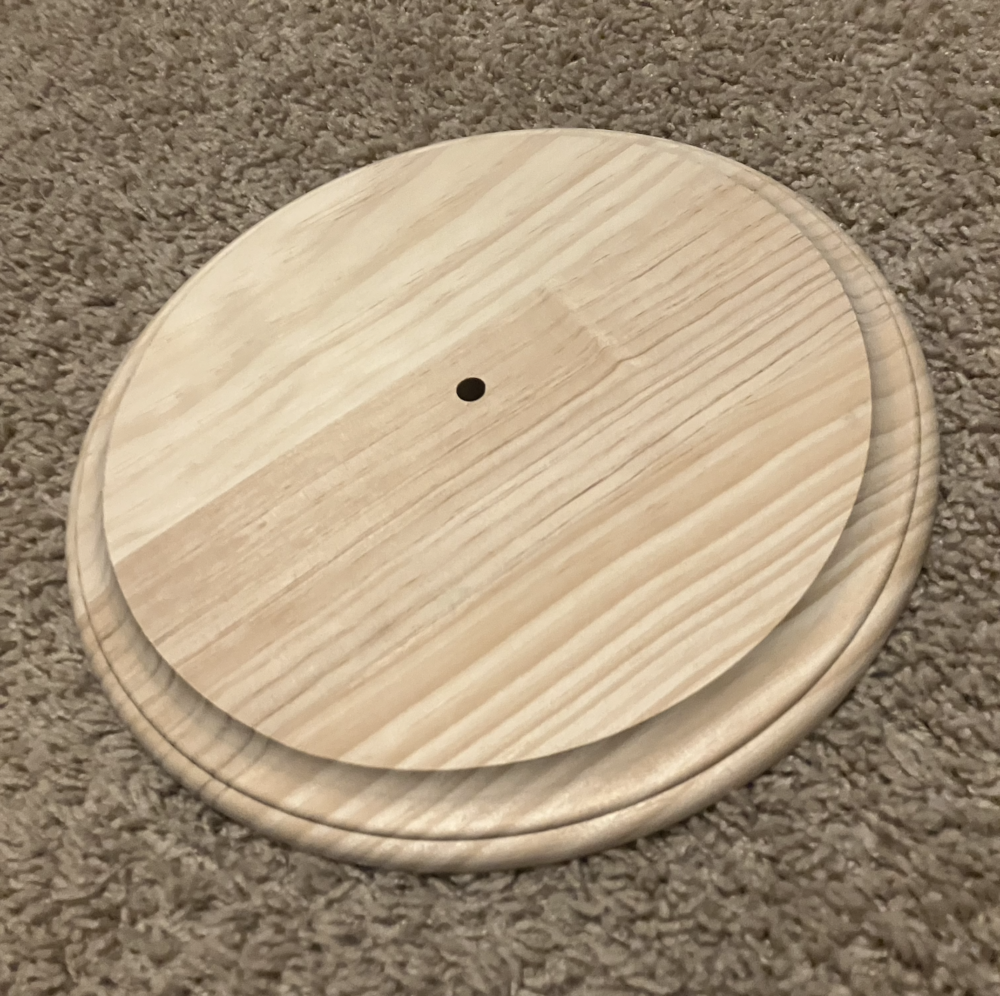
These are the parts I used for the basic structure. I originally bought a different base that was much larger, did not have the edge on it, and no hole in the center, but I went to Michael’s and found this and I thought it would save me some time, which it did. This way, I wouldn’t have to spend time planing, drilling, routing, and sanding something that isn’t the main focus of the design.
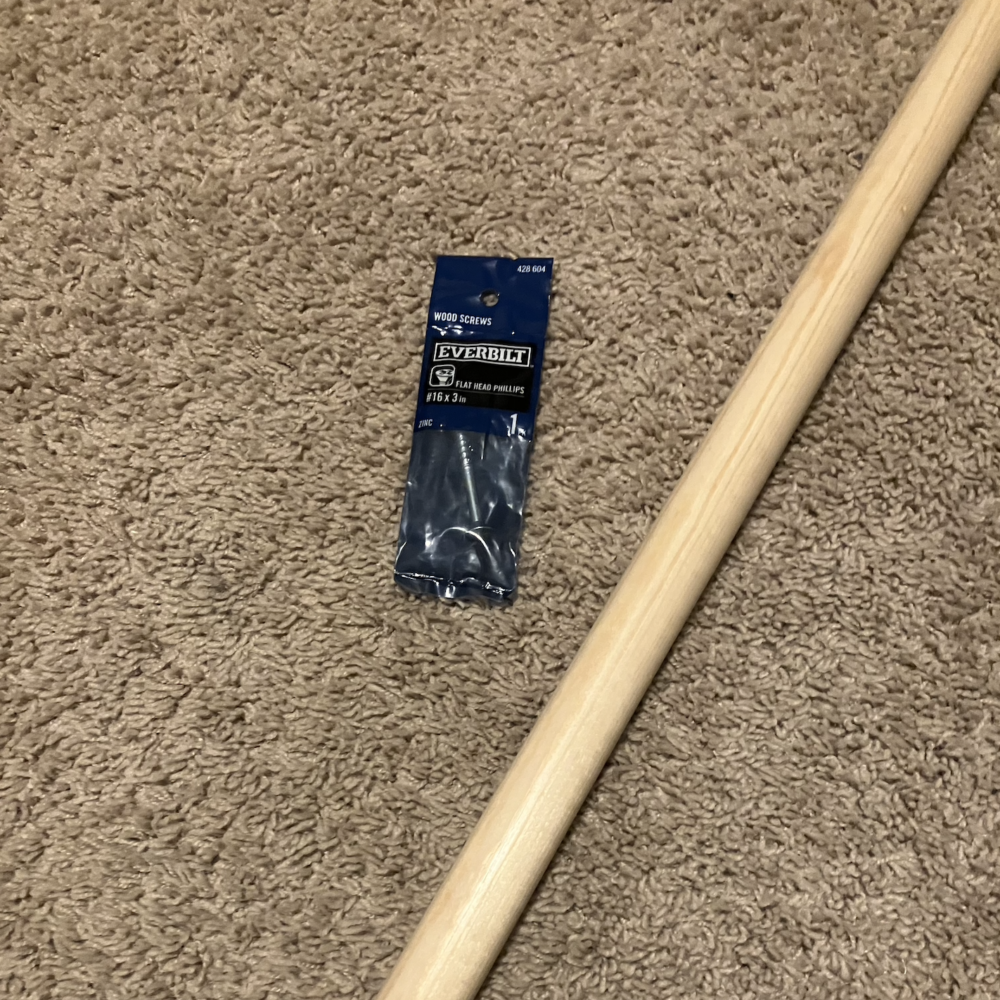
I wanted to use a lathe to shape the dowel into a more pleasant spindle shape, but the machine shops in the ITLL and Idea Forge were closed for expos and compD, the physics building turned me away, and so I had to use the wood shop in the art building. Their lathe was out of order for some reason, so I decided to forget it and just drill a hole for the screw to attach it to the base.
I used a spade bit to drill a shallow hole in the top of the dowel for a bearing to be press fit into it. Then I drilled a smaller hole deeper in for a bead to sit under the bearing.
Then of course I painted the whole thing black, and painted ping pong balls a range of colors to serve as exotic planets. I wanted to make the planets out of wood, which would either require a lathe in tandem with a hole saw. Since the lathe was out of order, that was not an option, and even if it was, the guy working the wood shop wasn’t excited about me trying to do that since he hadn’t tried it and neither have I. I could have also made a jig to lathe out perfect curves, but then I would need to make a new jig for ever different size I wanted. This was shaping up to be more work than it was worth, and I think the ping pong balls ended up doing the job just fine.
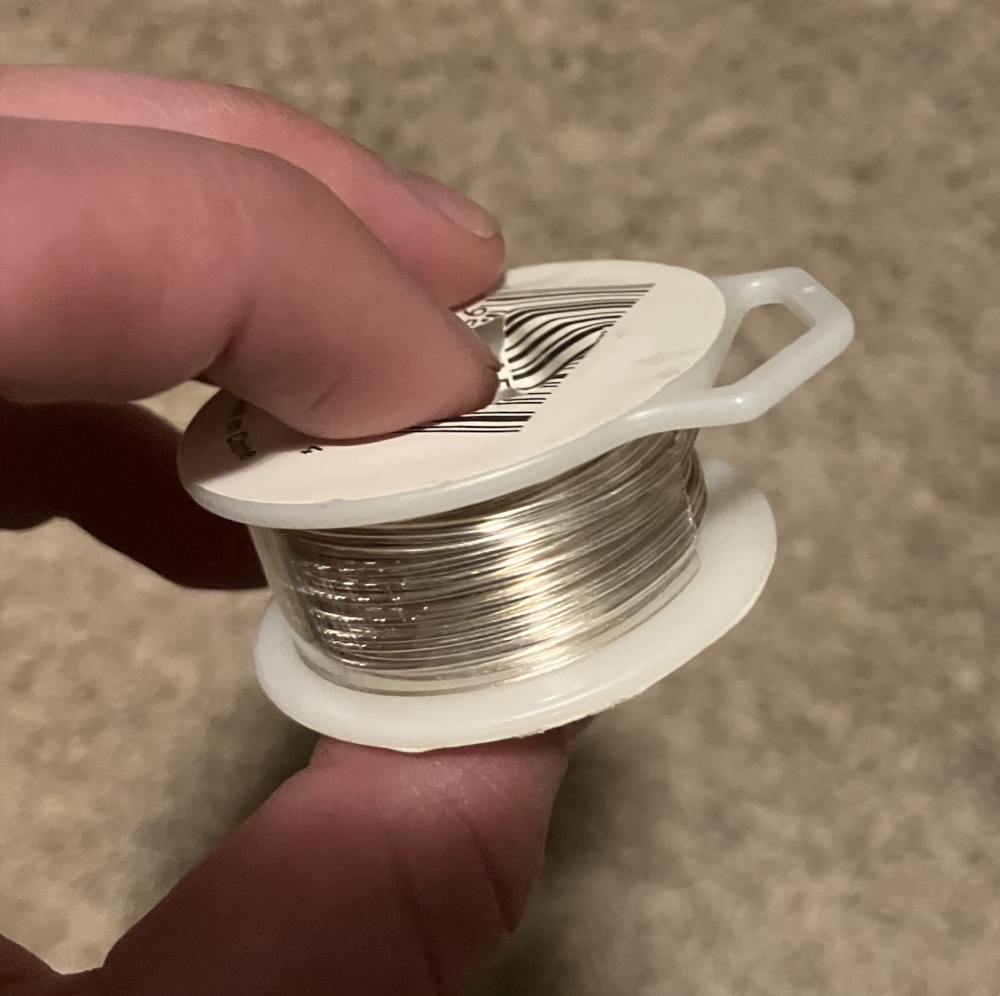
I used this wire and cut off eight pieces, four long and four short. I ran these wires through the bead and bend the tips around the outside of the bead, alternating short and long. I then threaded the other side of the wire through the bearing and pressed the bearing into the top of the dowel, making sure that the beads hole was still facing upwards and was in sight.
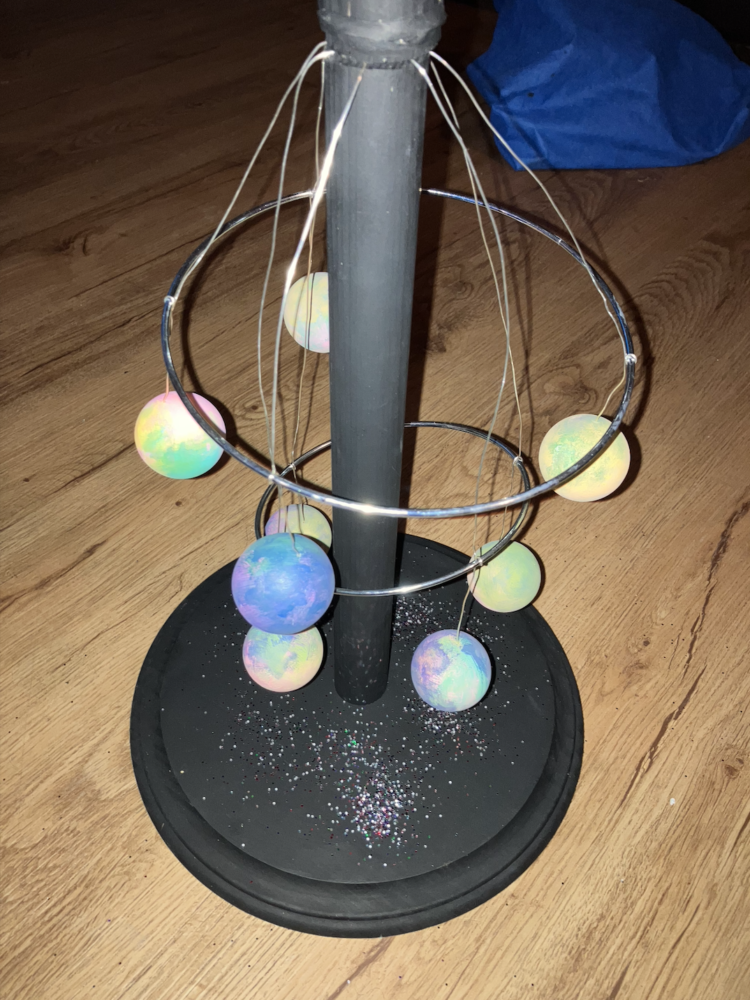
Once that was done, I used a leftover piece of dowel to cover the bearing and serve as a knob. I drilled a small hole through it, then placed it over the bearing and hammered in a nail that goes through the bearing, through the bead, and holds the wires in place. I wrapped a rubber band around it so you can grip the knob and spin the planets.
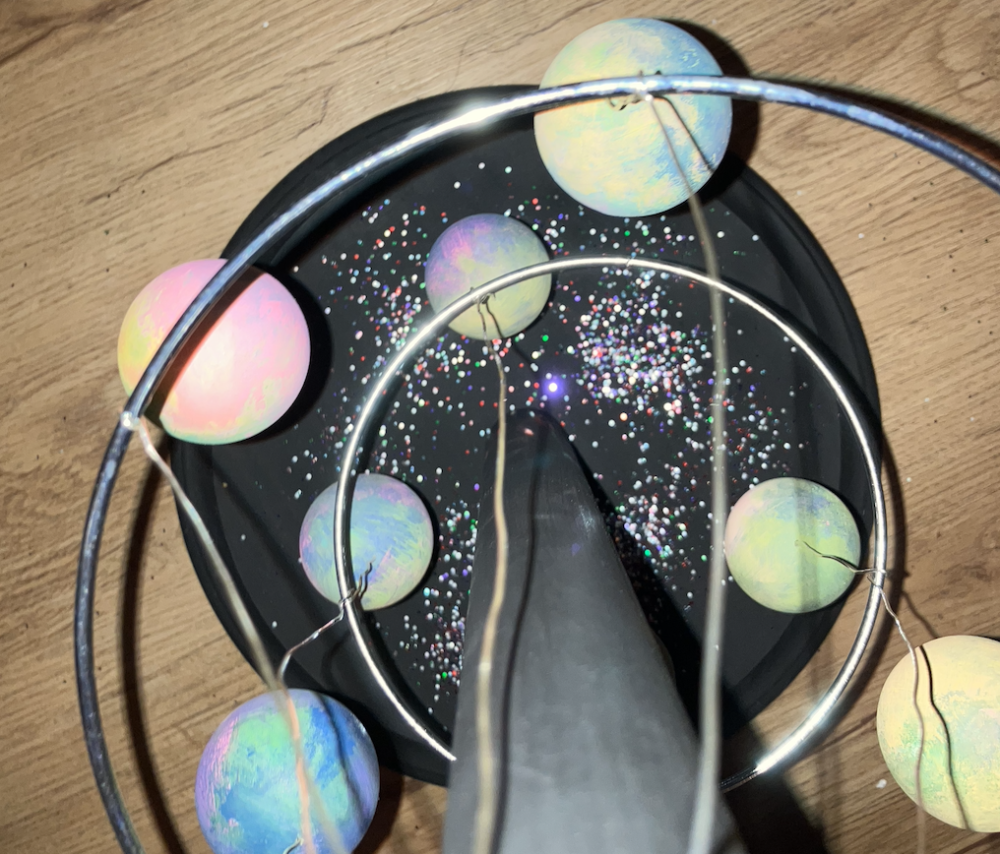
Then I wrapped the wires around two metal rings and gave each of them a slight tilt. Then I poked holes in the ping pong balls with a tack and jammed the ends of the wires inside. Lastly, I added some glitter to the base to resemble stars in the distance. Anyway, it isn’t perfect, but I’m happy with it and I hope you all like it too.
1 Comment. Leave new
It’s evident that you put a lot of thought and effort into creating your planetary display, and I think it’s turned out quite well despite the obstacles you encountered.