
My vision for this project was to make a frame of a poster of Folsom Field during a football game. It was given to me by a good friend, but the odd size of the poster made it a nightmare to find a frame for. And the poster is a little beat up, so displaying it on its own wasn’t the best idea. So, I figured that upcycling spare wood into a frame would be the best way to make a frame that will actually fit the poster.
The aesthetic I was going for was minimalism. Minimalism is characterized by simplicity, cleanliness, and a focus on only the essential elements of something. Since the poster is pretty detailed and vibrant, I didn’t want the frame to detract from the subject of the poster. I thought that a pretty plain wood frame would complement the poster well without being too distracting.
I planned to make the frame slightly larger than the poster, so that it would cover the edges and I could mount it easily. I also needed a way to hang it on a wall. My original sketch is shown below.

My original plan was to use multiple types of wood to create an accent line throughout the frame. However, I was not able to find wood with a different enough color to allow that to happen.
Once I had my plan finalized, I ran into a bit of a setback. I had an injury to my leg that required a visit to the emergency room. I had to stay overnight for a day, and after that, I had immense trouble walking. My lack of mobility meant that I had to push back my construction, since walking around a wood shop and gathering materials would simply be too painful.
Once I felt up to it, I began searching for scrap wood to use. Luckily, my parents had an extra piece of baseboard moulding from a very old remodel of the house. With that long piece of wood in hand, I set to creating my design. My ultimate goal was to fully upcycle the project, meaning nothing was purchased new. I cut out four pieces of wood to make the edges of the frame. I used a miter saw to create all of the pieces of wood. Since moulding has some decorative changes in shape, I decided that to fit my aesthetic, they would need to be cut off. It also helped to make the frame not as bulky. I used a table saw to alter the width of each of the boards.
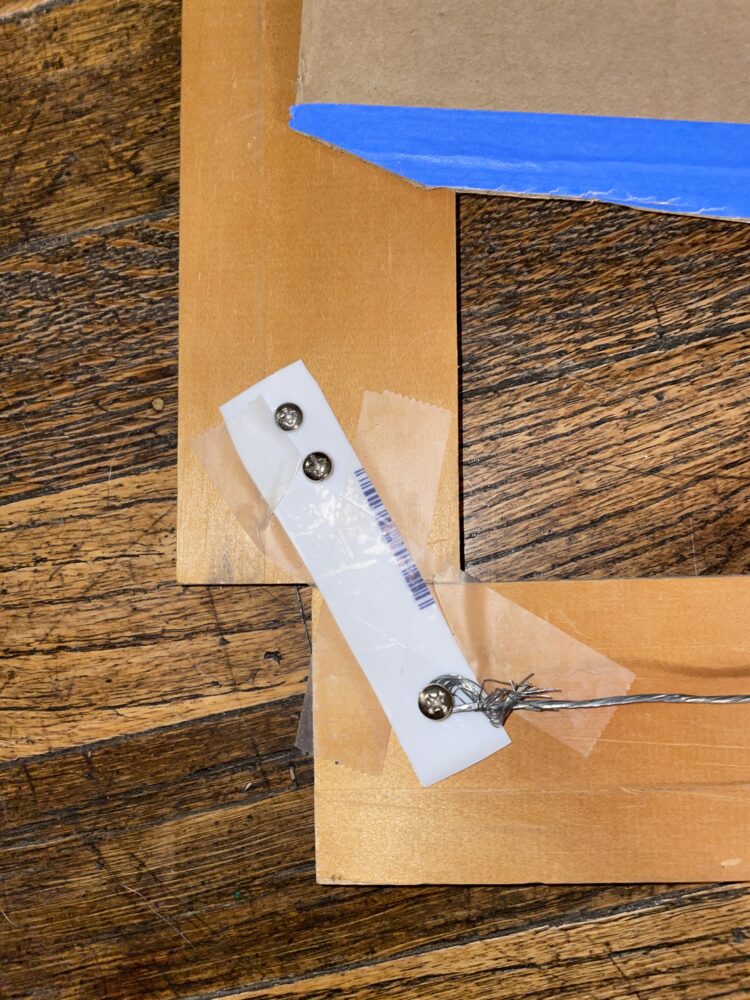
I was able to scavenge a piece of metal wire for hanging the frame, as well as various sizes of screws used to connect the frame. For my connections, I used old craft glue as well as strips of plastic cut from a recycled tub. The strips allowed the frame to hold together well, and the glue helped it maintain its rigidity.
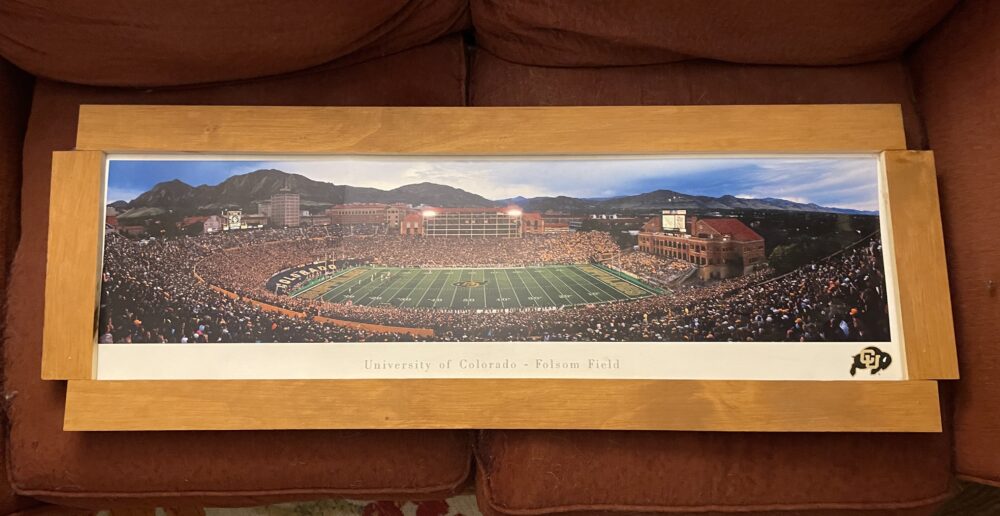
During the construction, I realized that I had cut the side pieces too long for them to fit flush. This gave me an idea of how to add some flair that was missing. I offset the side pieces slightly from the top ones. This added some complexity to the design and also allowed me to showcase all of the important elements of the poster. Once I had attached everything, I had to allow the frame to dry.
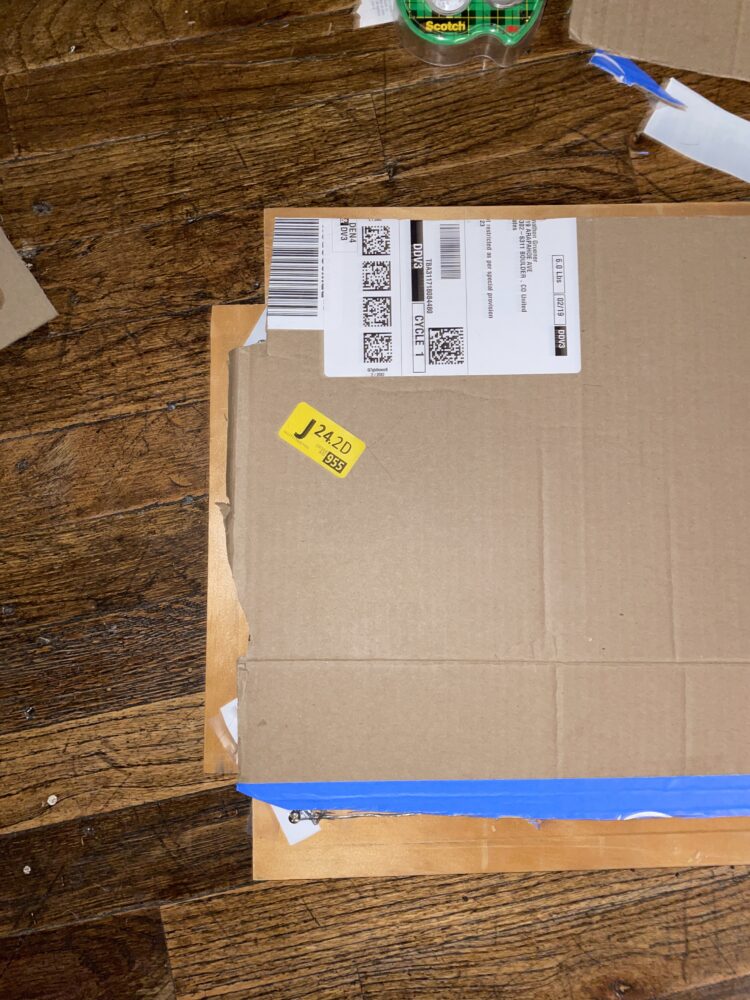
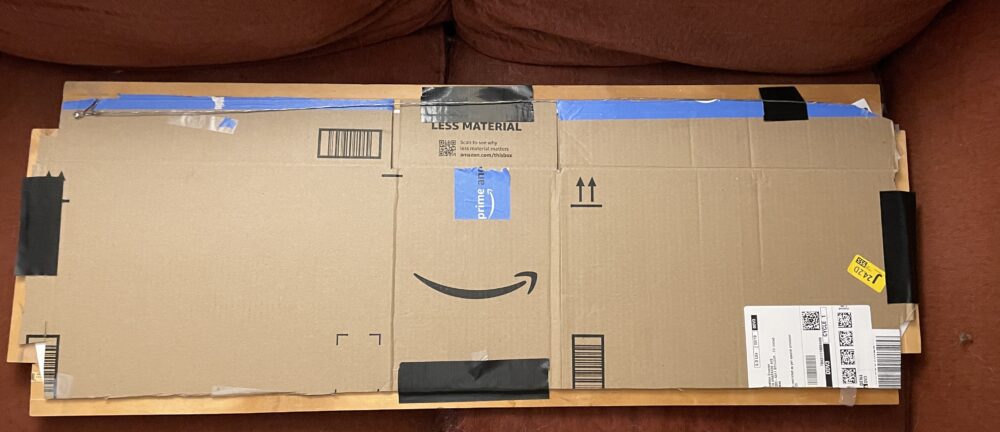
In that time, I worked on backing the poster. The poster already had some sort of backing, but I still wanted to put it on something so that the connection between the poster and the frame would not be on the poster itself. I cut down a piece of cardboard from an Amazon box and taped the poster to it. I’m not worried about the tape potentially ruining the poster, since I do not plan to remove it from the frame anytime soon. Then, I taped the cardboard to the back of the frame.
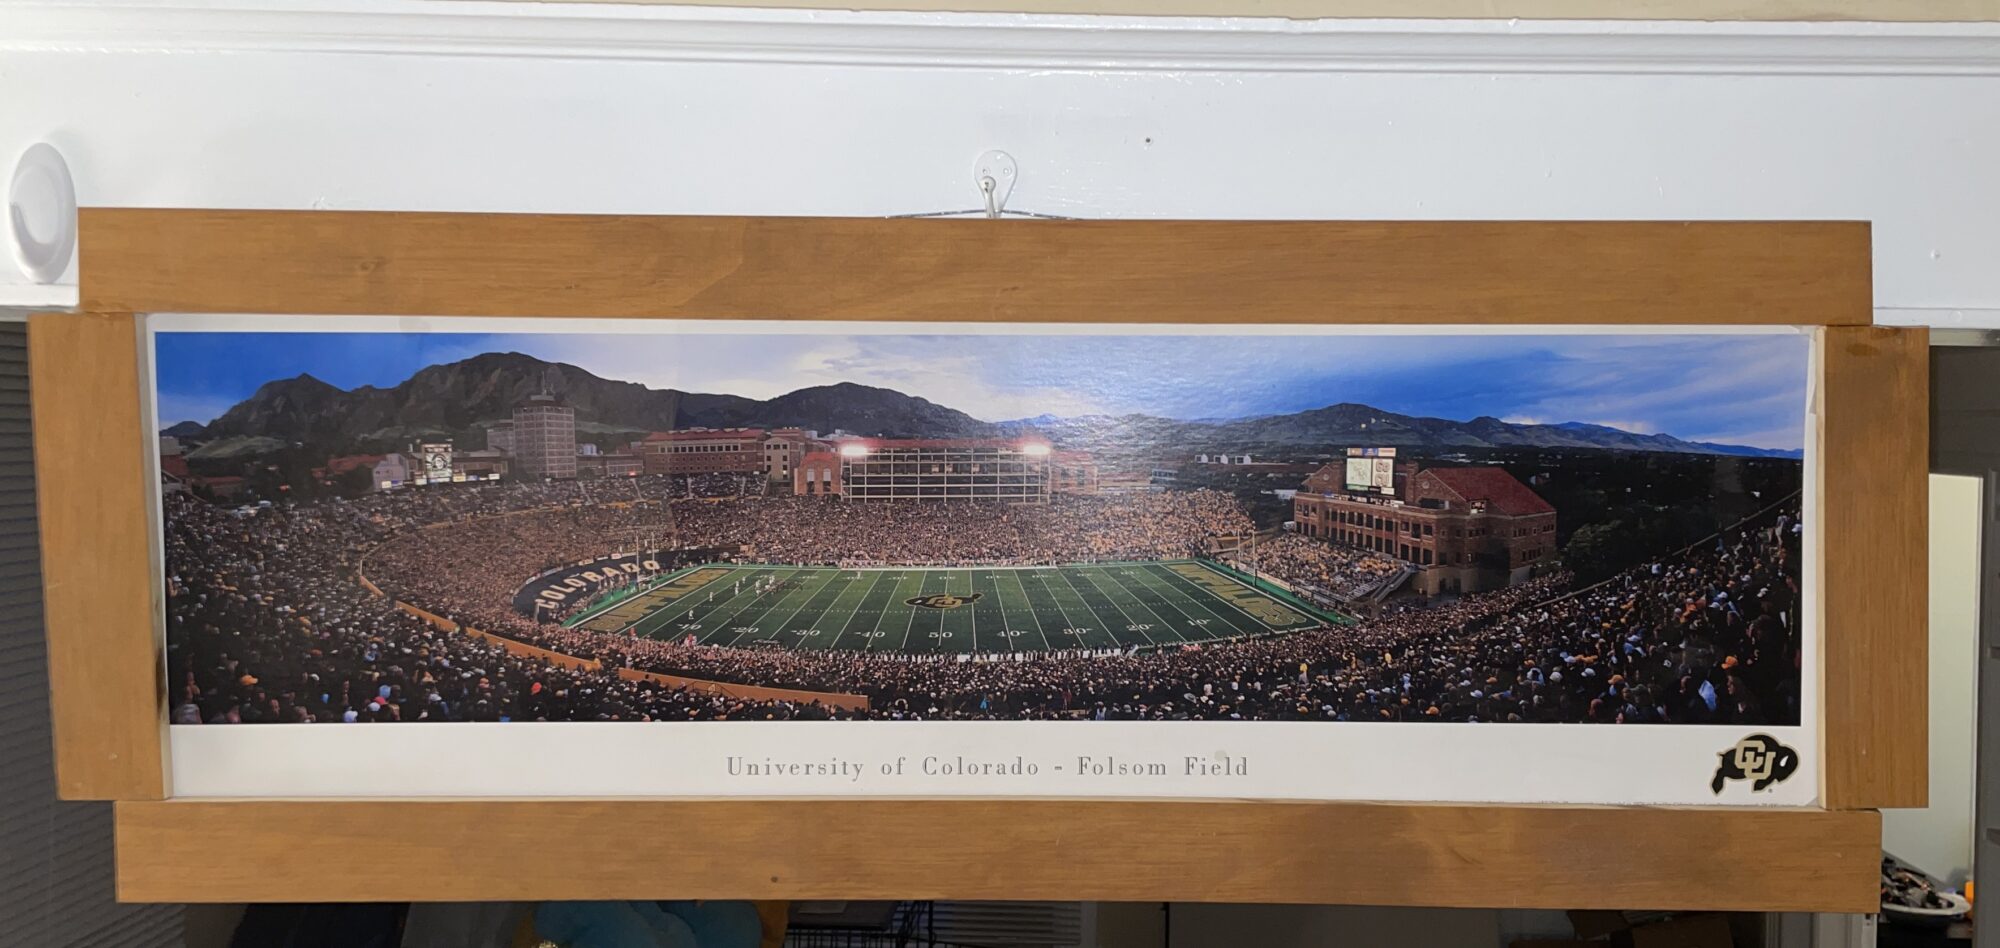
 The final result is shown below. I am very happy with how it came out, and the frame definitely exceeds my expectations. The use of moulding also helped my project, as it was already stained. That meant that I could cut out the step of finishing the wood myself.
For my functional goals, I think I absolutely hit the mark. The frame is sturdy and holds the poster well. While it certainly has some marks of being handmade and imperfect, I think that adds to the character of the piece. Additionally, the mounting system is rigorous and will be useful for nails or command strips.
For the artistic goals, I think I also hit the mark. My aesthetic, minimalism, is mostly satisfied here. The offset side pieces slightly deviate from that. However, I counter with the fact that it was necessary to fully and optimally display the poster.
For next steps, I will definitely be hanging this once I find a good spot. I am very proud of how this turned out and from a far, it looks awesome. In the future, I will likely repaint or restrain the wood. I think that the color is not a perfect fit for the poster, so I will likely try to color match something within the poster.
1 Comment. Leave new
[…] Project Report […]