
After sketching the initial design on the front of the Pokémon TCG deck box, I decided to start modeling the actual box within SolidWorks. I focused on making sure I had enough material to make a box. The main dimensions I went off of are the dimensions of a Pokémon card, which are 2.5″ by 3.5″. The internal depth I got from an existing deck, about 0.85″. These are the internal dimensions I used to model the box. I added the hourglass shape to enhance the decorative design that will be going on the flat side.
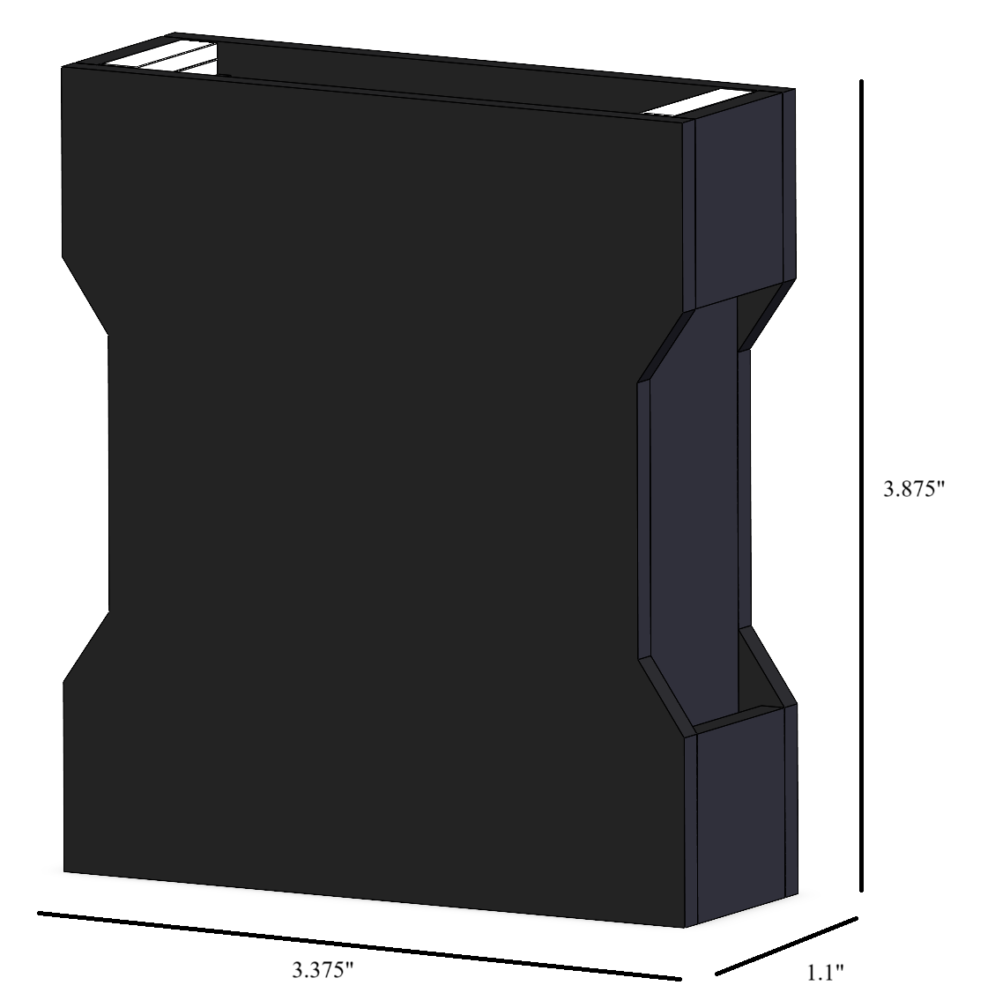
Barebone Shape and Dimensions of Box
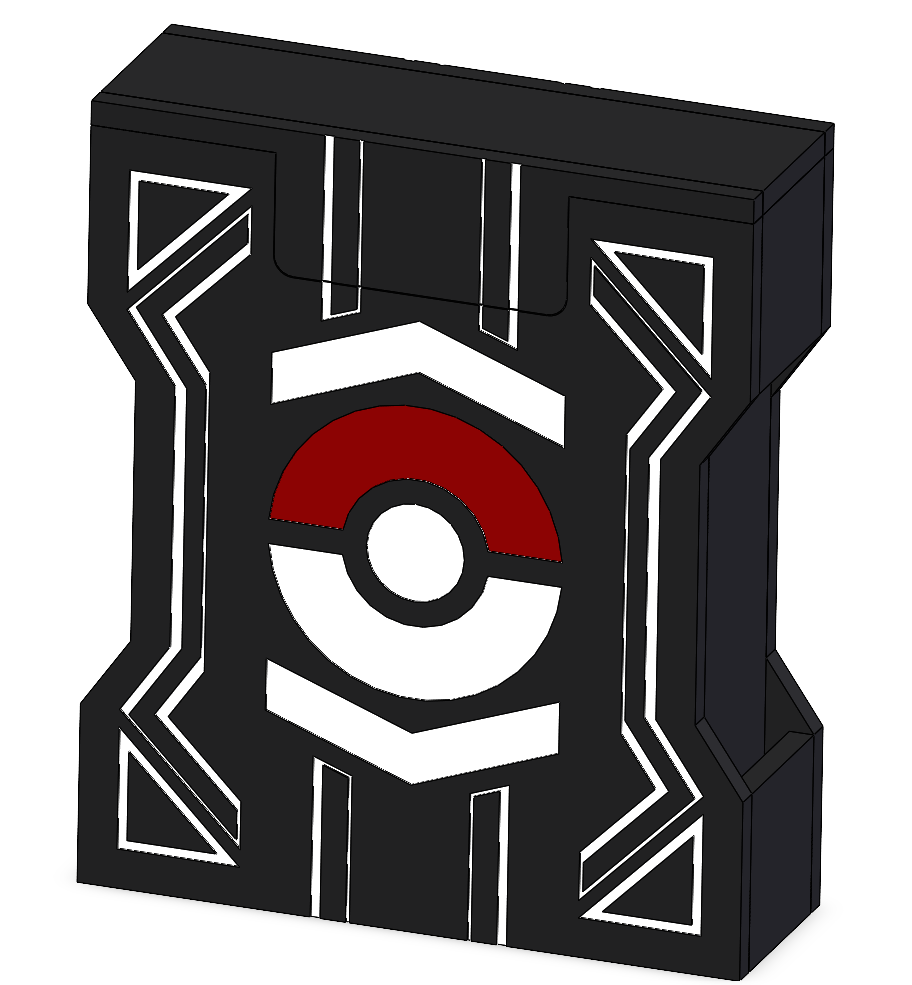
Once I had most of the box built up, I then started work on adding the decorative design to the side of the box in CAD. The process of making this pattern on an actual box is to laser engrave the side panels and then fill the engraving with paint. The idea stemmed from a process called panel lining that is popular in model building kits. The decorative design was altered a little more from the previous post, adding in some more design in the empty space. The decorative design shows some changes. There are now ribbon elements radially expanding from the large arrow elements. Additionally, I was playing around with the idea of also having an access cutout to make the removal of the cards easier. However, I decided not to go with a bottom cutout in the current design for simplicity and it was redundant with the upper cutout.
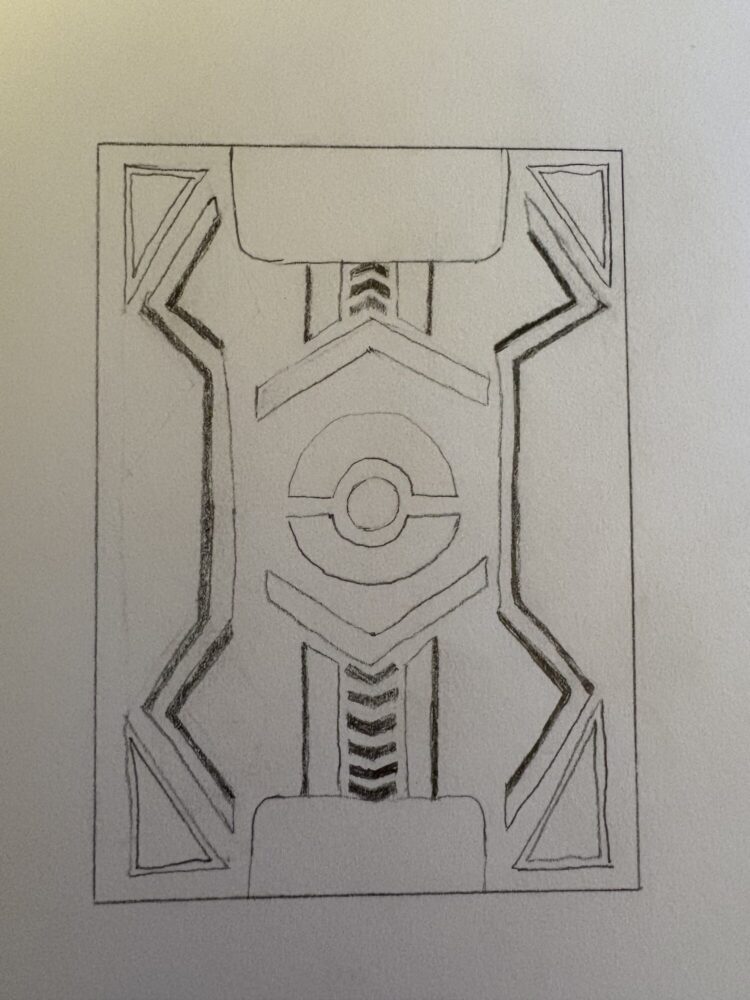 Sketch of updated decorative design going on side of box.
Once I had my initial thoughts in place, I started on the process of actually implementing it into the side panel of the box. It was definitely interesting getting some of the lines more defined to show the pattern in CAD. I also didn’t include one element in the design to maintain a simpler design. I may end up adding it in before I go cut the sheet of acrylic.

Flat view of the box showcasing the current decorative design.
One final aspect I wanted to include with the box is a lid. With the medium I have chosen, the way of implementing the lid was not as clear. One idea that came to mind was to make a hinged lid. This seemed great, especially since most other deck boxes include it. However, there was no easy way of integrating it into an acrylic box without extending past the current box footprint. While I was thinking of how to implement the hinged lid, the way it would secure itself would be through magnets. That was the key to the final design. The design is a liftable lid, held in place with rectangular magnets a friend of mine gave me. They fit perfectly in the dimensions of the box, and will be secured in place with super glue.
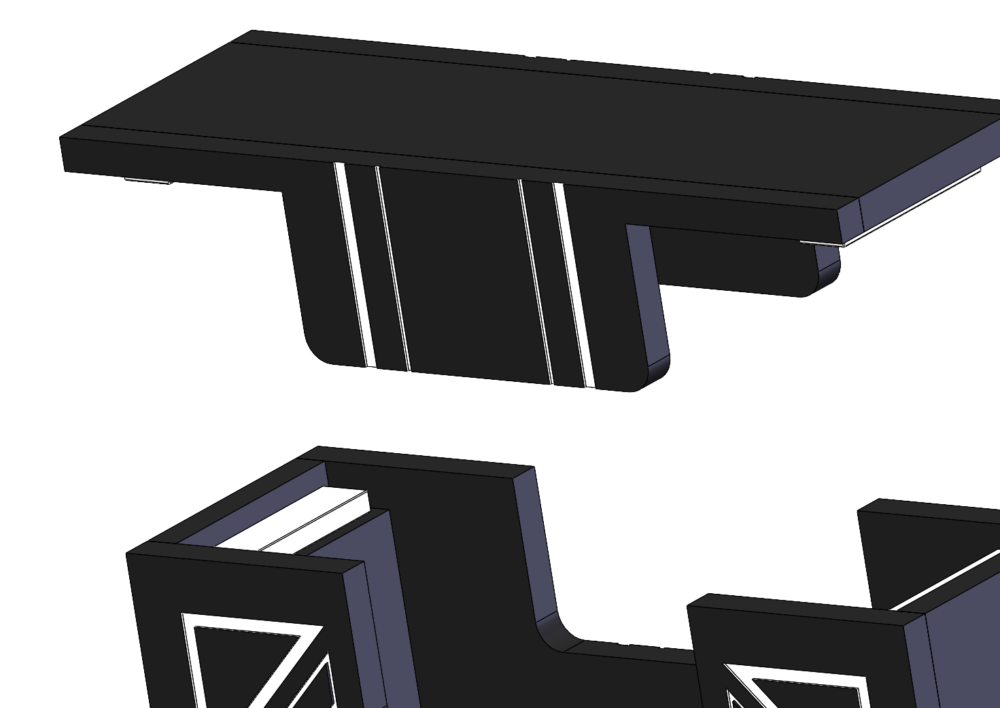
Box lid hovering above, showing silver magnets and cutout where lid fits.
I plan on building this box in the coming days. I was able to remove all the unusable parts of an 1/8″ acrylic sheet I salvaged, and made it into a pretty rectangle, measuring 7.8″ by 11.6″. It is a little more than I initially thought, but will be critical for this project. Once I cut everything, I will assemble with CA glue (melts acrylic to create a good bond) and add in the paint to the engraved area.
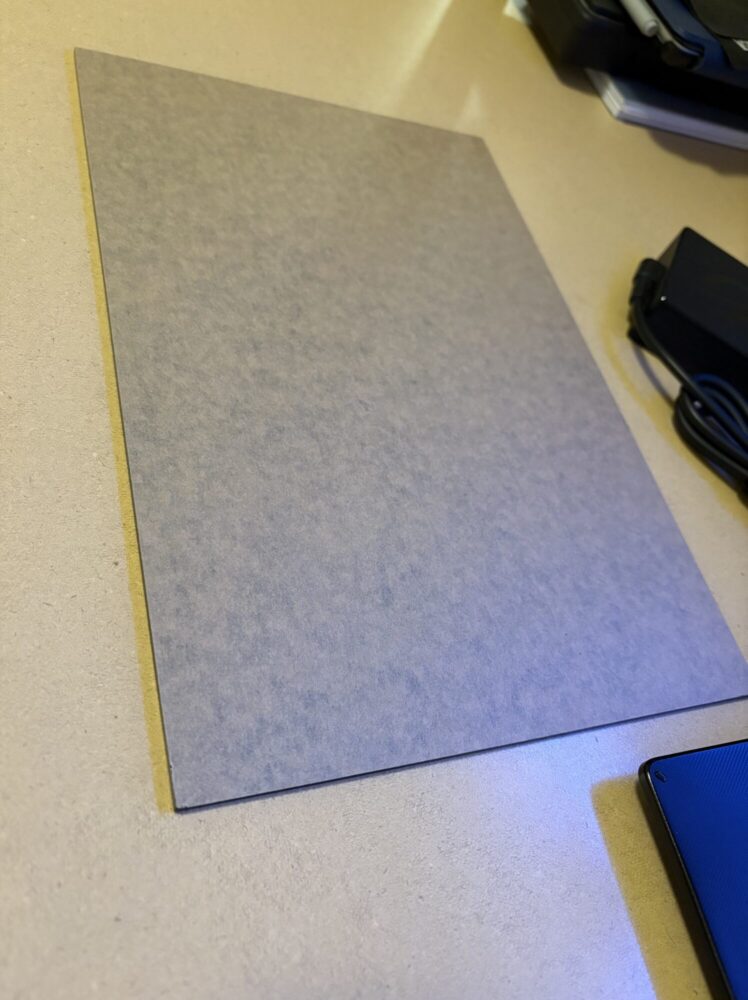
Scrap sheet of acrylic cut down to remove unusable area already cut.
Current design of the box in SolidWorks.
2 Comments. Leave new
Very cool progress Bryan, it is super neat to see how the design and aesthetic has evolved and changed as you actually began modeling and seeing the materials you have at hand. I really like the lid design I think it it super elegant and is a bit les clunky than a hinged lid. The only benefit I see of a hinged lid is that you can’t really lose the lid, but I’m sure you wont be quick to lose something you’ll have put so much time into. I look forward to seeing how the body of the box comes along and the designs on the surfaces.
Thanks for the reply. The lid took some thinking about and I really like how it turned out. I am not too worried about losing the lid since it when the box is opened, I plan on either setting the lid on the same surface next to the box or adding a magnet to hold it on the side of the box. The painting of the box has been a challenge, but is coming along nicely.