
Introduction
For my main project I will be creating a safe with a circular vault door at 1/12 (dollhouse) scale. Growing up in Delaware, there was not much to do so I would often visit Philadelphia for its culture and history. The city of Philadelphia is the birthplace of banking in the United States of America, with the first commercial bank in the newly formed United States being created in this city in 1782 [1].
The history of banking is deeply intertwined with both architectural and technical innovation. To instill confidence in their security, banks have historically projected an image of grandeur and strength. During the 1800s, many banks adopted Greek Revival architecture, characterized by imposing stone structures and large marble columns—an aesthetic that remains iconic today. Many historic bank buildings in colonial cities continue to serve their original purpose.
One of my earliest exposures to this architectural style was the Sussex Trust Building in Lewes, Delaware (Figure 1). Although the Sussex Trust Company ceased operations following a merger in the 1990s, the building still functions as a bank under M&T Bank. As bank robberies became more prevalent in the early 20th century, architectural design alone was insufficient to assure customers of their money’s security. This necessity led to the widespread implementation of vaults—integral to both the physical and psychological security of banking institutions.
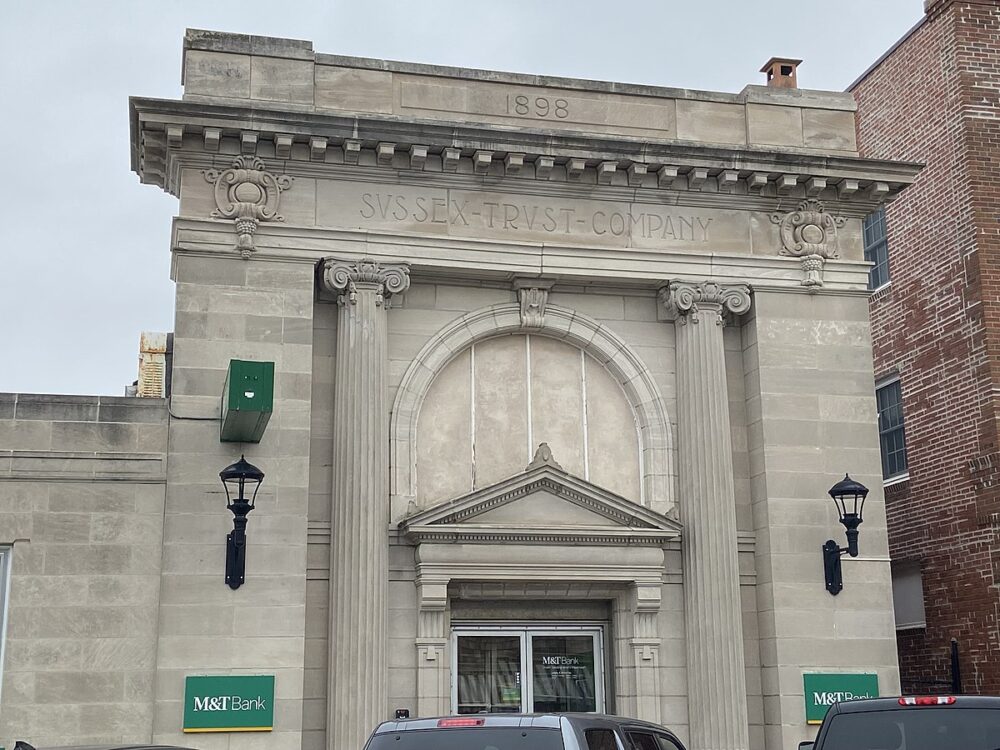
Figure 1. Sussex Trust Company building in Lewes, Delaware in modern times.
The Inspiration
Vaults are an engineering marvel, seamlessly combining civil and mechanical engineering to create secure, impenetrable rooms within a building. I have always been fascinated by complex mechanisms, and vault doors are no exception. My favorite vault design features circular doors with intricate gear systems that drive locking pins, securing a thick steel plate over the entrance, such as the vault door shown in figure 2. These designs exemplify both strength and precision, instilling trust in users through their sheer engineering excellence.
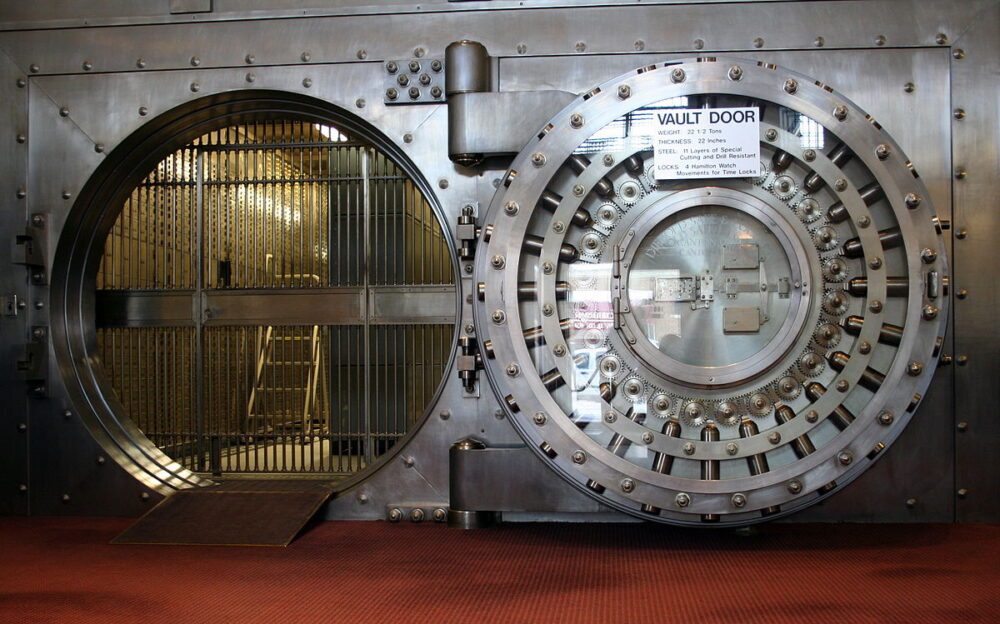
Figure 2. Circular vault door at Winona National Bank built in the early 1900s [2].
I recently saw a video from Adam Savage’s YouTube channel Tested in which he builds his own miniature vault and it is the direct inspiration for this project [3]. I will use this four-part video series as a loose guide for my build. This project will challenge my CAD skills, mechanical expertise, and ability to work at a model scale. My design will emphasize an industrial aesthetic, highlighting the intricate engineering behind these remarkable structures. I will design and construct my own gearing and rack-and-pinion system to drive the locking pins that secure the vault door. Additionally, I will weld a safe to attach the door to, striving to match the aesthetic shown in figure 3.
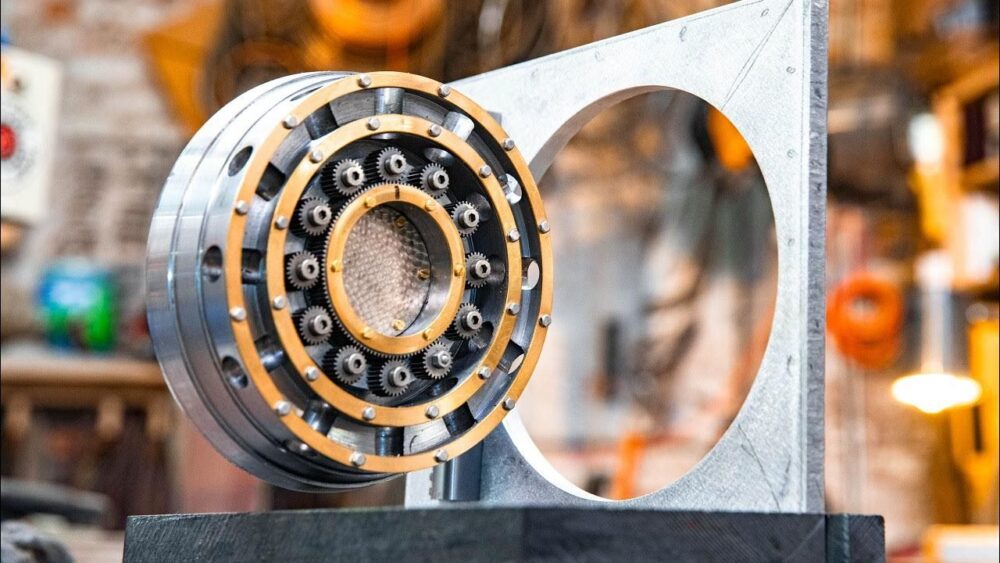
Figure 3. Circular vault door model designed and built by Adam Savage.
Industrial Minimalism
The aesthetic of bank vaults can be summarized as industrial minimalist, a blend of raw building materials and simple, clean design. Bank vaults are minimalist due to their functional necessity and their expense to produce. A minimalist aesthetic is ideal for minimizing the expense to build while maximizing profit on a product. The focus on function for bank vaults also results in the vault featuring a mixture of steel, brass, and other metallic surfaces.
Possible Alternative Aesthetics
While my vault door will feature a minimalist industrial aesthetic, there are many other design directions I could have explored. One alternative is an antique aesthetic inspired by cannonball safes, which are characterized by smooth, organic shapes and a completely rounded form without sharp edges. An example of this aesthetic is depicted in the sketch in Figure 5.
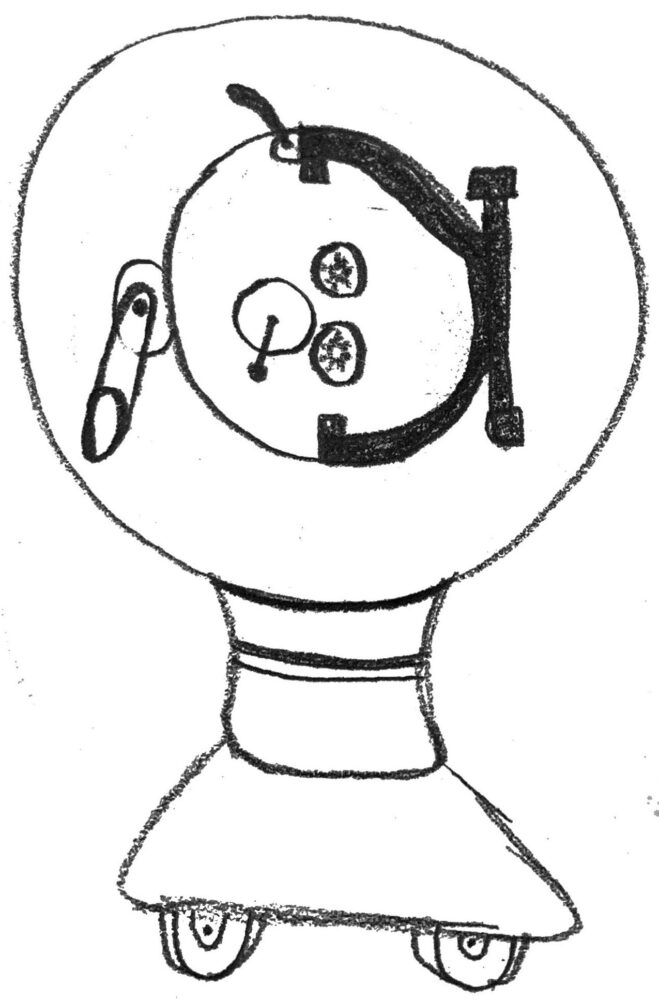
Figure 4. Antique cannonball safe
Another potential aesthetic approach would be designing a safe inspired by the look of a school locker, incorporating a Y2K-style aesthetic. This design would feature a bright color palette and the recognizable form of a school locker, creating a unique visual identity for the safe. An example of this aesthetic is shown in Figure 6.
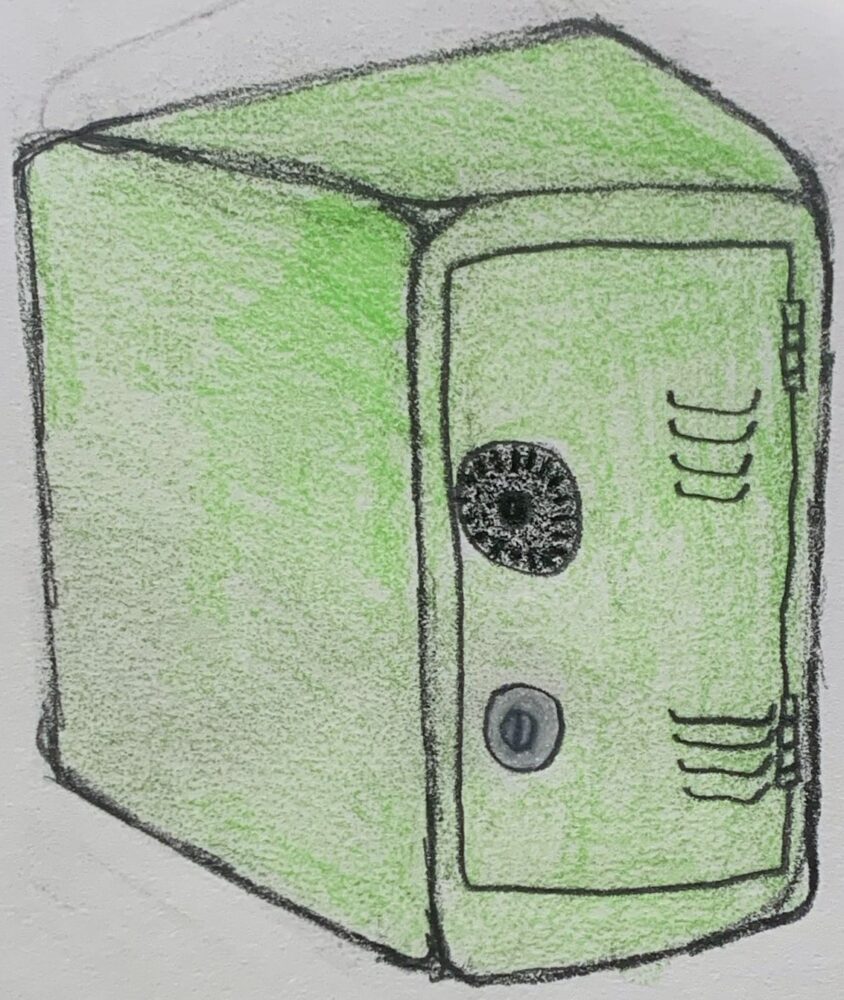
Figure 5. Y2K aesthetic miniature school locker
The Timeline
The CAD model of the vault is currently being developed in SolidWorks and is scheduled for completion by March 19th. Once the CAD assembly is finalized, I will begin the fabrication process. The most time-intensive aspect of fabrication will be 3D printing the structural components.
I will be traveling during spring break and will not be able to work on the project during that time. Upon my return, I will complete any remaining manufacturing tasks before proceeding with finishing and painting all individual components. This stage is expected to be the most detailed and time-consuming part of the project.
After finishing and painting, I will proceed with the final assembly of the vault. My goal is to have the completed product by April 20th, the Sunday before the final report deadline, allowing three days to finalize the report and presentation.
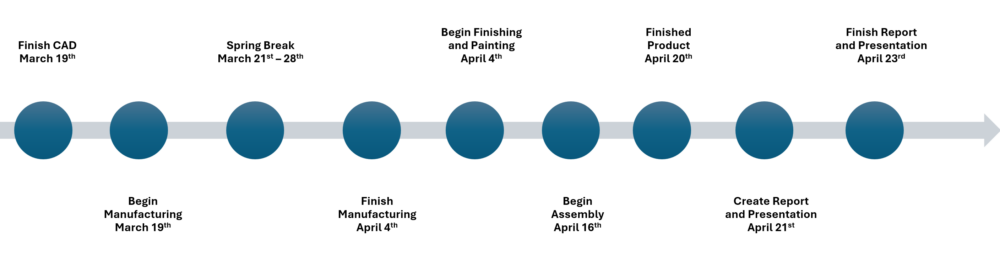
Figure 6. Timeline of the production schedule for creating the miniature bank vault.
Fabrication
CAD
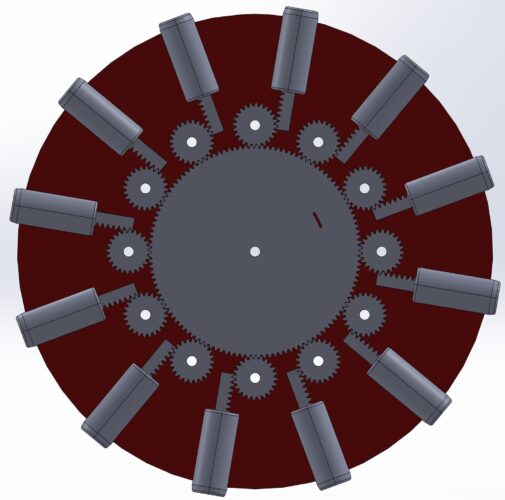
Currently, I have a basic layout of the gears, racks, and pins. The next step is to design the circular door, which will serve as the structural foundation for the mechanisms. Additionally, I need to create a CAD model of the vault to which the door will be attached.
As mentioned earlier, I plan to complete the full CAD assembly by Wednesday, March 19th.
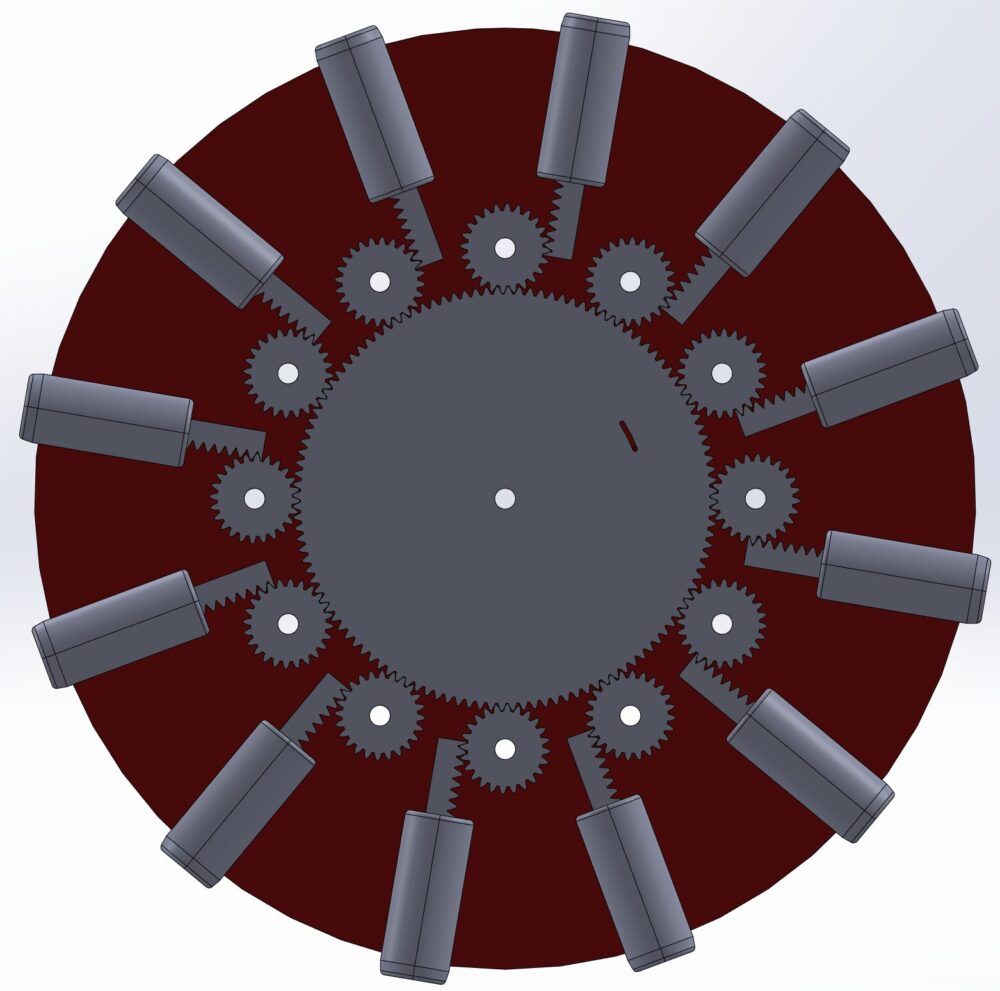
Figure 7. SolidWorks CAD model of the internal mechanism for my vault door.
The Door
All structural components of the vault door will be fabricated using 3D printing. The central ring gear, 12 spur gears, and 12 racks will be laser-cut from 1/4-inch acrylic. The central ring gear will be connected to a knob on the outward-facing side of the door, allowing the user to rotate the ring gear and engage the pins, moving them in and out of place. Additionally, the door hinges will be 3D printed and securely attached to the door.
The Safe
The safe will be constructed using Foamular, a rigid foam board insulation commonly used in home construction and movie props. I was inspired to use this material after watching a Tested video by Adam Savage, in which he builds a movie prop safe to hang from the ceiling [4].
The safe will take the form of a large cube, with panels cut from Foamular sheets and assembled using low-melt-temperature hot glue. This material is rigid enough to be shaped using traditional woodworking techniques. Once the cube is assembled, I will round the outer corners and cut a circular opening on one side to fit the vault door.
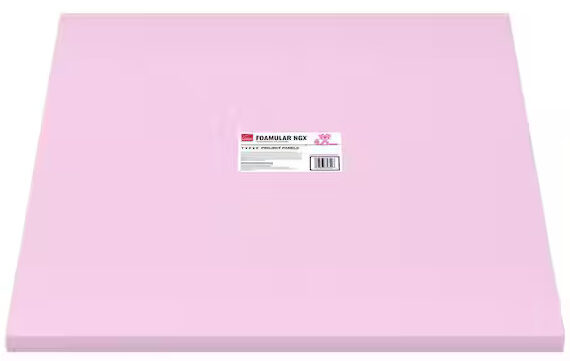
Figure 8. FOAMULAR NGX 1 in. x 2 ft. x 2 ft. R-5 Project Panel XPS Rigid Foam Board Insulation.
Once the door and safe are constructed separately, the 3D-printed hinges will be attached to both components. Super glue will be used to bond the PLA hinges to the PLA vault door securely. The hinges will feature pins that extend into the safe, increasing the surface area for adhesion and ensuring a stronger bond when gluing the hinges to the safe.
Finishing
To achieve a metallic-like finish on both the 3D-printed and foam components, I will apply filler and sand the surfaces multiple times until they are smooth. Proper surface preparation will be essential for achieving a high-quality paint finish on the final product.
For the 3D-printed components, I will use wood filler to fill in the layer lines before sanding the parts, gradually increasing the grit of the abrasive for a smoother finish. The foam components can also be sanded to refine the surface texture and enhance the final appearance.
Painting
To begin painting the components, I will first apply a filler primer to smooth and prepare the surface. Once the filler primer is sanded, a standard paint primer will be applied to all components.
The safe will be spray-painted using a blend of metallic blacks and grays to create a dark, weathered steel appearance. The exterior knob, which controls the mechanisms, will be painted gold. Internal components, such as the pins, gears, and racks, will have a shiny metallic silver finish. The outer structure of the door will be painted to match the safe, while the inner side will feature a polished metallic steel look. Additionally, the inside of the door will incorporate gold or brass accents, inspired by the design of Adam Savage’s bank vault, as shown in Figure 3.
Backup Plan
If the vault project does not go as planned or fails to achieve the desired appearance, I will pivot to creating a minimalist wooden baby toy in the shape of an elephant, featuring a spinning cube as the body. An example of this type of toy is shown in Figure 9.
The toy will be crafted entirely from pine or oak, with the main body stained a light color and the internal dowel and spinning block stained a darker shade, such as walnut, to create visual contrast.
The elephant’s body will be cut out using a band saw, while the internal holes will be made using a hole saw drill bit for the larger opening and a standard drill bit for the smaller one. The dowel will be press-fit into a hole drilled through the body to allow the spinning block to rotate freely. After staining, the entire toy will be sealed with a polyurethane finish for durability and protection.
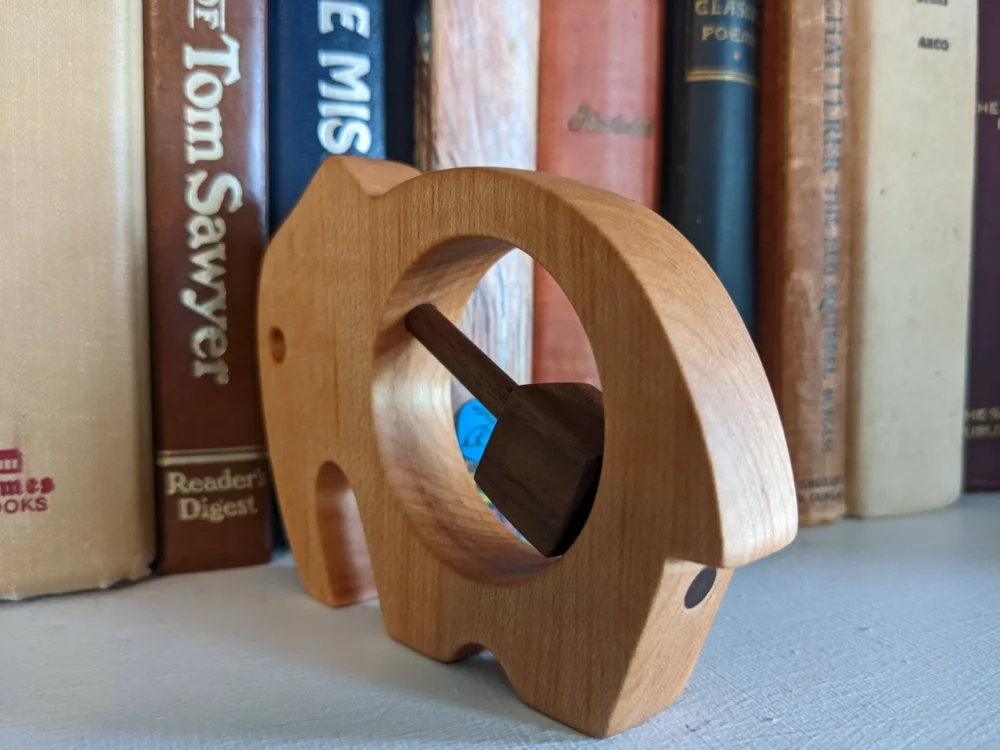
Figure 9. Wooden elephant baby toy.
References
- https://philadelphiaencyclopedia.org/essays/banking/
- https://en.wikipedia.org/wiki/Bank_vault
- https://www.youtube.com/watch?v=SiL8IzJSnyU
- https://www.youtube.com/watch?app=desktop&v=J170jeH0yXU&t=8m58s
Images
- Figure 1 – https://upload.wikimedia.org/wikipedia/commons/thumb/2/2a/Sussex_Trust_Company.jpg/1200px-Sussex_Trust_Company.jpg?20210918103818
- Figure 2 – https://en.wikipedia.org/wiki/File:WinonaSavingsBankVault.JPG
- Figure 3 – https://pbs.twimg.com/media/GP6Bm-mXQAAjky5.jpg:large
- Figure 8 – https://www.homedepot.com/p/Owens-Corning-FOAMULAR-NGX-1-in-x-2-ft-x-2-ft-R-5-Project-Panel-XPS-Rigid-Foam-Board-Insulation-9WE/315401957
- Figure 9 – https://www.reddit.com/r/woodworking/comments/v4xbx1/made_a_little_elephant_rattle_for_a_friends_new/
This post was edited for clarity and conciseness using ChatGPT.
5 Comments. Leave new
[…] Design Preview Report – https://www.aesdes.org/2025/03/13/miniature-bank-vault/ […]
Really neat idea, Evan! How big will your final product be, and do you foresee any trouble with the 3D printer being able to make the small parts you need? Will this be a decorative piece, or do you plan for it to hold something? I’m interested to see how your finishing turns out and how closely it will resemble metal. Will check back as you make progress!
The door is currently designed to be 6 inches in diameter so the safe will be slight bigger than that, no more than 8in x 8 in x 8in. I was worried about the fidelity from 3D printing the gears, so instead the gears will be laser cut from 0.25in acrylic. In general, this safe is designed to be purely aesthetic, although if I have extra time I might make fake money or jewels to hide inside of the safe.
Hi Evan,
This is a really great project idea. I think its a perfect way to convey the industrial minimalism aesthetic in a miniature and unique way. The alternative aesthetics work really well too. I know you plan on printing the door hinges but have you thought of maybe trying to buy metal ones? they may last longer. I look forward to seeing how this turns out! Your alternative project plan looks interesting as well and I think would make a great project.
While I am not really worried about how long the hinges will last because this project will be more similar to a movie prop than an actual safe, buying the hinge will decrease the amount of components that I need to design and manufacture. Now that I am reconsidering it, the hinges and pins are both components that I can purchase off the shelf.