
Upcycle Project: Wabi-Sabi Headphone Stand
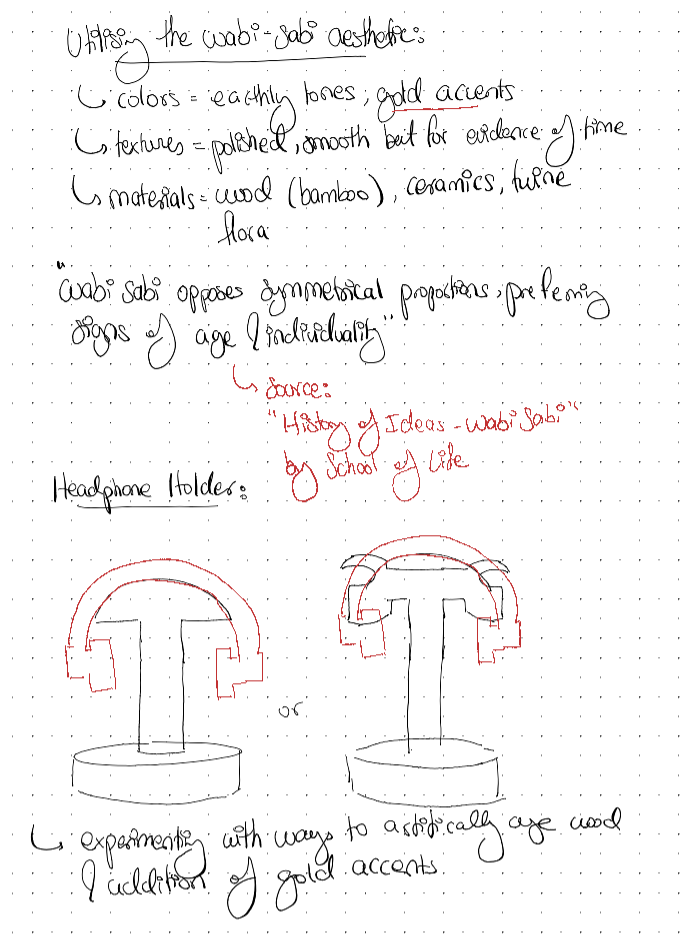
A headphone stand is an item that adds to the flair and organization of my desk. If you make the case for a messy desk existing as the epitome of wabi-sabi, I would simply ignore you. Much of the color tones, textures and materials for the project will be dictated by the aesthetic, with further research into the art of wood aging and wood scaring being potential ways to accentuate the features of wear and tear. The shape and geometry of certain elements might be explored via generative design as it often produces organic shapes (albeit unmanufacturable solutions) further diving into the features of the aesthetic.
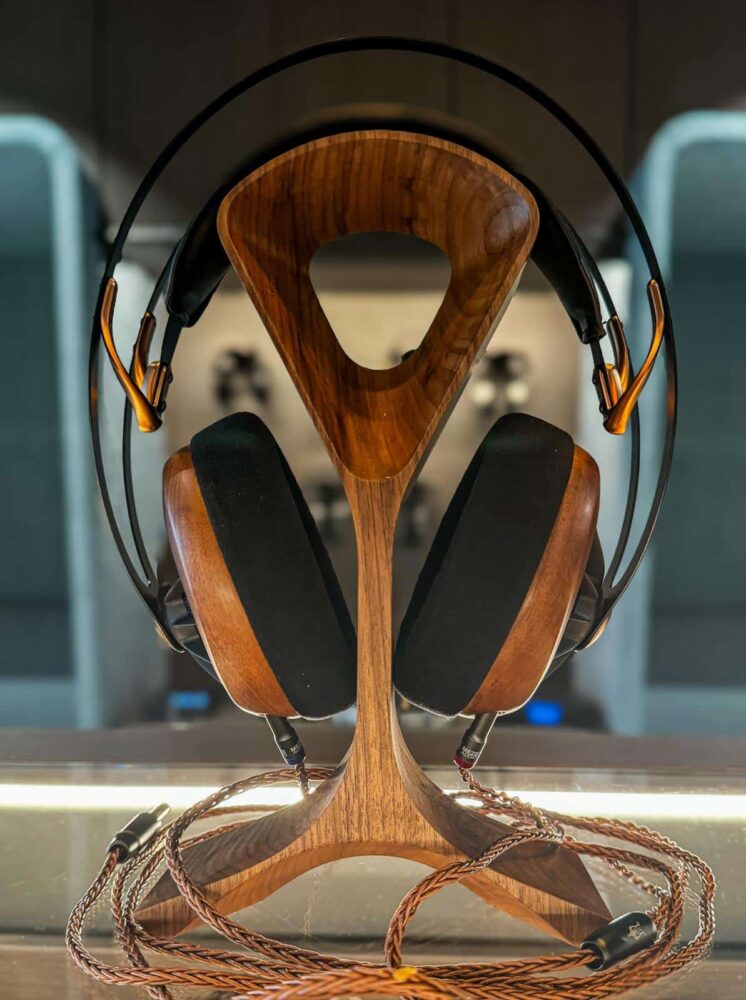
My update further fleshes out the organic headphone stand idea. The initial approach of using topology optimization of a CAD model with all the accurate stresses and fixtures, still stands. Further effort has gone into the mimicking of a bonsai which is a symbolistic feature of the wabi-sabi aesthetic. Evidence of CAD models that experiment with different bonsai bases can be seen above. These will serve as the preserved (unchanged) fixed base, with further hooks being added on and being preserved through the topology optimization process. Changes will be made to account for infeasible manufacturability.
Following the generation of the CAD model, a consultation with the wood working shop will be booked to identify various cross sections of the final CAD model that can be manufactured separately. These separate pieces will be glued together with a gold like epoxy, to mirror the wabi-sabi aesthetic of broken bowls. A Dremel will then be used to add tree bark features and oils will be used to produced an aged aesthetic.
– Met with the idea forge woodworking shop to discuss the feasibility of the 3D bonsai tree headphone stand. Sourced walnut wood, MBF, plywood slabs to begin experimenting and also experimented with pre-staining and Varathane stains to get a dark finish on the material.
– Compiled drawings of a modified headphone stand that is primarily 2D instead of 3D, as per the request of the woodshop.
– Experimented with different cohesion techniques like mortise and tenon and simple adhesive and screws
– Including design features like coves for added design.
Final Summary of Upcycle Project:
For the longest time, I’ve wanted a headphone stand to be perched atop my desk. Not just for the overall aesthetics of the study space but also for the convenience of use and cleanliness. For the longest time, I’ve put off the idea of buying one, because I’d be damned if I spent 50 dollars on a wooden headphone stand. Jokes on me, I spent the same amount making one…..
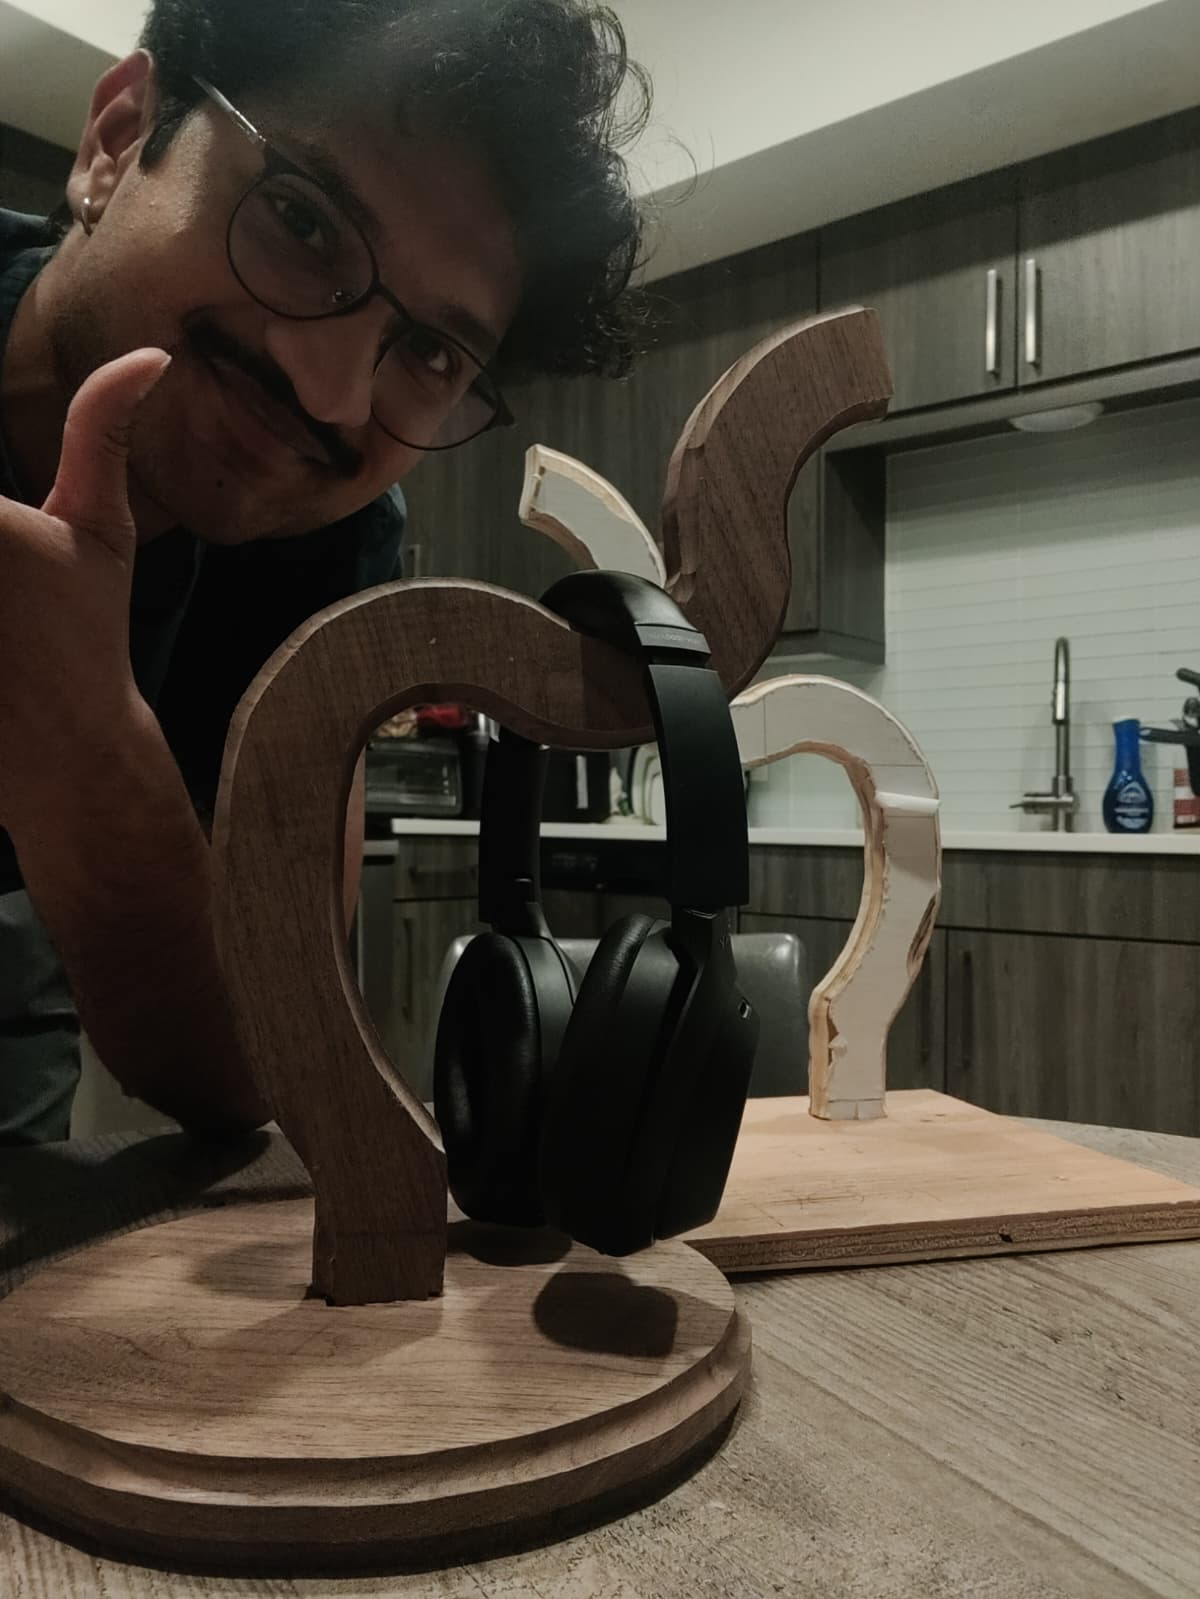
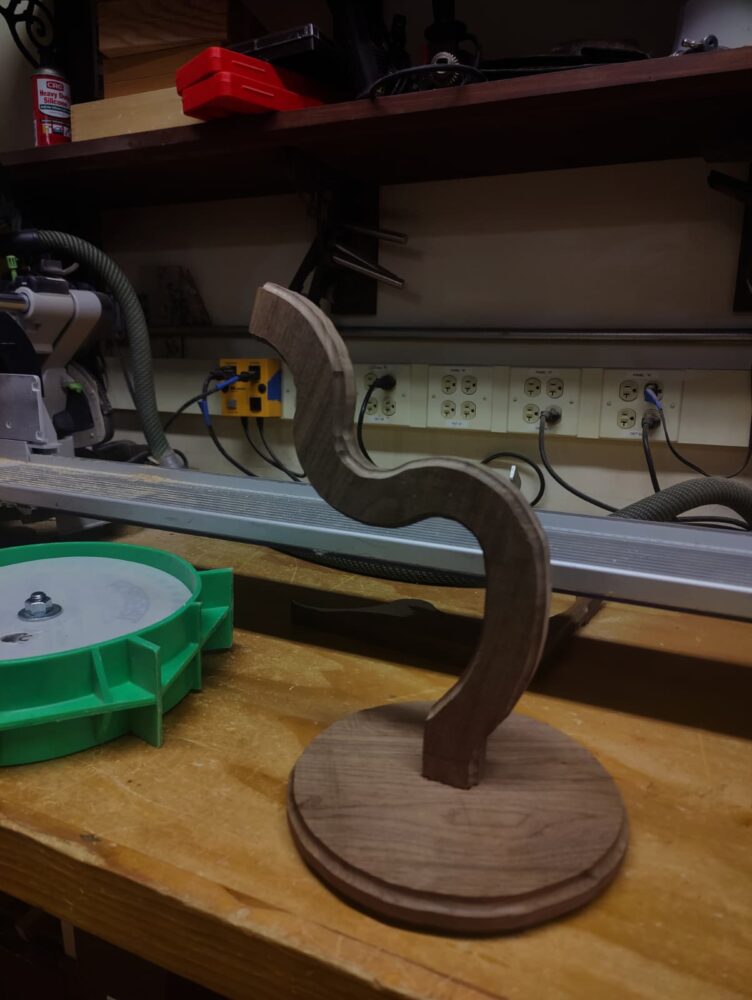
Inspired by the organic curves of my chosen aesthetic, wabi-sabi, I set off on a journey to create an walnut bonsai themed headphone stand that maintained an air of minimalism. Only issue was, I have NEVER worked with wood before. The only requirement of the project was to upcycle, but given that “bonsai” is the art of cultivating miniature trees and not a type of tree, I opted to “upcycle” dark wood into a table top miniature project.
After looking into the market equivalents for such a product, I settled on creating my own swoopy shape to exemplify the top heavy features of a bonsai tree. A base and stem that gets thinner as you move up coupled with overarching features (canopy) that extends past the base. However, my initial design was not feasible to create. One revision later, I headed to the wood working shop to source wood.
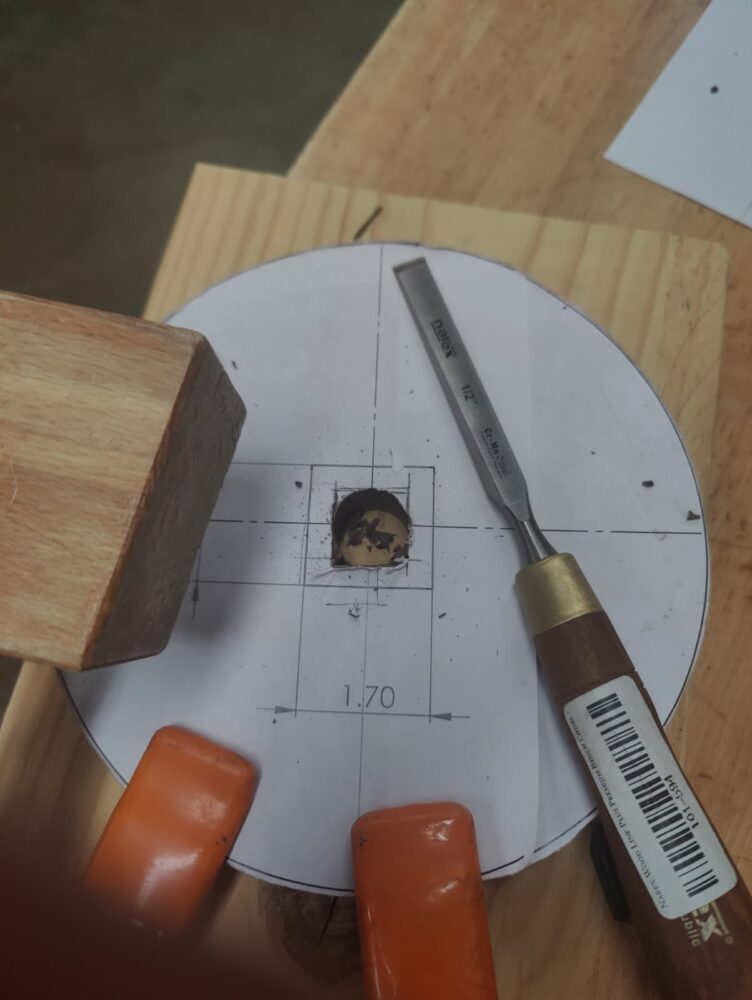
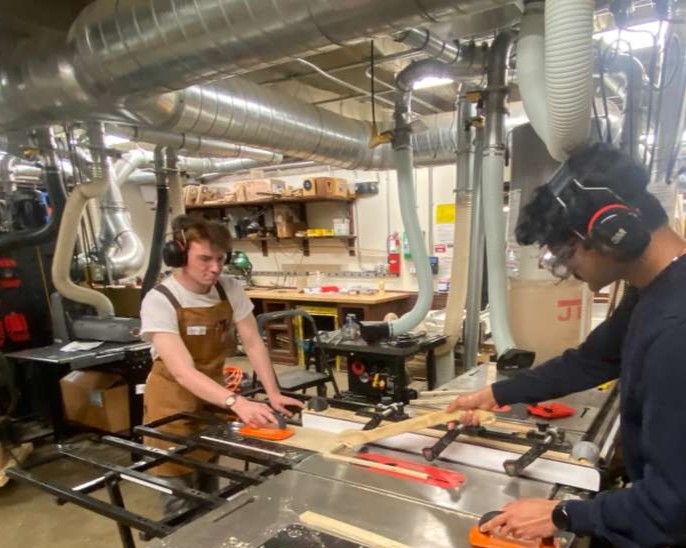
The first course of action was creating a prototype to ensure I understood the relevant techniques. The process included gluing a stencil to wood, scroll sawing the stencil, sanding it to match the required shape, miter sawing 1 inch clearance datums out of MDF, using a table saw to create precise shoulders for the tenon joint, passing the product through a routing table to create coves, scroll sawing the base, sanding and creating coves on the base, drill pressing a 1 inch through hole and using a chisel to scrap out a rectangular cavity. To mate the two products together, a wedge was driven into the base of the stand and shaved off with a double edge Ryoba saw. Do it all over again in walnut for the final project.
My only regret was not taking my pictures with those cool tools.