
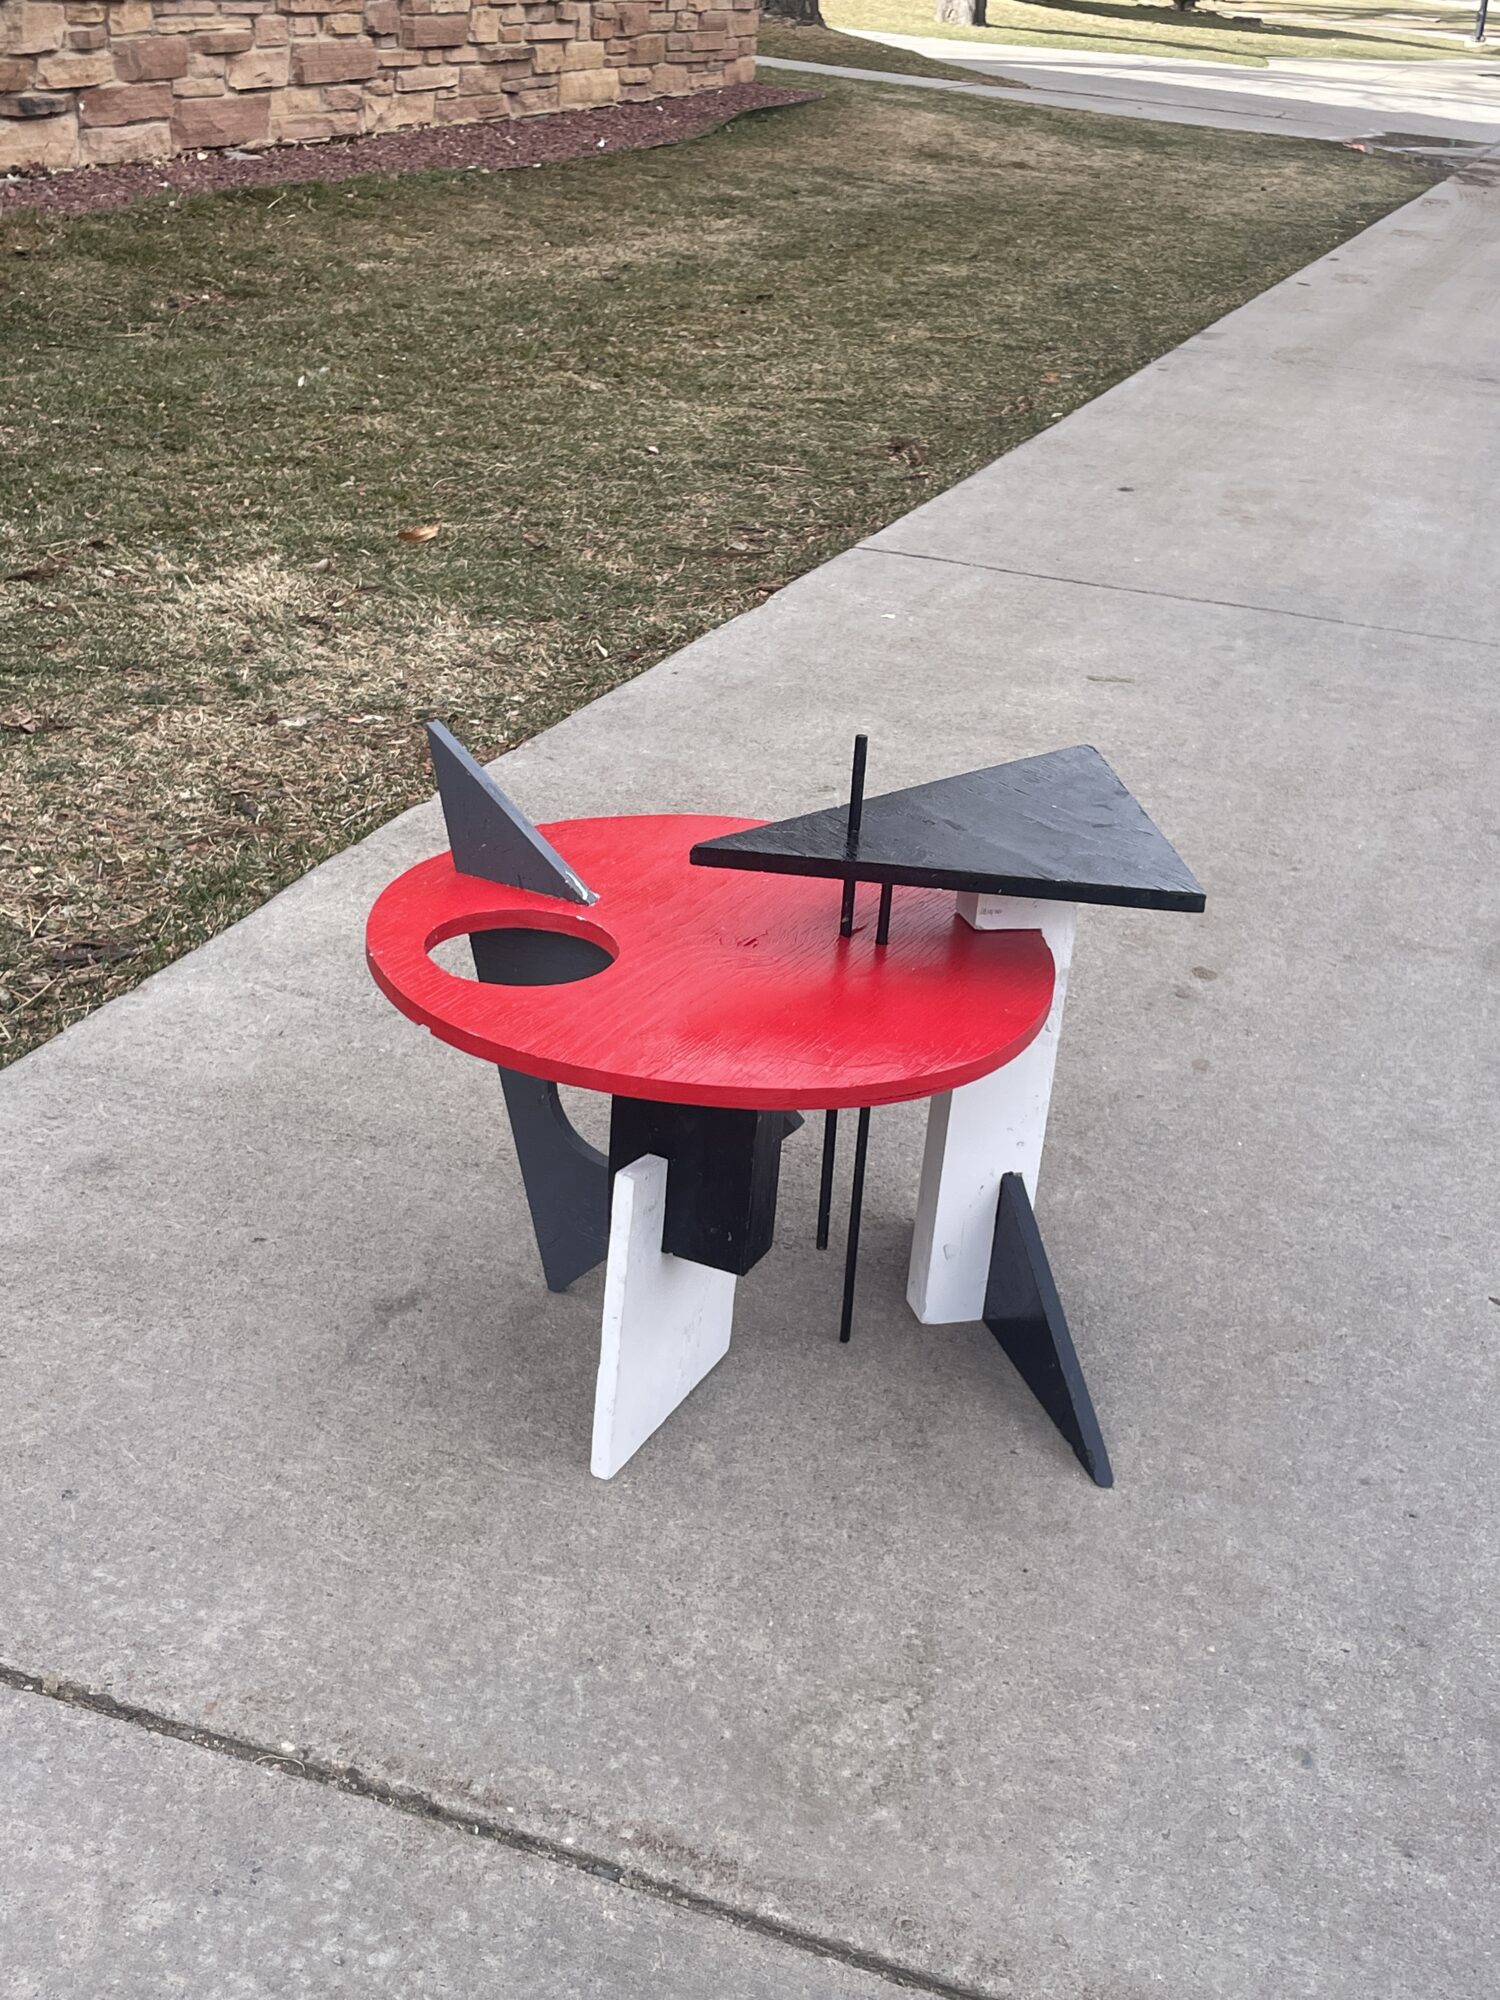
I made a table in the Constructivist Aesthetic out of upcycled plywood.
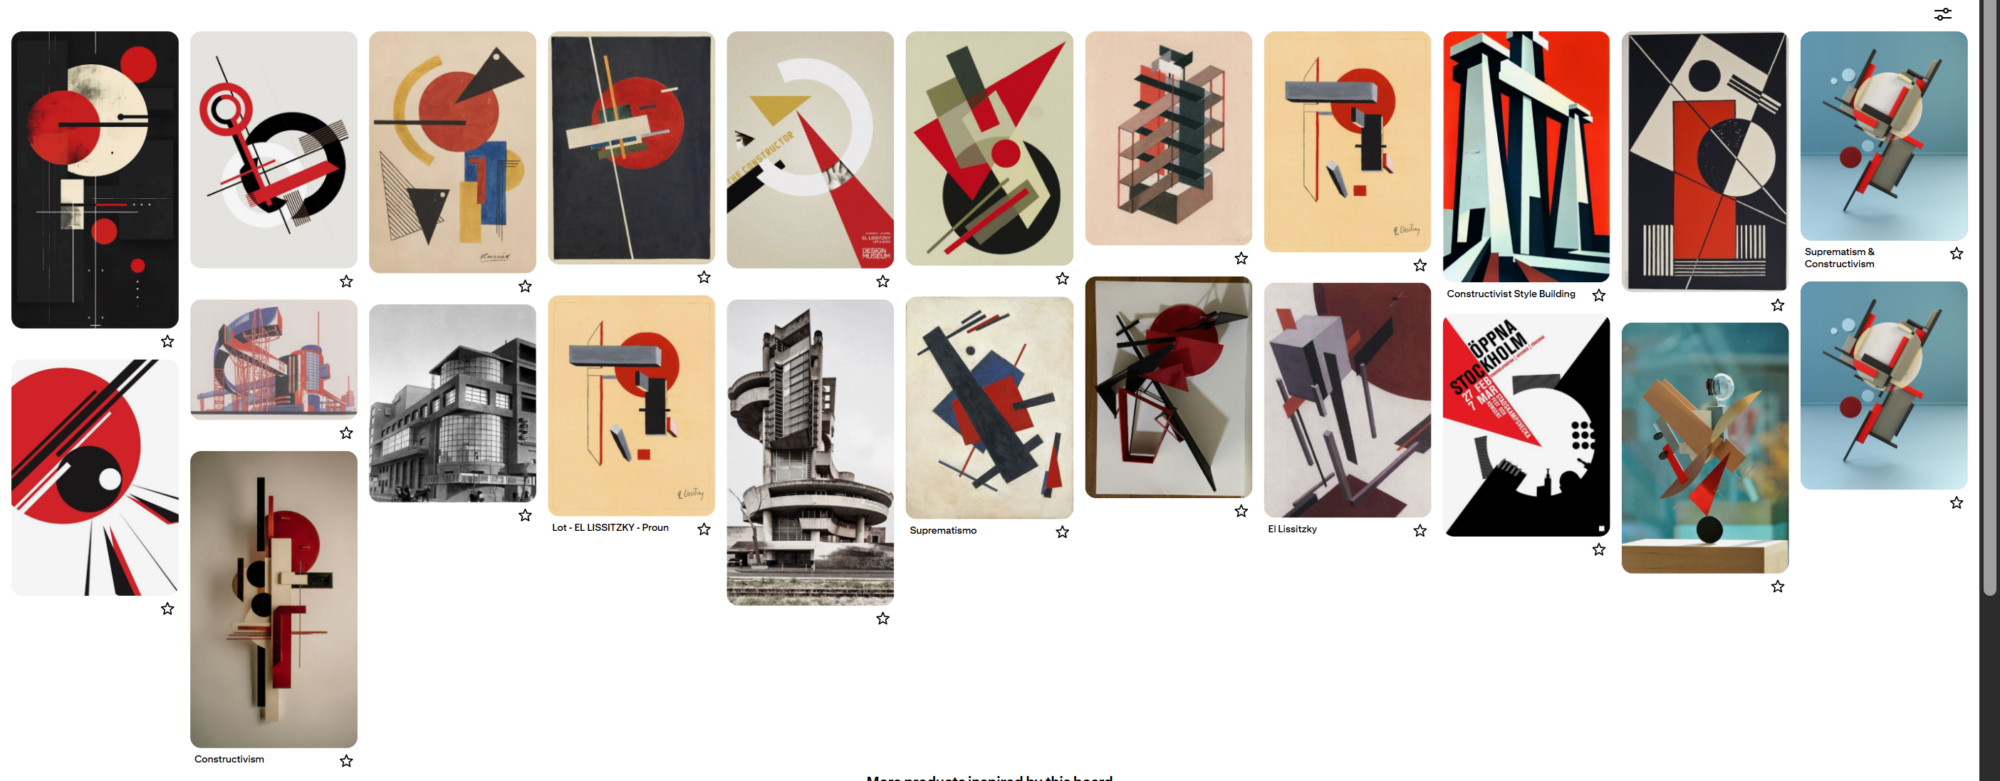
I began by creating a Pinterest board of the Constructivist aesthetic. A few patterns became clear: I’d be working in grayscale, with red accents (some pieces incorporated blue and yellow, but I felt that didn’t look as cool). Many pieces featured a large red circle, which usually looked pretty badass. Most other shapes were blocky, but not necessarily rectangular; weird triangles and trapezoids were commonplace, and usually overlapped each other. Finally, some parallel skinny black lines added variation as the cherry-on-top of a good piece. I got to work sketching.
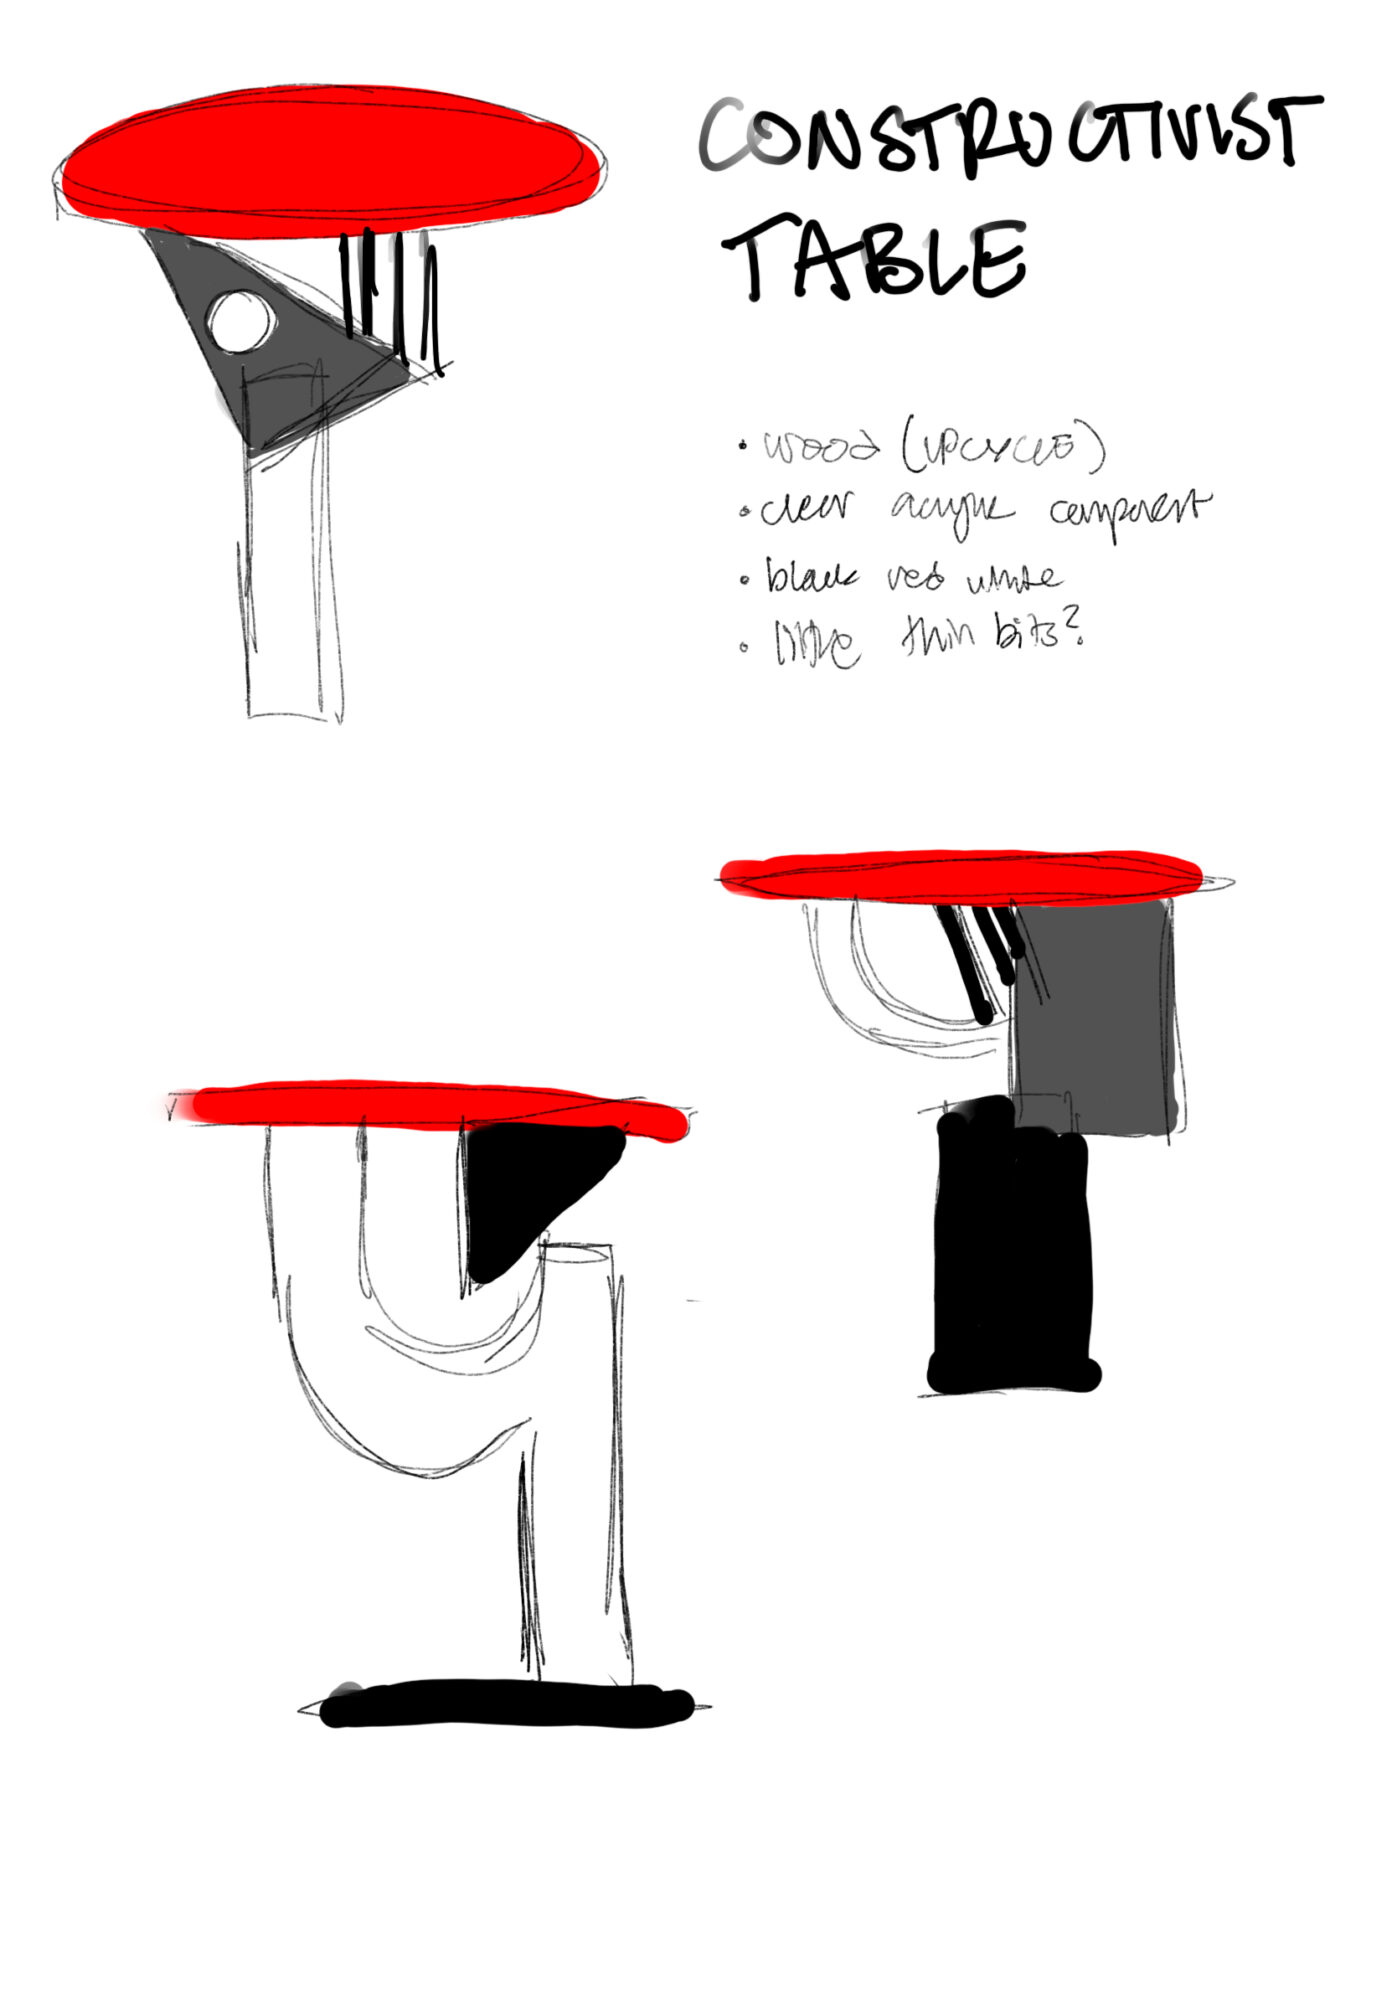
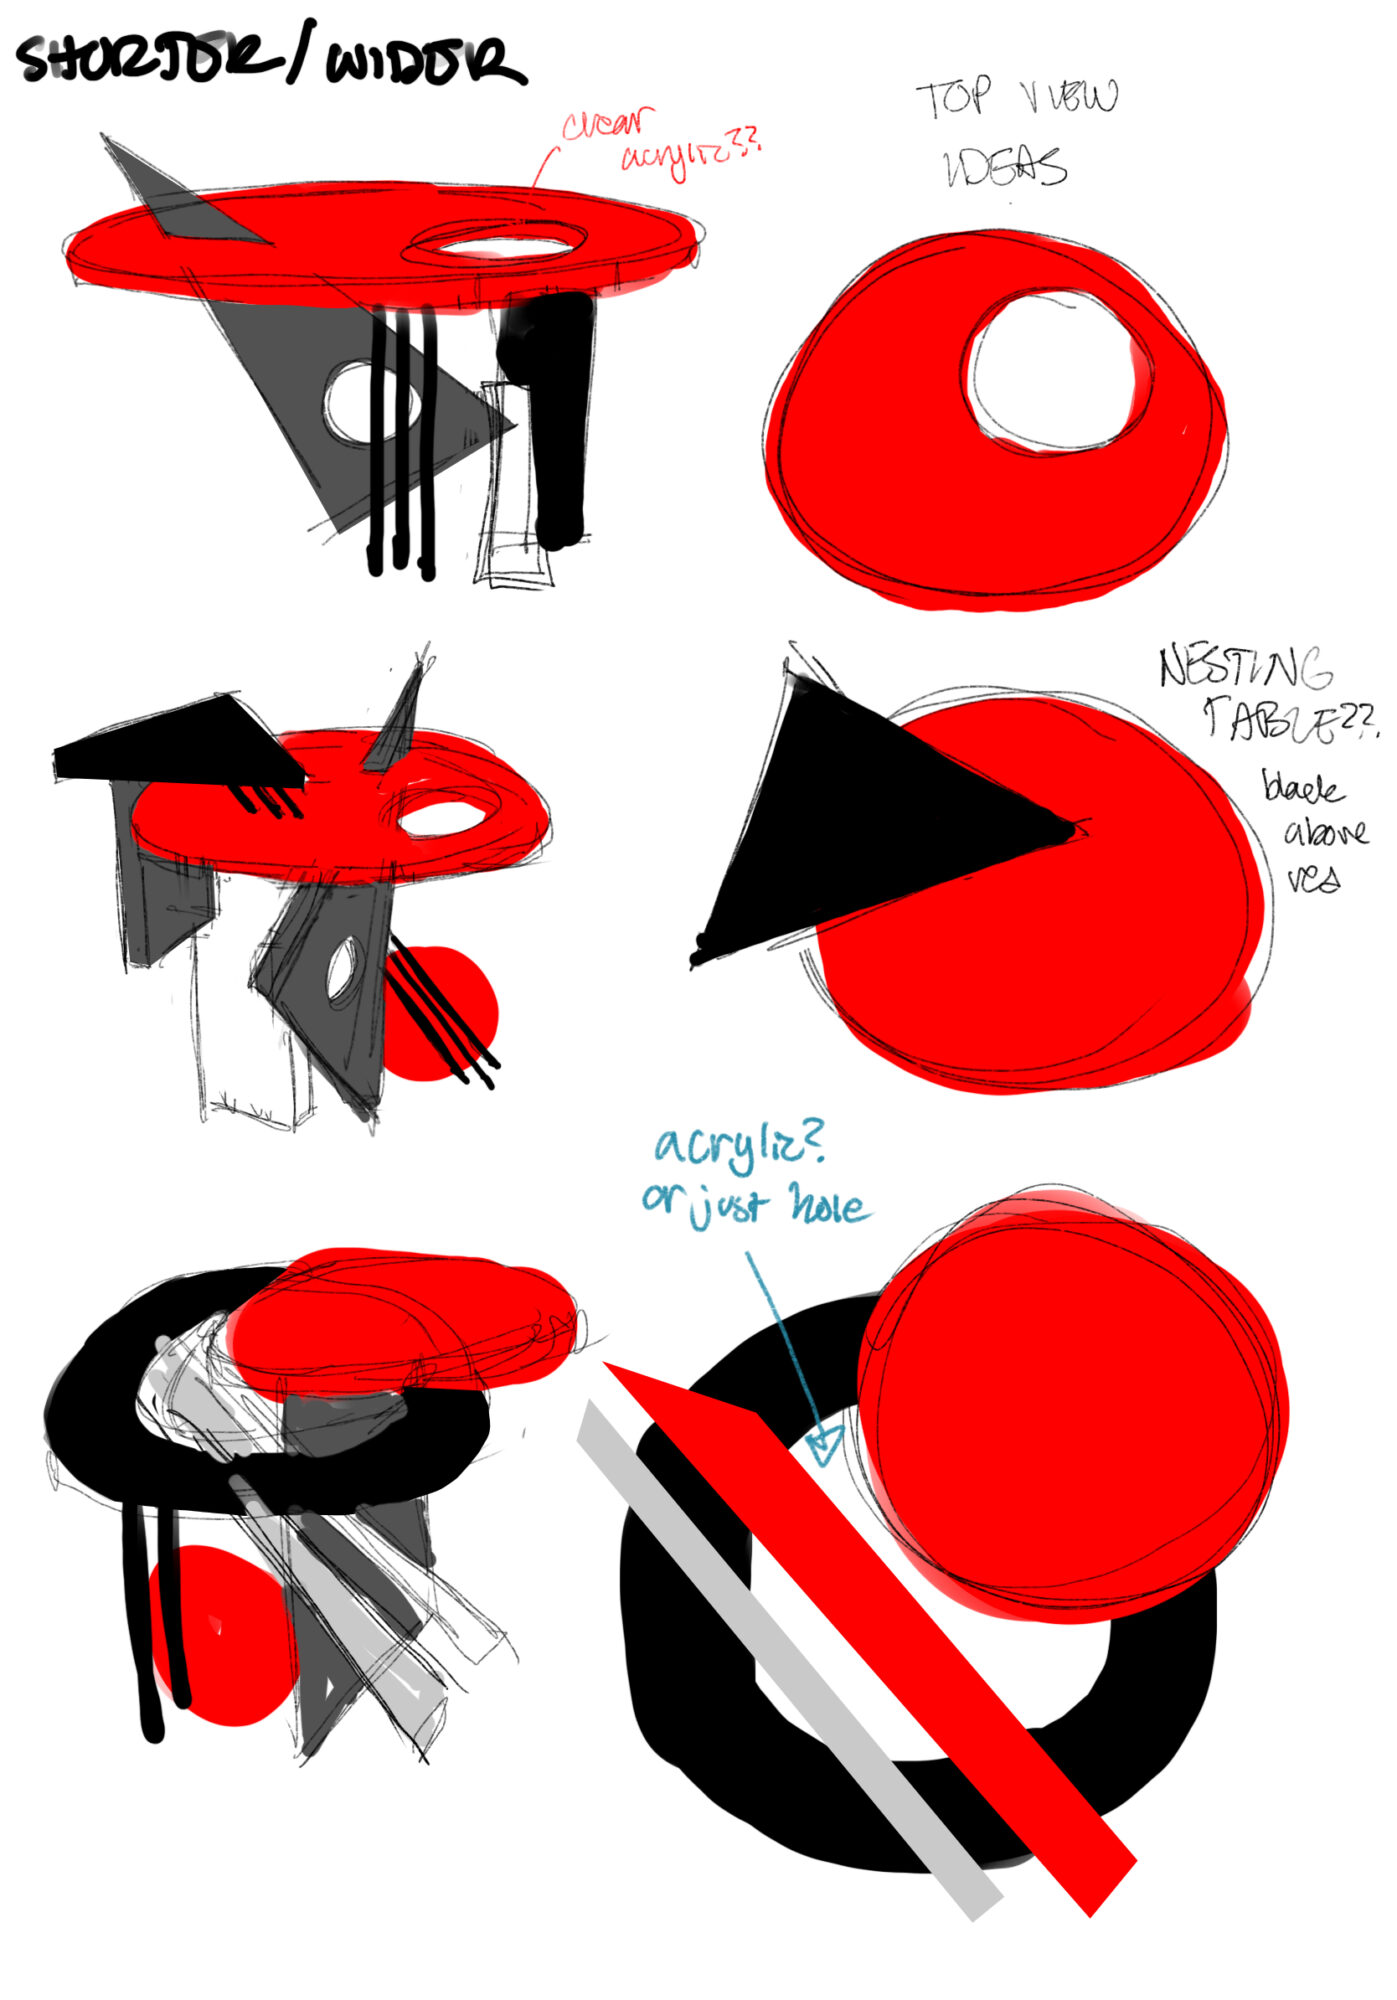
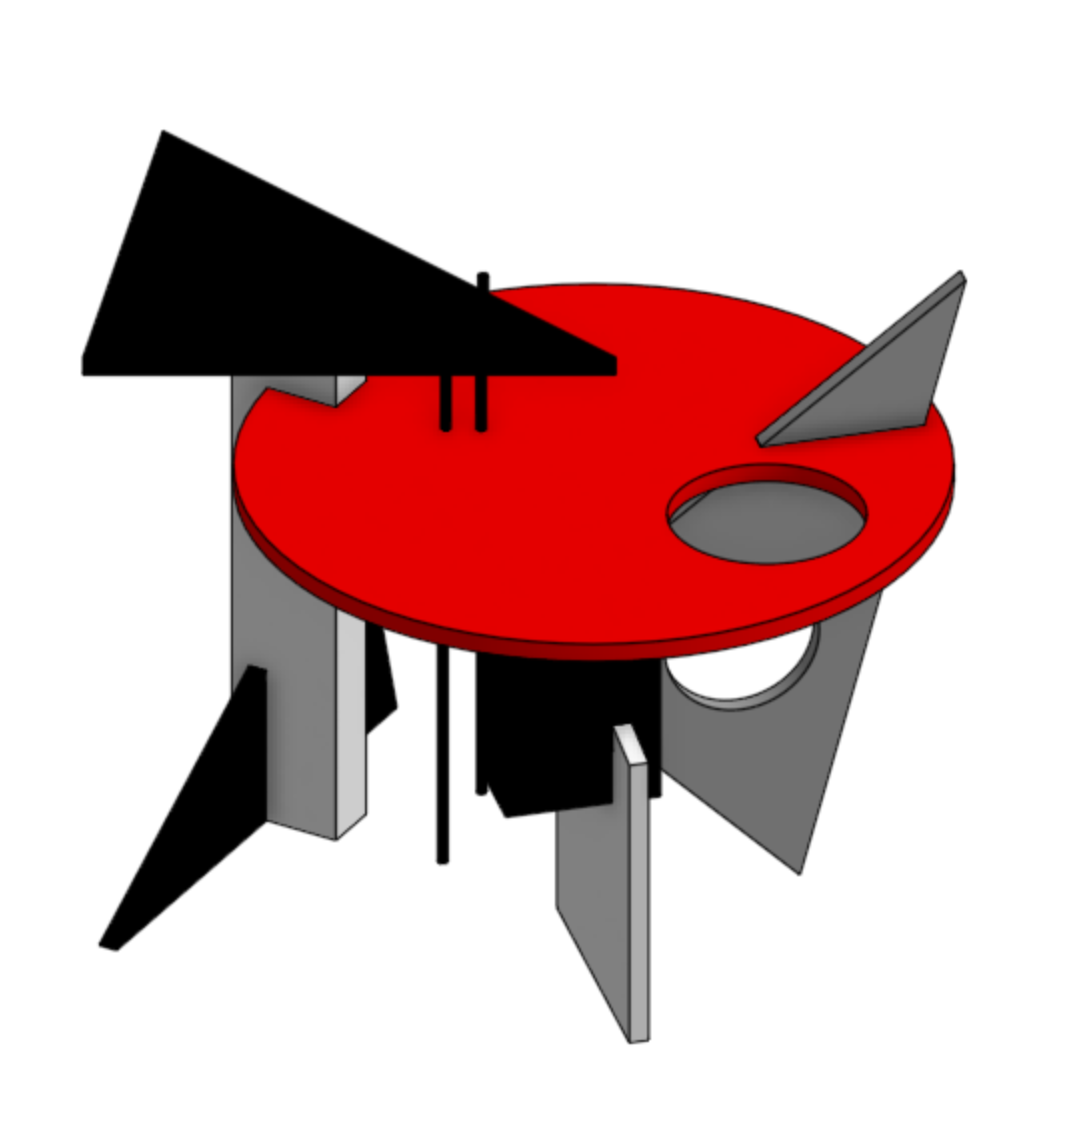
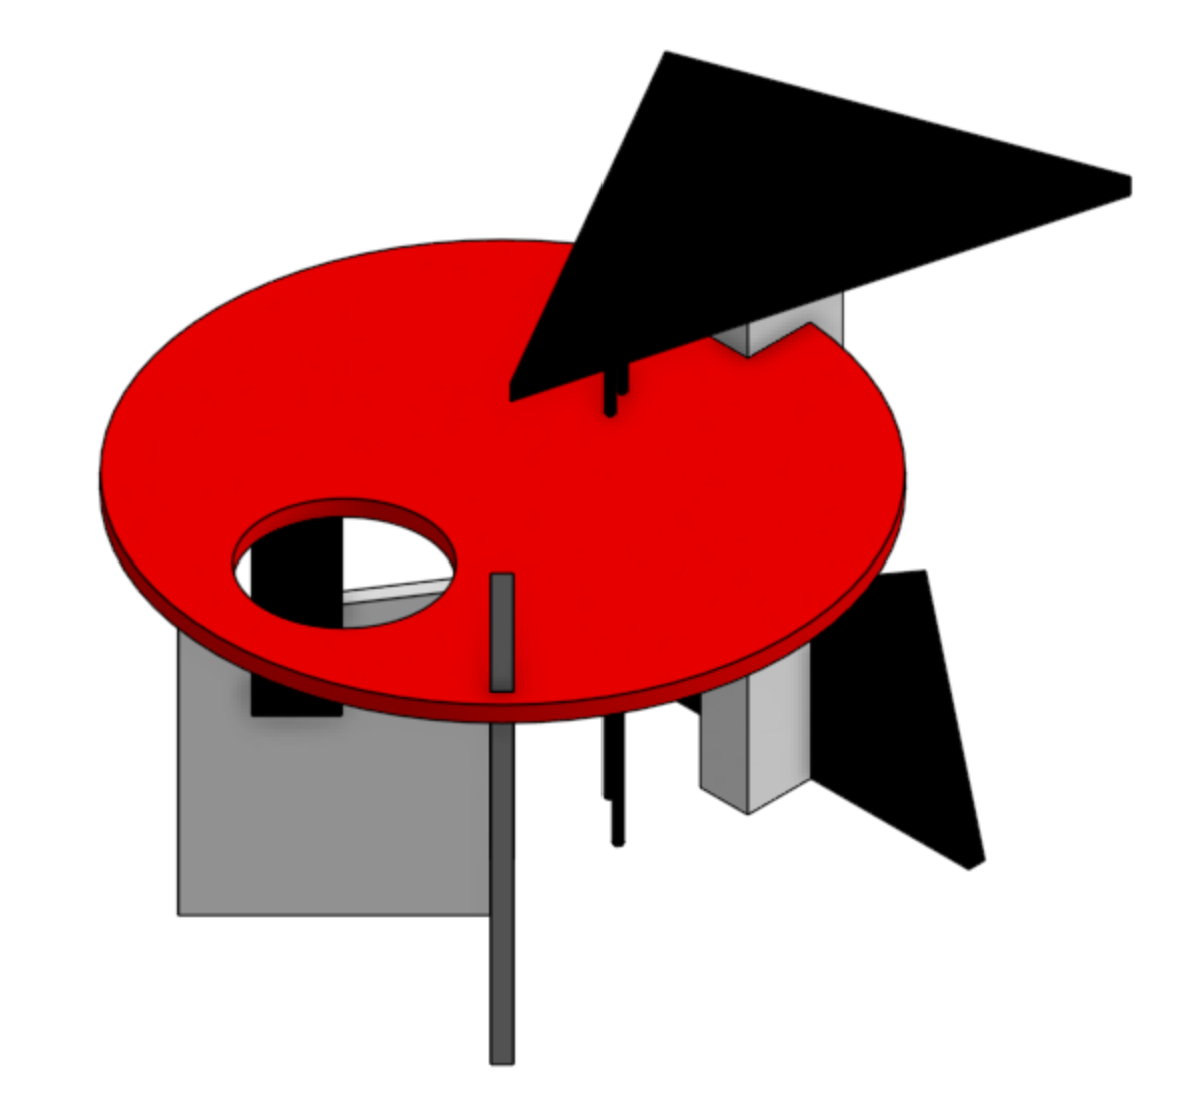
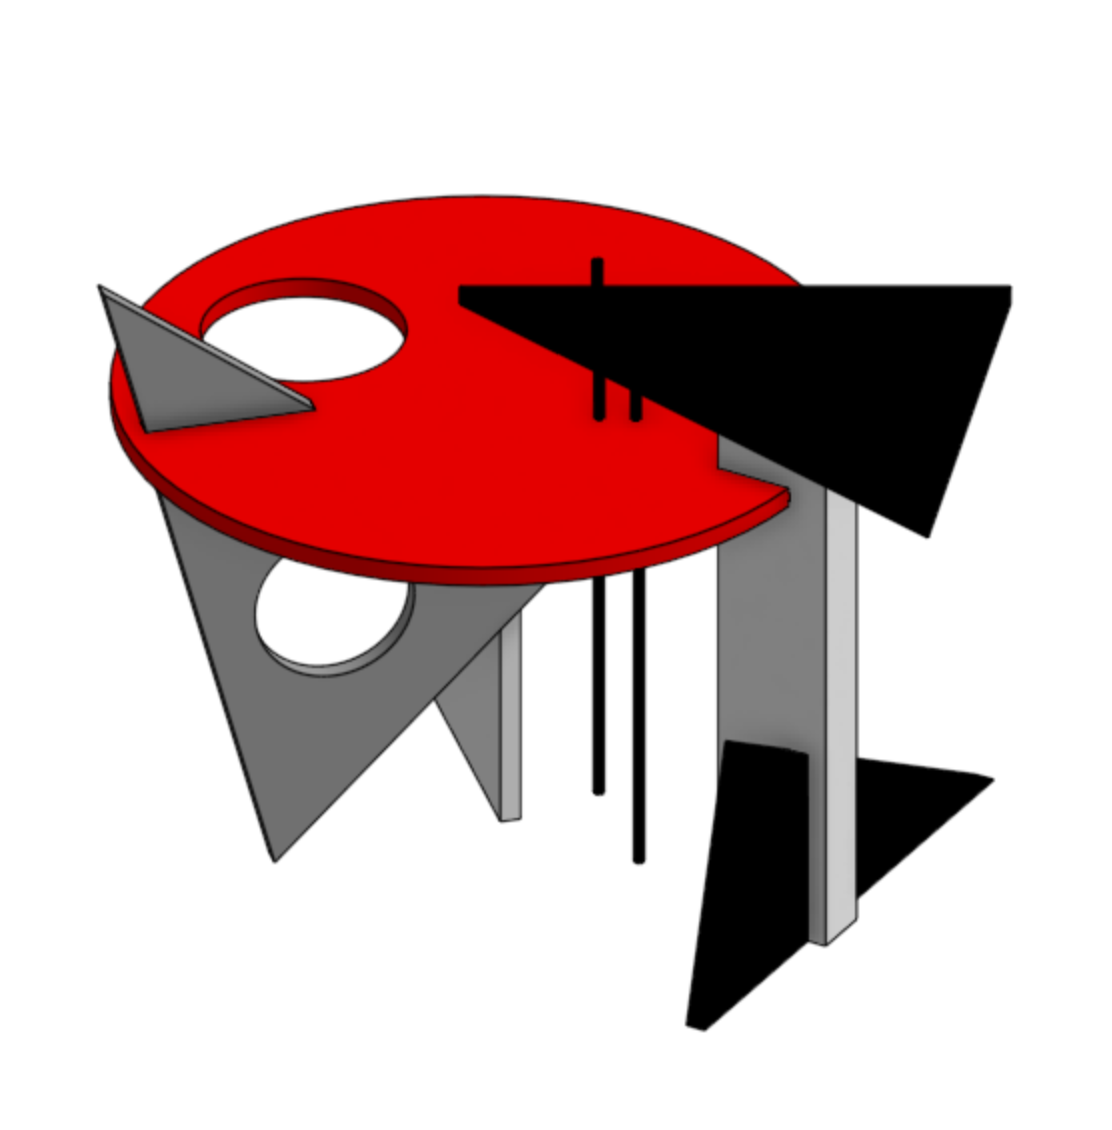
Here were a few preliminary ideas. I realized that, while making shapes “overlap” in 2D was easy, it was pretty difficult to envision my table as a real 3D object by just sketching. I messed around a bit with “sketching” in CAD (extruding/assembling without dimensioning or mating anything) (it felt pretty sacrilegious) before remembering that good ol’ fashioned cardboard exists, and I made a solid maquette using that (not pictured sadly).
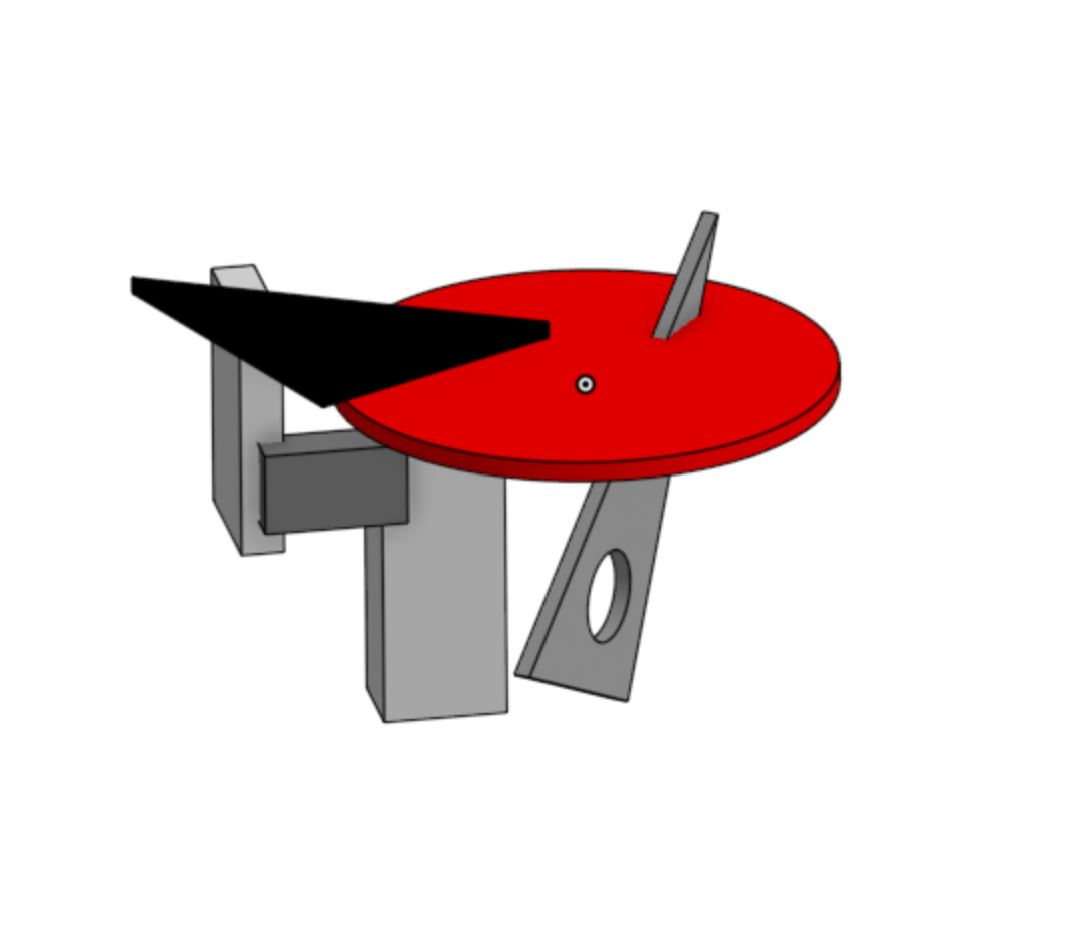
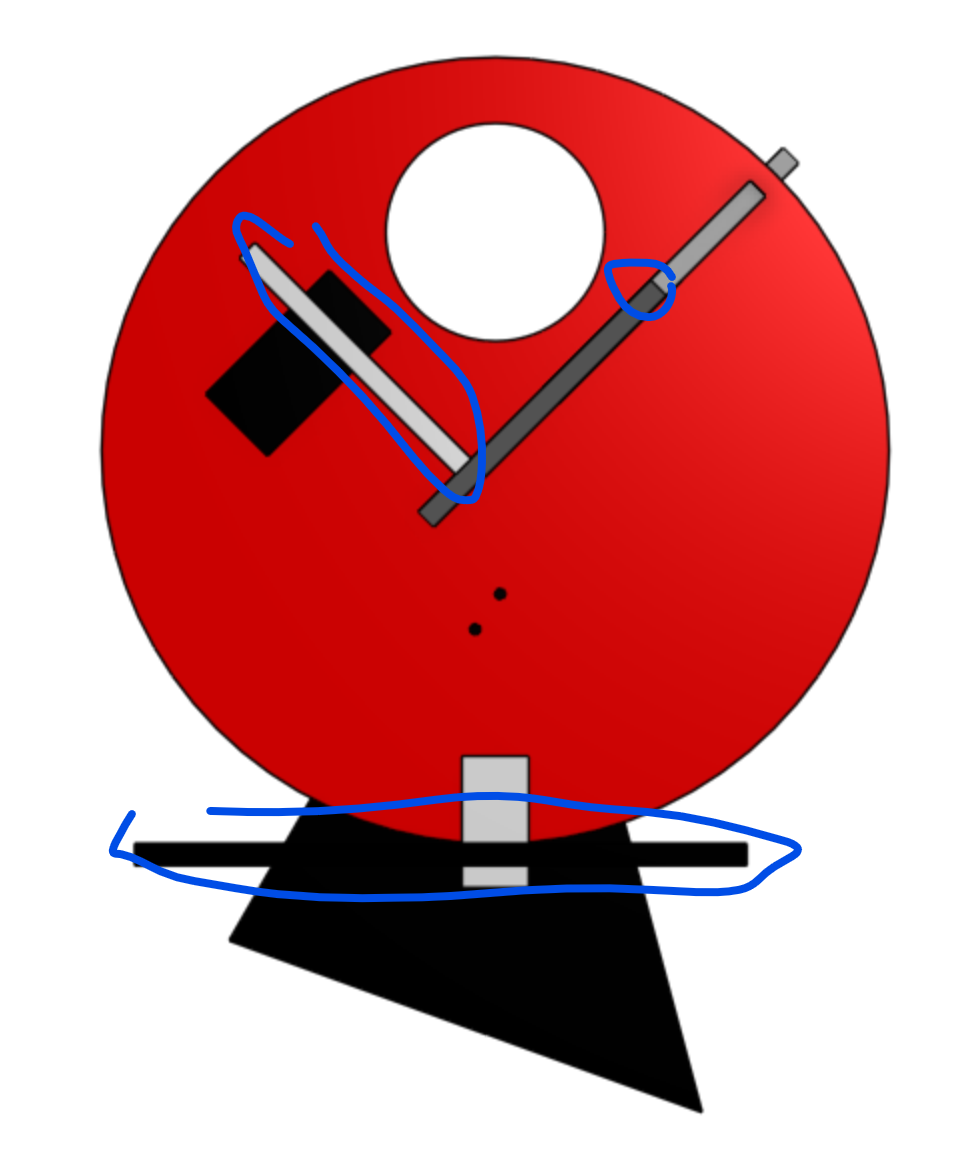
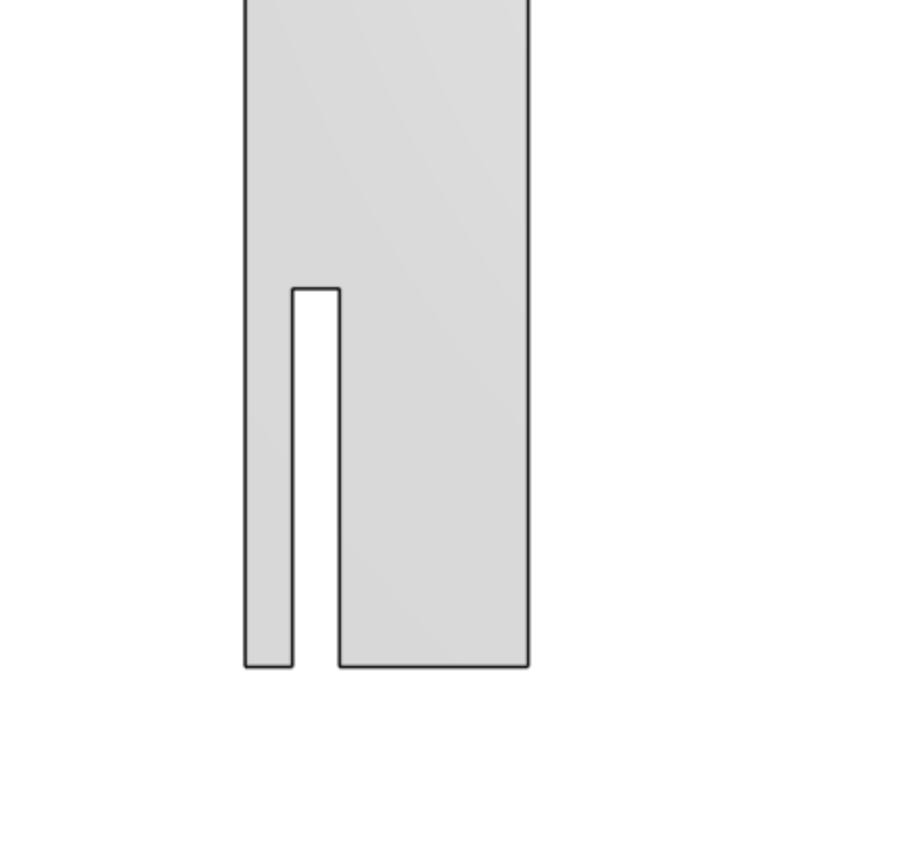
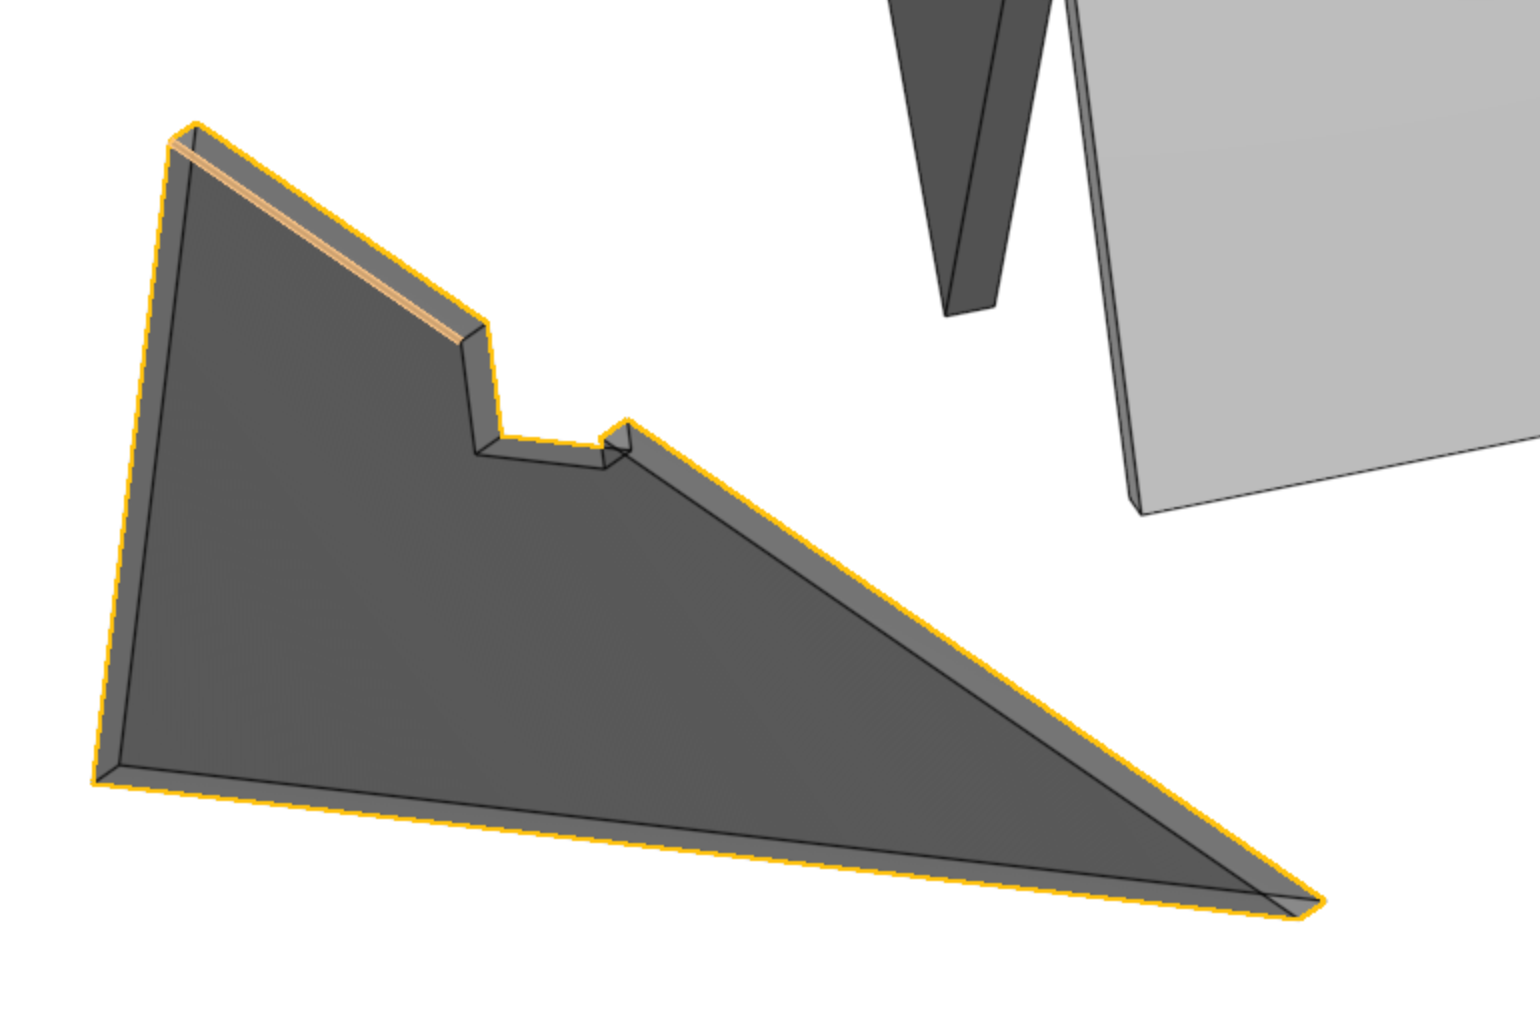
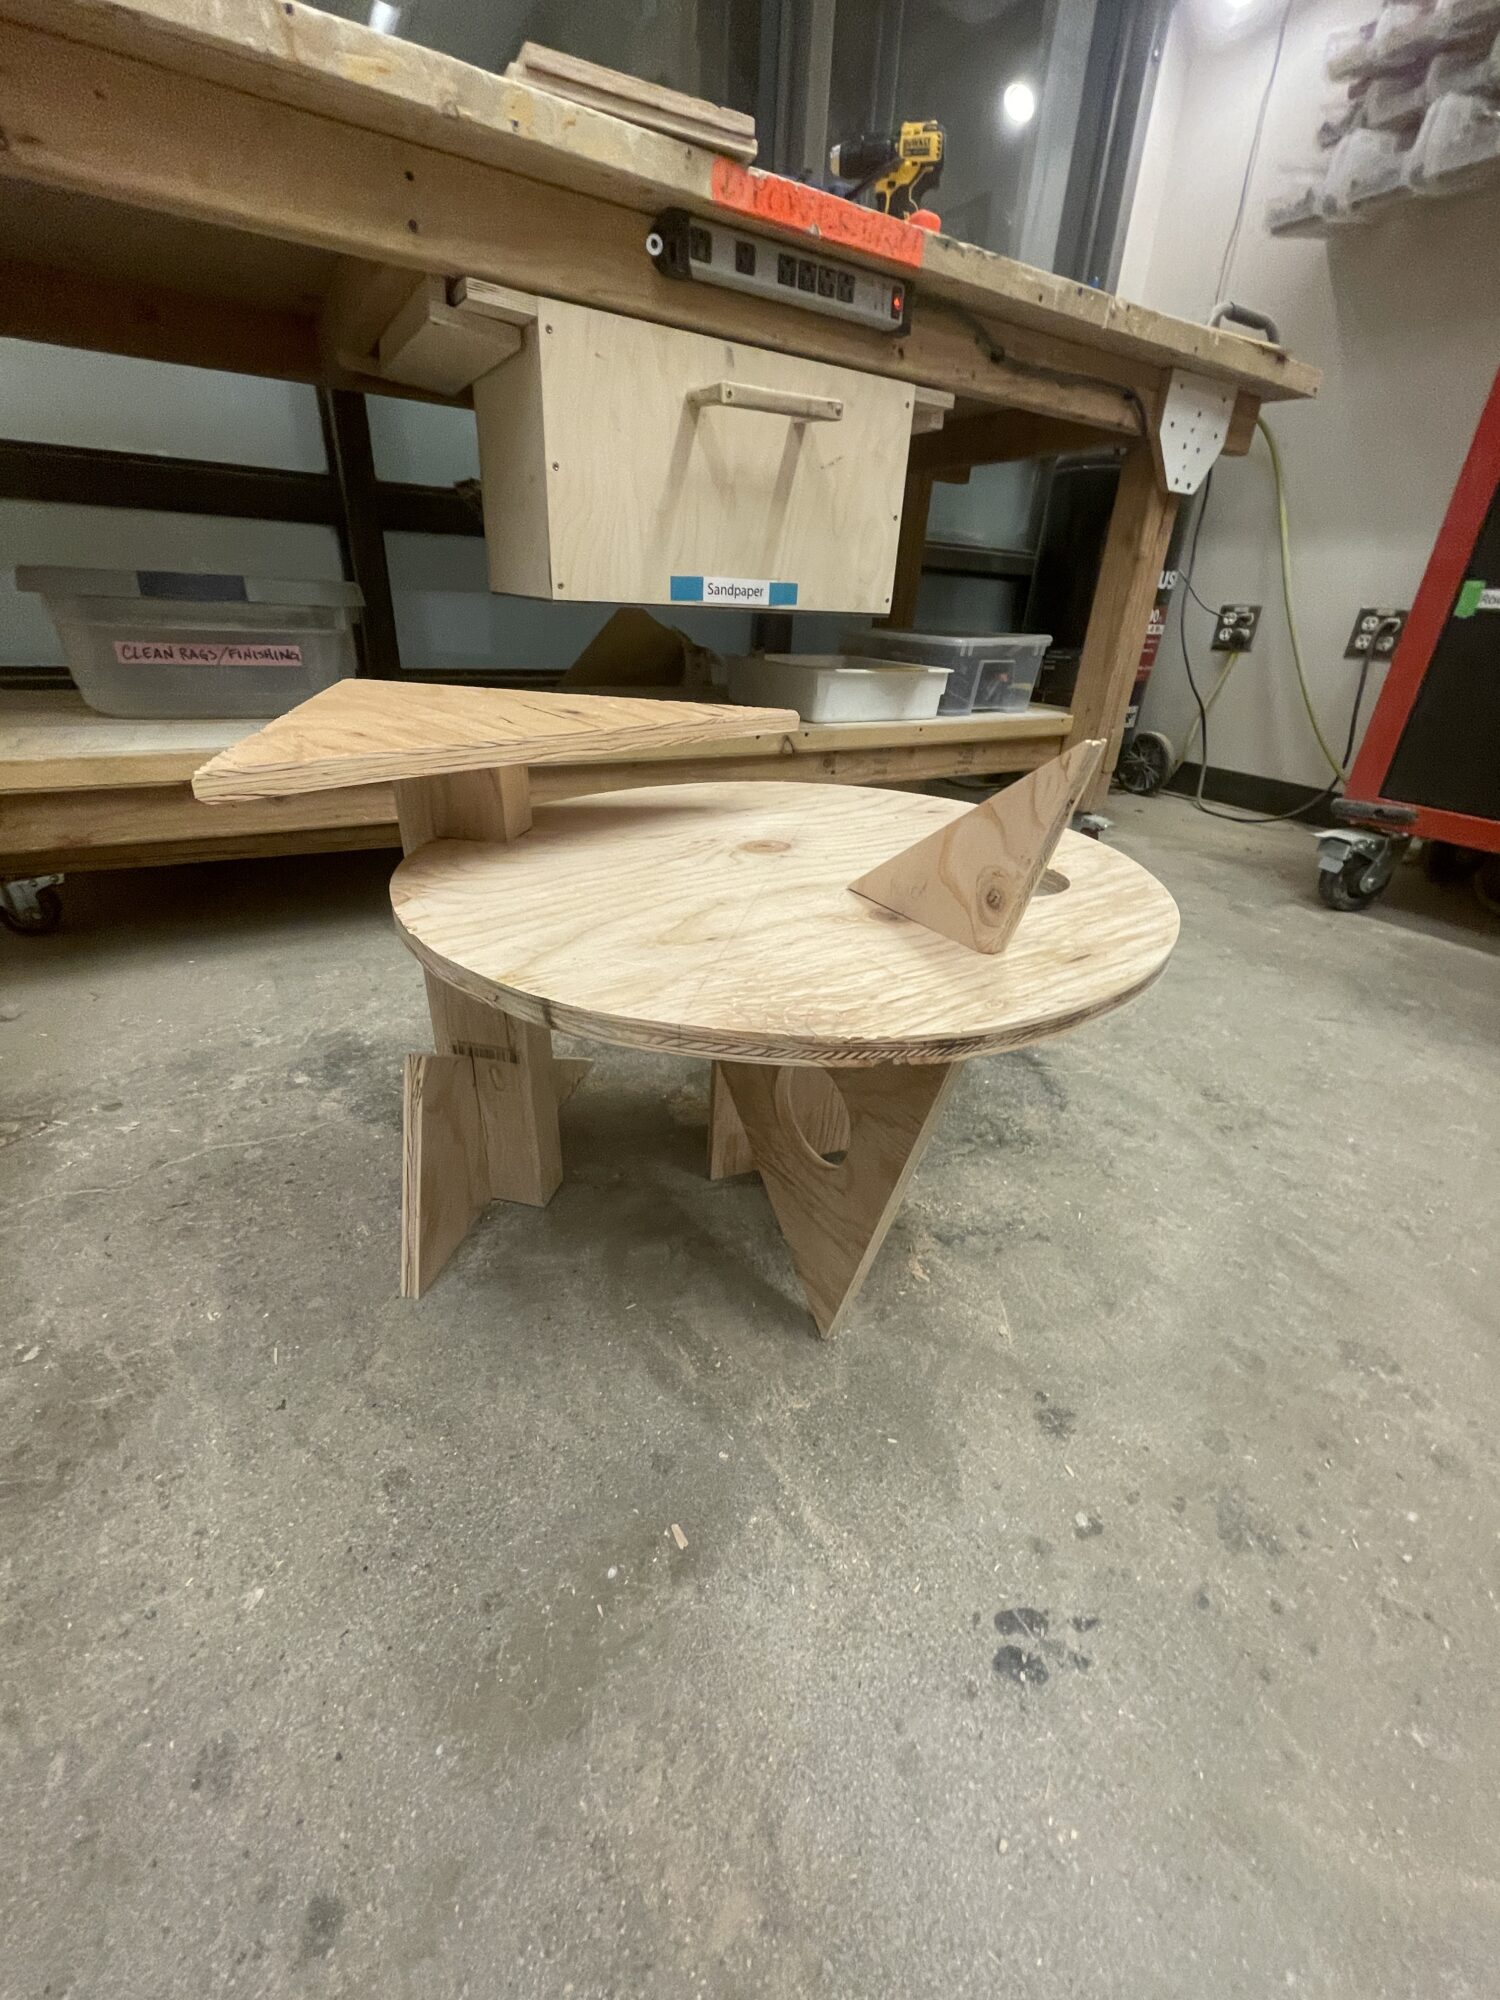
Thus, the final design was born. It featured a big red circle (yay!) with a hole cut through for artistic effect (maybe a cupholder?) and a nesting feature with a black triangle over it. I incorporated Constructivism’s classic parallel skinny lines by having a few thin dowels support the other end of the triangular tabletop. It had three legs. One was a large gray triangle “piercing” the circle (aka 2 trapezoids in the real world). Another was a tall white rectangle extruding to the side of the circle and holding up the nesting feature. The third featuring two interlocking rectangular pieces perpendicular to one another, and also perpendicular to the gray triangle. A lot of words, I know, but… I gave you pictures too. I wanted three legs to create a stable 3-point base, and I felt like these three were visually distinct and each upheld the Constructivist aesthetic in their own way.
Points of contact with the ground (to ensure stability, the black dowels would hover just barely above the ground).
Additionally, I planned to use joinery to make each component fit together stably without to avoid overreliance on screws or wood glue.
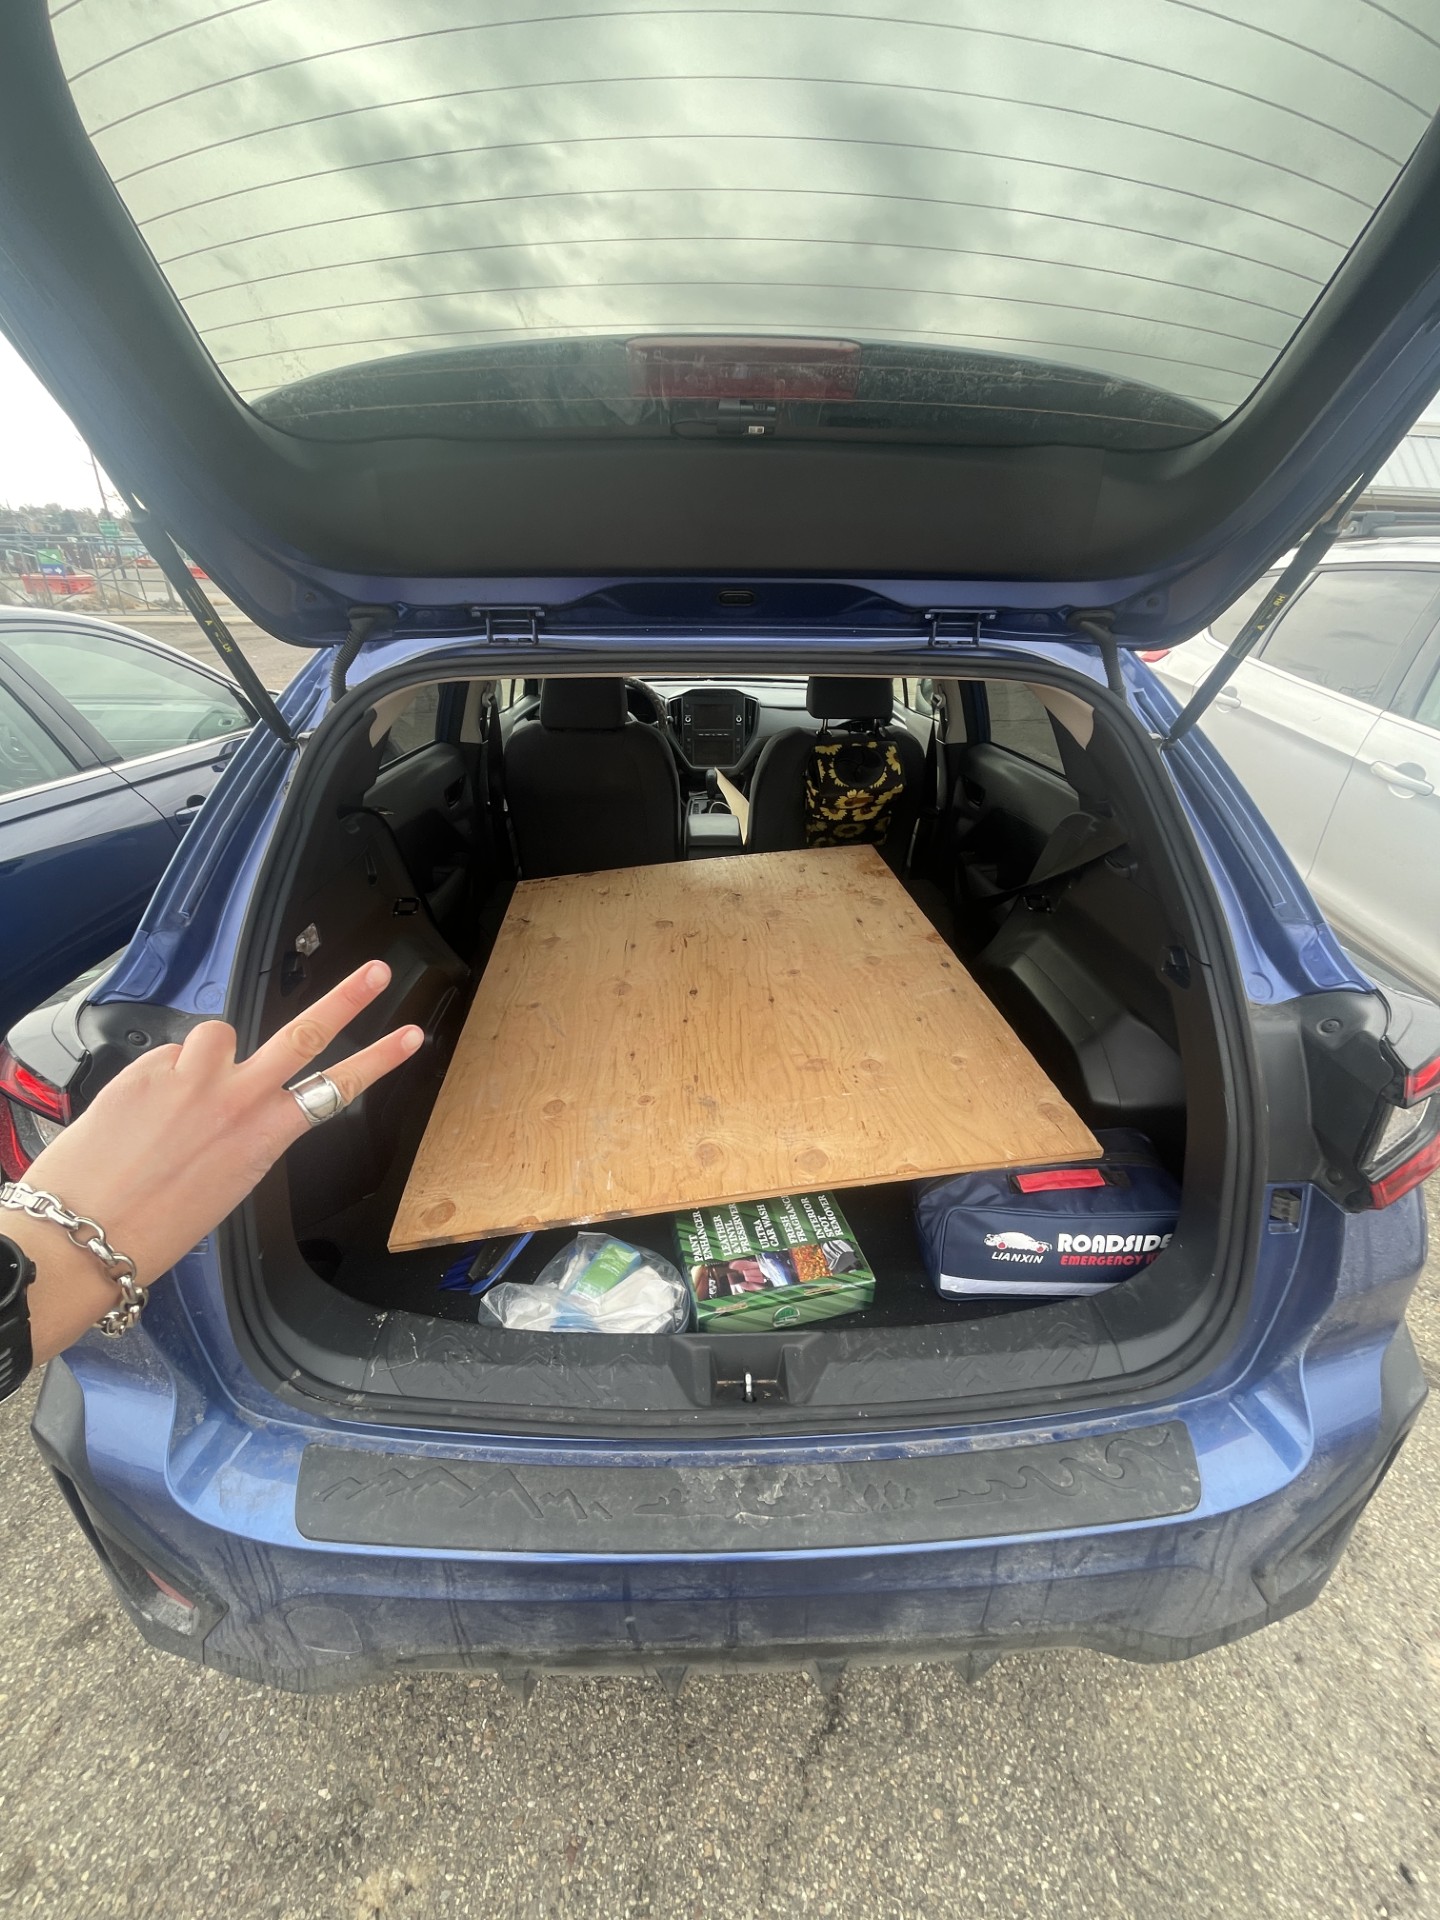
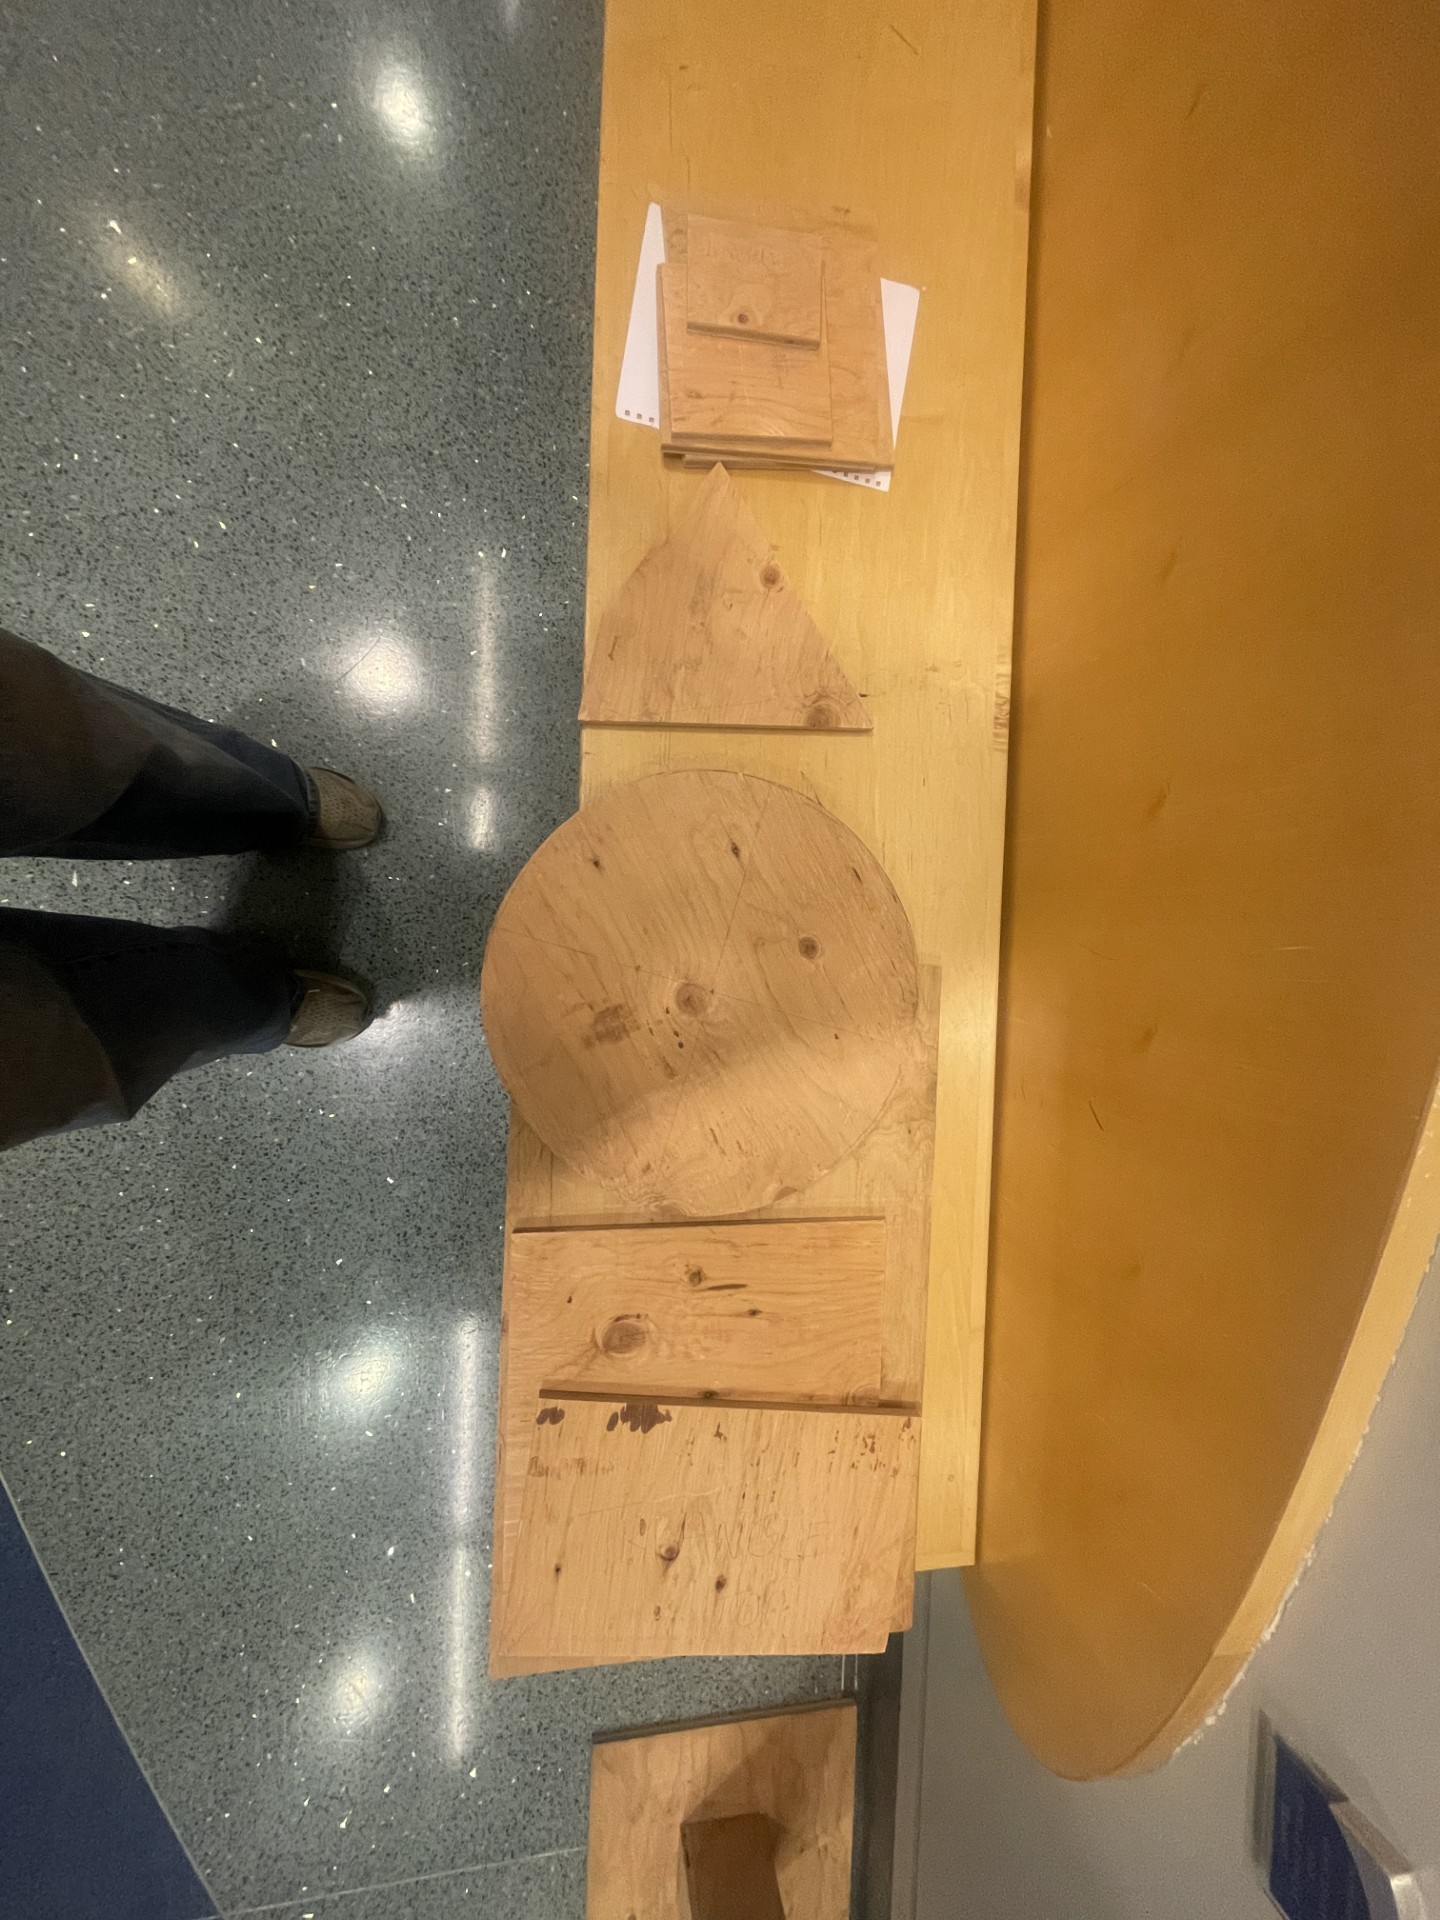
Now for the fun part. I bought this huge sheet of upcycled plywood from EcoCycle and began cutting out my major shapes. The table saw, miter saw, bandsaw, and belt sander became my best friends throughout this project. I wanted to do some fancy jigsaw compass technique to cut the circle, but I gave up and just freehanded it then sanded the hell out of it. Worked well enough. That’s another thing I learned very quickly – I wasn’t going to craft this perfectly. I think in woodworking that’s theoretically what you’re supposed to do, but I didn’t have the skill to get everything perfect on the first try, or the time to fix any small mistakes. Some prayers would be involved.

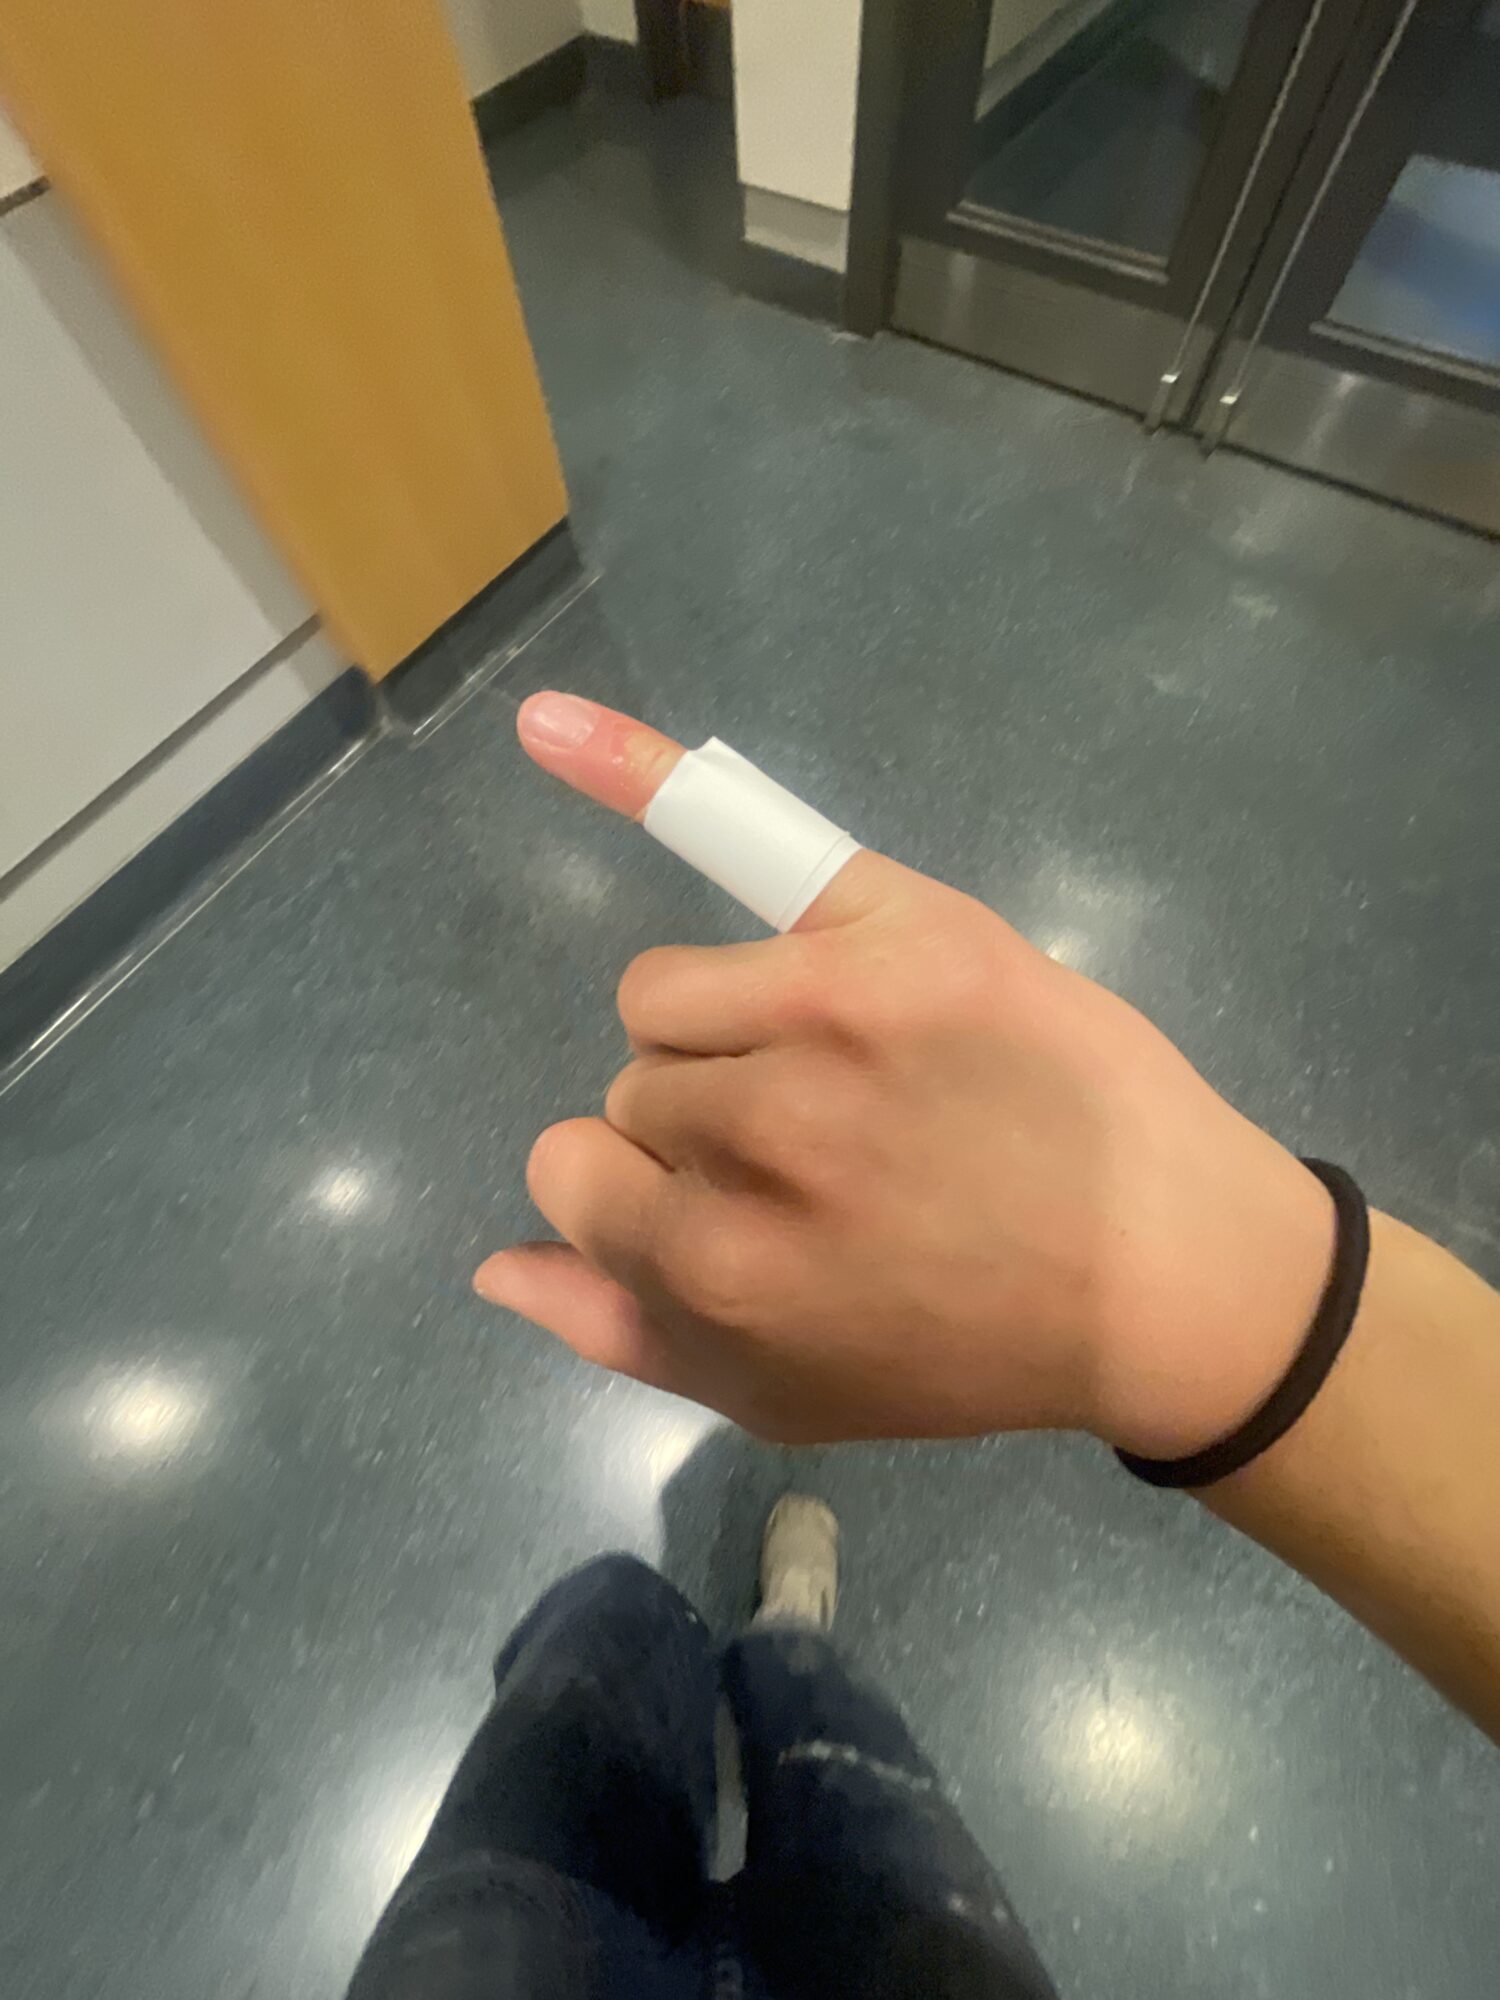
Apparently I didn’t upload many progress photos to my computer but these hours were all a blur anyways. Blood was shed. Morale was restored by good joinery. I questioned numerous times whether or not I was capable of 7th grade math as I set up angled cuts on the table saw. I messed up a lot of them but you can’t really tell, as I just accepted my new dimensions and ran with them. I’m still not really sure I understand how table saw angled cuts work. But that’s okay.
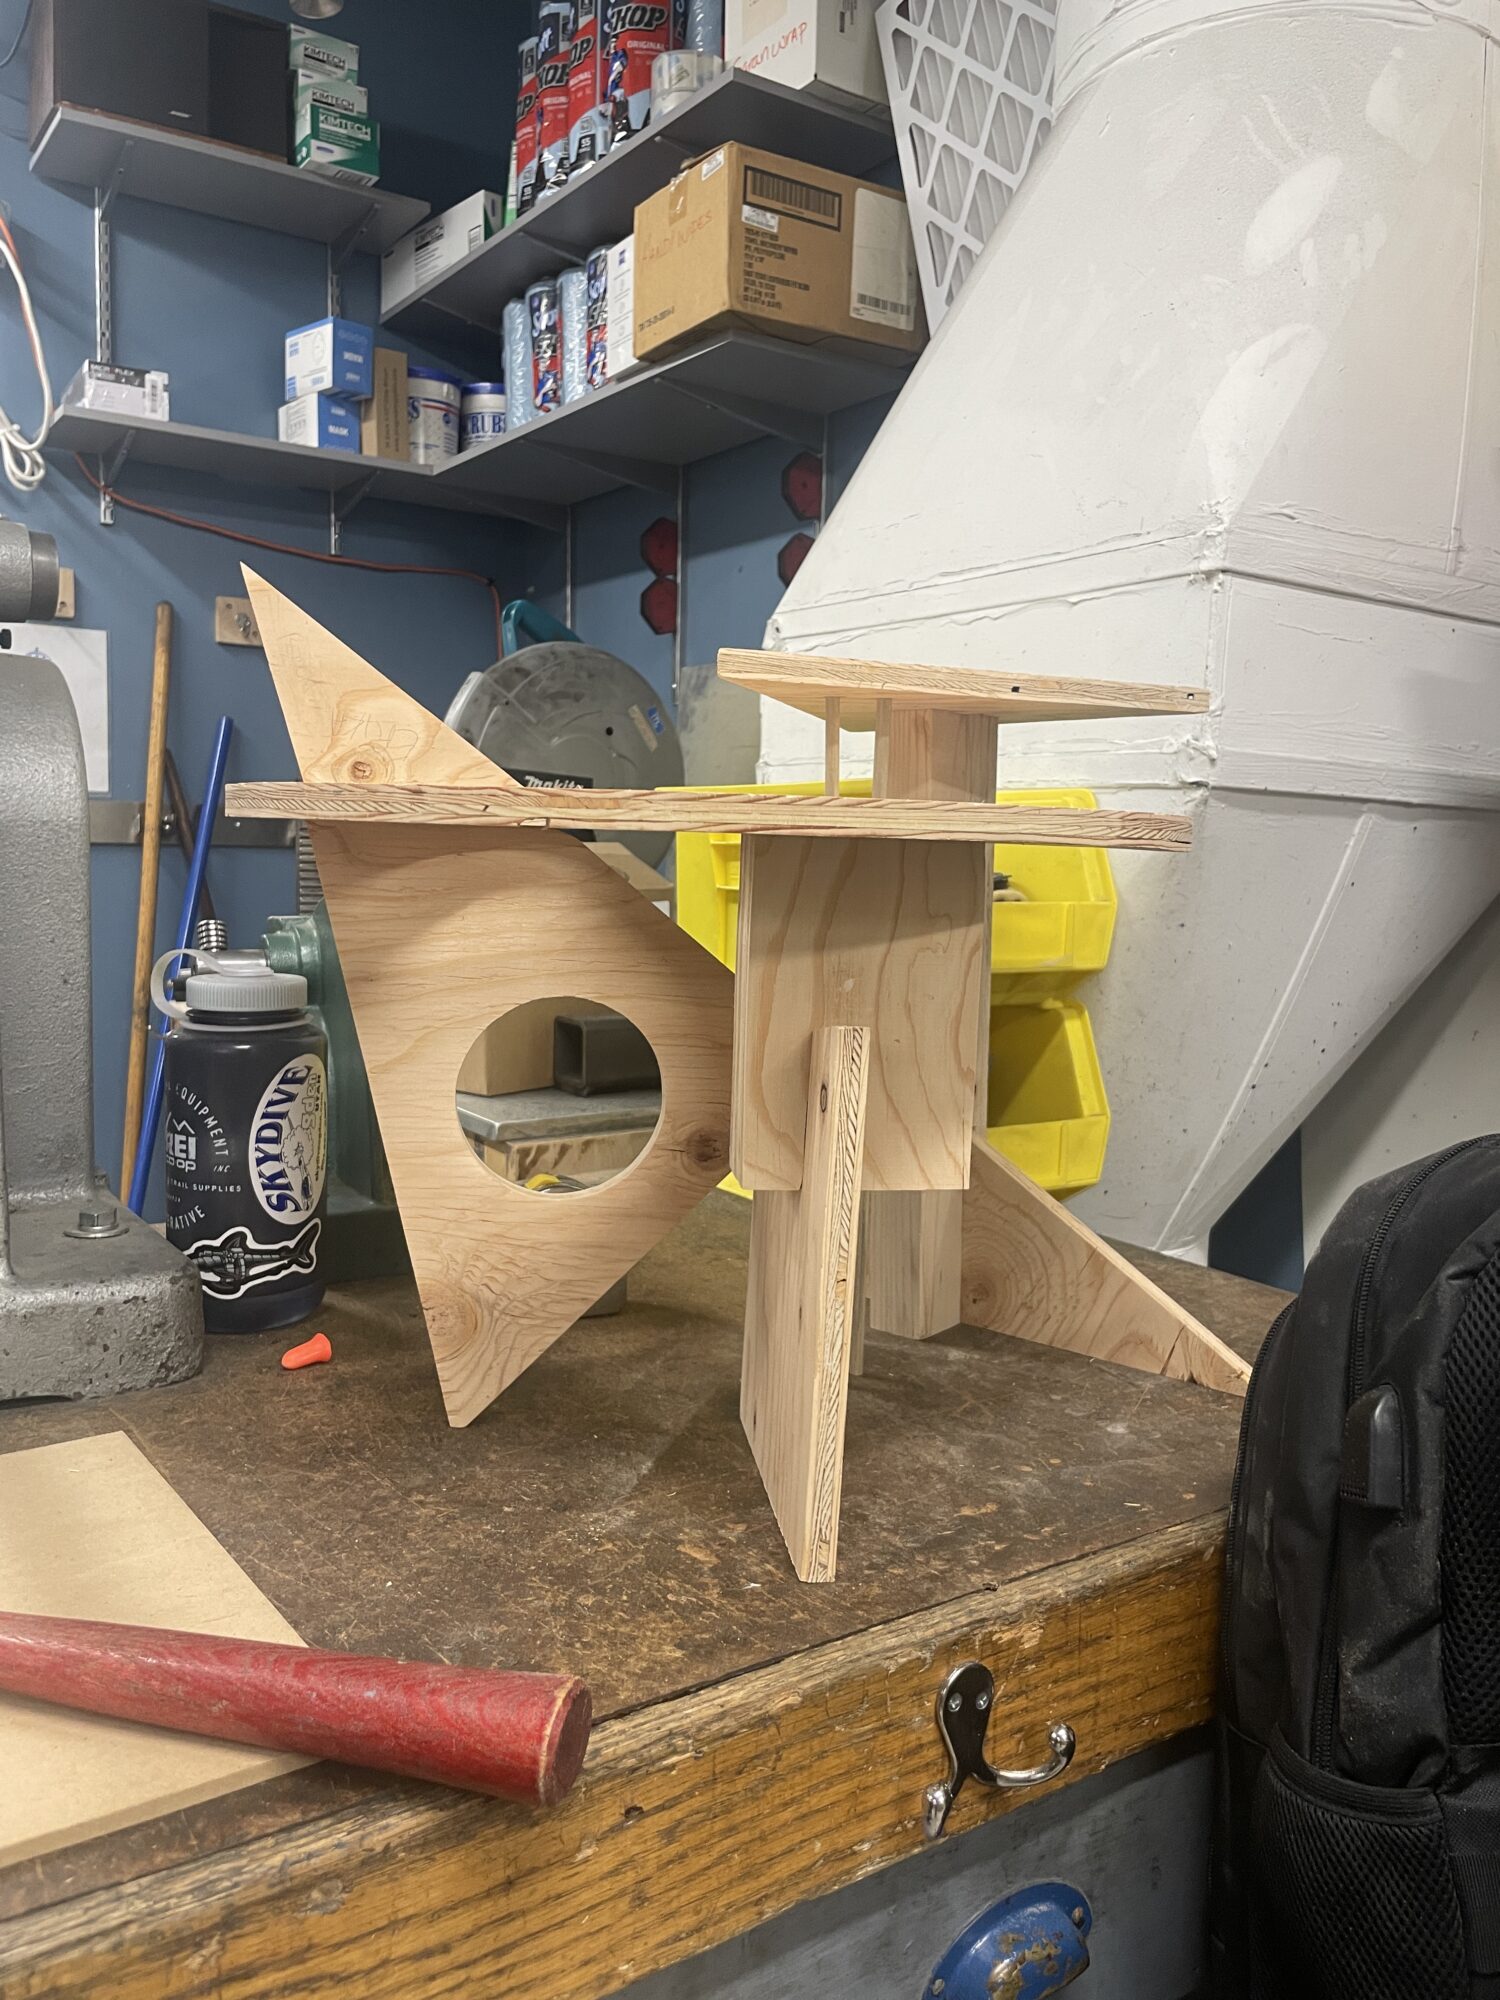
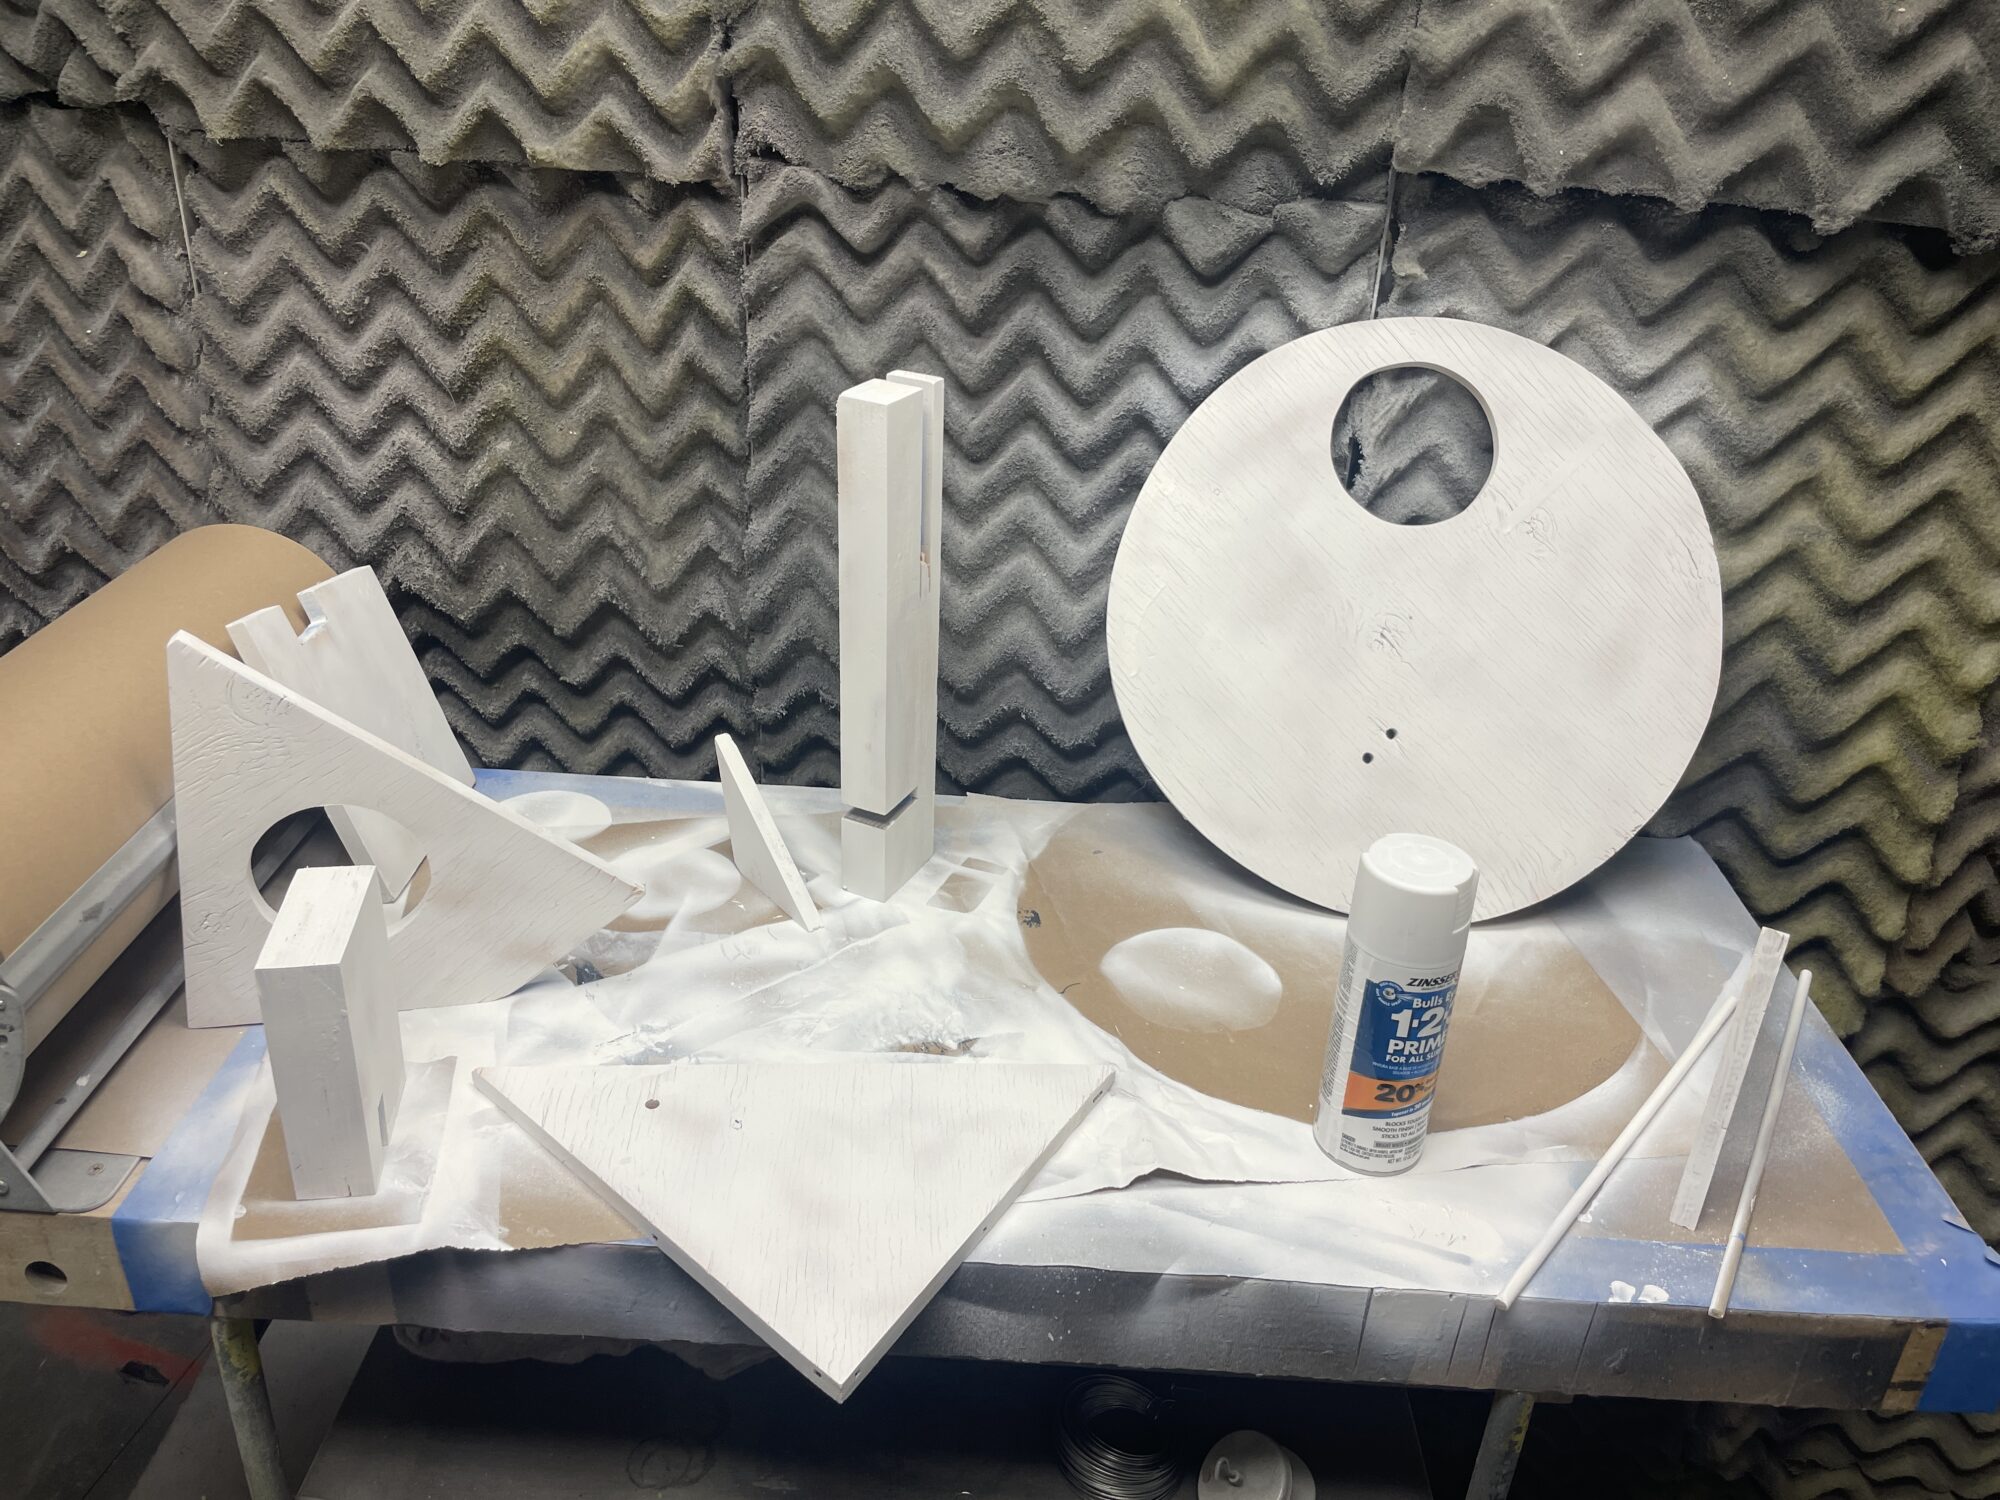
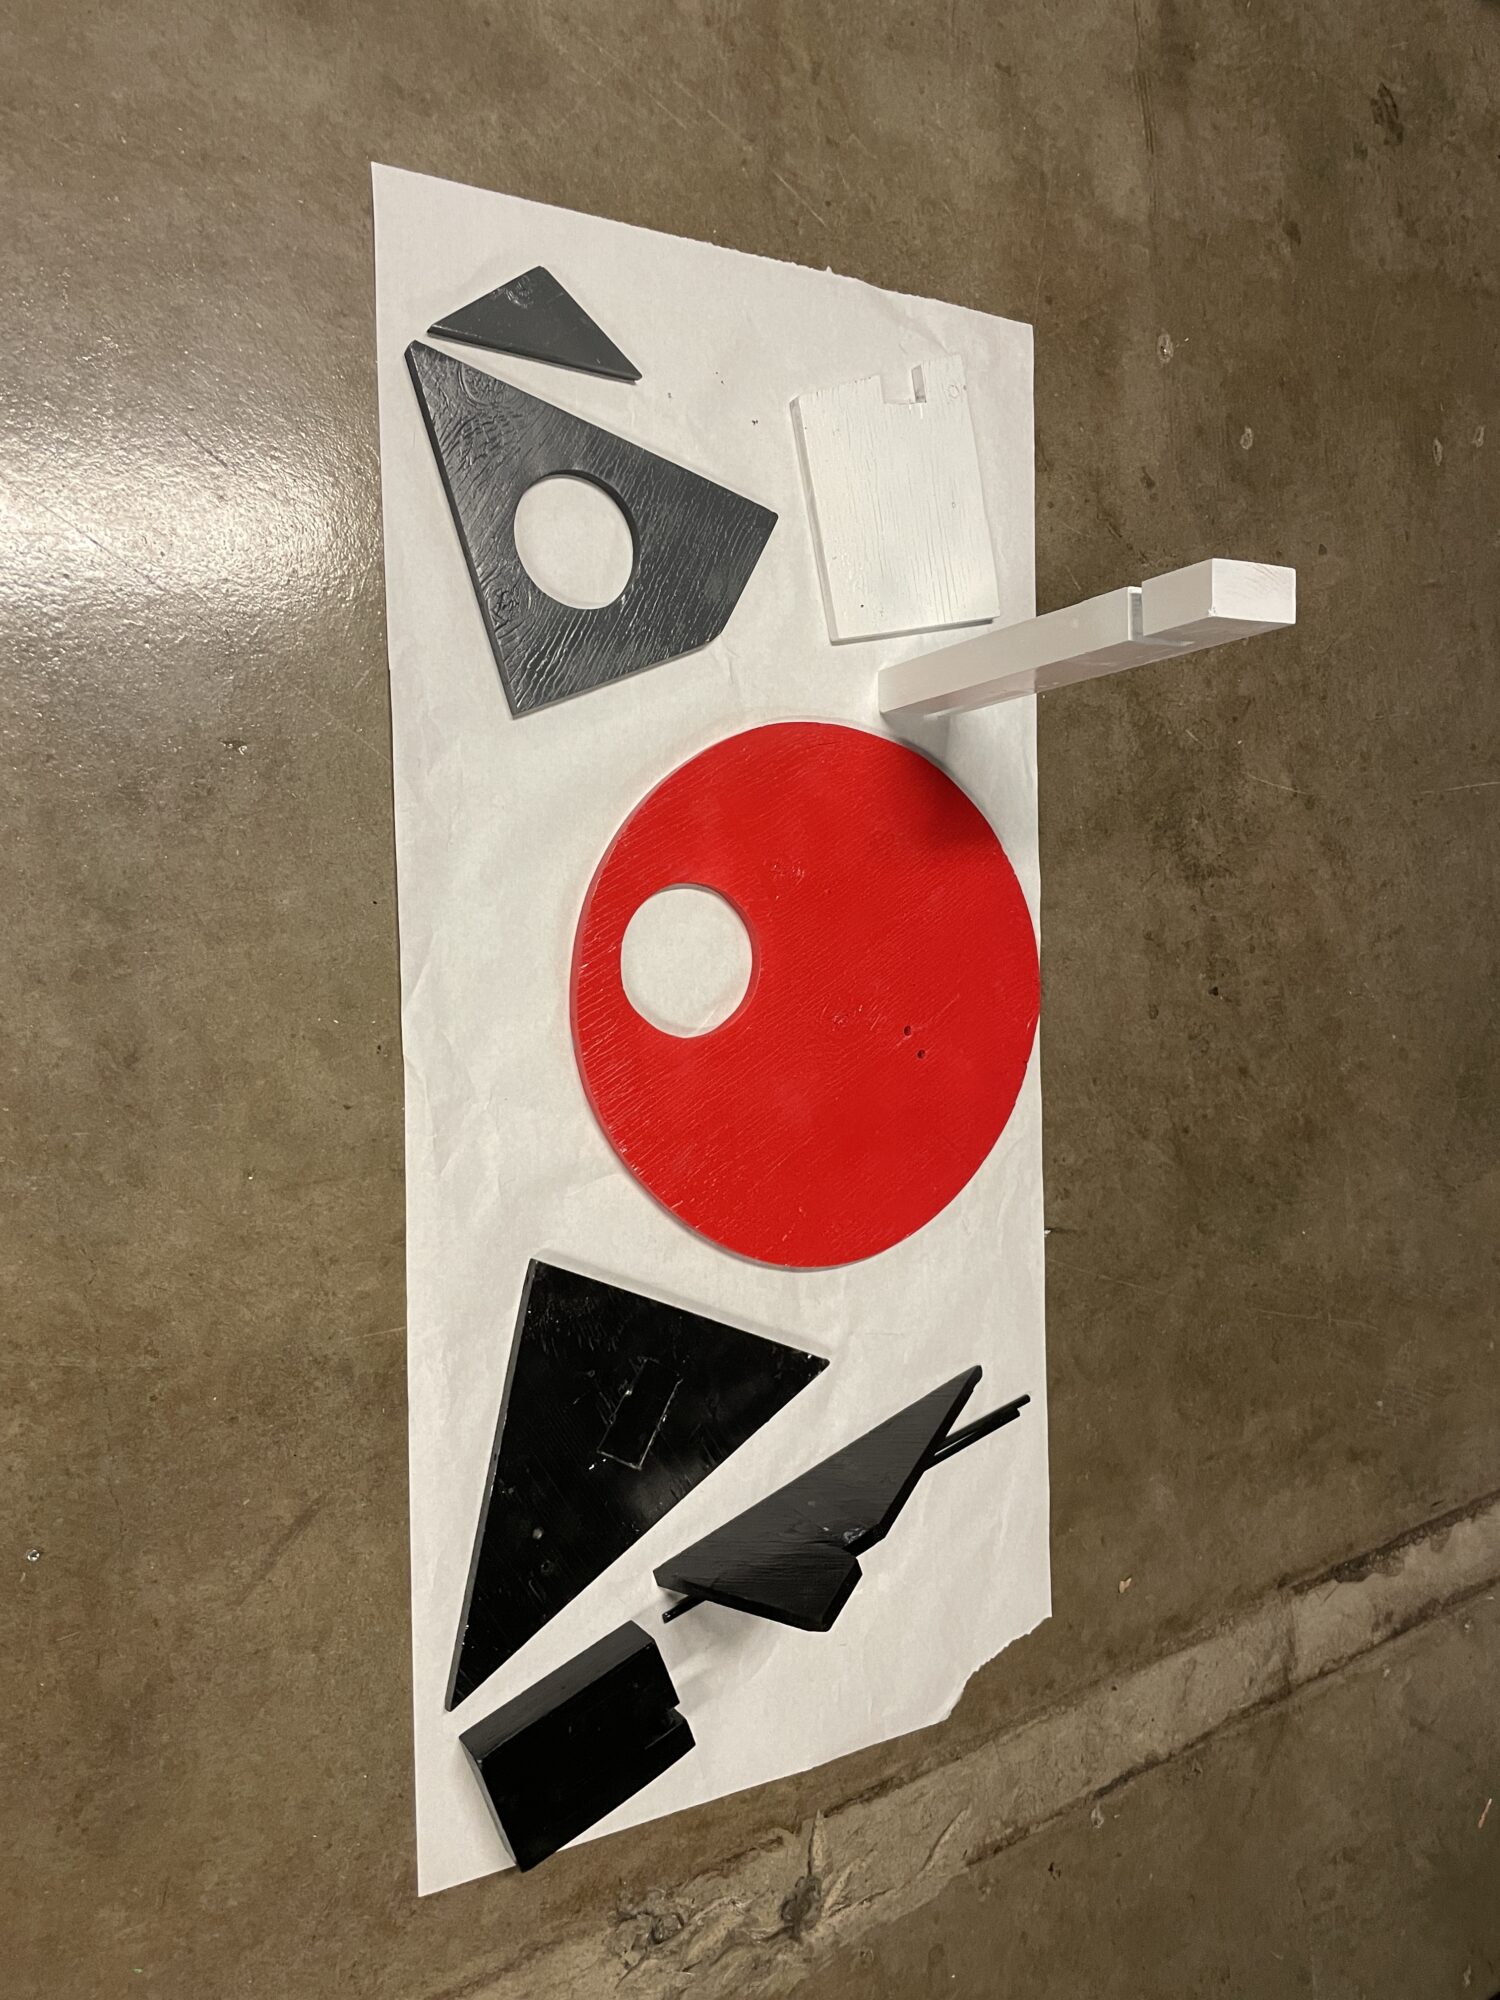

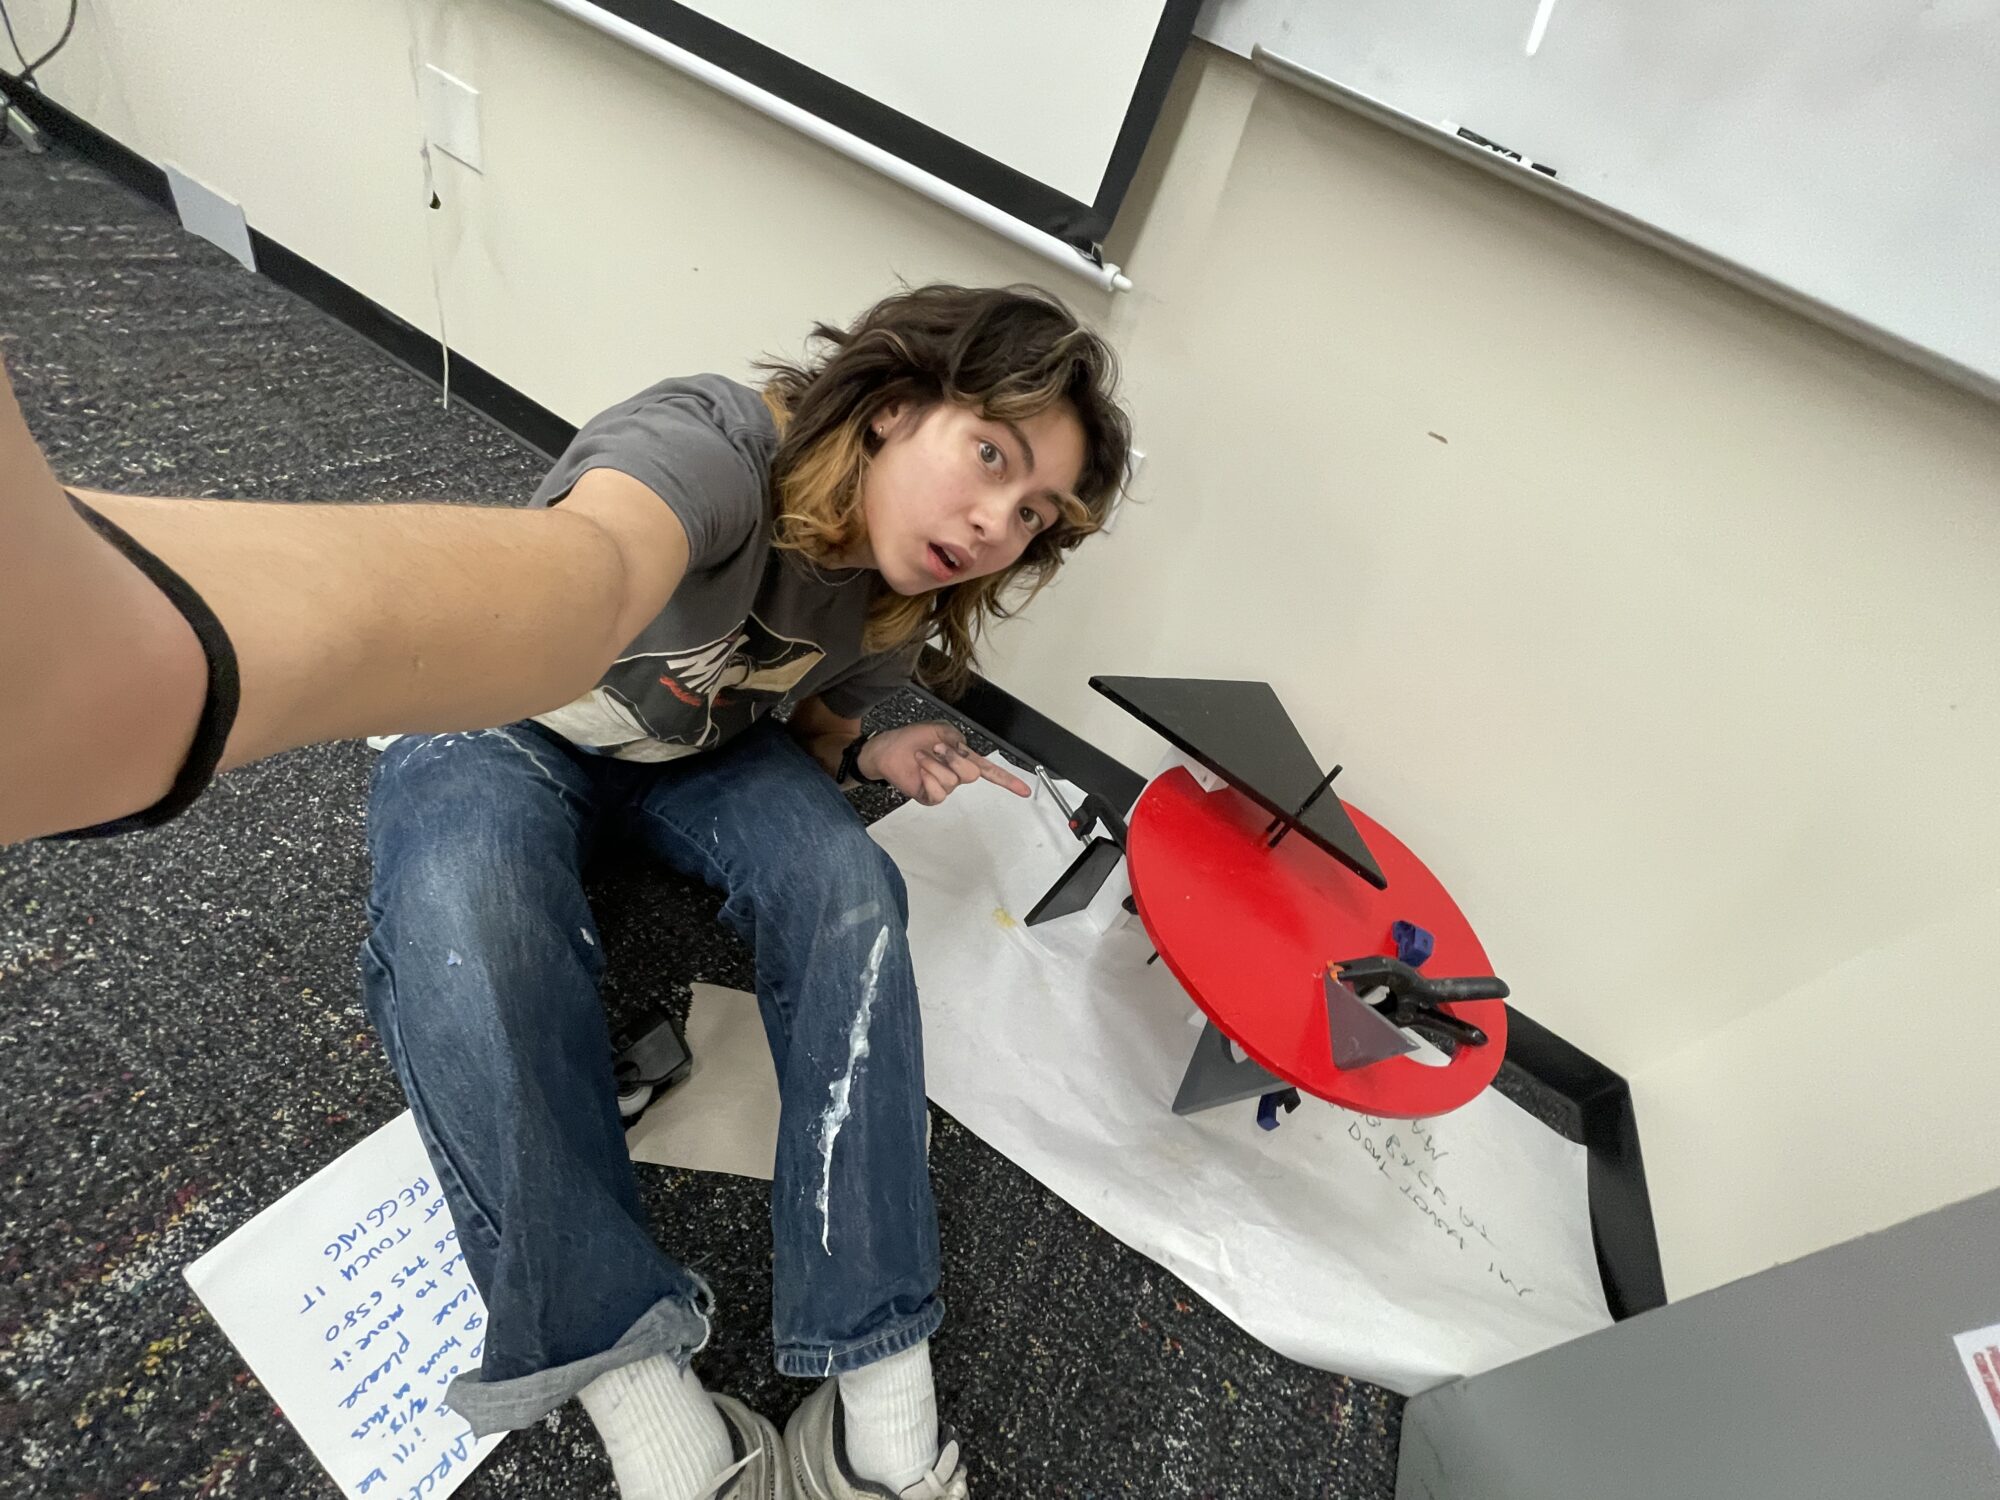
And now, the final push. Please note that all of these photos were taken between 11am and 6am on the day before (and day of?) this project was due. I am good at time management. I found 1/8″ wooden dowels on the floor of the Visual Arts Complex (VAC) – call that upcycling. I spraypainted until 9pm when I got kicked out of the VAC spray room. I totally thought it was open 24/7 and panicked. Luckily, I remembered I could spray paint outside of the Engineering Center, and looked like a total maniac running around at night tending to my various pieces of wood. Given how many coats I needed, and because random outdoor debris kept screwing with my spray paint, this took MANY hours. Eventually, my friend Ian (also cramming his project) and I moved to the Idea Forge, where I assembled everything together. I left it in a classroom “overnight” (from 6am-noon) with a note desperately begging for anyone passing by to leave my project alone. You can see the insanity in my eyes. I went to bed as the sun rose, slept through my 9am, and presented this table to my class.
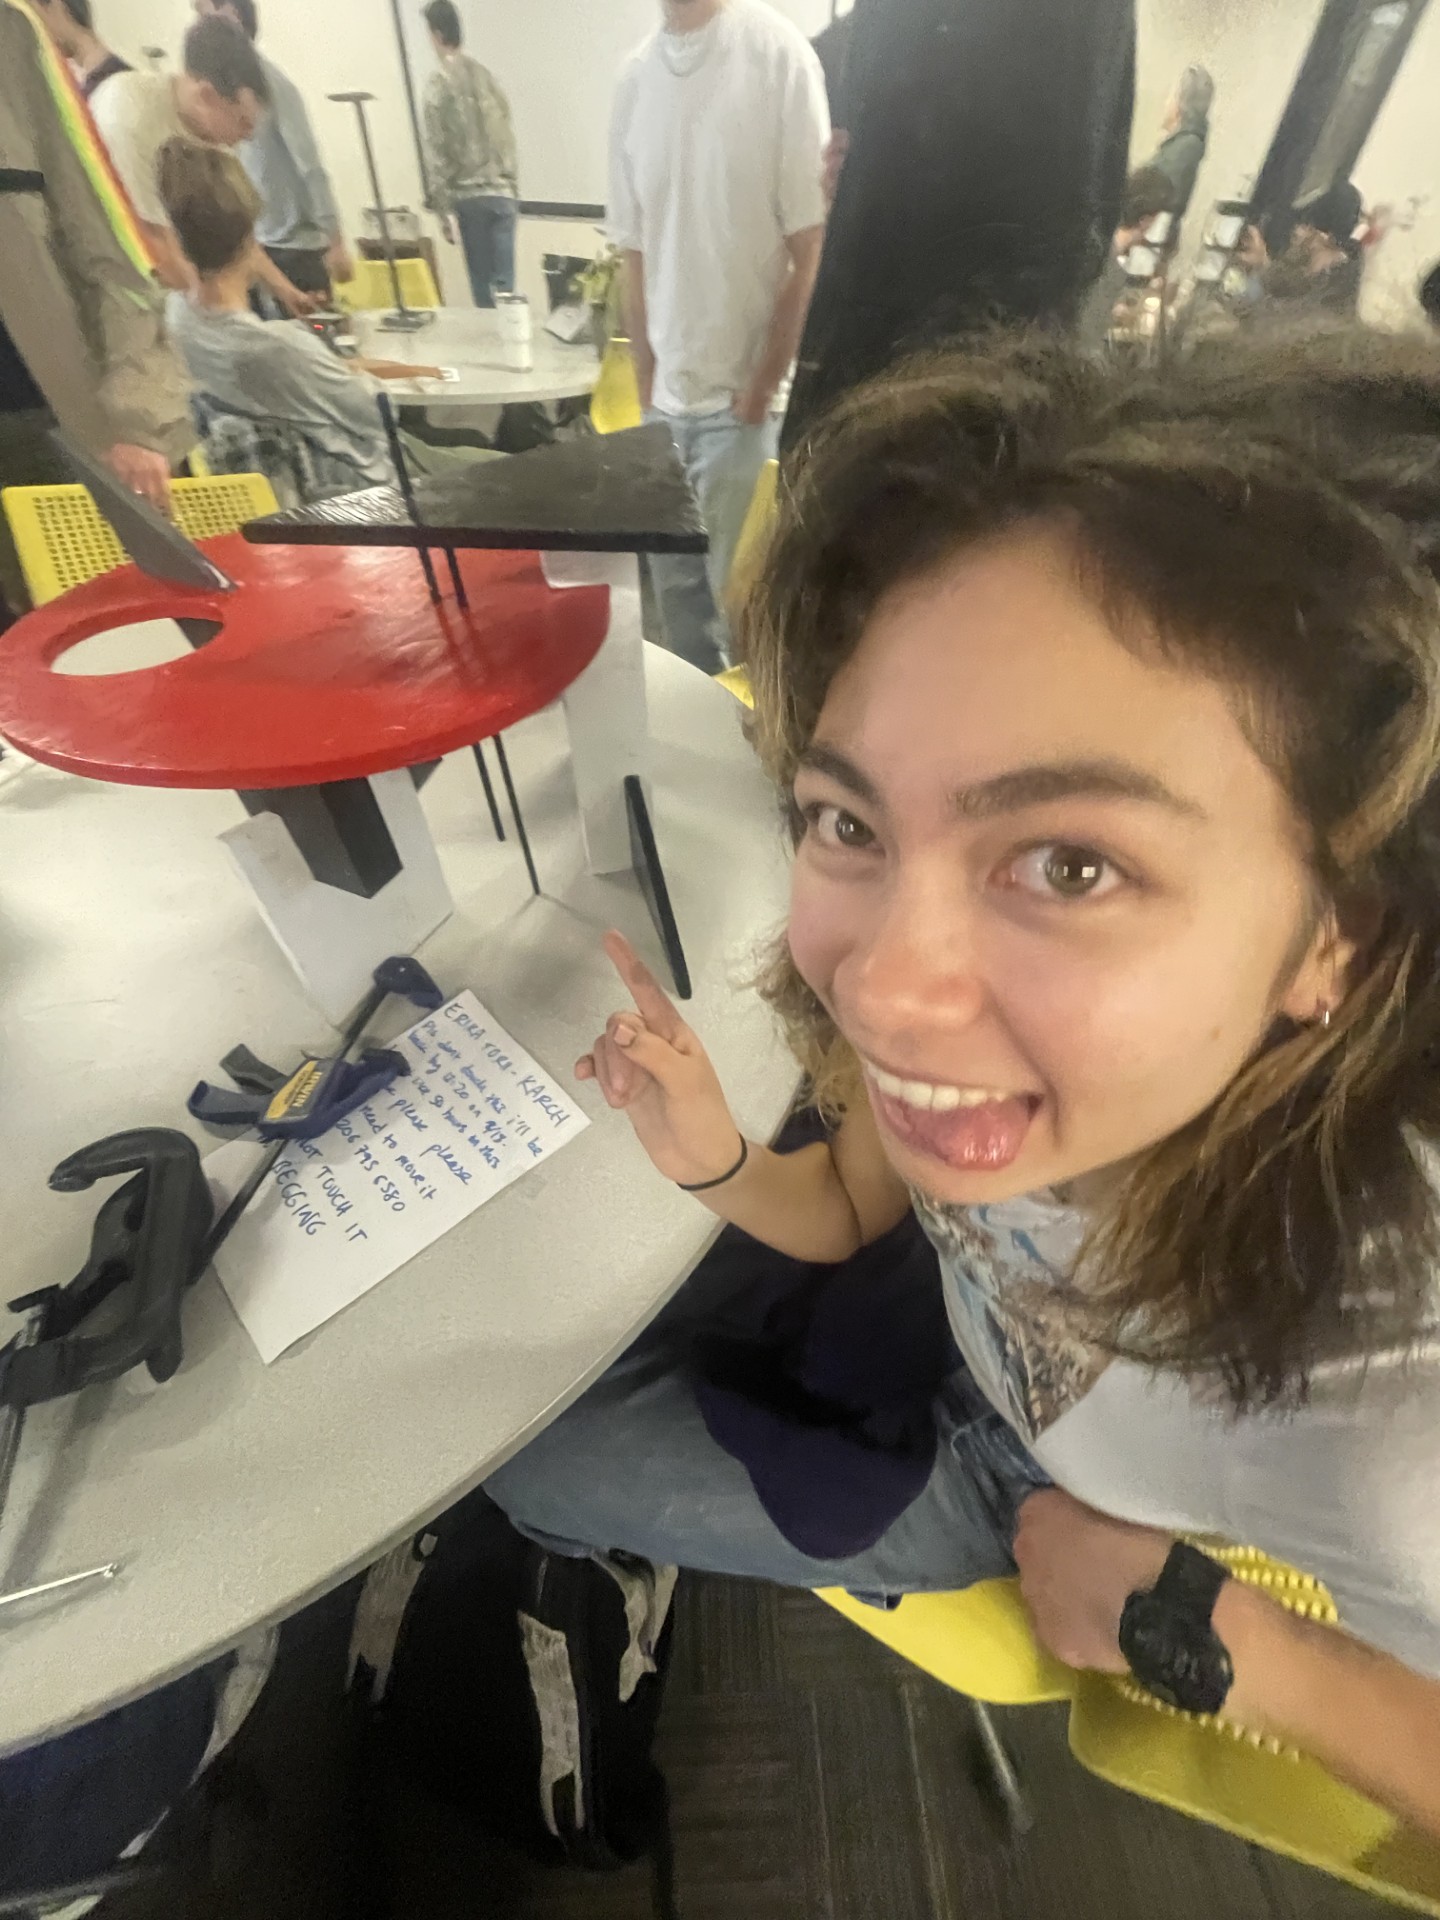
And here it is! The constructivist table. Ultimately, I had a TON of fun throughout this project. While I theoretically know woodworking and worked at the Idea Forge woodshop my freshman year, this was the first time I put my skills into practice for an extensive project of my own design. There’s a lot that you only learn through making your own projects, and I realized how much I still don’t know. While there were a few flaws in my craftsmanship, I’m overall insanely proud of this table. I hope I can make more projects like it in the future.