
Now that my initial sketches, pieces of fabric to cut, and dimensions are completed, I can finally start making my own snowboarding pants.
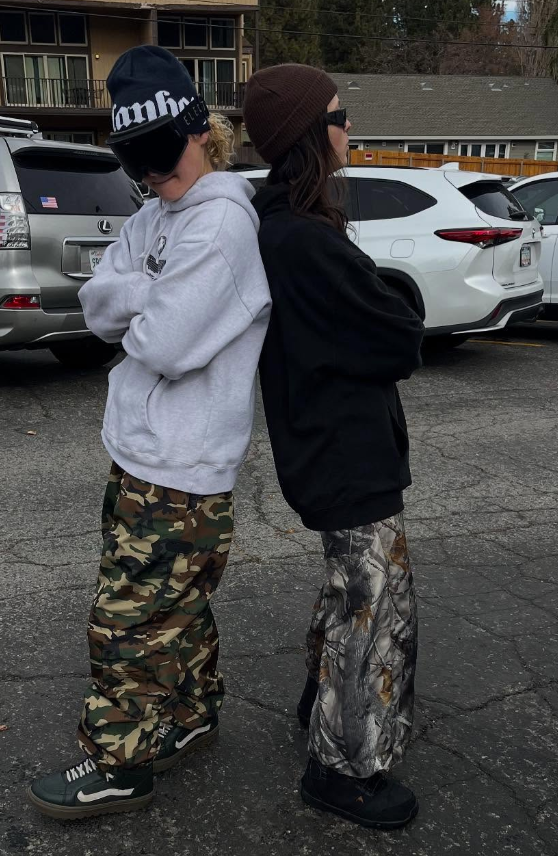
As a quick refresher: I wanted to design pants that are both stylish and functional, inspired by my love for snowboarding and my passion for making clothes (thanks, Mom and Nani!). The vision? Baggy, camo pants with big pockets and a waterproof exterior, and super comfortable, warm interior.
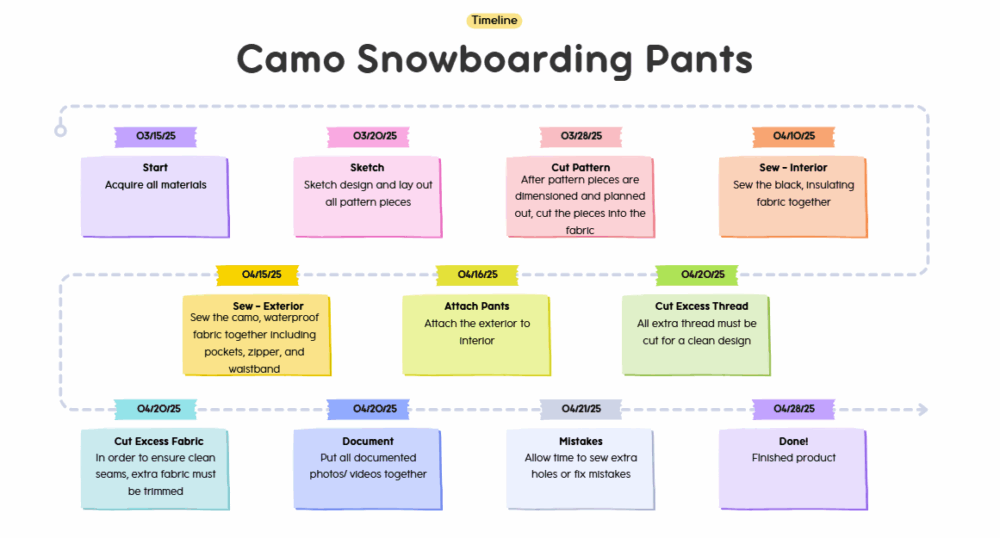
Timeline
Before I dive into the play-by-play of the making process, here’s the timeline I created to keep myself on track:
Now, into the nitty gritty of the design process.
Start
Armed with my inspiration from friends and professional riders, I went to Etsy for camo, water-proof fabric.

I also bought:
- Black thread
- Black, cotton fabric
- Button
- Elastic
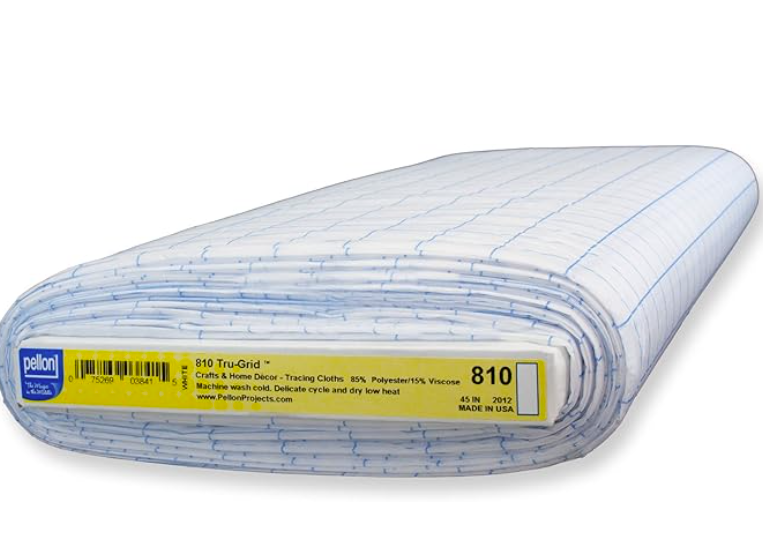
- Pattern fabric
I already owned:
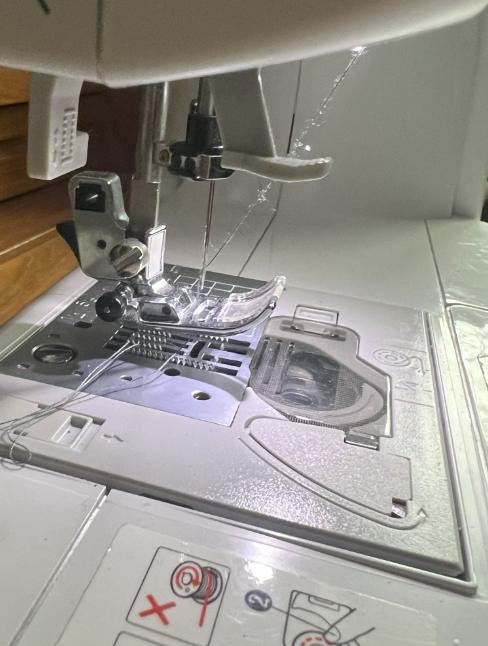
- A Brother sewing machine
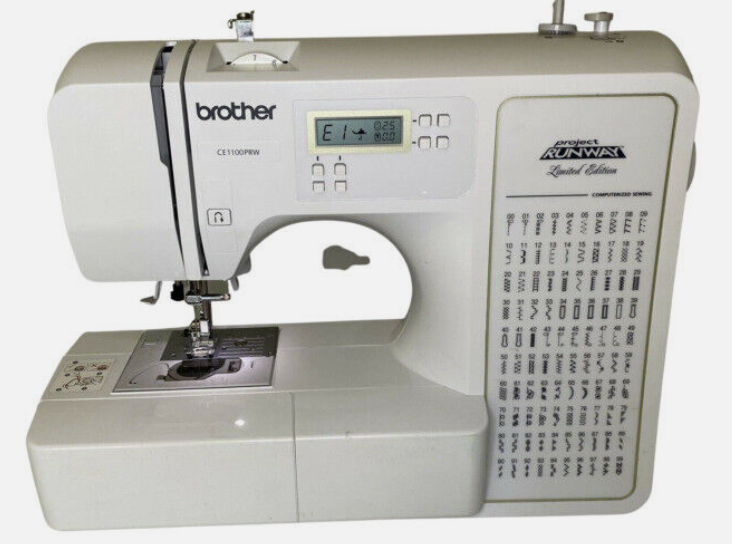
Figure 4. My Sewing Machine - Sewing matt
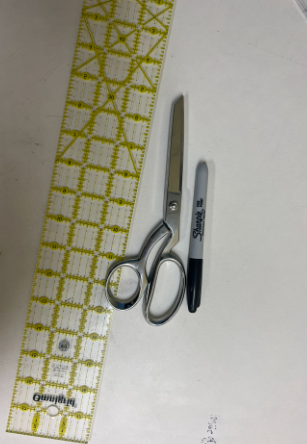
- Scissors
- Bobbin
- Measuring tape
- Fabric chalk
- Iron
Sketch
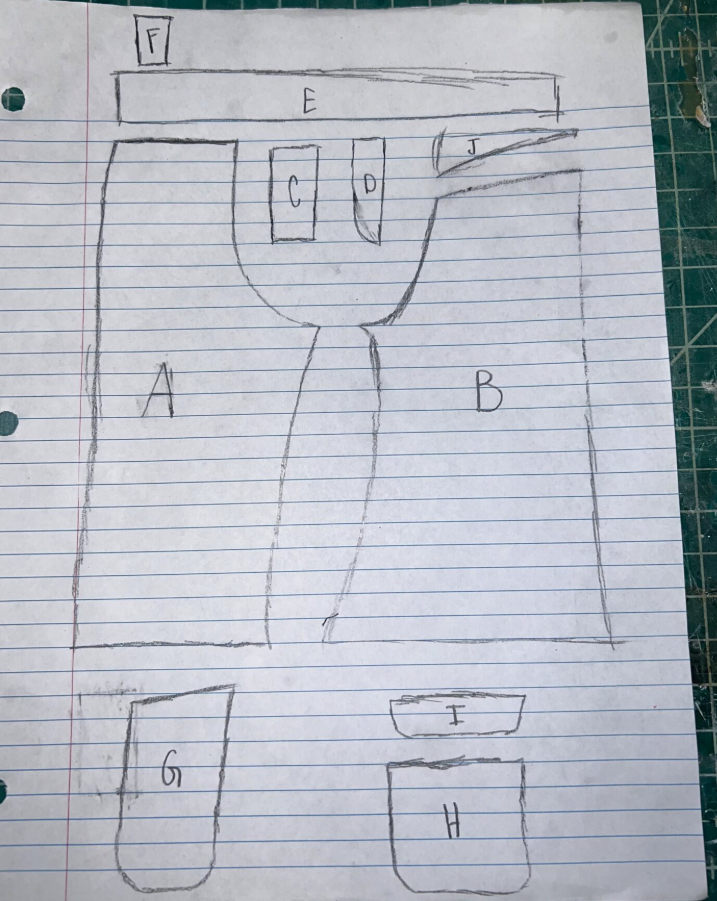
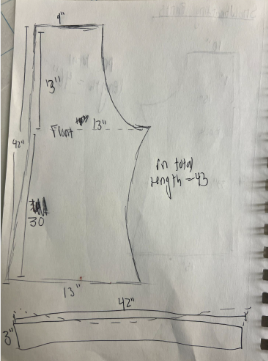
This was the fun, artsy part. I sketched my design, emphasizing large pockets because the ones on my old snowboard pants could barely hold a phone, let alone snacks. I used a pair of my favorite snowboarding pants as a reference for the basic shape but added extra width for that trendy baggy look.
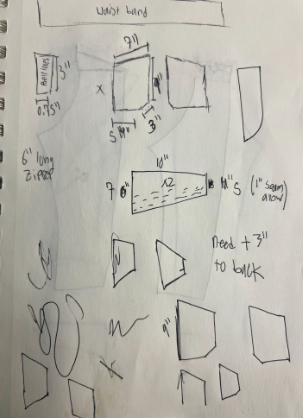
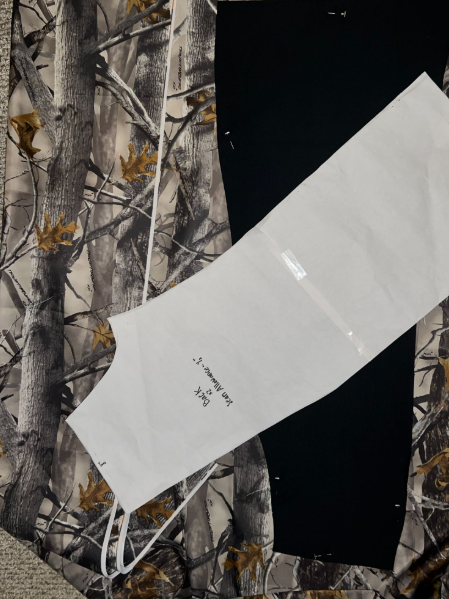
Once the sketches were finalized, I drafted the pattern pieces on pattern paper. This included waistband, front and back legs, pockets, and a reinforced cuff area for durability.
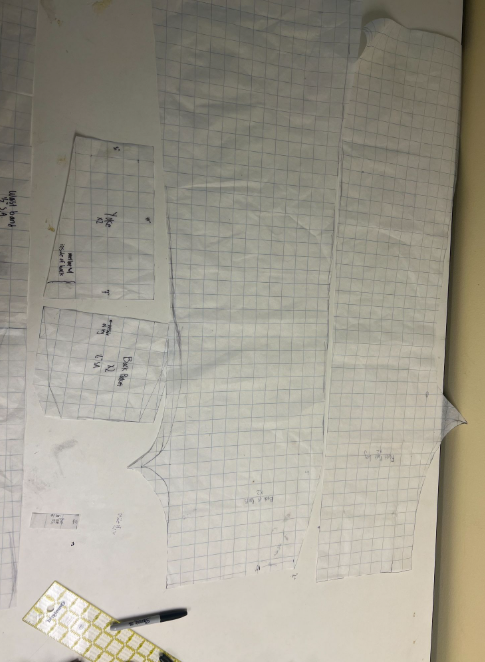
Cut Pattern
The cutting part went smoothly. I laid out the camo fabric, pinned the pattern pieces, and sliced away. Same for the black lining. At this point, I was feeling pretty confident… which should have been my first warning sign.
Tip: Use a rotary cutter for precision on thick fabric. Using fabric scissors can lead to an odd trim when cutting long pieces.
Sew Interior
Time to build the inner lining! I stitched the black insulating fabric together first. I used a zig-zag stitch first, then a straight stitch for added reinforcement. This gave me a chance to get back into the groove with my machine before moving on to the trickier camo exterior. It went fairly well, except for the moment when I realized I cut out the interior pieces too long. This is way better than too short, all I had to do was trim some of the fabric off the bottom.
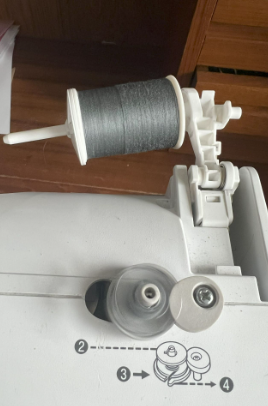
At one point, I ran out of black thread. So, I switched to grey. This was not a big deal since the thread is not seen on the outside of the pants except for the waistband, bottom cuff, and pockets. Even then, the stitches are so small the color is not visible unless seen from about 10 inches away.
Sew Exterior
This is where things started to feel real. I pieced together the camo fabric: legs, zipper, waistband, and the big pockets. I already had a zipper which was grey and the perfect length for this design.
Fun fact: I originally thought my pocket pattern was perfect, but when I tested it, my phone barely fit. So, I scrapped the original and made the pockets bigger. This added a couple of hours to my plan, but it was so worth it.
Also, my bobbin kept things interesting by running out constantly. And yes, the thread got stuck in my machine at least three times. Each time, I had to take a breather and then keep going.
Sew Exterior to Interior
I joined the inner lining and the camo shell at the waistband and hem. The hardest part? Keeping everything aligned without puckering. Lots of pins were required.
Trimming and Cutting Excess
After every run of stitches, there is excess thread that needs to be cut. Additionally, there are times where my black fabric did not line up with the camo. So, I had to trim some fabric and excess thread.
Document
I allowed myself some time for compiling pictures, videos, and inspiration sketches. This was pretty easy since it did not involve my silly mistakes that happen while sewing.
Mistakes
This is where I give myself time to fix mistakes. There were plenty along the way, however I went through the seams of my pants and assured no holes were present. Unfortunately, there were holes. Plenty of them. So, I just ran my sewing machine over the stitches that did not attach to the interior and exterior fabric and patched all the holes that way.
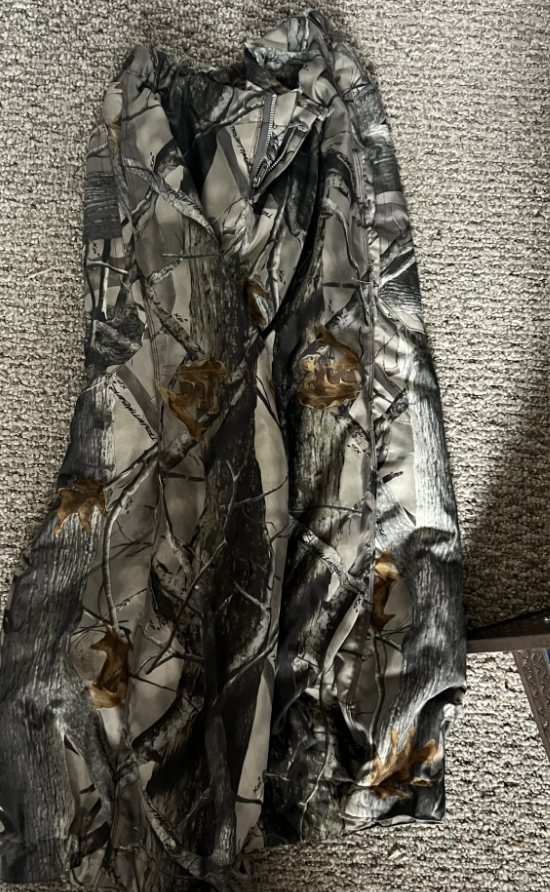
The End?!
DONE. My camo snowboard pants were officially complete. Holding them up, I couldn’t believe I had started this project with just an idea and some thrift-store nostalgia.
P.S. Here is a link to me trying out the pants at Chataqua.
https://drive.google.com/file/d/1DhUdsJ5cc_0DOvvJyJ5O_sEfHV2WQ6Fh/view?usp=sharing
Conclusion
My initial plans were to make functional snowboarding pants that were baggy, camo, and waterproof. And I did just that! However, I wanted to add pockets on the side of the pants. Due to time constraints, I did not add side pockets. However, I am stoked about how they turned out and how warm they are! Possessing a 90s Street Style Aesthetic while providing comfort, these pants are just what I wanted!
There are a few things I wish I had done differently. I wish I made them baggier. Seems ridiculous, I know. However, they are not as baggy as those of my friends. Also, I wish I added more pockets. These can still be added in the future, however.
Despite what I could have done now, I can ride with pants that are my own.
Citations
Figure 2 – Etsy (MOSSY OAK Break up Country 1200D Polyester Outdoor Urethane Coated Cordura Type Water Repellent Multiuse Fabric by the 1/2(0.5) Yard 60″w – Etsy)
Figure 3 – Amazon (Amazon.com: Pattern Paper for Fashion Design – 36 inches x 3 Yards Pack – No Roll – Alpha Numeric Dotted Marking Paper – Made in The USA)