
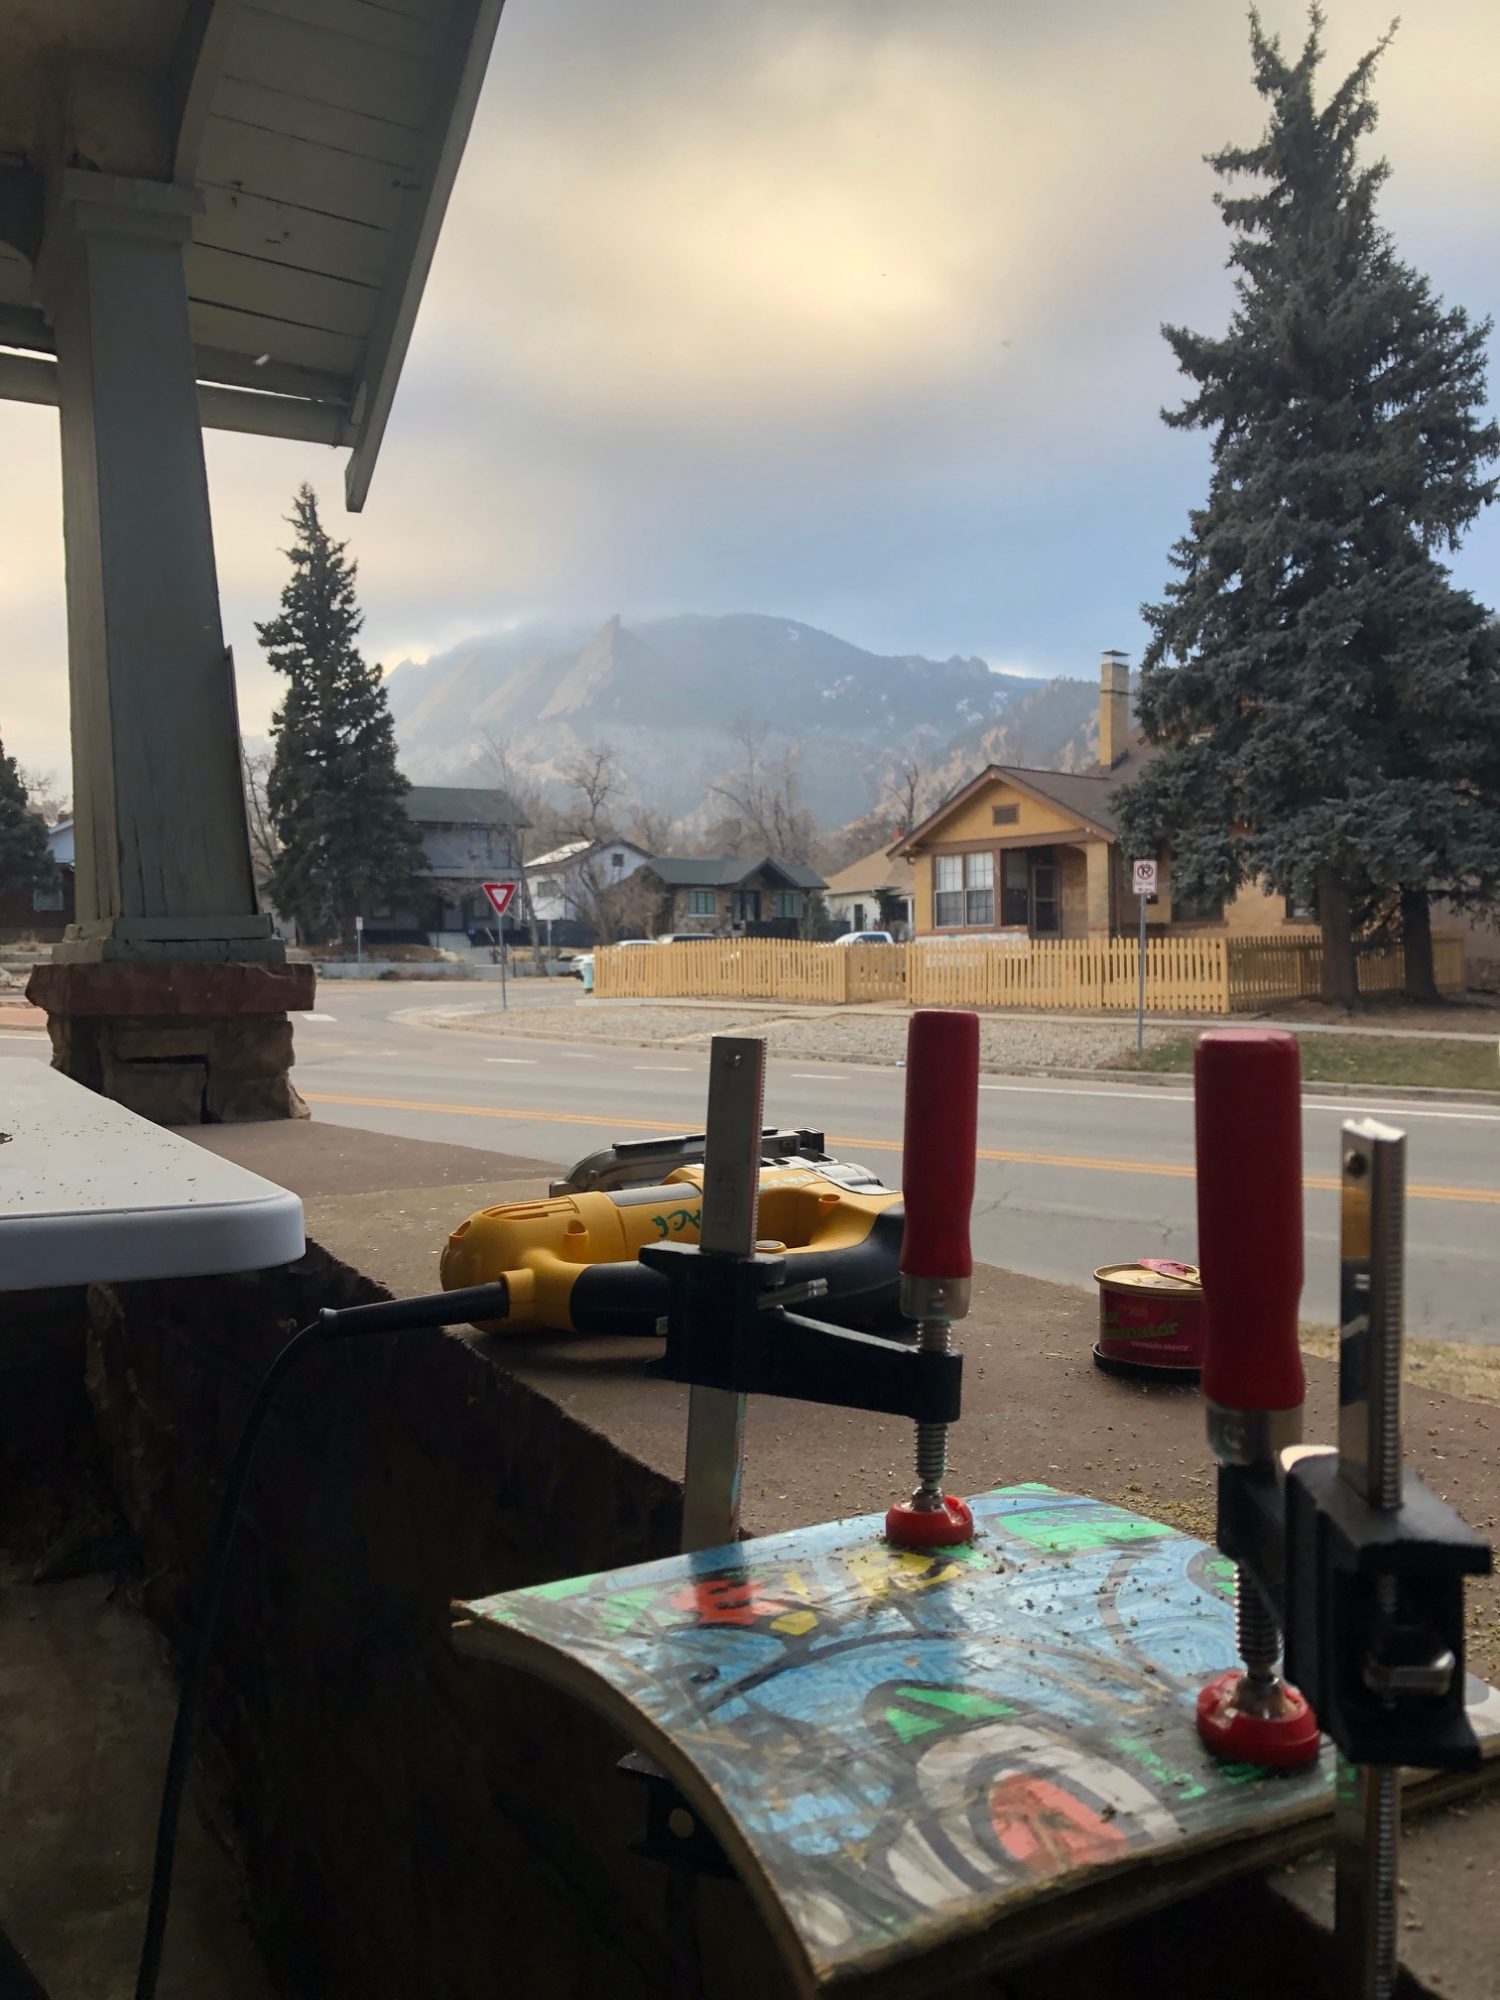
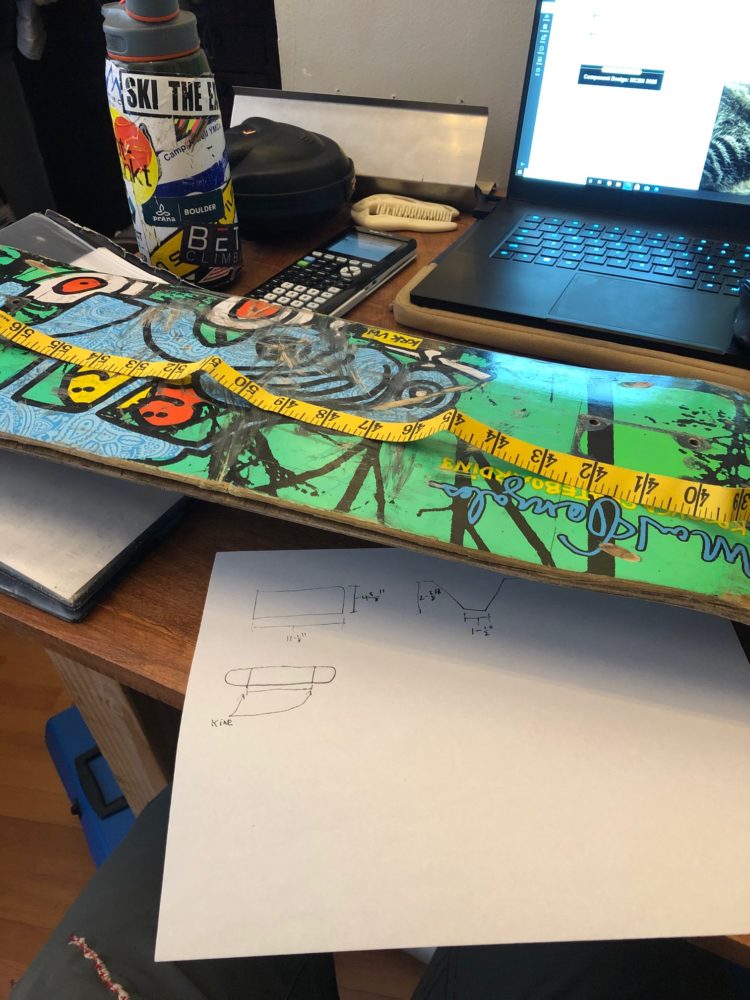
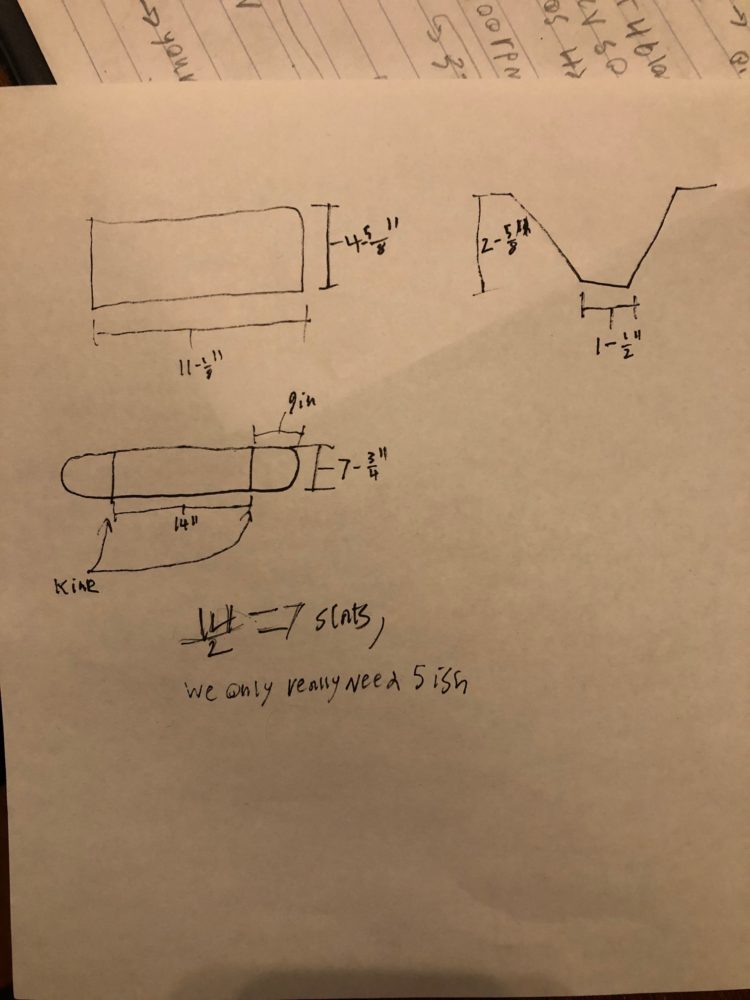
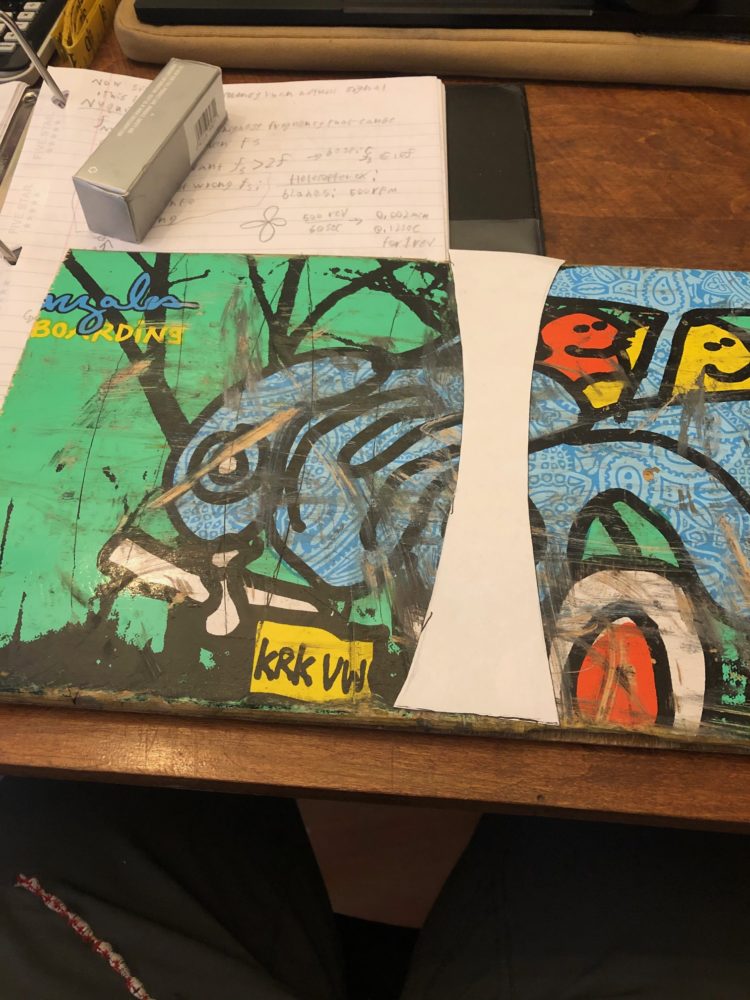
The Lamp is coming along very well! Following the initial sketches I made, I went ahead and took measurements of the board and my lamp frame to get a better sense of how the slats would be made. From here I made a template of one of the slats with a slight curve. I feel the curves will give it a more mid century modern look as this was something I saw in a lot of my research. I also notice darker wood, which my board doesn’t have, so I might have to look into staining or lacquer. See below for photos of the measurements.
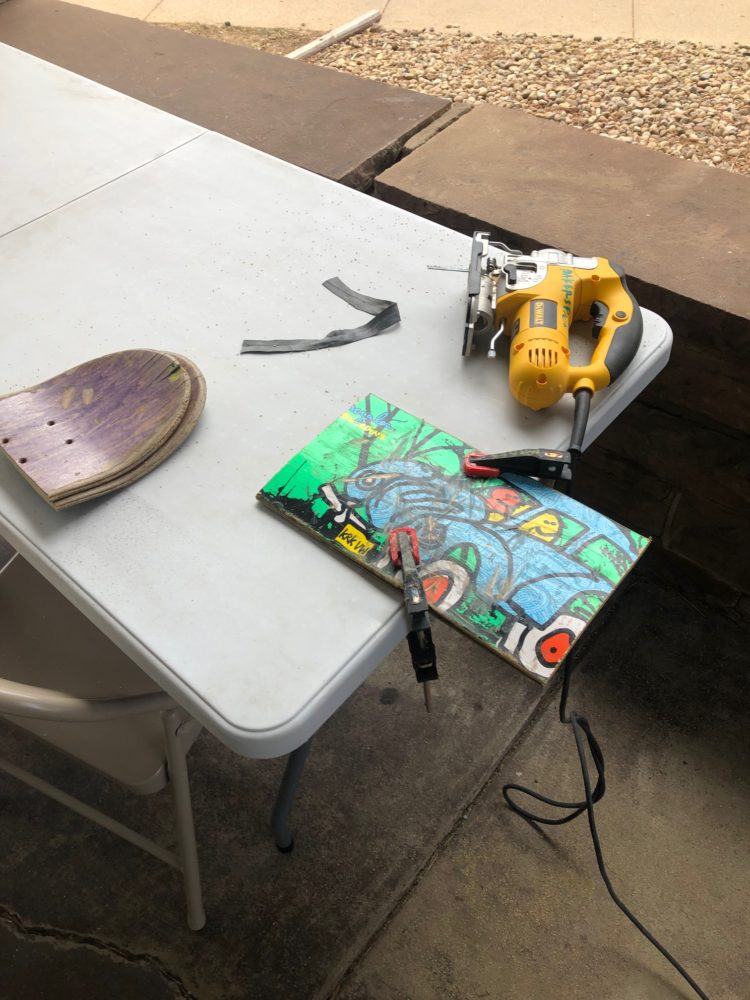
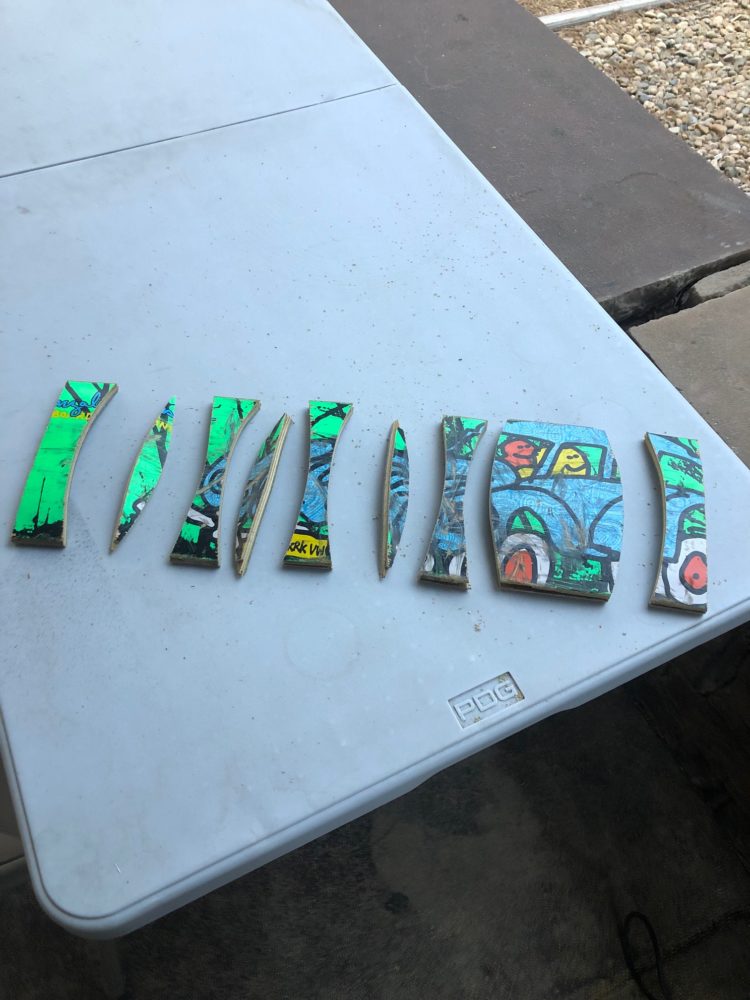
From there I cut the ends off the board (see below) where the board tilts up, so I would be working with only flat pieces. I used the template to draw on my pattern and began cutting using a jigsaw. The pieces came out well but I did notice the plywood coming apart in some spots. I do have room to cut back if needed, so hopefully this doesn’t cause problems going forward.
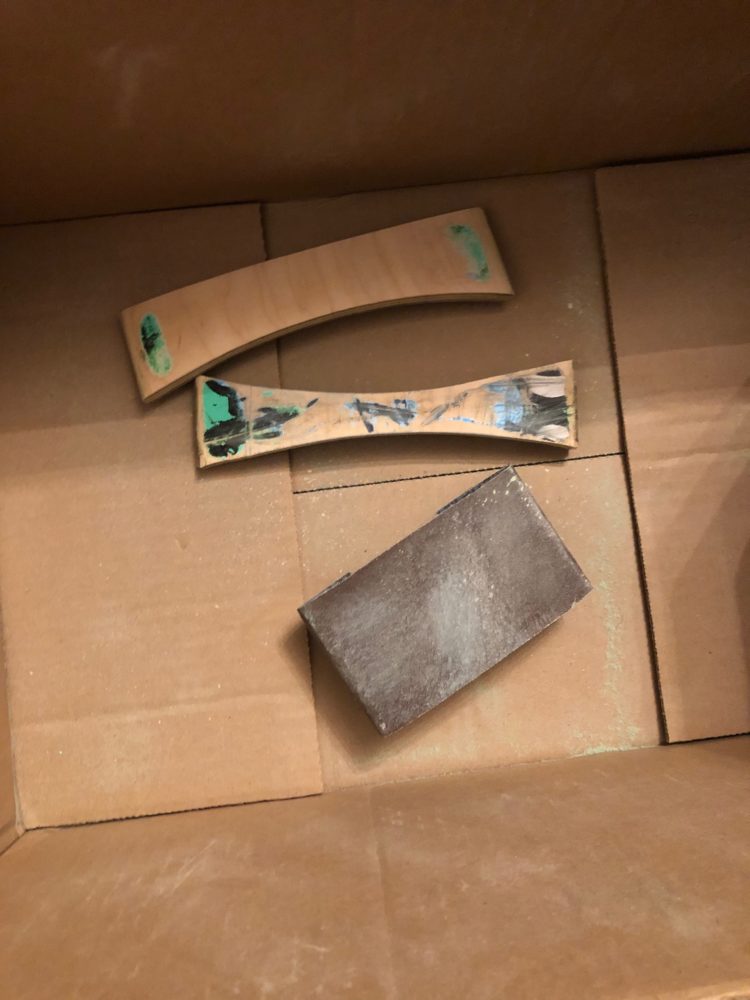
I then began sanding the pieces and taking off the paint (so sad). This is currently ongoing and looks like it might take a while. The wood underneath looks very good, and so I’m happy so far with how its turning out (see below).
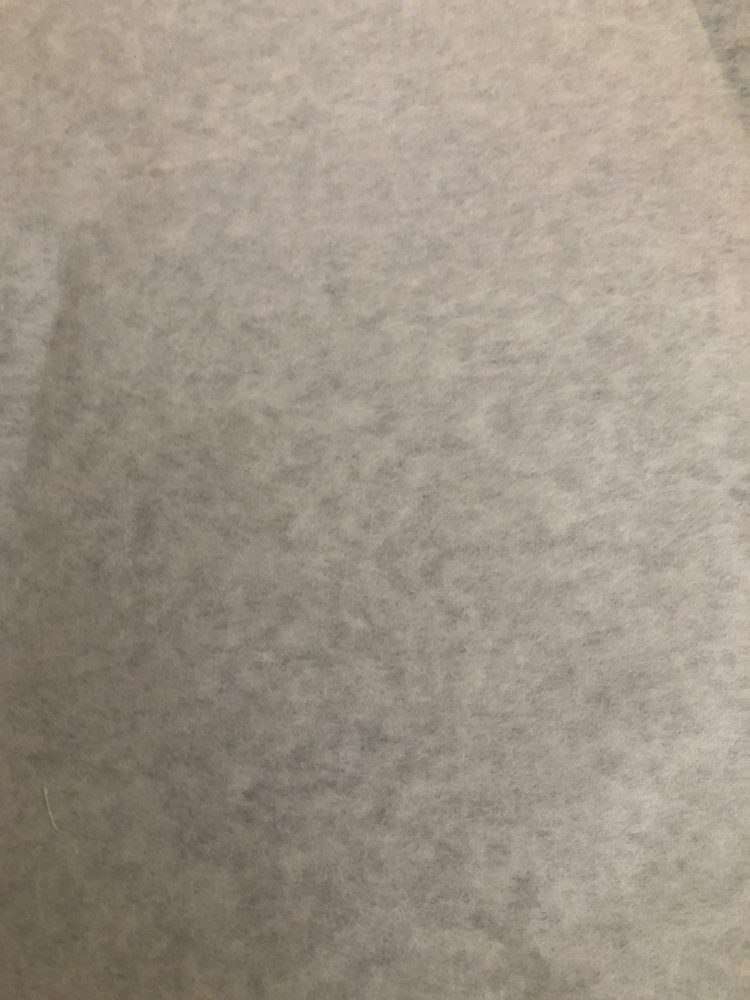
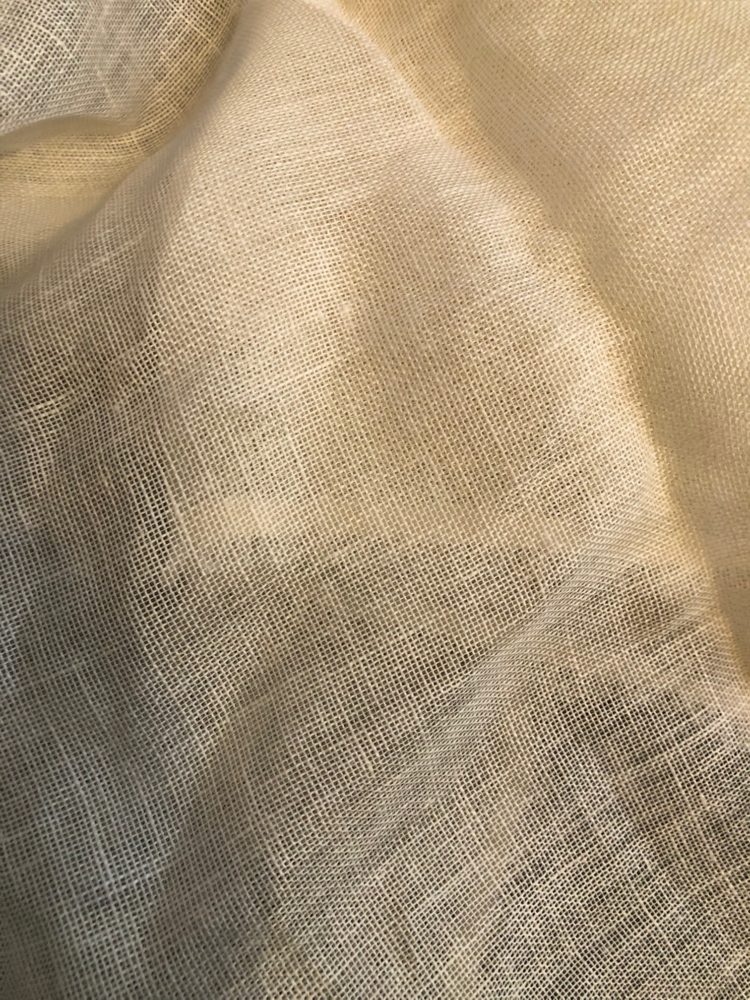
Other things that I have gotten recently for the Lamp are two different cloths for diffusing the light. I got some transparency paper that has less texture but diffuses the light really well, and then I got a canvas cloth that has a subtle texture but needs to be double backed for proper diffusion. I haven’t decided on which to use but they both seem like they would work well (see below).
For further inspiration, My grandmother is sending me books on mid-century modern design. My mom went to the Cranbrook School growing up which played a big role in mid-century modern design, and so my grandma is very familiar with it and can probably give me good insight.
What I have left to do is the following:
- Finish sanding the brackets
- Fabricate and install the backings for the slats
- Cut and install the diffusing fabric
- Cut and fit the top and bottom plates
- Consider staining the wood
- Consider capping the back
I think the best course of action is to figure out how to slide the front panel on first before doing anything else. After that I think the end caps, and then obviously do most of the finishing at the end.
5 Comments. Leave new
[…] to this post, I made an initial post about the aesthetic and a progress post. In both of these I discussed my aesthetic inspiration and my plans for its functionality (more on […]
Hey Josh, I’m very impressed with the progress you’ve made on your project. It seems to be coming along very well. One question I had, since you removed the design already on the skateboard, would you be applying your own design or just leaving it as pure wood? I’m excited to see how the project turns out, best of luck.
So to give it the mid-century modern aesthetic, I’m gonna leave the wood (maybe stain it) but not apply my own design. It was sad to sand away the design I picked out in 2007 (it was my first skateboard), but I’m happy with how the repurposing is going.
Josh,
After reading your post I am very intrigued to see how you will be applying the mid-century modern aesthetic to your lamp artifact using your old skateboard. How tall are you anticipating the lamp to be? Is it going to be a desktop lamp? One other question I had was did you purposefully take the paint off of the deck of the skateboard? I feel like the design you had on your original deck was very creative and original. I am really excited to see your final artifact!
Its gonna be a desk lamp, its only about 1-1/2ft tall. I felt I needed to take off the design to achieve the mid-century modern look which features mostly wood with minimal graphics.