
VISION
The aesthetic that I chose to base my upcycle project around was spaceflight. Spaceflight is unique in that its aesthetic is one that arose out of feasibility rather than design. When designing spacecraft, rockets, shuttles, satellites, and stations companies were more concerned with how things worked rather than how they looked. There are some common elements when it comes to the various structures used in spaceflight. There is generally a distinct lack of color with the exception of the solar panels and a few other components. The rockets and shuttles tend to keep the same white, black, and reddish color palette. Rockets and shuttles over the last few decades have evolved to have much greater capabilities, but have overall maintained their same general shape and appearance with only a few minor adjustments. My plan for the upcycle project was to recreate the historic 1969 launch of the Apollo 11 space capsule. This is the launch that first took humans to the moon and is one of the most important milestones in the history of human spaceflight. This mission used a Saturn V rocket and launched from Launch Pad 39A at Kennedy Space Center in Florida. I wanted to recreate as many details as I could, specifically the rocket, launch pad, and crane, using materials that I already had at my disposal.

FABRICATION
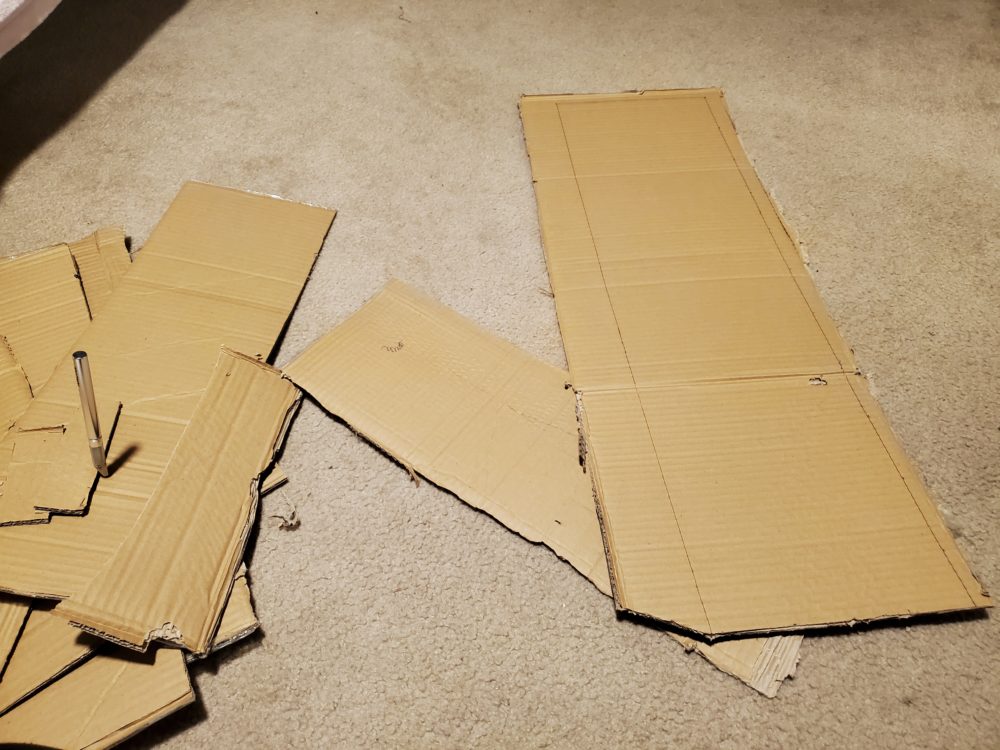
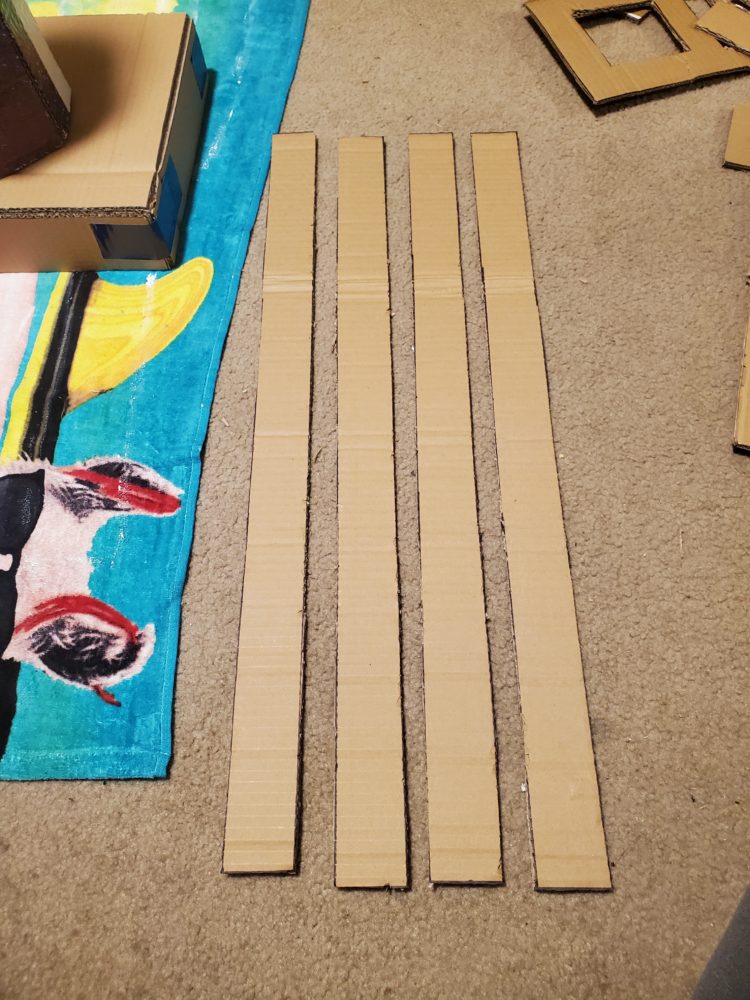
My plan for the upcycle was to use materials that I only had on hand so the first thing I did was gather materials. I decided to build all of the component of my project using cardboard. All of my measurements and cuts were made using a protractor, ruler, and Xacto knife that I had. All of the details made on the cardboard were going to be done using acrylic paints and sharpies.

After I had all my materials, I set about designing the various cuts into the cardboard that I would have to make. I made the designs for the launch pad, crane, and Saturn V rocket in a way that they could be cut out of cardboard and then taped together to form a three dimensional structure.
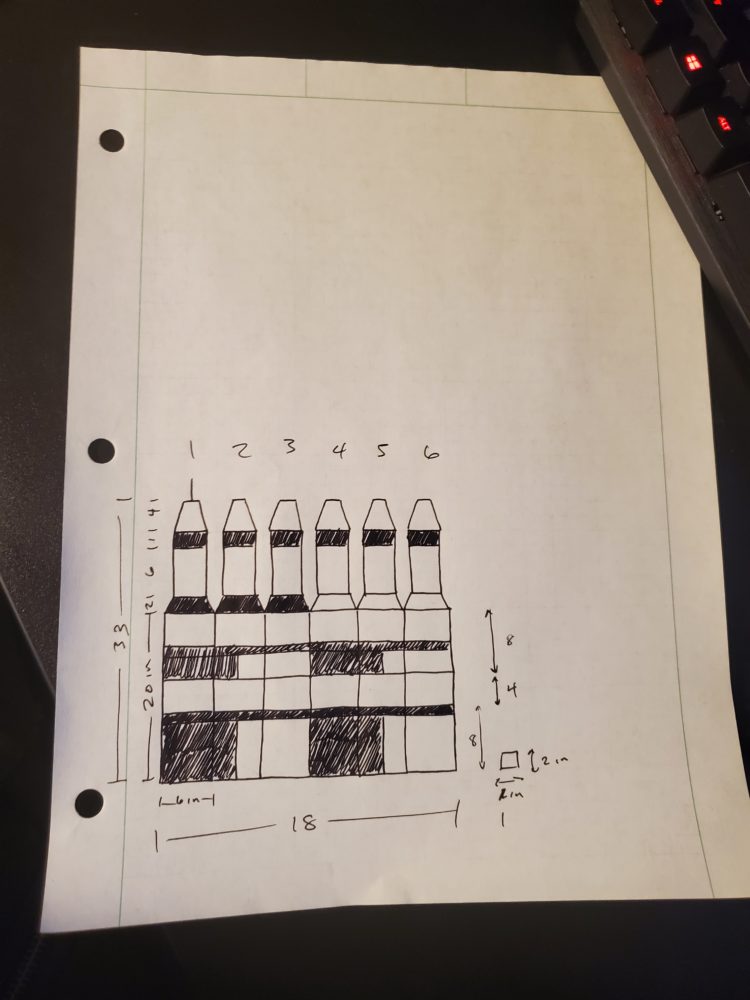
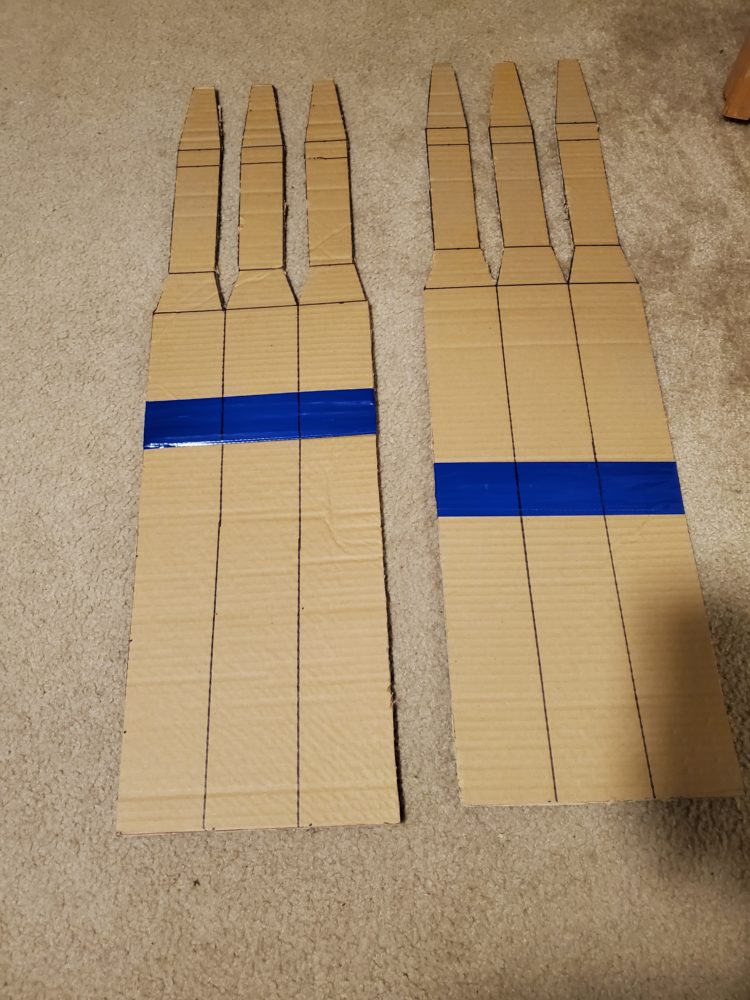
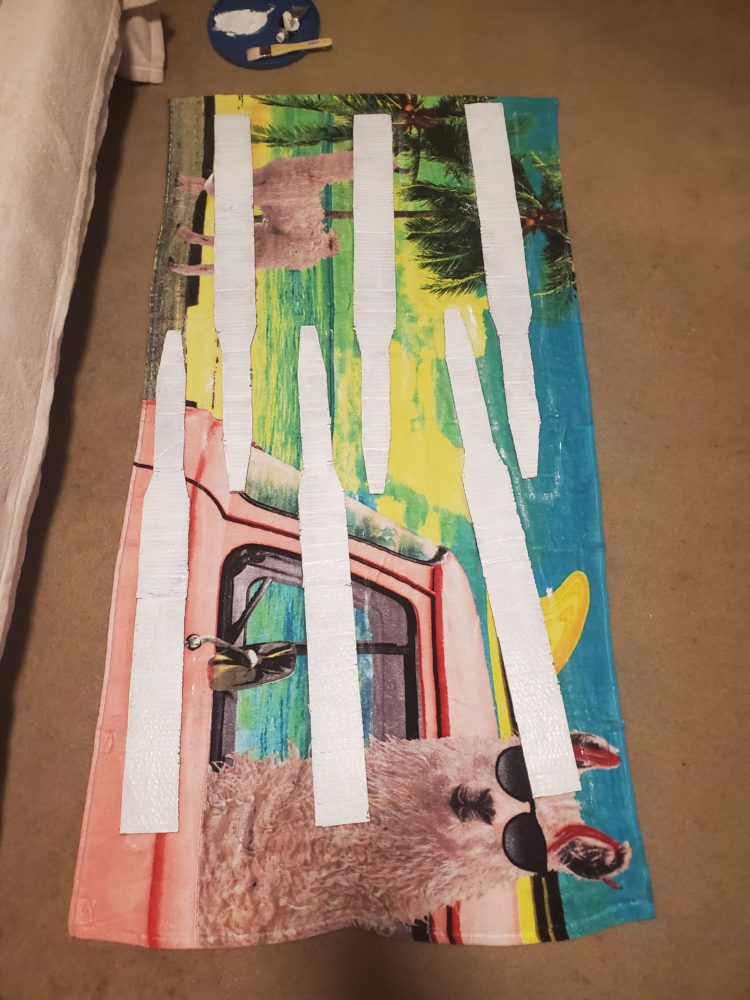
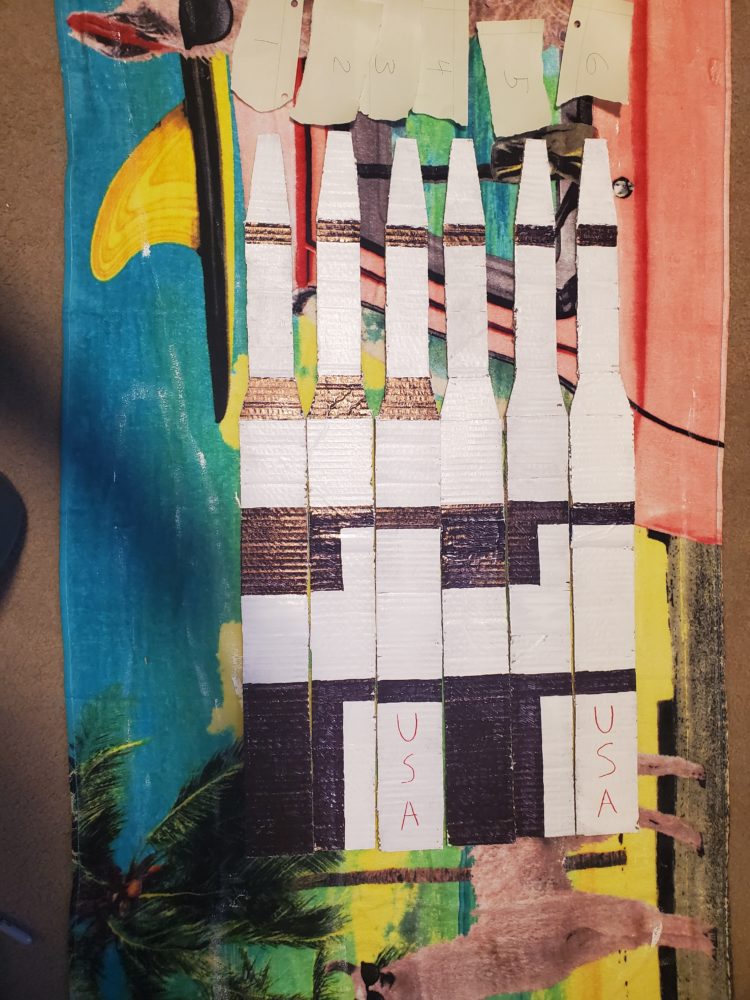
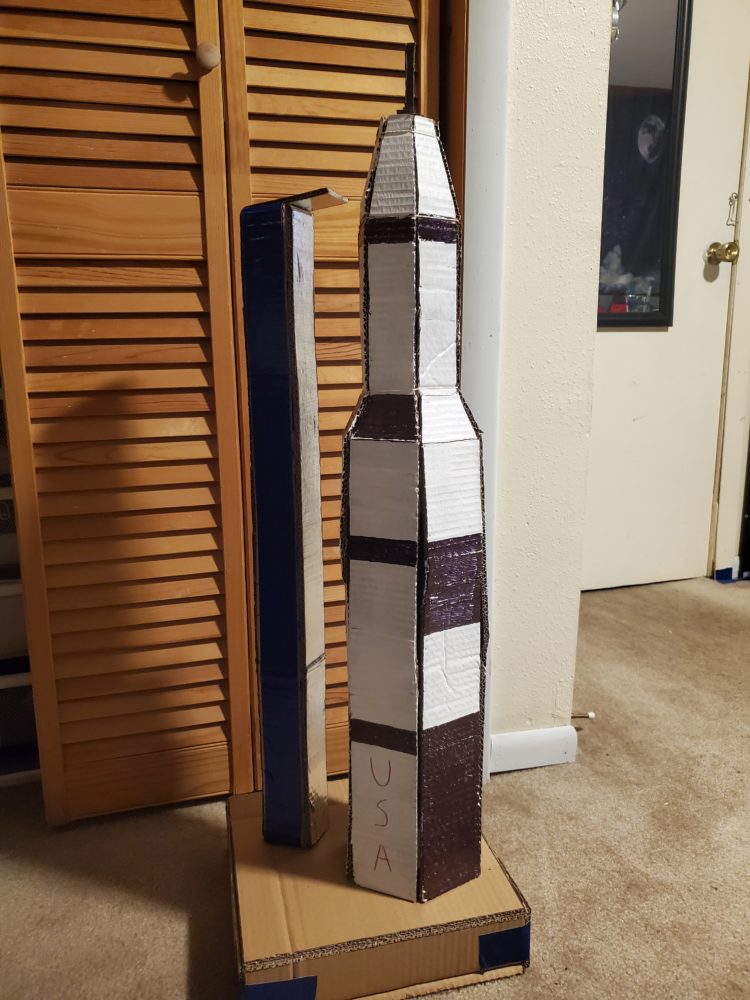
I started with the construction of the Saturn V rocket. First I made a precise outline of the six rocket faces on the cardboard. Next I cut all six of the pieces of the rocket out so that each one was exactly the same size as the others. After the pieces were cut out, I applied an initial coating of white acrylic paint. After the initial coat dried, I applied a second coat so that the white looked a little bit better. After the second coat of paint dried I began adding the details. I had a plan for how each individual face had to looked so I just began copying the design that I had made previously and colored in all the black sections and added the red writing. After all six pieces had been decorated, I taped the widest parts of the rocket together on the inside and then used rubber bands to hold the smaller sections of the rocket together. Lastly, I cut out a small topper piece and secured it to the top of the rocket.
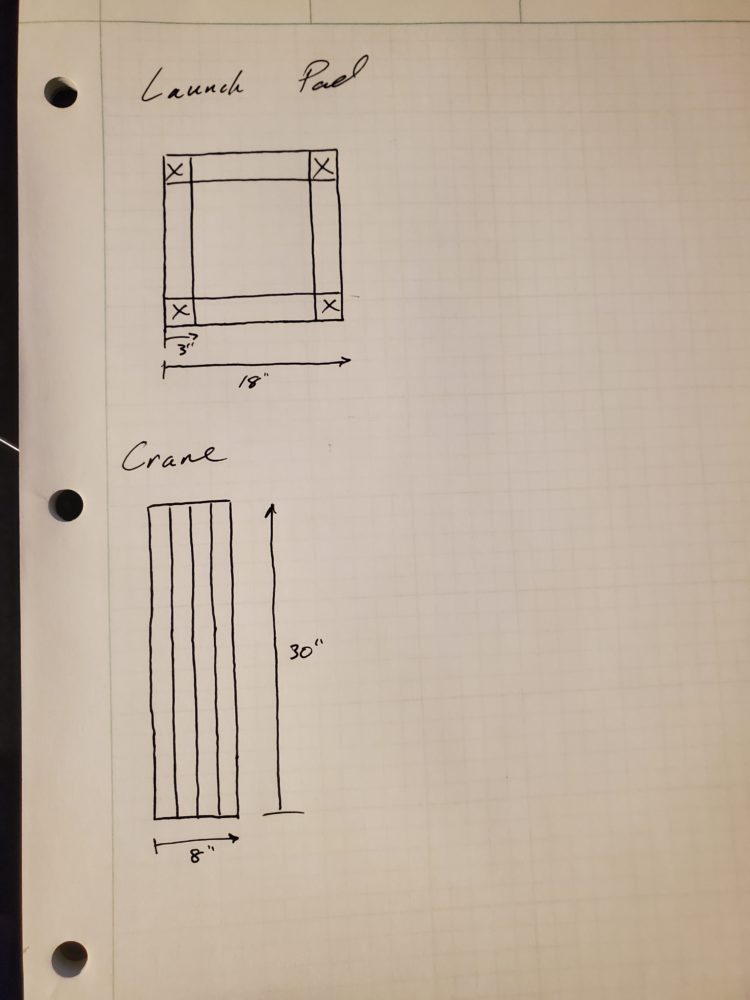
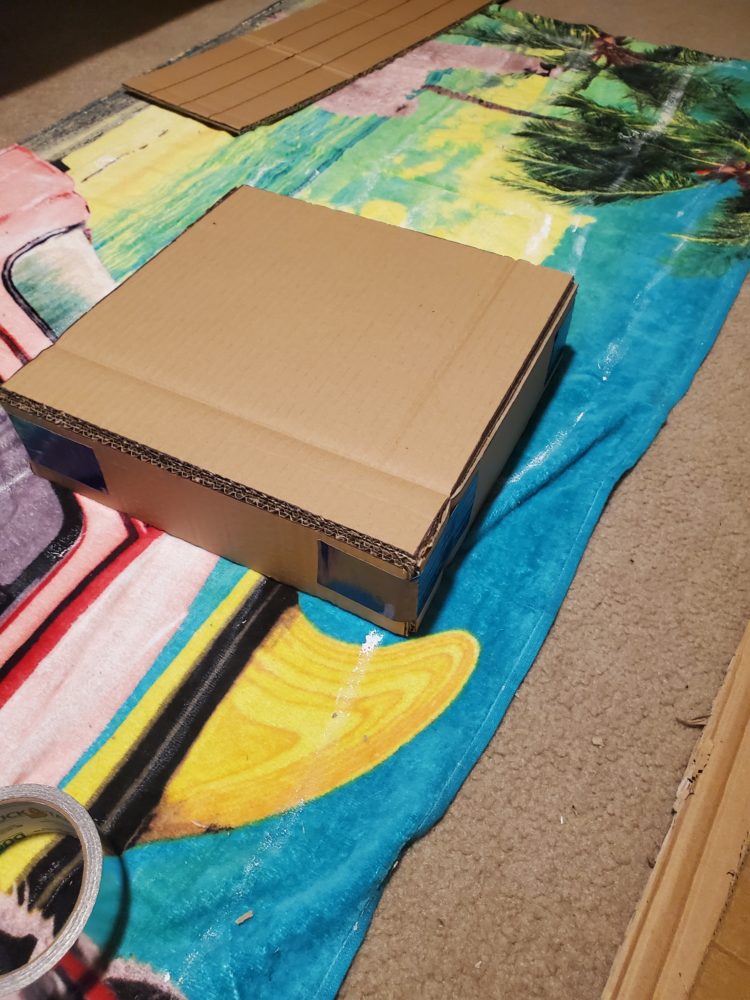
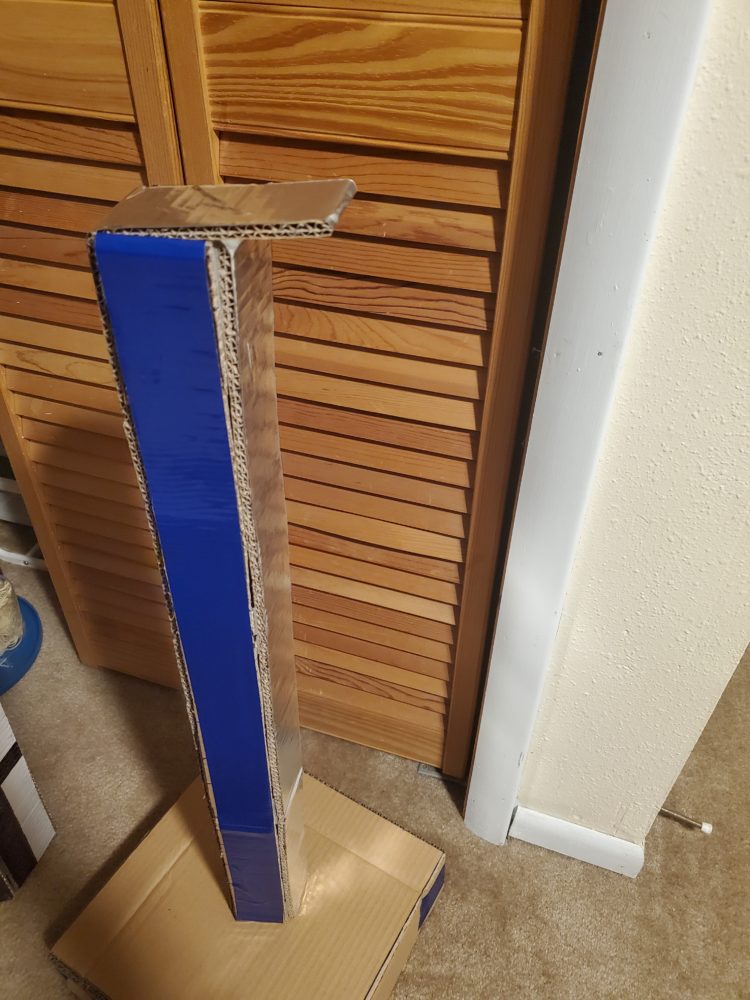
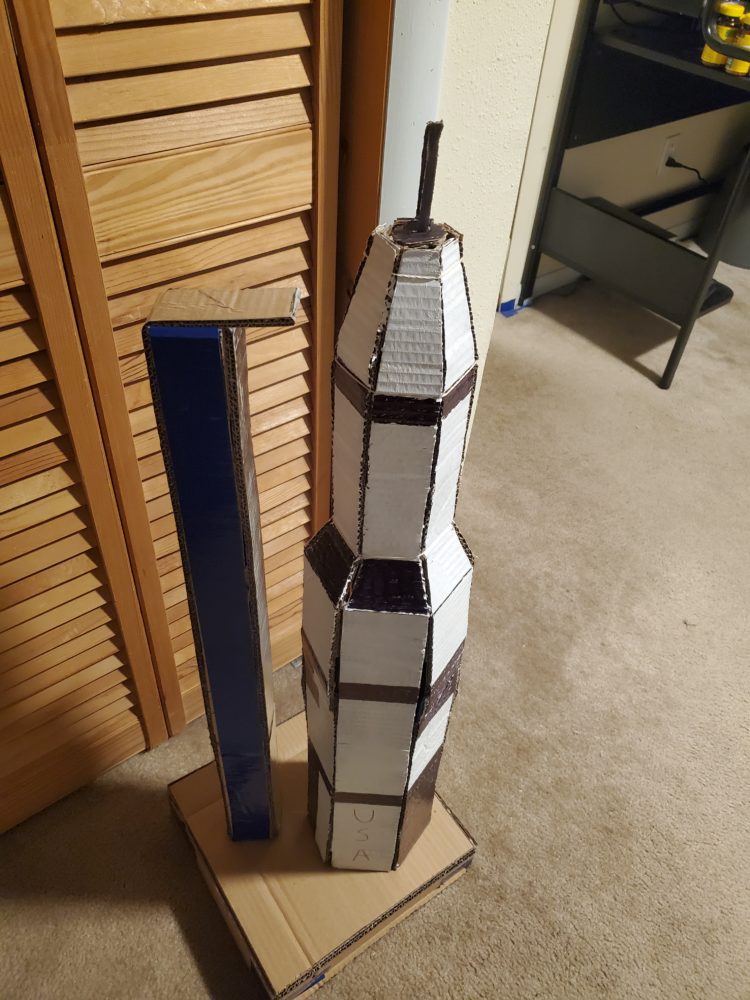
After I finished the rocket I began work on the launch pad and crane. The launch pad was designed to be a raised square platform. Similarly to the rocket, I first outlined the design on the cardboard and then cut the design out using an Xacto knife. I then folded the edges down and taped them together so that the square platform could be raised. For the crane I once again outlined the design in cardboard and cut it out using an Xacto knife. To add some color, I coated the individual faces of the crane in duct tape. I then taped the insides of the crane pieces together in the same way as the rocket so that the finished product could be three dimensional. I then cut a smaller pieces of cardboard to place on top to serve as the walkway to the Saturn V.
FINAL ARTIFACT
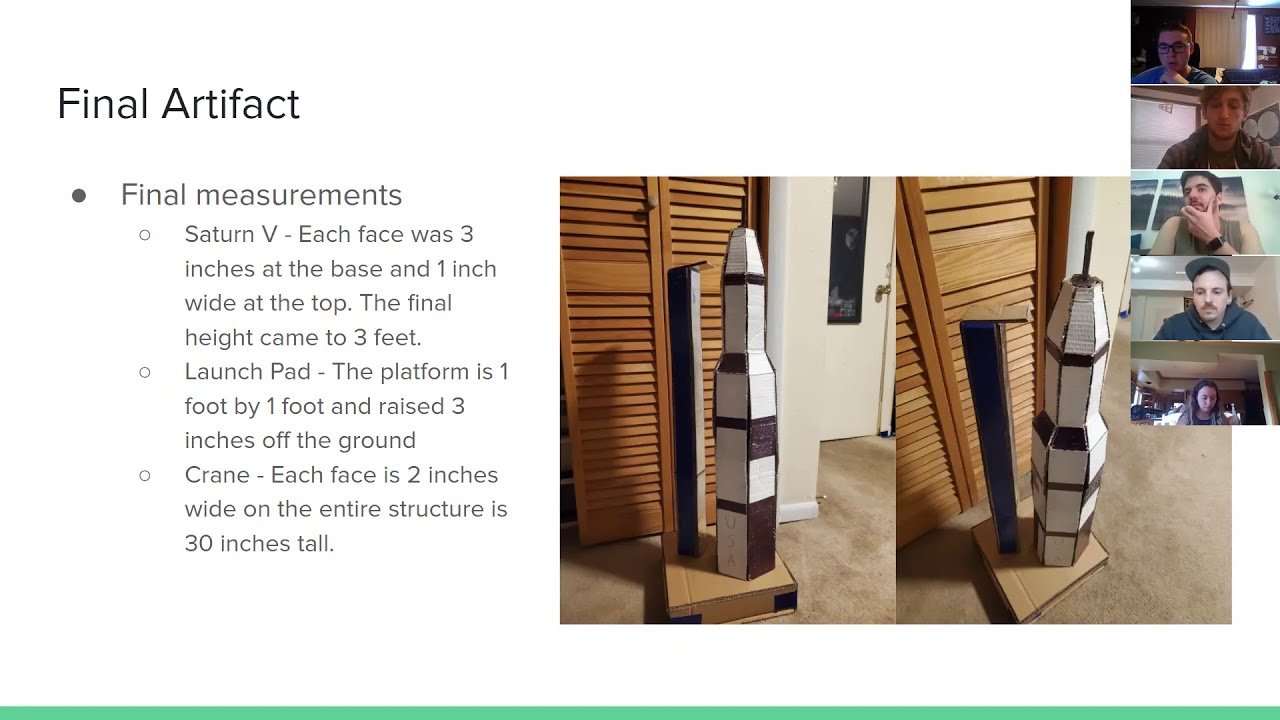
The final artifact came together with both the Saturn V rocket and the crane resting on top of the launch pad. The final size of the launch pad ended up being one foot by one foot and three inches tall. The launch pad does not have any design aspects to it and is just the original cardboard brown. Each face of the Saturn V rocket is three inches at its widest and forms a hexagonal shape when all the pieces come together. The final height for the Saturn V rocket came to thirty-three inches. The Saturn V rocket has mostly white faces with same black accents and red writing. The crane has a square face with each side being two inches wide and each face is thirty inches tall. To add some more color to the build, the crane has some blue and silver faces that were added using duct tape.
GOALS VS ACHIEVEMENTS
I believe that I successfully achieved my functional goals. I was able to finish this project with relatively inexpensive materials and the final product is as close to a recreation as I could make. Overall I am proud of the work that I put into this project and I am pleased with the results. Artistically I didn’t really have any goals going into the project. I don’t consider myself to be very artistically inclined so I would’ve been happy if the finished product was able to stand on its own. The final product came out better than I would’ve expected myself to be capable of producing.
WHAT’S NEXT?
I am not sure what I will end up doing with the project. I don’t have any plans to refine it at this moment so I will most likely either keep or recycle it. I do have a lot of space memorabilia decorating my room at the moment so I might just add the to the collection of space stuff that I am accruing.
CITATIONS
Image 1: https://www.space.com/apollo-11-moon-launch-50th-anniversary.html
2 Comments. Leave new
Hi Callum,
The attention to detail and craftmanship of the rocket is very noticeable. The end project is very impressive and I think that you did a great job at achieving the goal you set out to do. That being said and if it is appropriate I would like to offer you an additional opinion to your art piece. That being, I think that adding fins to your final project would help to finish the look of the rocket and if ever you were to try and throw it, it would probably fly a little bit straighter. All in All great work!
Hey Josh,
Thanks for taking the time to read through my report. Fins were a part of my original design, but I decided to leave them out of my final design to make the rocket a little bit easier to manufacture. Perhaps if I ever tried this project again I would try to incorporate fins. Thank you for the feedback and I’m glad you liked the project.