
What I did previously:
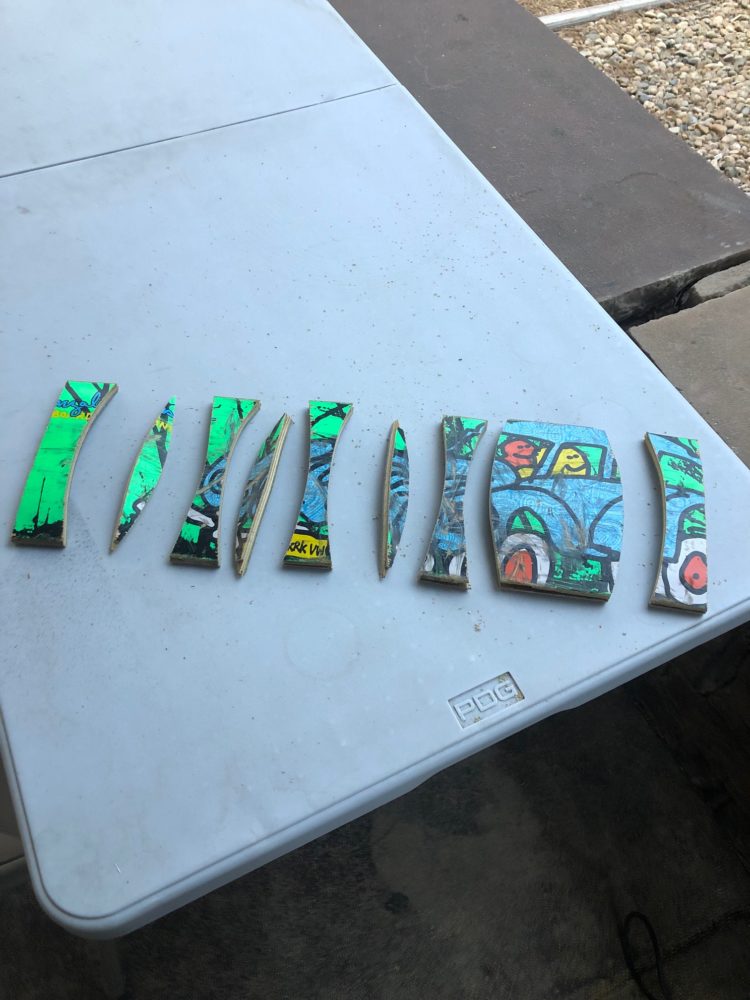
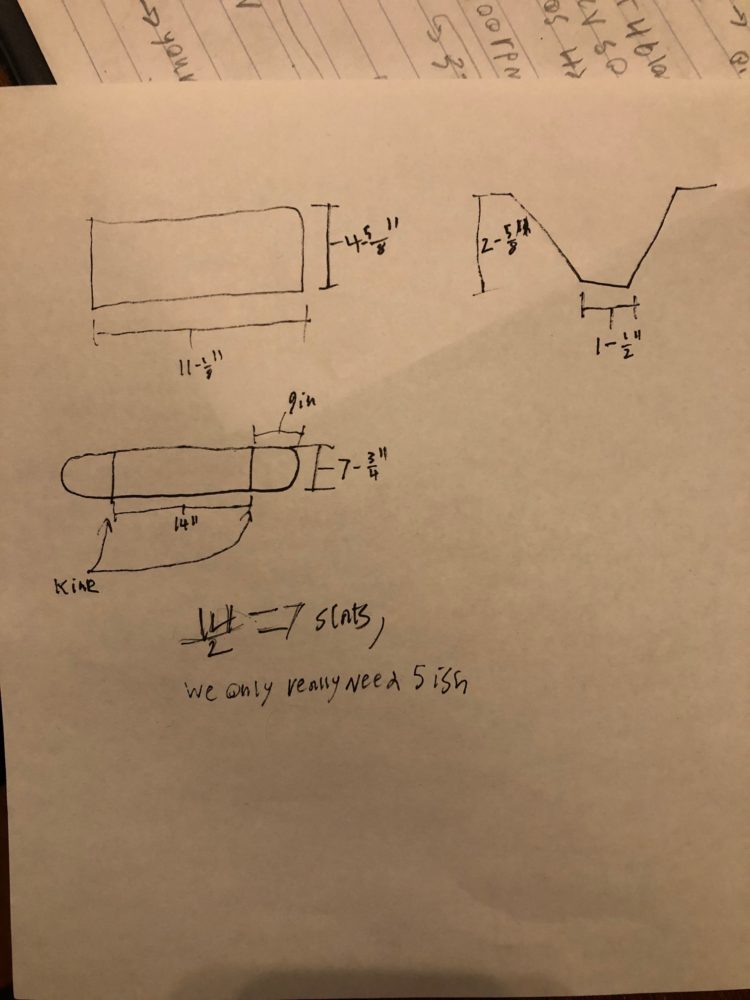
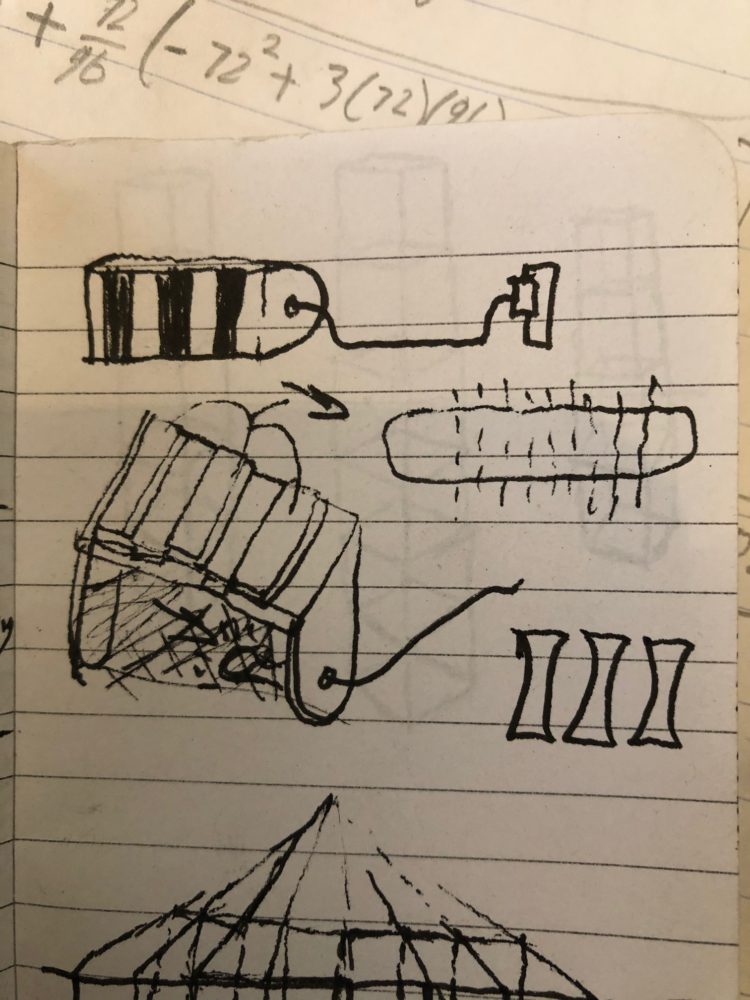
Prior to this post, I made an initial post about the aesthetic and a progress post. In both of these I discussed my aesthetic inspiration and my plans for its functionality (more on this later), but also shared my initial work. I first started with sketches to get a sense for how my lamp would look and function, but also how I would cut the board. I also made and wrote down measurements to get a better sense for the scale of my board and frame (see both below). I then made a slat template to draw onto my board and cut the board slats (see above).
Finishing up:
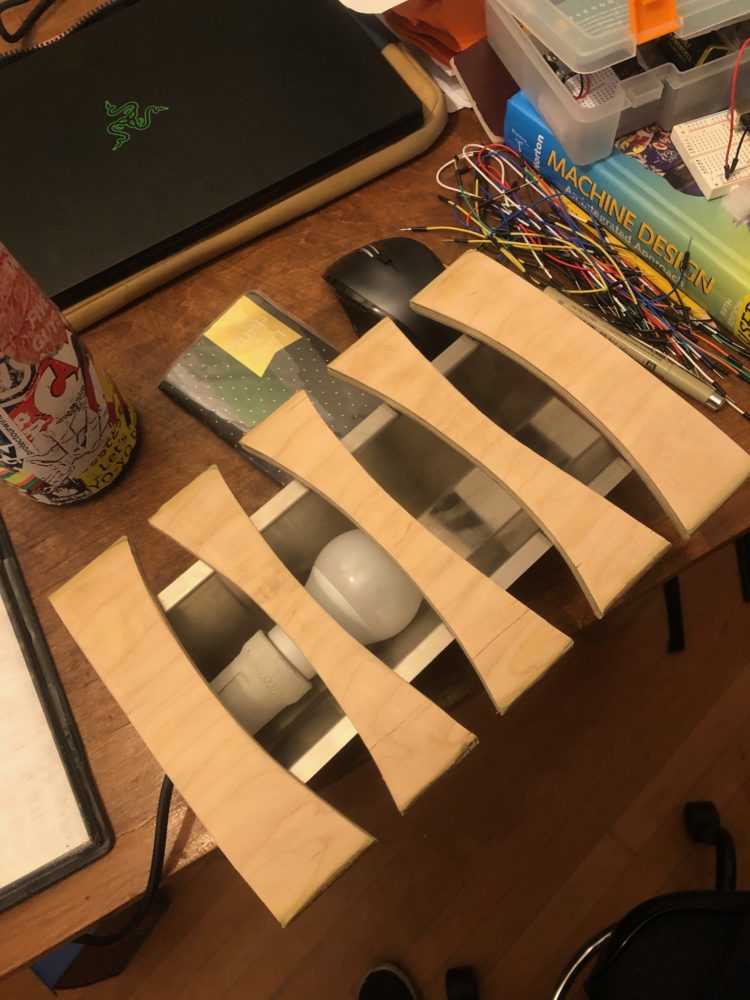
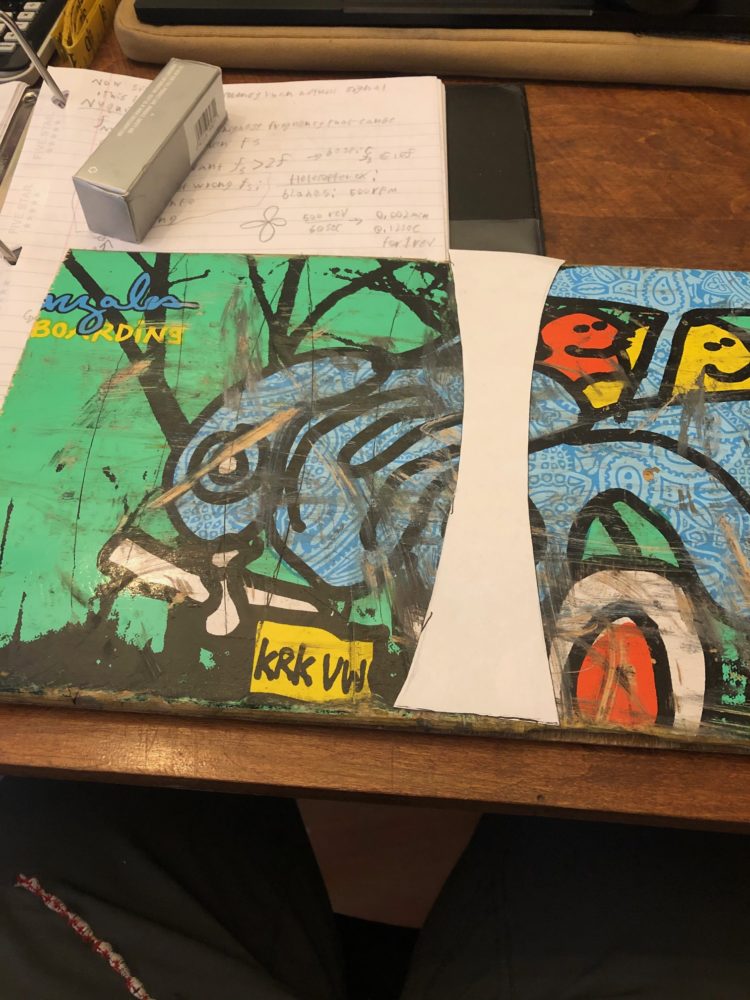
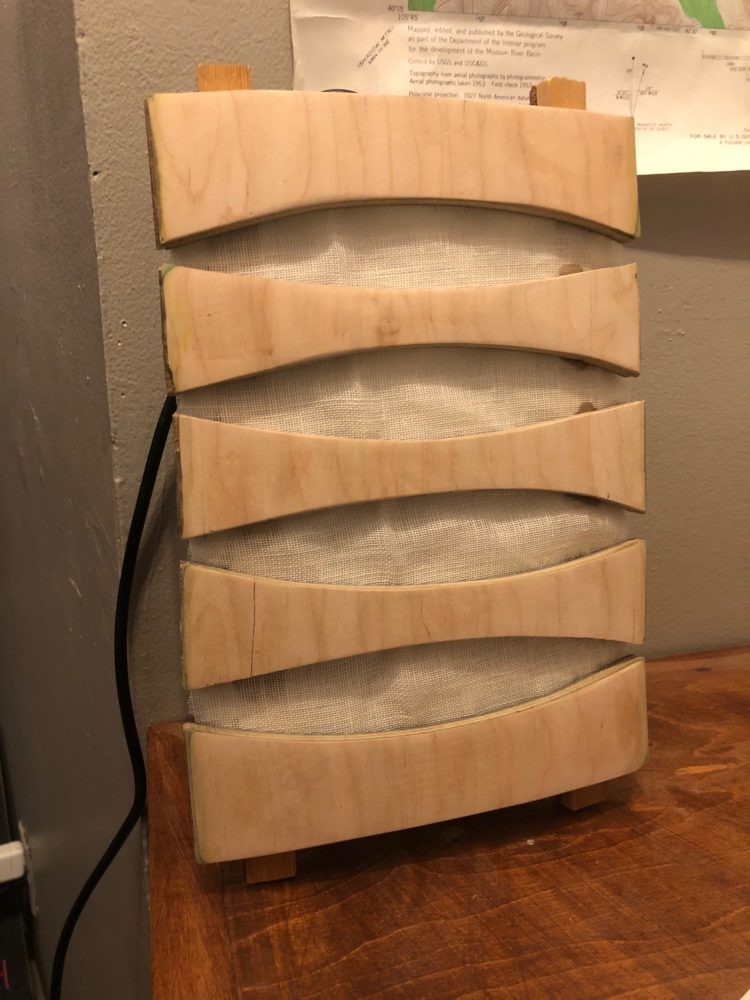
After cutting the skateboard into the slat profiles, I sanded the paint off of all of the pieces. This was actually a ton of work and took a very long time. It did result in a very nice and smooth finish, and the wood below the paint was very good. After the pieces were finished, I arranged them on top of the light frame to get a quick visual of what it would look like.
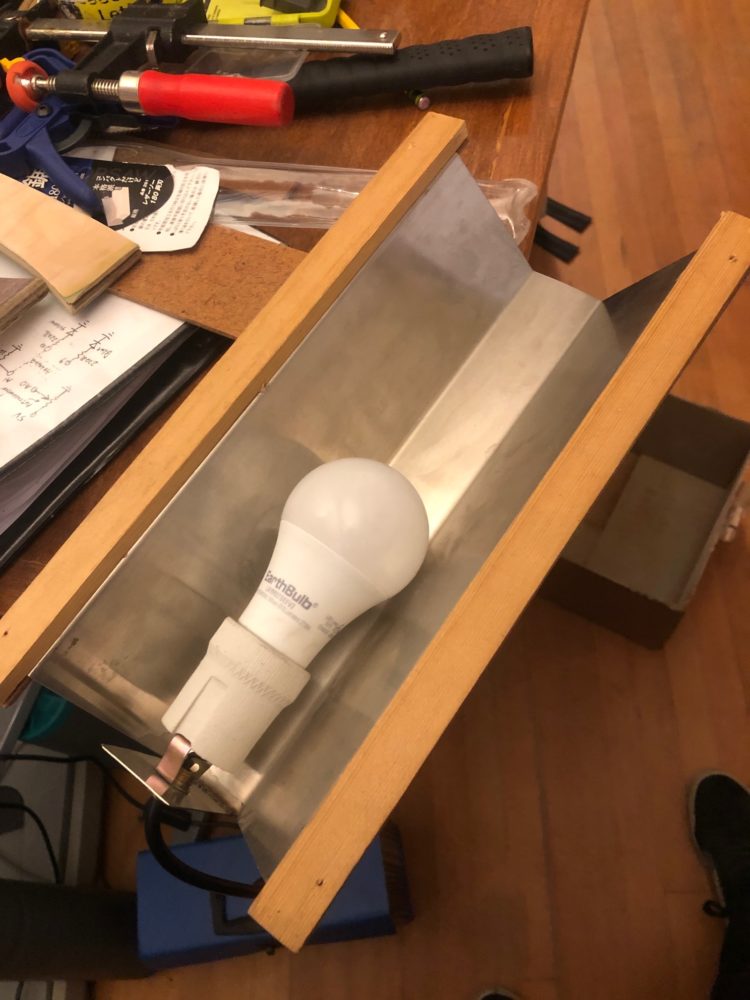
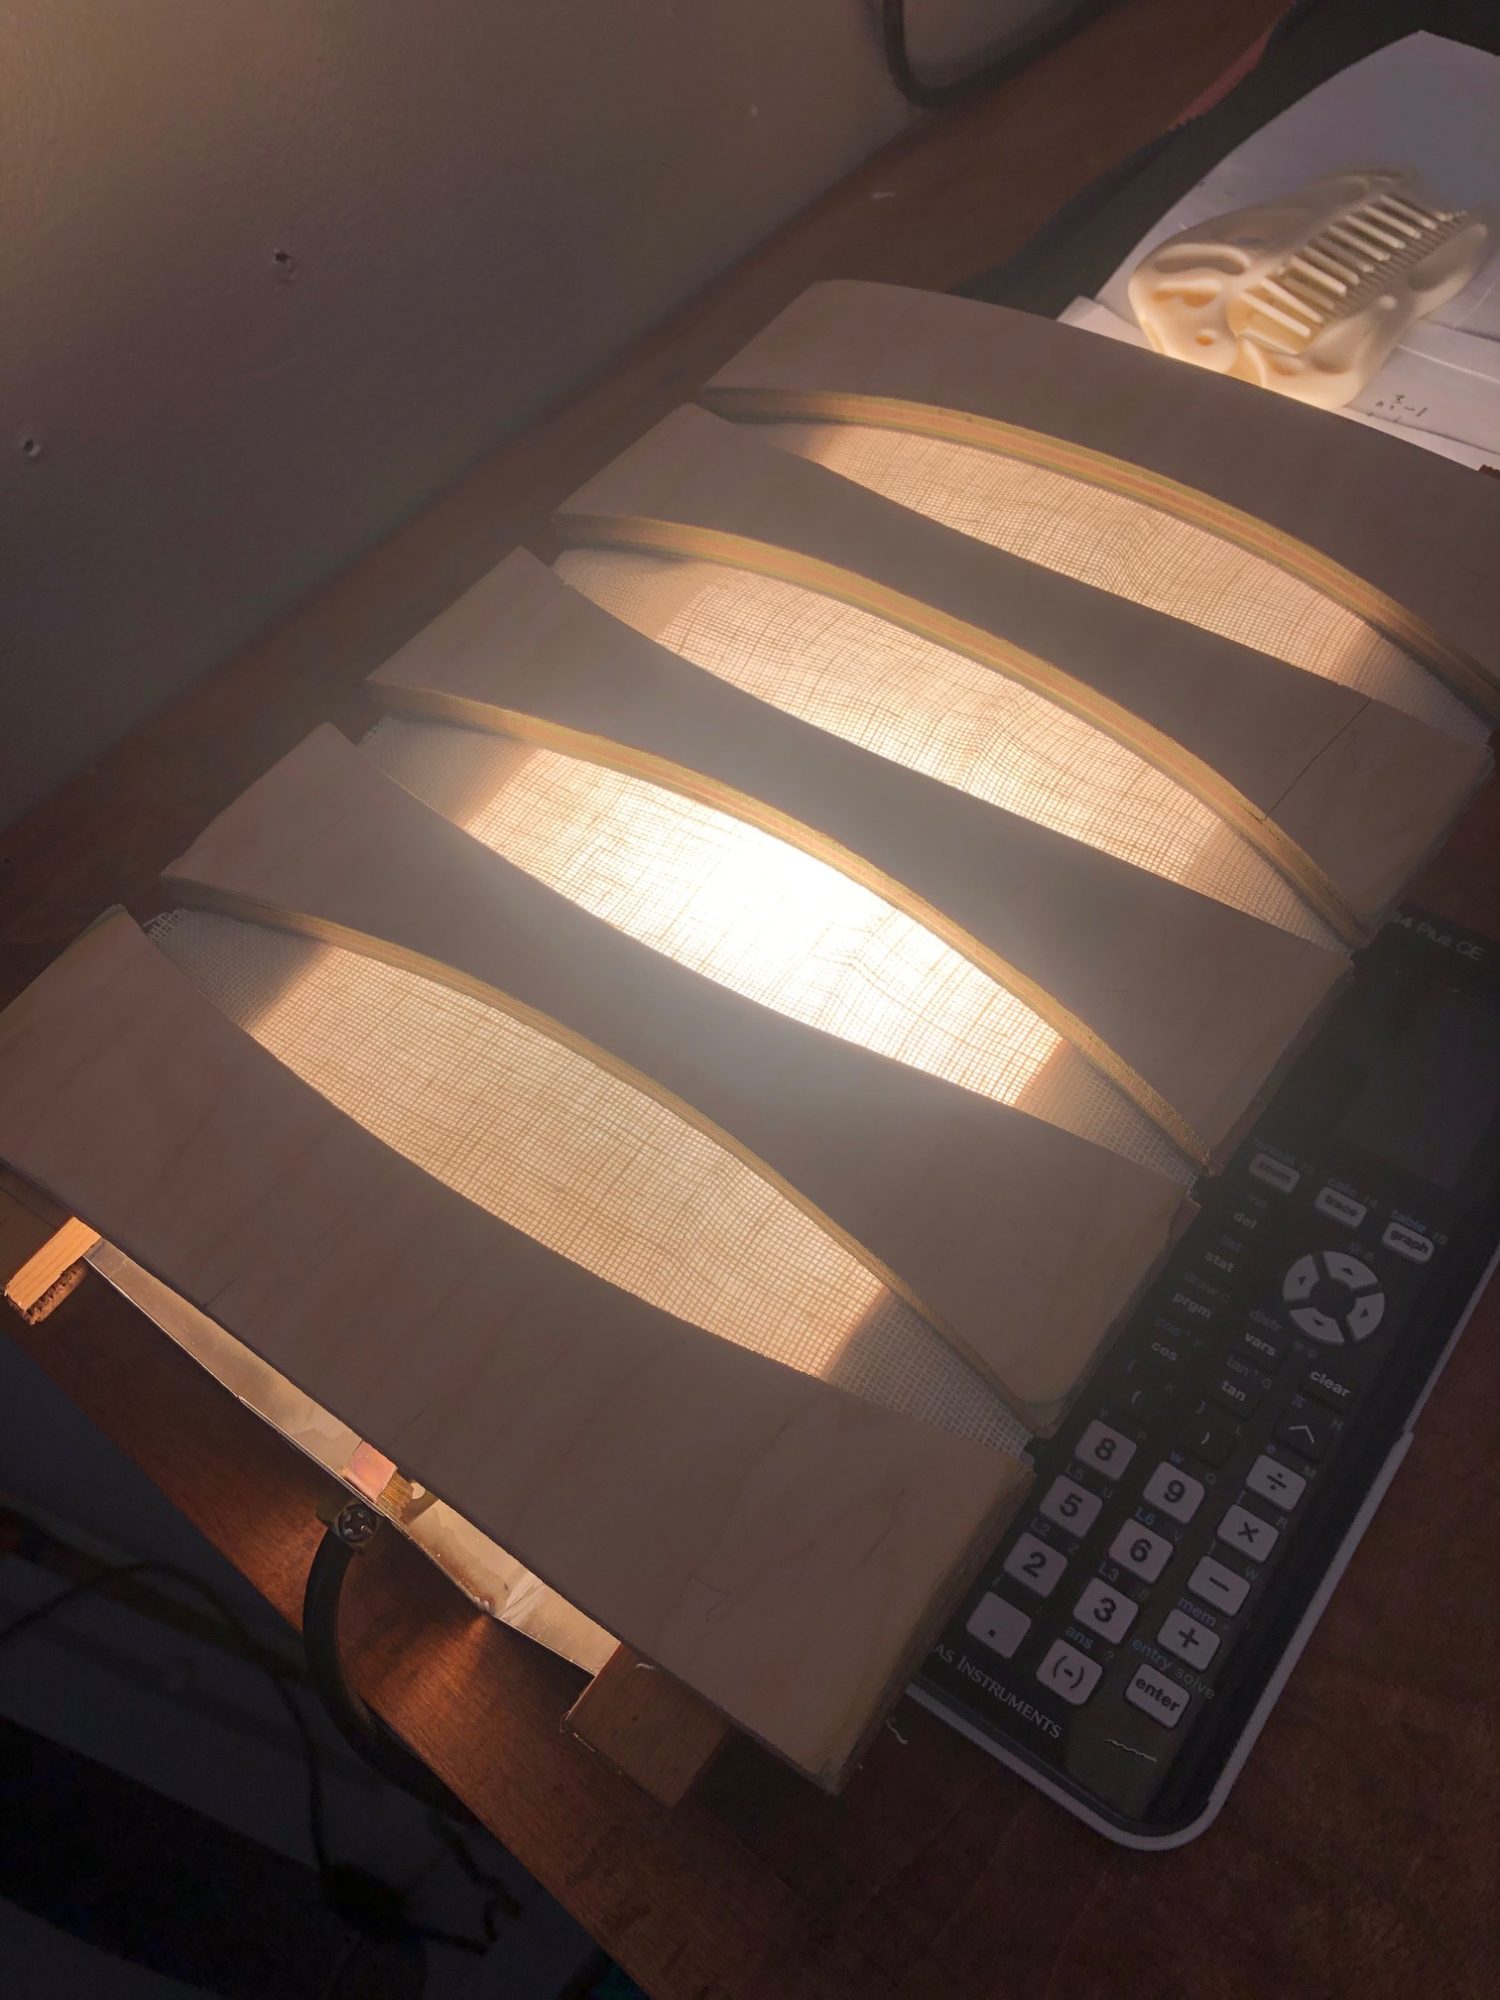
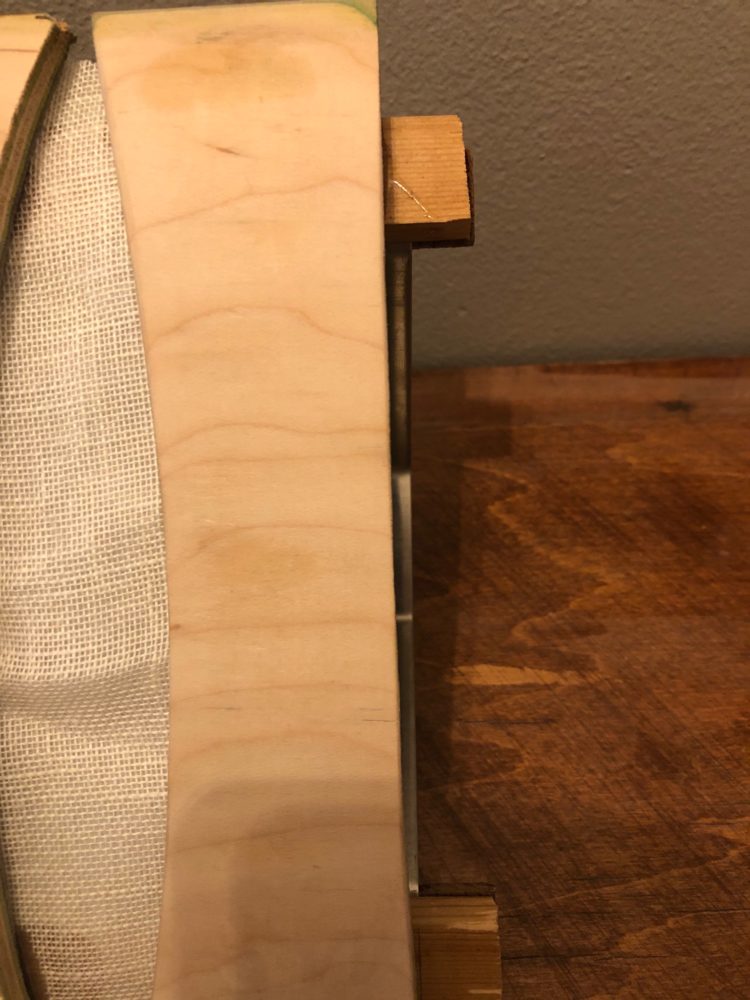
After this, I got to work figuring out how the slats would attach to the frame. I intended for the slats on the frame to slide on and off, but I had considered screwing them permanently to the frame. After seeing how the light shone through my fabrics at different distances from the frame, I figured that the slats needed to be raised off of the frame for better light diffusion. Because of this, I decided to create side blocks which slid onto the thin metal flanges. I achieved this be using recycled wood which I screwed together on the ends which created a small gap between them. They slid on, but were difficult to slide off, which was good in the sense that it was secure, but bad in the sense that they would be difficult to take off. See above.
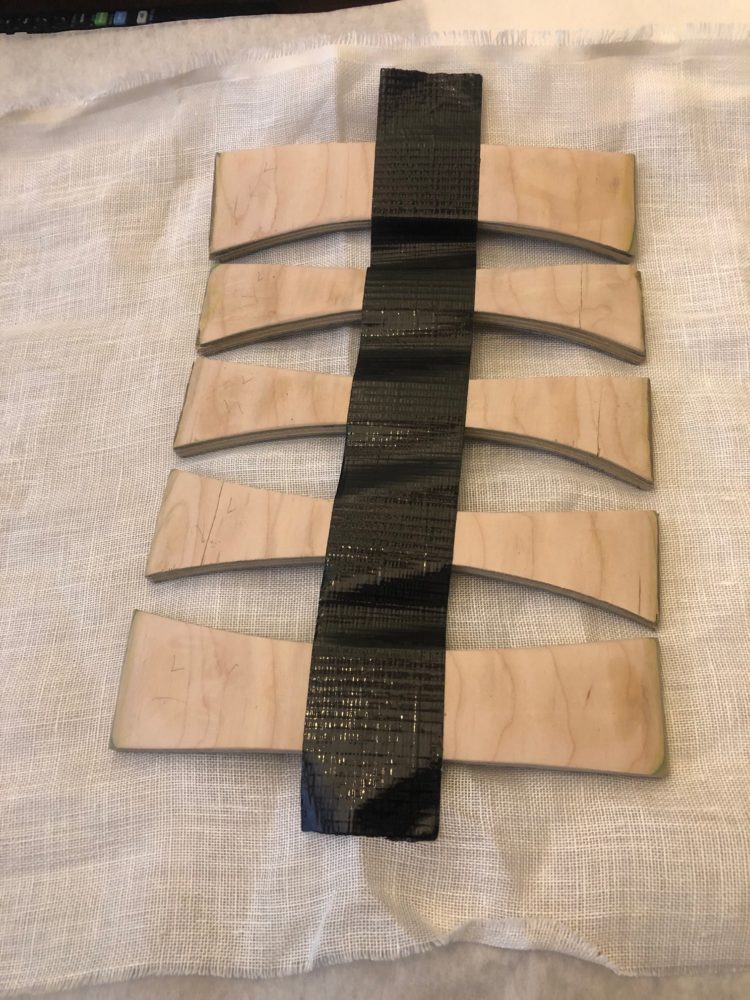
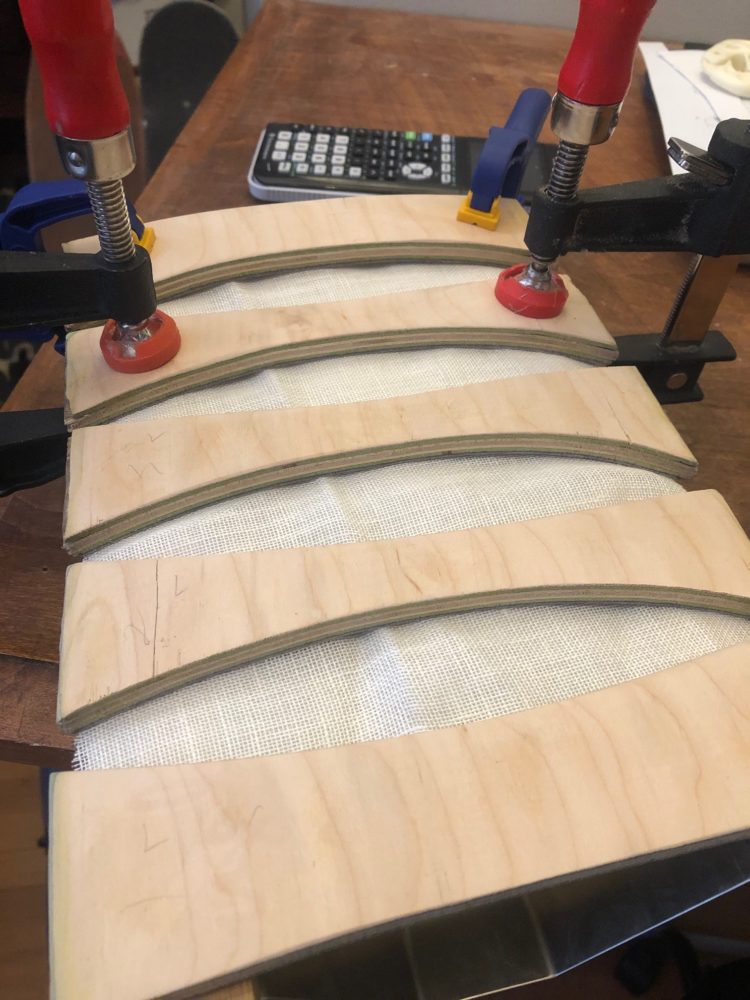
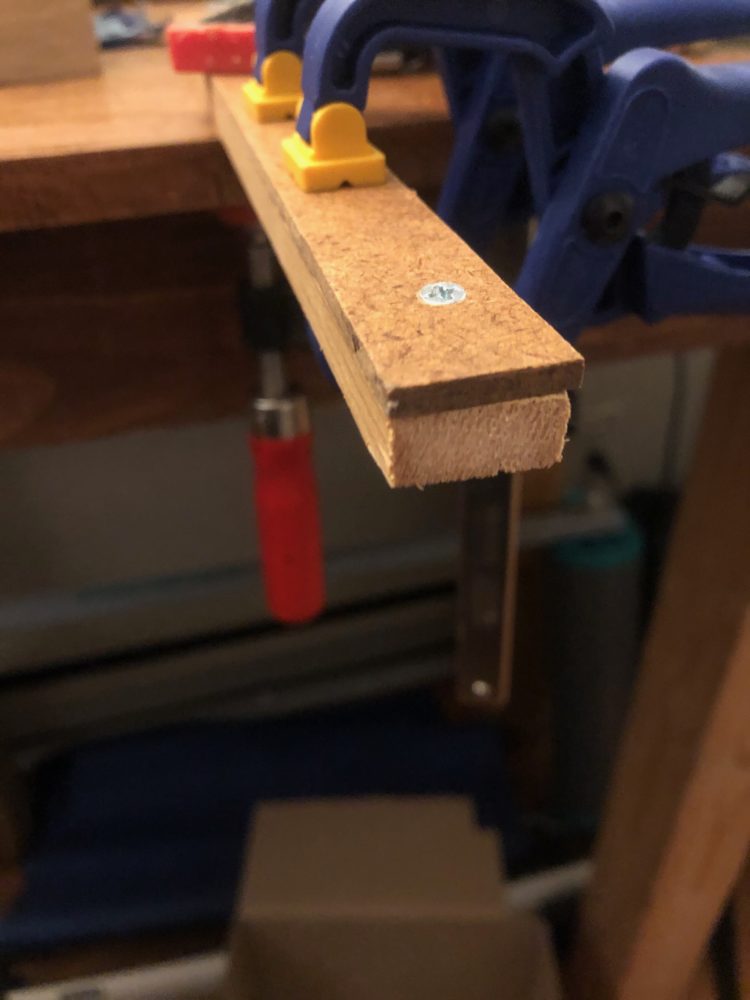
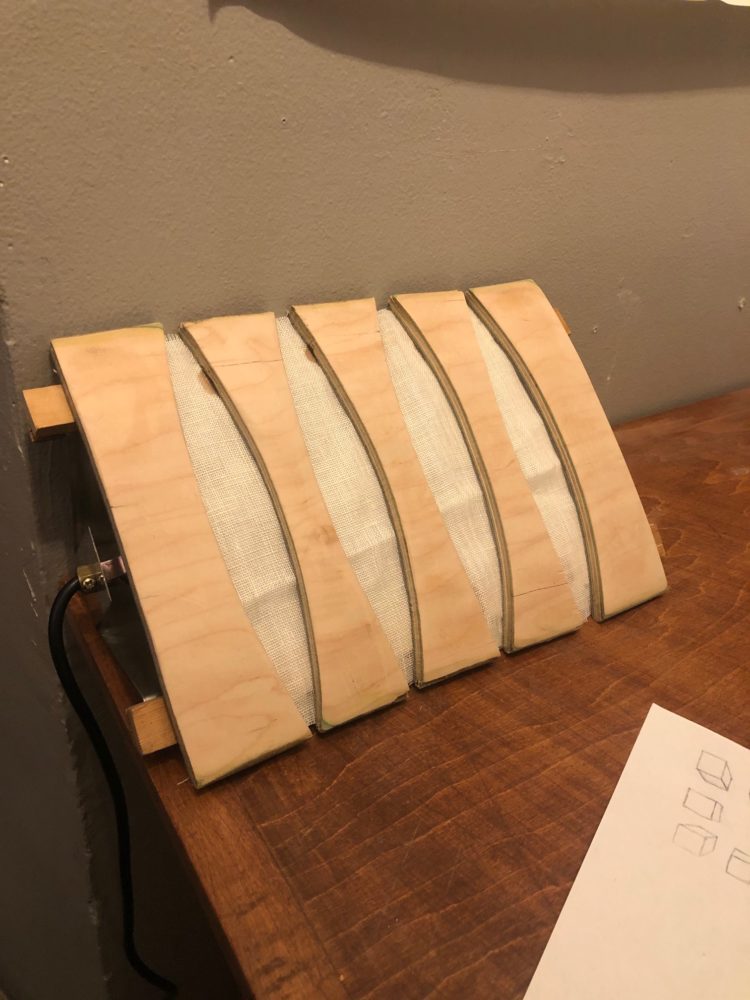
I then took my skateboard slats and arranged them on top of the block rails to determine their final position. Before I would secure them I needed to put the diffusing sheet in. I took some duct tape and laid it across the slats to hold them in position when I removed them (see above). I then tested out different combinations of my fabrics to determine what would look the best. I really liked the texture of the canvas cloth, but It didn’t diffuse the light as well, so In the end, I had two layers of the tracing paper with one layer of the cloth. With the cloth facing what would be the outside and the tracing sheets below, I used a staple gun to staple the sheets to the wooden slats. I then trimmed the edges to fit. Finally I used a strong clear glue (with clamps) to glue the slat and cloth panel to the block rails. I had to go back and re-glue some slats after on the sides (see above), but once I was done, the lamp was finished!
Going forward, I think I’ll definitely use the lamp on my desk. I don’t think I’ll make many modifications, but I do have some extra wood from the skateboard which I could use if I gain more inspiration.
Looking back:
Looking back on the project, I achieved a lot of what I set out to complete, but there where some aspects that could have been improved. My overall vision was to have a lamp which diffused the light from the frame, and gave off a mid-century modern aesthetic. I also intended for this lamp to fit on a desk, and change brightness mechanically.
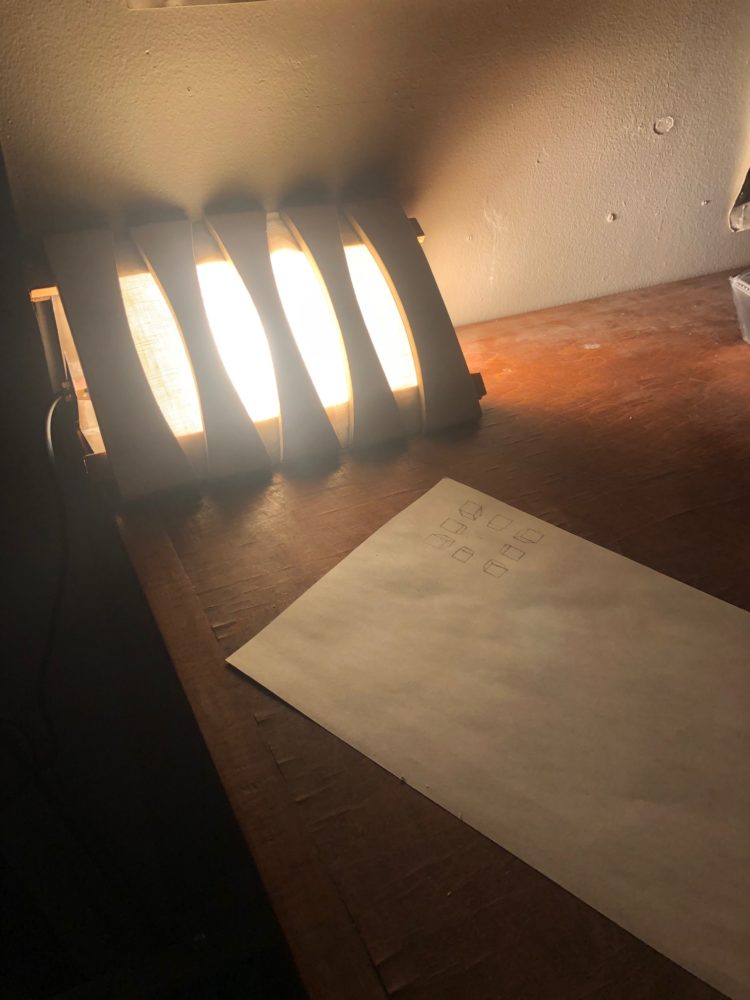
What I thought went very well was how solid and robust the final product came out to be. Given that I was working with chipped, old, and rain soaked plywood, Id say I was very impressed with how sturdy and nice looking the wood was. I also felt that the fabric was very clean looking (more on this in the next section) and was properly secured as well. Overall, It feels like a well crafted product and not a flimsy upcycled piece of junk. As far as functionality and capturing my initial vision for how it would work, I would say It captured it well overall. The light was diffused well, and illuminates my desk to the right brightness. On top of this, The lamp can be displayed on its side as well as upright (even hung up if you nailed it to the wall), and so I feel it works well as a functional desk lamp (see above).

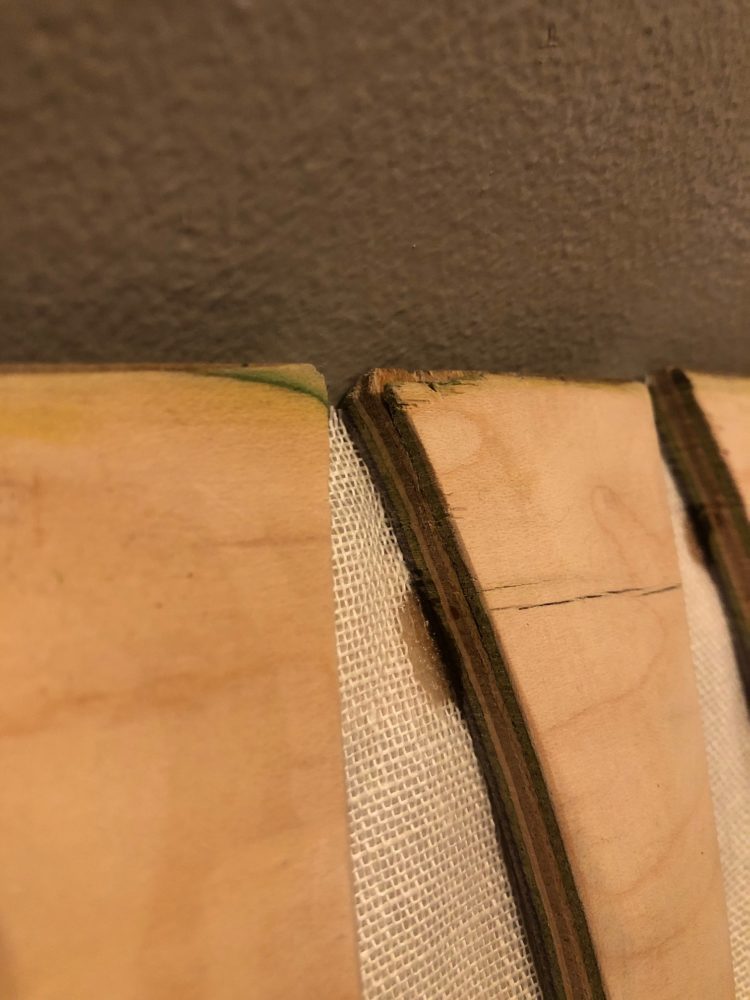
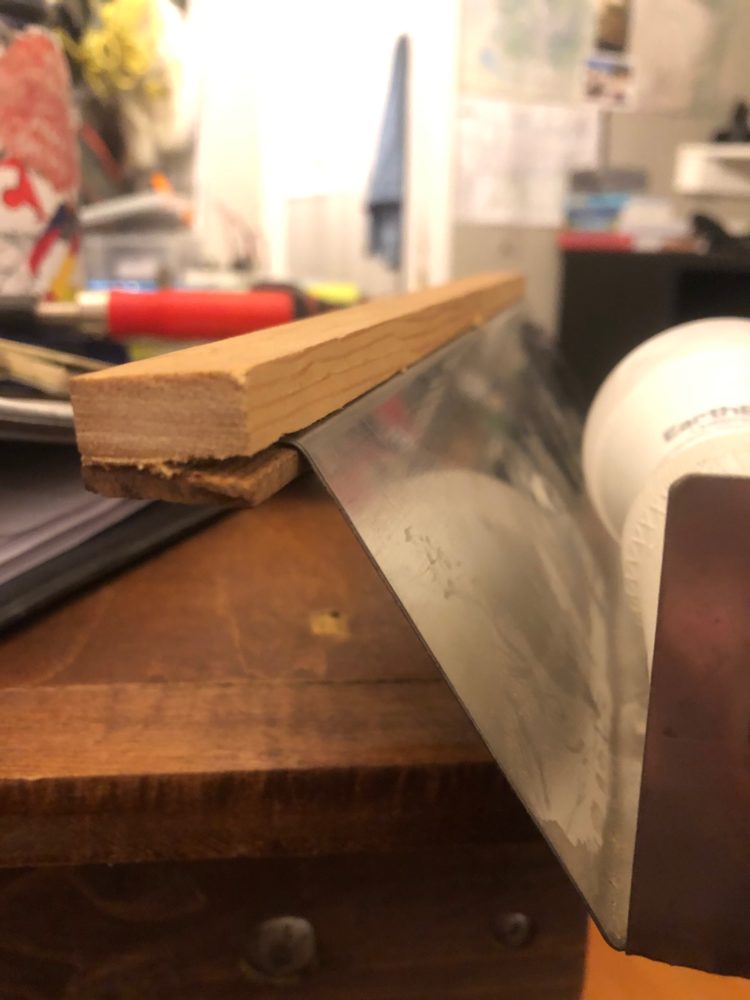
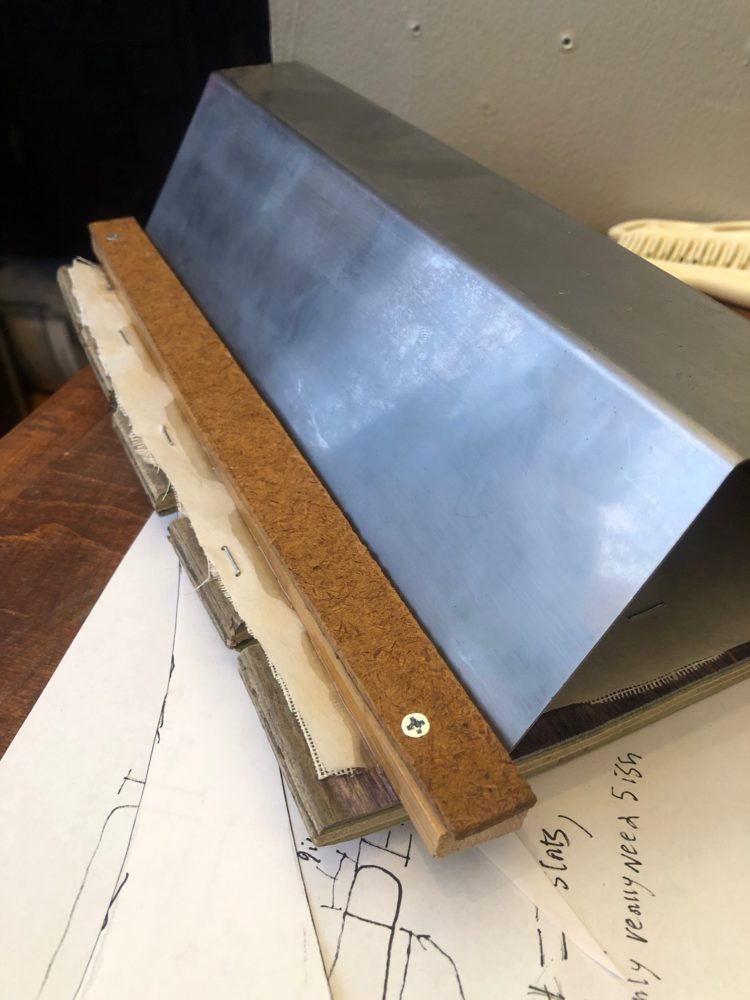
Where It didn’t go so well and could definitely see some improvement were with some of the little details. To start, the glue leaked through the cloth and is visible on the front (see above). This could have been avoided with more precise gluing, or if I had decided to screw the slats on instead. I also have a slight crease in my fabric (see above). Again, could have been mitigated with more precision and care. The wood slats have a few issues as well. Some cracks on the faces and on the edges were unavoidable and do detract from the overall look. What was avoidable was sanding all the way to the green ply layer (see above) which wouldn’t have happened if I had a smaller sanding block and a bit more care. The final thing that I could have improved, that actually had a large effect on my design, was the alignment of my slats. As you can see above, the ends of the slats are just under the end of the metal frame. This combined with the fact that the block rails were too tight on the metal flanges, caused me to not include side panels. I felt it would have been too difficult to add and would have hindered the ability to change the bulb and so I made the decision to leave them out. I also scrapped the original idea to make the slats slide over each other to change the brightness. This was mostly because I didn’t have access to the right tools to make something so complex, and that factor also probably played a role in some of the things detailed above.
Aesthetic Achievement:
Aesthetically, I think I achieved the mid-century modern look. From the inspiration lamp examples I found online (see below), but also my research into the mid century modern aesthetic, I gained a good understanding of the components that contribute to it. Mid-Century Modern design originated from Bauhaus design and spanned from the 1930’s to the 1960’s. It was largely impacted by new technology which allowed for new (and old) materials to be easily produced. Non-traditional materials like glass, metal, and vinyl were used in combination with traditional materials like wood to form minimal, transportable, and functional furnishings. Specific elements that I think my lamp reflects are its minimal design with sleek curves, its use of metal and wood, and the contrasting materials of the detailed fabric with the smooth wood.
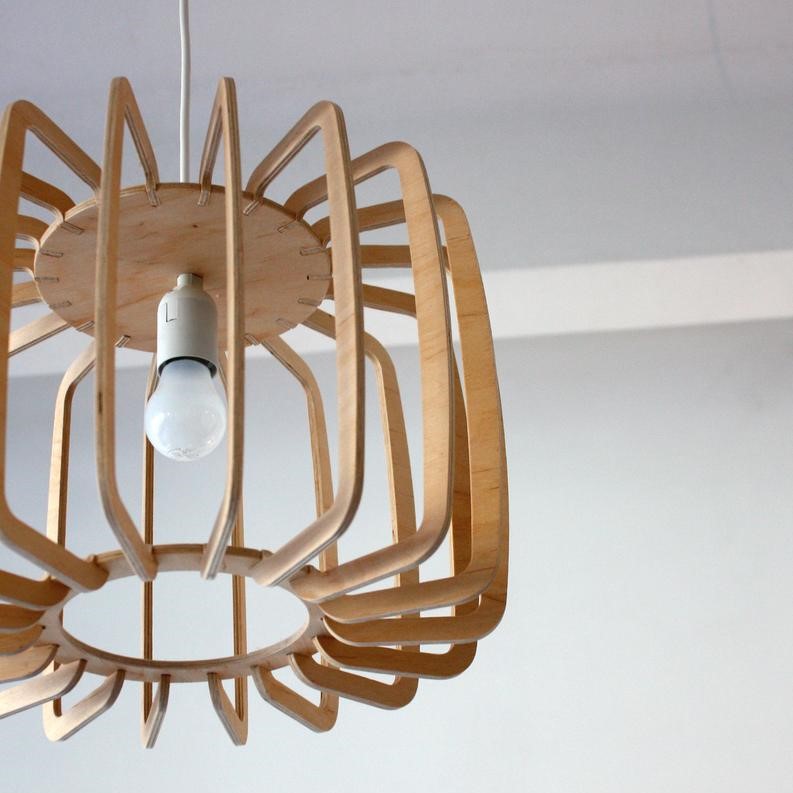
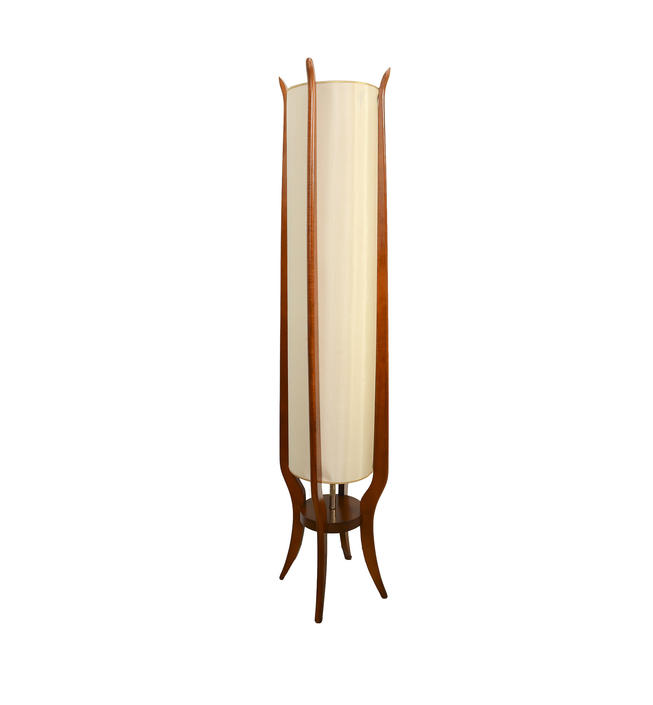
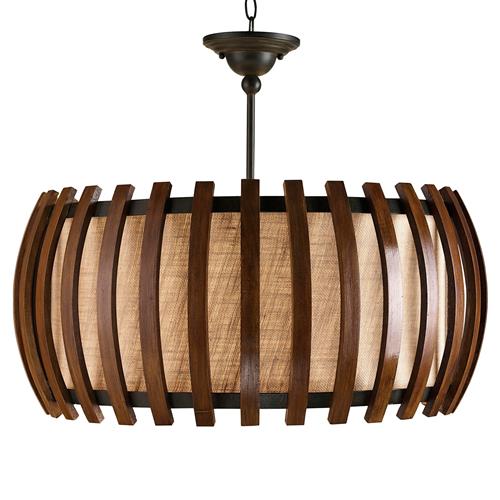
From my inspiration lamp examples, I mostly took the gridded fabric, the thin wood slats, and the muted neutral colors. I had considered staining the wood (as my examples have), but I was worried I would get a poor result so I decided not to. I might consider a light oil however in the future.
As mentioned before the cracks in the wood, chipping on the edges, glue stains, and green wood all detract from the mid-century modern aesthetic, but I like to think of it just being a window into the aesthetic the wood used to have: Skateboard Grunge.
Video of Presentation:
Above is the link to a video of my presentation and subsequent critique session. I accidentally ended the recording before the “permissioned questions” section, so I’ve included a brief synopsis in the rest of this paragraph. The main points of praise I got were that my pod group liked the documented process, and felt that it captured the overall aesthetic. The main points of critique that I got were that I could have incorporated the skateboard design in the lamp in some way (instead of sanding it all off), and that I could have used more definition in the slats so that they would be hit with more light.
I felt that these suggestions were great and definitely gave me insight into aesthetic considerations I hadn’t thought of while making the lamp. In the future I might try and implement these (wood staining, maybe add street art details, alter the slat shape).
Images:
Wood Lamp Shade Mid Century Modern Lighting | Etsy
Dadelus Wood and Burlap Slat Mid Century Style Pendant Lamp (kathykuohome.com)
Sources:
Why the world is obsessed with midcentury modern design – Curbed
4 Comments. Leave new
Hey Joshua! I think your piece is very well done and I think the final product definitely fits the aesthetic you went for. The choice of making the skateboard pieces plain wood instead of designed is a bold choice which I think worked in the favor of the aesthetic. The practical and technical side of this project is very impressive and I admire how you managed to make the light shine through evenly throughout the length of the lamp; even though the the actual bulb is on one side. However, I was wondering if you considered adding the curved ends of the skateboard to the piece on both sides as well to convey the skateboard origin of the piece. Otherwise, it’s a very thought out and well produced project with stunning results.
Hey, good eye to point out the problem of the light being to one side. I didn’t explicitly address this in my report but it was a challenge and I feel I addressed it fairly well (although in person it is still somewhat noticeable). The taking off the design was a big choice for me too, I wanted to go for mid century modern and unfortunately that meant getting rid of the design, which as you point out works in favor of the aesthetic (even if it goes against sentimental value). I did want to incorporate the nose and tail of the board, but time and tool access constraints limited me, as well as some technical errors made me decide not to add them (you can see n explanation in the report). I do think not having them could have potentially made the aesthetic more prevalent (kind of a less is more type thing), but I might try and add them in the future.
This is a really cool project in that you can use it and enjoy it every day. I really like the aesthetic you were able to achieve with this design, it is flowing and smooth but still rustic. I think you captured your desired aesthetic well. I also really like the canvas you chose to use for your diffusion material. It has a nice warm color and adds texture to the lamp. That was also smart design with the slots to allow you to change the light bulb in the event of it going out. However, I was wondering why you chose not to do things like fill cracks or stain the wood? Was this a design choice or did you decide not to do it for other reasons? Also, maybe in your next iteration, you could have a rotating drum with 3 different amounts of paper behind the canvas. This would allow you to change the intensity of the light without having the complexity of the slats moving. Overall, well done project, thank you for sharing it!
Hey, I didn’t fix the problems with the wood mostly because of time constraints, but also my access to tools. I also didn’t stain the wood because I was worried it would come out weird because it was plywood, although I think I might try it in the future. I like the idea of changing the paper instead of the wood, and it would be something to consider in the future.